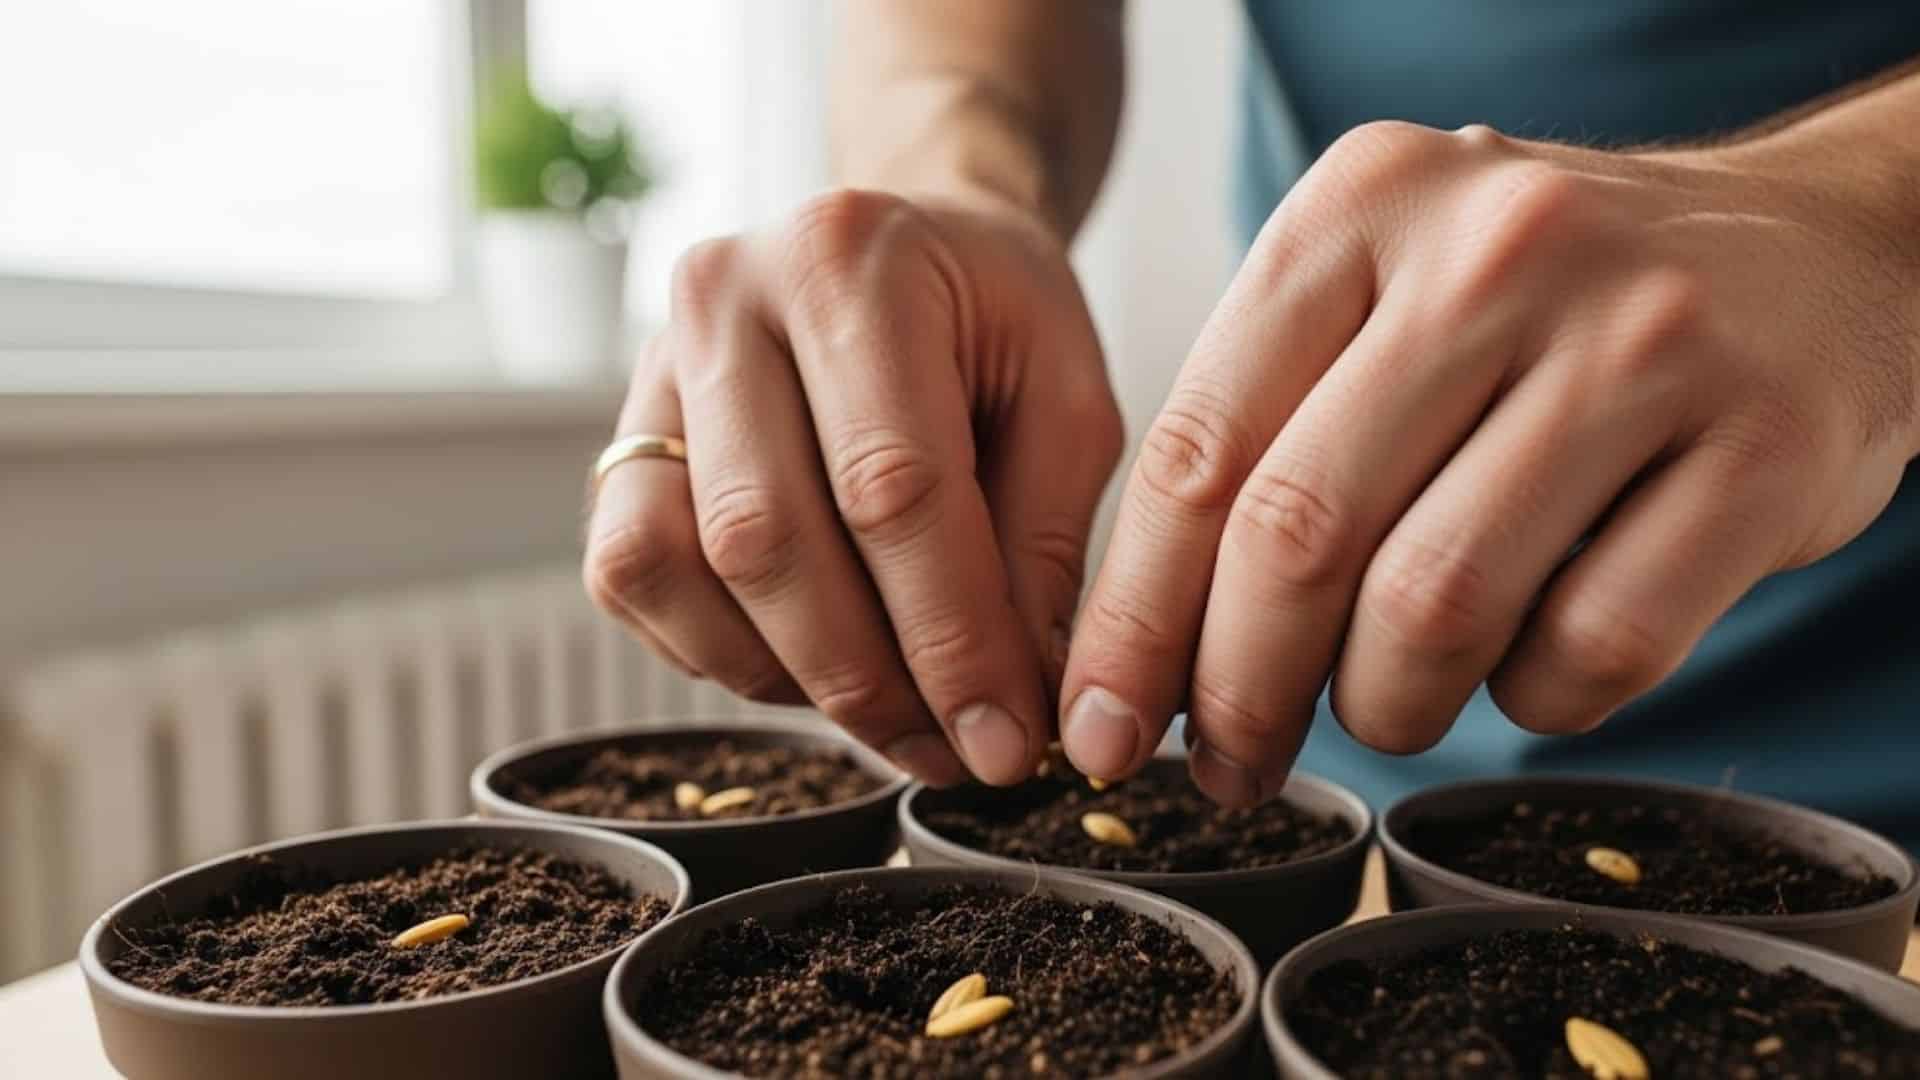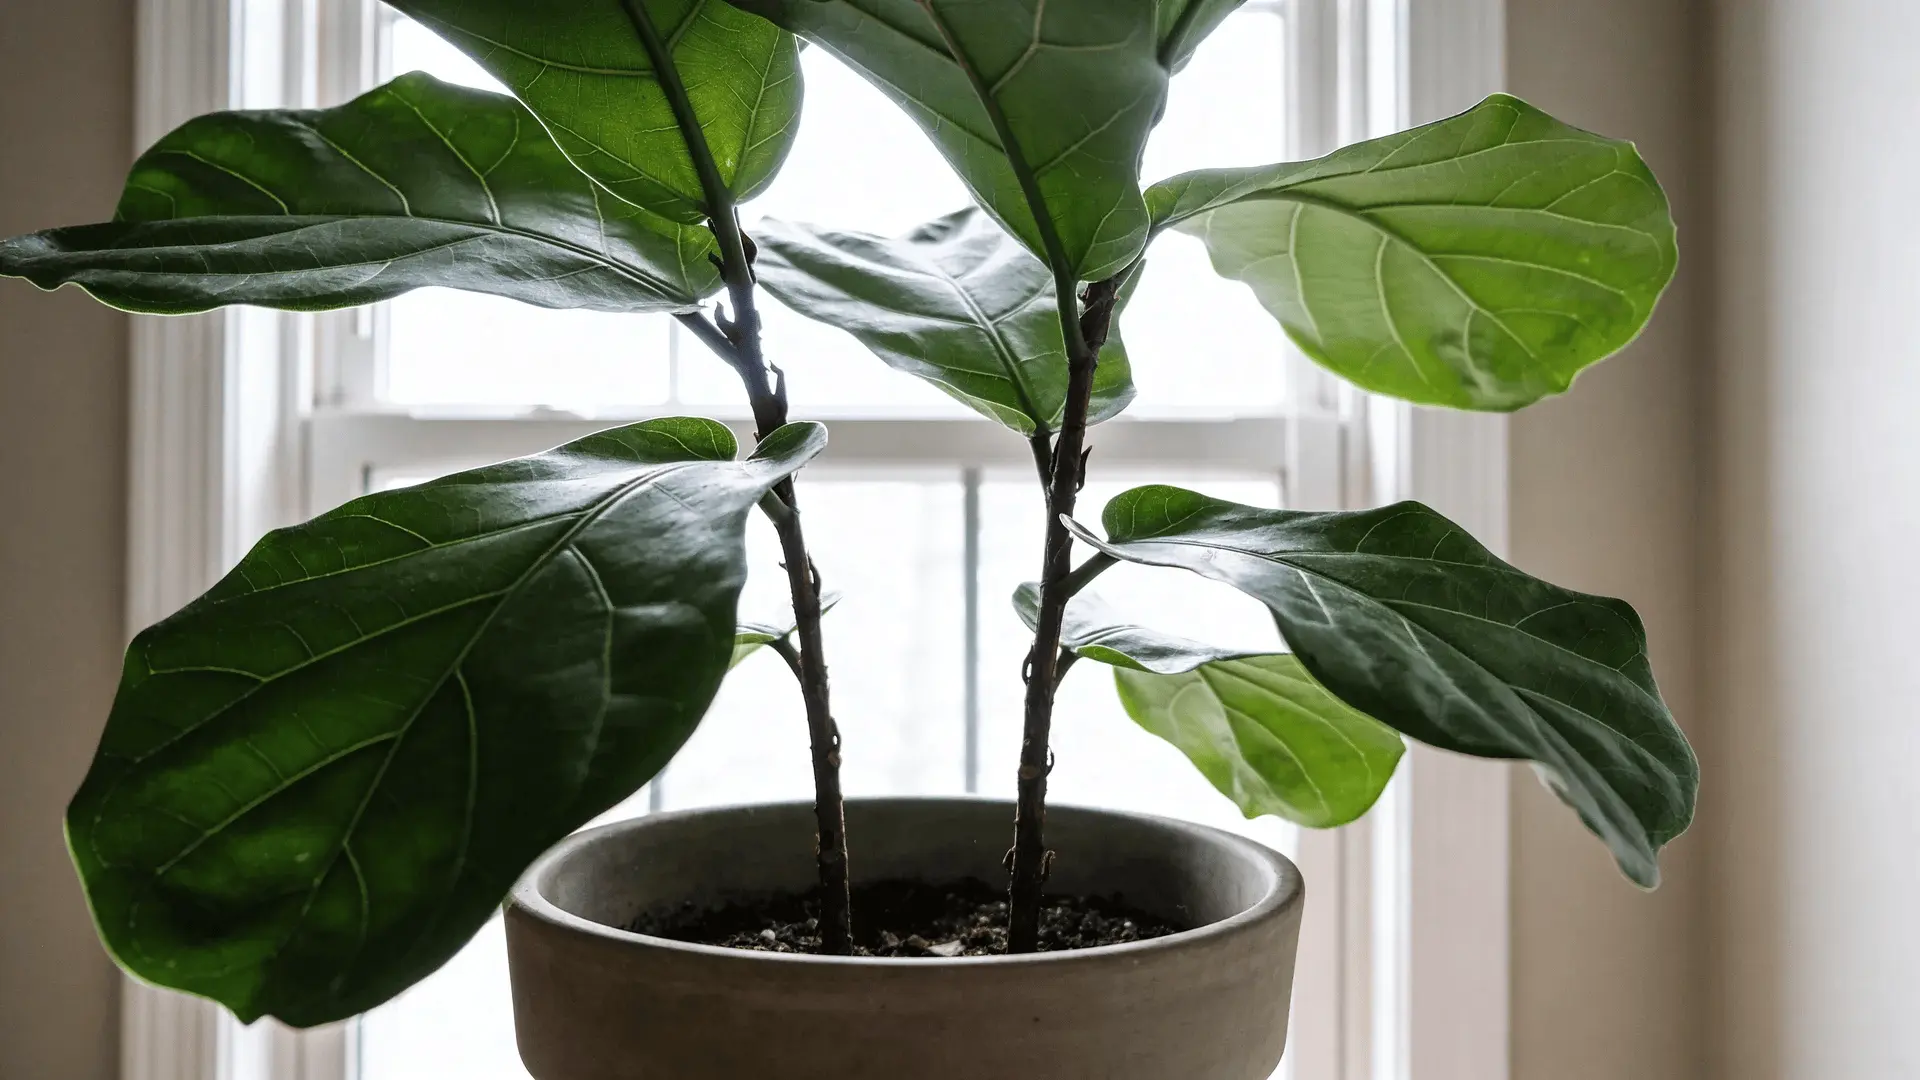
To propagate a fiddle leaf fig, cut a healthy stem just below a node and remove excess leaves. Place the cutting in water or well-draining soil under bright, indirect light. Maintain stable conditions for 4–8 weeks until roots reach 2–3 inches, then transplant.
I’ve had leaves rot and stems turn mushy, even when I thought I did everything right. I’ve also watched roots grow on a single leaf in water, only to realize it was never going to become a real plant.
The truth is, propagation isn’t just about cutting and waiting. There’s a biological reason some cuttings succeed and others don’t. Once you understand what’s happening inside the stem, the process becomes much more predictable.
Let’s walk through it so your fig tree indoor project actually works.
What You Need Before Propagating a Fiddle Leaf Fig
Before you cut anything, get your setup ready. Small mistakes at the beginning often show up weeks later.
Here’s what you need:
- Clean, sharp pruning shears
- A clear container (if rooting in water)
- Well-draining potting mix and a small pot (if rooting in soil)
- Optional: rooting hormone
- Fresh water
Clean tools matter more than most people realize.
When you cut a stem, you create an open wound. That wound is an easy entry point for bacteria and fungi. If your shears are dirty, you’re introducing microbes directly into living tissue, and that can lead to rot before roots even start forming.
Stem maturity also plays a role.
- Young green stems root faster.
- Thick, woody stems root slower and are more likely to struggle.
Woody stems can still root. They just require more patience and steadier conditions. If you’re new to propagation, start with a healthy, flexible green stem.
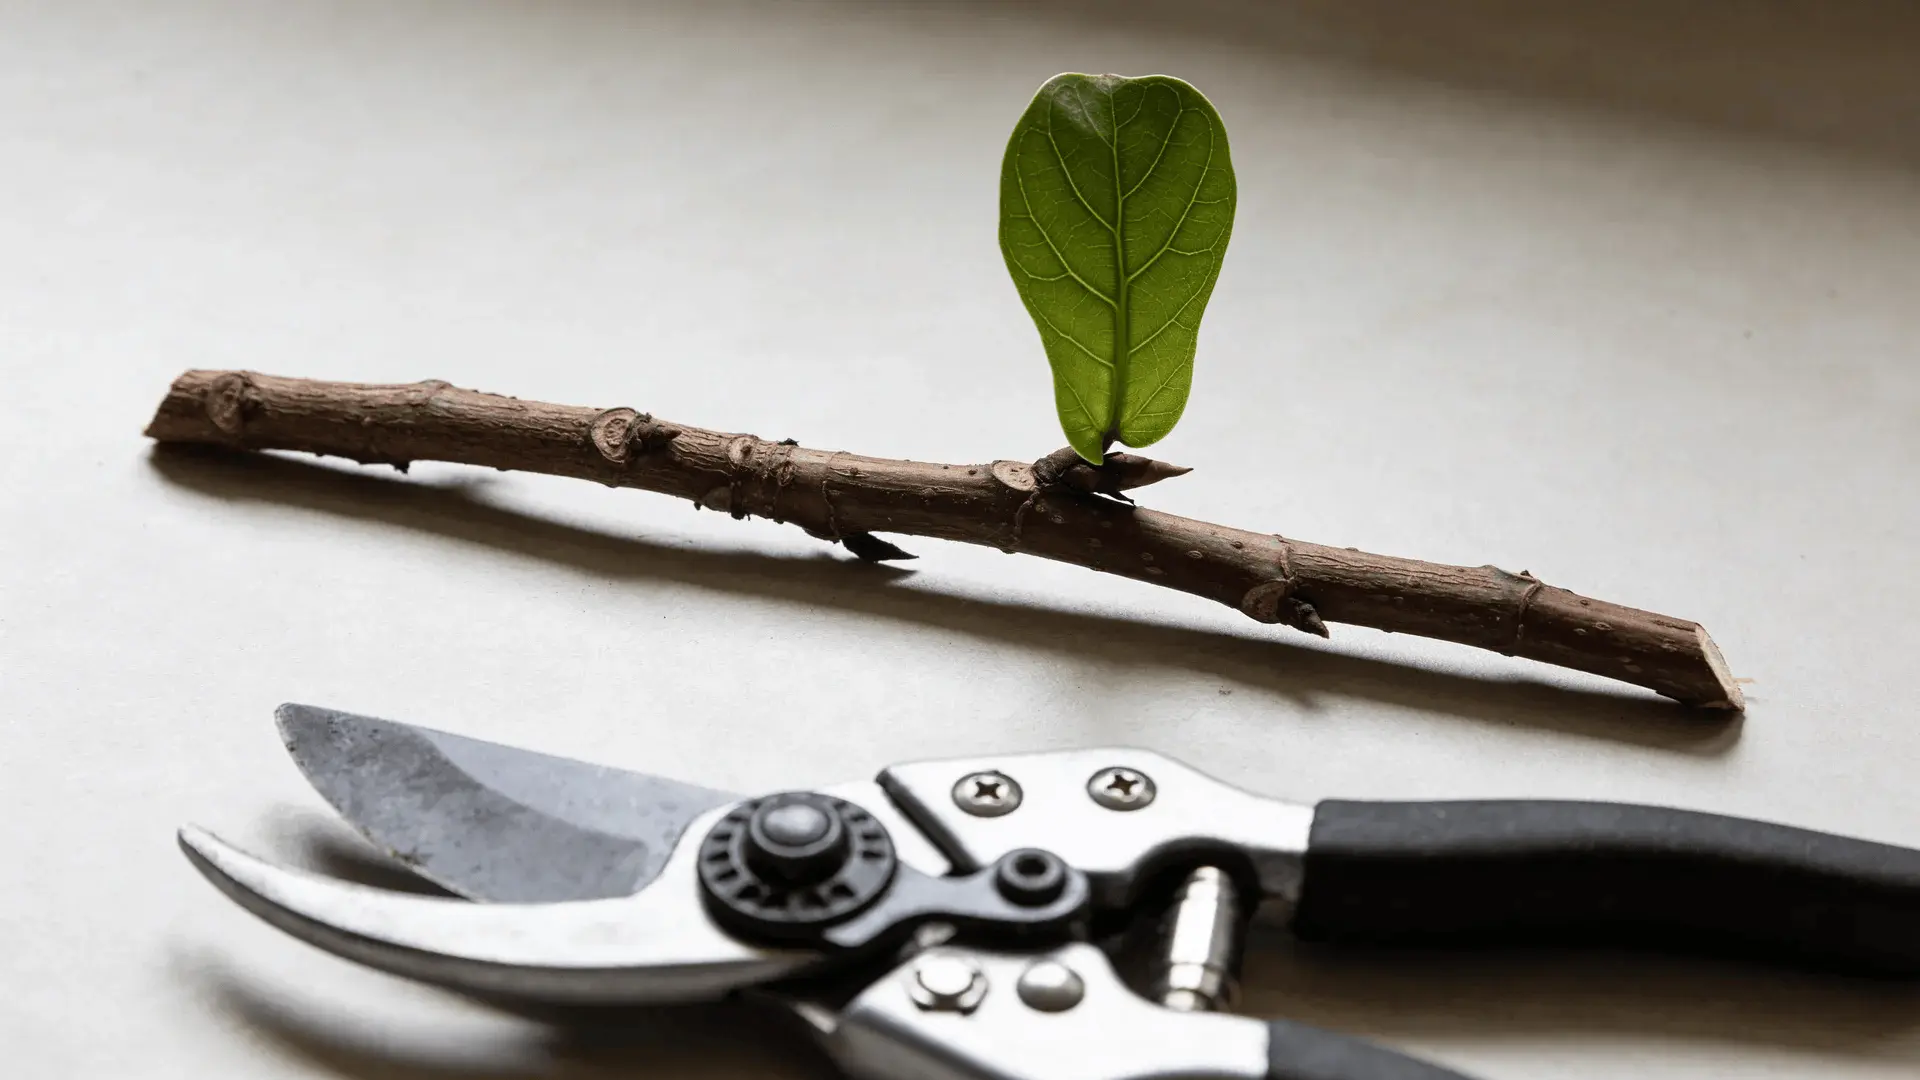
Step 1 – Identify the Correct Place to Cut (Why the Node Matters)
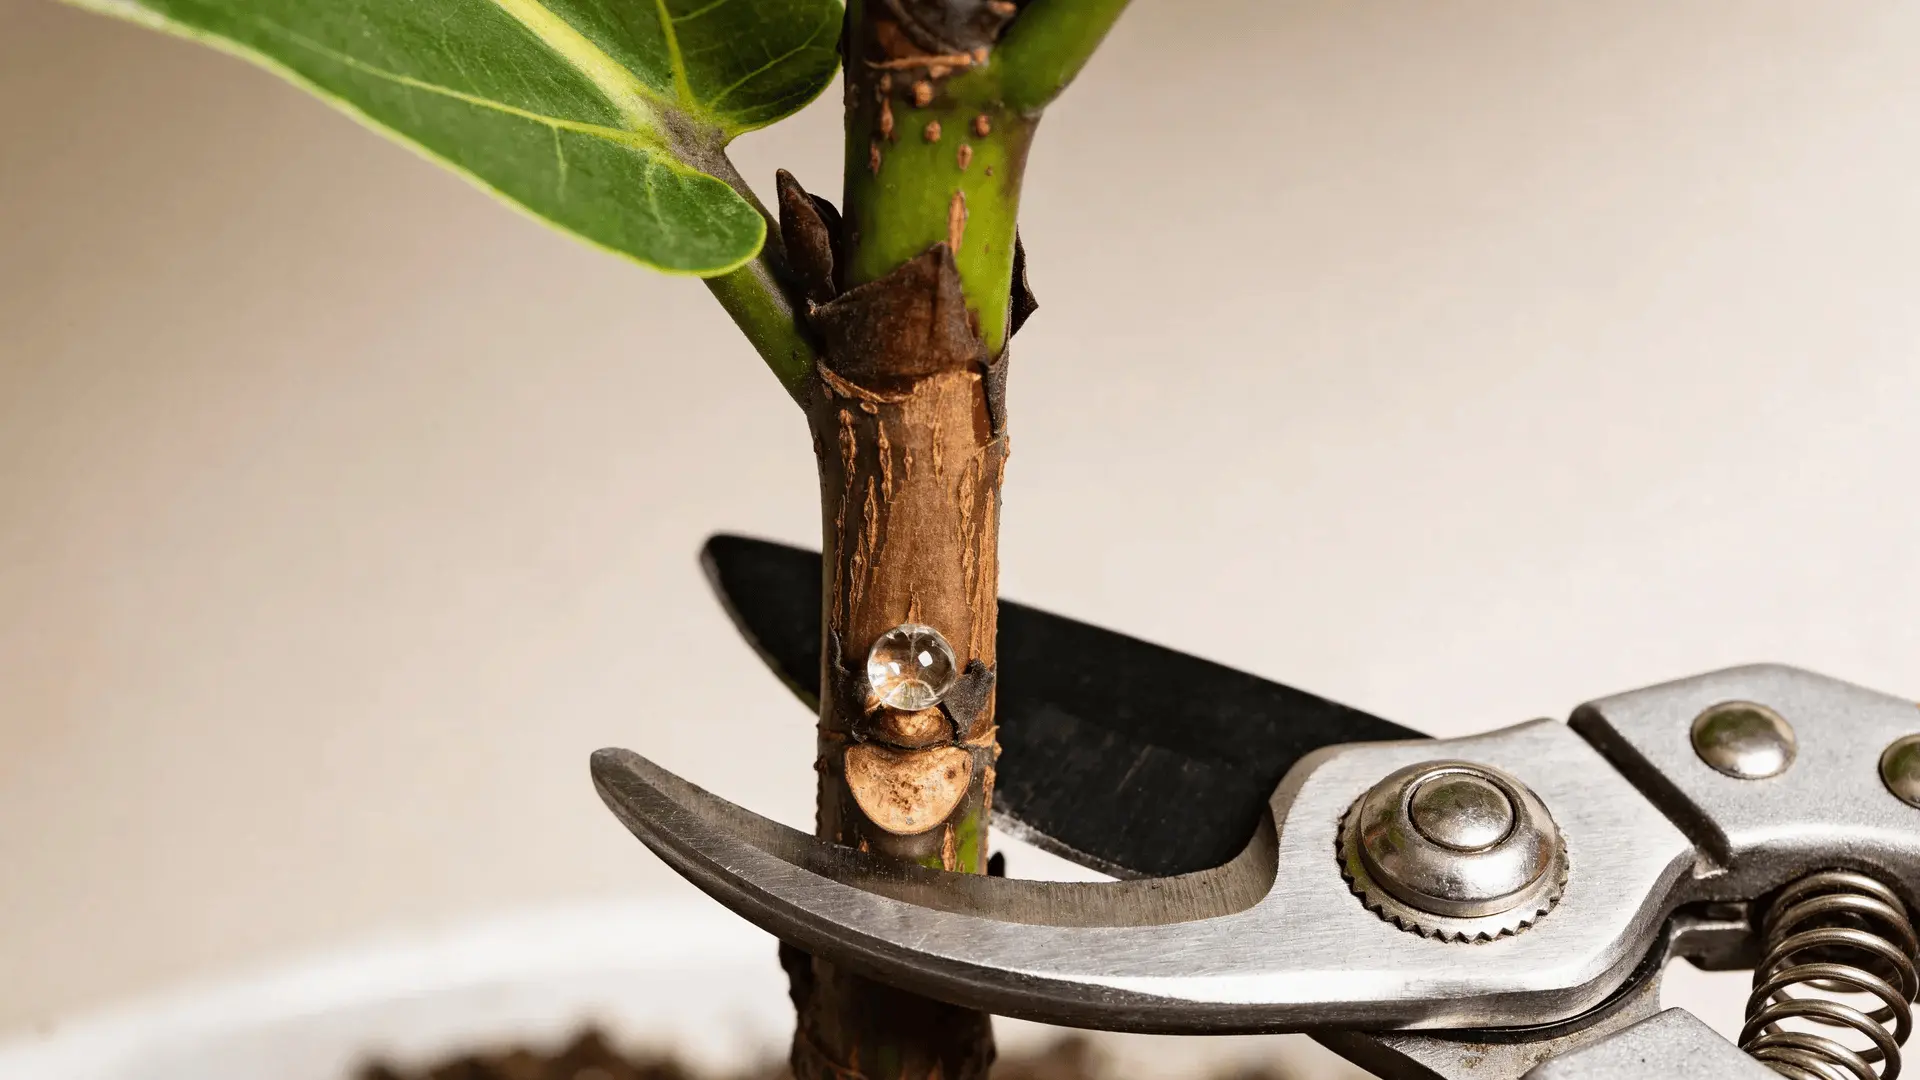
You must cut below a node. A node is the small bump on the stem where a leaf attaches. It may not look like much, but inside that bump is dormant growth tissue. Those cells can form both roots and new shoots.
Here’s what often confuses people: A leaf by itself can grow roots, but it cannot grow into a full plant.
The reason is simple. A leaf doesn’t contain the growth point needed to form a new stem. Roots can emerge from wounded tissue, but without a node, there’s no place for a new branch to develop. You end up with a rooted leaf that never becomes a real fiddle leaf fig.
When you cut just below a node, something specific happens inside the plant:
- The cut creates a wound.
- The plant sends hormones to that wound site.
- Root tissue begins forming at the node.
That wound response triggers root initiation. This is why the node isn’t optional. It’s the biological engine that makes propagation possible.
So take your time here. Find a healthy stem. Locate a clear node. Cut about half an inch below it. That single detail decides success or failure.
Step 2 – Prepare the Cutting to Reduce Stress and Rot Risk
At this stage, your main goal is to reduce stress on the plant while it’s trying to grow roots. Leaves lose water through transpiration, and if the cutting keeps too many leaves, it will lose moisture faster than it can replace it. That imbalance can lead to dehydration before roots ever form.
Start by removing the lower leaves. Keep just one or two leaves at the top. That’s enough to support photosynthesis without overwhelming the stem.
Now let’s talk about rooting hormone.
Rooting hormone contains synthetic auxins, which are plant hormones that stimulate root formation at wound sites.
Open-access plant biology research shows that synthetic auxin (IBA) significantly increases rooting percentage and root length in stem cuttings compared to untreated controls. When you dip the cut end into rooting hormone, you’re strengthening the signal that tells the plant to begin forming roots at that spot.
It doesn’t guarantee success, but it can improve rooting speed and consistency, especially with thicker or slightly woody stems.
If you’re rooting in water, skip the hormone. If you’re planting directly in soil, lightly dip the cut end before placing it into the potting mix.
Clean cuts and reduced leaf mass give your cutting the best chance during this early, vulnerable stage.
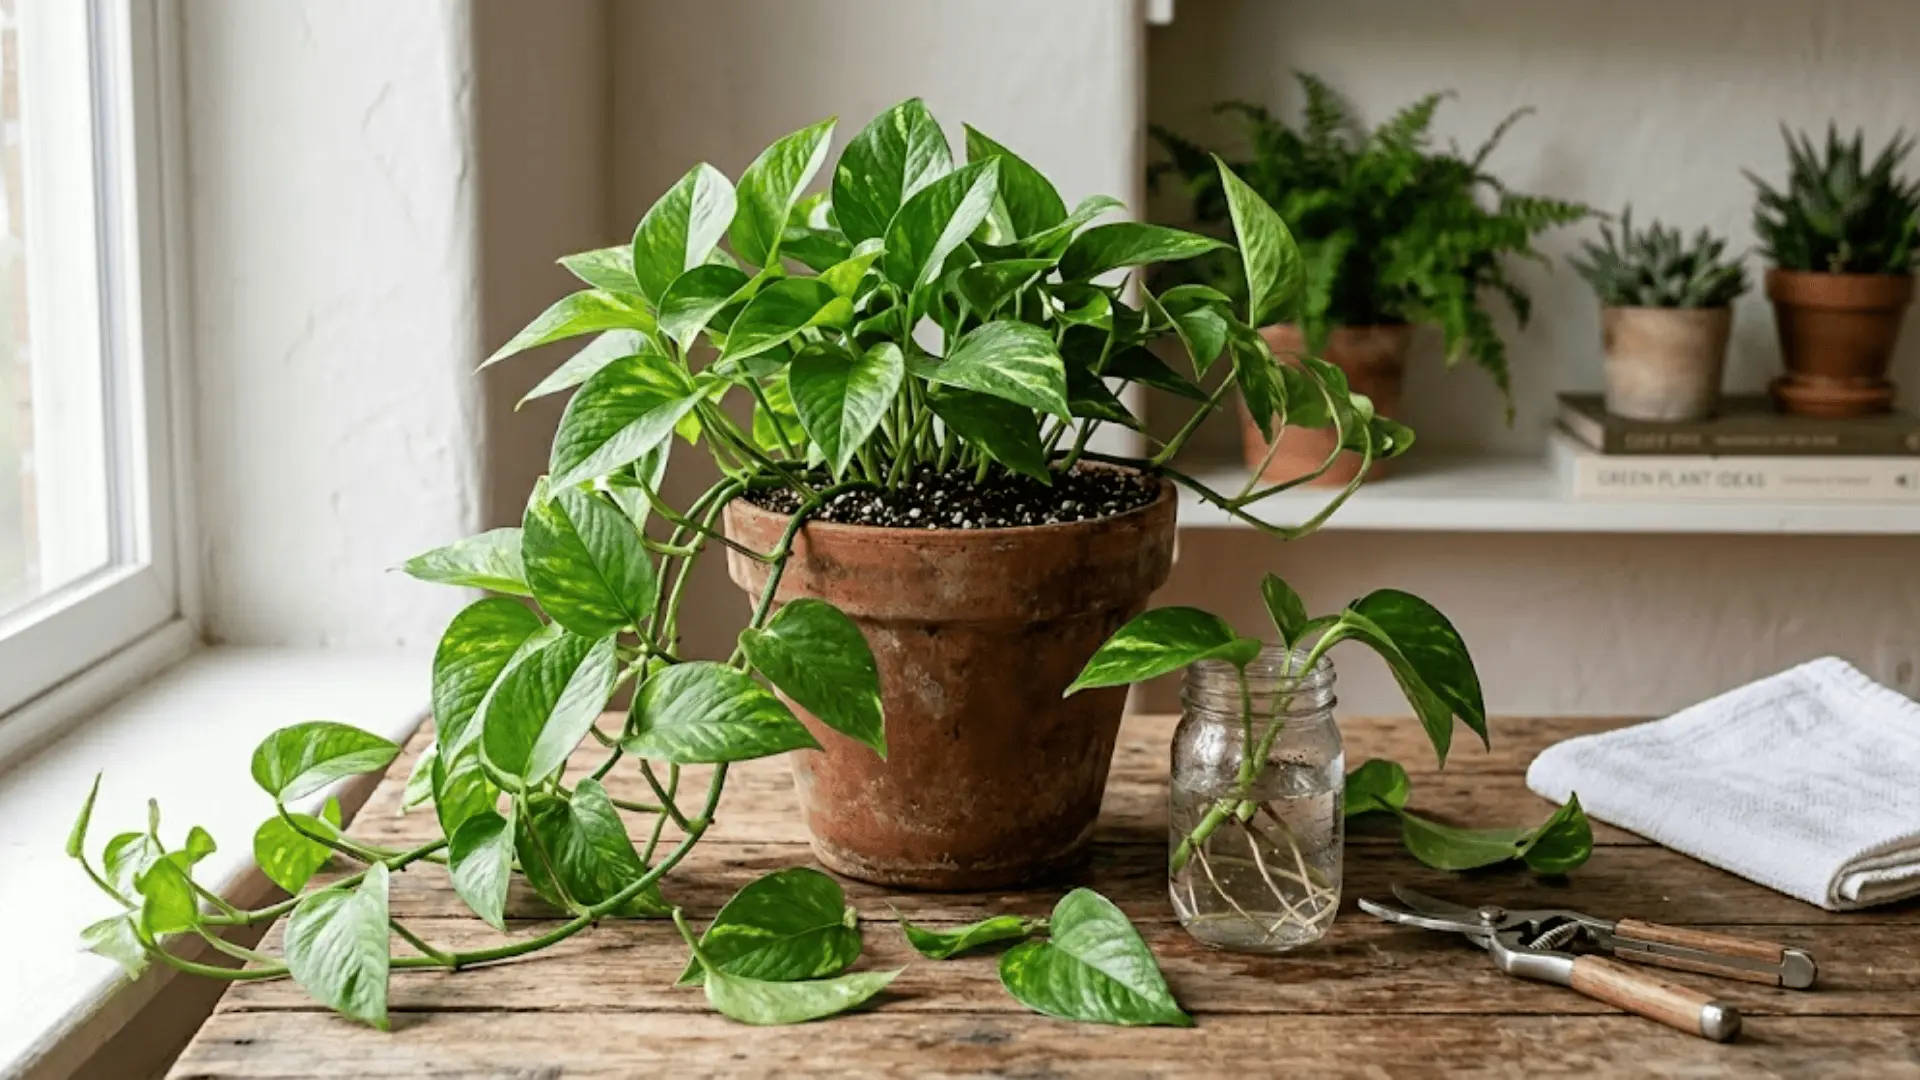
Step 3 – Choose Your Rooting Method: Water or Soil
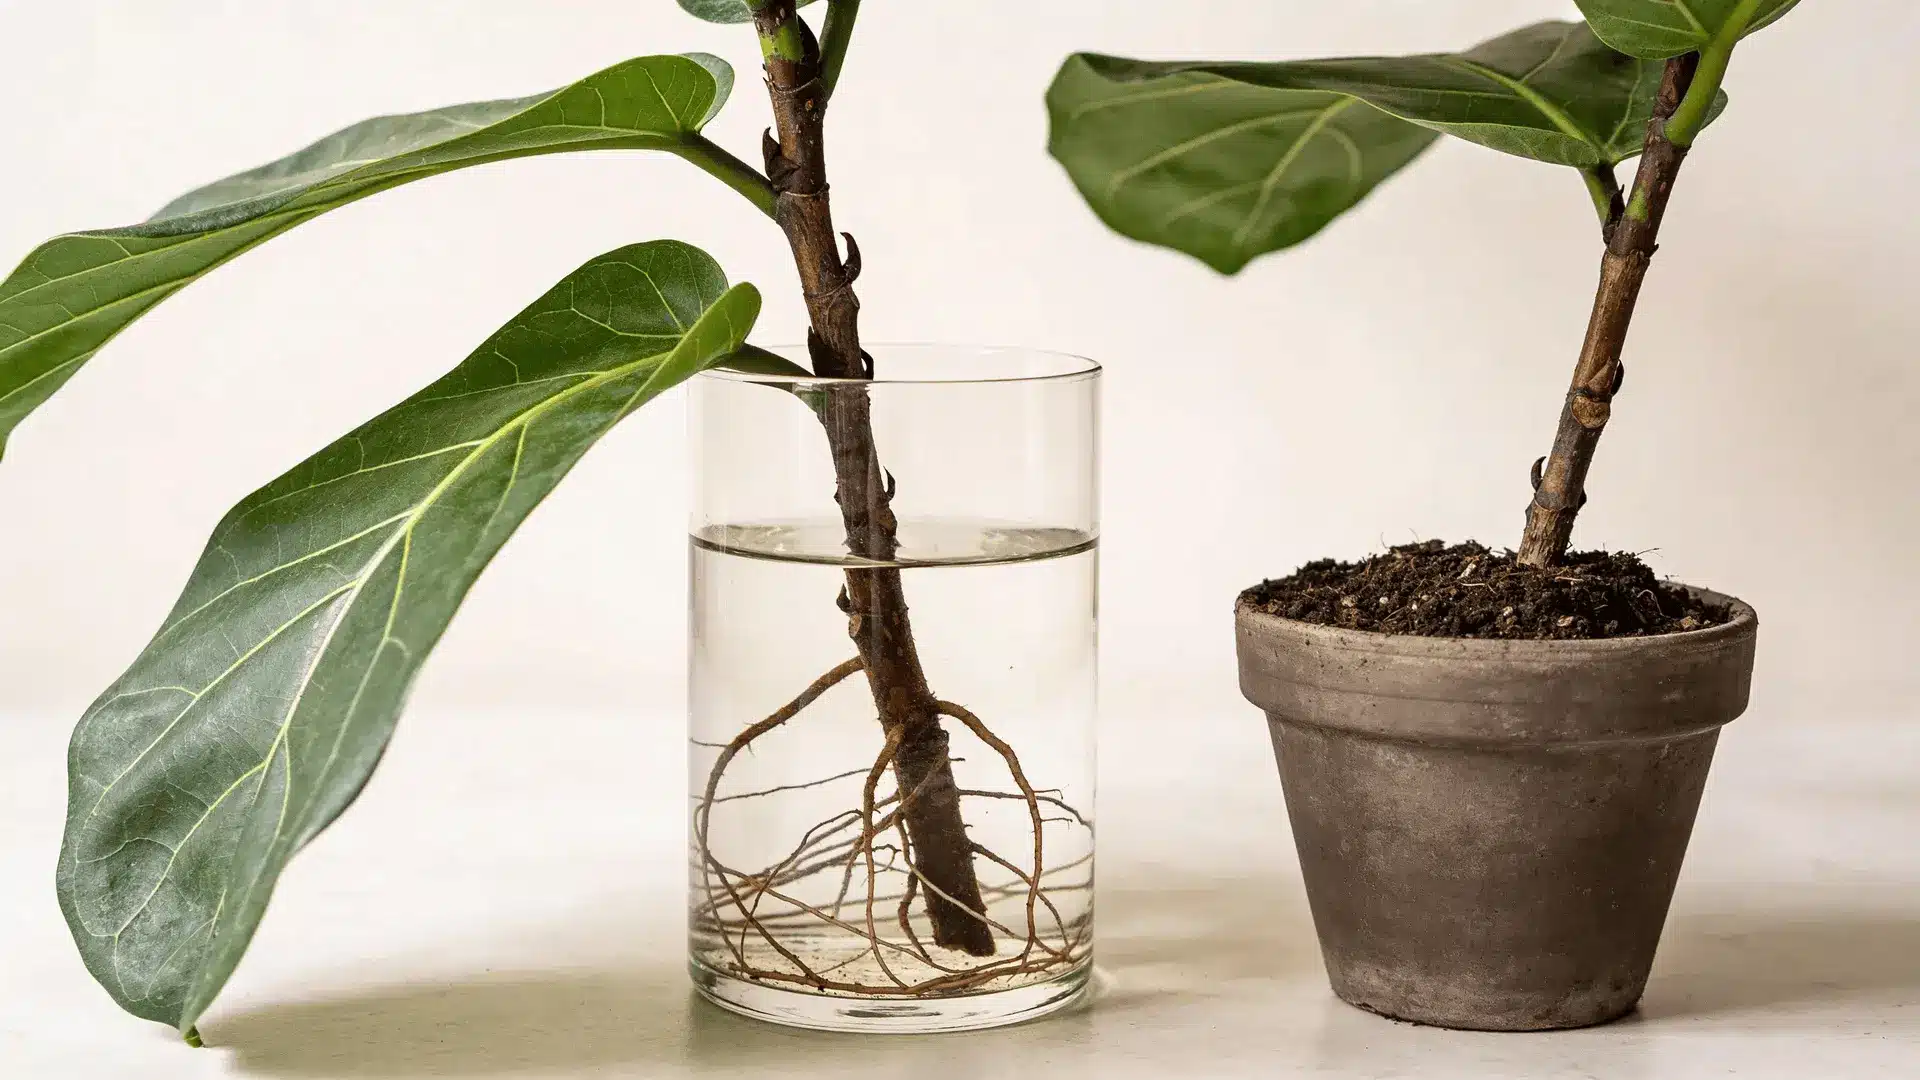
You have two solid options: water or soil. Both methods work, but they function differently.
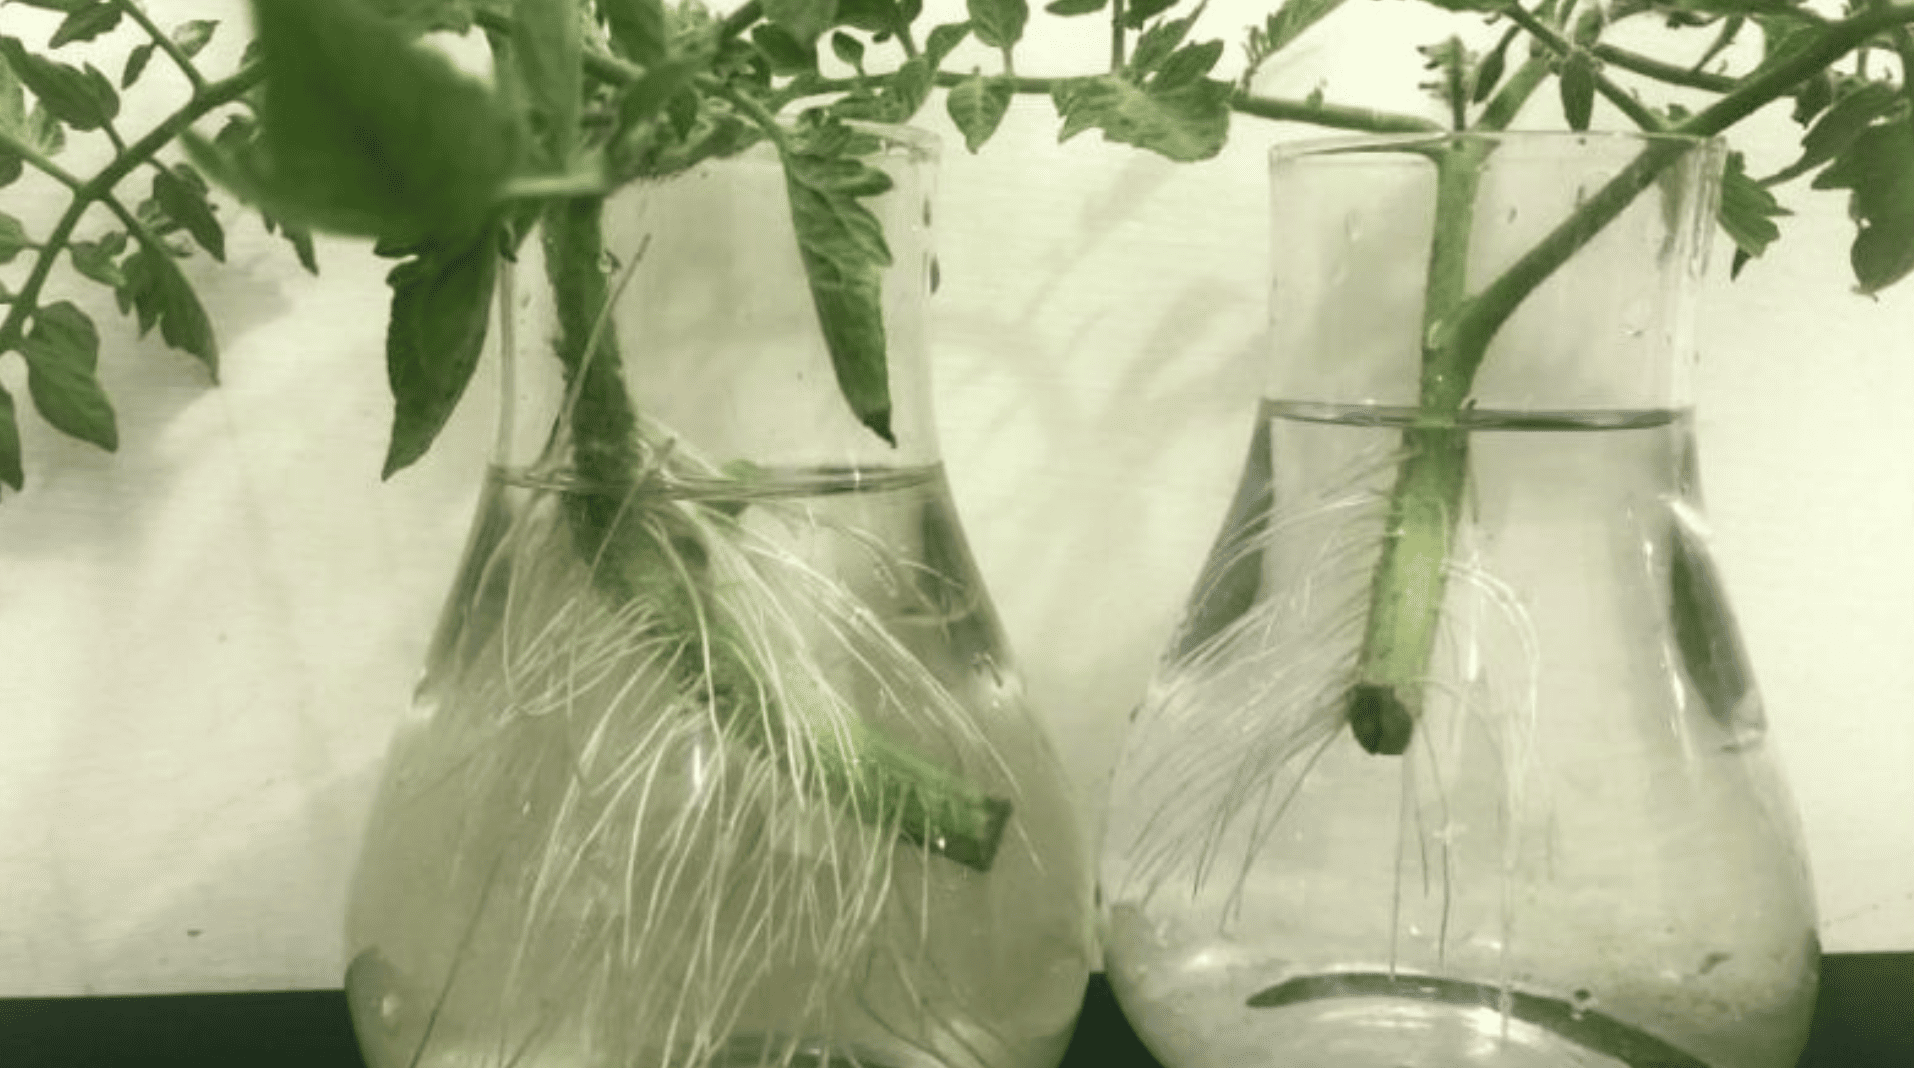
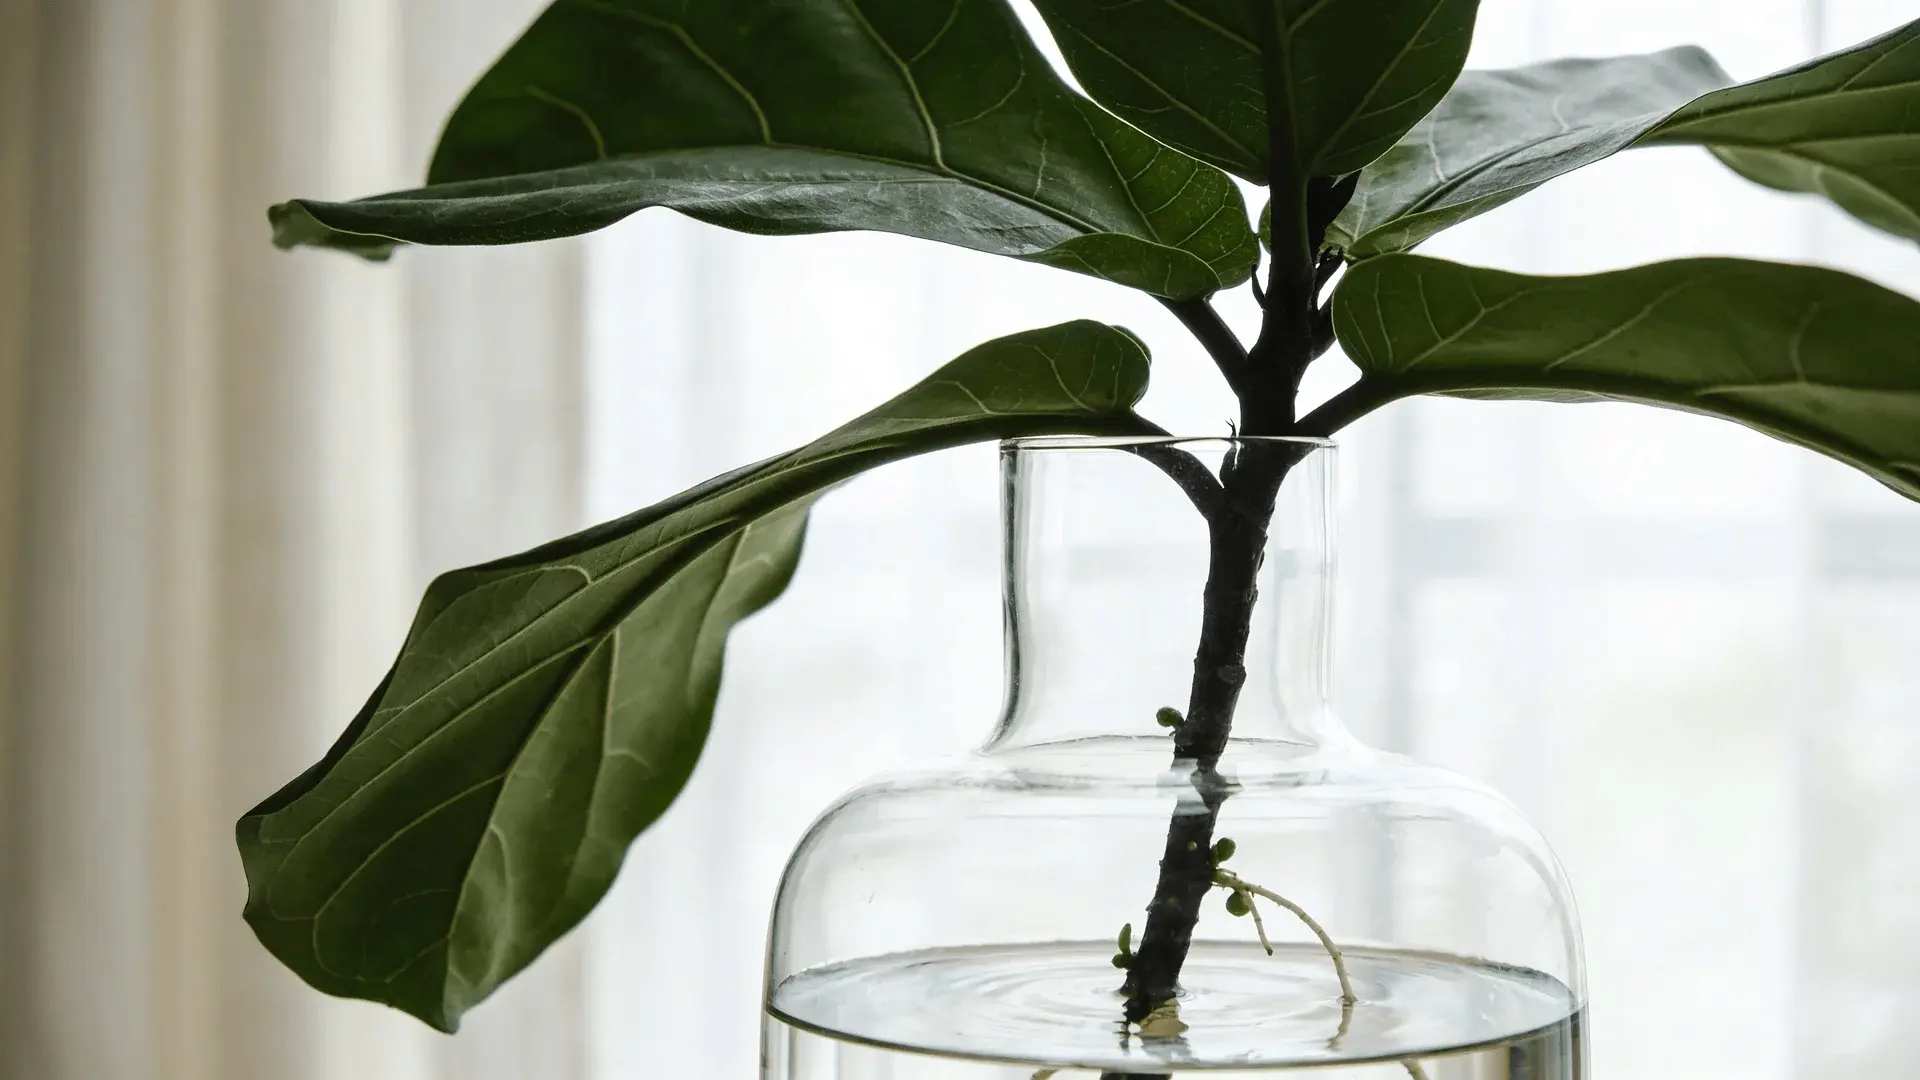
Water Propagation
| Pros | Cons |
|---|---|
| Easy to monitor root growth | Higher rot risk if water isn’t changed |
| Simple setup | Roots formed in water are fragile |
| Beginner-friendly | Transition shock when moving to soil |
In water, oxygen levels are lower than in soil. Change the water weekly. If the water becomes cloudy, bacteria multiply quickly. That bacteria can attack the stem and cause rot. If you see it turn cloudy, change it immediately.
Soil Propagation
| Pros | Cons |
|---|---|
| Roots adapt to soil from the start | You can’t see root development |
| Less transplant shock | Overwatering can cause rot |
| More stable oxygen balance |
Soil contains air pockets that provide oxygen to developing roots. Too much water fills those pockets and removes oxygen, which increases rot risk.
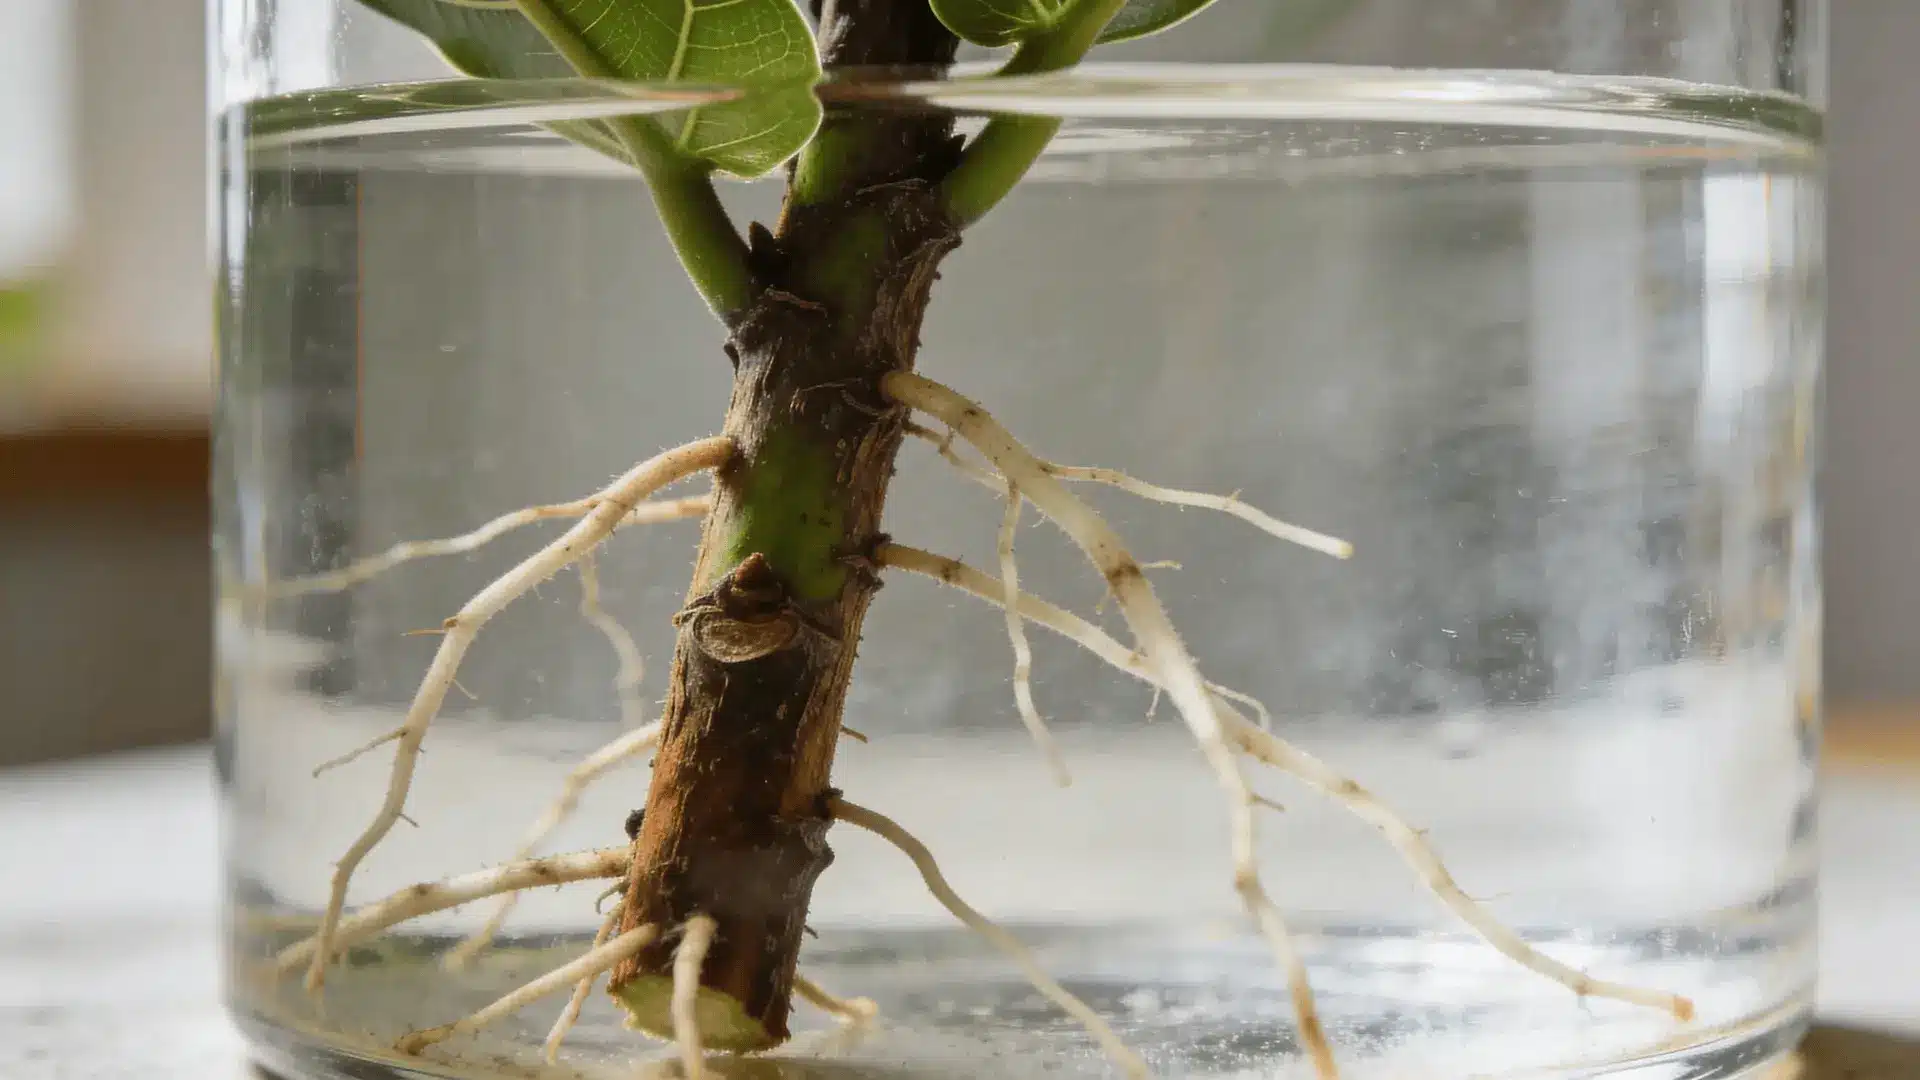
Water roots are thinner and adapted to constant moisture. Soil roots are sturdier and adapted to drawing moisture from the surrounding soil. That’s why water-rooted cuttings sometimes struggle during transplant.
If you want to clearly see roots forming, water is the easier choice. If you’d rather reduce transplant stress later, soil often gives a smoother transition.
Neither method is superior. They just function in different ways, and each has trade-offs.
Step 4 – Provide the Right Environment While Roots Develop
This is the waiting phase, but it isn’t passive. The environment now determines whether roots form or rot sets in.
- Light: Keep it bright and indirect. Direct sun raises leaf temperature and increases water loss. At this stage, the cutting has limited access to water, so too much direct light can dry it out before roots form.
- Humidity: Higher humidity reduces transpiration, meaning the cutting loses less water while roots are developing. You can loosely cover it with a clear plastic bag to raise humidity, but allow some airflow to prevent mold.
- Temperature: Warm conditions speed up cell division. In spring and summer, rooting happens faster. In cooler months, growth slows, which is why 4 weeks in summer can stretch to 8 weeks or longer in winter.
- Moisture balance: Keep water clean if rooting in water. If rooting in soil, keep the mix lightly moist, never soaked.
Rot usually occurs when oxygen levels drop, and microbes multiply. That soft, mushy stem people describe is the result of that low-oxygen environment.
Stable conditions give your cutting the best chance to succeed.
Step 5 – How to Tell when Rooting is Successful: 4–8 Week Timeline Explained
Rooting typically takes 4–8 weeks. That timeline shifts depending on temperature, stem type, and overall conditions.
Young green stems tend to root more quickly, especially in warm conditions where cellular activity is higher. In cooler weather, that same process slows down, which means rooting can take noticeably longer.
Root development follows stages:
Wound response → Callus formation → Root initiation → Root elongation
For several weeks, you may not see anything happening above the surface. That doesn’t mean the cutting has failed. Root development often happens quietly before visible changes appear.
If you’re rooting in water, wait until roots are at least 2–3 inches long before transplanting. Very small roots may look encouraging, but they’re fragile. Short roots struggle to anchor in soil and absorb water efficiently, which can lead to transplant shock.
If you’re rooting in soil, try a gentle tug test. Lightly pull on the cutting. If you feel resistance, roots have likely formed. Just be careful not to disturb delicate new growth.
Patience matters at this stage. Rushing the transplant is one of the most common mistakes I see.
Step 6 – Transplanting Rooted Cuttings Into Soil Safely
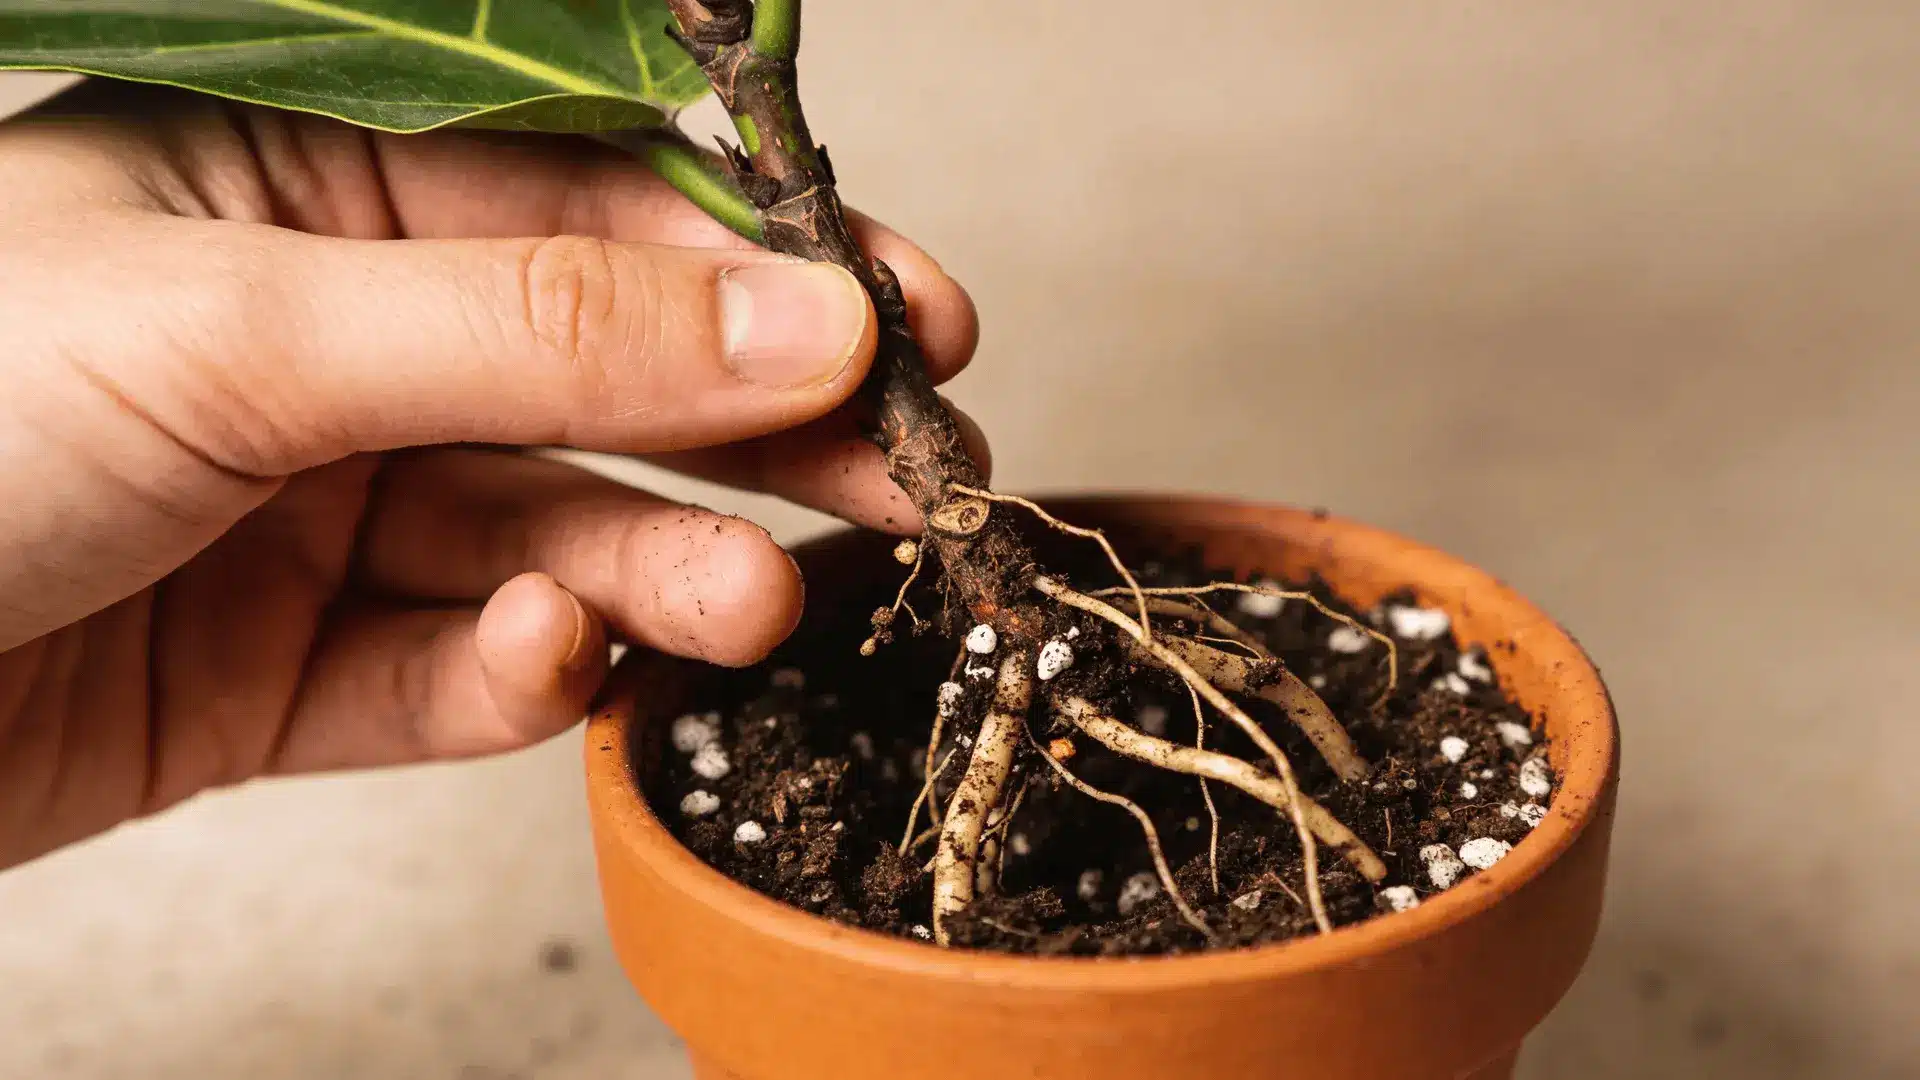
Once the roots are strong enough, it’s time to move the cutting into soil. This part works best if you treat it like a short process instead of one quick move.
- Prepare the pot first. Fill a small container with well-draining potting mix and lightly moisten it. The soil should be damp, not soaked.
- Handle the roots gently. Water roots are delicate and can break easily. Place the cutting into the soil without bending or forcing the roots into tight spaces.
- Settle the soil lightly. Add soil around the roots and press gently to remove large air gaps. Then water lightly to help everything settle into place.
- Avoid overwatering. Waterlogged soil reduces oxygen, and new roots need oxygen to adjust properly. Keep the soil evenly moist, never saturated.
After transplanting, slight drooping is normal. The plant is adapting from constant water contact to drawing moisture from the soil.
Keep light bright but indirect, and avoid fertilizer at first. Give the roots time to establish before adding nutrients.
Within a few weeks, you should see stable leaves and possibly new growth. That’s your sign the transition worked.
Why Fiddle Leaf Fig Propagation Fails and How to Prevent It
Failure usually traces back to one of these:
| Problem | Why It Happens (Mechanism) | How to Prevent It |
|---|---|---|
| No node included | No dormant growth tissue, so roots may form but no new stem can develop | Always cut just below a clear node |
| Too many leaves | Excess transpiration causes dehydration before roots form | Remove lower leaves and keep only 1–2 at the top |
| Dirty tools | Bacteria or fungi enter through the cut wound | Use clean, sanitized pruning shears |
| Overwatering | Low oxygen levels allow microbes to multiply and cause rot | Keep soil lightly moist, never saturated; change water regularly |
| Poor light | Insufficient energy for root development | Provide bright, indirect light |
| Cold conditions | Slower cellular division delays root formation | Propagate in warmer months or maintain consistent warmth |
Rot isn’t random. It develops when oxygen levels drop and microbes multiply in saturated conditions. Dehydration isn’t random either. It happens when leaf mass demands more water than the cutting can supply.
Propagation only feels unpredictable when the process isn’t clear; once it is, everything becomes more consistent.
Wrapping Up
Learning how to propagate fiddle leaf fig becomes much simpler once you stop treating it as a guessing game.
The process follows clear patterns, and when you align your actions with how the plant naturally responds, results become more predictable.
From selecting the right stem to managing conditions during rooting and transplanting, each step builds on the one before it. The difference between failure and success is usually one overlooked detail, not a complicated technique.
If you approach propagation with patience and a clear understanding of what’s happening beneath the surface, you’ll give your plant the best possible start.
Try it with one healthy cutting and see the difference for yourself.
Frequently Asked Questions
Can you grow a fiddle leaf fig from a single leaf?
A single leaf can grow roots, but it cannot become a full plant without a node. A node contains the growth tissue required for new stems.
Is it better to propagate in water or soil?
Both methods work. Water allows you to see roots. Soil reduces transplant shock. Choose based on your comfort and patience.
Can I cut the top off my fiddle leaf fig and replant it?
Yes, as long as the cutting includes at least one node. The top section can root and grow into a new plant if prepared correctly.