Outdoor Drainage Secrets That Save Your Plants (and Your Sanity)
Confession: I used to think “drainage holes” were more of a suggestion than a rule.
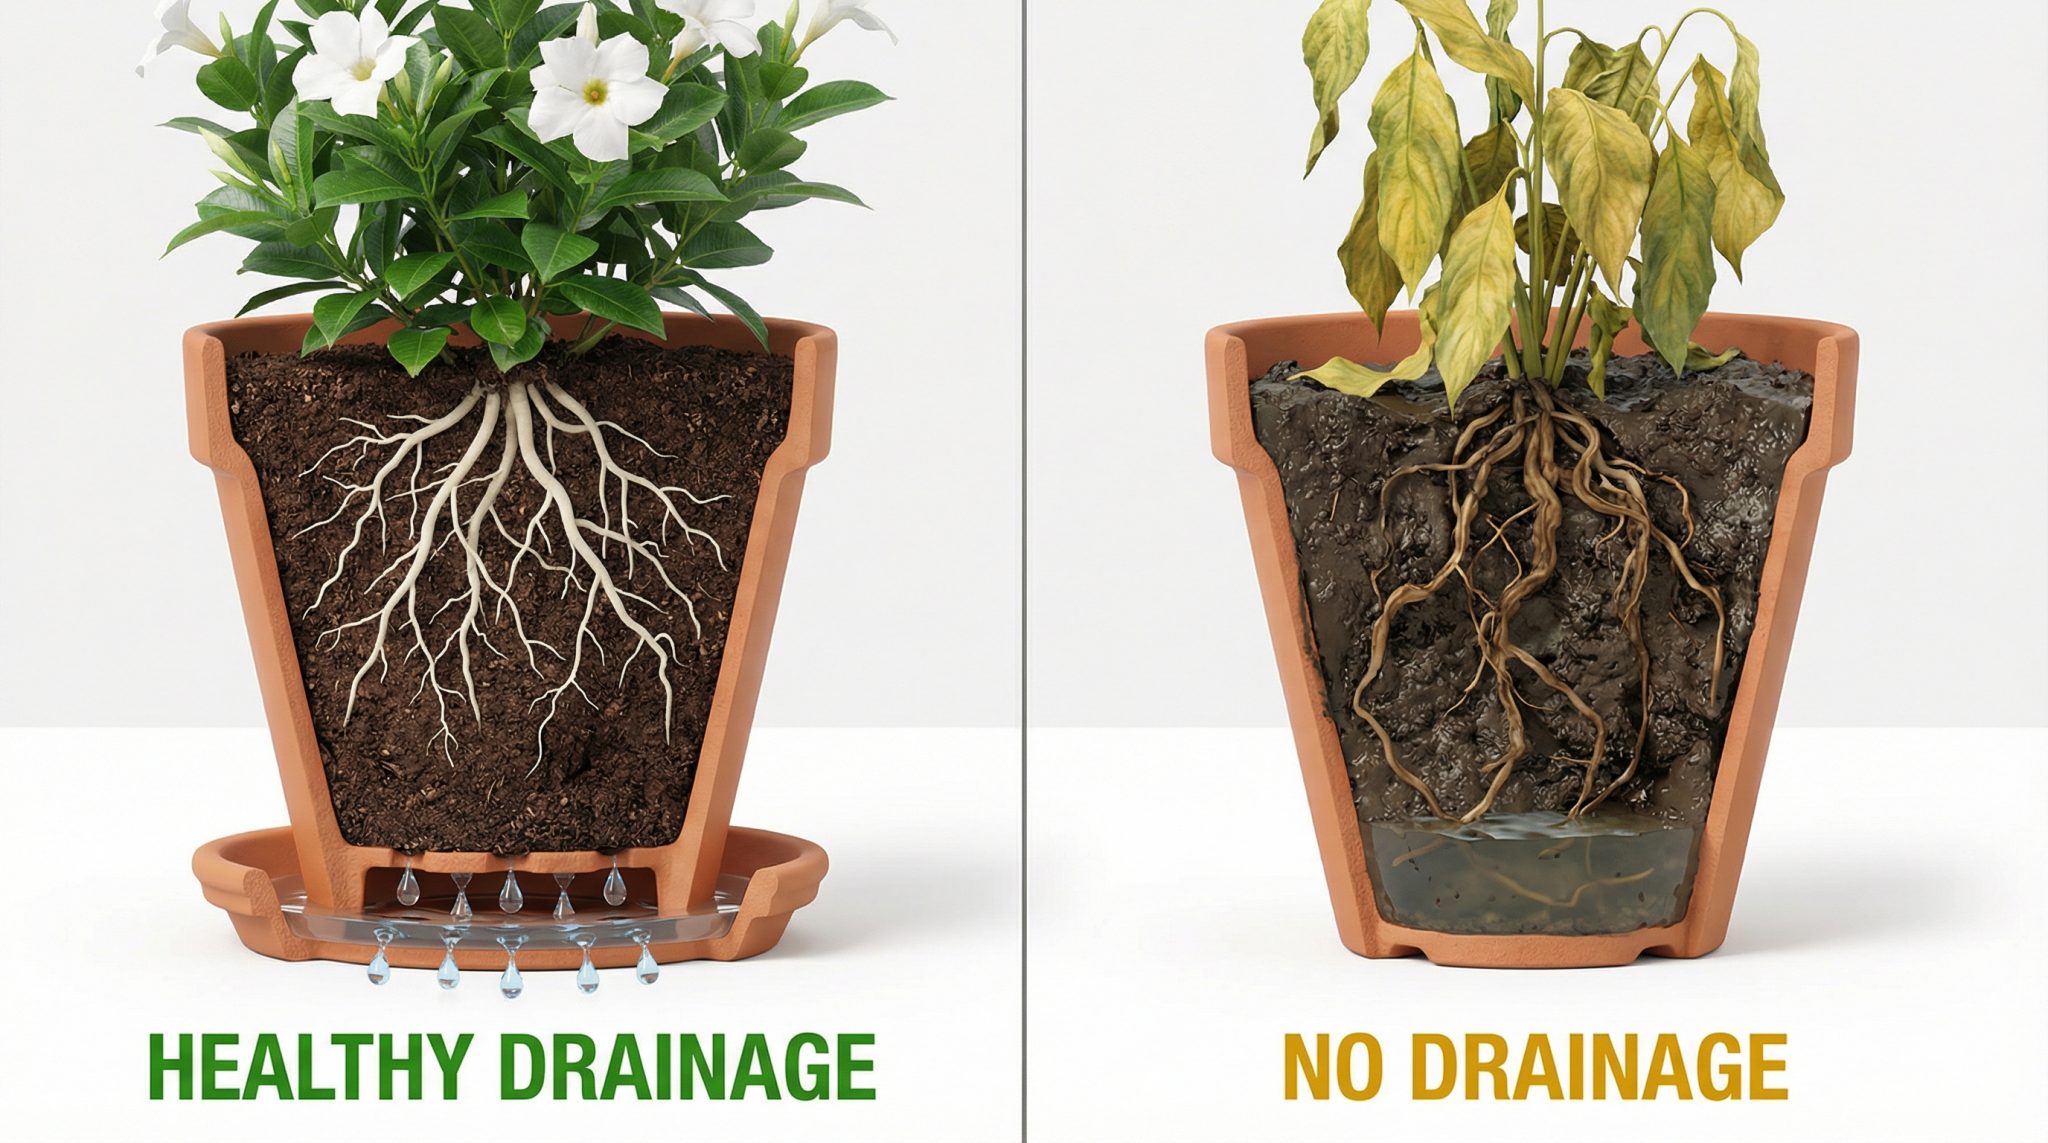
Then I left a cute hole less planter outside during a summer thunderstorm, went to bed feeling smug, and woke up to what can only be described as a plant crime scene. Yellow leaves. Sad flop. Soil that smelled like a swampy old gym sock. Root rot had moved in overnight like it paid rent.
Outdoor containers are ruthless like that. Indoors, you’re the boss of the watering can. Outside? The sky is basically a chaotic roommate who never asks permission.
So if you’ve ever worried, “What if it rains and my plants drown?” yes. That’s a real thing. But it’s also fixable, and you don’t need an engineering degree. You just need: holes, airflow, and a pot that isn’t sitting flat like a pancake on your patio.
Why a Pot Without Drainage Turns Into a Tiny Swimming Pool
Here’s the drama happening under the soil surface:
- Roots need oxygen. Not vibes. Not positive affirmations. Actual oxygen.
- When the potting mix is saturated and there’s no way for water to escape, all the little air pockets fill up.
- Roots start suffocating fast like 24-48 hours fast after a heavy rain.
- Then fungi and rot move in (because of course they do), and by the time you notice yellow leaves up top, the roots down below may already be toast.
Bonus fun: water that can’t drain also traps salts and minerals from fertilizer and tap water. That’s when you get crispy brown leaf edges and the plant looks offended, even though you swear you’ve “done everything right.” (You have. The pot is the villain.)
Signs Your Outdoor Pot Is Waterlogged (AKA: The “Uh-Oh” Checklist)
After a rain (or a heavy watering), give it about a day, then do the unglamorous check:
The squeeze test
Stick your hand in and grab a handful of soil.
- If it squeezes into a tight, wet meatball and stays that way… drainage is not happening.
Other red flags
- Sour/musty smell = oxygen poor soil (roots don’t love that)
- Standing water lingering at the bottom or in a saucer the next day
- White crust on the soil surface = mineral/salt buildup that isn’t getting flushed out
Before you drill anything, check two sneaky culprits:
- Is the pot elevated so water can actually exit?
- Are you using potting mix (not garden soil pretending to be helpful)?
Because yes, you can have drainage holes and still have a waterlogged mess if your pot is basically suction cupped to the ground or filled with dirt that compacts into a brick.
So… How Many Drainage Holes Do You Actually Need?
I’m going to keep this simple and practical. Assuming you’re using potting mix and the pot isn’t sitting flat on the ground:
- Small pots (up to ~12″): at least 2 holes, about 1/4″-1/2″
- Medium pots (12″-36″): 3-4 holes, about 1/2″
- Big beasts (36″+, large planters): 4-6 holes, 1/2″-1″
When to go “extra” (highly recommend):
- Your pot sits in full weather exposure (hello, daily downpours)
- Your soil mix is heavier or tends to stay wet
- The planter is on a flat surface where water pools underneath
Tall, narrow planters tip: put holes more toward the center of the base. If holes are only around the edges, water can still sit in the middle like it’s on vacation.
And no, you don’t need to fill the bottom with rocks “for drainage.” (I know your grandma did it. Mine did too. We love them. They were wrong about this.) A rock layer usually just creates a perched water table aka water sitting higher in the pot.
Want to keep soil from escaping? Cover holes with:
- a scrap of window screen
- fine mesh
- even a coffee filter (the least glamorous but very effective option)
The Two Boring Things That Save Plants: Elevation + Potting Mix
1) Elevate your pots (seriously)
If a pot sits flat on concrete, the holes can’t do their job. Water hits the ground and backs right up into the pot like a clogged sink.
Raise outdoor planters 2-3 inches using:
- pot feet
- bricks
- little risers
- scrap wood (if you’re in your “use what I have” era)
This also keeps the pot from constantly sitting in moisture, which helps the container last longer. (Wet bases = faster cracking, warping, and general crankiness.)
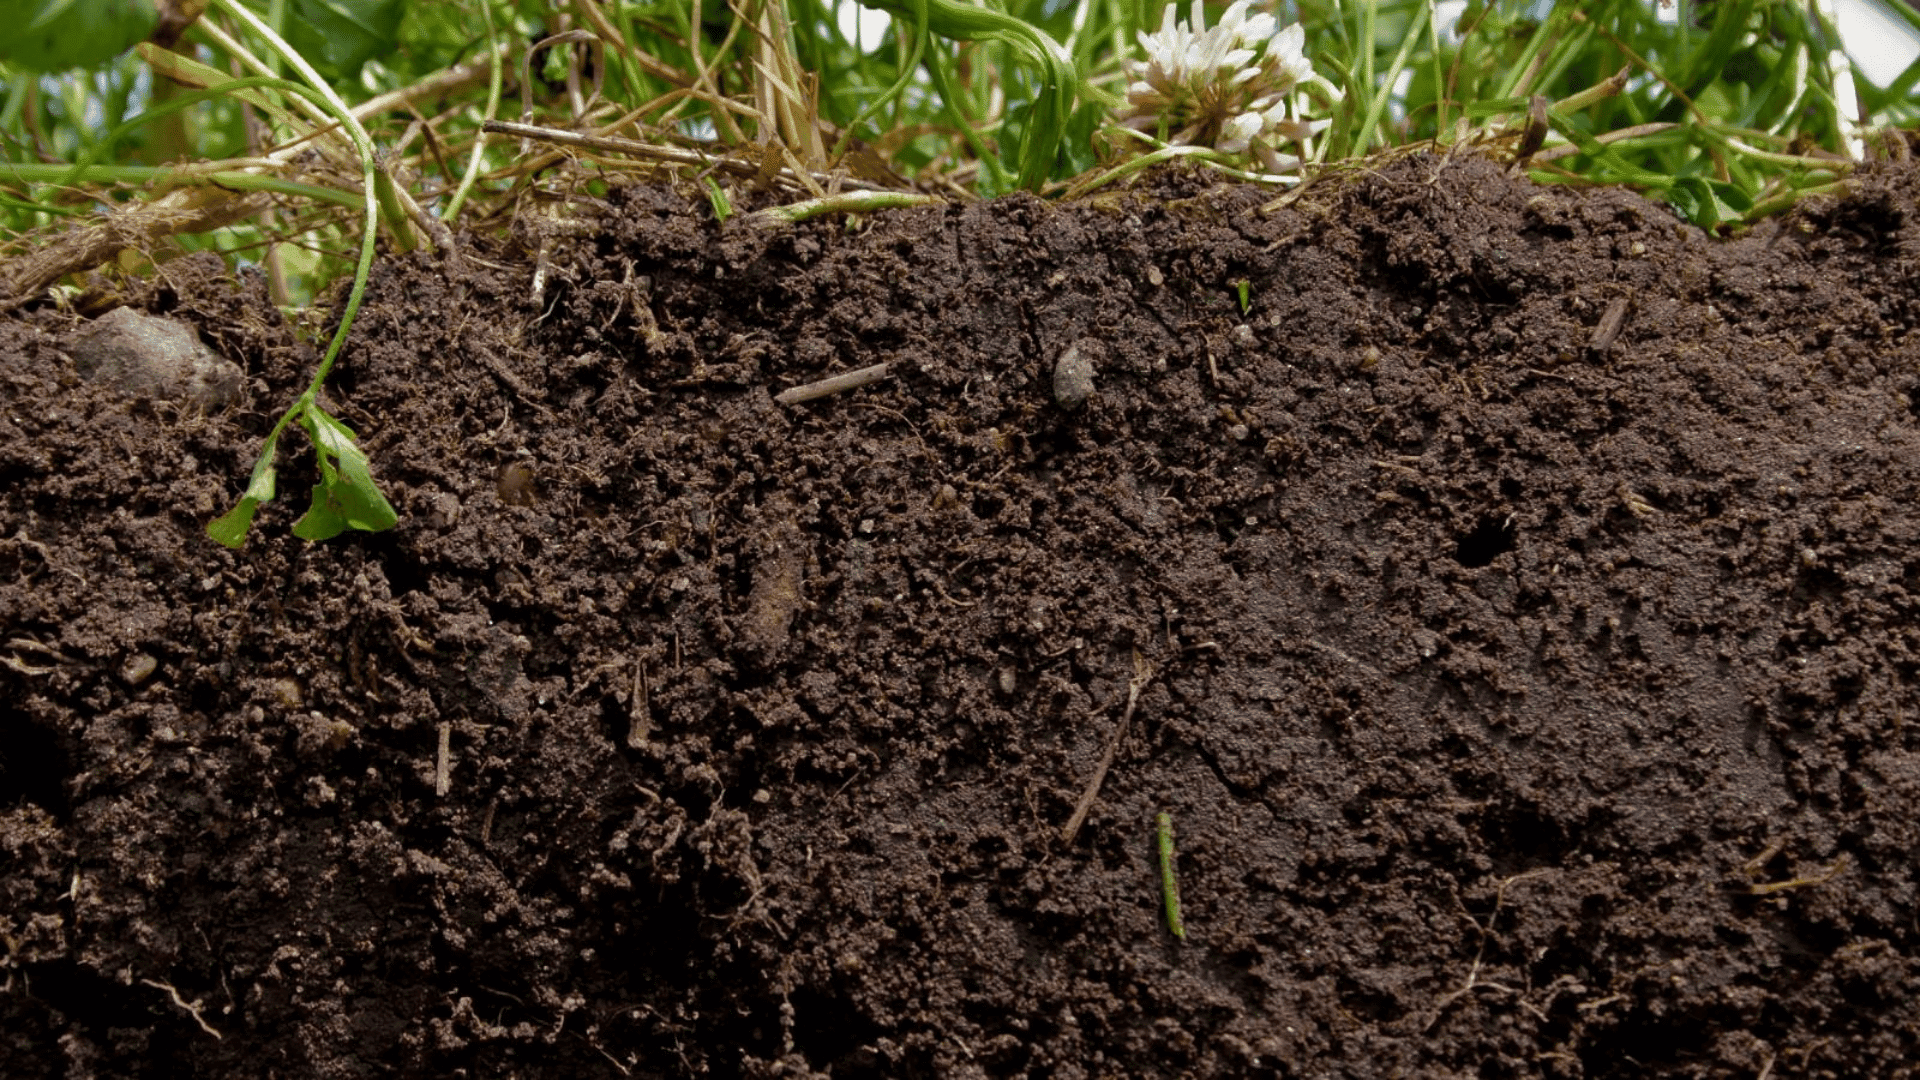
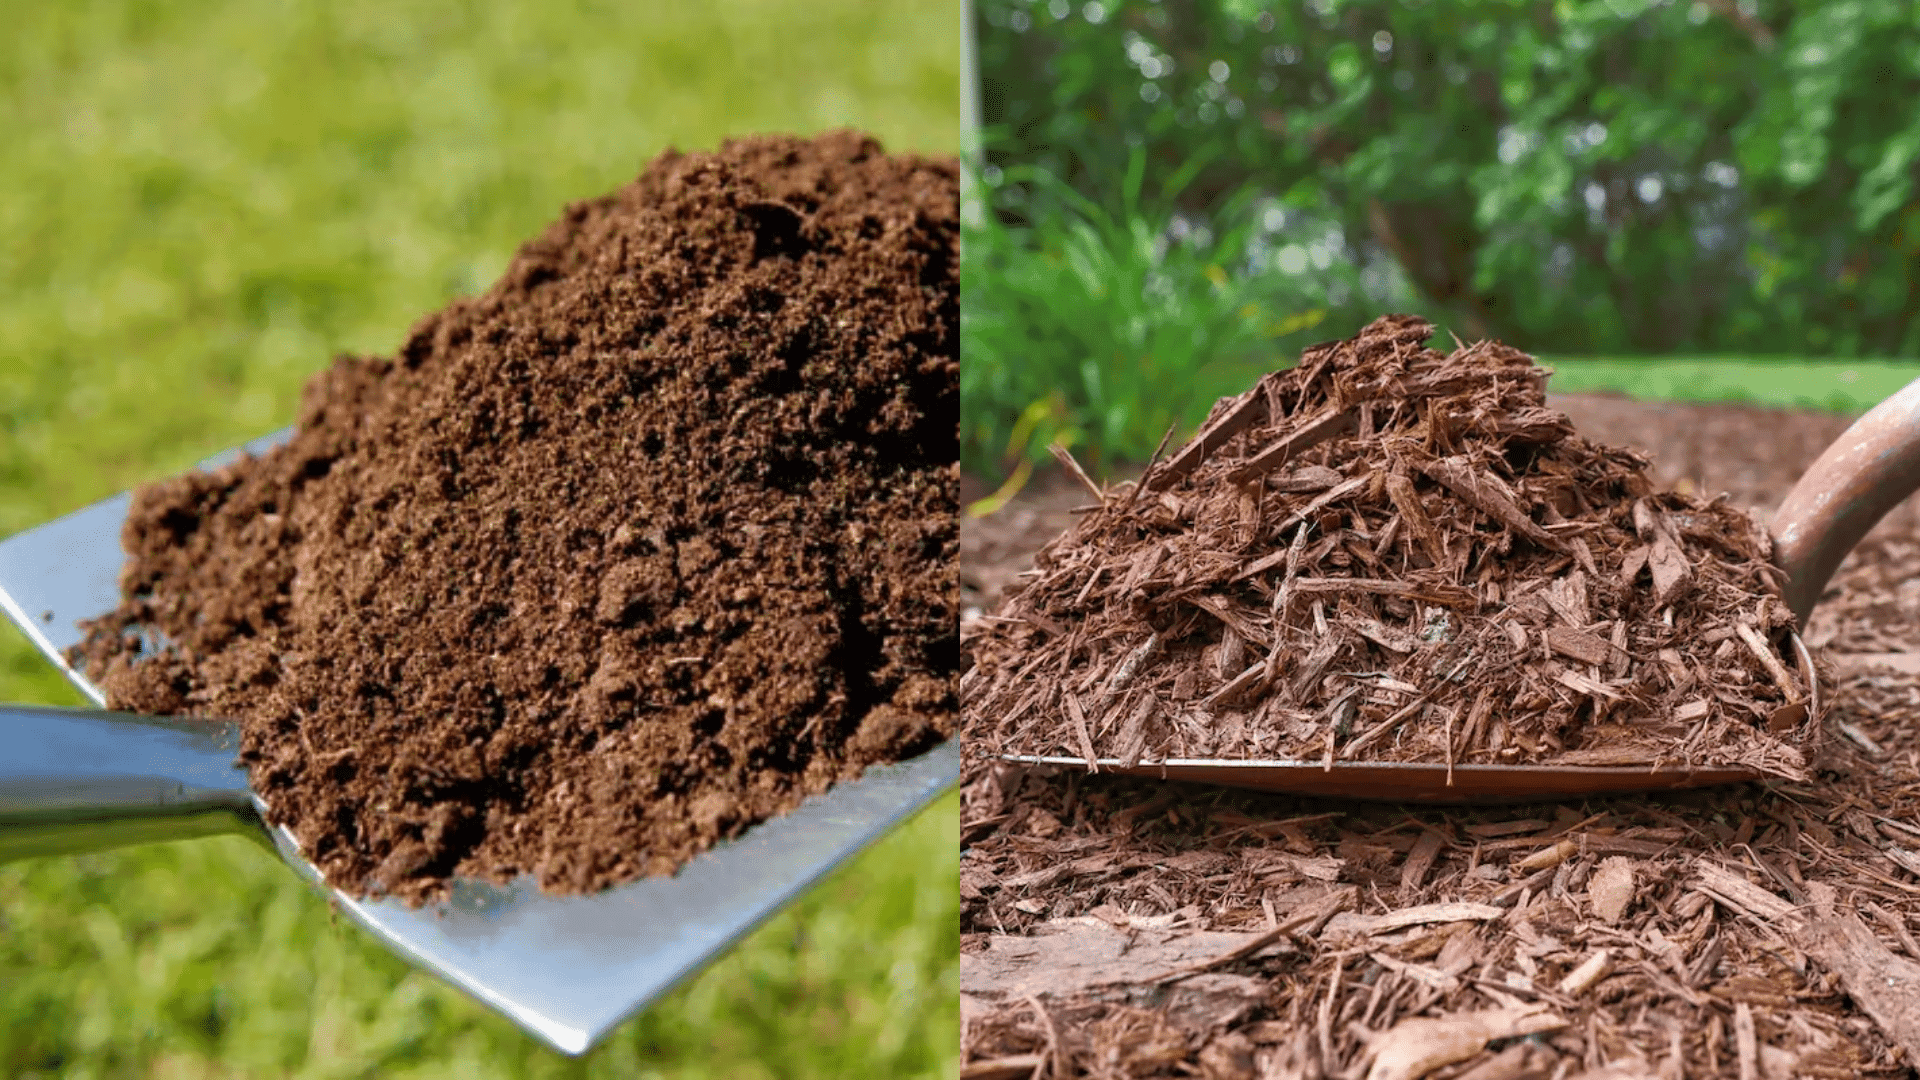
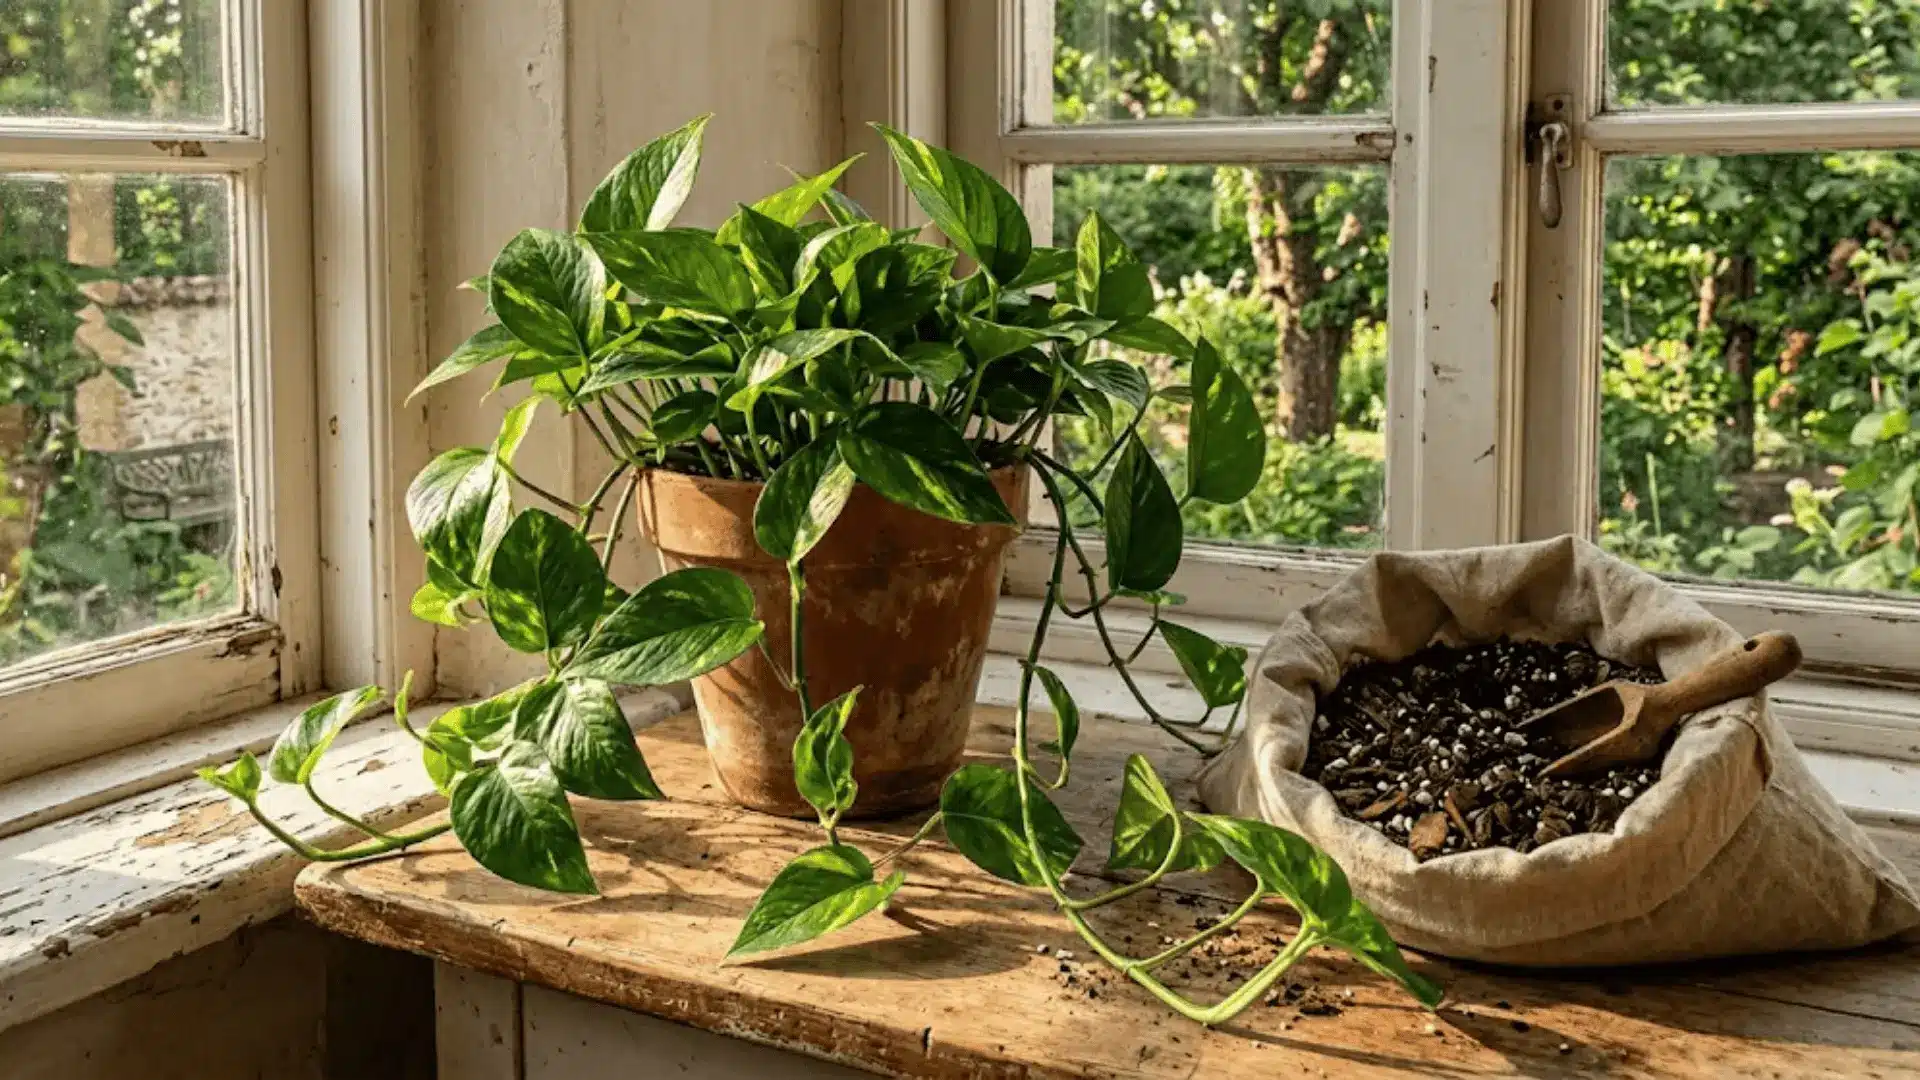
2) Use potting mix, not garden soil
Garden soil in a container compacts over time into something with the consistency of a damp loaf of bread. It holds water, blocks airflow, and laughs in the face of your drainage holes.
Potting mix stays fluffier and airier. Your roots can breathe. Your plant stops plotting its own death.
Drilling Drainage Holes (Without Shattering Your Pot and Your Confidence)
Most planters can be drilled you just have to match the method to the material. And yes, wear eye protection. I don’t want you explaining to urgent care that you got into a fight with a ceramic pot and lost.
Plastic (easy mode)
- Use a regular drill bit at low to medium speed (high speed melts plastic ask me how I know)
- Put scrap wood under the spot so it doesn’t crack
- Sand rough edges if needed
Terracotta (needs patience)
Terracotta is basically “breakable vibes in pot form,” so:
- Soak the pot for 30 minutes (overnight is even better)
- Use a masonry bit
- Drill slowly, no hammer setting
- Keep it cool with a little water while drilling
Glazed ceramic (slippery little devil)
The glaze makes the drill bit skate around like it’s on ice.
- Put masking tape over the spot first so the bit can grip
- Use a tile/masonry bit, drill slowly, keep it cool with water
- Personally? I stick to one drainage hole on glazed pots if I can more holes = more chances for cracks through the glaze
Fiberglass (protect your lungs)
Fiberglass dust is not something you want to inhale.
- Drill outdoors
- Wear an N95 + eye protection
- Use the right bit (tile/glass or carbide tipped)
- Sand edges carefully (splinters are no joke)
Concrete (doable, but it’s a whole thing)
Concrete can be drilled, but it’s loud and dusty and makes you feel like you should own a tool belt.
- Start small and work up in bit size
- Go slow, manage dust (outdoors, mask is smart)
If this sounds like your personal nightmare, skip to the “no drill” options below. I won’t judge.
No Drainage Holes? You’re Not Doomed (Here Are Your Best Workarounds)
Sometimes you can’t drill renting, fancy decorative pots, sheer stubbornness. Fine. Here’s what works.
The “double pot” trick (my favorite)
Put your plant in a regular nursery pot (with holes), then set that inside the cute hole less planter.
Key move: create a little air gap so it’s not sitting in a puddle.
- Lift the inner pot up on pebbles or clay pellets (1-2 inches is enough)
- After rain, lift the nursery pot and dump out any collected water
Do it within a day, especially in warm weather, because standing water turns into mosquito daycare real fast.
The “drainage layer” inside the pot (use cautiously)
If you absolutely can’t double pot, you can separate roots from some pooled water by adding:
- 2-3 inches of clay pellets at the bottom
- (optional) a sprinkle of activated charcoal for odor
- (optional) landscape fabric to slow soil sifting
- then potting mix on top
Real talk: this is best for covered patios or sheltered spots. In full exposure rain, that bottom layer will still fill up eventually. It’s a helper, not a miracle worker.
Self watering planters (great… for the right plants)
These keep a reservoir at the bottom and wick water up as the plant drinks.
Amazing for:
- moisture lovers
- people who forget to water until the plant files a complaint
Not amazing for:
- succulents
- cacti
- anything that likes to dry out (they will rot out of spite)
Your Weather Has Opinions Too (Adjust Drainage Like a Local)
A few quick tweaks based on what your climate loves to throw at you:
- Hot climates: salts build up faster and pots cook in the sun → add extra perlite, flush the soil occasionally, and light colored pots help with overheating
- Cold climates: freeze/thaw can crack pots and trap water → elevate pots higher, avoid fragile ceramic outside in winter, ease up on watering before first frost
- Humid climates: everything stays damp longer (including your soil) → space pots out for airflow and don’t pile on thick mulch like you’re frosting a cake
And if you’re stuck with a not great drainage setup, choose plants accordingly as you swap summer pots for fall. Ferns and begonias are way more tolerant of “consistently moist” than succulents, which will rot if you look at them wrong.
Keep Drainage Working (Because Holes Can Still Get Clogged)
A few quick habits that prevent surprise swamp pot situations:
- Before watering: stick your finger in the soil. If it’s still moist an inch or two down, step away from the hose.
- Every spring: poke out drainage holes with a toothpick/wire and do a test run water should drain pretty quickly.
- Every couple months: water deeply until you see water coming out of all the holes. That flushes mineral salts before they build up.
Quick fixes:
- Water pooling on top: the mix is compacted. Loosen the top couple inches gently with a fork.
- Slow drainage even with holes: your potting mix might be tired and broken down. Refresh it before you start drilling more holes.
- Cracked pot after winter: plastic/resin usually handles temperature swings better than ceramic.
The Tiny Outdoor Drainage Checklist (Do This Before Your Next Storm)
If you do nothing else, do these three things:
- Make sure the pot has enough holes (or use the double pot method).
- Make sure the pot is elevated so water can actually leave.
- Make sure you’re using potting mix, not garden soil in disguise.
That’s it. That’s the secret. Drainage isn’t glamorous, but it’s the difference between “lush patio moment” and “why is my plant melting?”
Now go flip over your prettiest planters and see what you’re working with for front porch container inspiration. If one of them has zero holes… congratulations, you’ve found the culprit.