Waterproofing is easy to forget when the basement floor is dry. Yet some of the most useful preventive work happens outside: reconnecting a downspout, noticing a low patch of soil, or checking where a new patio sends rainwater.
A practical maintenance routine helps you spot changes early and make better decisions when professional work is needed. These ten tips focus on the parts of a home that are often overlooked: its foundation, basement, crawl space, and the drainage routes surrounding them. You do not need to become a building specialist to use them. You need a few reliable observations and a record of what changes.
1. Give Your Home a Wet-Weather Inspection
A dry-weather walkaround cannot show everything. Once it is safe after rainfall, check the same exterior locations each time: downspout outlets, foundation corners, basement windows, and the crawl-space entrance.
Look for fresh water trails and areas where puddles remain. Inside, note whether dampness appears near a window, a pipe, or the base of a wall. These observations are clues rather than a diagnosis.
The University of Minnesota Extension’s basement moisture guide describes several possible moisture sources, including rain, groundwater, and condensation. Record the weather and location before choosing a remedy. A dated photograph is especially helpful when a problem disappears before a contractor arrives.
2. Follow Downspouts All the Way to the Outlet
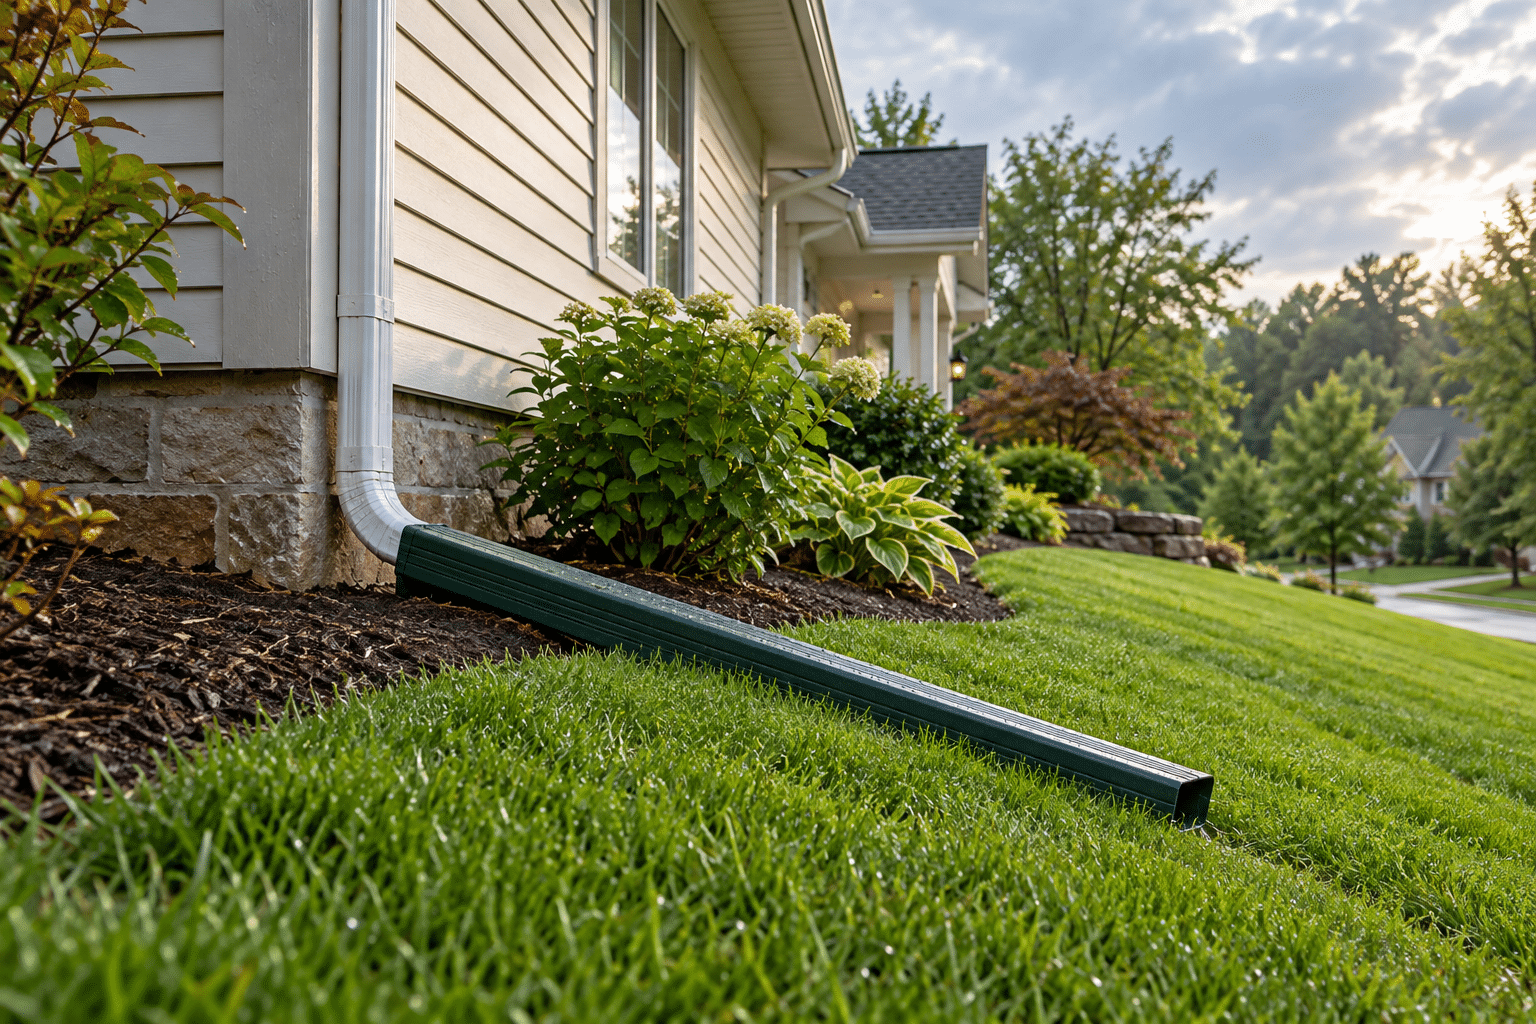
A clean gutter is only part of a working roof-drainage system. Check the downspout connection, any extension, and the place where the water finally leaves it. An extension moved during mowing can be easy to overlook.
The Building America Solution Center’s gutter guidance explains why roof runoff must be carried away from foundations. Water discharged beside the wall can saturate the adjacent soil.
Add outlet checks to your yard-maintenance routine. If a downspout connects underground, find out where that pipe terminates and ask how it can be inspected. Do not assume a buried connection is working simply because the visible section looks tidy. Arrange professional gutter access when cleaning cannot be done safely from the ground.
3. Recheck Grading After Landscaping
New planting beds, paving work, and settled backfill can change drainage around a house. After any landscaping project, look again at the slope beside the foundation and the route runoff follows.
The Building America Solution Center’s foundation grading guide recommends sloping permeable ground away from the house and using designed swales or drains where space prevents a suitable slope.
Ask landscapers how their work will preserve that drainage route. Avoid accepting a raised bed or decorative border that leaves water trapped against the building. Where a site is flat or constrained, have the solution planned before adding soil. Keep required clearances at siding, vents, and other openings rather than solving one problem by covering another part of the house.
4. Treat Irrigation as Part of Your Moisture Check
If a wall stays damp through dry weather, watch the irrigation cycle. A misdirected sprinkler, leaking fitting, or repeatedly overwatered bed may be contributing to the problem.
The pre-retrofit assessment guidance from the Building America Solution Center specifically calls for checking sprinkler flow near foundations. It also highlights exterior crawl-space doors and low vents as potential entry points for water.
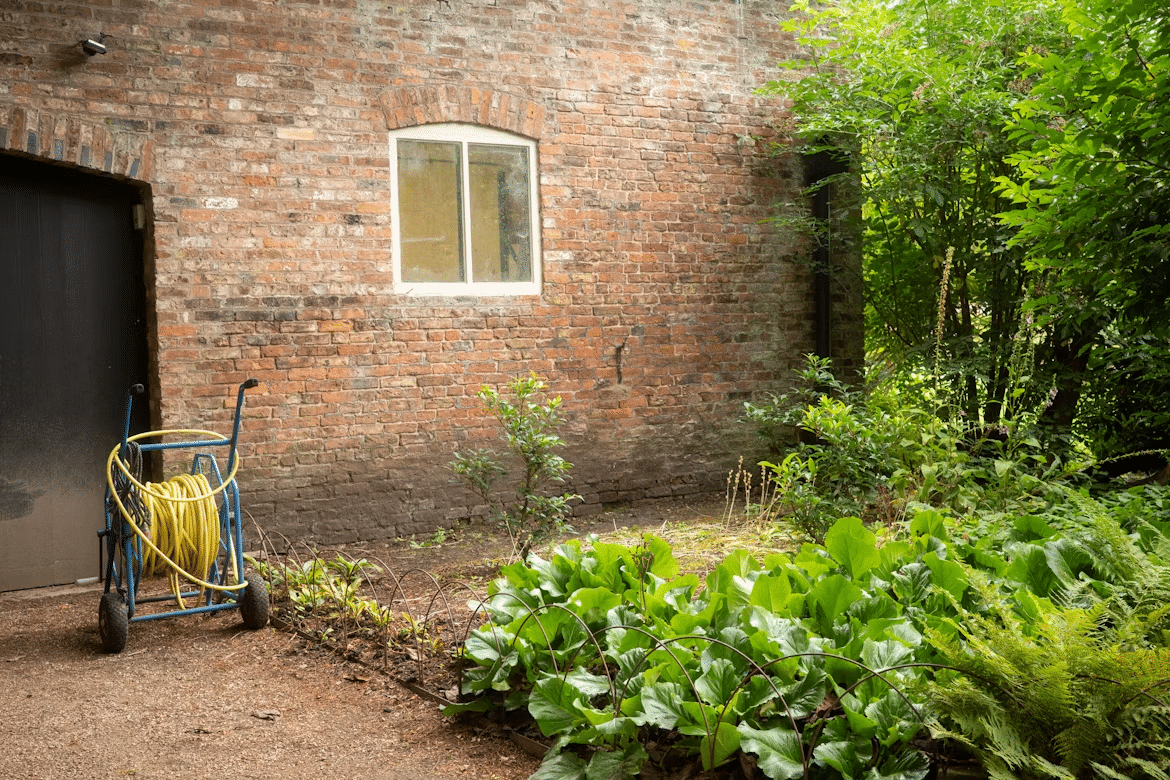
Review irrigation after a head is replaced or planting is rearranged. Include outside faucets and hose connections in the check. If you adjust a suspected source, record the date and monitor what happens. That gives an inspector useful evidence if moisture persists and prevents unrelated changes from making the diagnosis harder to follow.
5. Measure Humidity Instead of Relying on Smell
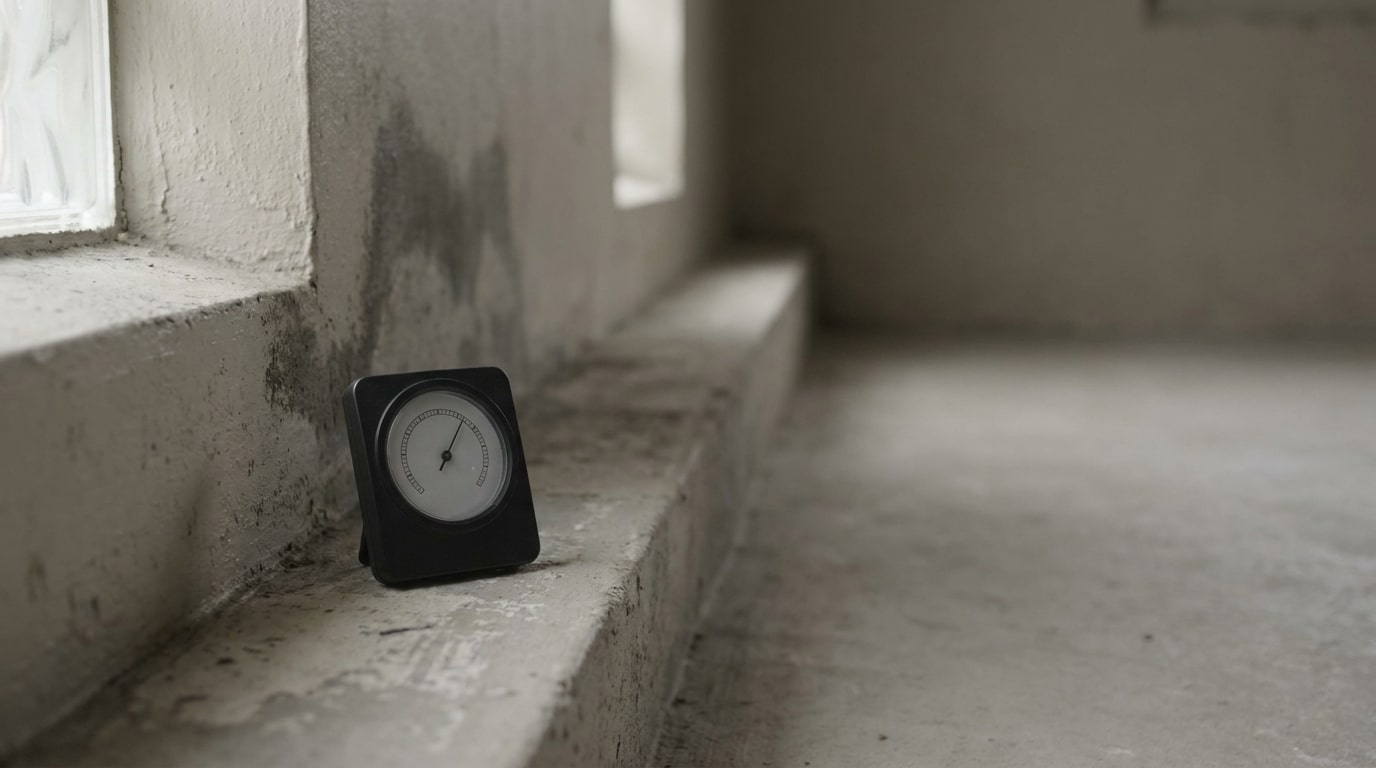
A musty odor deserves investigation, but it does not tell you the humidity level or pinpoint the source. Place a hygrometer in the basement and record readings under different weather conditions.
The EPA recommends keeping indoor relative humidity below 60 percent, ideally between 30 and 50 percent where possible. A dehumidifier can help control airborne moisture, while leaks and incoming water still need their own solutions.
Note the temperature alongside humidity when your meter displays both. Keep its location consistent so readings are easier to compare. If the dehumidifier is running frequently or conditions change, share the record during a service visit. Treat the readings as a monitoring tool, not proof that every concealed surface is dry.
6. Check the Crawl-Space Barrier After Other Trades Visit
A crawl-space liner may be disturbed when someone repairs plumbing, wiring, or heating equipment. Ask tradespeople to report any damage and photograph the work area before they leave.
The Department of Energy’s crawl-space ground-cover guidance describes a continuous vapor barrier with sealed seams and sealed pipe penetrations. Loose pieces of plastic do not provide the same continuity.
From a safe, accessible position, look for obvious displaced sections or tears. Arrange a service inspection when access is difficult. Ask the installer which repair materials are compatible with the liner rather than applying whatever tape is available. Keep a record of repairs, and investigate water appearing above or below the barrier instead of treating a new patch as a complete solution.
7. Learn Your Sump Pump’s Maintenance Requirements
Know the pump’s model, installation date, and recommended test procedure before a storm makes those details urgent. Keep the manual somewhere accessible outside the basement.
Foundation drainage needs a working discharge route. The Building America Solution Center’s footing drain guide explains that collected water may be routed to a suitable gravity outlet or a sump system, depending on the design.
Ask your service provider to explain the pump, float, discharge connection, and any backup or alarm. Follow the manufacturer’s testing schedule and record the results. If equipment sounds different, runs unexpectedly, or fails a test, arrange service. An alarm is only helpful if you recognize it and know whom to contact.
8. Investigate Changes Before Concealing Them
A newly noticed crack, peeling finish, or damp patch is a reason to document conditions before redecorating. Take an overview photograph and a close-up with a scale, then record the date.
When moisture returns or several symptoms appear together, a Professional Waterproofing Company such as Sedona Waterproofing Solutions can help homeowners in its service area assess the problem and discuss suitable repairs.
Ask the inspector to distinguish water-entry concerns from possible structural concerns and explain whether specialist evaluation is needed. Avoid treating a cosmetic improvement as confirmation that the underlying issue has been resolved. Keep inspection findings and repair photographs together so any later assessment begins with a useful history rather than guesswork.
9. Resolve Moisture Before Finishing the Basement
Plan water management before committing to flooring, built-in cabinets, or finished walls. Tell the renovation contractor about previous leaks, even if they have not returned recently.
The Department of Energy’s guidance on basement vapor retarders explains that material choice and placement matter because some assemblies can trap moisture. A generic instruction to add plastic everywhere is not a sound design approach.
Request a written description of the proposed wall and floor assemblies. Ask how they address the site’s moisture conditions and how pumps, drains, and inspection points will remain accessible. Coordinate waterproofing and renovation schedules so the finishing crew receives the information it needs before materials are ordered or walls are closed.
10. Keep One Simple Waterproofing Maintenance File
Make a folder for inspection photographs, contractor reports, warranties, equipment manuals, and service records. Include a sketch showing drainage outlets and equipment locations. This does not need to be elaborate; it needs to be easy to find.
Set reminders based on manufacturer instructions and your property’s conditions. Add checks after major storms, landscaping work, or visits by trades working in the crawl space. Note when each task was completed and any change you noticed.
When comparing repair proposals, ask each contractor to explain the diagnosis, included work, maintenance responsibilities, and warranty exclusions. A clear record helps you compare recommendations on their substance. Over time, this routine also gives you something more useful than a general impression that the house “seems dry”: a documented picture of how it performs through changing seasons.