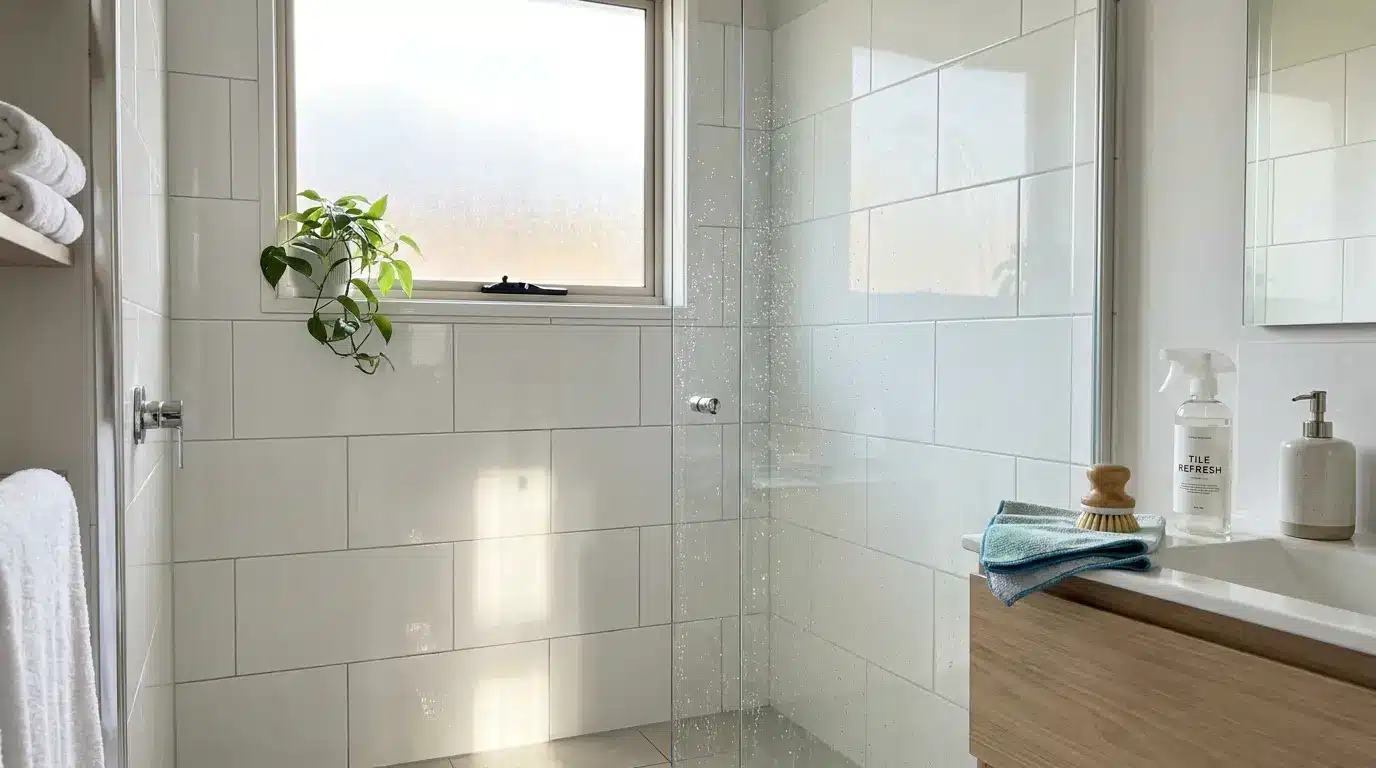
Ever noticed how quickly shower tiles lose their sparkle even when you clean regularly? It’s frustrating, right?
If you’ve ever wondered how to clean shower tiles without spending hours scrubbing, you’re not alone. I’ve been there too, staring at stubborn soap scum and grime that just won’t budge.
The good news is, with the right approach and a few clever tricks, your tiles can look fresh and spotless again in no time.
Ahead, I’ll walk you through everything from basic cleaning supplies to targeted tips for walk-in showers and ceramic surfaces.
What You Should Know Before Cleaning Shower Tiles
Cleaning shower tiles effectively isn’t just about scrubbing; it’s about understanding how your surfaces behave. Tiles differ: ceramic and porcelain resist water well, but natural stone can stain or etch if cleaners are too strong.
Grout is even trickier, often absorbing moisture and encouraging mildew if ignored. When thinking about how to clean a walk-in tiled shower, size and layout become important; larger surfaces trap more water in corners, niches, and along benches.
Even water quality matters; hard water leaves mineral deposits that make residue stick.
Knowing the right approach for your tile type, grout, and water conditions ensures you choose safe cleaners, avoid damage, and target problem areas efficiently, making your cleaning efforts far more effective.
Understanding Shower Tile Types
Different shower tiles need different care. Knowing their properties helps you clean effectively without damage.
| Tile Type | Material Properties | Cleaning Tips | Do’s | Don’ts |
|---|---|---|---|---|
| Ceramic | Moderately porous, durable, and can stain | Mild, non-abrasive cleaners; vinegar + water or gentle detergents | Do wipe dry; check grout | Don’t use harsh acids or abrasive scrubbers |
| Porcelain | Dense, water-resistant, hard | Stronger cleaners are safe for tough stains | Do clean high-traffic zones often | Don’t use rough tools that scratch edges |
| Natural Stone | Sensitive to acids; requires sealing; long-lasting | Stone-safe cleaners only; seal grout periodically | Do seal regularly; inspect for water damage | Don’t use vinegar, citrus, or harsh chemicals |
| Glass | Non-porous, smooth, resists stains | Gentle sprays or mild soap solutions | Do squeegee after showers | Don’t use abrasive pads or harsh chemicals |
| Mosaic | Small tiles on mesh; many grout lines | Gentle cleaners; focus on grout | Do inspect grout frequently | Don’t let water or soap scum sit too long |
| Travertine / Marble | Porous, soft natural stone | Only pH-neutral, stone-safe cleaners; frequent sealing | Do seal often; wipe spills immediately | Don’t use acidic or abrasive cleaners; avoid standing water |
Key Takeaway: Tile type affects cleaning choices because each material reacts differently to water, chemicals, and wear, guiding which products and methods are safe
How to Clean Shower Tile
Keeping your shower sparkling isn’t just about elbow grease; it’s about understanding how dirt, soap scum, and mineral deposits settle on tiles and grout over time.
Materials Required:
- Dish soap
- Warm water
- Spray bottle
- Scrub brush
- Drill brush scrubber
- Microfiber cloth
- 3% hydrogen peroxide
- Baking soda
- Toothbrush
- Nylon grout brush
- Clorox Cleanup Cleaner with bleach
- Zep Grout Cleaner and Brightener
- Steam cleaner
- Mold and mildew gel cleaner
- Caulk removal tool or utility knife
- New shower caulk
- Grout sealer
- Sealer bottle with brush tip
- Fan or open window for ventilation
- Old clothes for strong cleaners
Step 1: Assess the Level of Dirt and Prepare
Before you start scrubbing, take a look at your shower to gauge how dirty it really is. For lighter buildup, a gentle approach works best.
Clear out bottles, mats, and any personal items, and make sure your bathroom is ventilated. Wearing gloves protects your skin, and testing cleaners on a small hidden spot ensures your tiles won’t get damaged.
Taking a moment to prep like this makes the actual cleaning smoother, faster, and prevents accidental scratches, stains, or streaks on your surfaces.
Step 2: Light Cleaning for Everyday Maintenance

For showers that aren’t heavily soiled, a simple solution of warm water and a small amount of mild dish soap goes a long way.
Spray this evenly across your tiles and grout, then scrub gently with a soft brush or sponge. Let the solution sit for five to ten minutes to loosen soap scum and body oils. Afterward, rinse thoroughly with warm water.
This approach keeps your shower looking fresh without harsh chemicals, and regular repetition prevents buildup from becoming a bigger problem later.
Step 3: Moderate Buildup Treatment
When soap scum, mildew, or grime is more noticeable, a stronger approach is needed. A mixture of baking soda and 3% hydrogen peroxide can act as a safe, effective paste for scrubbing grout lines.
Apply it carefully with a toothbrush or small grout brush, working it into the lines, and let it sit a few minutes. Then rinse everything thoroughly.
Using this method targets dirt without damaging most tiles, and it works particularly well for medium-level buildup that isn’t too stubborn but still requires more effort than daily cleaning.
Step 4: Heavy Stains and Discoloration
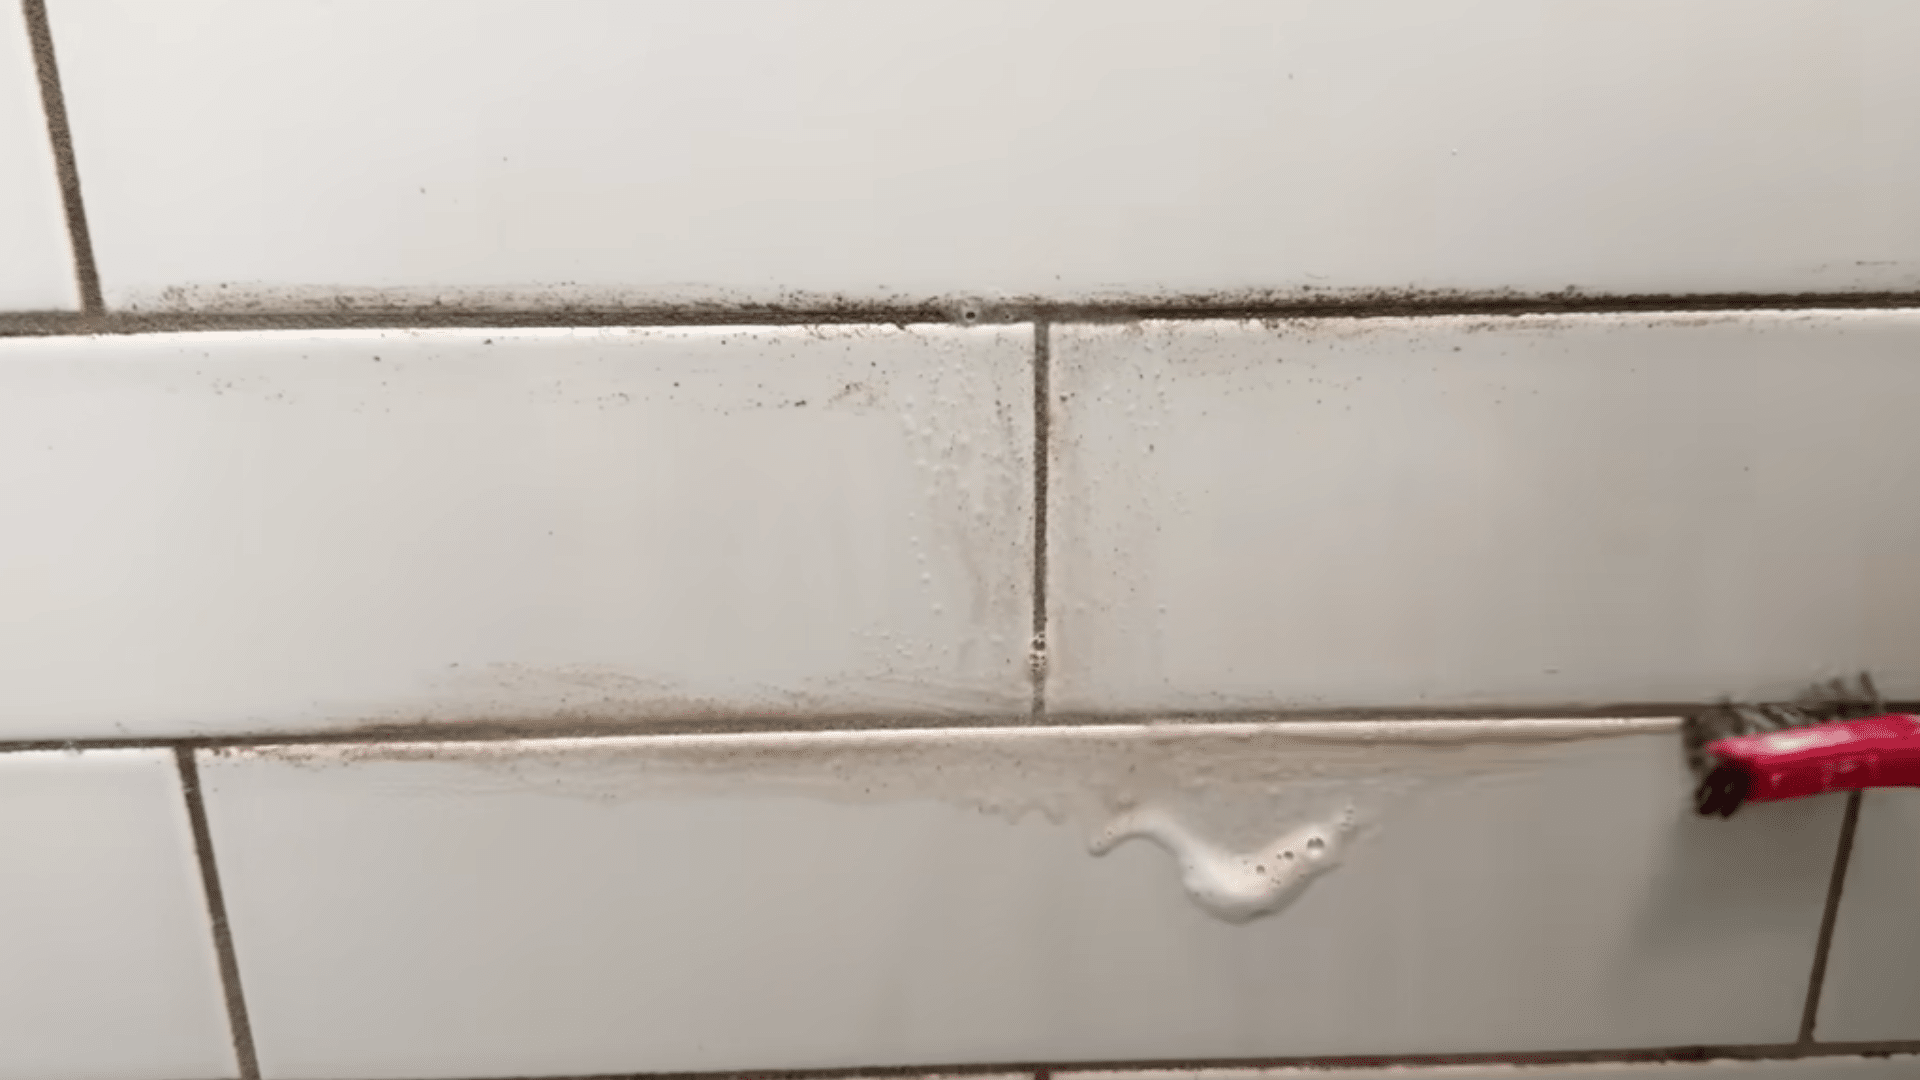
For grout that has been neglected or shows deep stains, a commercial cleaner designed for grout can make a big difference.
Apply it to the grout lines, let it work for a few minutes, and scrub thoroughly. Make sure to rinse everything afterward to remove residue.
These cleaners can restore color and lift buildup that lighter methods cannot, but they are stronger, so use them carefully and avoid natural stone surfaces. This step is ideal for serious discoloration, ensuring your grout looks closer to its original shade.
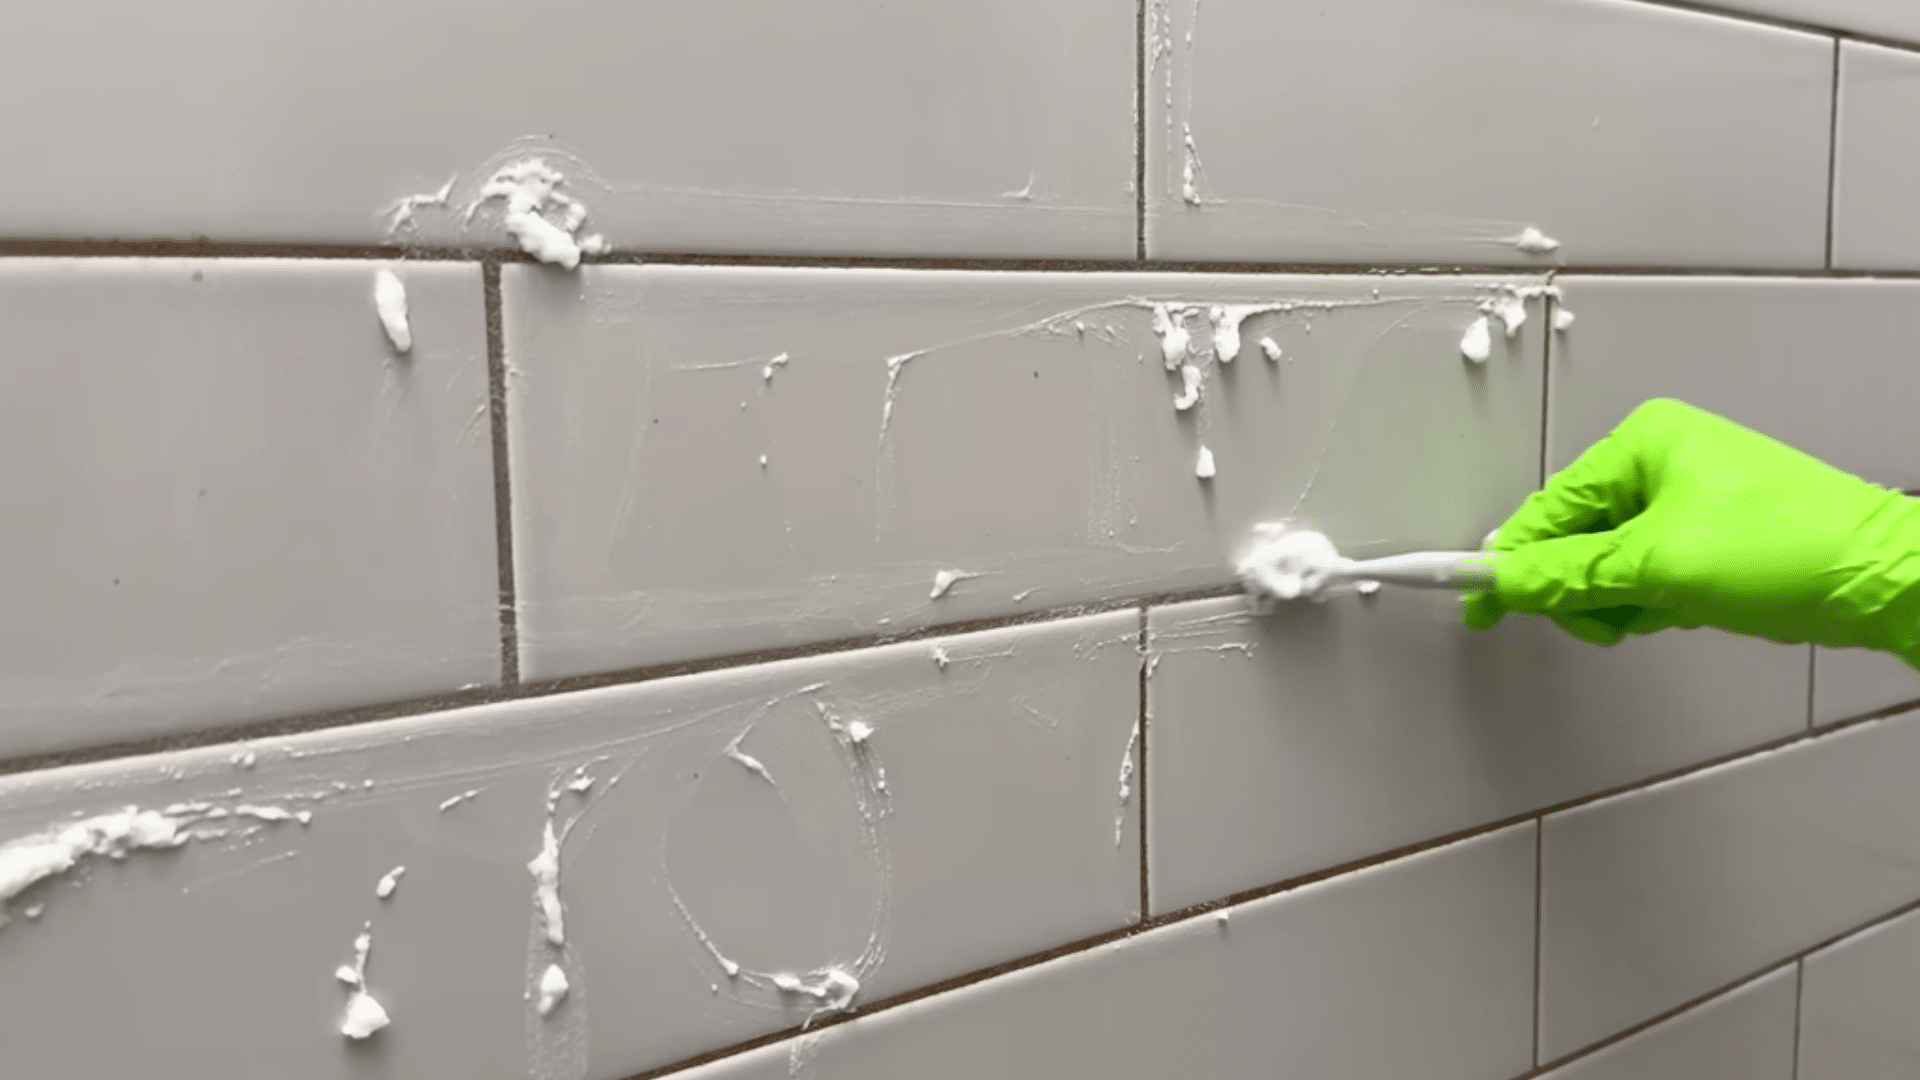
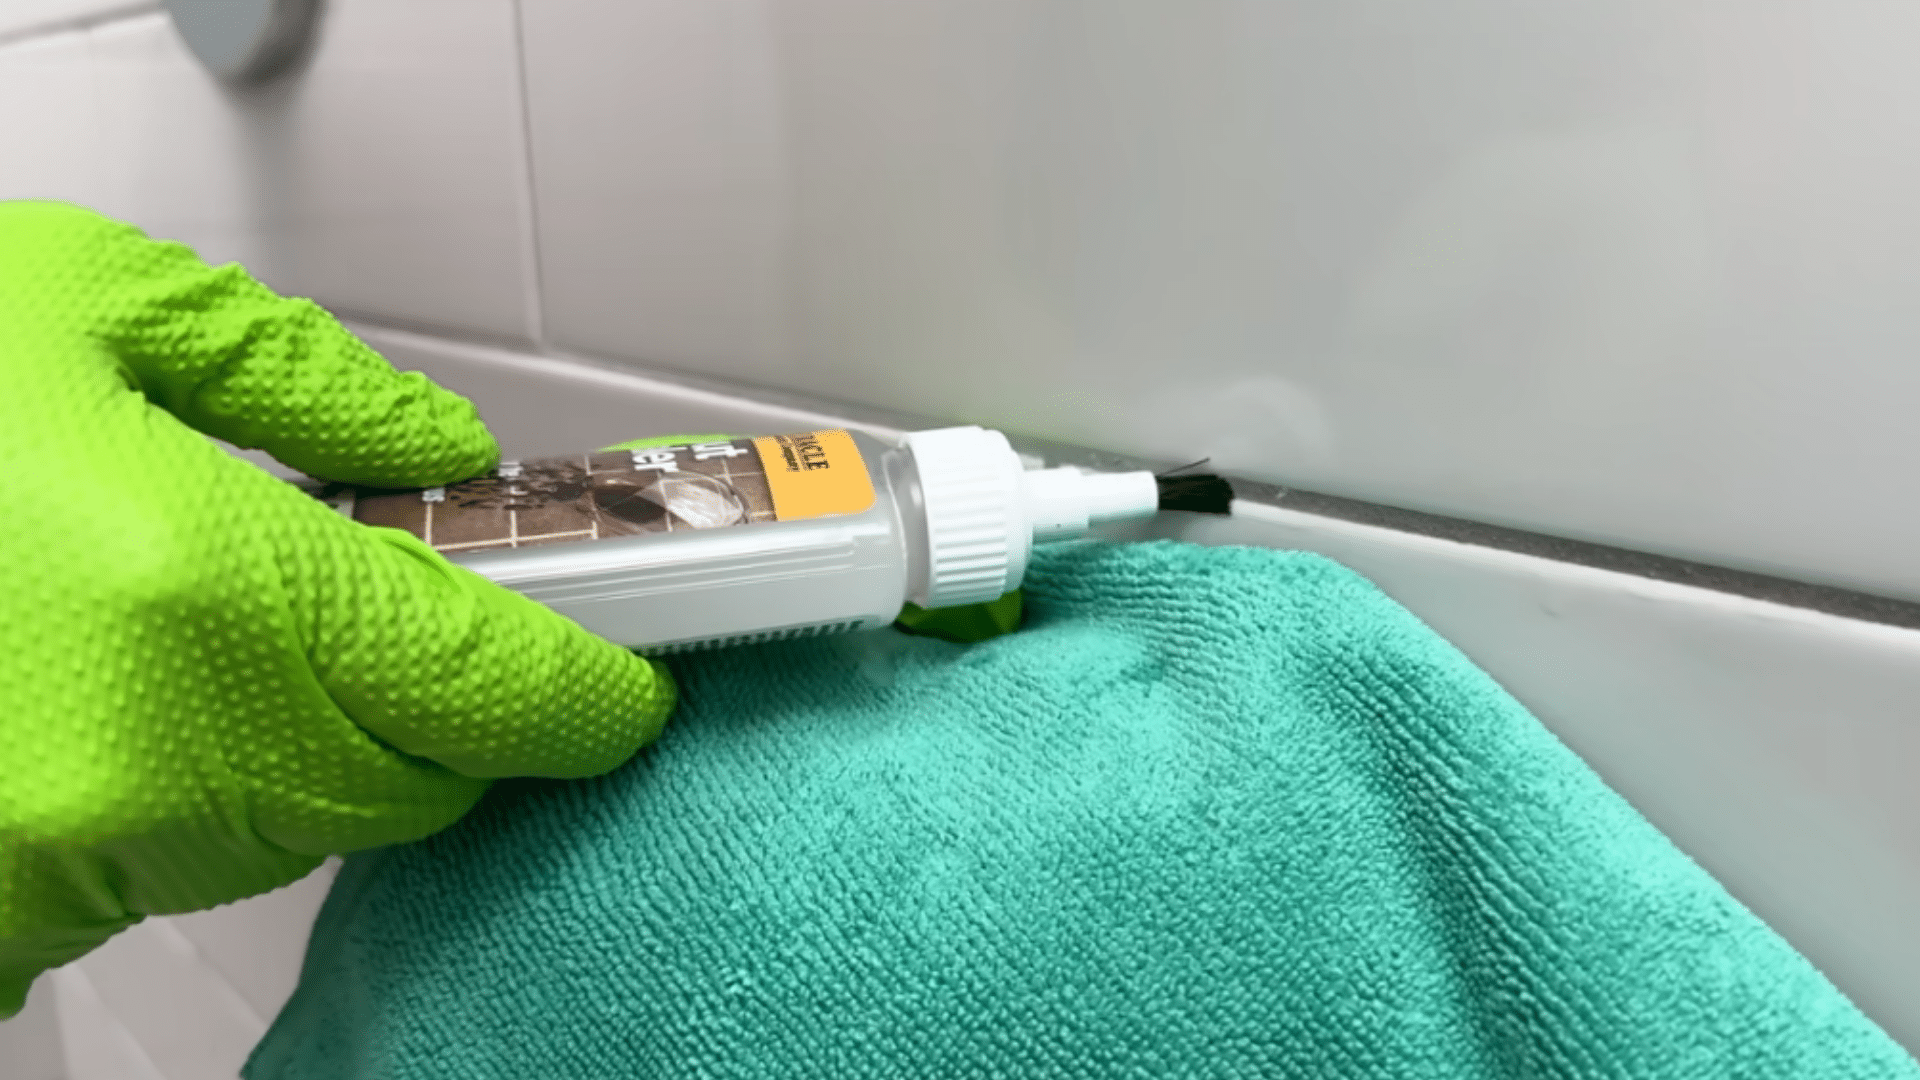
Step 5: Address Mold and Mildew on Caulking
If you notice mold or mildew on your caulking, special attention is needed. Surface-level mold can be treated with a gel-based cleaner that adheres to the area, then left to sit for several hours or overnight.
If the mold has penetrated deeply, removal and replacement of the caulk may be necessary. This prevents recurrence and keeps the shower hygienic.
Taking care of caulking ensures your cleaning efforts on tiles and grout aren’t undone by hidden mold in the corners or seams.
Step 6: Seal Grout for Long-Lasting Clean
After all cleaning is complete and the grout is fully dry, applying a grout sealer can protect it for months. Use a brush or applicator to run a consistent bead along each line, letting it soak in.
Wipe off excess to prevent residue. Sealing keeps water, dirt, and mildew from penetrating grout, reducing the need for frequent deep cleans. Taking this extra step prolongs the results of your hard work and keeps your shower looking clean and fresh for longer periods
Check out the vedio for step-by-step guide:
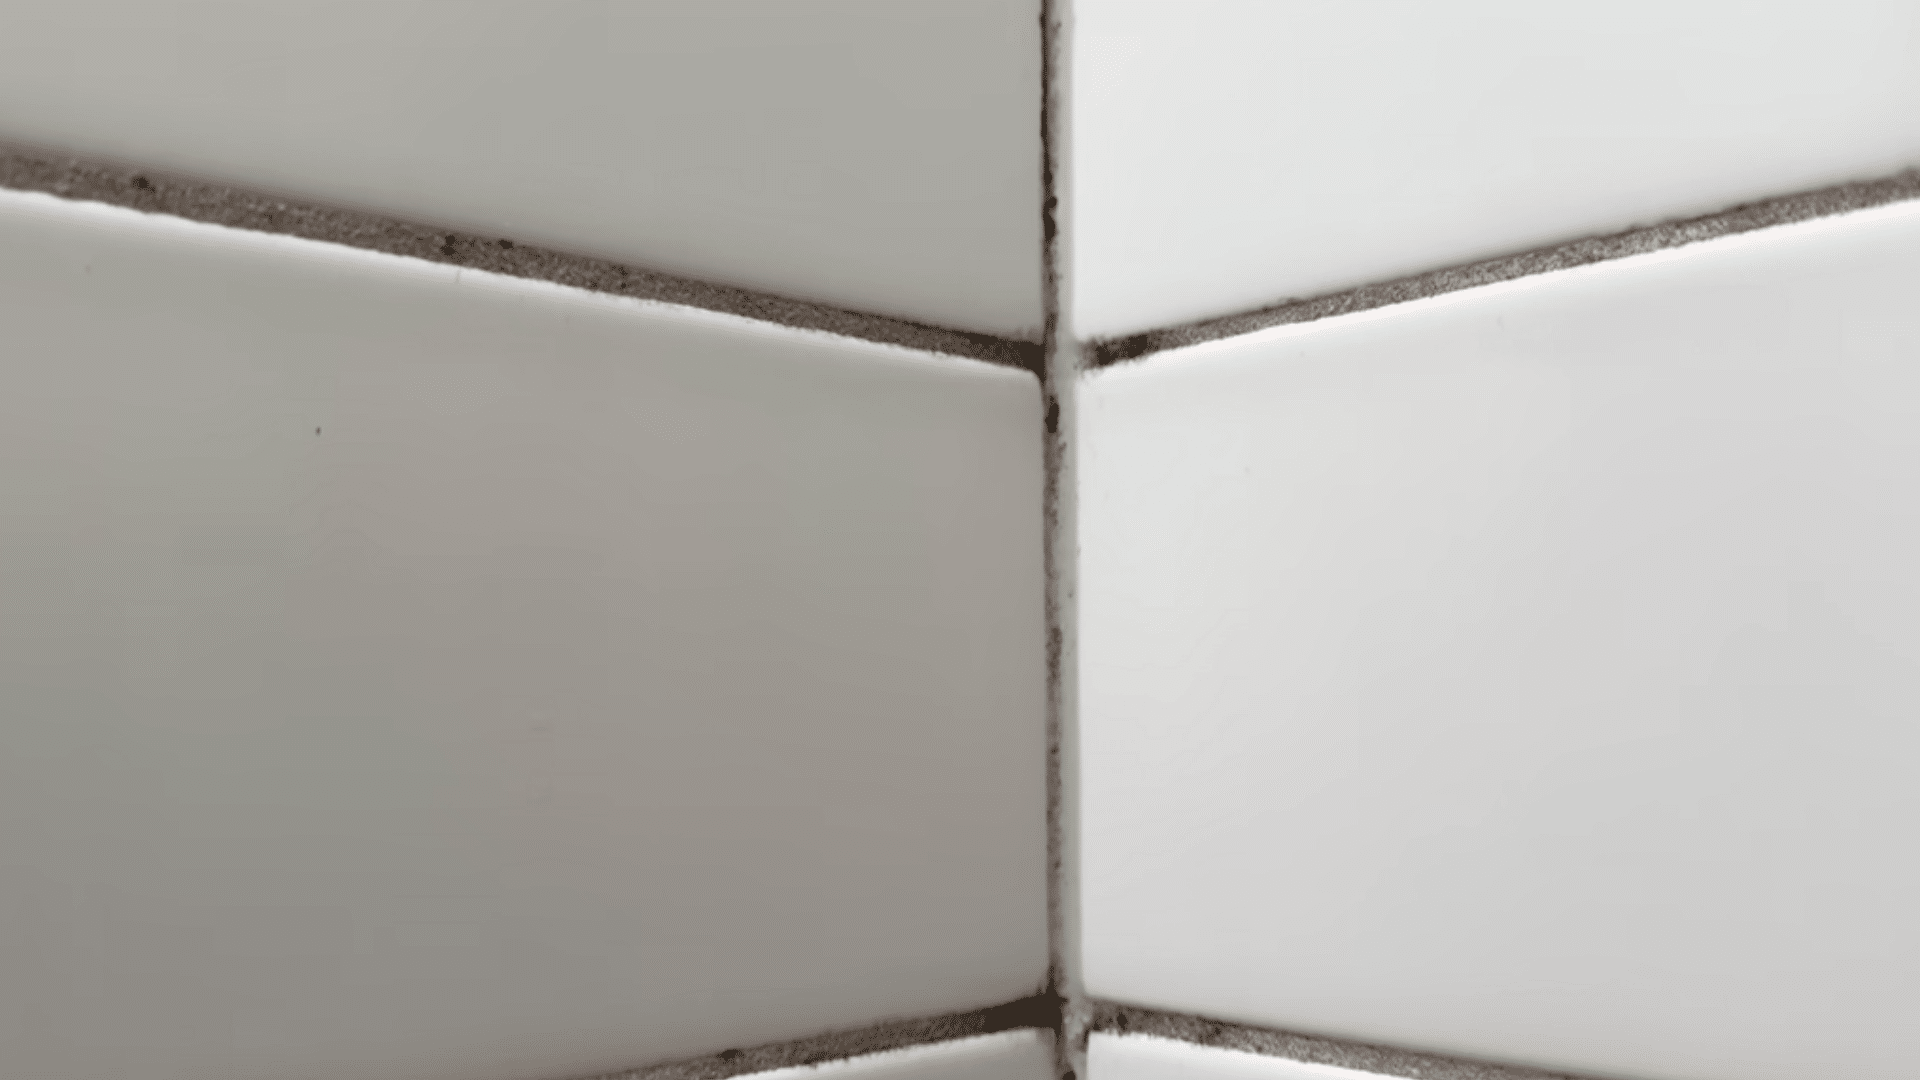
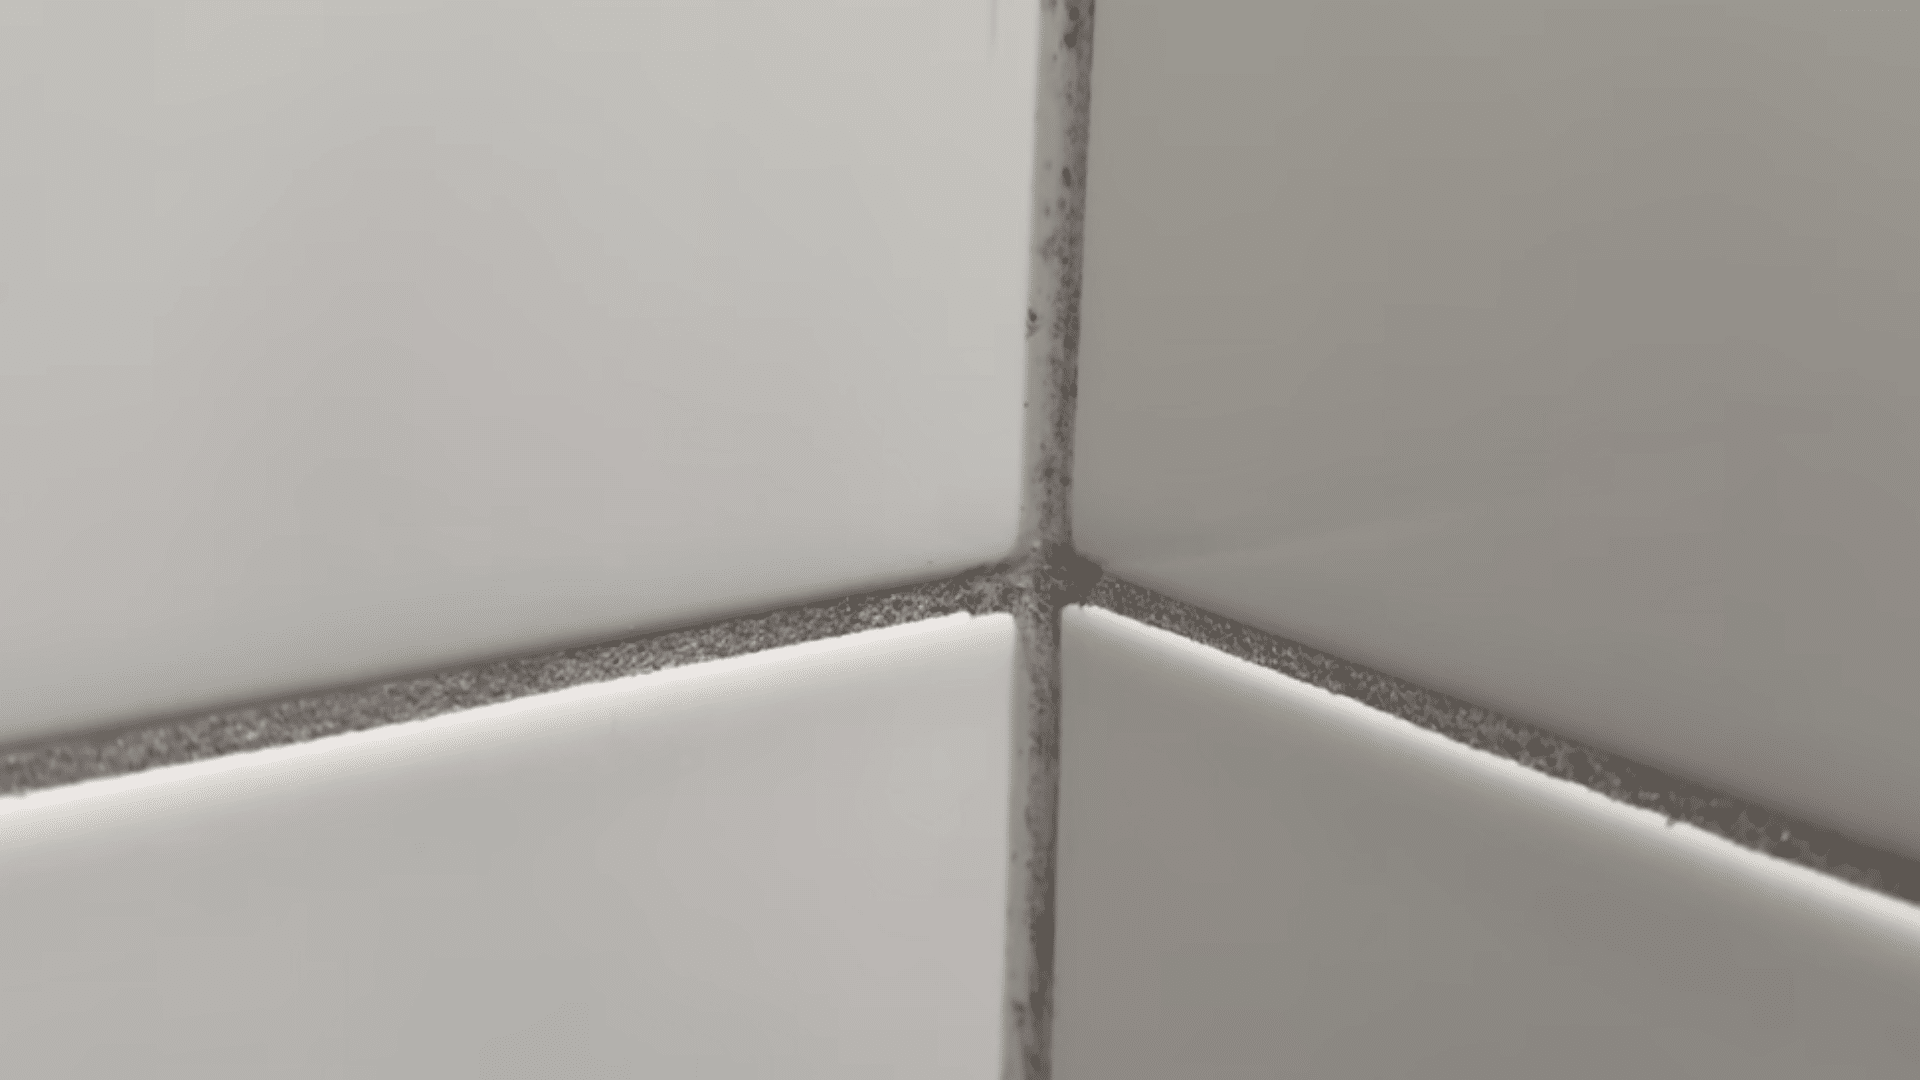
Common Problems That Make Shower Tiles Look Dirty
Shower tiles often look grimy despite regular cleaning. Knowing what causes buildup helps you catch issues early, prevent spreading, and maintain a cleaner, fresher shower over time without letting stains or mold take hold. Here are the main problems that can make your shower tiles look dirty and why they occur.
- Soap Scum Buildup: Soap mixes with water minerals, forming a sticky, cloudy layer that collects in corners, thresholds, and around faucets.
- Hard Water Deposits: Calcium and magnesium leave white, chalky streaks on tiles and glass after water evaporates repeatedly.
- Mold Growth: Dark patches appear in grout lines, corners, and shaded areas where moisture lingers, creating an unhealthy surface.
- Mineral Streaks: Water evaporation leaves visible streaks that dull tile surfaces and make the shower look neglected over time.
- Grime Accumulation: Residue from body oils, shampoos, and soaps can layer over tiles, especially in high-traffic shower zones
Walk-In and Ceramic Shower Cleaning Tips
Large walk-in showers and ceramic tiles need careful attention to prevent buildup and protect surfaces. Focusing on problem areas, monitoring grout, and choosing the right preventive steps keeps your shower looking clean and lasting longer. Let’s see specialized tips for walk-in showers first, then dive into ceramic tile care.
Keeping Large Walk-In Showers Spotless
Walk-in showers have expansive surfaces, so corners, thresholds, and high-traffic spots are prone to soap scum and mineral deposits. Tools like long-handled brushes or steam cleaners help reach far areas safely, protecting grout and tile edges while ensuring thorough cleaning of hidden sections.
After addressing high-traffic areas, ceramic tiles need focused care to maintain their finish and durability.
- Ventilation Check: Ensure air circulates well to reduce moisture buildup in open areas.
- Drain Monitoring: Keep drains clear to prevent water pooling near thresholds.
- Tile Slope Awareness: Confirm floor angles allow water to run off efficiently.
- Accessory Positioning: Move mats or shower stools occasionally to prevent trapped moisture spots.
Caring for Ceramic Shower Tiles
Ceramic tiles are durable but sensitive to harsh chemicals and excessive moisture. Avoid acidic or abrasive cleaners to preserve the surface finish.
Protecting grout with sealing and regular inspections prevents stains and water damage, ensuring the tiles remain vibrant and resilient over time. Combining careful cleaning with preventive measures keeps your ceramic tiles bright and your shower worry-free.
- Sealant Type: Choose a grout sealant compatible with ceramic tiles.
- Regular Inspection: Look for early cracks or loose tiles.
- Moisture Control: Use fans or windows to minimize dampness.
- Edge Protection: Watch for early signs of wear on watch corners and tile edges.
DIY vs. Commercial Cleaners
Choosing between DIY and commercial cleaners depends on your needs, tile type, and the level of grime. Knowing the advantages of each helps you choose the right solution for routine upkeep or tough stains.
| Cleaner Type | Key Advantages | Best For | Notes |
|---|---|---|---|
| DIY Solutions | Low cost, eco-friendly, generally safe for most tiles | Routine cleaning, light buildup | Uses simple ingredients like vinegar, baking soda, or mild detergents; reduces chemical exposure |
| Commercial Cleaners | Stronger formulas, convenient, and effective on tough stains | Stubborn soap scum, mineral deposits, heavy-use showers | Designed for tiles and grout; ensures grime removal with minimal effort |
| When to Use Each | Tailor choice based on severity | Light buildup: DIY, Stubborn stains: Commercial | Strong cleaners should be reserved for heavy grime; gentle DIY options work for regular maintenance |
Balancing DIY and commercial cleaners keeps tiles clean and safe. Using mild solutions for routine maintenance and stronger products for tough stains ensures long-lasting surfaces without unnecessary wear.
Maintaining Clean Shower Tiles
Keeping shower tiles spotless over time is about forming consistent habits and preventive measures. Focusing on daily care, regular deep-cleaning, and moisture control protects grout and tiles, reducing buildup and keeping your shower hygienic and visually appealing.
- Daily Wiping: Quickly wiping down tiles after each shower prevents soap scum, mineral buildup, and lingering moisture from causing stains.
- Squeegee Use: Running a squeegee across glass and tiles removes water droplets, reducing watermarks and keeping surfaces clear.
- Grout Check: Inspecting grout weekly catches early cracks or discoloration, allowing timely preventive care before serious damage occurs.
- Drain Maintenance: Clearing hair and debris from drains prevents water pooling and reduces the risk of mildew or mold growth.
- Sealant Care: Periodically sealing grout and tile edges protects against moisture penetration and keeps tiles looking fresh longer.
Final Thoughts
I know cleaning a shower can feel like a big job, but you can make it simple and effective. When you know how to clean shower tiles, you’ll understand how different surfaces, grout, and water conditions affect the process.
Focusing on daily rinsing, weekly scrubbing, and monthly deep cleaning keeps buildup from becoming overwhelming. Targeting stubborn stains with the right methods and sealing grout afterward makes your work last longer.
I’ve learned that small, consistent habits save time and keep your bathroom looking fresh. Following these steps helps prevent mold, soap scum, and discoloration.
Try these tips in your own shower, and share what works best for you with others.