If you’ve ever squeezed a wet handful of soil into a strip, you’ve already done the start of a ribbon test. This simple method helps you figure out your soil texture, no fancy tools needed.
Knowing your soil’s texture can help you decide what to plant, how much to water, and how to improve your soil over time.
In this guide, I’ll walk you through each step, explain what your results mean, and show you how to put that knowledge to work in your yard or garden.
You don’t need to be an expert, just grab some soil and follow along.
What is the Soil Ribbon Test?
The soil ribbon test helps you figure out what kind of soil you have just by touch. It’s based on how the soil feels in your hand and how long it forms a strip or “ribbon” when pressed between your fingers.
Soil is made of three main parts: sand, silt, and clay. This test helps you guess how much of each is in your soil.
Farmers and gardeners have used it for years because it’s fast, easy, and doesn’t need any tools. You’ll get a better sense of how your soil holds water, drains, and supports plant roots.
That way, you’ll know if your soil needs improving or is already good to go.
Why Soil Texture Matters
Soil texture plays a big role in how well your garden grows. It affects how water soaks in, how air moves, and how roots take in nutrients.
Sandy soils drain quickly but dry out fast. Clay soils stay wet longer but can feel heavy and tough to dig. Loam sits right in the middle, easy to work with, and holds moisture well.
If you grow veggies, flowers, or fruit, knowing your texture helps you choose the right plants and care methods for better results.
Step-by-Step Instructions for the Ribbon Test
You’re about to test your soil texture using just your hands, a little water, and a few easy steps. Here’s what you need and exactly how to do it.
Materials You’ll Need
All you need is a small soil sample, clean water, and your hands. But a few extras can help:
- Spray bottle (for better control when adding water)
- Garden knife or trowel (for digging your sample)
- Texture chart (to compare your results)
- Glass jar (optional for mixing clumpy soil)
- Notepad (to jot down your results)
Step 1: Collect the Soil
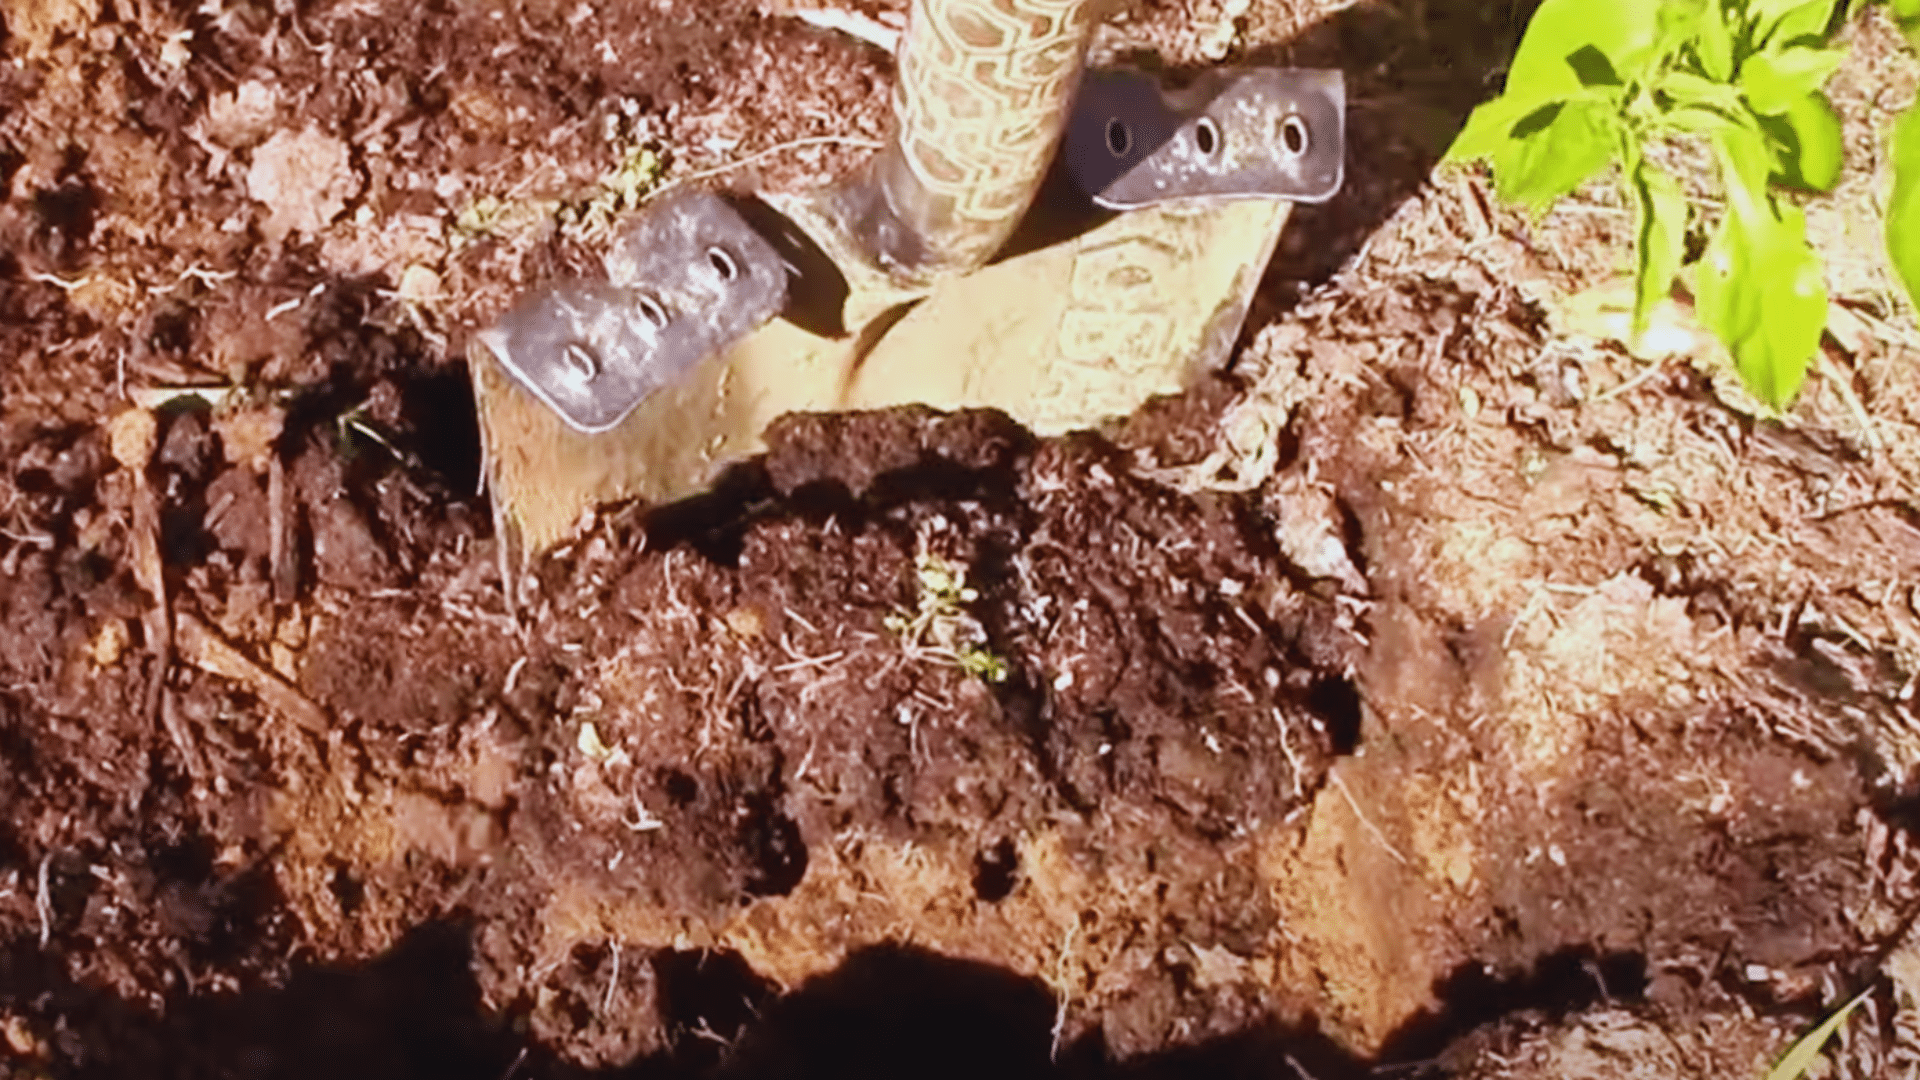
Dig about 4 to 6 inches deep into your soil. This gives you a better sample from the true soil layer, not just the top, where things might be mixed.
Avoid areas near buildings, compost piles, or where people walk often. These spots don’t give accurate results.
Grab a handful of plain soil, no rocks, sticks, or mulch. Break it up with your fingers so it’s loose and crumbly before moving on.
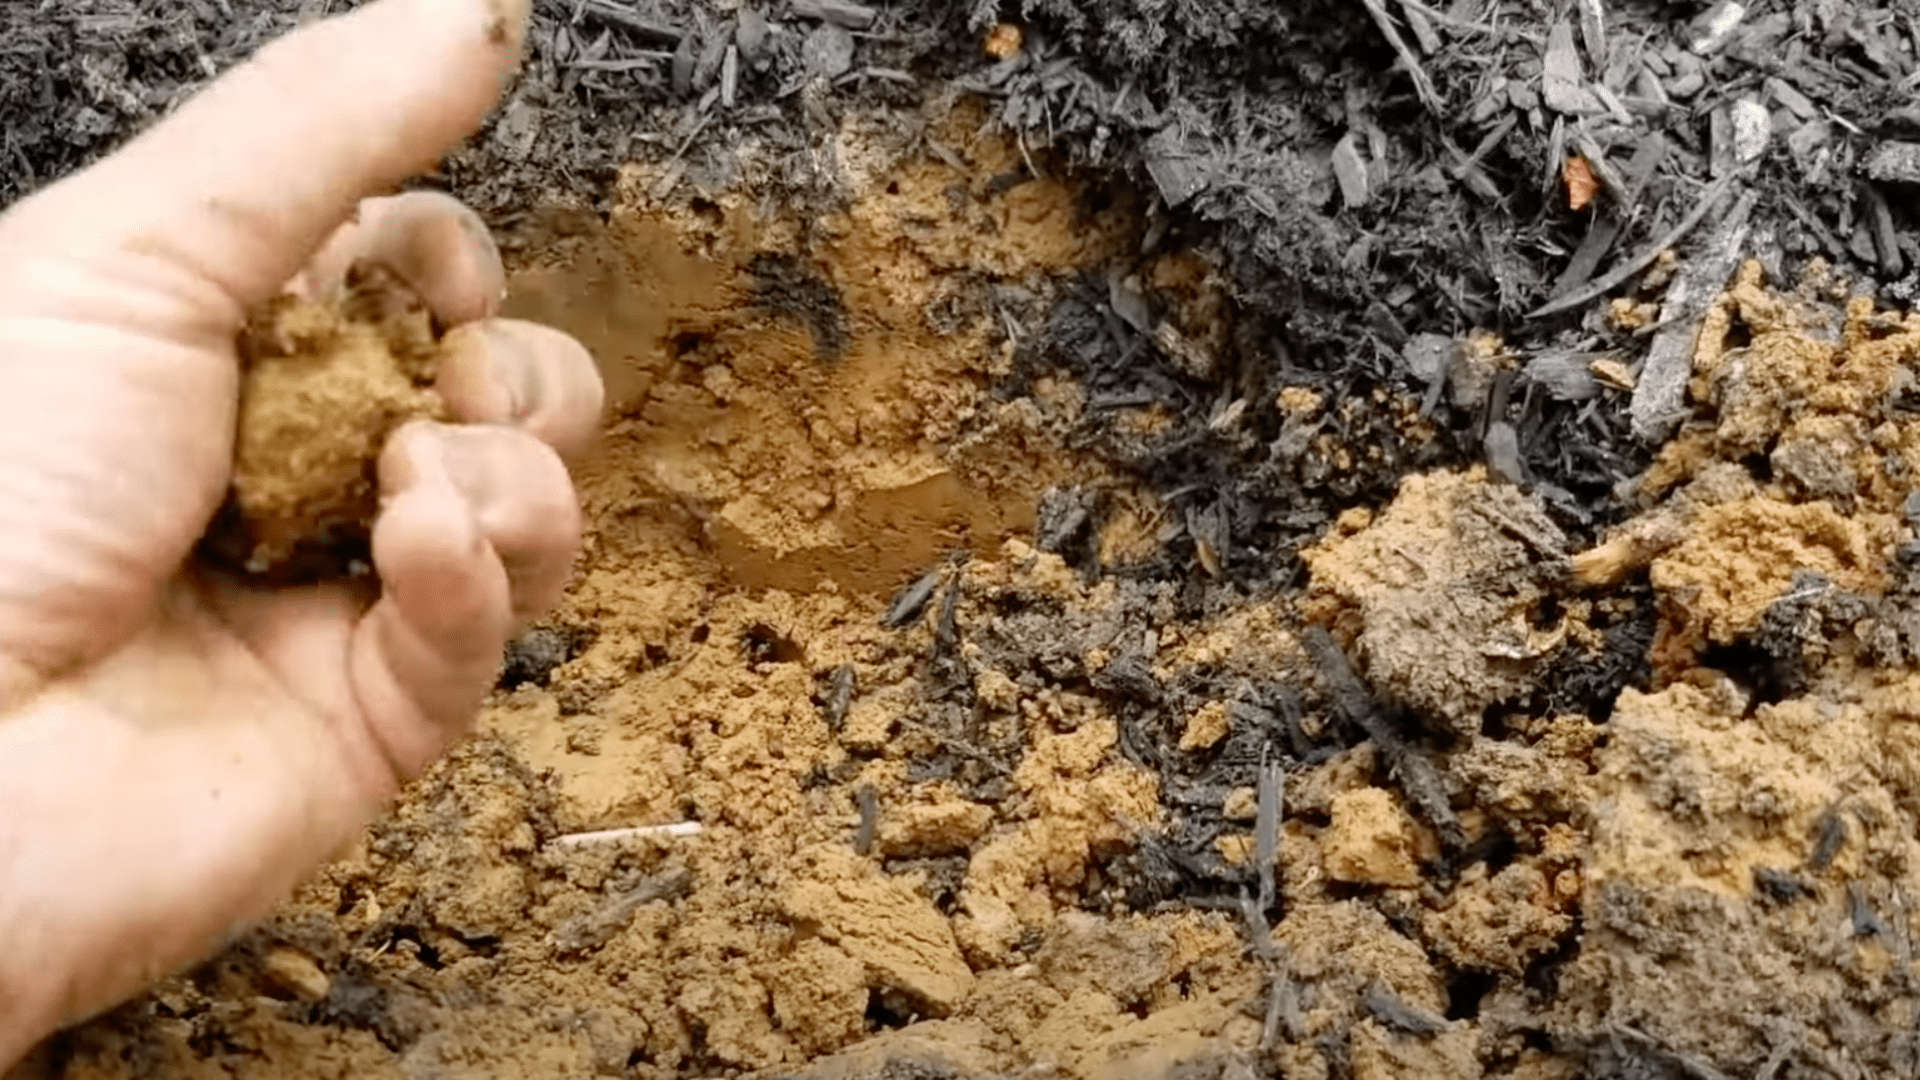
Step 2: Moisten the Soil
Add water slowly and mix it into the soil with your fingers. You’re aiming for the feel of modeling clay, smooth and easy to shape, but not too sticky or runny.
If it’s dry and crumbly, add a bit more water. If it gets slimy or won’t hold a shape, it’s too wet. Let it dry out for a few minutes, then try again. Keep adjusting until it feels moldable and holds together when squeezed.
Step 3: Form a Ball
Roll the damp soil between your palms to make a ball about the size of a large marble or a small egg.
It should hold its shape without cracking or falling apart. If it crumbles, add a little more moisture. If it oozes or feels mushy, let it dry slightly. The goal is a ball that’s firm but flexible.
Step 4: Squeeze the Ribbon
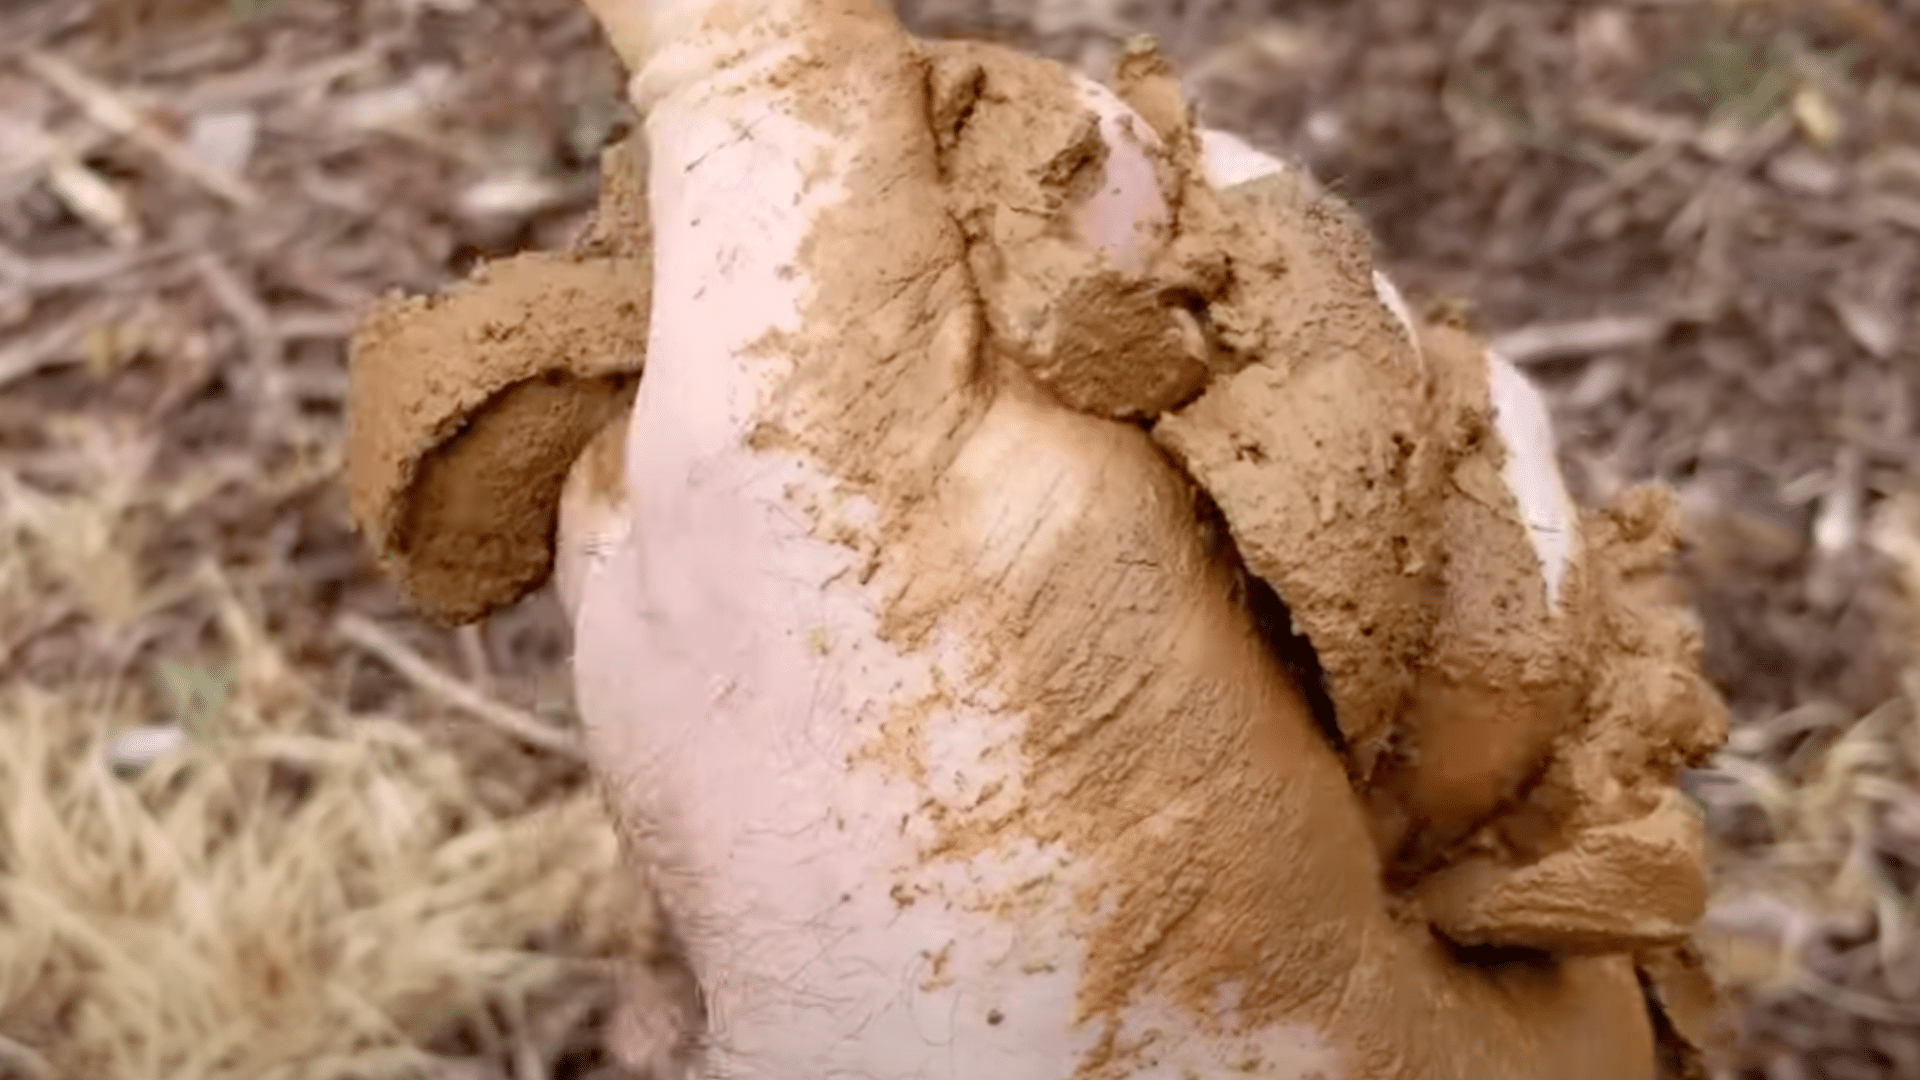
Hold the soil ball in one hand. Press it between your thumb and forefinger to squeeze out a ribbon or strip.
Let the ribbon form naturally. Keep going until it breaks under its own weight. Notice how long the ribbon gets and how the soil feels as it slides between your fingers.
These details will help you figure out your soil type in the next section.
If required, check out the YouTube video for more details:
Soil Texture Guide Based on Ribbon Length and Feel
Now that you’ve formed a ribbon, it’s time to figure out what it means. Both the length of the ribbon and how the soil feels in your fingers will tell you what type of soil you’re working with.
Use the chart below to match your ribbon length and texture to a soil type. This will help you understand what your soil is made of and what it might need.
| Ribbon Length | Feel | Soil Texture | What It Tells You |
|---|---|---|---|
| Less than 1 inch | Gritty | Sandy loam | More sand |
| Smooth | Silty loam | More silt | |
| Neither | Loam | Balanced mix | |
| 1 to 2 inches | Gritty | Sandy clay loam | More sand and clay |
| Smooth | Silty clay loam | More silt and clay | |
| Neither | Clay loam | Moderate clay | |
| More than 2 inches | Gritty | Sandy clay | High clay and sand |
| Smooth | Silty clay | High clay and silt | |
| Neither | Clay | Mostly clay |
Interpreting the Results of the Soil Ribbon Test
Now that you know your soil texture, you can make smarter choices about how to care for your garden or yard. Different textures have different needs:
- Sandy soil drains quickly but dries out fast. Add compost or aged manure to help hold moisture.
- Clay soil holds water well but can be dense. Mixing in sand, compost, or shredded leaves can improve drainage.
- Loamy soil is the easiest to work with. It usually needs only light upkeep with mulch or compost once in a while.
Soil texture also affects how often to water and what crops will do well. For example, root vegetables prefer loose soil, while leafy greens can handle heavier soils.
Instead of trying to change your soil too much, choose plants that match its natural texture. You’ll save time, water, and effort, and your plants will thank you.
Ribbon Test vs. Lab Soil Tests
The ribbon test is quick, simple, and free. It works well if you want a general idea of your soil’s texture. You can do it anytime, anywhere, and it doesn’t require special tools.
But if you need detailed results, a lab test goes further. Lab tests tell you the exact percentage of sand, silt, and clay. They also give you important information about pH levels and nutrients that the ribbon test can’t show.
If you’re planting a large area or managing crops that need precise soil care, a lab test may be a good idea. But for home gardens, backyard beds, or small farms, the ribbon test usually gives you enough to make smart decisions.
Common Mistakes to Avoid
Even simple tests can give poor results if done the wrong way. Here are a few things to watch out for:
- Don’t use soil that’s too dry or too wet. Aim for a soft, moldable feel, like modeling clay.
- Avoid spots near compost piles, buildings, or roads. These areas don’t give an accurate picture of your soil.
- Don’t skip the feel test. The texture between your fingers matters just as much as ribbon length.
- Test more than one spot. Soil can vary a lot, even in a small space. Multiple tests give a better overall picture.
A little extra effort goes a long way toward getting results you can trust.
Conclusion
The soil ribbon test is a quick, hands-on way to learn what your soil is made of, with no special tools needed.
By feeling the texture and forming a ribbon, you’ll get a better idea of how your soil holds water, supports roots, and responds to care. That means smarter planting, better watering, and healthier plants all around.
It’s easy to try, fun to do with kids, and a great way to connect with your garden. If this guide helped you, save it or print it out for the next time you’re getting your hands dirty.
You’ll thank yourself when planting season rolls around.