Starting a garden feels so much more rewarding when you’re in control of it from the very beginning.
And that’s exactly why so many gardeners skip the waiting game and bring their seeds indoors first.
Growing from seed indoors gives your plants a warm, sheltered start before the soil outside is even ready, setting you up for earlier harvests, sturdier seedlings, and access to varieties your local nursery probably never carries.
This guide walks you through everything you need: the right supplies, a simple step-by-step process, lighting, watering, and knowing when your seedlings are ready to meet the world.
Why Start Seeds Indoors?
Starting seeds indoors simply gives you more control over your garden than buying starter plants ever could.
When you begin indoors, your plants get extra weeks of growing time, so by the time the soil outside warms up, your seedlings are already sturdy and established.
You also open the door to a much wider world of plant varieties, the kind of unique tomatoes, herbs, and florals that never show up on nursery shelves.
And honestly, a single seed packet costs a fraction of what you’d spend on mature plants, making it one of the most budget-friendly gardening decisions you can make.
Best Seeds to Start Indoors
Not every seed needs an indoor head start, but the ones that do will genuinely thank you for it.
Here’s a quick look at how some of the most popular plants handle indoor starting:
| Plant | Best Starting Method | Time to Start Before Last Frost | Difficulty Level | Special Notes |
|---|---|---|---|---|
| Tomato | Indoors | 6-8 weeks | Easy | Needs warm soil and plenty of light to thrive |
| Pepper | Indoors | 8-10 weeks | Moderate | Slow to mature; extra indoor time makes a big difference |
| Basil | Indoors | 4-6 weeks | Easy | Germinates quickly and transplants well |
| Broccoli | Indoors | 4-6 weeks | Easy | Prefers a cool start before transitioning outside |
| Cucumber | Direct sow or late indoors | 2-3 weeks | Easy | Fast-growing; too much indoor time can stress the plant |
When to Start Seeds Indoors?
Timing is everything in gardening, and starting your seeds at the right moment can be the difference between a thriving plant and a struggling one.
Getting your schedule right doesn’t have to be complicated, though; it really comes down to three simple things.
Check Your Last Frost Date
Your last frost date is essentially your gardening calendar’s anchor point. Everything gets planned around it. You can find your local frost date through a quick search or your region’s agricultural extension website.
Once you have that date, you work backwards to figure out exactly when each plant needs to go into its tray.
Typical Seed Starting Timeline
Most seeds do best when started 4-8 weeks before your last frost date, but this varies by plant.
Here’s a simple breakdown:
- 8-10 Weeks Before: Peppers, celery, and slow-growing herbs
- 6-8 Weeks Before: Tomatoes, eggplant, and flowering plants
- 4-6 Weeks Before: Broccoli, cabbage, basil, and lettuce
- 2-3 Weeks Before: Cucumbers, squash, and fast-growing greens
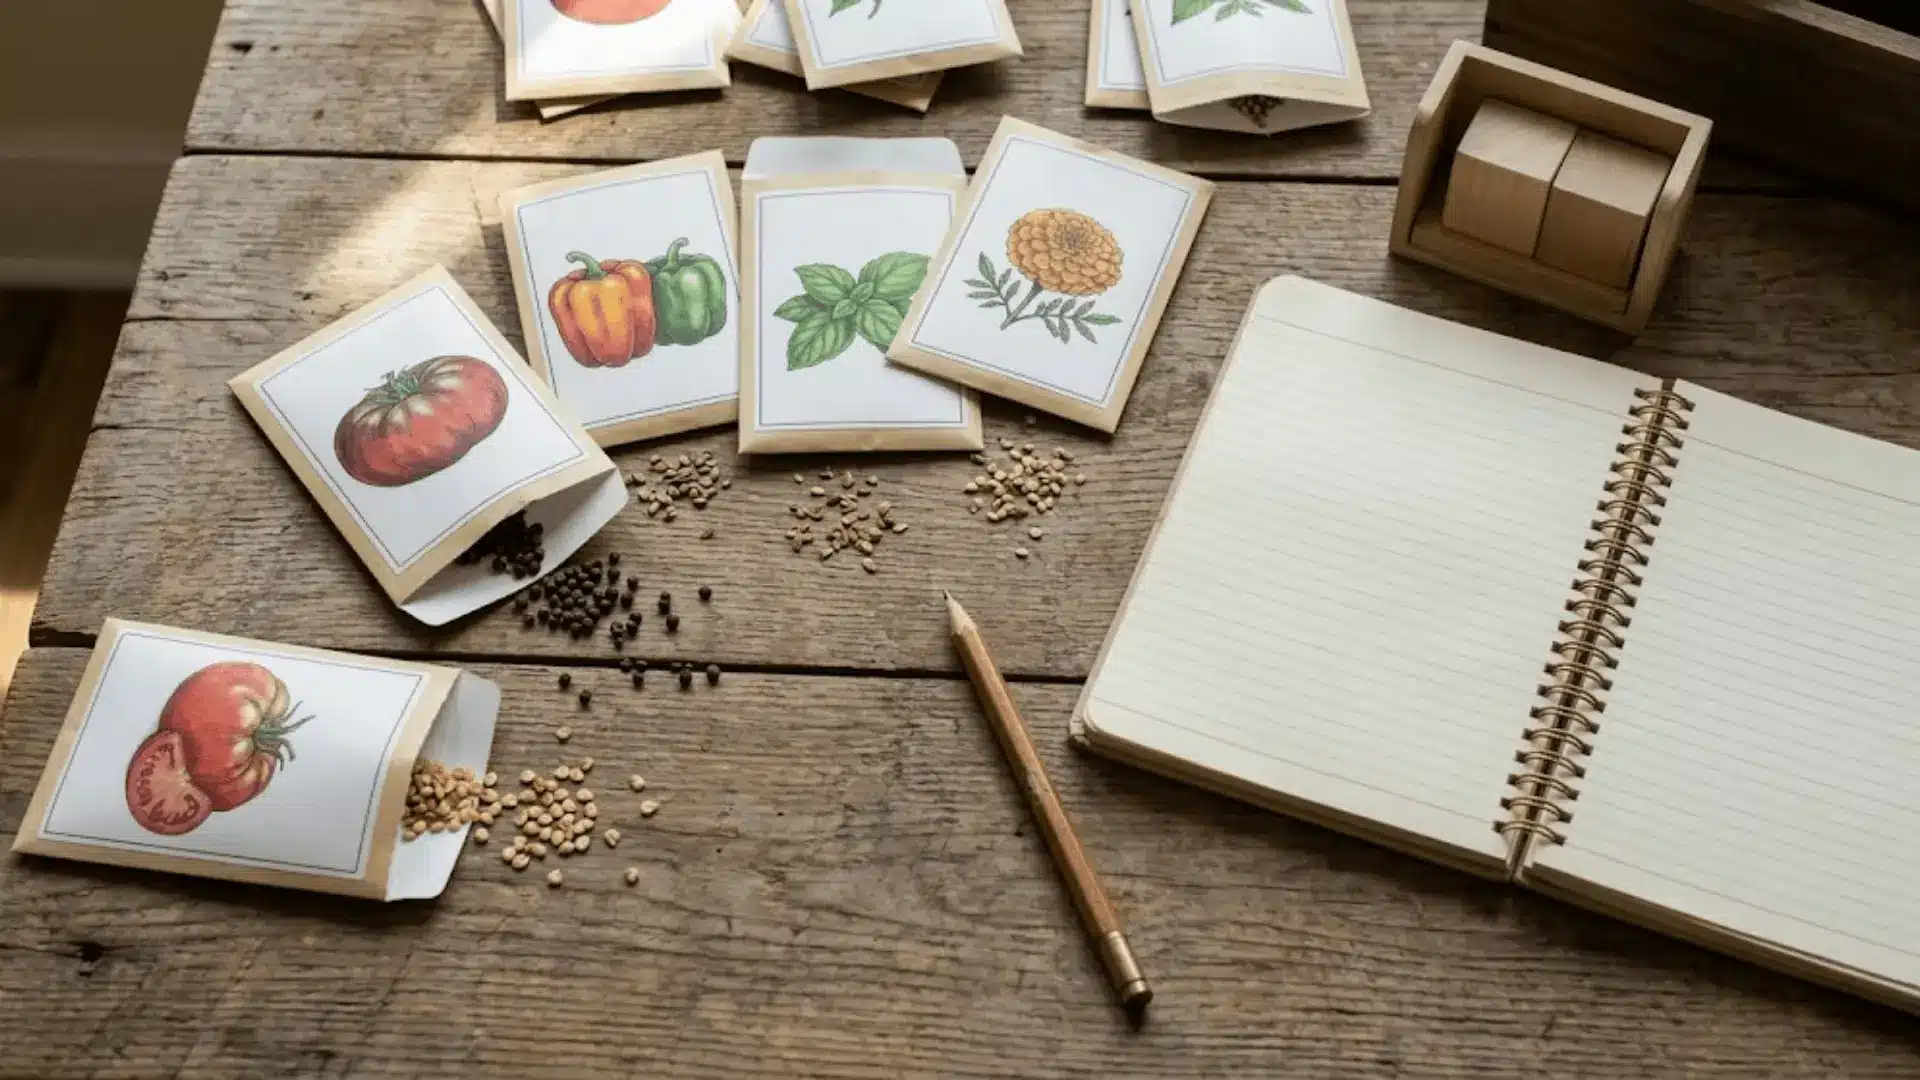
Reading Seed Packet Instructions
Your seed packet is genuinely one of the most underrated gardening tools you own. It tells you exactly when to start, how deep to sow, and what germination conditions each variety prefers.
Before you follow any general advice, always cross-check with your packet first, since every variety can have its own little quirks and preferences.
Supplies Needed to Start Seeds Indoors
Before your first seed goes into the soil, having the right supplies lined up makes the whole process so much smoother.
Here’s everything you’ll want to gather:
- Seed Starting Containers: Trays, small pots, or recycled containers work well; just ensure they have drainage holes to prevent waterlogging.
- Seed Starting Mix: Regular garden soil is too dense for seedlings. A lightweight seed starting mix drains well and gives young roots the room they need.
- Grow Lights or a Sunny Window: Seedlings need bright, consistent light. A south-facing window works, but a basic grow light makes a noticeable difference when natural light falls short.
- Plant Labels: Once everything sprouts, it’s easy to lose track of what’s what. Simple labels save a lot of guesswork later.
- Watering Can or Spray Bottle: A fine-rose watering can or spray bottle keeps watering gentle and controlled, without disturbing seeds or fragile stems.
Step-by-Step: How to Start Seeds Indoors?
Starting seeds indoors is more approachable than it looks, and once you do it the first time, it genuinely becomes second nature.
Follow these steps, and you’ll have healthy seedlings ready well before the outdoor season opens up.
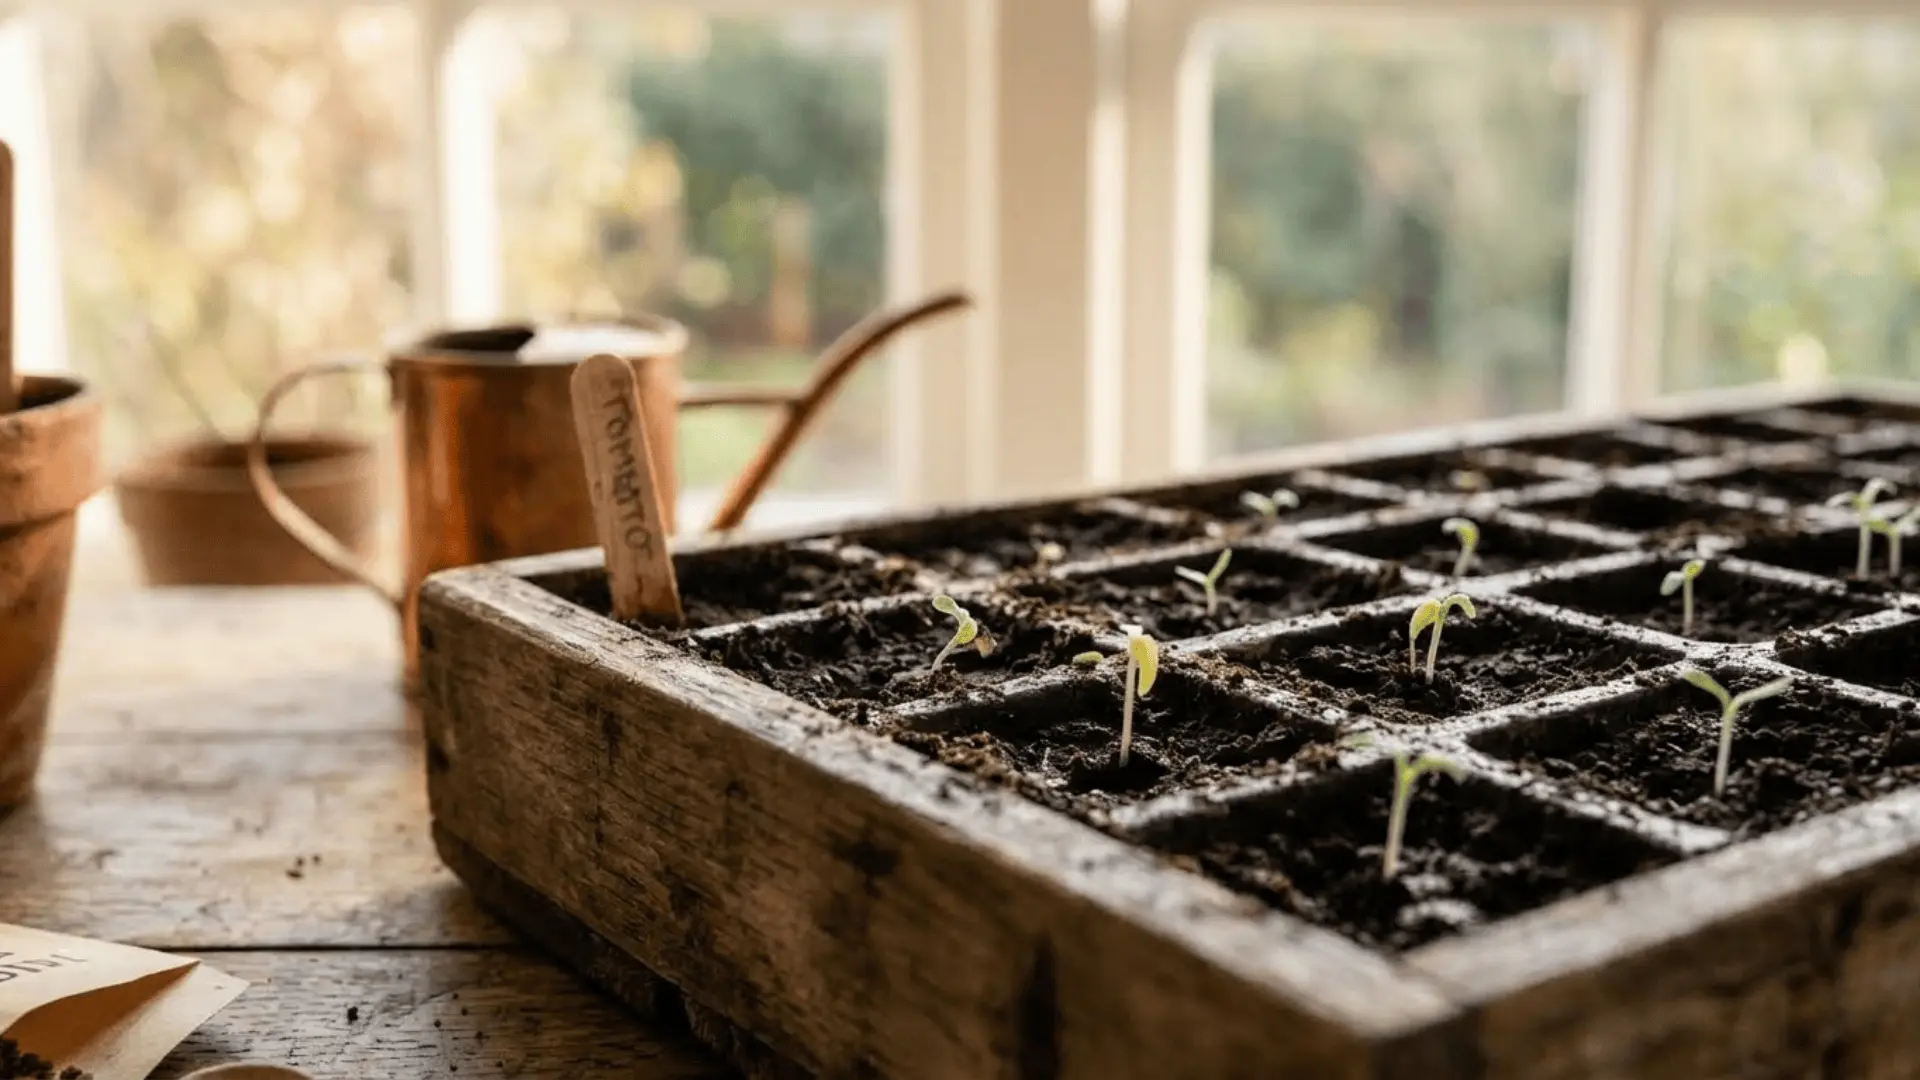
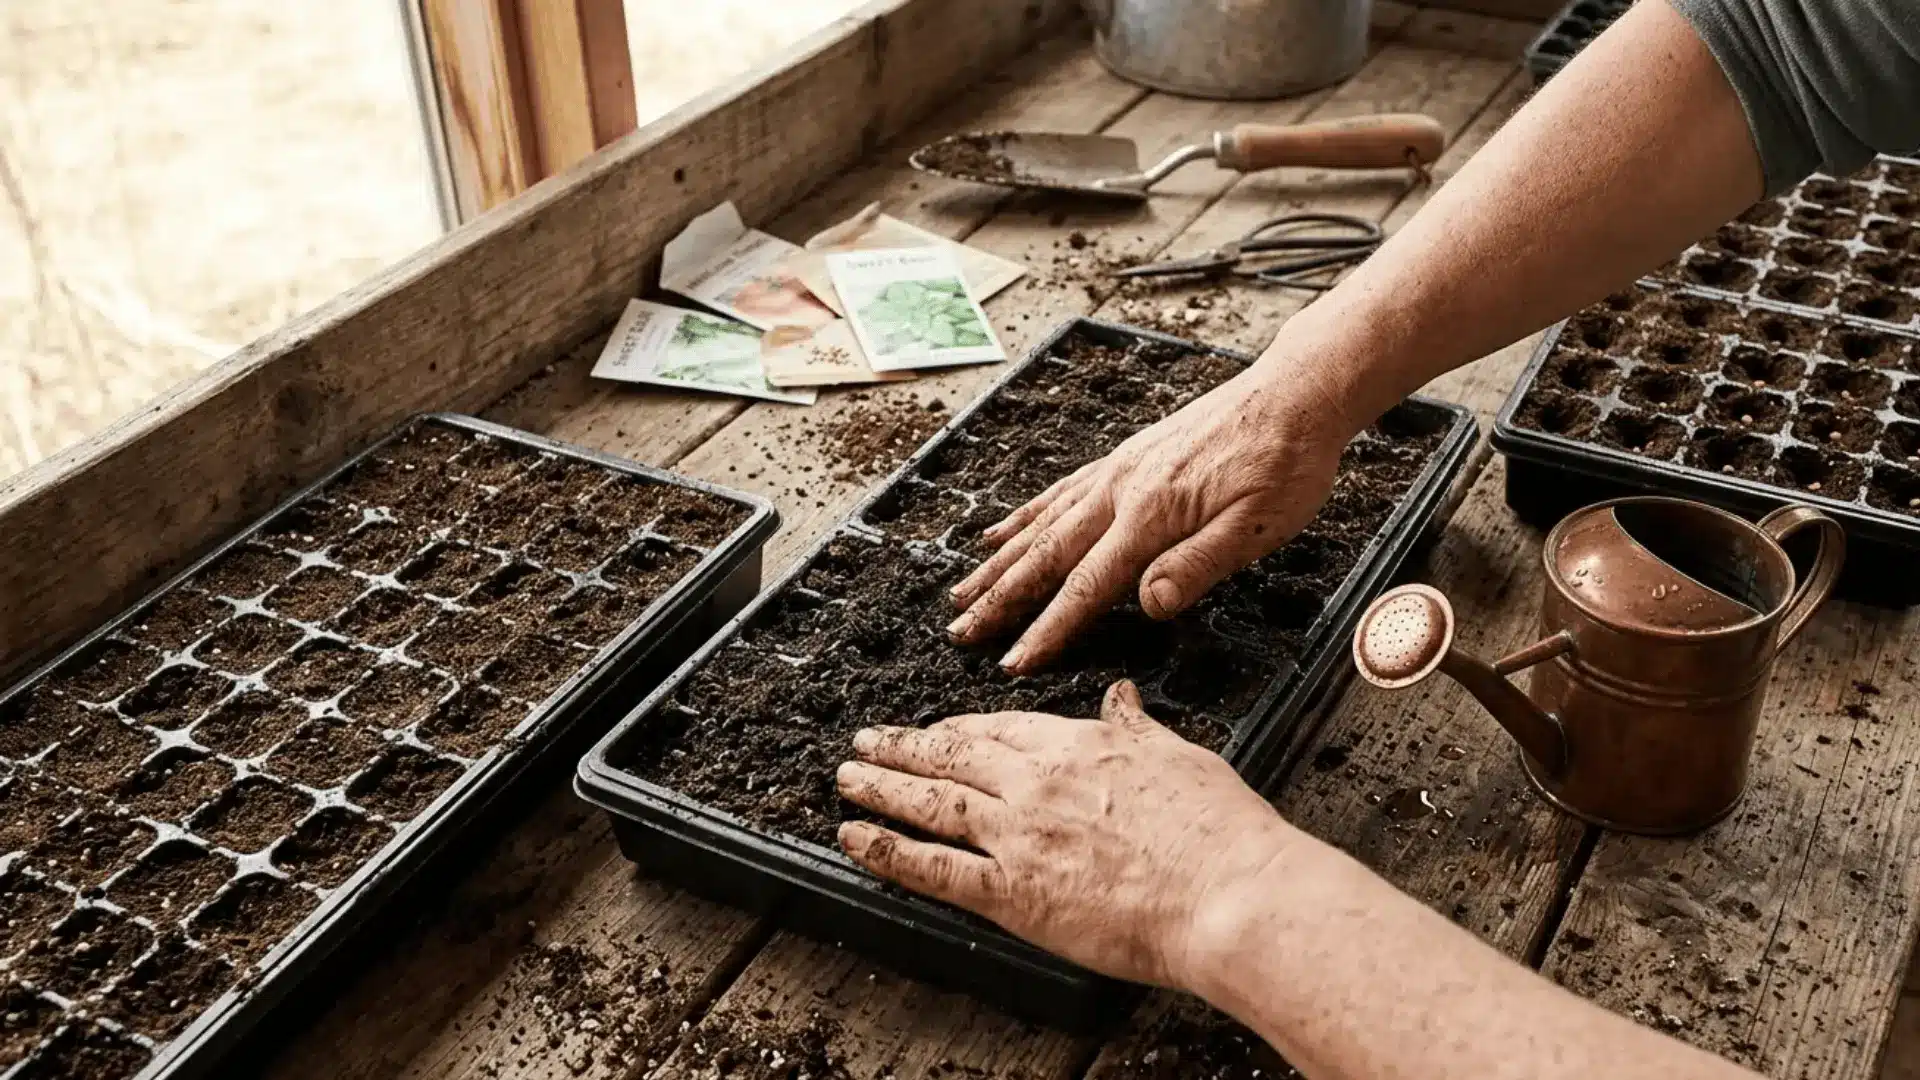
Step 1: Fill Containers With Seed Starting Mix
Loosely fill your containers with a pre-moistened seed starting mix, leaving a little room at the top. Avoid packing it down too firmly since roots need air pockets to grow through.
A few reliable options to consider:
- Burpee Organic Coconut Coir Seed Starting Mix: Coir-based, OMRI-listed
- PRO-MIX Premium Organic Seed Starting Mix: Stronger roots, better transplant resistance
- Miracle-Gro Seed Starting Potting Mix: Beginner-friendly, fast root development
- Espoma Organic Seed Starter Mix: All-natural, promotes moisture retention and root growth
Look for the OMRI Listed badge when shopping for any organic mix.
Step 2: Plant Seeds at the Correct Depth
Plant seeds at roughly 2-3 times their diameter in depth. Some varieties need light to germinate and should sit right on the surface rather than being buried, so always cross-check your seed packet before sowing.
Every variety has its own requirements, and planting too deep is one of the most common reasons seeds fail to sprout altogether.
Step 3: Water Gently
After sowing, water lightly using a spray bottle or a fine-rose watering can. The goal is to moisten the mix evenly without displacing seeds or creating puddles at the surface.
Even a heavy-handed pour at this stage can shift seeds out of position and throw off germination entirely.
Step 4: Provide Warmth and Light
Most seeds germinate best in temperatures between 65-75°F, so a warm spot in your home makes a real difference early on.
Once sprouts appear, move them to your brightest window or position grow lights 2-3 inches above the seedlings. Good, consistent light from the very start is what keeps growth sturdy and prevents leggy, weak stems.
Step 5: Keep Soil Moist but Not Waterlogged
Check moisture levels daily by pressing a finger lightly into the mix. It should feel damp, never soggy or dripping.
Overwatering is just as harmful as underwatering at this stage, so hold off and water only when the top layer just begins to dry out.
Lighting Requirements for Indoor Seedlings
Light is one of the biggest factors separating strong, healthy seedlings from thin, struggling ones. Getting it right doesn’t take much once you know what to look for.
- A south-facing window works well for natural light, but only if it gets consistent, direct sun throughout the day.
- Grow lights are a reliable solution when natural light falls short, producing sturdier, more even growth across all your trays.
- Position grow lights 2-3 inches above seedlings and adjust the height as they grow to prevent leggy stems.
- Most seedlings need 14-16 hours of light daily; a simple timer takes the guesswork out of the schedule entirely.
If your seedlings start stretching or leaning toward the light, that’s a clear sign they need more of it, either a brighter spot or a light adjustment.
Watering and Caring for Indoor Seedlings
Caring for seedlings comes down to three things: water, air, and balance.
Bottom watering is one of the best habits you can build early on; simply set your trays in a shallow dish of water and let the mix absorb moisture from below.
This keeps the surface from staying too wet and reduces the risk of fungal issues.
Never let the soil dry out completely, but soggy roots are just as damaging. Running a small fan nearby for a few hours a day improves air circulation and significantly lowers the chances of mold or damping off.
Thinning and Transplanting Seedlings
Once your seedlings sprout, resist the urge to let them all grow.
Thinning to the strongest seedling per cell gives each plant the space, nutrients, and light it needs to develop properly. When roots start peeking out from drainage holes, it’s time to move up to a larger pot.
Always handle seedlings by their leaves, never the stem, since a damaged stem means losing the plant entirely, while a lost leaf is something it can recover from.
Work gently, keep roots intact, and transplant into fresh potting mix for the smoothest transition possible.
Hardening Off Seedlings Before Planting Outdoors
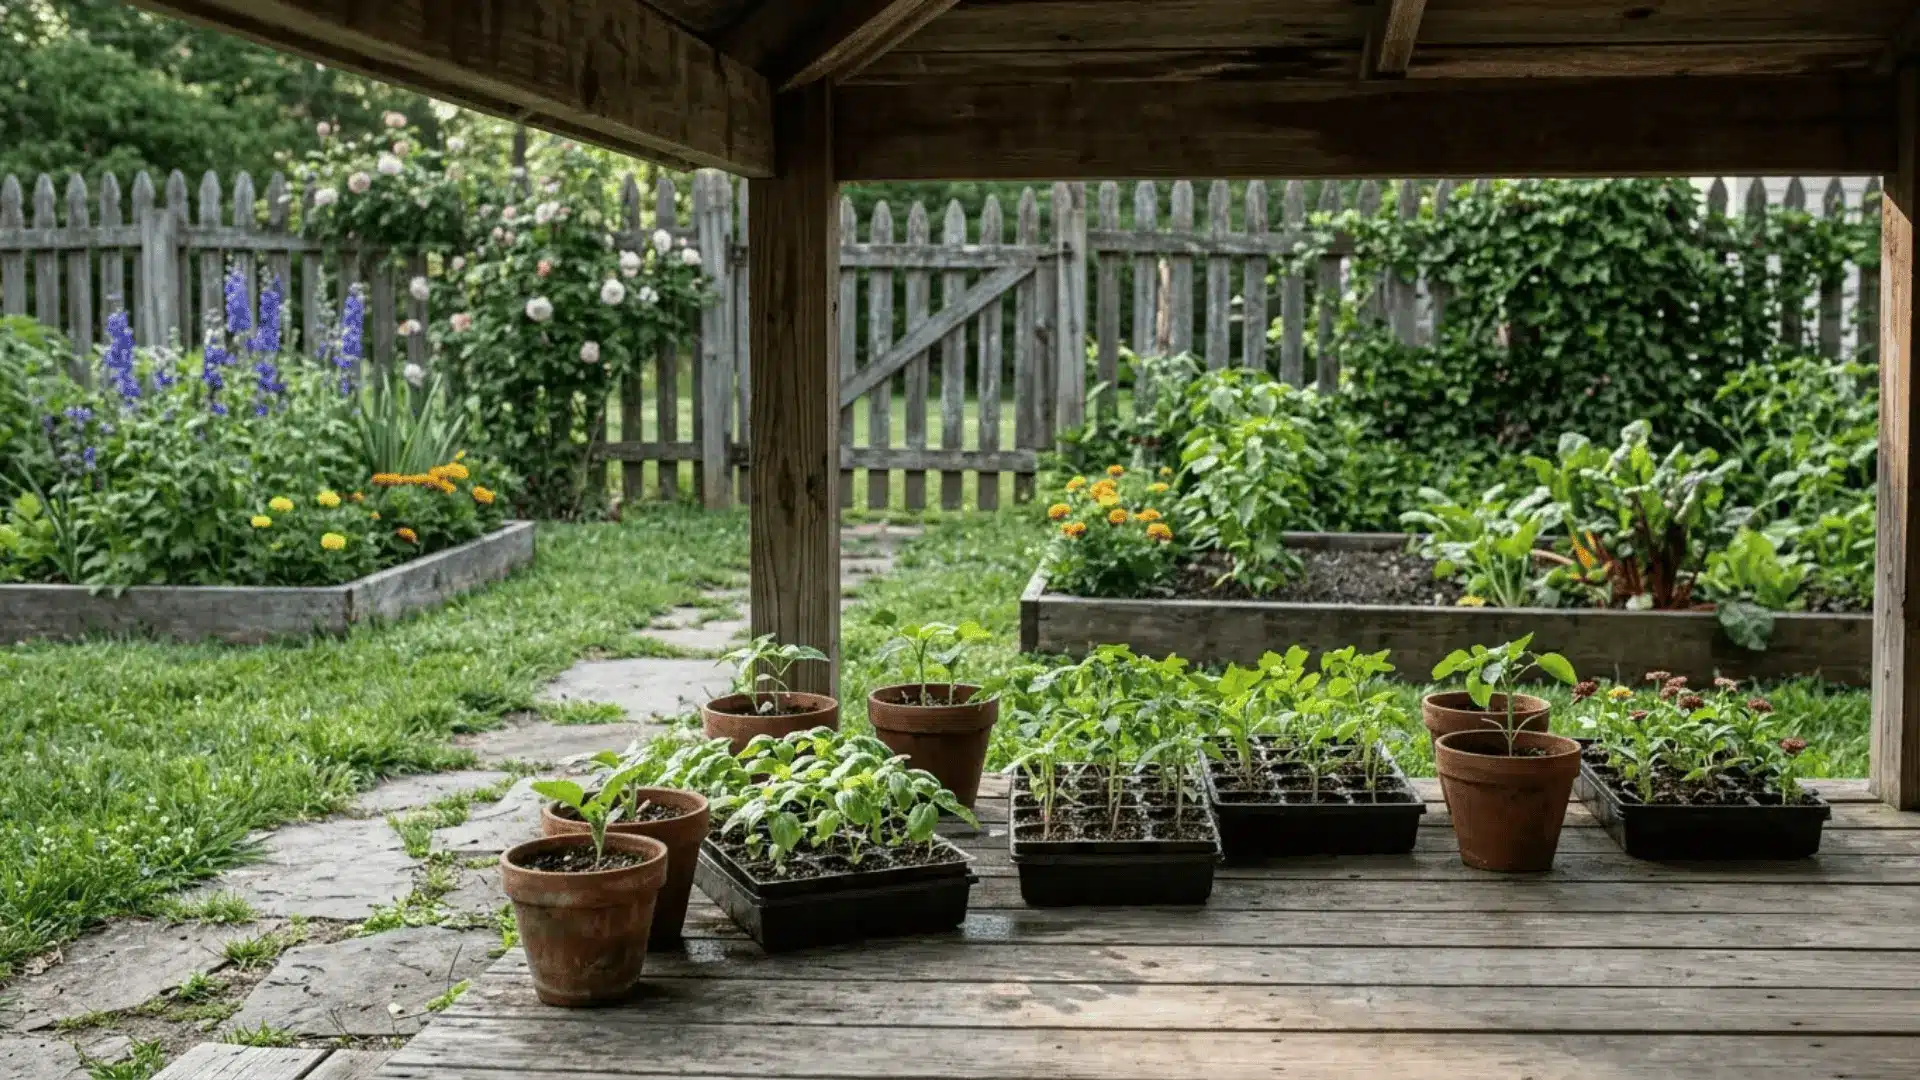
Hardening off is the process of slowly acclimatizing your indoor seedlings to outdoor conditions before they go into the ground permanently.
Indoor-grown plants are used to stable temperatures, filtered light, and still air, and pushing them outside too quickly causes transplant shock, wilting, or worse.
The key is a gradual transition over 7-10 days, giving them a little more outdoor exposure each day until they’re fully adjusted.
- Days 1-2: Set seedlings outside in a shaded, sheltered spot for 1-2 hours, then bring them back in.
- Days 3-4: Increase outdoor time to 3-4 hours, introducing gentle morning sun.
- Days 5-6: Move them into partial sun for 5-6 hours, including some afternoon light.
- Days 7-8: Leave them outside for most of the day in their intended growing conditions.
- Days 9-10: Seedlings can stay outside overnight if temperatures are consistently safe for their variety.
Common Seed Starting Problems
Even the most carefully tended seeds can run into a few hiccups along the way. Here’s a look at the most common issues and what you can do to fix them quickly.
Problem 1: My seedlings are growing tall and spindly instead of short and sturdy.
Solution: This is a classic sign of insufficient light. Move them closer to a grow light or a brighter window, and aim for 14-16 hours of light daily to encourage compact, healthy growth.
Problem 2: I planted my seeds days ago, but nothing has sprouted yet.
Solution: Poor germination usually comes down to soil temperature or seed depth. Check that your mix stays consistently warm between 65-75°F, and verify planting depth against your seed packet instructions.
Problem 3: I’m noticing white fuzzy growth on my soil, and my seedlings are collapsing.
Solution: This is damping-off, a fungal issue triggered by excess moisture and poor airflow. Reduce watering, remove affected seedlings, and run a small fan nearby to improve air circulation.
Tips for Successful Indoor Seed Starting
A few small habits practiced consistently can make a surprisingly big difference in how your seedlings turn out.
- Always start with fresh seeds; older seeds have lower germination rates and unpredictable results.
- Give seedlings 14-16 hours of light daily, using a grow light if natural light is inconsistent.
- Keep temperatures steady between 65-75°F, especially during the critical germination stage.
- Label every tray the moment you sow; seedlings all look the same once they sprout.
- Check moisture levels daily and water only when the top layer of the mix begins to dry out.
Small, consistent efforts early on are what set the foundation for a thriving garden come planting season.
Final Thoughts
Learning how to start seeds indoors is one of those gardening skills that quietly transforms the way you grow.
You start with a tiny seed, a little soil, and some patience, and what follows is genuinely rewarding every single time.
The more you do it, the more intuitive it becomes.
Your garden this season can look completely different from the last, and it all begins right here on your windowsill. Give it a try and see what grows.
Have questions or a seed-starting tip of your own? Drop it in the comments below!
Frequently Asked Questions (FAQs)
How Early Should You Start Seeds Indoors?
Most seeds do best when started 4-8 weeks before your last frost date. Always check your seed packet for variety-specific timing since some plants, like peppers, need a longer head start than others.
Do Seeds Need Light to Germinate?
Most seeds actually germinate in darkness and only need light once they’ve sprouted. A few exceptions, like lettuce and petunias, do require light to germinate, so checking your seed packet is always a good habit.
Can You Start Seeds Indoors Without Grow Lights?
Yes, a bright south-facing window can work well if it receives consistent, direct sunlight throughout the day. That said, grow lights give you far more control and tend to produce sturdier, more even seedlings overall.