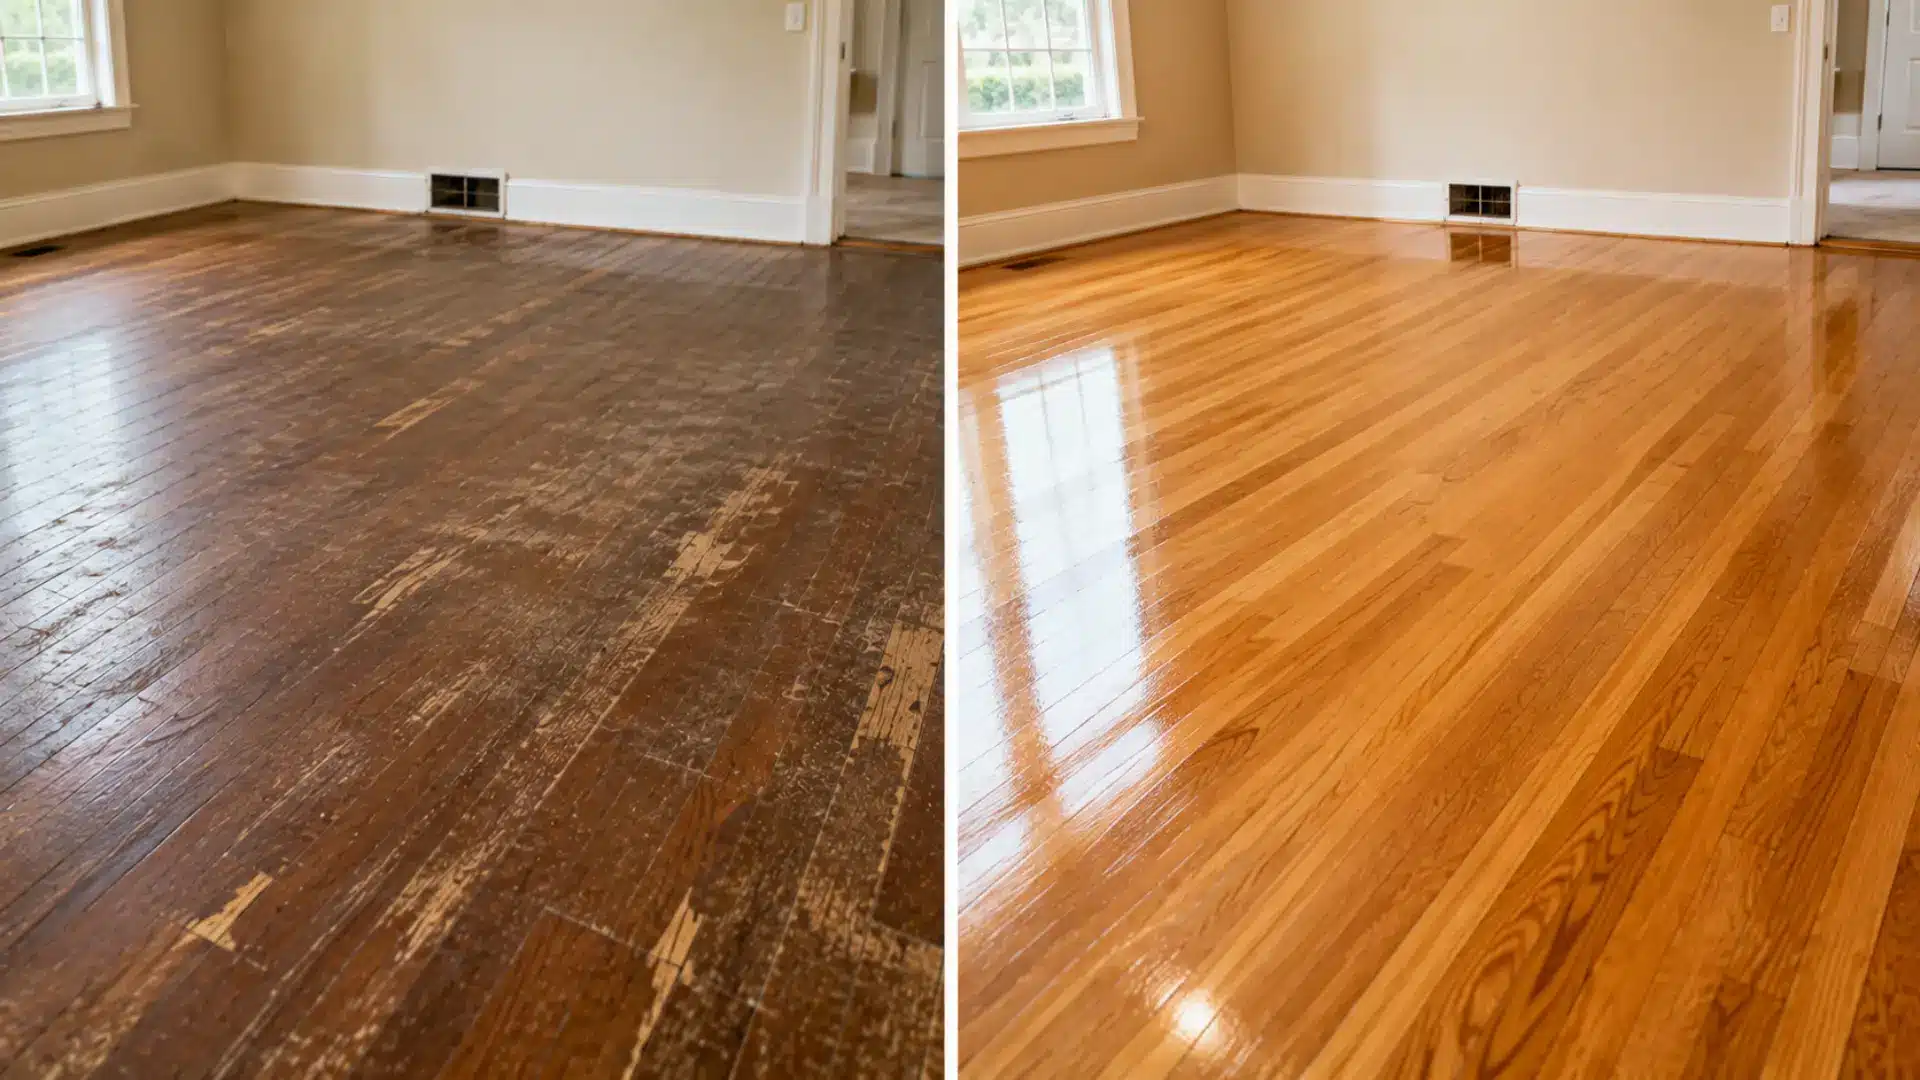
Decks face a lot of sun, rain, and constant foot traffic. Over time, the wood starts to fade, crack, and warp. And if you leave it that way, it only gets worse.
The good news is that staining can restore the deck’s color and protect the wood from further weather damage, which matters if the deck is meant to anchor a backyard outdoor living space rather than just sit there unused.
The project may take a weekend or longer, depending on the deck’s condition, the weather, and how much drying time the wood needs.
This guide walks you through how to stain a deck from start to finish. You’ll learn how to clean and prep the wood, pick the right stain and tools, and apply it the right way, so your deck looks good and lasts for years.
Before You Start Staining the Deck
Check that the wood is dry, clean, and in good condition before you begin. Repair loose fasteners, damaged boards, and peeling finish first.
Choose a dry, mild weather window with no rain expected during the drying period. If your deck sits under a covered patio roof already, you’ll have a bit more flexibility since rain is less of a factor. Select a stain that matches the wood and existing finish, then gather your tools, safety gear, drop cloths, and cleaning supplies.
Protect nearby siding, plants, and surfaces before applying stain. Also check the product label for drying and curing times so you know when the deck can be used again.
Choose the Right Deck Stain
Deck stains vary in color coverage and in how much of the natural wood grain remains visible, so compare the main types before making your choice.
| Stain Type | Wood Grain Visibility | Coverage | Works Well For |
|---|---|---|---|
| Clear or wood-toned | Very high | Light | Newer wood with an even color |
| Semi-transparent | High | Light to medium | Decks where you still want the grain to show |
| Semi-solid | Some | Medium to high | Older decks with uneven color |
| Solid | Very low | Full | Worn decks, patched boards, or mixed wood tones |
Pick the stain that suits the deck’s age, condition, and look, then test it on a hidden board and let it dry before covering the full surface. Matching the tone can also help if you have a wood slat accent wall nearby that ties the indoor and outdoor spaces together.
How to Stain a Deck Step by Step
The process is easier when you follow the steps in the right order. Start by getting your tools ready, then work through the deck one stage at a time so the stain goes on smoothly and lasts longer.
Gather Your Tools and Materials
Most deck-staining projects use basic cleaning, sanding, and painting tools. Having everything ready before you begin will help you avoid delays and apply the stain more evenly.
- Deck cleaner or stain stripper: Removes dirt, mildew, residue, or an old finish.
- Stiff scrub brush: Works the cleaner into the wood.
- Garden hose or pressure washer: Rinses and cleans the deck.
- Orbital sander with 60- or 80-grit sandpaper: Smooths rough areas and removes loose finish.
- Exterior deck stain: Provides the color and finish suited to your wood type.
- Paintbrush: Reaches railings, corners, edges, stairs, and tight spaces.
- Roller or paint pad: Covers large, flat deck boards more quickly.
- Paint tray or bucket: Holds and mixes the stain while you work.
- Painter’s tape and drop cloths: Protect siding, walls, plants, and nearby surfaces.
- Protective gloves, safety glasses, and old clothing: Keep stain and cleaner off your skin, eyes, and clothes.
- Cleaning rags: Wipe spills, remove excess stain, and help with cleanup.
Step 1. Inspect and Repair the Deck
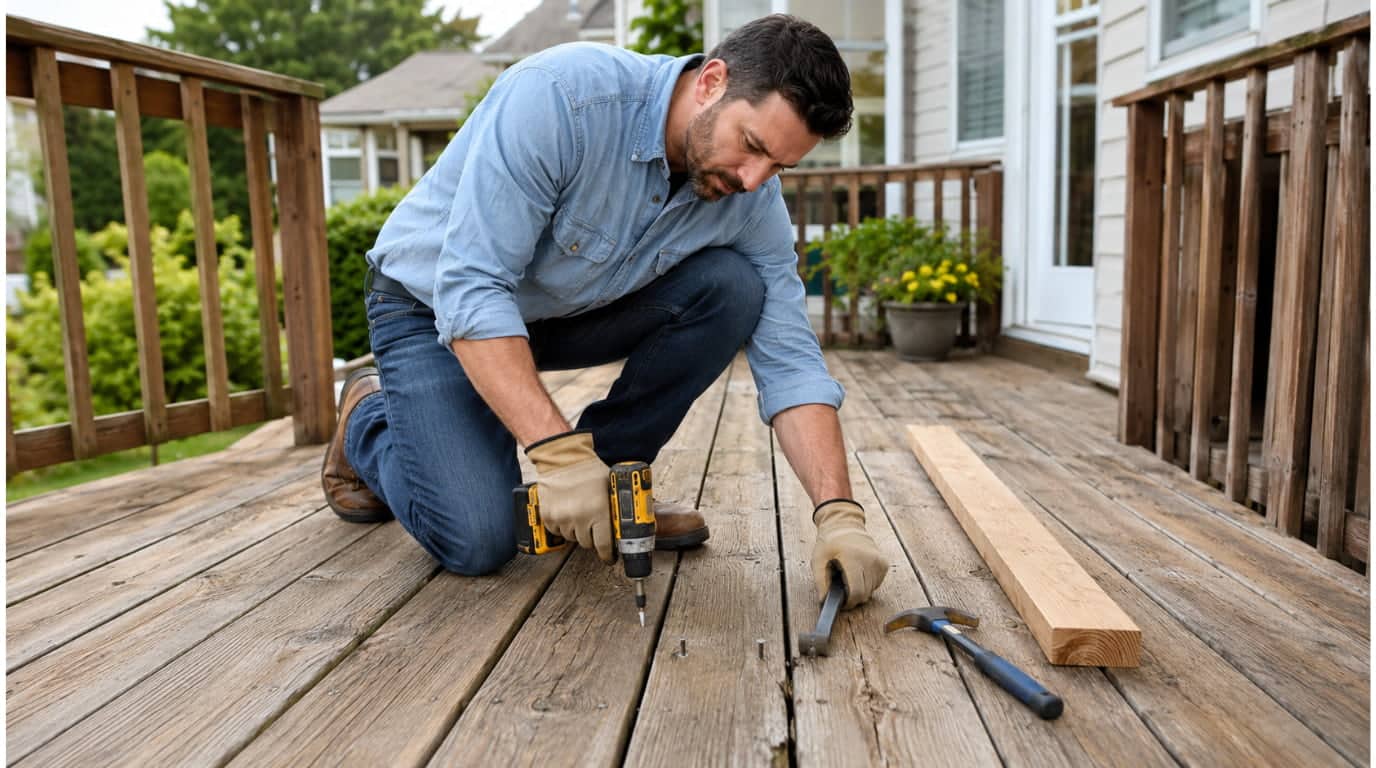
Walk the deck and look closely for wood damage. Replace any boards that are broken, rotted, or warped. Check for raised nails, loose screws, and rough spots, and fix them before you clean.
Small repairs now save you from bigger problems once the stain goes on. If your yard also has an aluminum privacy fence bordering the deck area, this is a good time to check its panels too, since fasteners and hardware near the deck tend to loosen together.
Step 2. Clean, Strip, and Dry the Wood
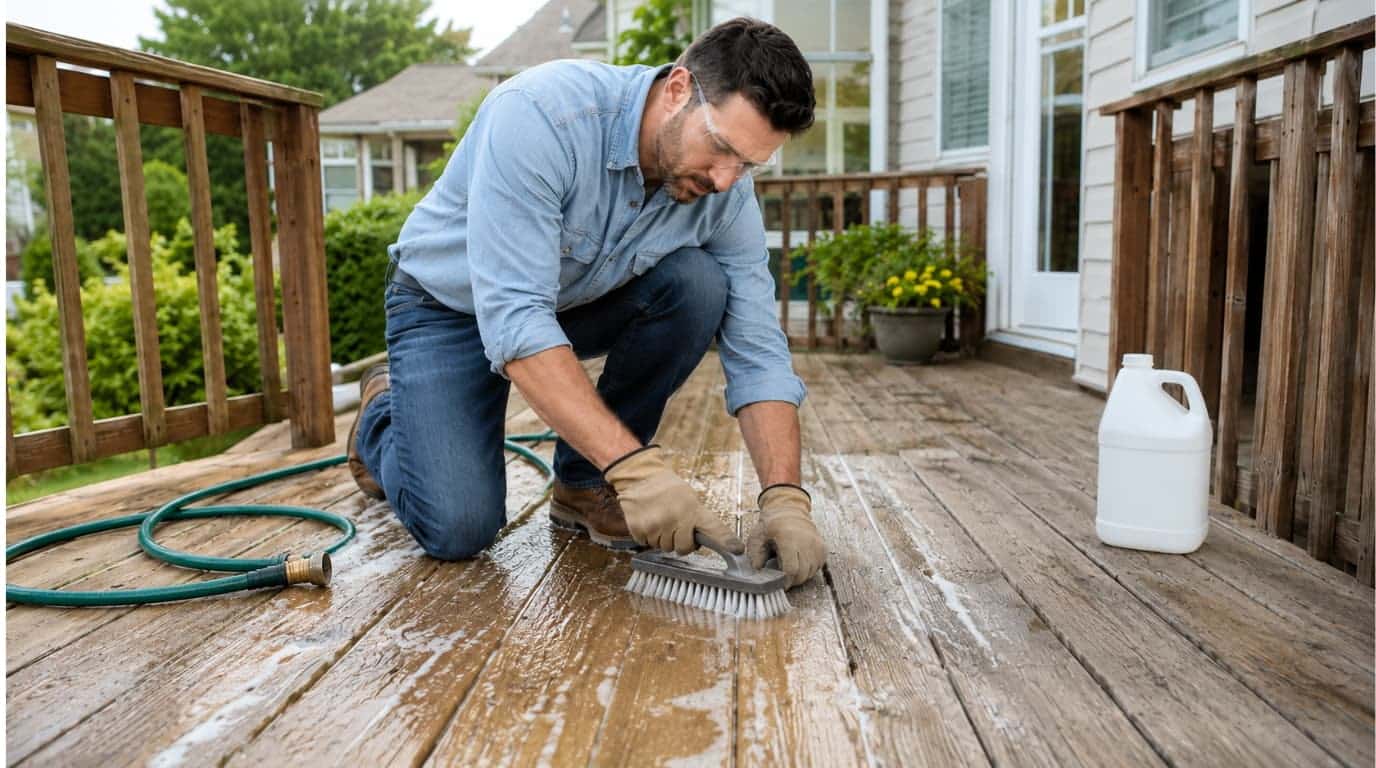
Move furniture and potted plants off the deck, then sweep away leaves and debris. Apply a deck cleaner and let it sit for about 15 minutes, then scrub it into the wood with a brush. If the old finish is peeling or you’re unsure what type of stain is already there, strip it first.
Rinse the deck with a hose or pressure washer, spraying with the grain of the wood. Then let the deck dry fully. This can take a day or two, so plan ahead. Damp wood won’t hold stain well and can crack or peel later.
Step 3. Sand and Test the Surface
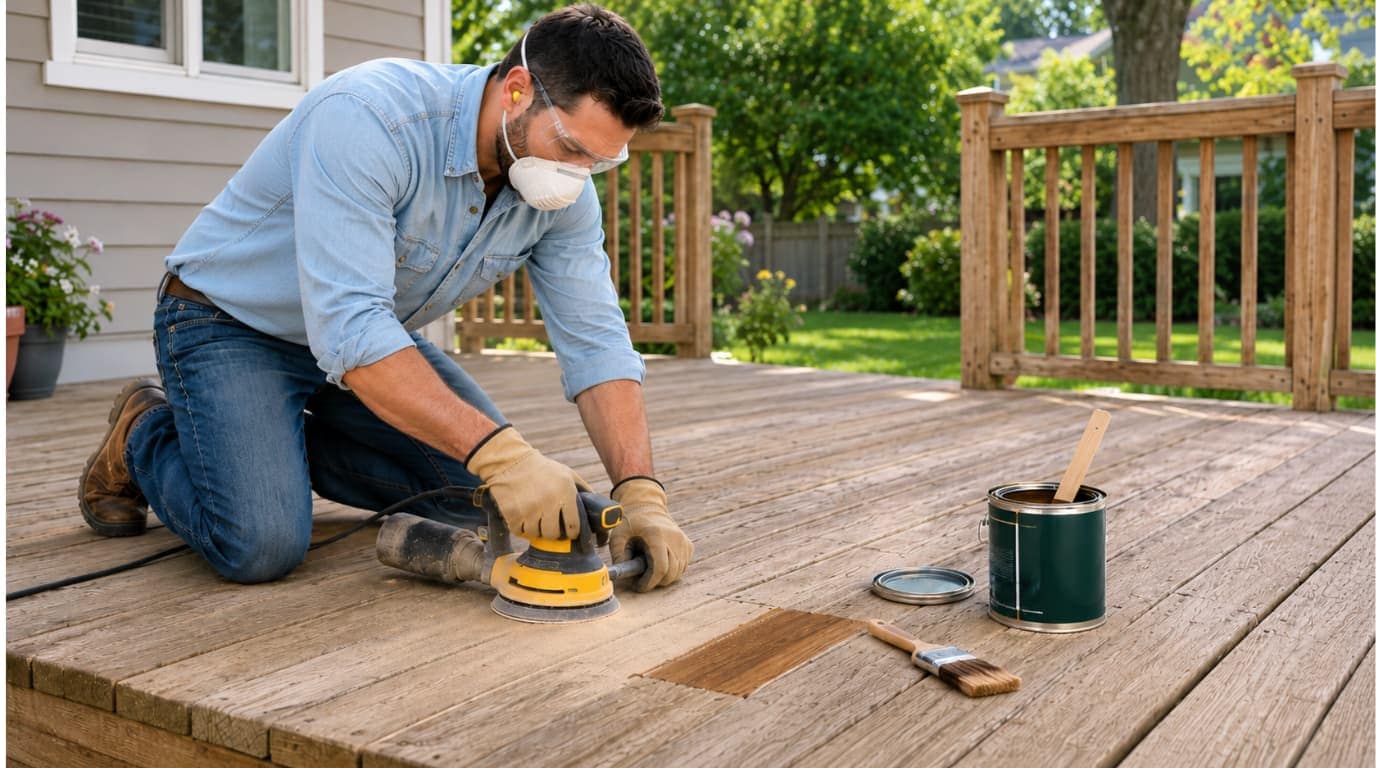
Once the deck is dry, sand away any rough patches, raised grain, or leftover residue with an orbital sander. Before you commit to the whole deck, test the stain on a small, hidden spot and let it dry so you can check the color.
If you’re using more than one can, stir each one well and mix them together in a larger container. This keeps the color even across the entire deck, especially on larger jobs.
Step 4. Apply the Stain in the Right Order
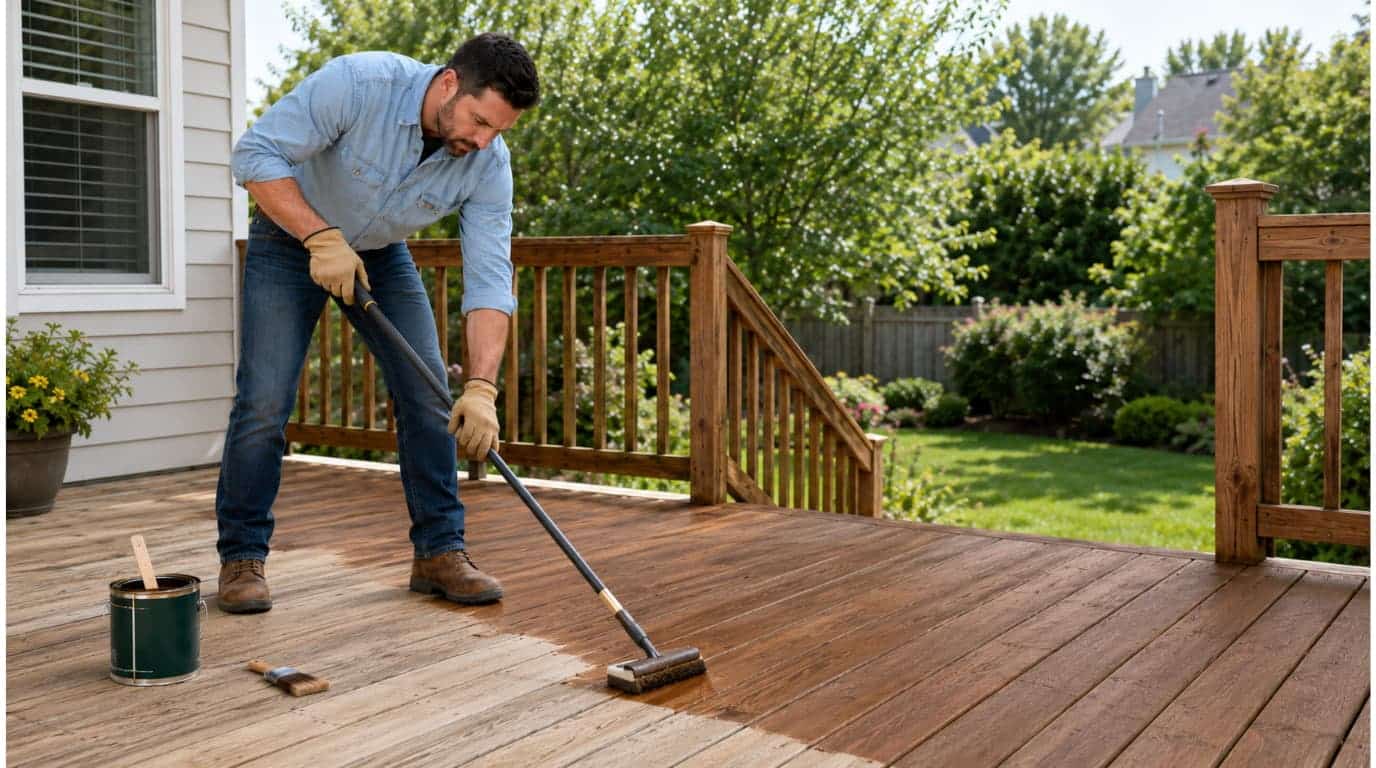
Start with the railings, posts, and balusters using a brush or hand-held pad. Use long, even strokes, and cover both the inner and outer sides of any stair railings.
Next, move to the deck boards. Work two or three boards at a time, heading toward your exit, a door or the stairs, so you don’t trap yourself on wet stain. Keep the leading edge wet and blend wet stain into wet stain as you go to avoid lap marks.
Finish with the stairs, edges, cracks, and the end grain of the boards, using a brush to reach tight spots a roller can’t.
Step 5. Let the Deck Dry
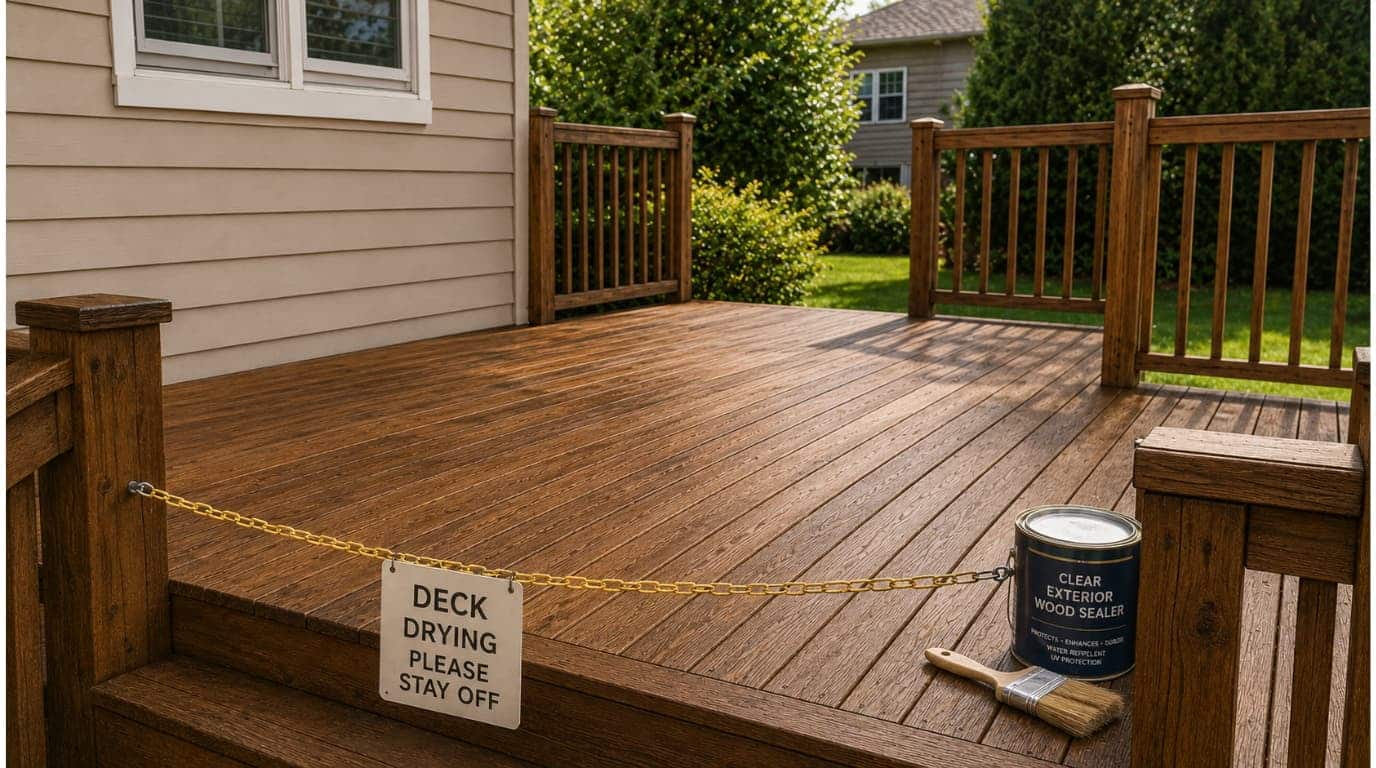
Check the product label for drying time. This is usually at least 24 hours, though it can vary by brand. Keep people, pets, and furniture off the deck during this time, and try to avoid rain until the stain has fully cured.
Some stains already include a sealer. If yours doesn’t, add a separate coat of sealant once the stain has dried, for extra protection against fading and wear.
Tips to Maintain a Stained Deck
Regular care can help the stain last longer and keep the wood in better shape between full staining jobs.
| Maintenance Task | How Often | Why It Helps |
|---|---|---|
| Sweep away leaves and dirt | As needed | Stops debris and moisture from sitting on the wood |
| Wash the deck with a suitable cleaner | Once or twice a year | Removes dirt, mildew, and surface buildup |
| Test whether water still beads on the surface | Once a year | Shows whether the stain is still helping repel moisture |
| Move planters and furniture | Every few months | Helps prevent trapped moisture and uneven fading |
| Clean spills soon after they happen | As needed | Lowers the chance of marks and stains |
| Watch for fading, peeling, or dry-looking areas | Once a year | Helps you spot when the finish may need attention |
If the finish still looks even and repels water, the deck may only need a good cleaning instead of another coat of stain.
Common Deck-Staining Mistakes
Even a careful job can go wrong if you skip a few key steps. Here are the mistakes to watch for.
- Staining wood that is still damp: Stain applied to damp wood may not bond well and can crack or peel soon after. Let the deck dry fully before you begin.
- Applying stain in direct sunlight: Direct sun can dry the stain too fast, making it harder to blend and more likely to leave lap marks. Work when the deck is shaded, or the sun is less intense.
- Ignoring the rain forecast: Fresh stain needs time to dry before it can handle moisture. Check the forecast and avoid staining if rain is expected during the drying period.
- Skipping surface repairs: Raised nails, loose screws, and damaged boards should be fixed before cleaning and staining. Covering them with stain will not solve the problem.
- Applying too much stain: A heavy coat can stay sticky, crack, or peel after it is exposed to moisture. Apply thin, even coats and follow the product label before adding another one.
- Letting the leading edge dry: If the edge dries before you move to the next section, visible lap marks may form. Keep the edge wet and blend new stain into it as you work.
- Skipping the color test: Stain may look different after it dries. Test it on a small, hidden area and let it dry fully before staining the whole deck.
Frequently Asked Questions
Can You Stain Over Old Deck Stain?
Yes, but check the type first. Oil-based and water-based stains don’t mix, so you can’t put a water-based stain over an oil-based finish, or the other way around. Test a hidden spot with deck stripper — if the old stain wipes off, it’s water-based; if it stays, it’s oil-based. Oil-based stains can be recoated after a good cleaning.
Do You Need to Seal a Deck After Staining?
It depends on the stain you use. Some stains already include a sealer. If yours doesn’t, adding a separate coat of sealant helps protect the deck even more and keeps it looking good for longer.
Is One or Two Coats of Deck Stain Better?
For most jobs, one thin, even coat is enough. On new decks, stick to a single coat of oil-based finish. Applying too much stain can leave the surface sticky, or cause it to crack or peel later, so check the product label rather than assuming two coats are needed.
Can You Pressure-Wash a Deck Before Staining?
Yes, pressure washing is a good option for cleaning and prepping a deck, especially older ones. If you use a pressure washer, fit it with a 45-degree tip set between 1,200 and 1,400 psi, and spray with the grain of the wood.
How Long Should a Deck Dry After Washing?
Give the deck at least a day or two to dry fully before staining. Damp wood won’t let the stain bond properly, which can lead to cracking or peeling down the line. If your deck is new and built with pressure-treated lumber, it may need two to four months to dry before it’s ready for stain.
What Happens If It Rains After Staining?
Rain can ruin a fresh coat of stain before it has time to cure. That’s why it’s best to check the forecast first and avoid staining if rain is expected within the next 12 to 24 hours, which is the typical curing window most finishes need.
How Often Should You Stain a Deck?
Plan to reapply deck stain every three to five years. This keeps the wood protected from the weather and helps your deck hold on to its color and finish.
Key Takeaway
Learning how to stain a deck starts with clean, dry wood, the right weather conditions, and a thin, even coat of stain. Taking time with the prep work helps prevent peeling, sticky areas, and lap marks while giving the boards better protection from moisture, sunlight, and daily use.
In my experience, the biggest mistake is rushing the early steps and focusing only on the stain itself. Check the wood, test the color on a hidden board, and follow the product directions before you cover the full deck.
Once the stain has dried, regular cleaning and quick attention to fading or worn spots can help the finish last longer. With the right preparation and technique, you can achieve a smooth, long-lasting result when learning how to stain a deck.
Drop a comment below and let me know which part of the deck-staining process worked best for you.