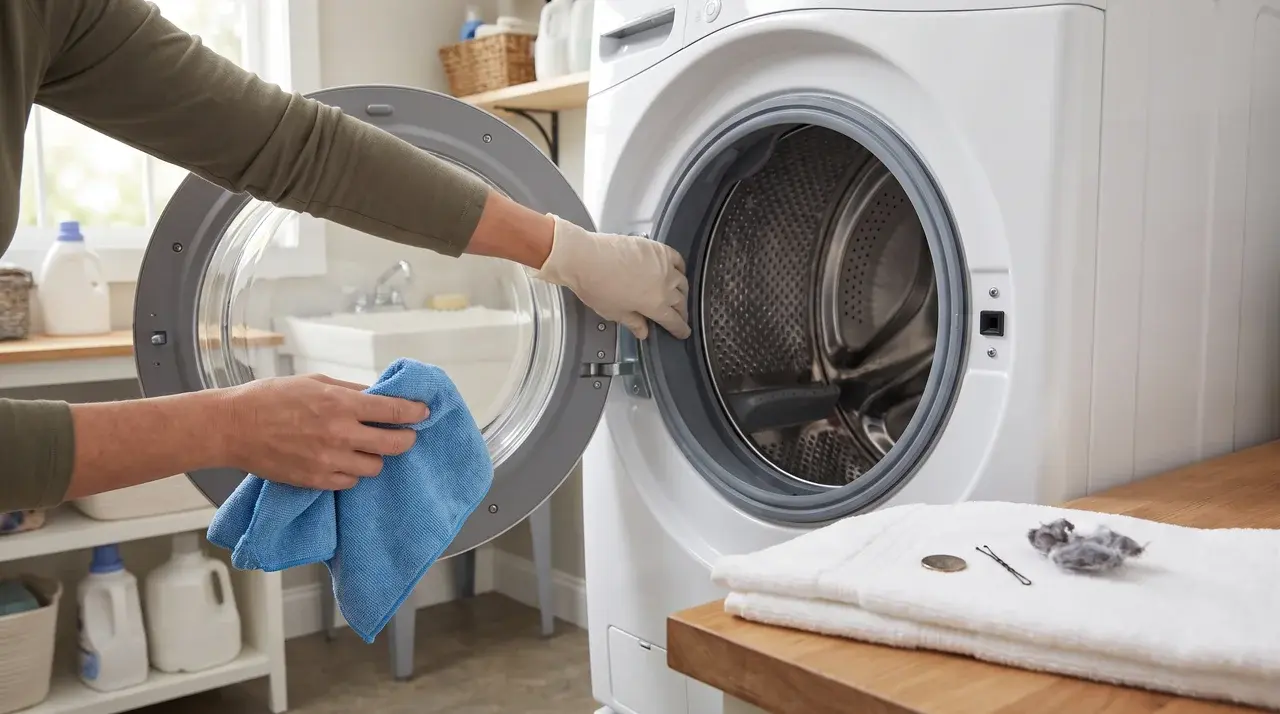
Your washing machine is not as clean as you think. Even after every wash, leftover soap, hair, and damp buildup sit inside the drum, gasket, and drain filter.
Over time, that turns into mold, mildew, and a smell that will not go away no matter how many loads you run.
So how to clean a washing machine the right way? The fix is simpler than it sounds. Run an empty, hot cycle with two cups of white vinegar or a washer cleaner. Wipe down the rubber seal and detergent drawer. Then clear out the drain filter.
Here we’ll walk through each step, so your washer stays fresh, and your clothes come out actually clean, not just soaked in more dirty water.
The 5-Minute Washing Machine Cleaning Checklist
Short on time? Run through this checklist first, then come back for the full steps later.
- Empty the washer completely.
- Wipe the detergent drawer, rubber gasket or lid, and the visible parts of the drum.
- Clear out any buildup from the drain filter.
- Run an empty cycle on a hot or dedicated cleaning setting with an approved cleaner.
- Wipe the machine down and leave it open to dry.
That covers the basics, but it won’t catch everything. Odors often hide in the gasket, the drawer, the filter, or water sitting somewhere it shouldn’t. Before you reach for vinegar, bleach, or any other cleaner, check your washer’s manual, since not every machine handles the same products the same way.
Ready for the full breakdown? Here’s what you’ll need and the complete six-step process.
How to Clean a Washing Machine: Step by Step
These six steps cover the entire machine, not just the drum. Skipping any one of them is usually why a washer still smells clean on the outside but musty on the inside.
Tools or Materials Required
- Microfiber cloths
- Old toothbrush
- Warm water
- Mild dish soap
- Towels
- Shallow tray
- Gloves
- Manufacturer-approved washer cleaner
- White vinegar, baking soda, oxygen bleach, or cotton swabs (optional, if your manufacturer allows them)
Before you start: Never mix bleach with vinegar or ammonia, skip abrasive scrubbers on the drum or gasket, and stick to one product per cycle. Check your manual first so you know where the filter, dispenser, and cleaning cycle setting are on your model.
Step 1: Empty and Inspect the Washer
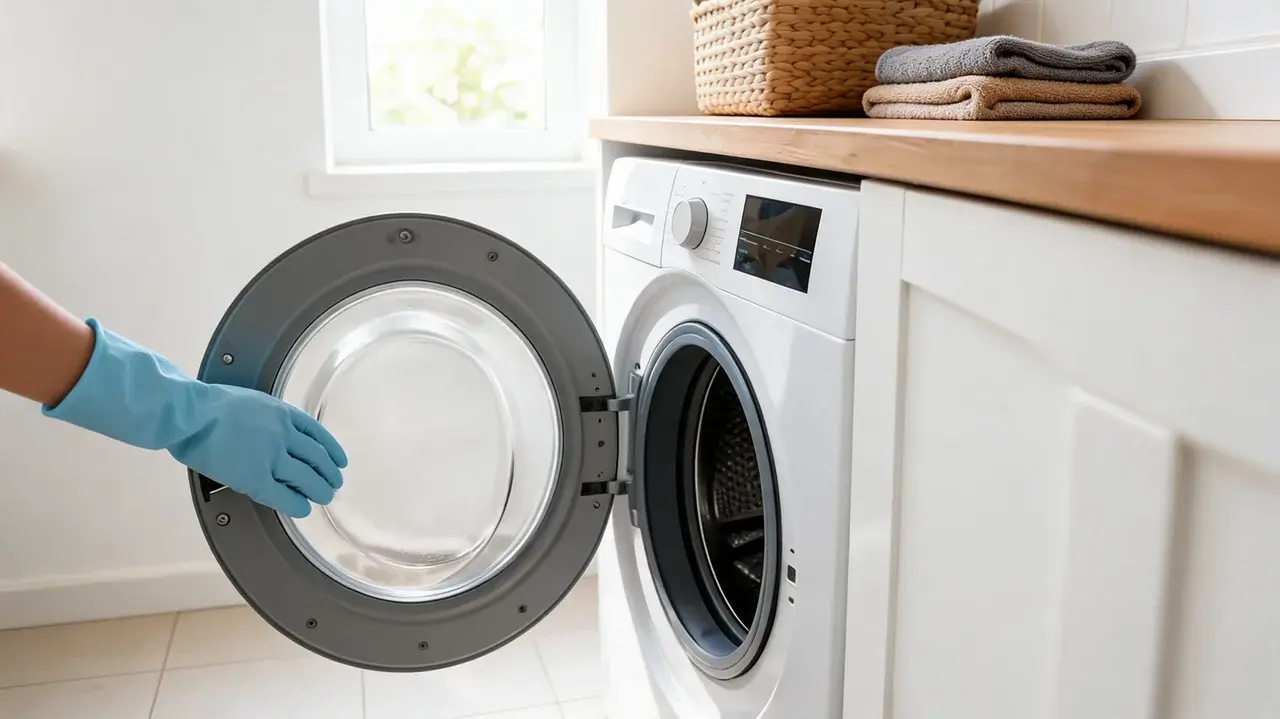
Start by removing all clothing and laundry items, then check the drum for coins, tissues, hair, lint, and any other stray debris.
While you’re in there, look closer. Dark spots, a filmy residue, standing water, or an odd smell are all signs of buildup. Check the folds of the gasket and the space around the agitator too, since debris likes to hide in both.
Clear out anything loose by hand or with a damp cloth. This quick inspection tells you which areas need extra attention in the steps ahead.
Step 2: Clean the Detergent Drawer and Dispensers
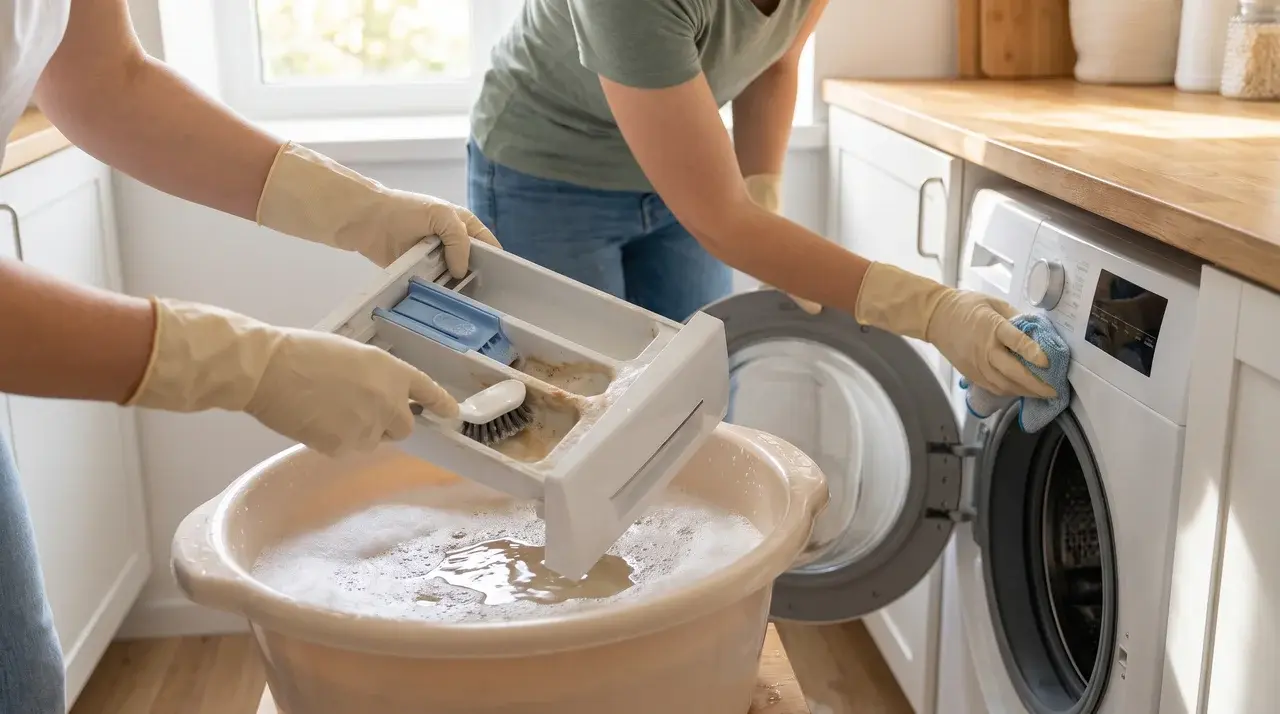
If your machine allows it, remove the detergent drawer or dispenser parts and soak them in warm water with a bit of mild dish soap.
Once they’ve soaked, scrub away hardened detergent and fabric-softener residue, paying attention to corners and openings where water can get in. Clean the compartment the drawer sits in too, not just the drawer itself. Rinse everything, dry it, then put it back.
This step matters more than it looks. Leftover residue in the drawer can wash straight back into the drum and cause odors, which undoes a lot of the work you just did.
Step 3: Clean the Gasket, Lid, Tub Rim, and Agitator Area
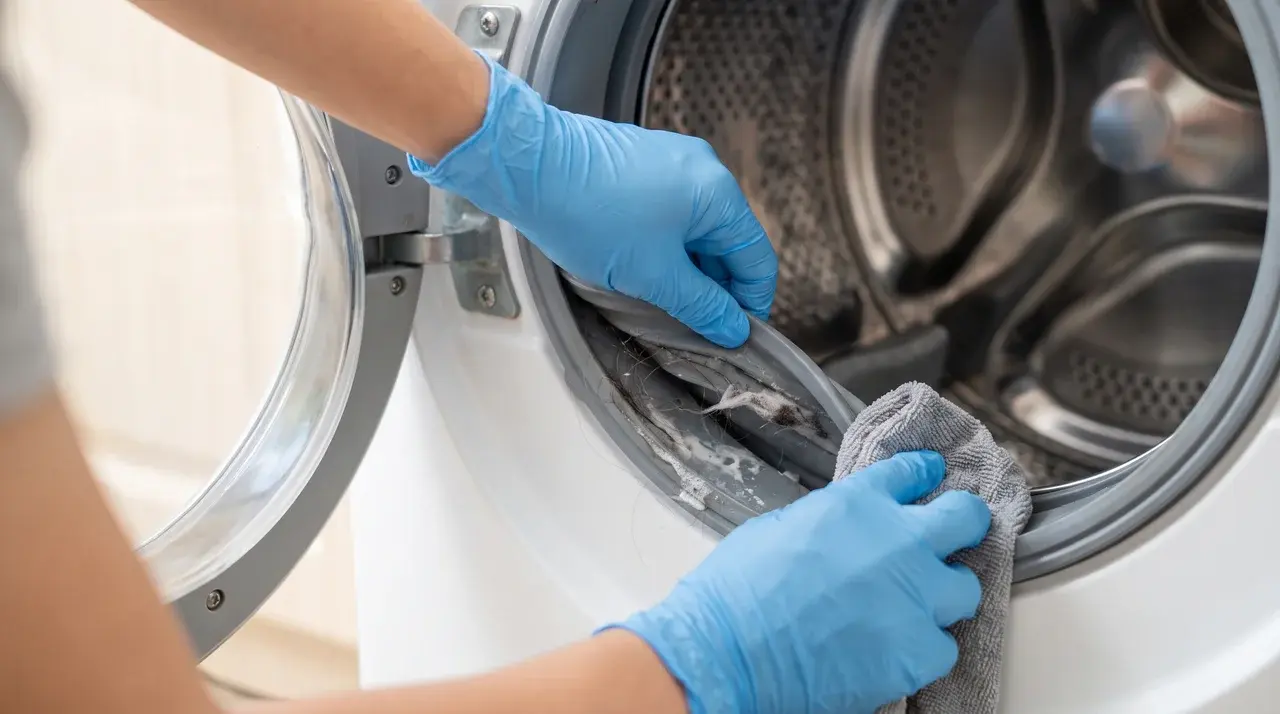
A peer-reviewed study on household washing machines found mold in 82% of the machines tested, and the rubber door seal was the most commonly affected spot. So this step is worth doing carefully, not rushing through.
Where your focus depends on your washer type. Front-load machines need attention on the rubber door gasket and the door glass. Top-load machines need it around the tub rim, the underside of the lid, and the agitator or impeller.
Pull back the gasket folds gently and check inside them, since that’s where hair, lint, detergent residue, and trapped water tend to collect.
A soft brush works well for seams and narrow gaps. Avoid pulling or tugging on rubber parts, since they tear more easily than they look. Dry the area fully before you move on to the filter.
Step 4: Clean the Drain Filter and Remove Trapped Debris
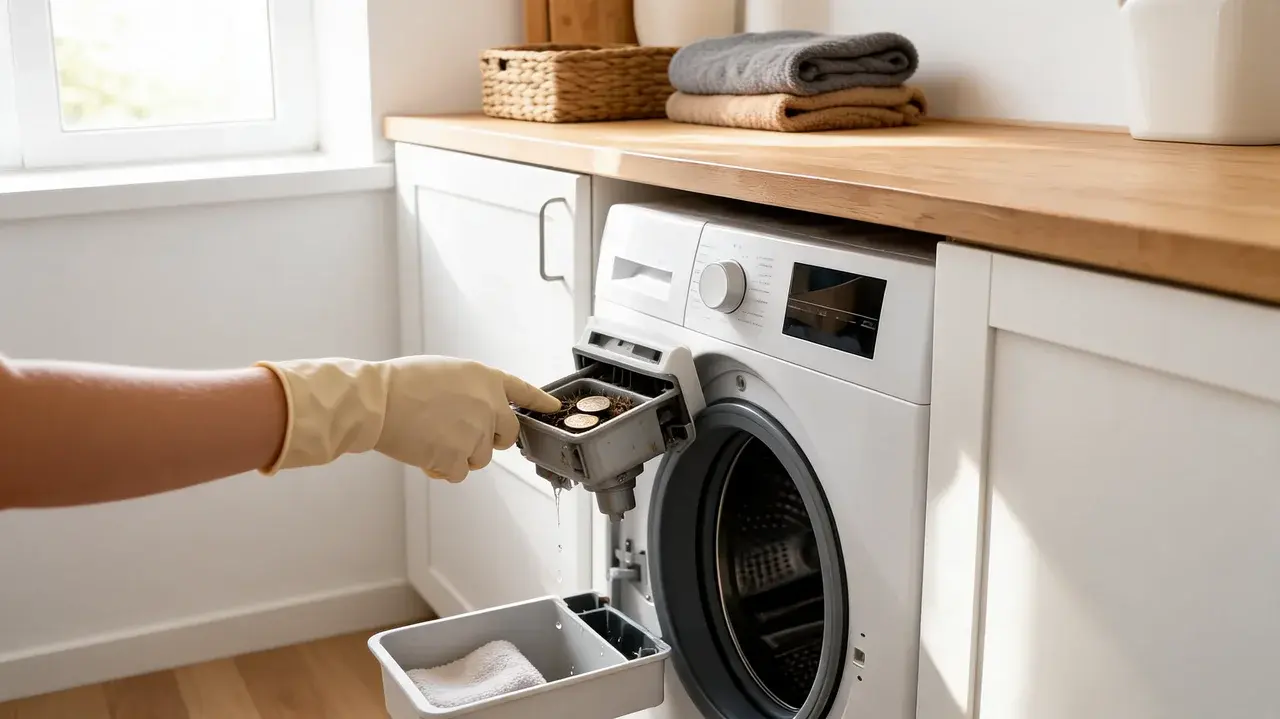
Find your filter using the washer manual, since its location varies by model. On many front-load machines, it sits behind a small panel near the bottom front. Place towels and a shallow tray underneath before you open it, because water will come out.
Drain any remaining water slowly, then remove the filter itself. You’ll likely find lint, hair, coins, buttons, or sludge. Clear it all out, rinse the filter under running water, and wipe inside the filter opening with a damp cloth while it’s out.
Reinstall the filter securely. A loose filter can leak, which creates a new problem on top of the one you just fixed.
Step 5: Run an Empty Cleaning Cycle
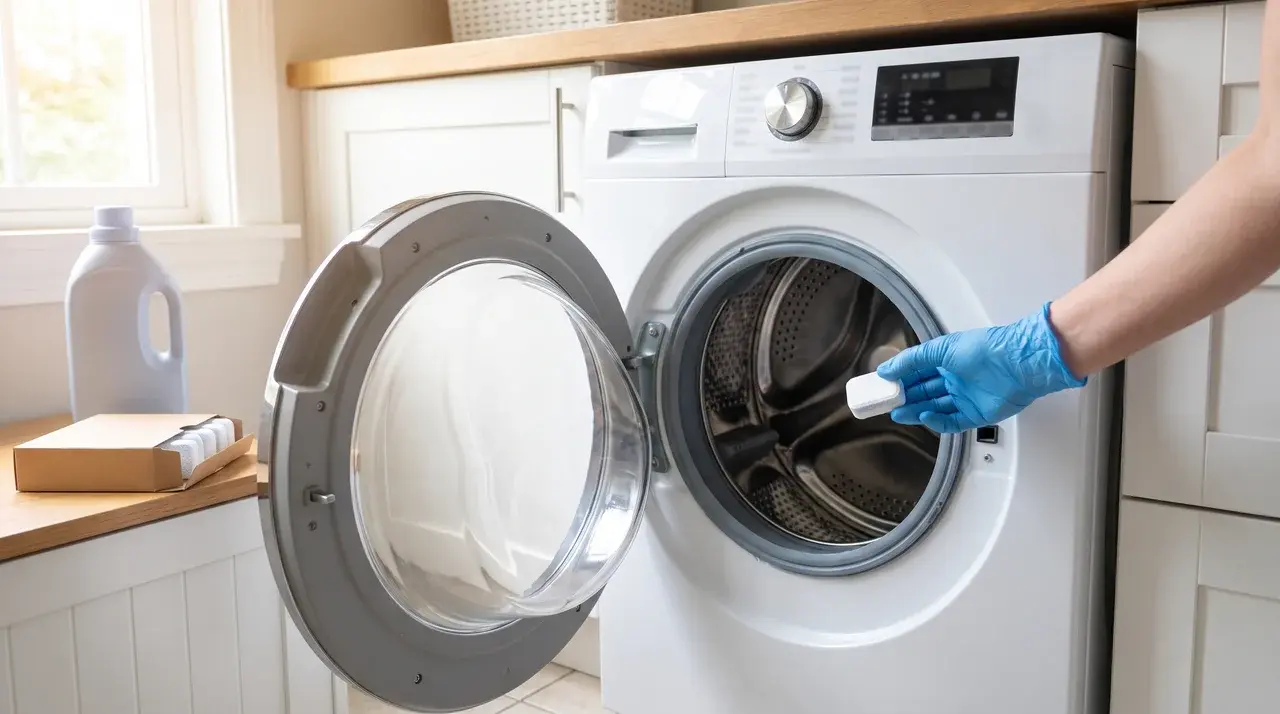
Select Tub Clean, Self Clean, Clean Washer, or the hottest empty cycle your machine offers.
Add the amount of washer cleaner your manufacturer recommends, placing it either in the drum or the dispenser depending on the instructions. Don’t add laundry to this cycle. Let it run the whole way through without stopping it early.
One important warning here: never mix vinegar and baking soda in the same step, and never combine homemade cleaners with commercial tablets or bleach. Once the cycle ends, check the drum. You’ll often see loosened residue that the cycle knocked free.
Step 6: Wipe and Air-Dry the Washing Machine
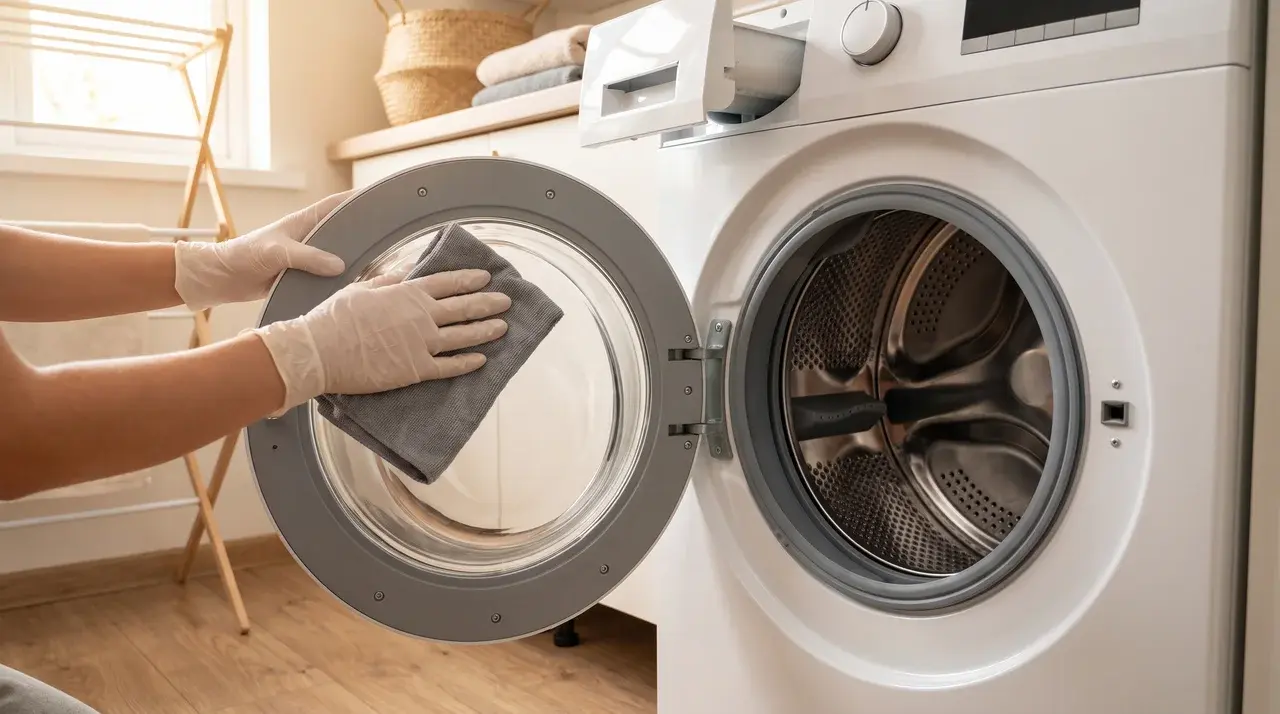
Wipe down the drum, the gasket, the door glass, the lid, and the dispenser compartment. Don’t forget the control panel and the exterior, either, since a damp cloth handles both easily.
Dry everything you can reach. Then leave the door or lid open, and keep the detergent drawer cracked slightly until everything inside is fully dry.
This last step matters more than people think. Full drying is what keeps moisture, mildew, and musty smells from coming right back after all that work.
Cleaning a Front-Load vs. Top-Load Washing Machine
The two washer types collect grime in different places. Front-load washers trap moisture around the gasket and filter, since the tight door seal doesn’t air out easily.
Top-load washers build up residue around the tub rim, dispensers, and agitator, where water and detergent settle after each cycle.
|
Area |
Front-Load Washer |
Top- Load Washer |
|
Main odor area |
Rubber gasket |
Tub rim or agitator |
|
Filter |
Often behind a lower panel |
Varies by model |
|
Dispenser |
Pull-out drawer |
Removable cups or built-in compartments |
|
Hidden buildup |
Gasket folds and door edge |
Under lid and around agitator |
|
Drying method |
Leave door open |
Leave lid open |
Check your manual to see which of these apply to your specific washer, since front-load and top-load designs don’t share every part.
Which Washing Machine Cleaner Should You Use?
The safest answer is the simplest one: use a cleaner approved for your specific washer model. Manuals exist for a reason, and cleaner compatibility is one of the main ones.
That said, most people already have more than one option sitting in their cabinet. Here’s how the common choices compare.
- Commercial washer cleaner: Best for routine monthly cleaning. It’s pre-measured, so there’s no guesswork involved, though it doesn’t replace the manual work of cleaning the filter and gasket by hand.
- White vinegar: Can help with light odors and some mineral residue, but should only be used when your manufacturer allows it. Frequent use may not suit every rubber seal or internal part.
- Baking soda: May reduce mild smells, though it won’t sanitize the washer or clear a clogged filter. Never mix it with vinegar in the same cleaning step.
- Oxygen bleach: May help with organic residue and staining. It needs to be measured correctly and should only be used when your washer is suitable for it.
- Chlorine bleach: May be used for sanitizing, but only when the manual allows it. It requires proper ventilation and thorough rinsing afterward, and must never be mixed with vinegar or ammonia.
How to Remove Odor, Mold, and Detergent Buildup
Not all buildup is the same, and treating it like it is usually means cleaning the wrong thing. Here’s how to handle each type on its own.
| Problem | Step 1 | Step 2 | Step 3 |
|---|---|---|---|
| Musty Odor | Check the gasket, drawer, filter, and any standing water first, since one of those is almost always the source. | Run an approved cleaning cycle once you’ve cleared what you can by hand. | Dry the washer completely afterward. A damp machine is how the smell comes right back. |
| Mold Around the Gasket | Clean inside every fold, not just the parts visible without pulling the rubber back. | Use a mold-cleaning solution your manufacturer approves. | Wear gloves and ventilate the room while you work. |
| Detergent and Fabric-Softener Buildup | Soak and scrub the dispenser first, then wipe down the drum and gasket. | Use less detergent going forward. | Switch to HE detergent if you have a high-efficiency washer, since regular detergent builds up faster in those machines. |
| Hard-Water Deposits | Look for a white or chalky film, the usual sign of hard water. | Use a descaling product suited to your washer. | Avoid scraping deposits off with anything metal, since that risks scratching surfaces that are hard to repair. |
Note on mold: black staining can remain even after the surface is clean. That’s not a sign you did something wrong, just a sign the mold had already set in.
Whatever the problem, the fix is the same in principle: clean the actual source of the buildup, not just run cycle after cycle and hope it goes away on its own.
Why Does Your Washing Machine Still Smell After Cleaning?
If the smell won’t go away even after a full clean, one of two things is happening: you missed the real source, or there’s a drainage problem.
Check the basics first. A clogged filter, water sitting in the pump or drum, or a blocked drain hose can all trap smells even when everything looks clean.
Mold is another common cause. It often hides behind the gasket where a wipe can’t reach, and the detergent drawer can hold onto residue too. Using too much detergent for each load makes this buildup worse over time.
Sometimes the problem isn’t the washer at all. Laundry left sitting too long can start to smell on its own, and occasionally the odor is actually coming from your home’s plumbing, not the machine.
If the smell keeps returning after a proper clean, that usually means it’s time for an inspection, not another wash cycle.
Common Washing Machine Cleaning Mistakes
A few habits can undo good cleaning work, or even damage the machine. Here’s what to watch for:
- Mixing cleaning products: Chemical combinations may create dangerous fumes.
- Using too much cleaner: Excess product may leave another layer of residue behind.
- Cleaning only the drum: The drawer, gasket, filter, and lid also collect buildup, and skipping them leaves the smell’s real source untouched.
- Ignoring the washer manual: Cleaner and cycle instructions vary by model, so what works for one washer may not suit another.
- Using rough scrubbers: Abrasive tools can scratch the drum or tear the gasket.
- Forgetting the filter: A dirty filter can cause drainage trouble and recurring smells, even after everything else is spotless.
- Closing the washer while damp: Trapped moisture encourages mildew to come right back.
- Using regular detergent in an HE washer: Extra suds may leave a new layer of residue.
- Removing fixed parts without guidance: This may damage the washer or affect its warranty, so check the manual first.
Safe, consistent cleaning gets better results than reaching for stronger chemicals or more product.
Signs Your Washer Needs More Than a Deep Clean
Some washer problems can’t be fixed with another cleaning cycle, no matter how thorough it is. If you’re seeing any of the following, cleaning isn’t the answer anymore.
Watch for these signs:
- Water doesn’t drain at all
- Water remains in the drum after every single wash
- The washer leaks from underneath
- The drain pump makes a grinding or rattling sound
- A burning smell shows up during a cycle
- The machine stops partway through cycles
- The gasket is torn or visibly damaged
- Mold is growing behind fixed parts you can’t reach or remove
- The smell comes back immediately after a full clean
- Clothes come out still dirty or soapy after a complete cycle
Grinding sounds or mid-cycle stops usually need an appliance technician. Drain or sewer odors point to a plumbing issue instead.
If your washer is still under warranty, start with manufacturer support. If you notice leaking, a burning smell, or anything electrical, stop using the washer right away.
How Often Should You Clean Your Washing Machine?
Wipe down wet areas after every load, clean visible residue weekly, run a full cleaning cycle monthly, and inspect the filter every one to three months.
Clean more often if you have a large family, use the washer daily, wash pet bedding or muddy clothes regularly, use fabric softener often, have hard water, or already notice odor or residue.
If your washer has a built-in cleaning alert, follow that over any general schedule; it knows your machine’s specific needs better than a general timeline can.
Frequently Asked Questions
Can you clean a washing machine without a cleaning cycle?
Yes, to a point. Wiping down the gasket, drawer, and drum by hand removes a lot of surface buildup on its own. But a full cleaning cycle reaches the areas hand-cleaning can’t, like the inside of the pump and the parts of the tub you can’t physically get to, so it’s still worth running one from time to time rather than relying on wiping alone.
Can dishwasher tablets clean a washing machine?
It’s not recommended. Dishwasher tablets are made to dissolve at higher temperatures than most washing machines reach, so they often don’t fully dissolve and can leave residue behind. They can also create excess suds in high-efficiency machines, which may trigger sensor issues or cause overflow. A commercial washer cleaner or an approved alternative like vinegar is the safer choice.
Should you clean a new washing machine before using it?
Yes. New machines are tested at the factory before shipping, and it’s common for a small amount of water or manufacturing residue to remain inside. Running an empty hot cycle before your first load clears that out and gives you a chance to check that everything is working correctly.
Final Thoughts
Your washing machine was never as clean as it looked, and now you know exactly why. Knowing how to clean a washing machine properly, from the drawer to the drain filter, makes the difference between laundry that just smells “washed” and laundry that’s actually clean.
That’s the “so what” of all this. A few minutes each month saves you from musty towels, mystery stains, and eventually a bigger repair bill down the line.
So don’t let this sit as another tab you meant to get back to. Check your manual, find your filter, and run one cleaning cycle this week. Once that habit sticks, everything else here becomes easy to maintain.
What’s the one step you’re starting with? The gasket, the drawer, or the filter? Let me know in the comments.