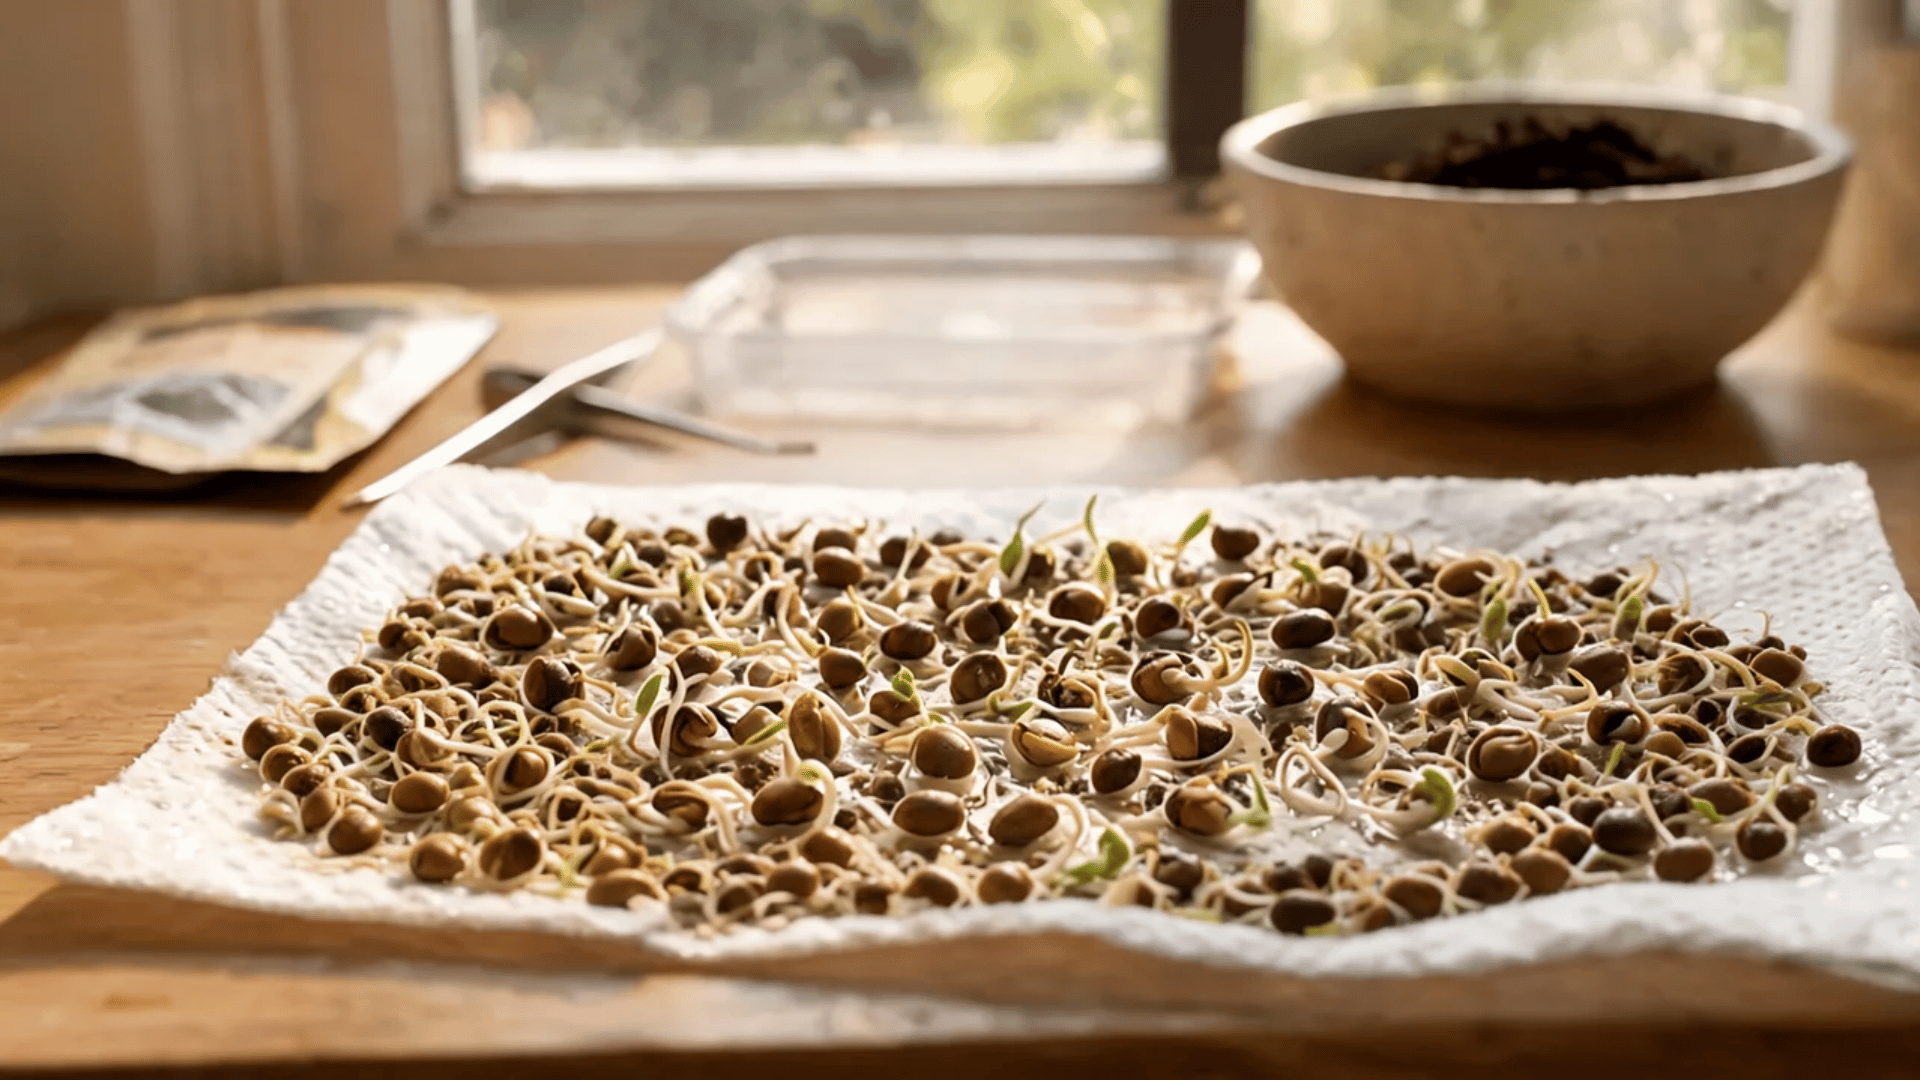
Some seeds seem to ignore your best planting efforts, sitting in the soil for weeks or even months without sprouting. The reason is often dormancy, a built-in survival mechanism that tells the seed to wait for the right season.
Cold stratification exposes seeds to cold, moist conditions to help break dormancy and improve germination.
It recreates the winter conditions many seeds need before they can germinate. With a damp paper towel, a labeled bag, and a refrigerator, you can give these seeds the cold period they need to wake up.
What Is Cold Stratification?
Cold stratification is a pre-sowing chill period that mimics winter, prompting a dormant seed to break dormancy once warmth returns. Many wildflowers, perennials, shrubs, and trees require this, including familiar garden picks like lavender, milkweed, echinacea, and columbine.
- Lavender
- Milkweed
- Echinacea
- Columbine
- Many native wildflowers
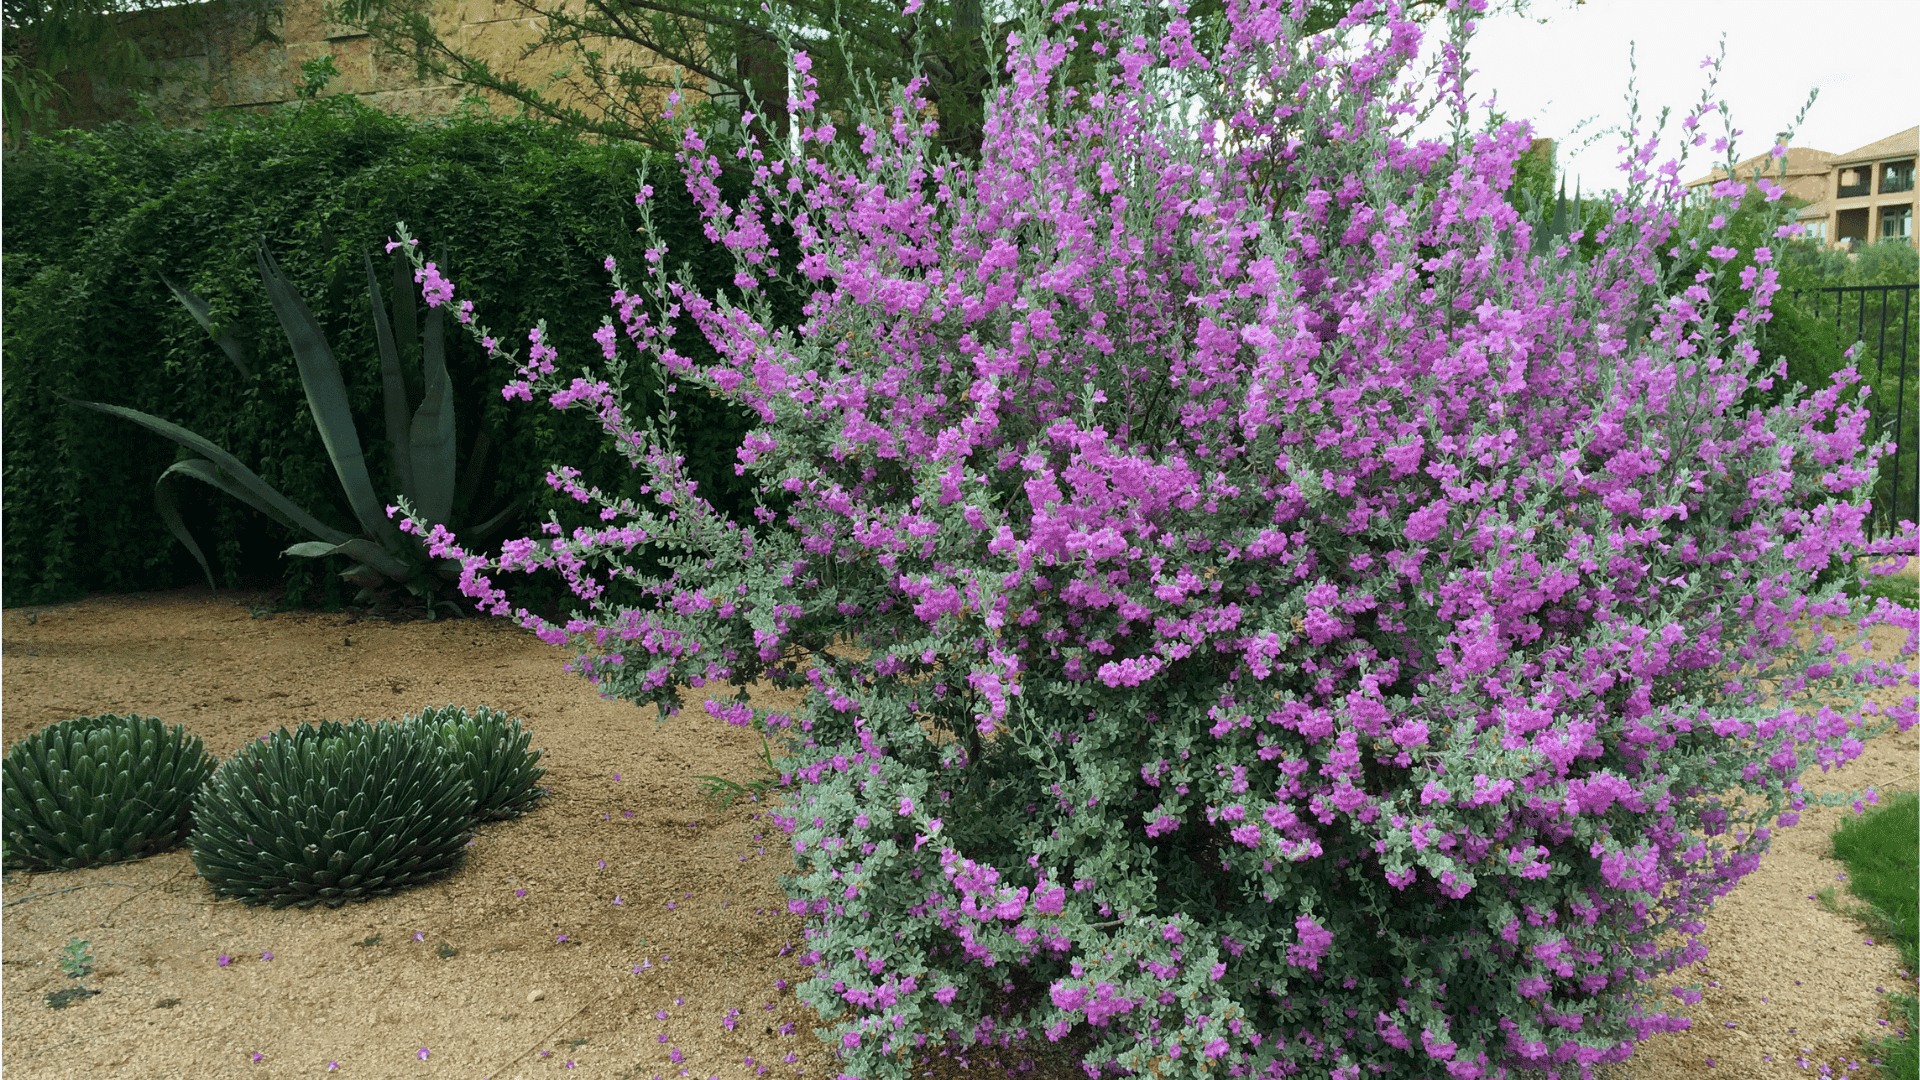
Texas bluebonnets are a familiar regional example, since untreated seed can sit through a season without sprouting until that cold cue finally arrives. Sowing in fall lets outdoor winter handle the job on its own; sowing in spring is where the refrigerator method matters most. Confirm the need on the seed packet or a species-specific source, since many garden seeds skip this requirement entirely.
How To Cold Stratify Seeds In The Refrigerator
The paper towel method is the easiest way to cold stratify seeds at home. Success comes down to two controls: steady cold and just enough moisture to keep seeds damp without ever letting them sit soaked.
Step 1: Check The Seed Instructions
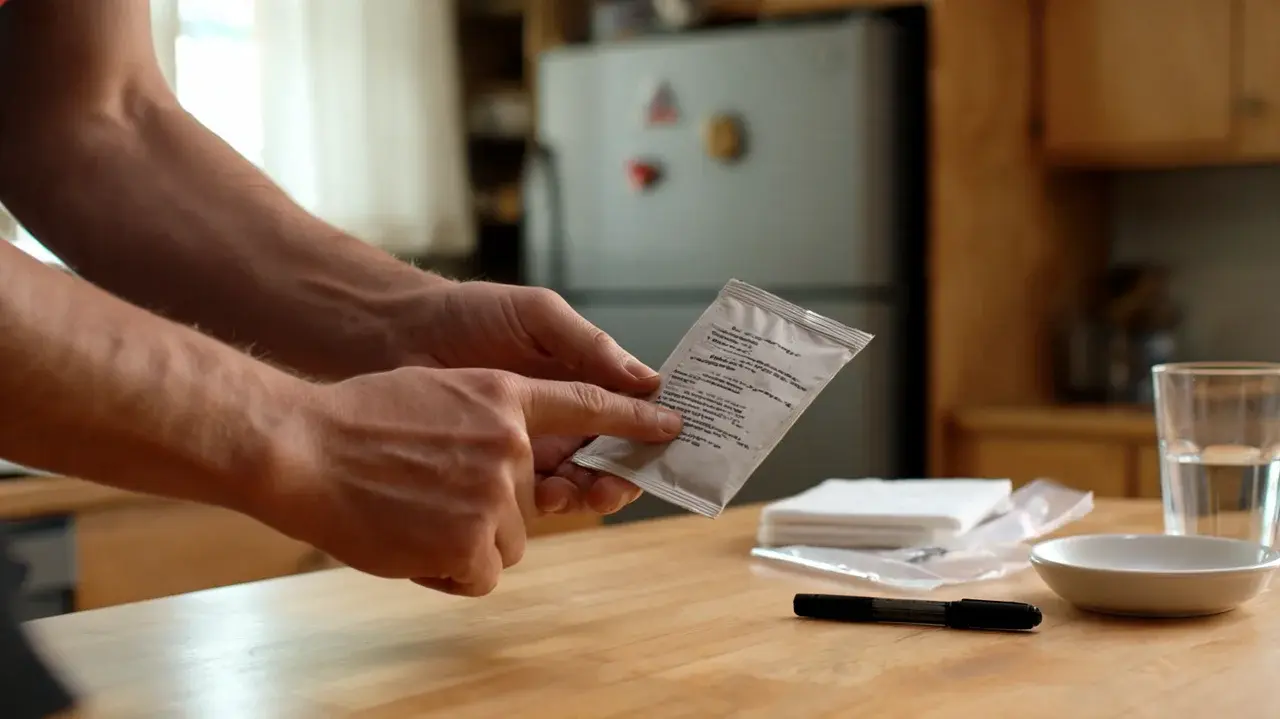
Before starting, confirm the seed variety needs cold stratification and note the recommended chill period. Use this timeframe to plan backward from your planting date.
Checking the instructions first helps prevent unnecessary treatment and ensures the seeds get the conditions they need for proper preparation.
Step 2: Prepare The Moist Layer

Dampen a paper towel or coffee filter, then squeeze out excess water until it feels evenly moist. The material should hold moisture without dripping.
A balanced moisture level helps seeds stay hydrated during chilling while lowering the chance of mold developing inside the container.
Step 3: Add The Seeds

Place seeds in a single layer on one half of the damp towel, leaving space between them when possible. Fold the other half over the seeds so they remain surrounded by moisture.
This setup keeps the seeds evenly exposed to the conditions needed during the chill period.
Step 4: Bag And Label

Place the folded towel inside a sealed bag or small container, then add labels with the plant name, start date, and expected finish date.
Clear labeling makes it easier to track different seed batches and follow the correct timing throughout the cold treatment process.
Step 5: Refrigerate With Airflow

Place the bag toward the back of the fridge, where temperatures stay near 33–40°F, and leave it slightly open if condensation builds up inside the container.
In humid conditions, check the bag regularly for excess moisture and improve airflow when needed to help prevent mold during the cold stratification period.
Step 6: Check And Plant As Needed

Check weekly for drying, excess water, mold, or early sprouting, and adjust moisture as needed. Plant any sprouted seed right away, before its roots attach firmly to the paper.
What To Do After Cold Stratification
Once the chill period ends, the next move depends on two things: whether the seed has already sprouted and whether the outside season suits that species.
Plant sprouted seeds promptly, since delay can weaken young roots. If a root has stuck to the paper, keep that piece around it rather than pulling it free.
Seeds that have not sprouted go into pots or straight into the ground at the normal planting depth for that species, with steady moisture through the first weeks outdoors.
How Long Should Seeds Stay In The Refrigerator?
Chill time depends on the species, and the seed packet or plant-specific directions should set the schedule when provided. The table below offers example ranges to plan around.
|
Situation |
Example Timing |
Note |
|---|---|---|
|
Common home starting point |
About 1 month |
A frequent range, not a fixed rule |
|
Many cold-stratified species |
1-3 months |
Plant type changes the needed chill period |
|
Dry stratification, no added moisture |
1-4 months |
Common for species needing only cold, not dampness |
|
Moist stratification, refrigerator temperature |
33-40°F |
The steady range most sources recommend |
|
Species with a stated packet period |
Use that stated period |
Packet directions come ahead of a general estimate |
Illinois Extension notes that most species finish within one to three months near 33 to 40°F, which lines up with what many home growers see. Count backward from your planned sowing date, adding the required chill period for that species.
Other Methods To Cold Stratify Seeds At Home
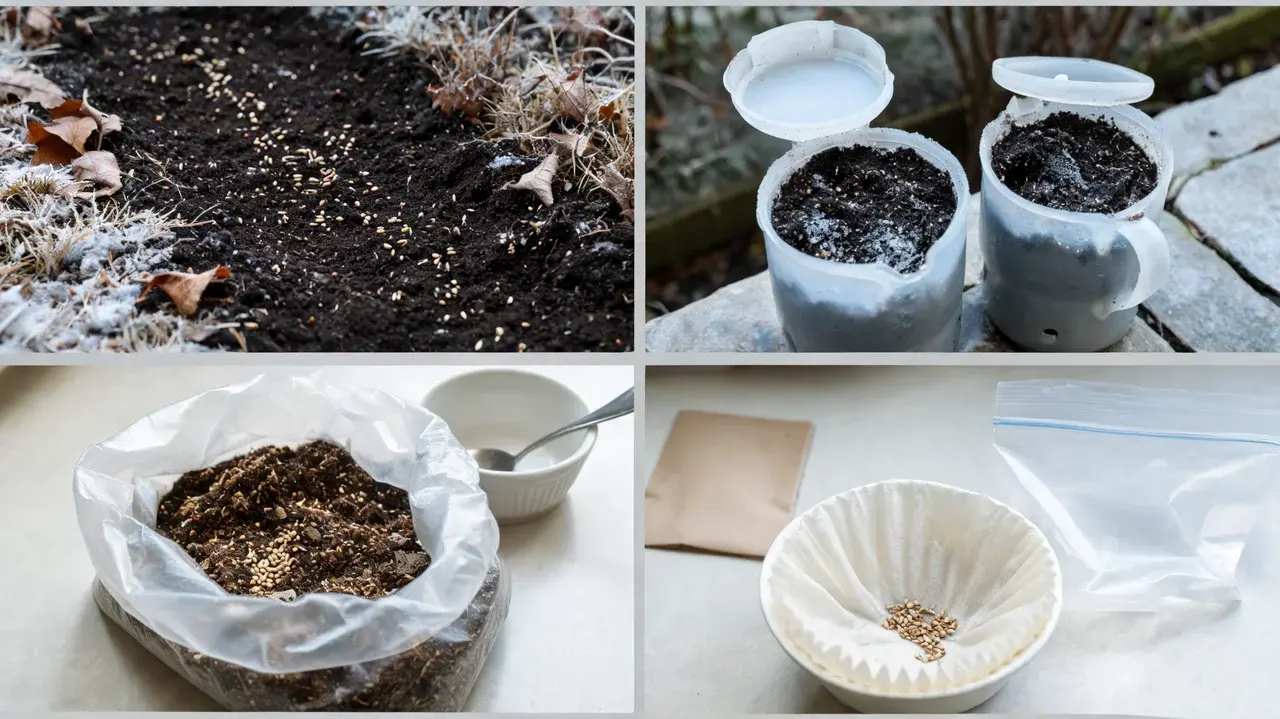
A refrigerator is easy to control, but it is not the only option. A few other methods copy winter conditions just as well, each differing slightly in space, mess, and moisture control.
1. Fall Planting
Seeds sown during the dormant season get natural cold, rain, and freeze-thaw cycles with no extra setup. Native wildflowers like Plains Coreopsis often naturalize this way outdoors.
2. Outdoor Pots Or Winter Sowing
Pots or trays left outdoors let natural weather do the chilling. Good drainage matters here, since standing water can rot seeds before they sprout, especially through unpredictable spells.
3. Sand, Peat, Or Vermiculite In A Bag
Larger seeds often do better in a damp medium than a folded towel, since it holds moisture more evenly. Keep the medium moist throughout, with no standing water pooling in the bag.
4. Coffee Filter Method
This space-saving version of the towel method suits smaller batches and stacks compactly in a crowded fridge. Filters dry out faster, so moisture checks still matter here.
Why Some Seeds Need A Cold Period
Dormancy is a survival response that keeps a seed from sprouting too early, such as right before winter or during a brief warm spell in an otherwise cold season.
The mechanism varies: chemical germination inhibitors can delay growth, and some seeds also carry hard coats that limit water entry. For species that need a cold-moist period, winter cold and moisture supply the seasonal cue that ends dormancy, and a seed that skips a required cold period may fail to sprout or germinate poorly once planted.
Most warm-season garden crops skip this step entirely, so a plant name alone does not settle the matter; check the packet or a species-specific source to confirm cold treatment applies before starting.
Cold-Moist Stratification Vs. Dry Stratification Vs. Scarification
These three terms often get mixed up, but each solves a different problem, and the seed’s stated requirement, not appearance, should decide which one you use.
|
Method |
Basic setup |
Typical chill time |
Best use |
Main caution |
|
Cold-moist stratification |
Seeds stay cold while touching a damp towel, sand, peat, or vermiculite |
About 1-3 months |
Many wildflowers, perennials, shrubs, and trees |
Too much water can lead to mold |
|
Dry stratification |
Dry seeds stay chilled in a labeled bag or jar, with no added moisture |
About 1-4 months |
Species needing only cold, such as cleome or hardy grasses |
May not meet the needs of seeds that also require moisture |
|
Scarification |
The hard seed coat is scratched, thinned, or nicked so water can enter |
Not time-based; a one-time step before chilling |
Hard-coated seeds that resist water on their own |
Can damage the seed if done too aggressively |
NC State Extension notes that seeds with both external and internal dormancy must be scarified first, then stratified, since reversing the order prevents germination.
Common Cold Stratification Mistakes
A correct setup can still fail from a few simple slip-ups involving moisture, timing, or missed checks. Watch for these while seeds chill in the fridge.
- Oversoaking the medium by standing water invites mold
- Letting the towel dry out between checks
- Skipping the plant name and dates on the label
- Waiting until the finish date to look inside the bag
- Leaving a sprouted seed in the bag too long
- Starting the countdown too late for the sowing date
- Chilling a seed that never needed cold at all
Quick Cold Stratification Checklist
With the process covered step by step above, here is the short version to keep near the fridge while a batch is chilling.
- Confirm the seed needs chilling.
- Use a damp, not wet, medium
- Label plant name and dates
- Keep it refrigerated near 33-40°F
- Check weekly for mold or sprouts
- Plant once the chill period ends
Frequently Asked Questions
Can freezing replace the refrigerator method?
Most flower seeds only need chilling, not freezing, though a few species benefit from a freeze-and-thaw cycle depending on the plant. Check species-specific instructions before using a freezer, since standard refrigerator temperatures are safer and more commonly recommended for home seed starting.
Does a warm period ever come before the cold one?
Yes, some species need a warm period first, followed by cold treatment, since certain plants carry more complex dormancy patterns. This two-step process is uncommon for most garden seeds, so follow plant-specific instructions rather than assuming a single cold period is enough.
How often should seeds be checked while chilling?
Check at least once a week for drying, excess moisture, mold, or early sprouting. Add water if the medium feels dry, or crack the bag open for airflow if condensation builds, since regular checks catch most problems before they cost you a batch.
Final Thoughts
Cold stratification is a simple process that can make a big difference for seeds that need a winter-like period before they sprout.
Many seeds that seem slow to grow are simply waiting for the right conditions to break dormancy. With a damp towel, a labeled bag, and a little planning, you can recreate this natural cycle at home and give your seeds a better start before the next planting season.
Drop a comment below and let me know if this is helpful.