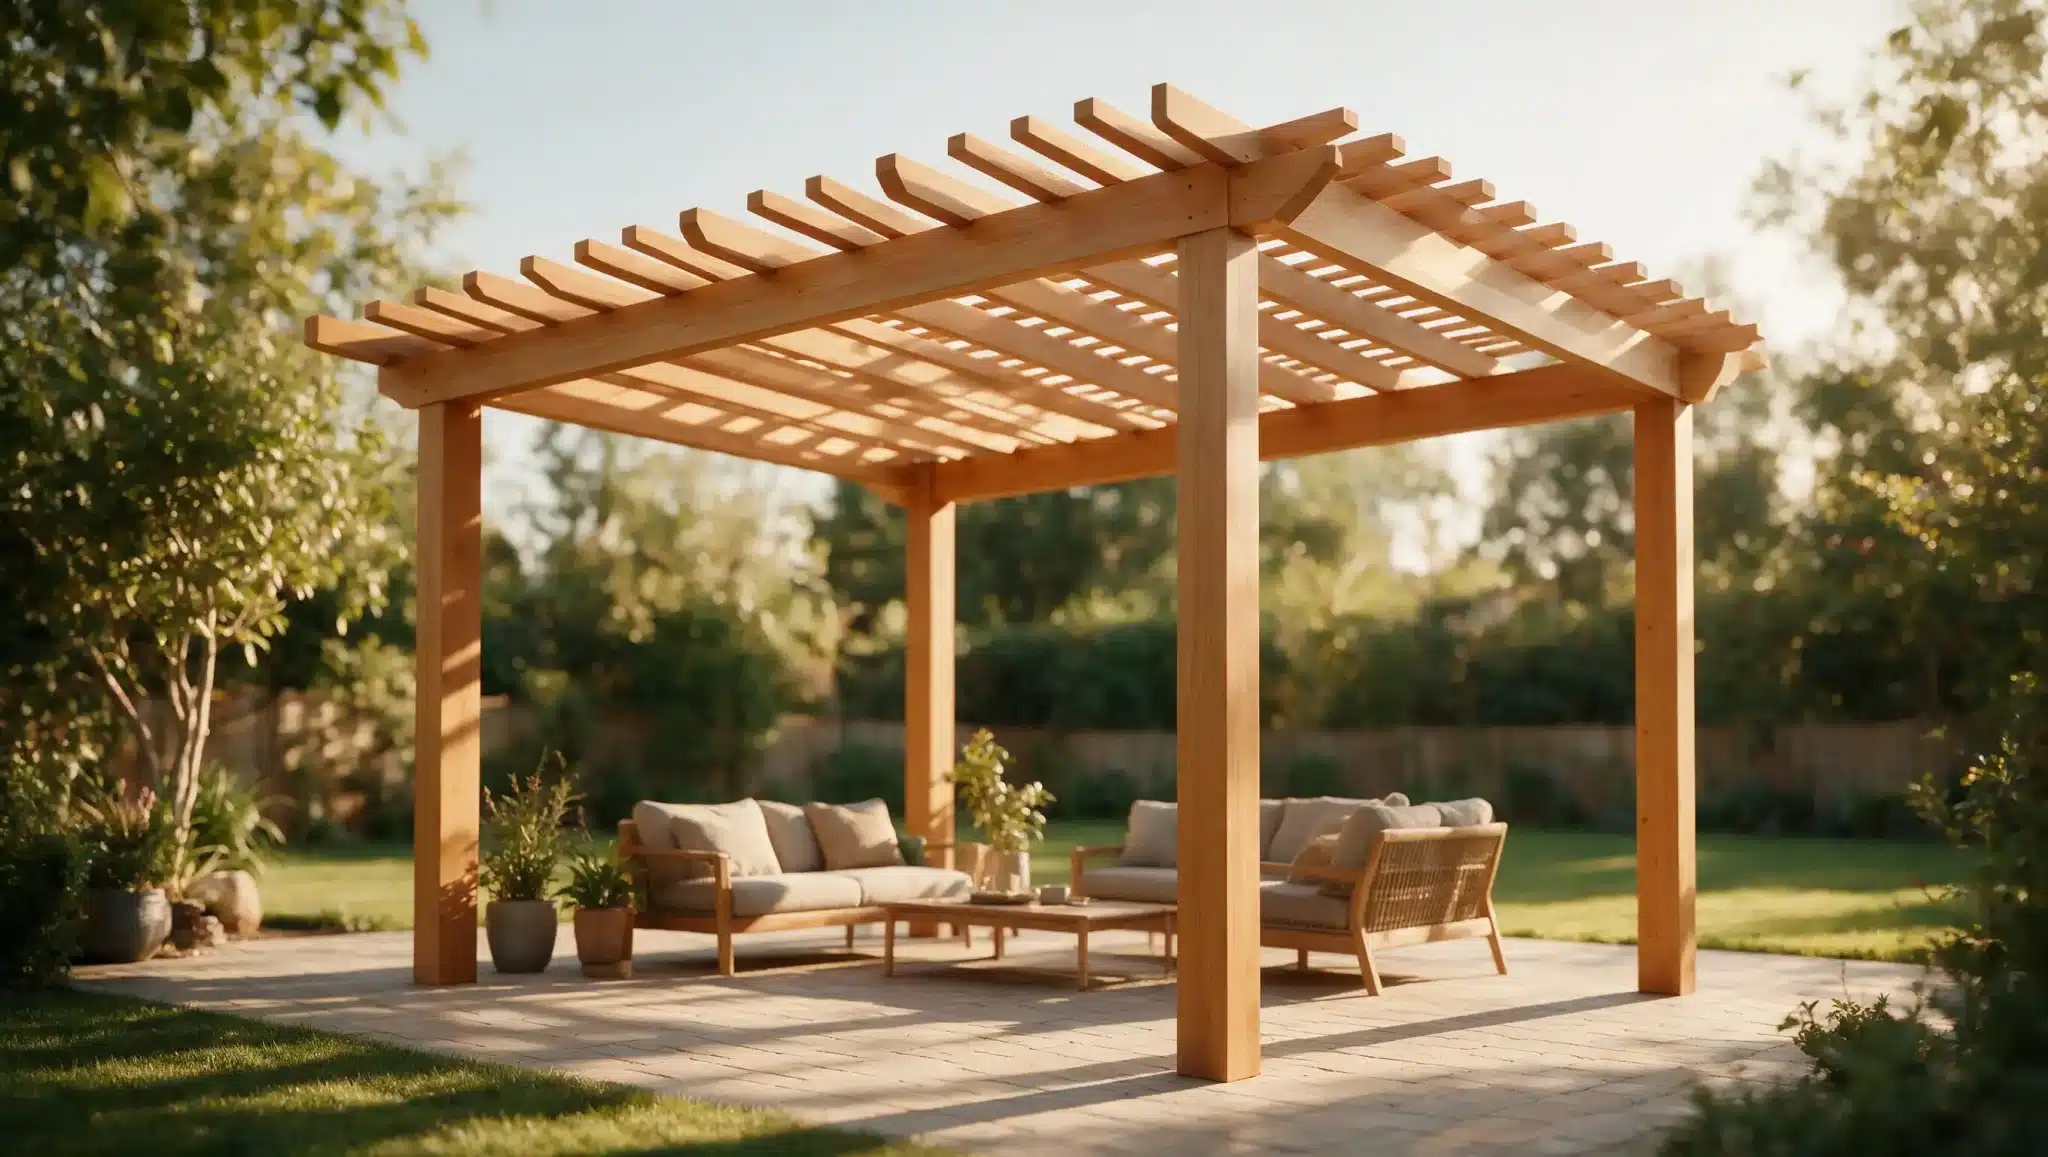
Building a pergola may look hard at first. You need to plan the size, mark the site, set heavy posts, and secure beams above the ground, all while keeping everything level and square.
The good news is that the work gets easier once you follow a clear order, from measuring the site to fixing the final shade slat on top.
Here’s how to build a pergola step by step, covering site checks, digging footings, setting posts, attaching beams, adding corner braces, and fitting rafters and slats.
You will also learn the tools, wood, and hardware needed for a smooth pergola assembly, plus the final checks to run before using your new outdoor space.
Why Build a Pergola Instead of Buying One?
Here’s how building your own pergola stacks up:
- Lower cost: Save on labor by doing the work yourself instead of paying for installation
- Full control: Pick your own wood, size, and design details to match your space
- Flexible timeline: Most builds are doable over a weekend or two with basic tools and some help
- Learning experience: You gain hands-on skills and a structure you built with your own hands
On the other hand, a precut kit has its own advantages. Materials arrive ready to assemble, cutting down on planning time and giving you a faster setup overall. There’s also less guesswork involved, since you skip measuring and cutting lumber from scratch.
Either route gets you a shaded outdoor space in the end. The right choice simply comes down to your budget, how much time you have, and how hands-on you want the build to be.
If you would rather ease into outdoor projects first, plenty of simple DIY backyard projects make a good starting point before tackling something structural like a pergola.
Tools and Materials You’ll Need
Before you start, gather all supplies so the work does not stop midway.
| Category | Items | Options | Approx. Cost |
|---|---|---|---|
| Lumber | 4×6 posts, 2×10 beams/rafters, 2×6 cross members, 2×4 top boards | Dimensional lumber, mitered ends for a decorative look | Around $1,100 for a large build |
| Fasteners & Hardware | Lag bolts, connector hardware, exterior screws, corner brace hardware | Standard or black-finished for a cleaner look | Around $44.50 per connector piece |
| Base & Footing | Concrete mix, gravel, post anchors (4×4, 4×6, or 6×6) | Anchors sized to match your post, painted to match if sizes don’t line up | Varies by number of posts |
| Wood Finish | Transparent wood sealer and stain | Applied before assembly to keep the patio clean | Around $40-$100 for a gallon and a half |
| Tools | Post hole digger or auger (8-inch or 12-inch), circular saw, miter saw, level, string line | Corded or cordless power tools | Depends on what you already own |
Disclaimer: Costs and material needs vary by project and location. Confirm measurements, local rules, utility lines, and safety guidance before buying supplies or starting work.
Check your final plan before buying supplies. Confirm your post size matches what your local hardware stores actually carry, since larger anchor sizes like 4×6 can be harder to find and may need special ordering.
Have string line, stakes, and a marker on hand for layout, along with sealant and outdoor-rated hardware to keep the build sturdy and finished ahead of assembly. It helps to review basic power tool safety guidelines before cutting or drilling for the first time.
Step-by-Step: How to Build a Pergola
Building a pergola becomes easier when you follow the work in the right order. A safe pergola assembly starts with accurate measurements, firm footings, and straight posts. Complete each stage before moving to the next one.
Step 1: Plan and Mark the Area
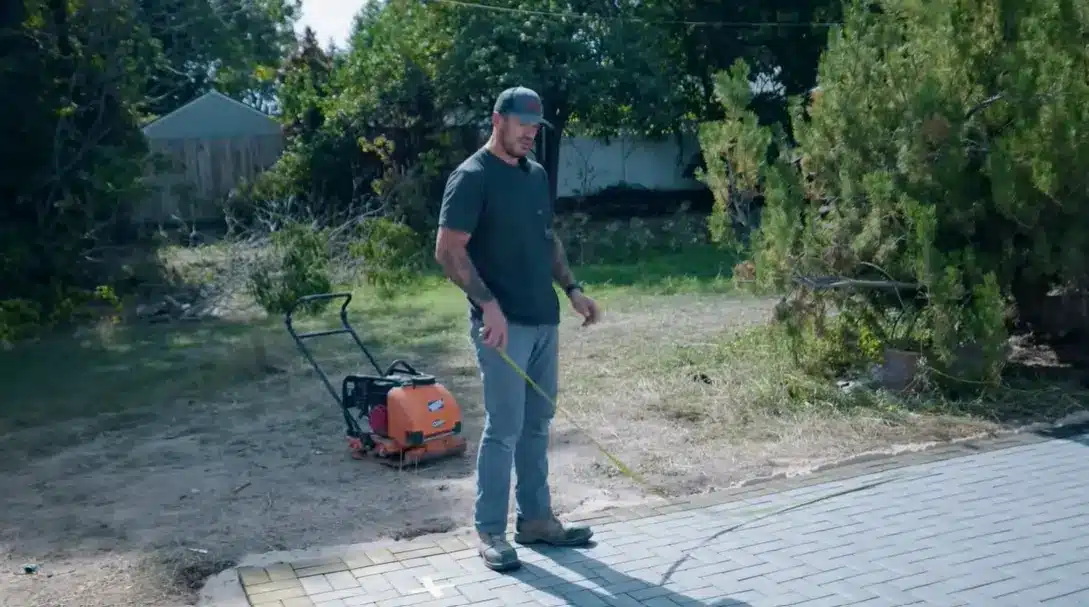
Mark your pergola’s footprint on the patio, staying inside your existing pavers so the design fits the space. Trace the outline carefully and figure out where each footing will sit.
Remove only the pavers needed for digging, keeping the rest of the grid intact so they snap back in later. Once the layout is traced, mark each footing point before you start digging for a clean, even fit.
Step 2: Dig the Post Holes
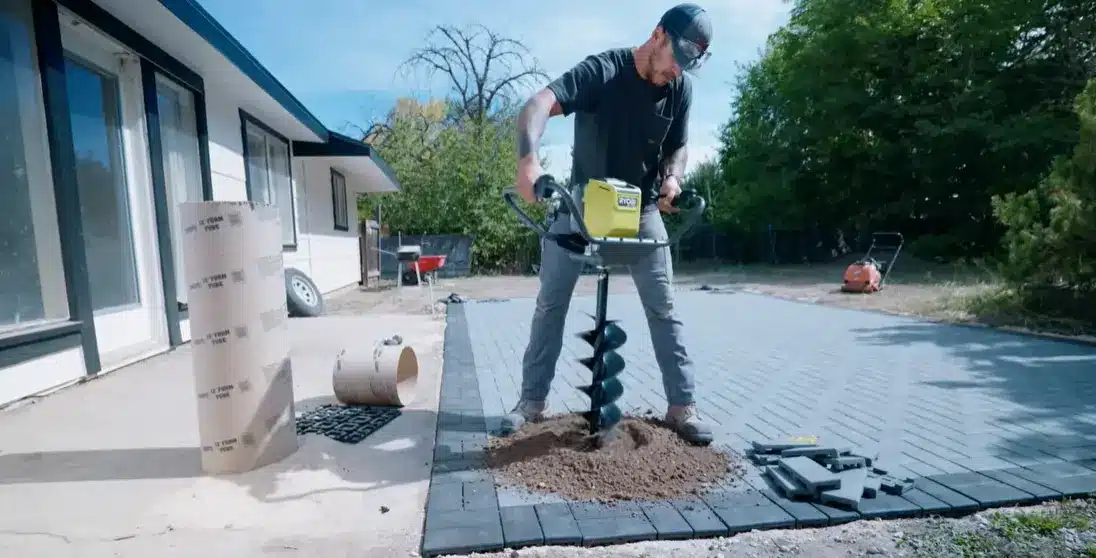
Use a post hole digger or auger to dig each footing hole, going below the frost line, which you can estimate for your area using published soil frost depth data, so winter freezing and thawing won’t shift your posts. An 8-inch auger works, though a 12-inch hole gives more room for larger tubes.
Keep digging steadily until you pass the required depth, checking progress often so every hole reaches the same level before moving to the next one.
Step 3: Set, Brace, and Anchor the Posts
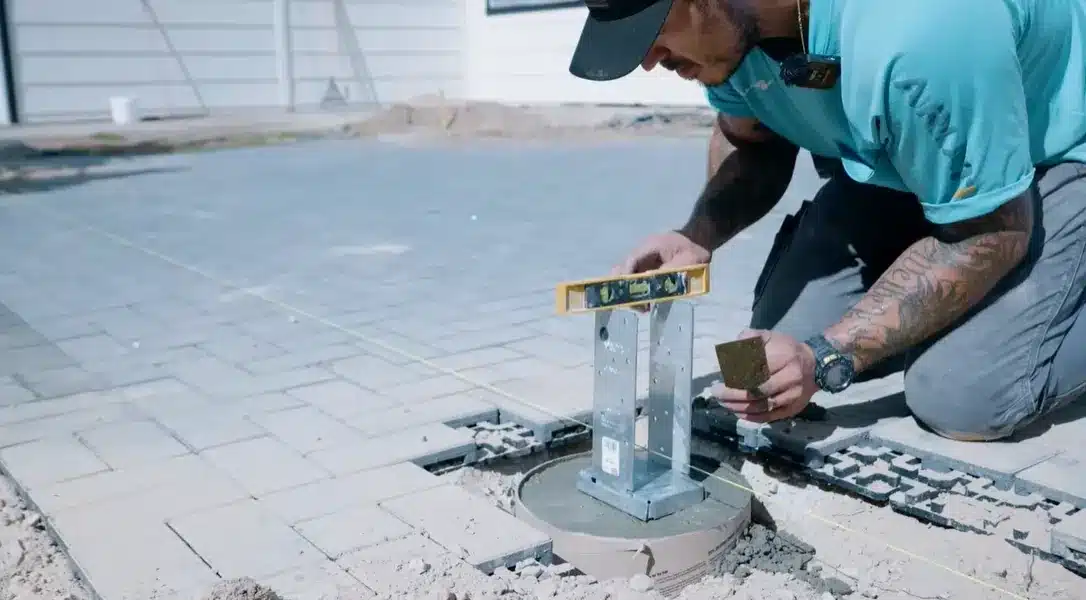
Set each post into its anchor, letting it sink all the way down with a small gap left at the base. Run a string line across the tops to keep every post facing the same direction for even beam alignment.
Push fresh concrete underneath each post, checking it stays level and centered before it firms up completely. Let the concrete cure overnight before moving on.
Step 4: Treat and Finish the Wood
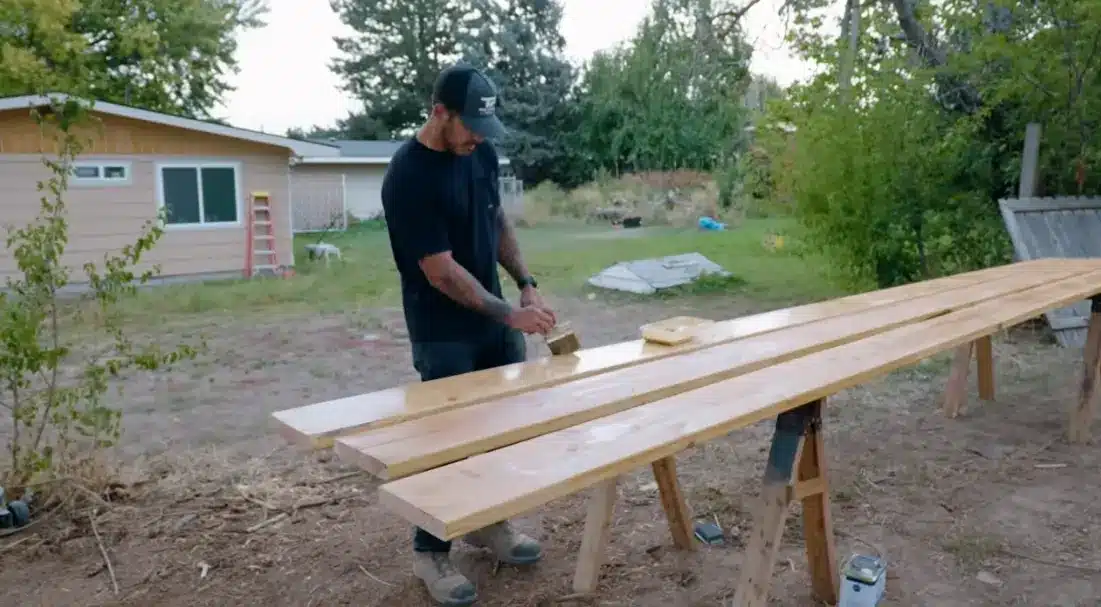
Seal every board with a wood sealer before assembly, so drips and mess stay off your finished patio later. A transparent stain and sealer combo protects the wood while adding warm color.
Prime and coat boards in batches, letting each section dry fully. Doing this ahead of time makes the job easier than rolling on finish overhead once the frame is standing
Step 5: Cut and Attach the Main Beams
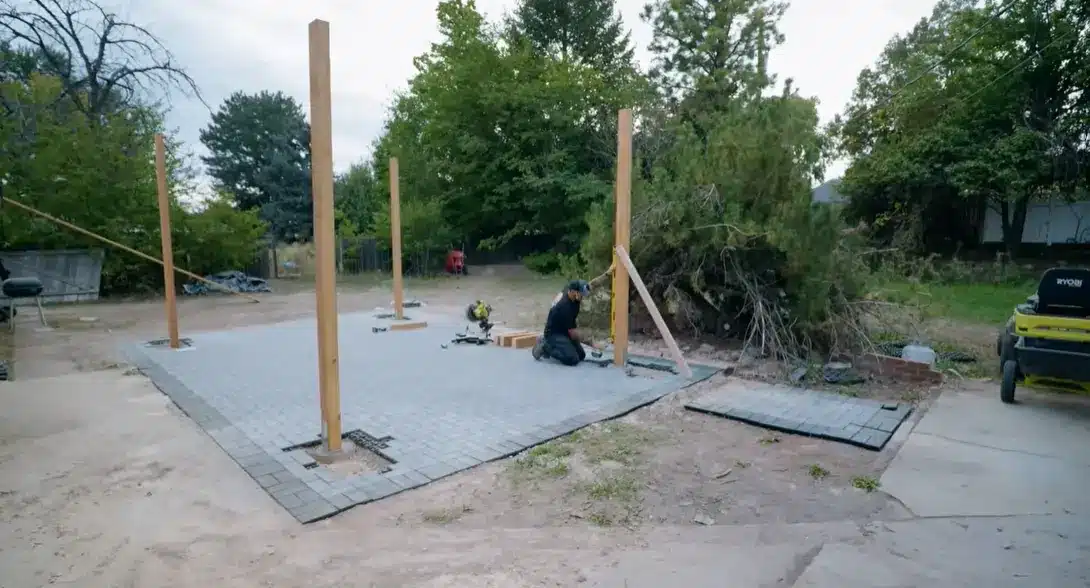
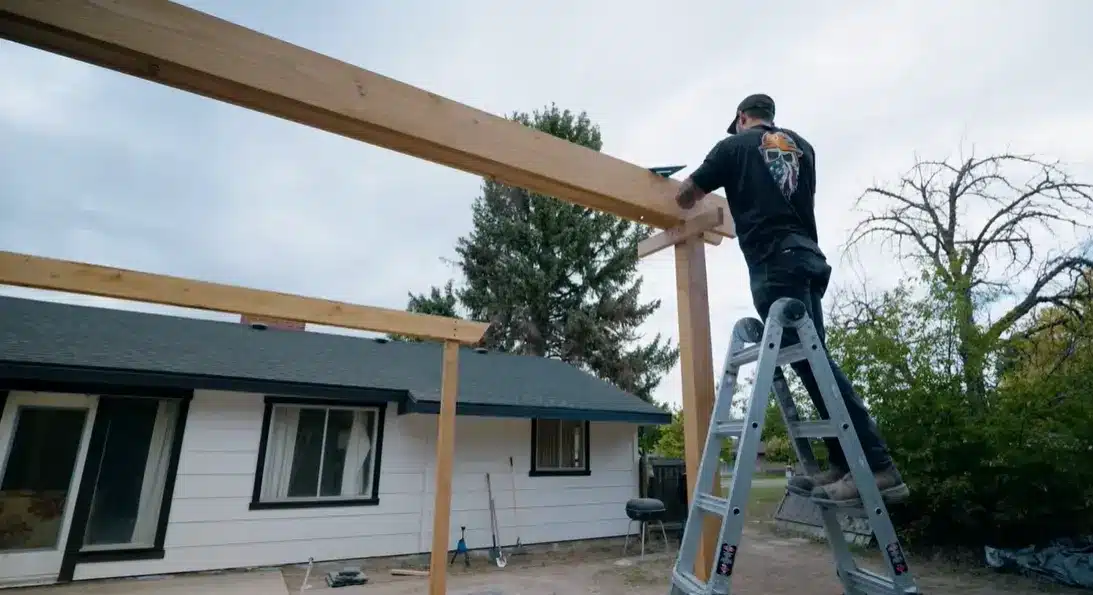
Miter the ends of your beam boards for a more finished, decorative look. Lift each beam into place, resting one end on a post before walking it across to set the other side.
Secure each beam with long lag bolts, driving in three per connection for a strong hold. Work steadily around the frame until every beam sits locked firmly in place.
Step 6: Install the Corner Braces
Fit angled wedge braces between each post and beam for extra support and a decorative finishing touch. These add resistance against sway, along with a small design detail that rounds out the look.
Secure each brace with a long lag bolt at the top and another lower down. Work through every corner until each brace sits snug and tight.
Step 7: Fit the Rafters and Top Shade Slats
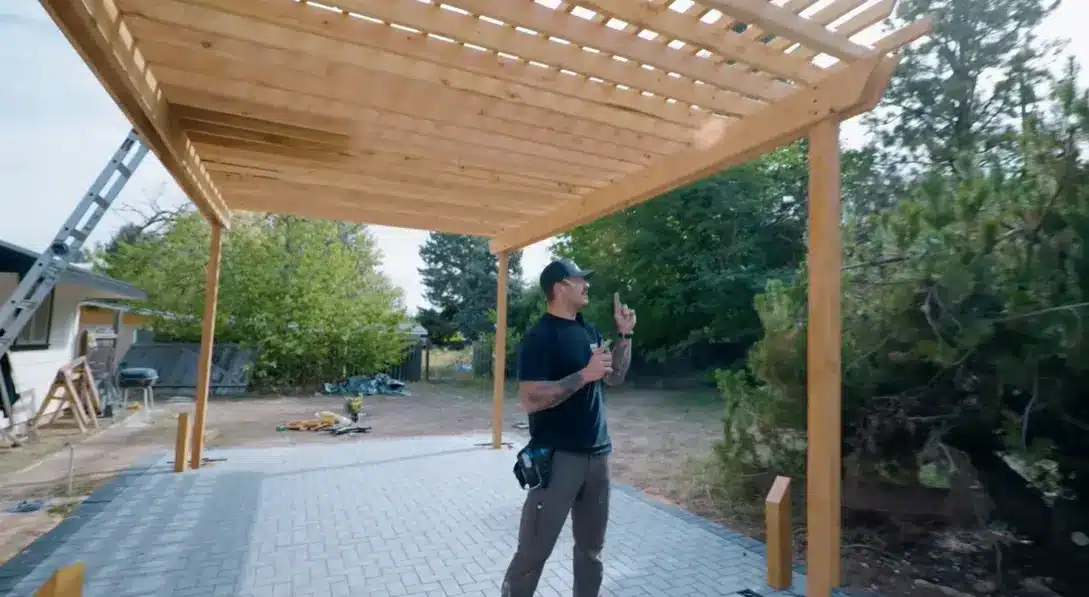
Lay a second layer of boards across the beams, spacing them evenly, roughly nine inches apart, and securing each one with sturdy connector hardware suited to the lumber.
Add a final top layer, letting boards overhang slightly and fastening them in an X pattern with exterior screws. Stagger your screws as you go to keep boards from shifting.
Step 8: Anchor and Inspect the Pergola
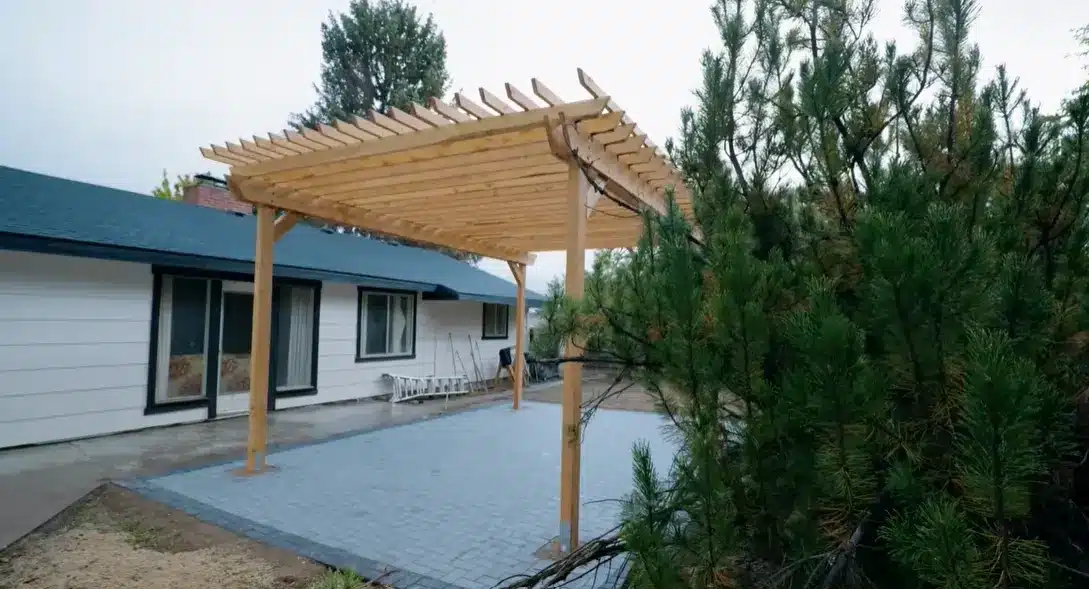
With the frame complete, check that posts stand plumb, beams sit level, and every corner brace is tight. Look over each joint and connection point across the whole structure.
Confirm boards, hardware, and spacing all feel solid before calling the build finished. Once everything checks out, the pergola is ready for furniture, plants, or lighting underneath.
For a more detailed walkthrough of the process, check out the complete video tutorial:
Pergola Assembly: Safety Check
Use this quick safety check after fitting the final slat and before removing any temporary braces.
| Area | What to Check |
| Posts and beams | Confirm posts are plumb and beams are level. |
| Frame | Measure both diagonals to ensure the structure is square. |
| Rafters and slats | Check for even gaps and matching overhangs. |
| Fasteners | Tighten every bolt, nut, and exterior screw. |
| Base and joints | Test anchors, footings, braces, and beam joints for movement. |
| Wood protection | Treat exposed cuts and drilled holes with preservative. |
| Precut kits | Follow the supplied assembly order so all parts align correctly. |
Remove temporary supports only when the complete pergola frame feels firm, stable, and ready for use.
Popular DIY Pergola Designs
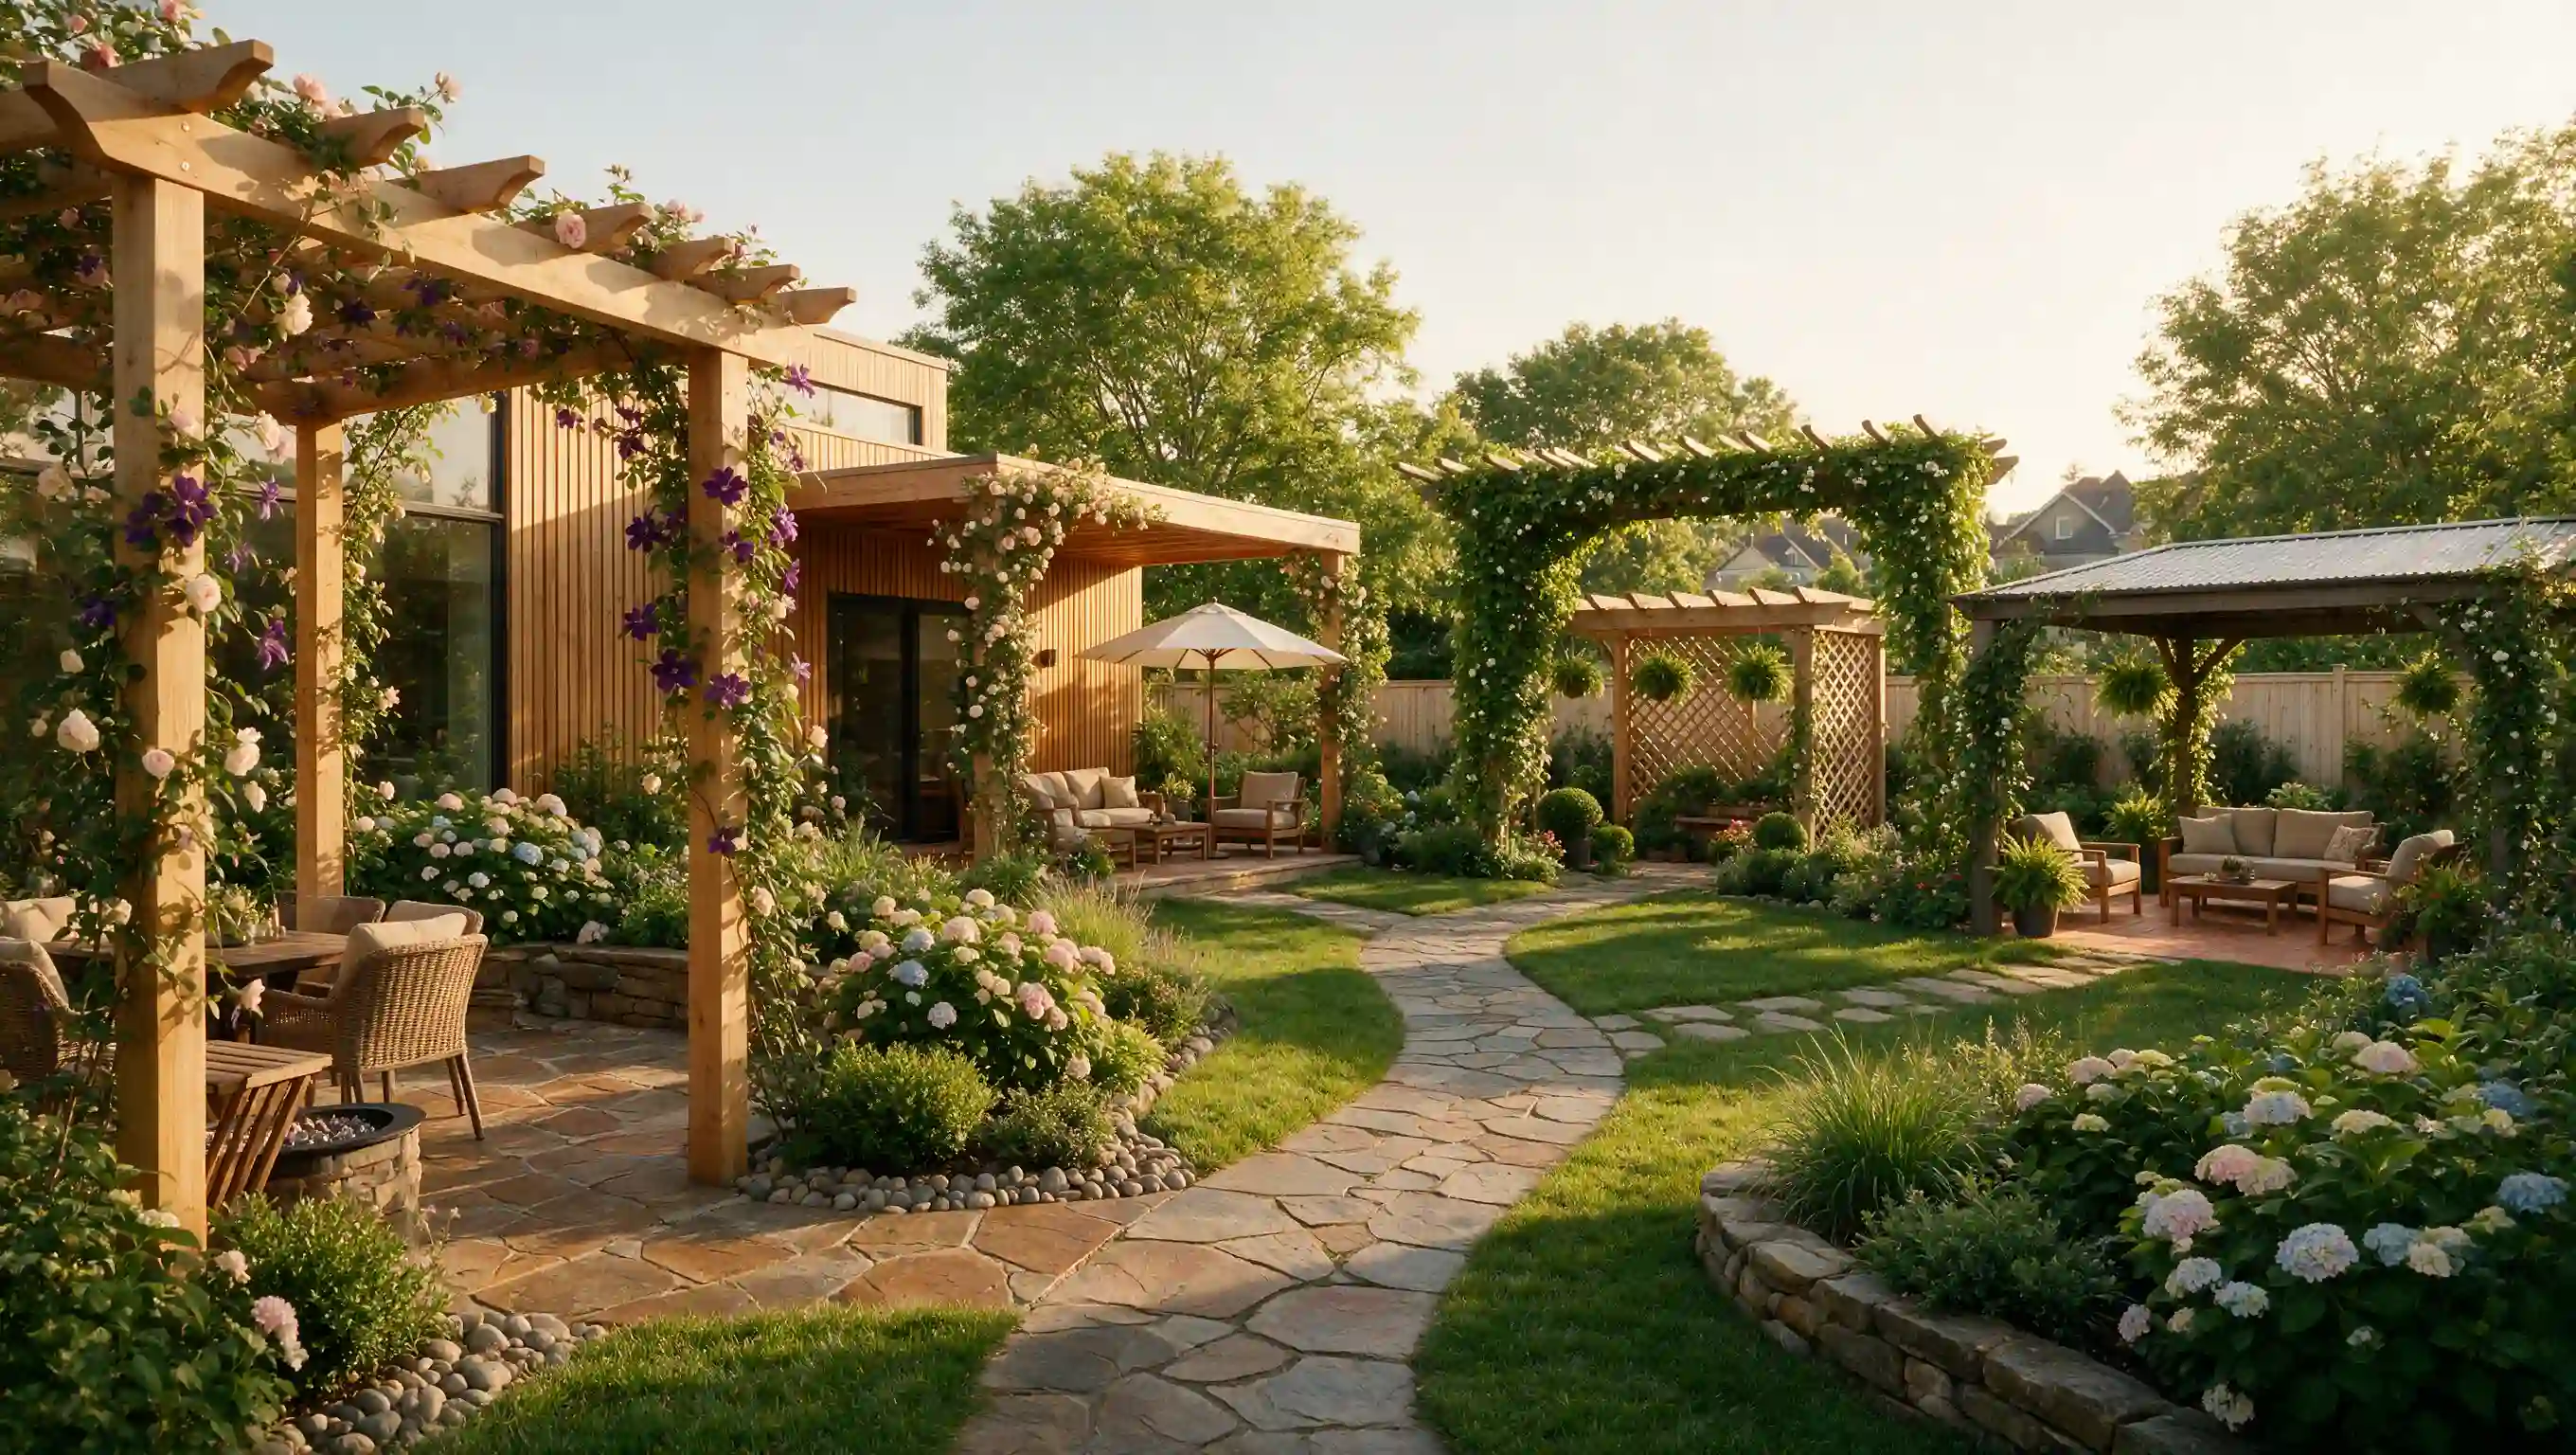
The right pergola design comes down to your available space, how much shade you want, and your comfort level with the build. A freestanding pergola stands on four or more posts of its own, working well over patios, seating areas, or garden spots.
An attached pergola, on the other hand, connects to a house or garage using a ledger board and typically needs fewer posts to support it, a structural approach that raises many of the same deck and porch design choices homeowners weigh when adding any covered space to a house.
If light, filtered shade is the goal, a trellis pergola uses beams, rafters, and narrow top slats, doubling as support for climbing plants. A lattice-side pergola builds on this by adding side panels for extra cover, more plant support, or added privacy.
For the most shade, a covered pergola tops things off with shade cloth or metal roofing over the seating area. Consider your space, local building rules, and shade needs before settling on a design.
Expert Tips for a Long-Lasting Pergola
A pergola only holds up as well as the small choices made while building it. How you set the posts, shape the tops, pick the bolts, and finish the wood decide whether it lasts a few seasons or many years.
- Skip concrete, if you prefer: Set posts directly in soil, packing and compacting the earth tightly around each one for a stable base.
- Shape the post tops: Cut angled edges at the top of each post, so rainwater runs off instead of pooling.
- Choose the right bolts: Hot-dipped galvanized bolts resist rust far better than shiny, electroplated ones.
- Round sharp edges: Adding a light chamfer to posts and beams gives a cleaner look and reduces splintering.
- Pick your finish wisely: Avoid coatings that form a surface film, since they peel over time and make refinishing harder.
Get these small details right during construction, and you will spend far less time repairing or replacing parts later. Careful post work, proper hardware, and a breathable finish keep your pergola solid through sun, rain, and years of daily use.
Frequently Asked Questions
Do I need a permit to build a pergola?
You may need a permit, since local rules can affect height, setbacks, footing depth, and anchoring. Check with your local building office before buying materials or digging. You should also have underground utility lines marked so the post holes do not damage buried pipes, cables, or services.
What size pergola is right for my space?
Choose a size that fits your patio while leaving enough room to walk around furniture. Measure the roof’s full tip-to-tip span, outside post spacing, clear inside area, and finished height. Also allow space for doors, fences, trees, fans, lights, or other planned features near the structure.
How deep should pergola posts be?
Post-hole depth depends on the frost line, soil, wind, pergola size, and local building rules. Many codes set a minimum of about 12 inches below grade, though colder regions require going well below the local frost line, sometimes 36 inches or deeper. Confirm the required footing depth and width before digging or ordering your posts.
Should I use cedar or pressure-treated pine?
Pressure-treated pine usually costs less and suits many outdoor builds, including damp areas. Cedar is lighter, has a natural outdoor look, and can often be finished sooner. Fresh-treated pine may need several months to dry before you apply stain, paint, or a protective sealer.
Wrapping Up Your Pergola Build
I’ve found that learning how to build a pergola comes down to working through each stage in order and checking your progress along the way. Before you begin, measure twice and confirm the layout is square, use outdoor-rated wood, screws, bolts, and anchors, and ask for help when lifting heavy posts and beams.
Keep braces in place until the frame feels firm, and check every post, beam, rafter, and slat before removing any supports.
A careful pergola assembly matters more than rushing to finish, so take your time with the footings and joints. Once the structure stands secure and the wood is ready, add shade, lights, plants, or furniture to complete your outdoor space.
Drop a comment below and let me know how your pergola is working for you.