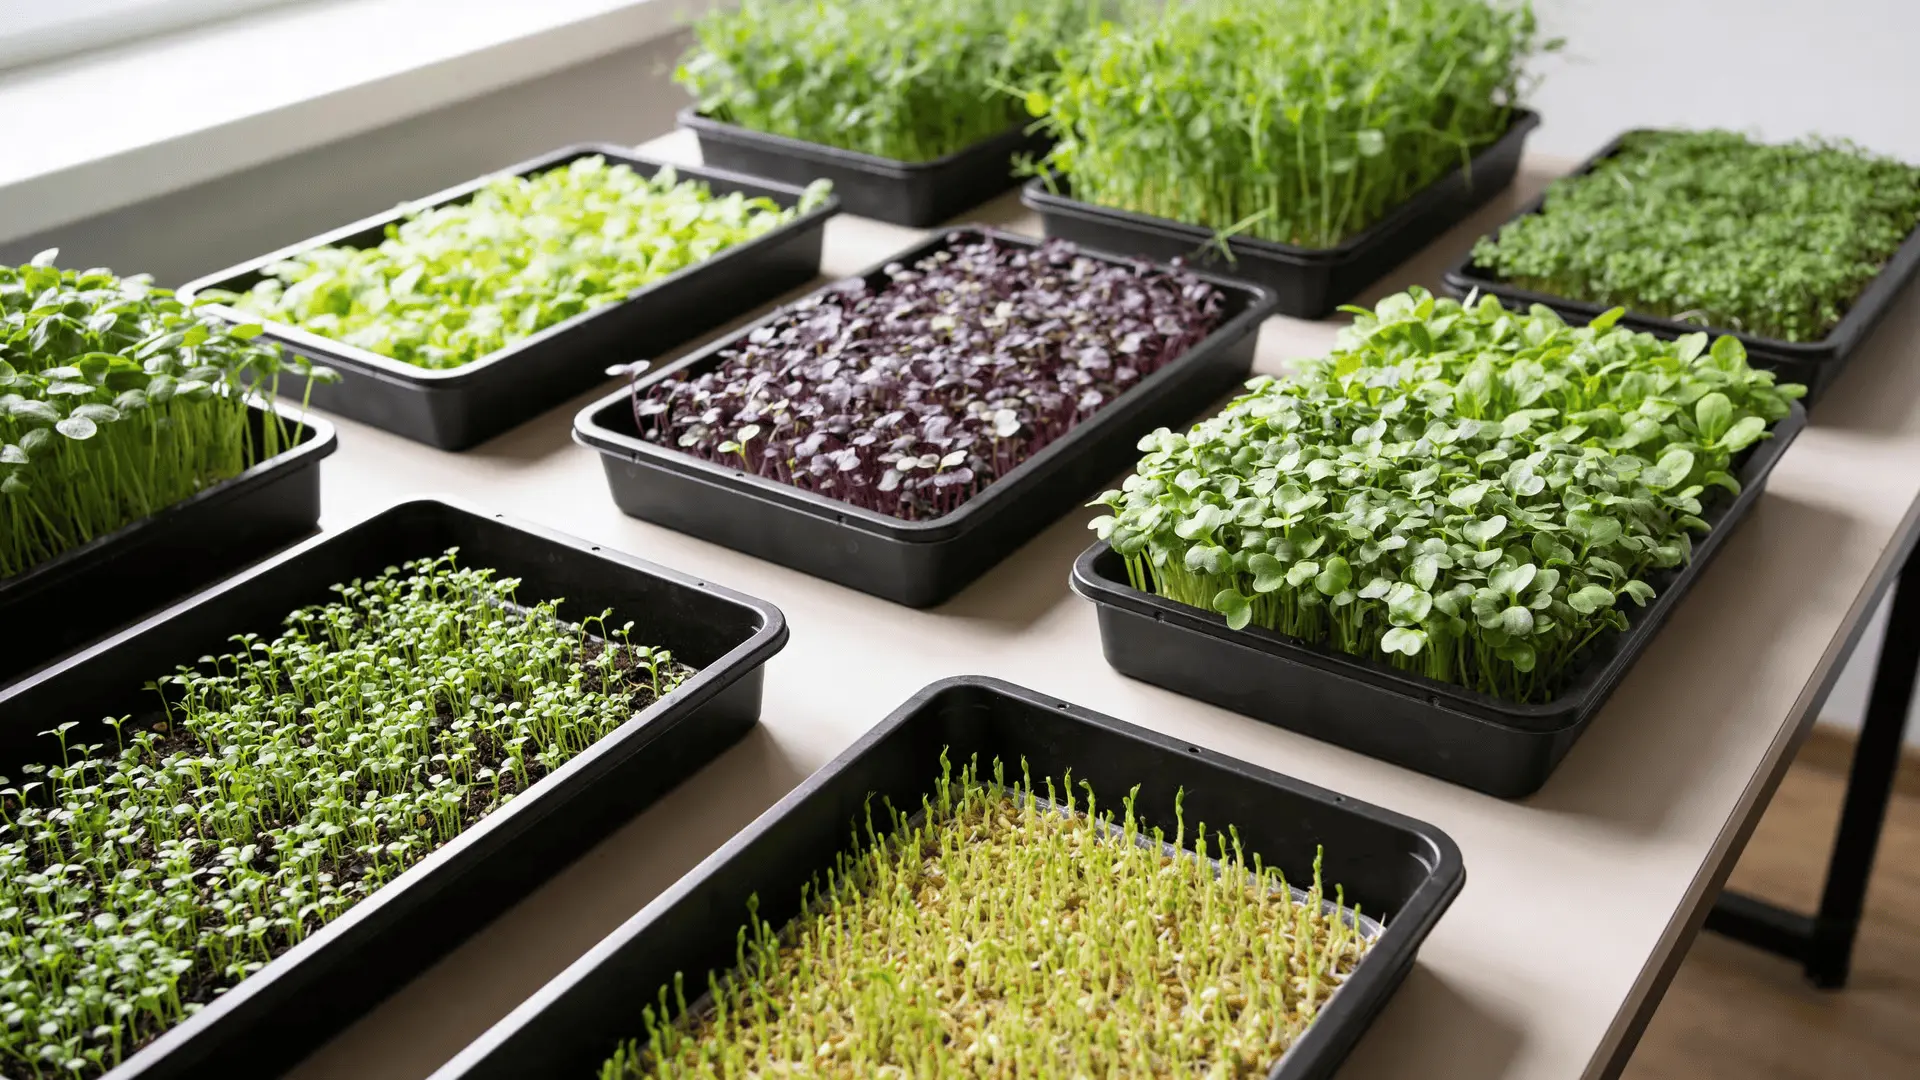
Growing microgreens looks simple at first. Toss some seeds on soil, add water, wait a week, and cut. But if you’ve ever tried it and ended up with mold, thin floppy stems, or patchy growth, you know there’s more going on.
These plants grow fast, but they’re sensitive to light, moisture, and airflow.
Today, I’ll tell you exactly what to do at each stage so you can grow a full tray from seed to harvest without second-guessing yourself.
Once you understand what they actually need, the whole process becomes steady and predictable. Let’s start with the basics they can’t grow without.
What Do Microgreens Need to Grow Successfully Indoors?
Microgreens are young seedlings. They are not houseplants. They grow fast, stay small, and live for about one to two weeks. Because of that short life cycle, their needs are very specific.
Here’s what they actually require to grow well indoors:
- Shallow growing space (1–2 inches deep): Microgreen roots stay short. Deep containers hold excess wet soil, which reduces oxygen and weakens roots before harvest time.
- Proper drainage holes: Water must escape the tray. Without drainage, moisture collects at the bottom, creating low-oxygen conditions that encourage rot and fungal growth.
- Even, balanced moisture: Seeds need steady dampness to sprout, but constant surface wetness traps humidity between stems and increases the risk of mold.
- Strong, direct light after sprouting: Bright light close to the canopy helps stems thicken and stand upright instead of stretching thin and pale.
- Gentle airflow around trays: Moving air shortens surface drying time, reduces trapped humidity, and lowers the chances of mold forming in dense growth.
Treating microgreens like mature plants is one of the biggest mistakes you can make. They do not need deep soil or heavy watering. They need shallow trays, oxygen at the roots, controlled moisture, and strong light for a short, focused growing cycle.
Supplies You Need to Start Growing
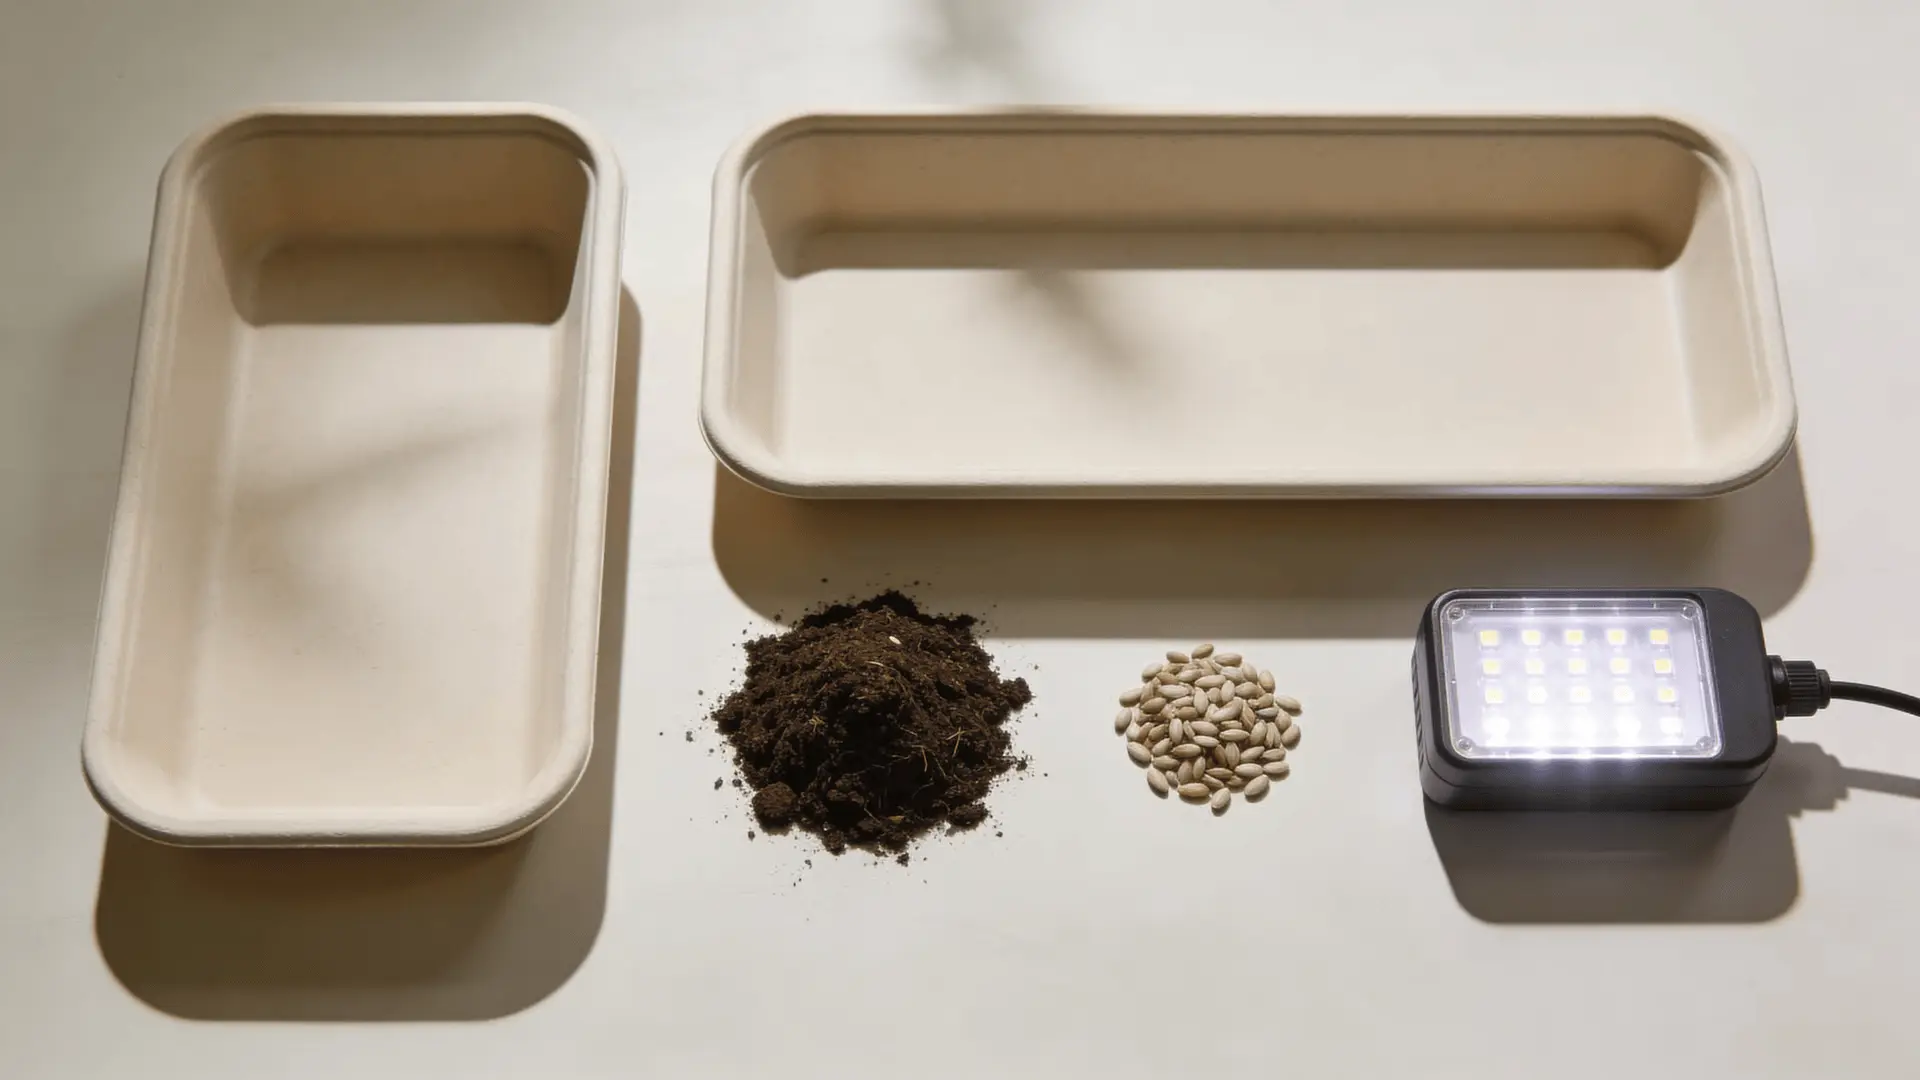
You don’t need a fancy kit. You need a simple setup that matches how microgreens grow.
| Supply | What to Look For | Why It Matters |
|---|---|---|
| Shallow tray | 1–2 inches deep, with drainage holes | Roots stay short. Shallow depth prevents excess wet soil and keeps oxygen available. |
| Solid bottom tray | No holes, same size as top tray | Allows bottom watering so the surface stays drier and mold risk drops. |
| Growing medium | Seed-starting mix, coconut coir, or grow mat | Holds steady moisture and gives roots firm contact during fast early growth. |
| Light source | Sunny south-facing window or LED 3–5 inches above plants | Strong, close light keeps stems thick and upright instead of thin and leggy. |
Here’s why choosing the right growing medium matters:
Soil and coconut coir both hold moisture evenly and provide good structure for roots. Coir tends to drain a little faster and resists compacting. Grow mats are cleaner and less messy, but they offer less root anchoring and can dry out faster.
No matter which option you use, the goal stays the same: even moisture and solid seed-to-medium contact. The surface should feel damp, not muddy or swampy.
The key point is this: you need shallow depth, drainage, a moisture-holding medium, and reliable light. That’s it. Expensive systems don’t change the biology of seedling growth. Simple tools that match plant biology work just fine.
How Do You Plant Microgreens Correctly: Step-by-Step
Growing microgreens is fast. Most trays are ready in about 10 to 14 days. The process stays the same no matter what variety you choose. Here’s the full cycle, start to finish:
Step 1: Prep Your Soil and Trays
Start with pre-moistened potting mix. It should feel damp and fluffy, not muddy. When you squeeze it, it should hold shape but not drip.
Fill a shallow tray with drainage holes about 1–2 inches deep. Don’t pack the soil down hard. Roots need small air pockets to grow properly.
Place this tray inside a solid tray without holes. You’ll use that bottom tray later for watering.
Step 2: Sow Seeds Evenly
Sprinkle seeds across the surface. Dense, but not layered or piled. The seedlings should be close enough to support each other as they grow, but not so crowded that air can’t move between them.
After spreading, press the seeds gently into the surface. Don’t bury them. Just make sure they have solid contact with the moist soil.
Mist the top lightly. The surface should be moist enough for germination, but not soaked.
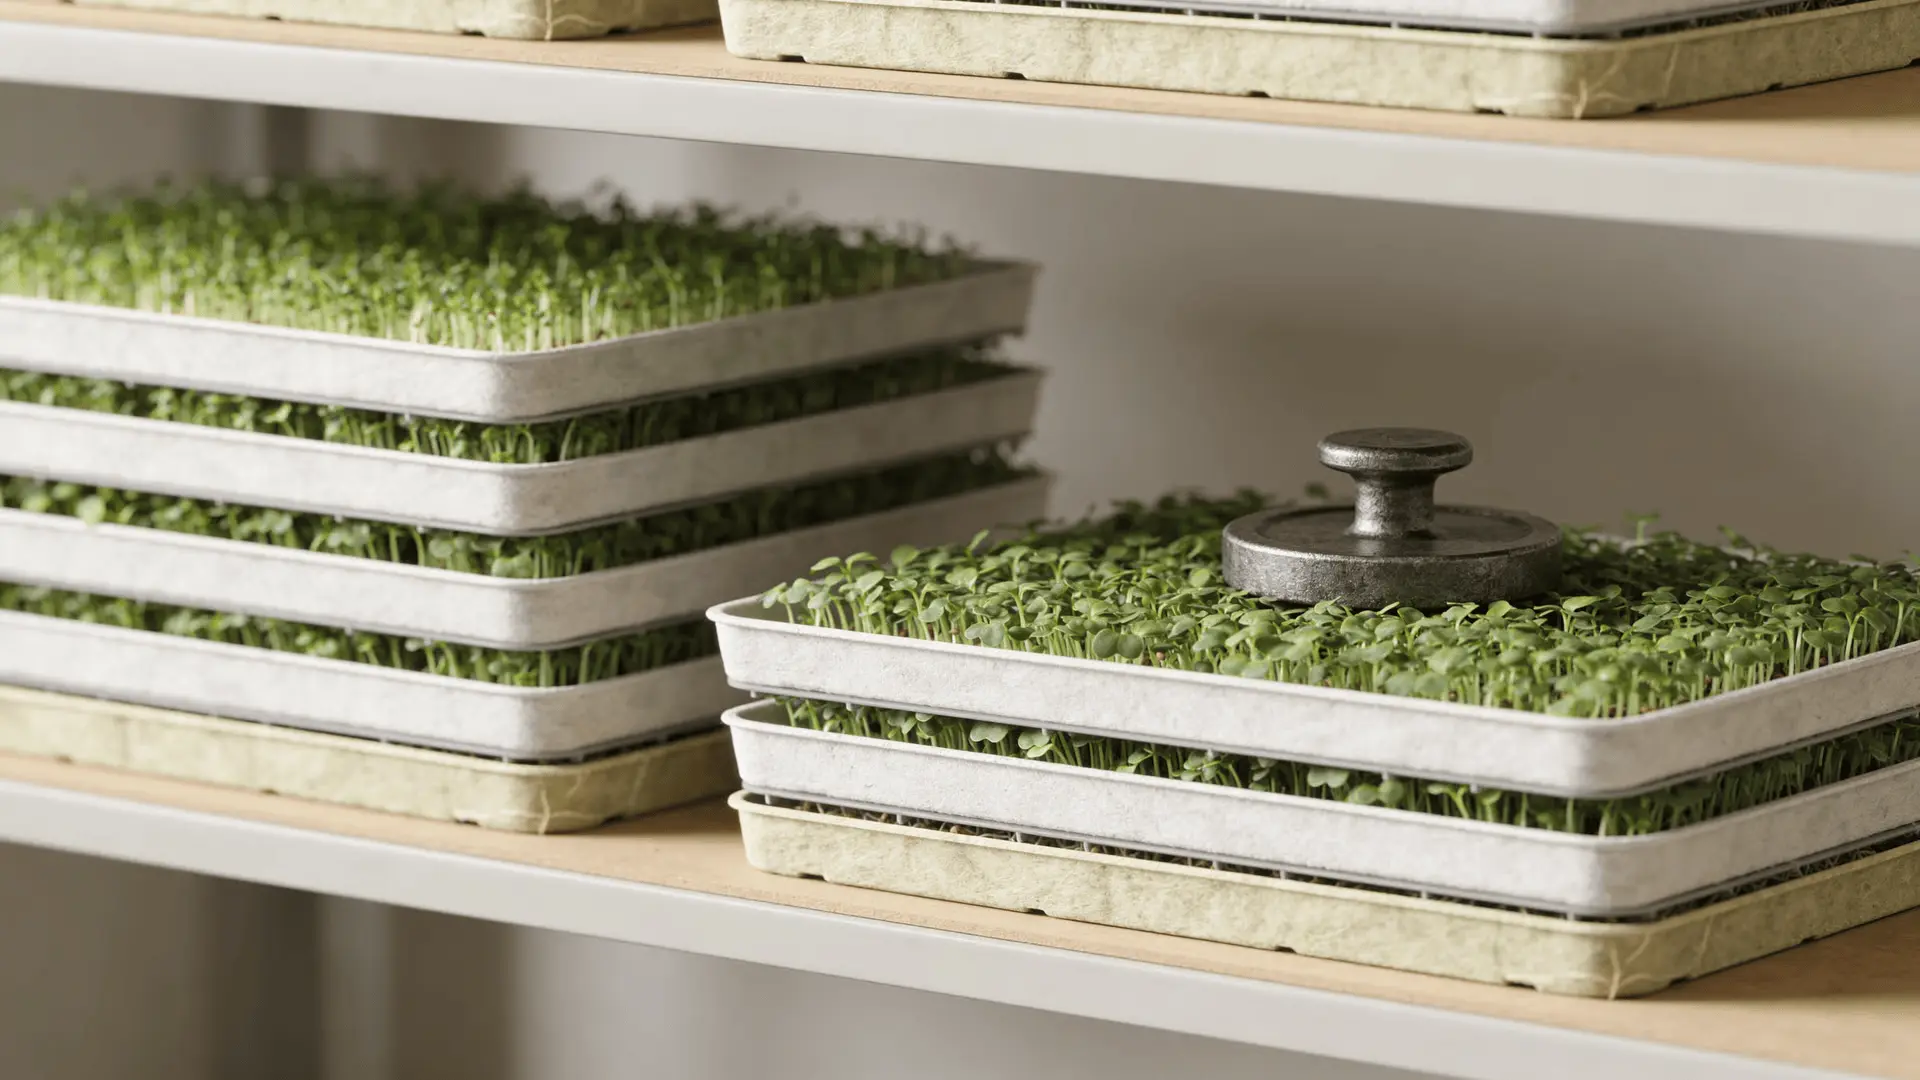
Step 3: Stack and Weight for Germination
Place another tray on top and add light weight. A brick, a rock, or anything flat and heavy works. This pressure simulates being underground and encourages strong root anchoring.
Keep the trays in the dark for about 2–3 days. You don’t need light yet. Check once a day. If the surface feels dry, mist lightly.
By day two or three, you’ll see sprouting and tiny white root hairs. That’s normal.
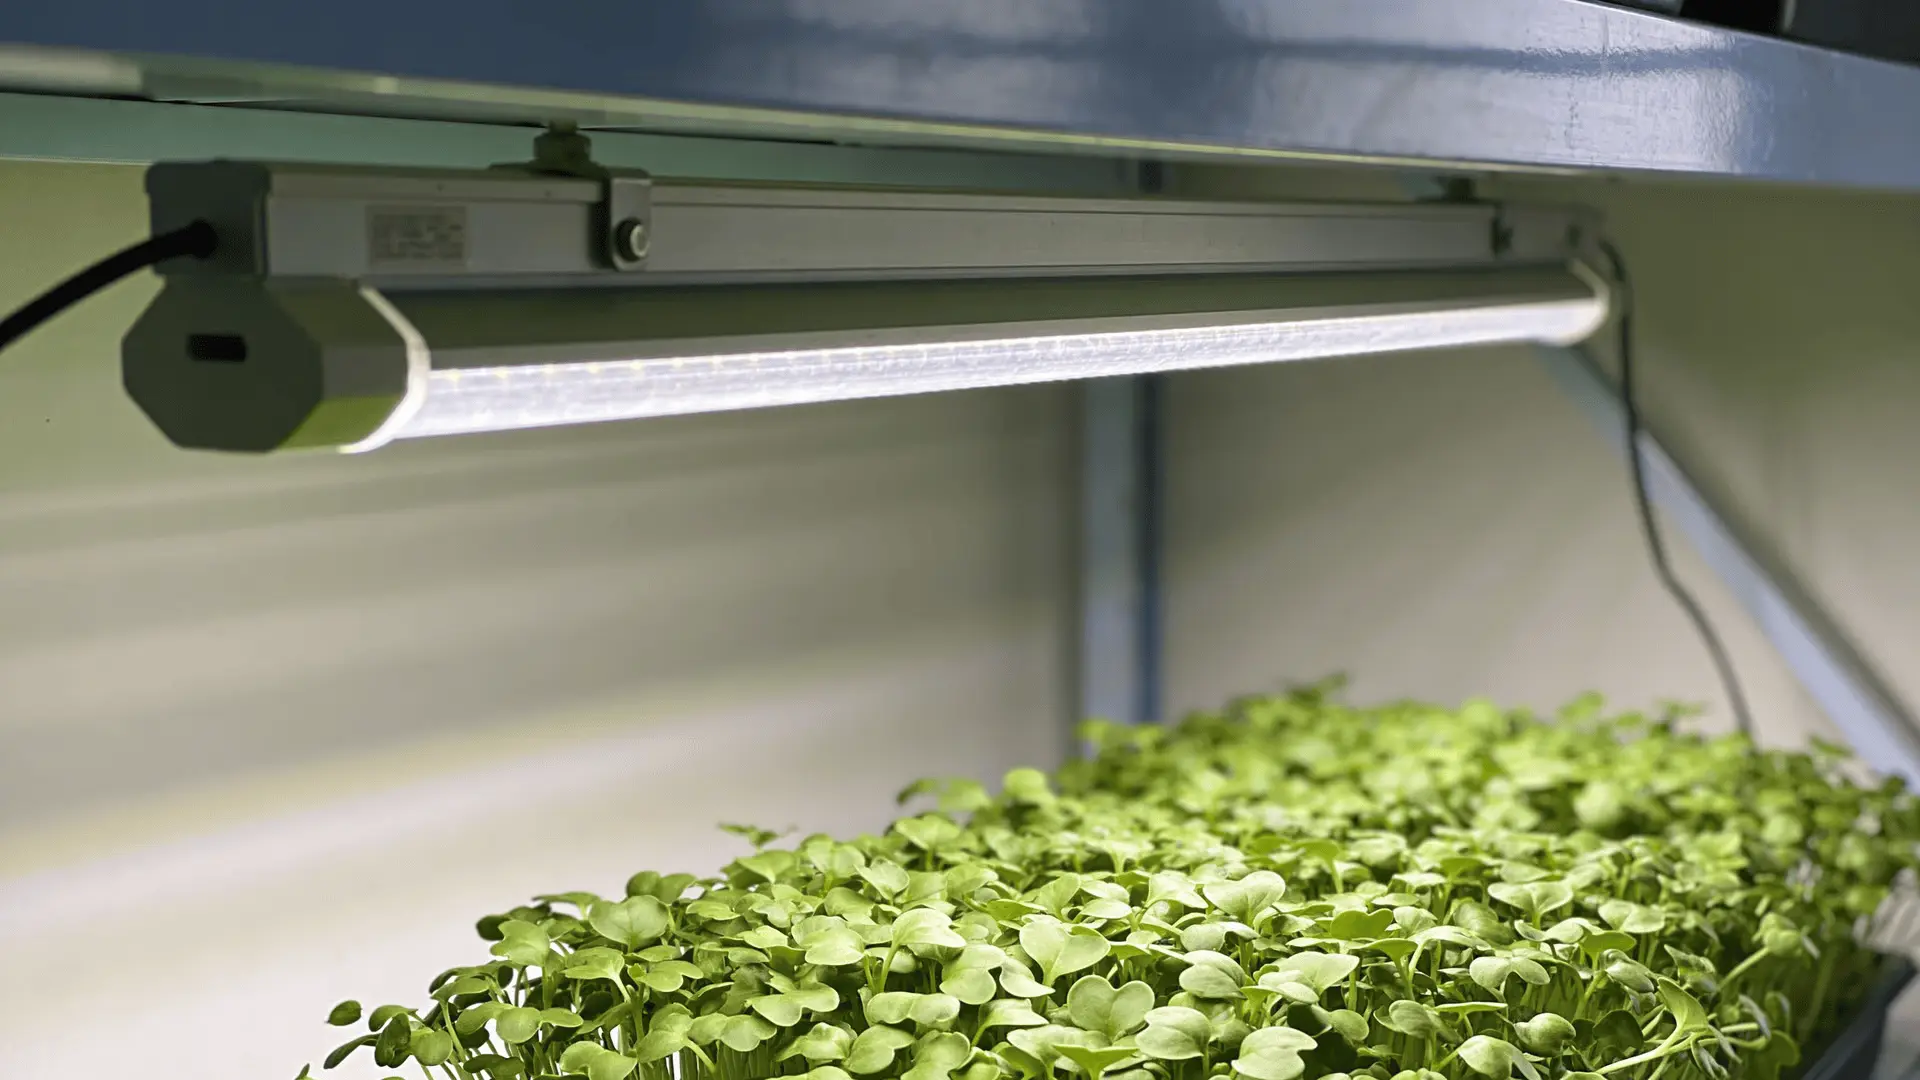
Step 4: Expose to Light and Grow
Once most seeds have sprouted and pushed upward, remove the top tray and move them under light.
A grow light works best, positioned a few inches above the canopy. If using a bright window, make sure it’s strong and direct. Weak light causes thin, stretched stems.
Turn the light on for about 12 hours per day.
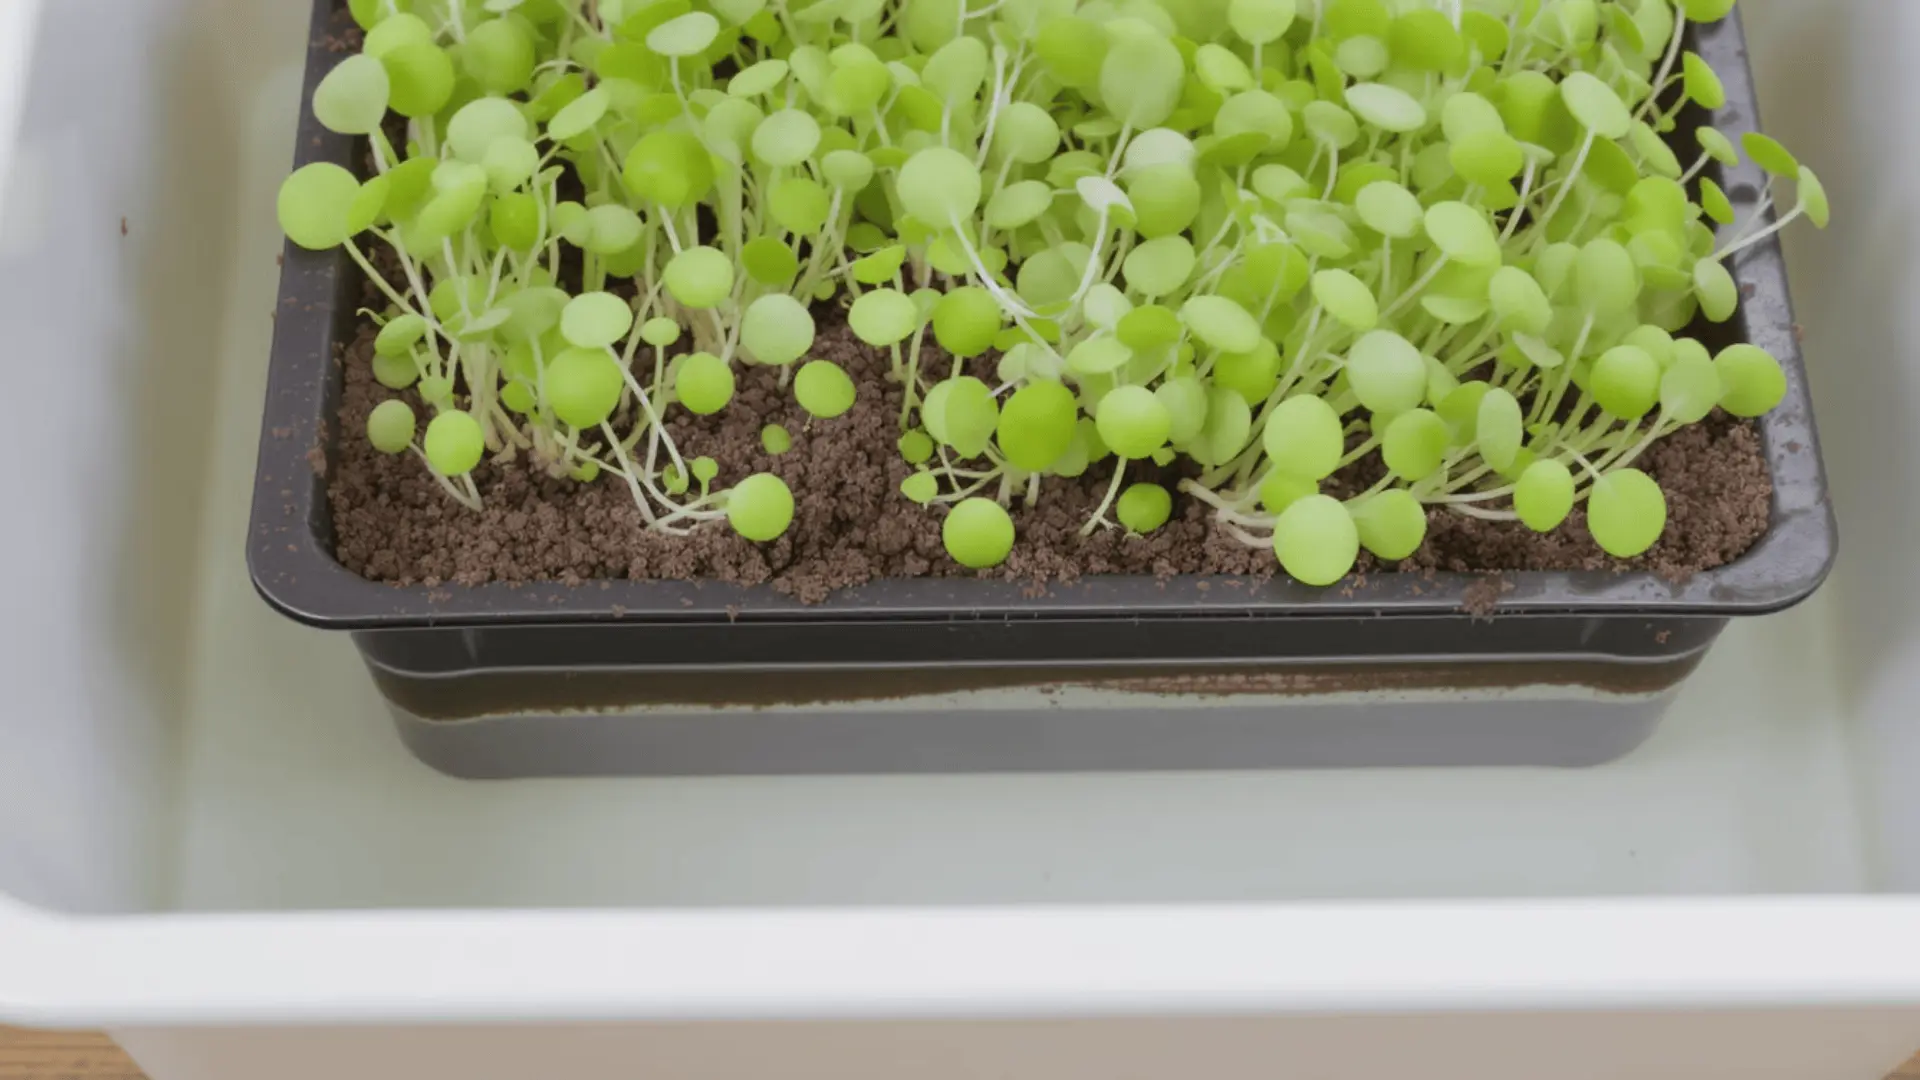
From this point forward, water from the bottom. Add water to the lower tray and let the soil absorb what it needs. If the tray feels light, it needs water. If it still feels heavy and damp, wait.
Good airflow helps here. Moving air strengthens stems and reduces mold risk.
Step 5: Harvest at The Right Time
Most varieties are ready in 10–14 days. Radish often finishes faster. Salad mixes may take a little longer.
- Look for the first true leaves forming between the initial seed leaves. Stems should be about 2–3 inches tall.
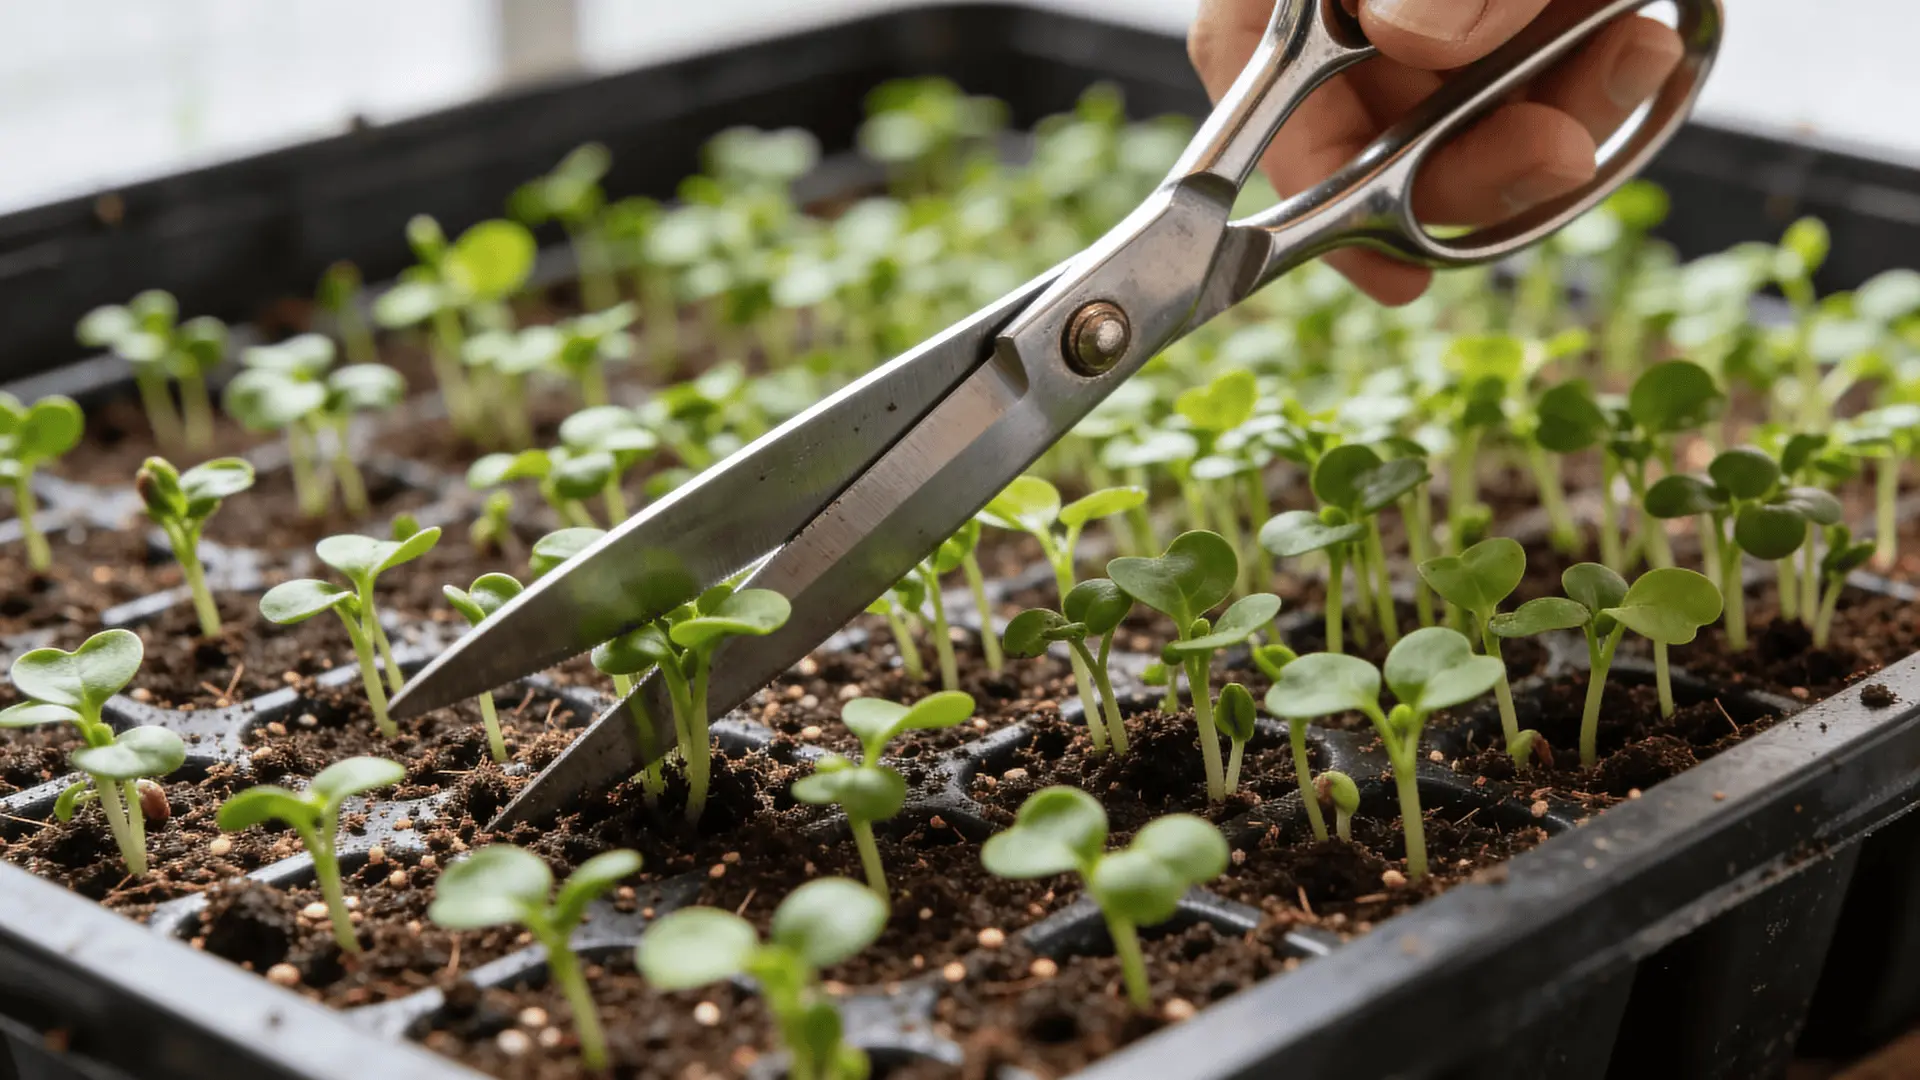
- Use clean scissors or a sharp knife. Cut just above the soil line. Keep your hands and tools clean.
- Store harvested greens dry in an airtight container with a paper towel. Wash only before eating.
That’s the whole cycle. Seed to harvest in under two weeks. Once you run through it once, the rhythm becomes simple and repeatable.
If you’d rather see the full process in action, I’ve included a complete start-to-finish walkthrough below. It shows each stage clearly from prepping the soil and sowing seeds to stacking, lighting, watering, and harvesting:
When Should Seeds Be Soaked and When Should They Not?
Some larger seedsbenefit from soaking for6–8 hours before planting. Soaking softens the outer seed coat, allowing water to penetrate faster. That quicker hydration often leads tofaster and more even germination.
But soaking is not universal.
Certain seeds are mucilaginous, meaning they form a gel-like coating when exposed to water.
Once soaked, these seeds become sticky and clump together. Clumping reduces airflow between seeds, traps surface moisture, and increases the risk of mold growth.
Soaking works well for seeds with hard outer shells that need help absorbing water. It works poorly for seeds that become gelatinous or sticky.
If soaking causes visible clumping, skip it. The real goal is even hydration, not extra moisture sitting on the surface.
A common beginner mistake is thinking soaking is required for all seeds. It isn’t. Seed soaking is a tool, not a rule.
What Happens During the Blackout Phase and Why Does It Matter?
After planting, trays are usually covered or stacked for a few days. This period is called the blackout phase.
During this stage, darkness triggers stem elongation. In low light, seedlings naturally stretch upward as they search for light. That upward push helps them shed their seed hulls and rise above the soil surface. This early stretch also creates enough height for a clean, easy harvest later.
Stacking trays or adding a lightweight serves another purpose. The gentle downward pressure encourages strongerroot anchoring. As seedlings push upward against resistance, their roots grip more firmly into the growing medium.
Without that pressure, some seedlings may lift out of the soil and develop shallow, unstable roots.
Germination usually takes 2–5 days, depending on the seed and room conditions. You’ll know it’s time to uncover when most seedlings are about ½ to 1 inch tall and have clearly sprouted. At this point, they need light quickly to begin strengthening.
If you uncover too early, roots may not be fully anchored. If you wait too long, stems can become overstretched and weak from extended darkness.
The blackout phase is not just about “keeping them dark.” It shapes the transition from root-building mode to light-driven growth. Timing this shift correctly sets up the rest of the growth cycle.
Managing Light Once Your Microgreens Sprout
Once uncovered, light becomes the main growth driver. This is the stage where seedlings stop stretching and start building strength.
- Strong, close light builds thick stems: Bright light signals seedlings to produce chlorophyll and strengthen their stems. Without enough intensity, they continue stretching and become thin and floppy.
- Distance controls intensity: Keep LED grow lights about 3–5 inches above the canopy. Light weakens quickly as it moves farther away. Too high causes legginess. Too close, especially with heat, can dry or scorch leaves.
- Windows are inconsistent: Sun angle shifts daily and seasonally. Glass filters some strength. Cloud cover lowers output. If greens lean hard toward the window, they are chasing stronger light.
- Moderate duration supports steady growth: Around 6–8 hours of consistent light is usually enough. Excess light combined with heat and moisture can stress young seedlings.
Note: A bright room is not the same as direct, close intensity. Microgreens respond to strong light positioned near the canopy. When light is steady and correctly placed, stems stay upright and growth stays compact.
How Do You Water Microgreens without Causing Mold?
Watering is where most problems begin.
Roots need both water and oxygen. When soil is constantly soaked, air pockets fill with water. Roots then struggle to breathe. Weak roots slow growth and increase vulnerability to fungal issues.
Bottom watering works because it keeps the surface drier. You add water to the lower tray. The medium pulls up only what it needs. The top layer stays less saturated, reducing mold risk.
Top watering or heavy misting keeps the surface wet. In dense plantings, moisture lingers between stems. Combined with low airflow, that’s the main cause of mold.
Microgreens don’t need large amounts of water daily. They need consistent moisture, not flooding.
| Signs of Overwatering | Signs of Underwatering |
|---|---|
| Sour or musty smell from the tray | Curling or drooping leaves |
| Slimy or shiny patches on the surface | Soil pulling away from tray edges |
| Weak, collapsing stems | Slow or stalled growth |
Moisture needs can shift slightly with room temperature and airflow. Warmer rooms dry trays faster. Cooler rooms retain moisture longer. So watering is not identical every day. It responds to conditions.
Daily misting feels safe because it looks gentle. But surface saturation combined with dense growth is risky. Controlled bottom watering supports steady growth with less surface moisture.
When and How Should You Harvest Microgreens?
Most microgreens are ready in 7–14 days.
Harvest timing depends on the leaf stage. The first leaves that appear are called cotyledons. Some growers harvest at this stage. Others wait until the first true leaves begin forming. True leaves look more like the mature plant.
- Harvesting at the cotyledon stage gives a softer texture.
- Waiting for true leaves produces a slightly stronger flavor and structure.
If you wait too long, stems can toughen and growth slows because the shallow root space limits expansion.
Note: Use clean scissors and cut just above the soil line, and absolutely avoid pulling. I’ve made the mistake before, pulling disturbs the growing medium and can bring up debris.
Do Microgreens Regrow After Cutting?
In most cases… No, microgreens do not regrow well after harvest.
Microgreens rely heavily on the stored energy inside the seed to power their early growth. By the time you cut them, most of that energy has already been used to form stems and leaves. What’s left in the root system is minimal.
Their roots are also shallow and tightly crowded. They were never meant to support long-term growth. Unlike herbs or mature greens, microgreens are harvested before they develop deeper roots or multiple growth points that allow for repeated cutting.
You may see a small amount of regrowth after harvesting, but it’s usually thin, uneven, and weaker than the first flush. The stems often lack strength, and growth slows down noticeably.
Microgreens are designed for asingle harvest cycle. Trying to stretch them into multiple cuts usually leads to lower quality and inconsistent results
Wrapping Up
Growing microgreens can look almost too easy. But once you understand what’s happening under the surface, it becomes predictable instead of frustrating.
When you focus on shallow roots, oxygen access, balanced moisture, and strong light, problems like mold and legginess make sense and can be taken care of easy.
Once you run through the process a couple of times, it’ll start to feel straightforward. Keep it simple: plant, stack, uncover, water, and harvest. Make small adjustments when something looks off.
Want to keep learning? Browse other guides on the website for more practical tips, step-by-step tutorials, and ideas you can put to use right away.
Frequently Asked Questions
Do microgreens regrow after cutting?
Usually not. By harvest time, most stored seed energy is used. Regrowth is weak and uneven because roots are shallow and crowded.
How to grow microgreens indoors for beginners?
Use shallow trays with drainage, moist soil or coir, strong light close to the canopy, bottom watering, and harvest in about 7–14 days.
What seeds should not be used in microgreens?
Avoid treated or coated seeds. Also, skip seeds that turn gelatinous when soaked, as they clump and increase mold risk.
What is the secret to growing microgreens?
Control moisture and light. Balanced watering, strong close light, and good airflow prevent most common problems.