If you’ve been reading about straw bale gardening, you’ve probably noticed how simple it sounds. Set down a bale, add plants, and harvest food.
That idea pulls people in fast. But the method works well only when you understand what’s actually happening inside the bale. This is not soil. It’s not mulch. It’s a controlled breakdown process that feeds plants over time.
In this guide, I’ll explain how this method works, where it shines, and where it falls apart. By the end, you’ll know whether this approach fits your space, your time, and your patience.
What is Straw Bale Gardening?
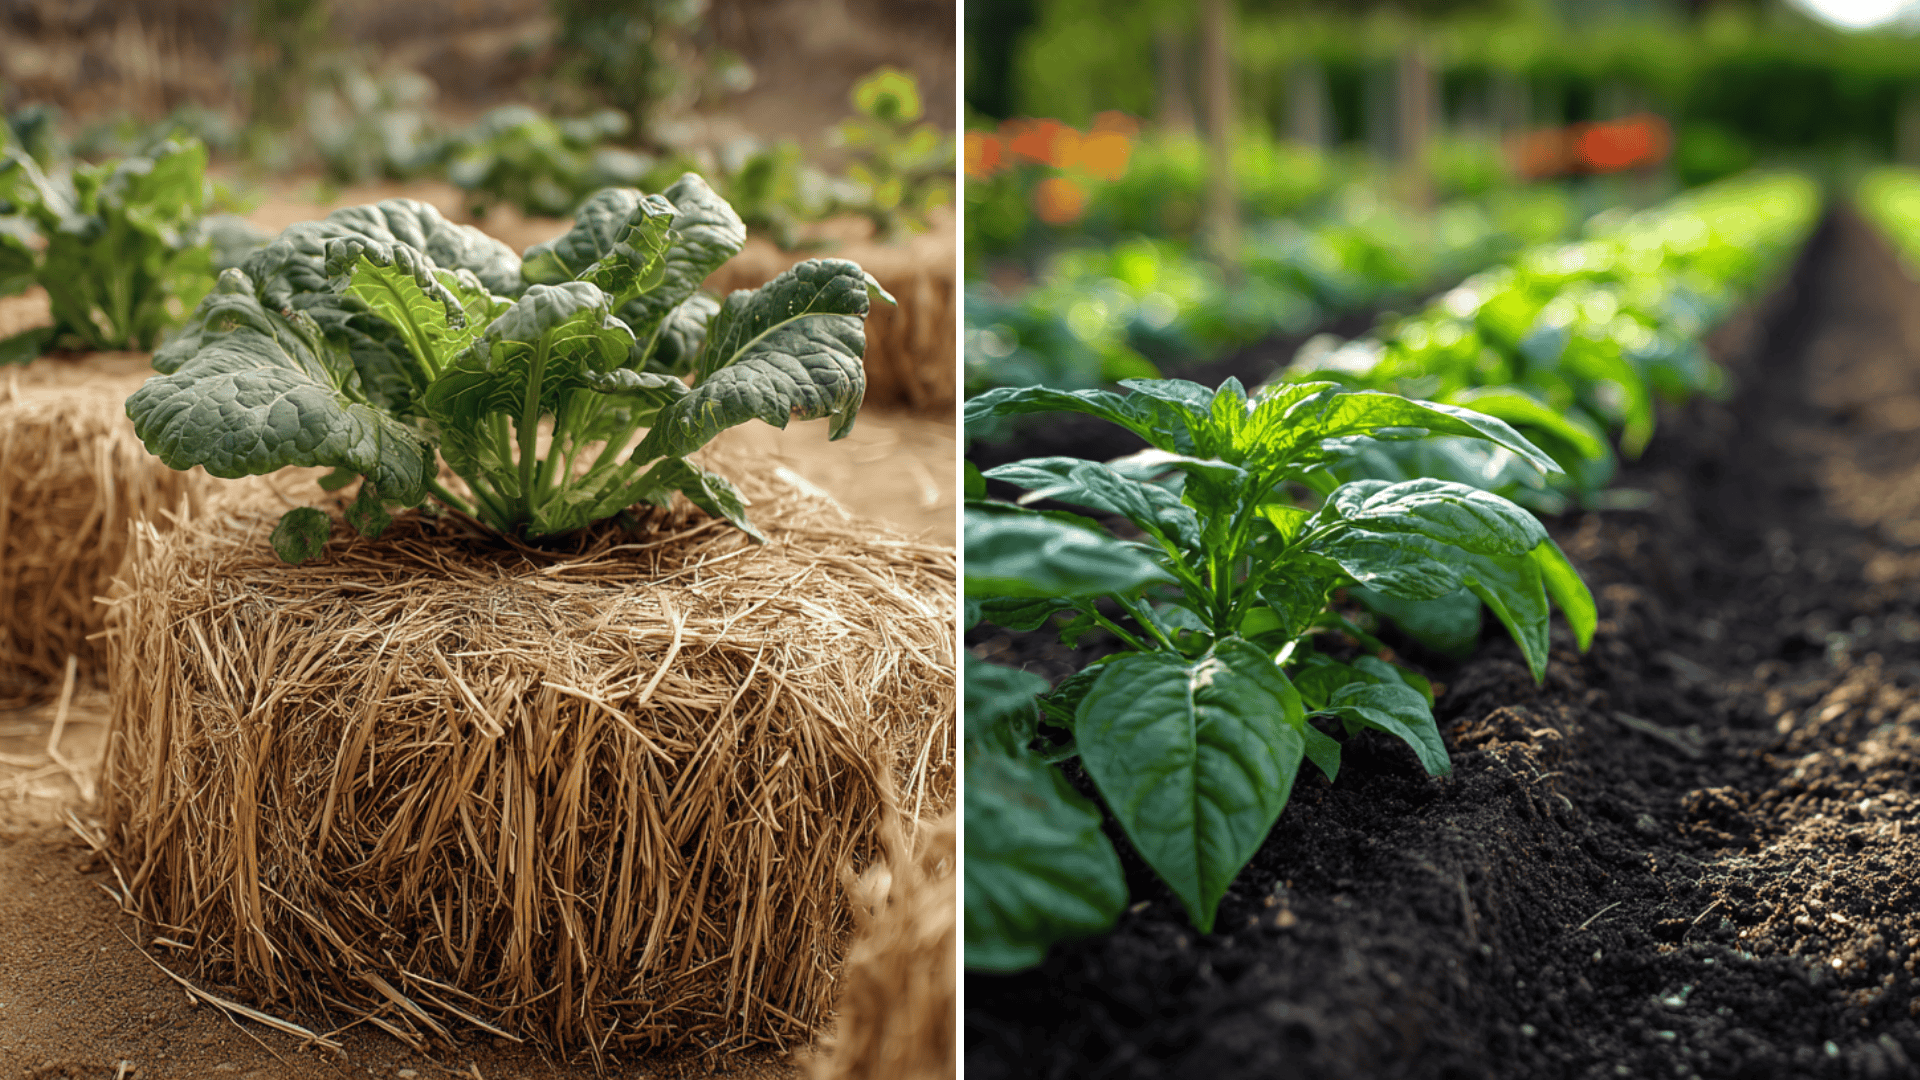
At its core, this method uses tightly packed straw as both a container and a growing medium. The bale holds and feeds the plant. And over time, the bale breaks down from the inside out.
Unlike raised beds or pots, you are not starting with finished soil. You are creating it as you go. Water and nitrogen wake up microbes inside the straw. Those microbes break the straw down. That process releases nutrients that plant roots can use.
This is why placement and prep matter so much. A bale that stays dry or never heats up will not feed anything.
Straw and hay are not the same. Straw is the dry stem left after grain harvest. It has very few seeds. Hay is cut grass. It is full of seeds and often treated. Using hay usually leads to weeds everywhere. That mistake alone causes many failures.
As straw breaks down, it behaves like slow compost. Early on, it ties up nitrogen. Later, it releases it. That shift explains most problems people run into.
Is Straw Bale Gardening Worth It?
This method works best for very specific situations. It is not a universal upgrade.
The upside is clear. You can grow food where the soil is poor or nonexistent. The height reduces bending. Weeds are limited at the start. You can place bales on concrete, gravel, or compacted ground.
The downside is control. You rely on biological activity you cannot see. If conditions are off, plants struggle fast. Bales also dry out quickly and need steady water.
This approach makes sense if you want a short-term setup, need elevation, or cannot dig. It is less ideal if you want long-term beds, low upkeep, or full control over nutrients.
It also isn’t cheaper in every situation. Straw prices vary by location. Water use is higher than in many soil beds. Fertilizer isn’t optional.
What You Need Before You Start
Before placing anything, gather all materials. Missing pieces slow the process.
You’ll need:
- Clean straw bales that feel tight and heavy. Loose bales break down too fast.
- A nitrogen source such as blood meal, urea, or lawn fertilizer without weed killer. The label matters more than the brand.
- Compost or potting mix for planting pockets. Roots need stability before reaching into the bale.
- Reliable water access. Straw bales must stay evenly moist.
- Support materials like stakes, cages, or fencing. These should be installed before planting, since moving them later can damage roots.
How to Prepare Straw Bales for Gardening
Preparation is where most success or failure happens. This stage turns dry straw into a living system.
Step 1: Position the Bales Correctly
Place each bale with the cut side facing up. This is the side where you can see the straw ends. It absorbs water and nutrients instead of letting them run off. Getting this wrong slows conditioning from the start.
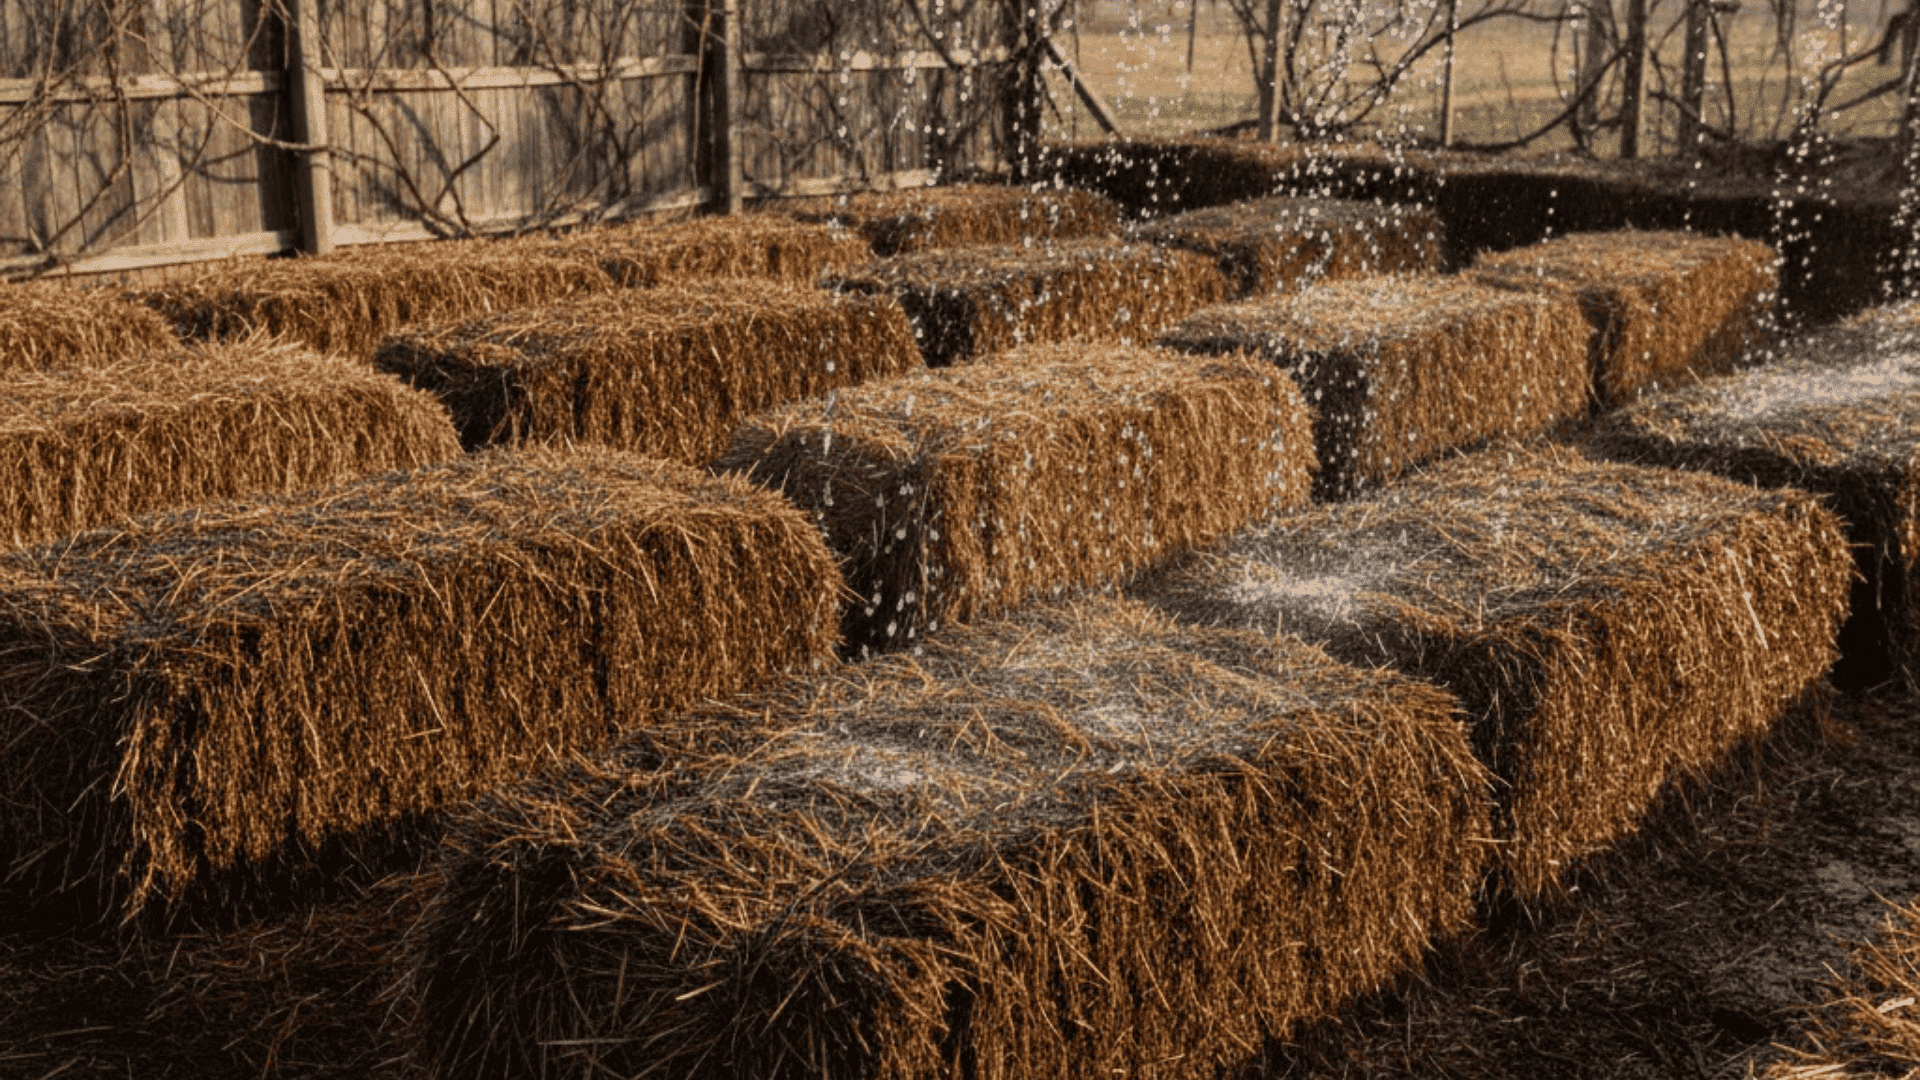
Step 2: Start Daily Watering
Water the bales thoroughly every day. The goal is to soak the center, not just the surface. Consistent moisture is what activates microbial activity inside the straw.
Step 3: Add Nitrogen During the Early Phase
For the first week, apply a nitrogen source every few days while continuing daily watering. This feeds the microbes that break down the straw. As they work, the inside of the bale will begin to heat up. That heat is expected and necessary.
Step 4: Allow the Bale to Cool
During the final days of conditioning, stop adding nitrogen but keep watering daily. This lets microbial activity settle so the internal temperature drops to a safe range for roots.
Step 5: Check for Readiness
A conditioned bale should feel warm to the touch, not hot. It should smell earthy, not sour or sharp. These signs mean the bale is biologically active but stable enough for planting.
Step 6: Avoid Common Conditioning Mistakes
Problems usually come from rushing or inconsistency:
- Skipping watering days slows decomposition
- Too little nitrogen leaves the bale inactive
- Planting too early exposes roots to heat stress
If the bale is still cold, plants won’t get fed. If it’s too hot, roots get damaged. Patience matters more than speed here.
How to Plant in a Straw Bale Garden
Planting in a straw bale is simple once the bale is ready, but the process works best when you slow down and give roots a stable starting point.
Step 1: Decide Whether to Use Transplants or Seeds
Most gardeners get better results with transplants. They already have established roots and handle the shifting conditions inside a bale more easily. Seeds can work, but they need closer attention.
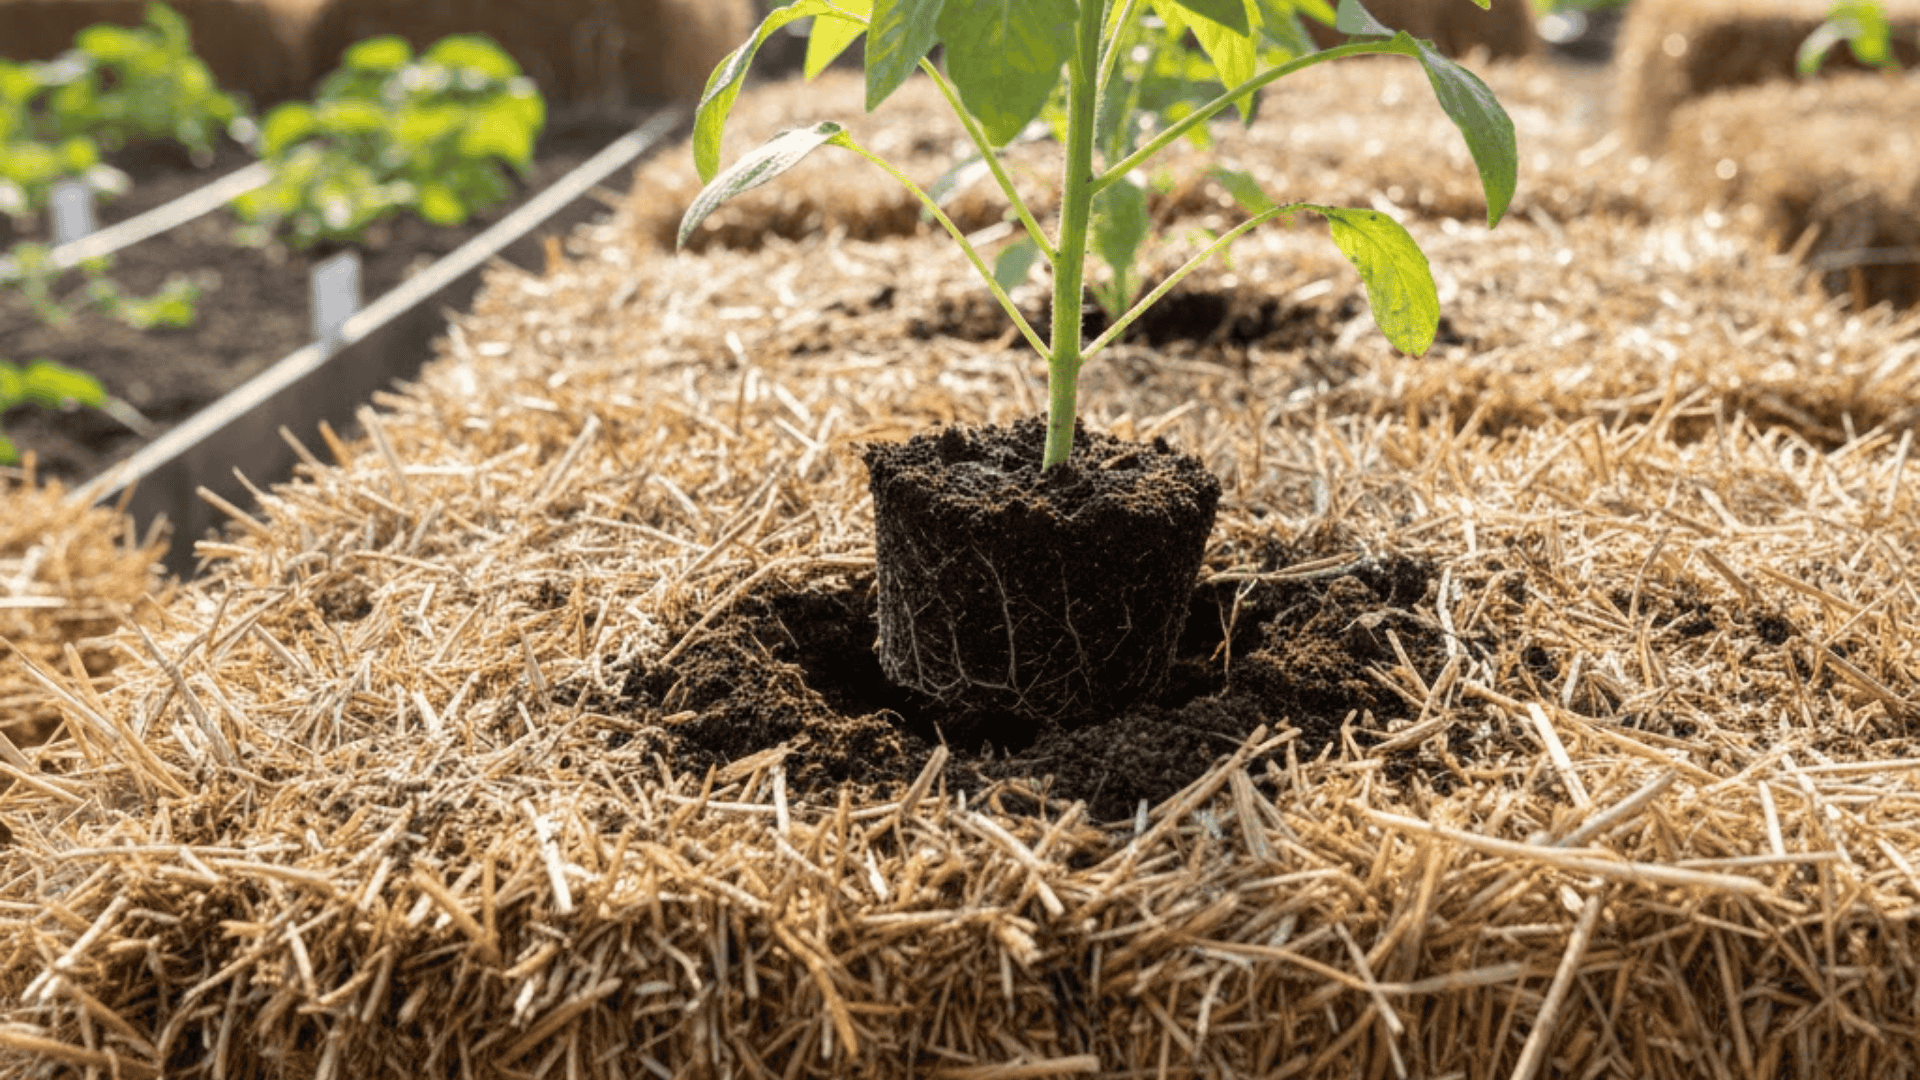
Step 2: Create a Planting Pocket
Pull the straw apart at the top of the bale to form a small opening. Make it large enough to hold a root ball without forcing it. Avoid tearing deep into the bale more than needed.
Step 3: Add Compost or Potting Mix
Fill the pocket with compost or potting mix. This gives the plant a stable, familiar environment while roots begin to grow into the straw.
Step 4: Place the Plant and Firm Gently
Set the transplant into the pocket at the same depth it was growing before. Lightly press the surrounding material to hold it in place without compacting it.
Step 5: Space Plants Conservatively
Leave more room than you think you need. Straw bales support less root mass than soil beds, and overcrowding leads to weak growth and poor airflow later.
Step 6: Match Planting Depth Carefully
Plant at normal depth. Do not bury stems deeper to “anchor” the plant. As the bale settles and breaks down, the planting depth naturally changes over time.
Once plants are set, leave them alone. Strong early placement makes it easier for roots to adapt as the bale continues to change.
Best Plants for Straw Bale Gardening
Some plants thrive in this setup. Others struggle no matter how careful you are.
Plants that grow well in straw bales:
- Fruiting vegetables: Tomatoes, peppers, squash, and cucumbers perform well once established. They benefit from regular feeding later in the season.
- Greens and herbs: Lettuce, basil, and chard grow quickly and adapt well to early bale conditions.
Plants that are unreliable or not recommended:
- Root crops: Results vary. Short roots may form, but longer roots often hit dry pockets or collapsing straw.
- Crops needing firm, long-term soil: Corn and large brassicas tend to struggle and often fail to reach full size.
Watering and Feeding Straw Bale Gardens
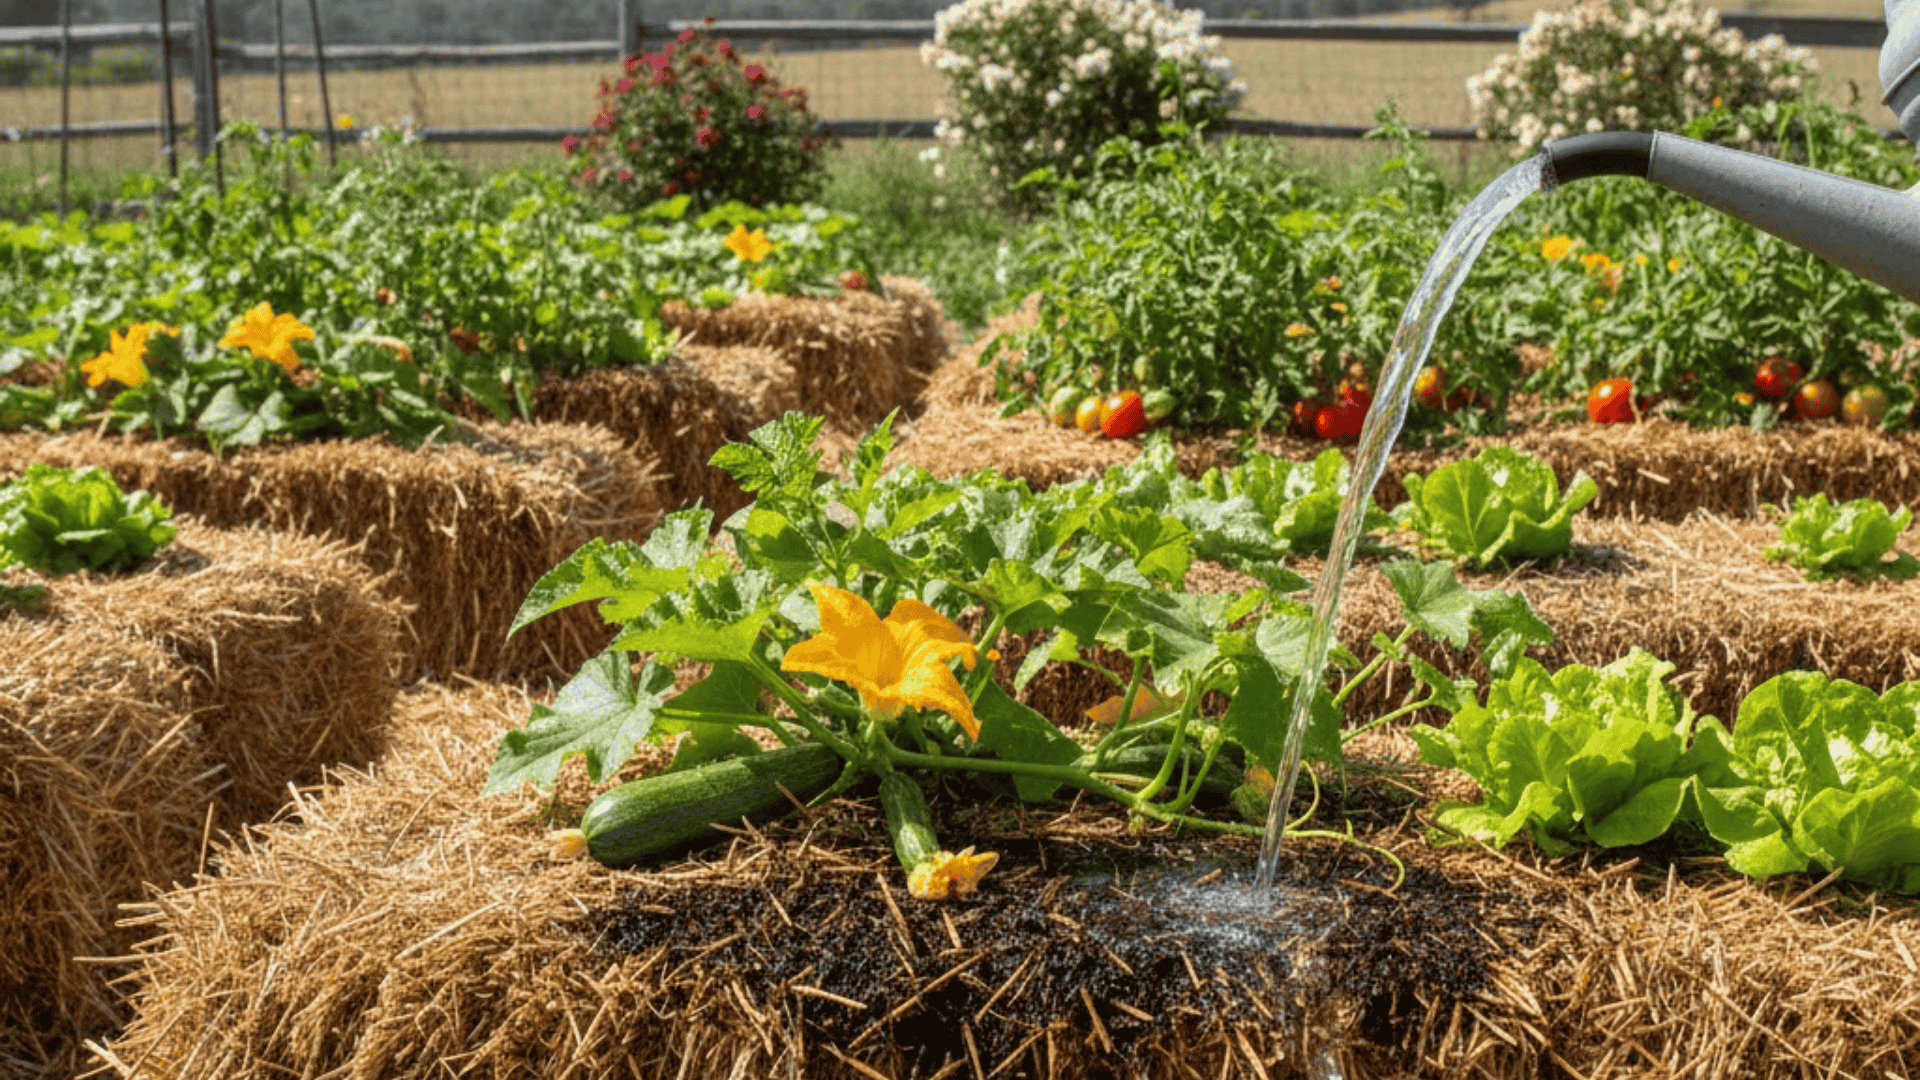
Straw bales dry out much faster than soil beds, especially once plants are established. Checking moisture regularly matters more than sticking to a fixed schedule.
When you water, soak the bale deeply so moisture reaches the center. Surface watering only wets the outer straw and leaves the root zone dry. Uneven moisture is one of the most common reasons plants struggle in bales.
Feeding does not stop after planting. Early in the season, plants may look pale or slow because nitrogen is still being used by microbes breaking down the straw. This is normal. As the bale matures, nutrient release increases, and feeding shifts toward supporting flowering and fruit development.
Leaf color tells you what’s happening:
- Yellowing leaves usually point to low nitrogen, not disease
- Dark green growth with few flowers often means excess nitrogen
Nutrient needs change as the bale breaks down. Make small adjustments and give the plant time to respond before adding more.
Common Straw Bale Gardening Problems and Fixes
Some issues look alarming but are harmless.
- Mushrooms: Let them be. They signal active decomposition and usually disappear as moisture and temperature inside the bale even out.
- Yellow leaves: Increase nitrogen slightly and keep watering consistent. Early nutrient tie-up is common while microbes are still active.
- Bale collapse: Install supports early and expect some settling. Straw softens over time, especially once decomposition accelerates midseason.
- Drying plants: Water deeply and evenly so moisture reaches the center. Surface watering alone leaves roots stressed and underfed.
- Pests and rodents: Improve airflow, reduce nearby shelter, and avoid letting bales dry out, which makes them more attractive nesting sites
These problems come from how organic matter breaks down, not from mistakes alone.
Straw Bale Gardening for Different Climates
Straw bale gardening works almost anywhere, but climate changes how bales behave. Small adjustments make a big difference in plant health and timing.
| Climate type | Main challenge | What happens to the bales | Simple fixes that work |
|---|---|---|---|
| Hot and dry | Fast moisture loss | Bales dry out quickly and heat up | Use shade cloth, set up drip irrigation, water deeply and often |
| Cool and cold | Slow warming | Decomposition starts late, roots stay cool | Start conditioning earlier, place bales in full sun, use dark covers |
| Rainy and humid | Too much water | Bales stay soggy and break down unevenly | Raise bales off the ground, improve drainage, avoid overwatering |
| Windy | Drying and movement | Surfaces dry out, tall plants can tip | Secure bales, add wind breaks, anchor trellises firmly |
| Mixed or changing | Inconsistent conditions | Moisture and heat vary week to week | Check bales often, adjust watering and shade as needed |
Climate matters more than the calendar with straw bale gardening. Pay attention to how your bales look and feel, then adjust as you go. Flexible care beats strict schedules every time.
What to Do with Straw Bales After the Season
By the end of the season, straw bales are already breaking down. That makes them easy to reuse or move without much effort.
- Break into garden beds: Pull the bales apart and mix the straw into soil. It adds organic matter and improves texture over time.
- Use as mulch: Spread the material around trees, shrubs, or garden paths. It helps hold moisture and reduces weed growth.
- Add to compost piles: Old bales speed up composting when mixed with food scraps and green waste.
- Reuse for planting (limited): You can plant again, but expect faster collapse and less support. Best for short-season or shallow-root crops.
- Spread and leave in place: Lay the straw directly on empty beds. It breaks down naturally and feeds the soil.
Used straw bales are not waste. They turn into soil helpers with very little work. Wherever you place them, they keep improving the ground as they break down.
Wrapping Up
Straw bale gardening succeeds when expectations match reality. This method is less about convenience and more about working with change.
The bale shifts, nutrients move, and conditions evolve week by week. The biggest wins come from observation, not rigid routines. Watch moisture, track plant response, and adjust early instead of reacting late.
If you need flexibility, temporary growing space, or relief from poor ground, straw bale gardening can fit well. If you prefer set-and-forget systems, it may frustrate you.
Start small, test one or two bales, and learn how they behave in your space. Try a single bale this season and see what it teaches you.
Frequently Asked Questions
What are the disadvantages of straw bale gardening?
Straw bale gardening requires frequent watering, lasts only one season, and offers less nutrient control. Plants respond quickly to mistakes, making observation and adjustment essential.
Is straw bale gardening organic?
It can be organic if untreated straw and organic fertilizers are used. The method itself is neutral, but results depend entirely on the materials and inputs you choose.
How long do straw bales last for gardening?
Most straw bales support healthy plant growth for one growing season. Structural breakdown and nutrient imbalance usually make them unreliable beyond that point.