Roses often get labeled as difficult, but that reputation usually comes from rushed advice and missing context. The plant itself is more forgiving than people expect.
What trips most people up is not knowing what actually matters early on and what can safely wait.
Planting roses isn’t just about digging a hole and hoping for flowers. Timing, placement, and early care shape how the plant settles and grows long before blooms appear.
In this guide, I’ll focus on how roses behave, what they need first, and where confusion usually starts, beginning with timing.
Planting roses works best when timing, location, and early care reduce stress on the plant. Roses should be planted in well-draining soil, placed where they receive adequate sunlight, and watered deeply after planting. Roots establish first, followed by leaves and blooms. Proper timing and placement help roses settle and grow more reliably.
When is the Right Time to Plant Roses?
Timing affects how much stress a rose deals with in its first few months. Planting at the wrong time doesn’t always kill a rose, but it does make everything harder. You want the plant to focus on roots before it has to fight heat or deep cold.
Best Time to Plant Roses by Season
Spring planting: Spring is ideal for beginners because warming soil and steady rain support growth. Plant after hard freezes but before heat arrives so roots settle before the plant focuses on leaves and flowers.
If you’re still getting comfortable with timing and early care, starting with other beginner-friendly flowers can help before moving on to roses.
Fall planting: Fall planting works in mild climates because cool air reduces stress while soil stays warm. Plant early enough to give roots several weeks to establish before winter cold slows growth.
Winter planting in warm climates: In warm regions, winter planting works well because roses rest above ground while roots grow below. This quiet root growth prepares the plant for stronger, faster growth in spring.
How Climate Affects Planting Timing
- Cold climates: Cold regions need to avoid frozen soil and late hard freezes. Plant too early and roots stall. Plant too late, and the summer heat hits before the plant is ready. Aim for steady soil temperatures and patience.
- Mild climates: Mild areas have the most flexibility. Both fall and spring can work well. The main risk is sudden weather swings. Watch long-term forecasts, not single warm weeks.
- Hot climates: Heat is the real enemy here. Planting during cooler months gives roses time to establish before extreme temperatures arrive. Summer planting often fails because roots can’t keep up with water loss.
If you garden in USDA Zones 3–6, spring planting is usually safest. Zones 7–8 often allow fall planting, while Zones 9–10 typically plant best in winter.
Choosing the Right Spot for Roses
Where you plant a rose affects its health more than almost anything else. Light, airflow, and drainage all interact. A rose can survive in a bad spot, but it won’t thrive there.
Sun Requirements for Roses
Roses need light to build strong stems and flowers. Most do best with full sun, which means at least six hours of direct light.
Morning sun is more important than afternoon sun. Early light dries leaves quickly, which reduces disease. Afternoon sun is hotter and can stress plants, especially in warm areas. If you have to choose, give roses some sun early in the day and a little shade later.
Partial shade can work, but blooms will be fewer and growth will be slower. Shade doesn’t kill roses. It just limits what they can do.
Where You Should Not Plant Roses
Some locations cause ongoing problems that no amount of care can fix.
- Too much shade leads to weak growth and poor flowering.
- Poor drainage suffocates roots and invites disease.
- Crowded or enclosed spaces trap moisture and reduce airflow.
If water pools after rain or the air feels still and damp, it’s not a good rose spot.
How to Plant Roses Step-by-Step
Planting roses is about creating the right conditions and then getting out of the way. Each step plays a role. Skipping one or rushing another is what usually causes problems later.
These steps apply to both bare-root and potted roses. The goal is a steady, even setup from start to finish.
Step 1: Prepare the Soil
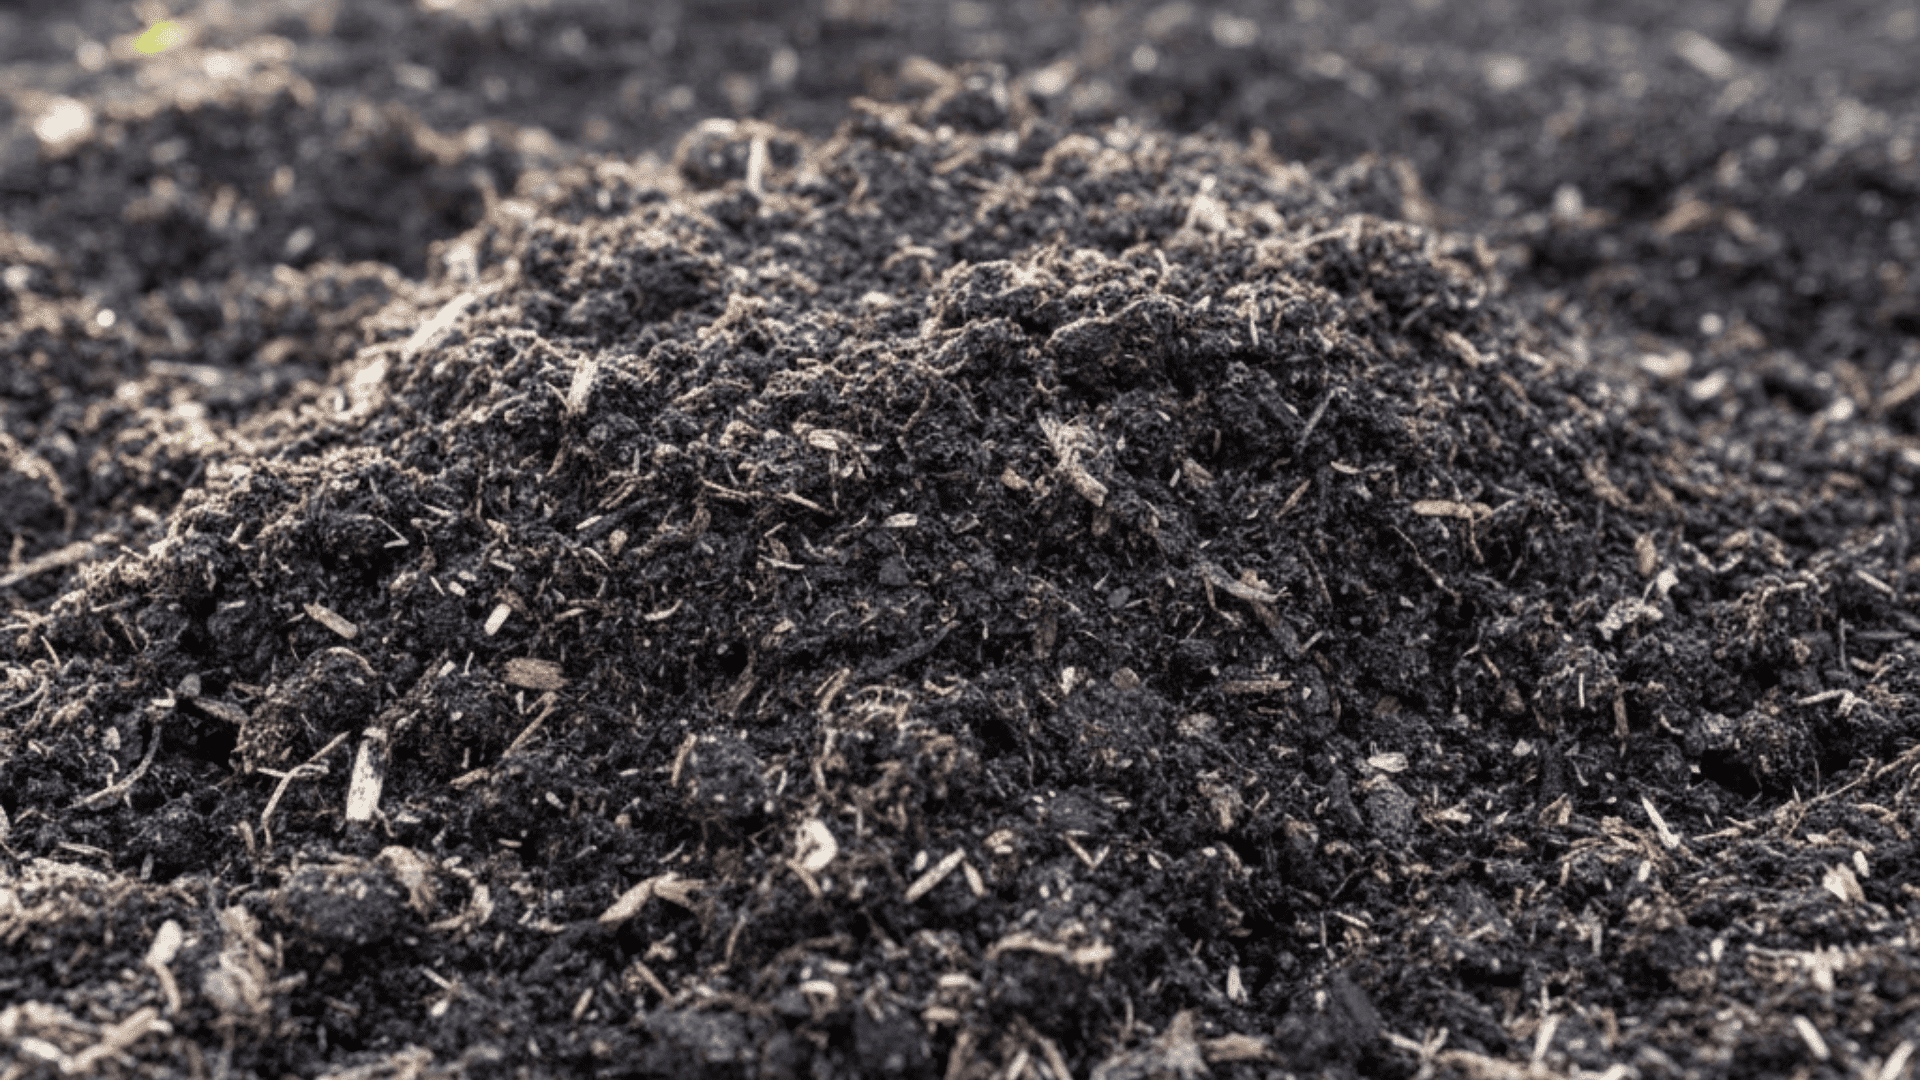
Soil preparation controls how easily roots can grow. Roses do best when the soil drains well but still holds some moisture. If water pools after watering, loosen the area so it can move through instead of sitting.
The soil should break apart easily in your hands. Hard, sticky soil slows roots, while very gritty soil dries too fast. Mixing in compost improves structure in both cases and supports healthy root growth.
Avoid fresh manure, which can burn roots, and skip fertilizer at planting time. Roots need time to settle before they can use added nutrients.
Step 2: Dig the Hole
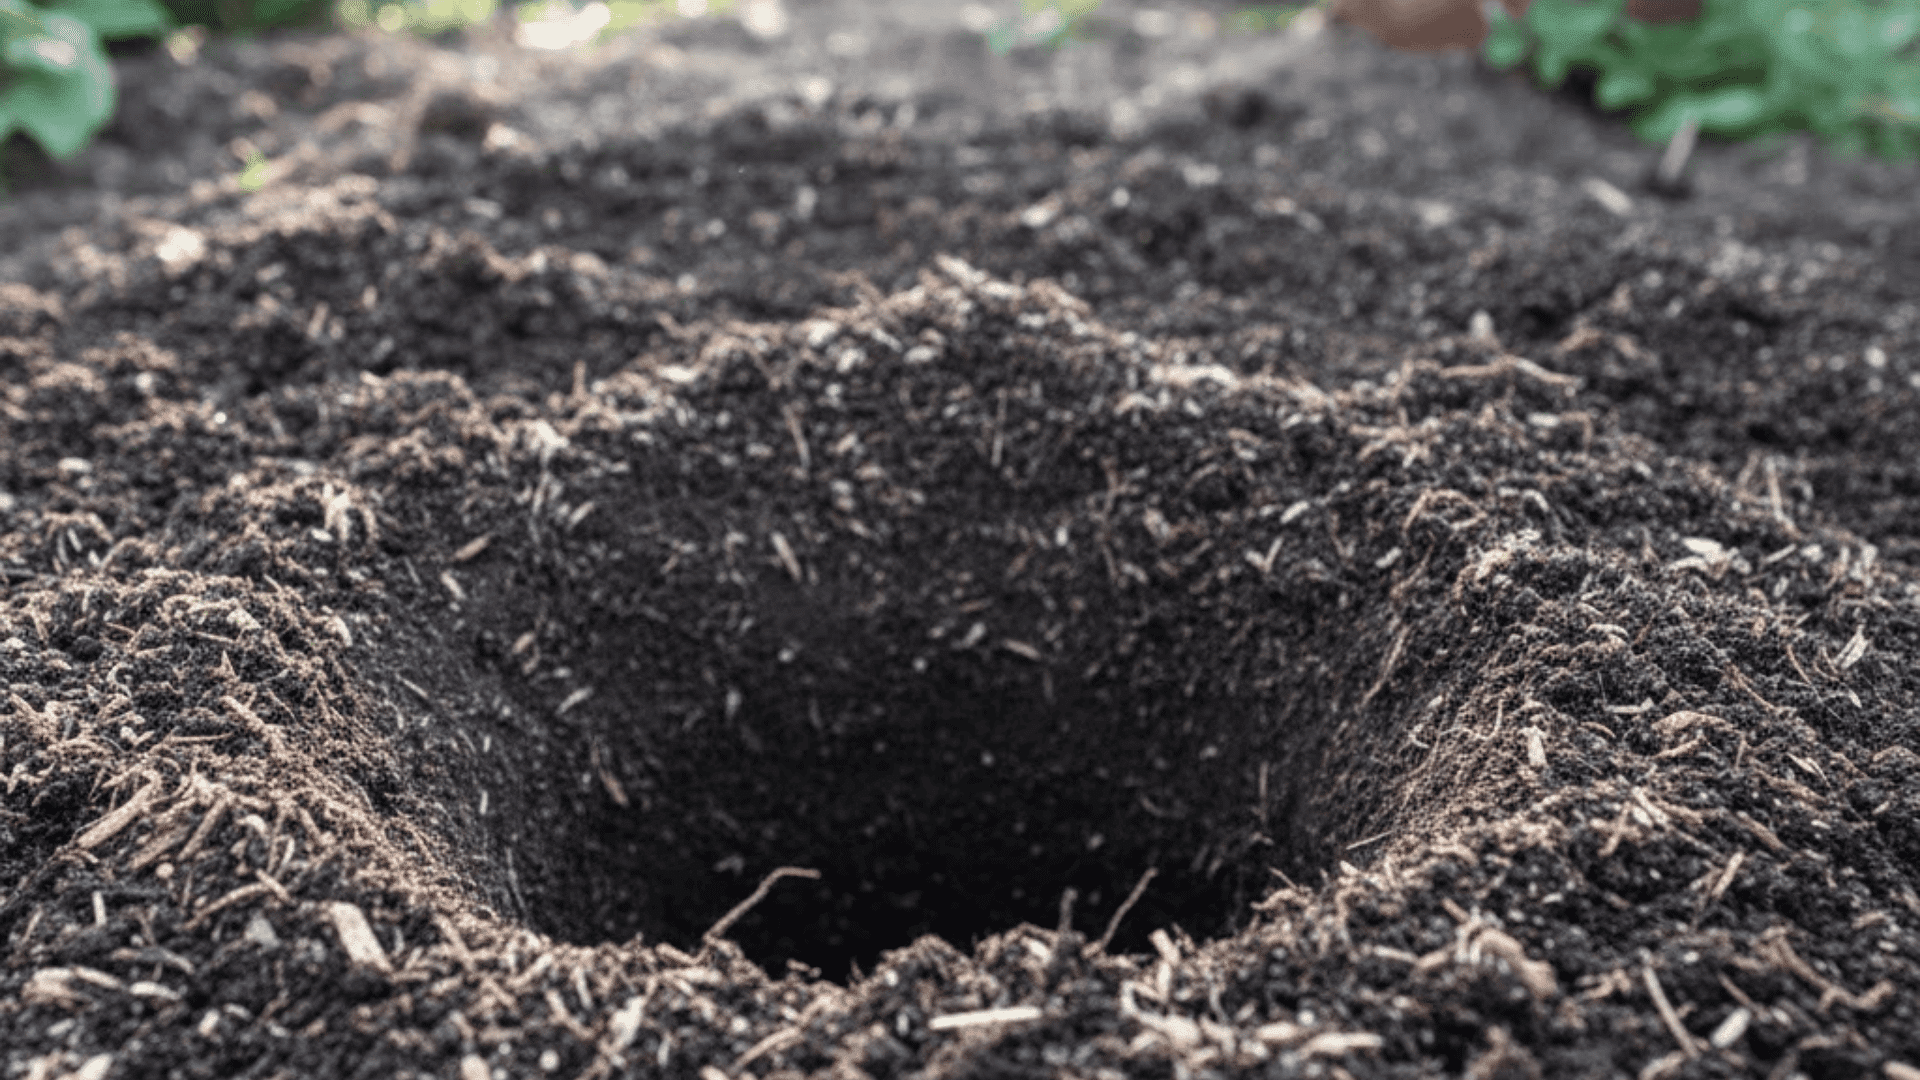
Dig a hole about twice as wide as the root system and just deep enough for proper placement. Width is more important than depth because rose roots spread outward.
A wide hole loosens the surrounding soil, making it easier for roots to expand. If the hole is narrow, roots tend to stay cramped and grow slowly.
Set the removed soil aside so it can be used for backfilling later.
Step 3: Position the Rose
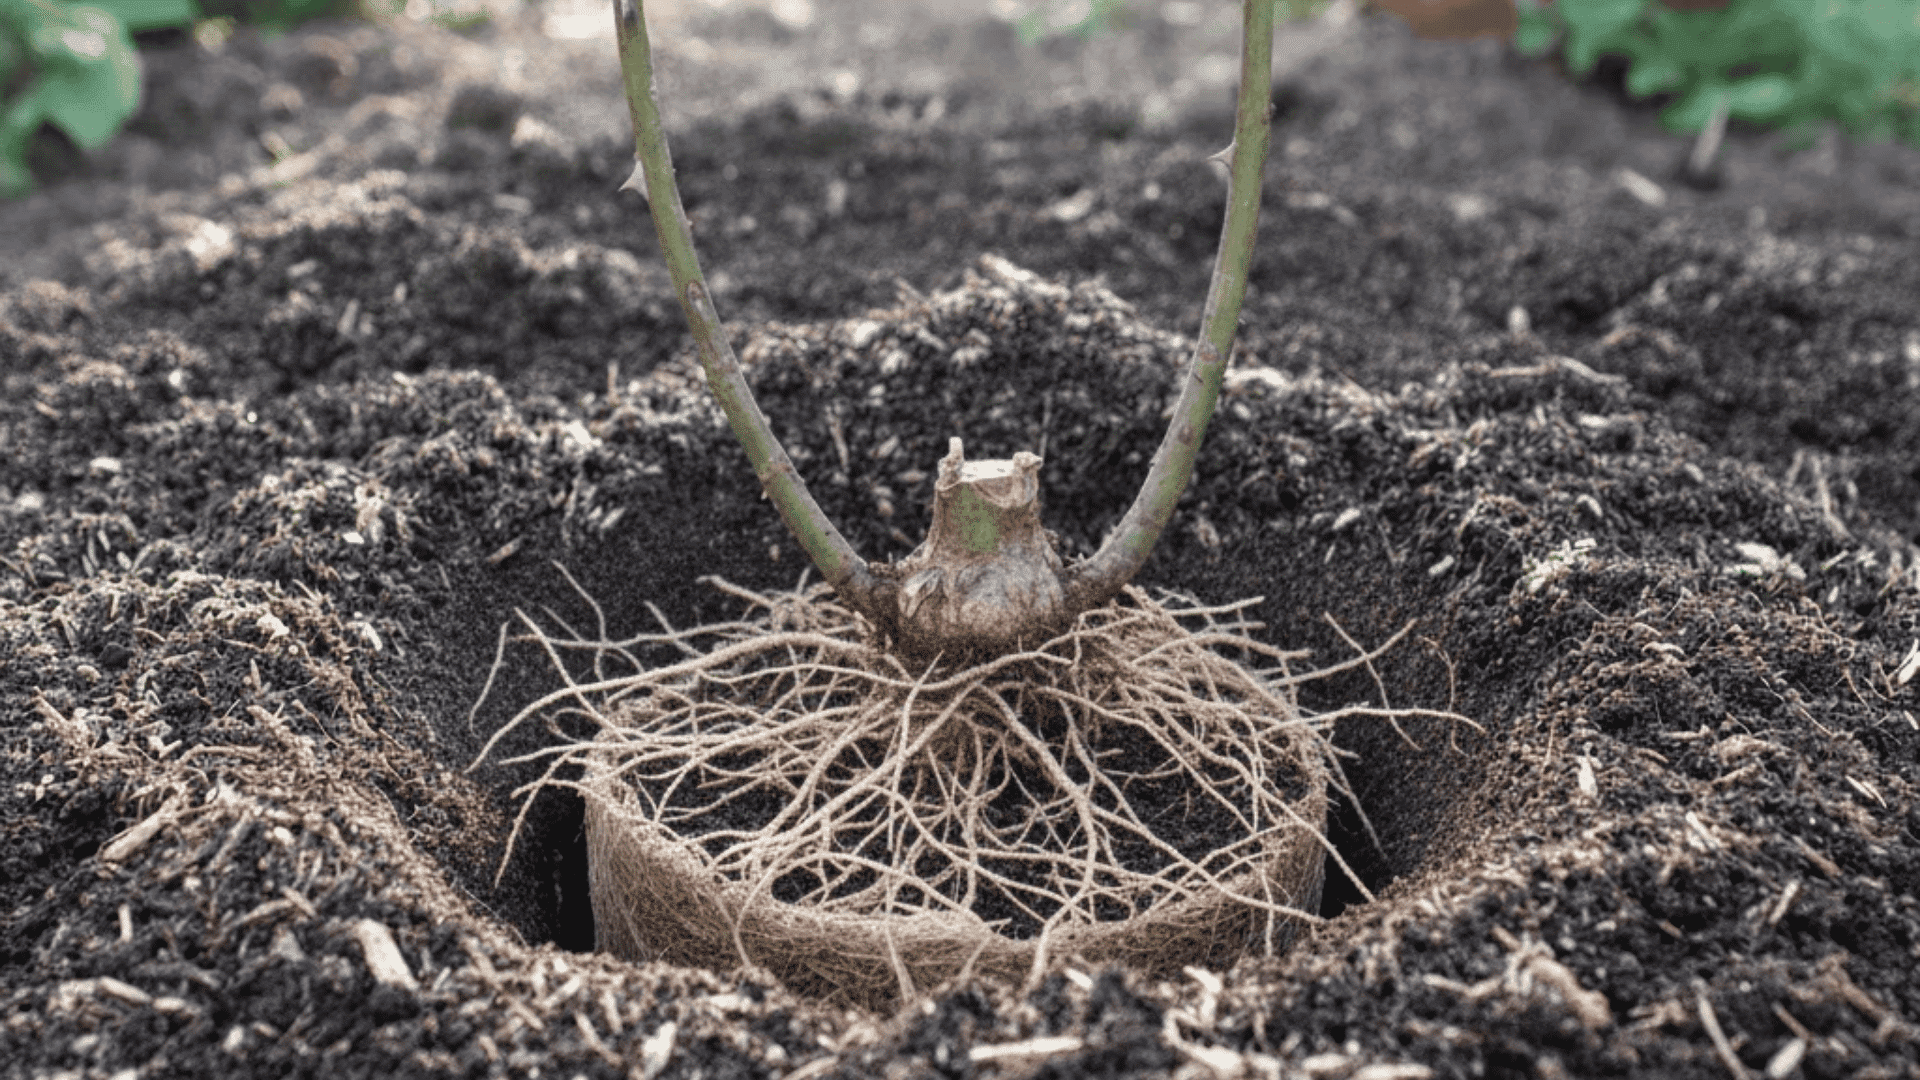
Place the rose in the center of the hole and check the bud union. This is the swollen area where the rose was grafted.
In cold climates, position the bud union one to two inches below soil level to protect it from freezing. In warm climates, keep it at or slightly above soil level to reduce the risk of rot.
Make sure the plant sits straight before continuing. Adjust now, because repositioning later can damage roots.
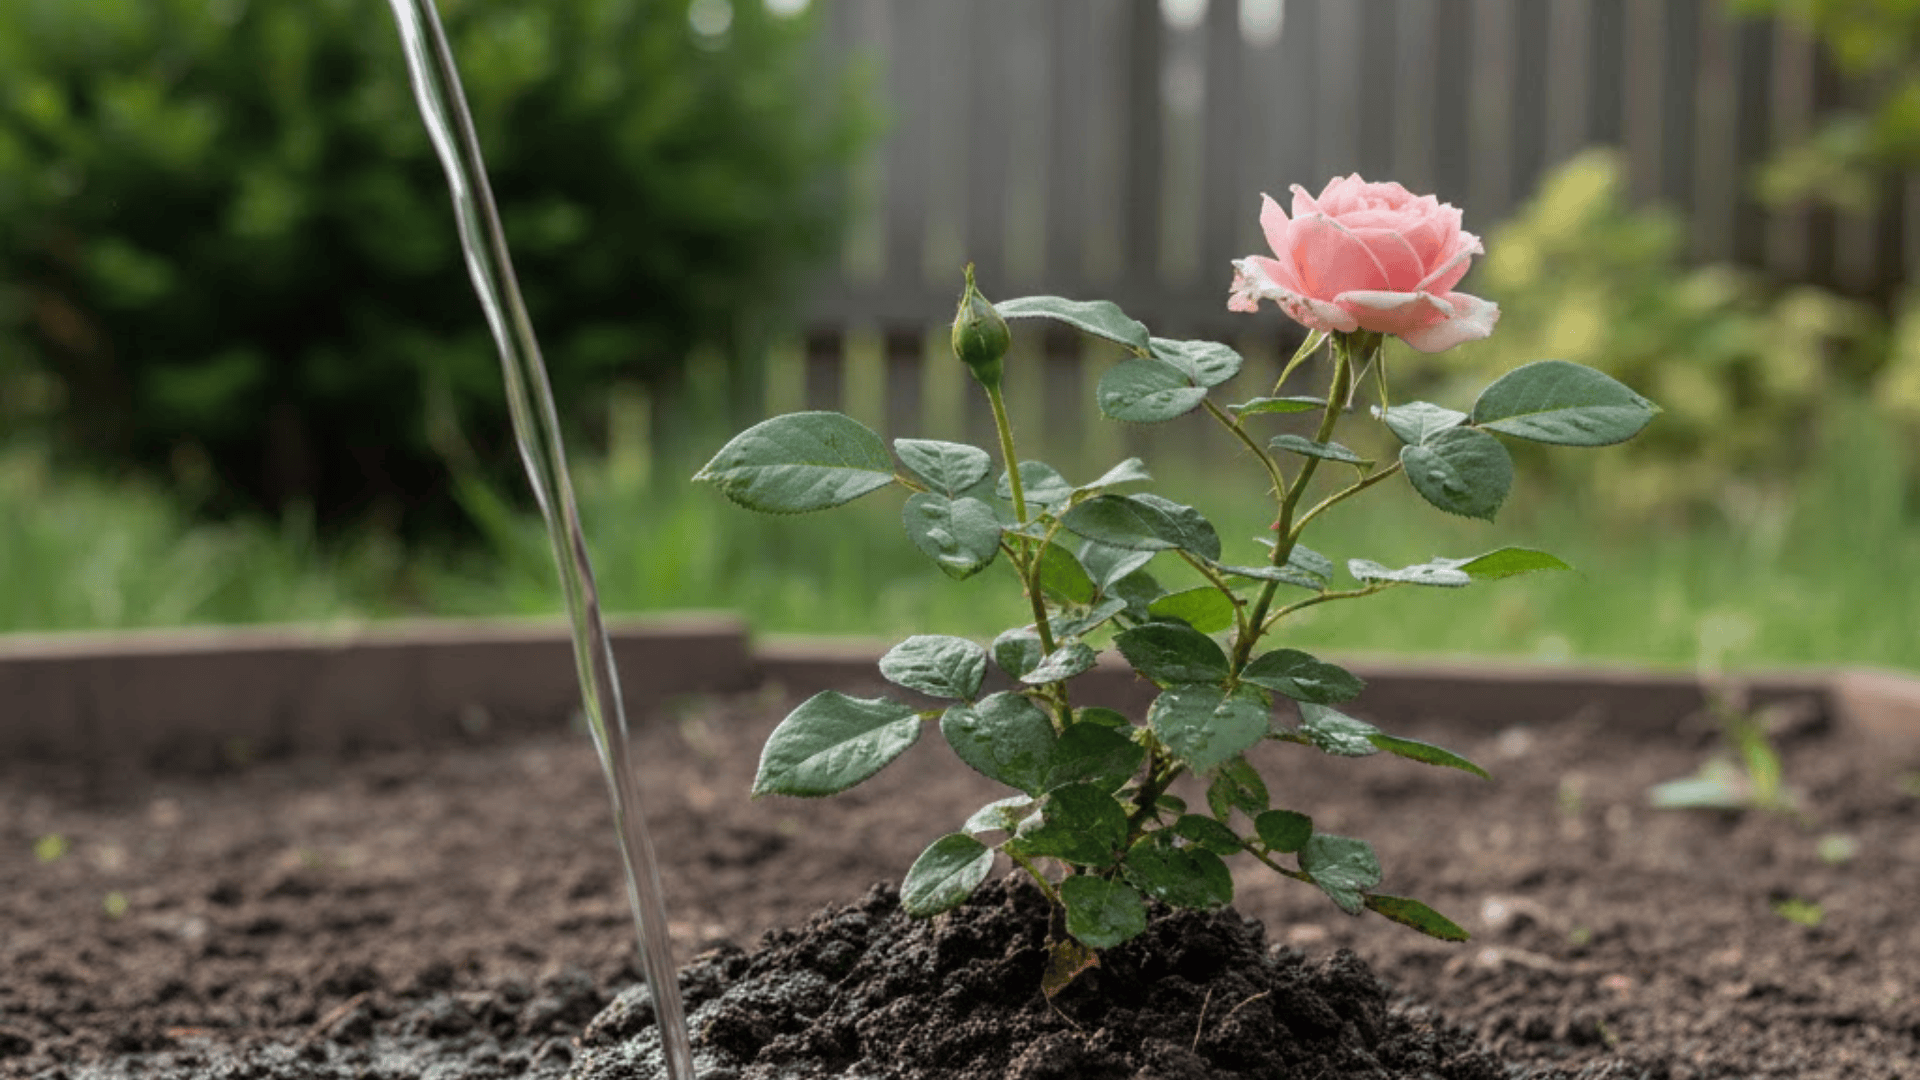
Step 4: Backfill and Water
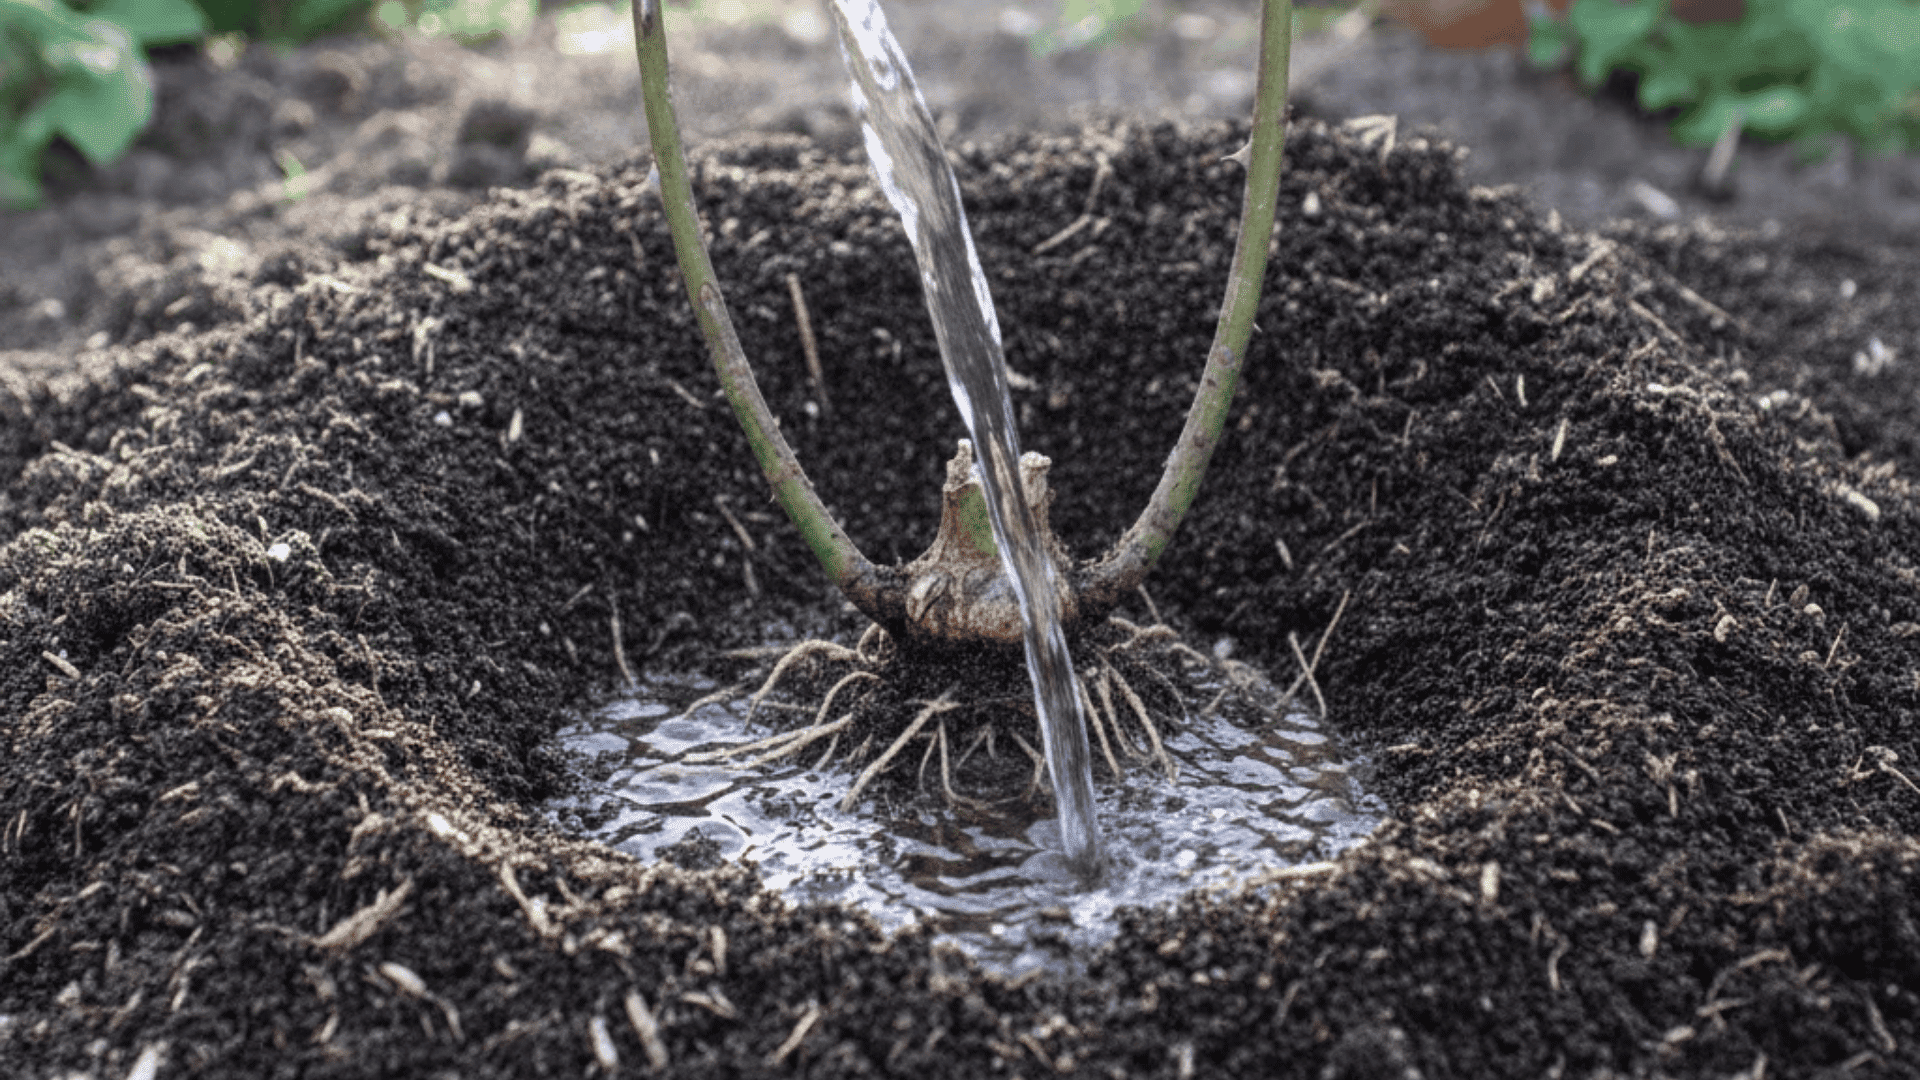
Backfill the hole with the prepared soil, working it gently around the roots. Press lightly with your hands to remove large air pockets, but do not compact the soil.
Once the hole is filled, water deeply. This helps settle the soil and brings moisture into direct contact with the roots. If the soil sinks after watering, add a little more to level it.
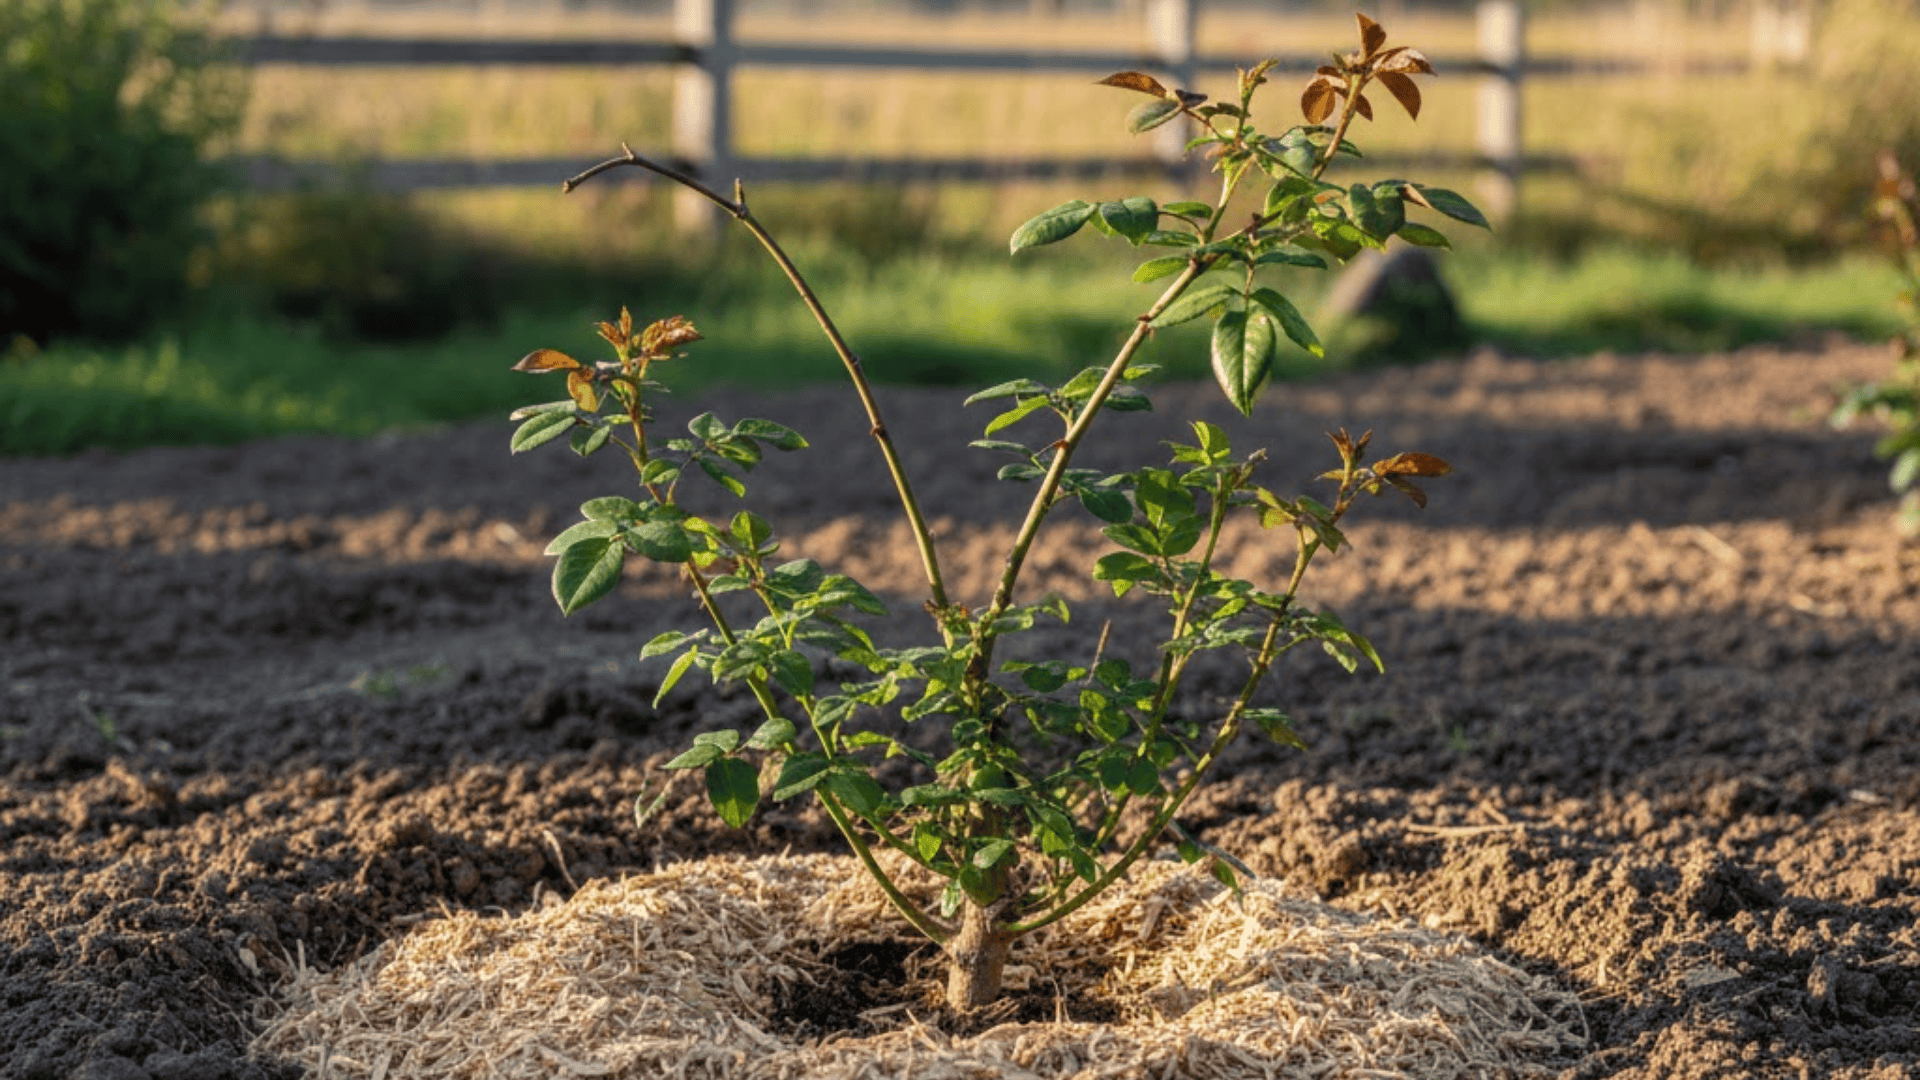
Step 5: Mulch the Planting Area
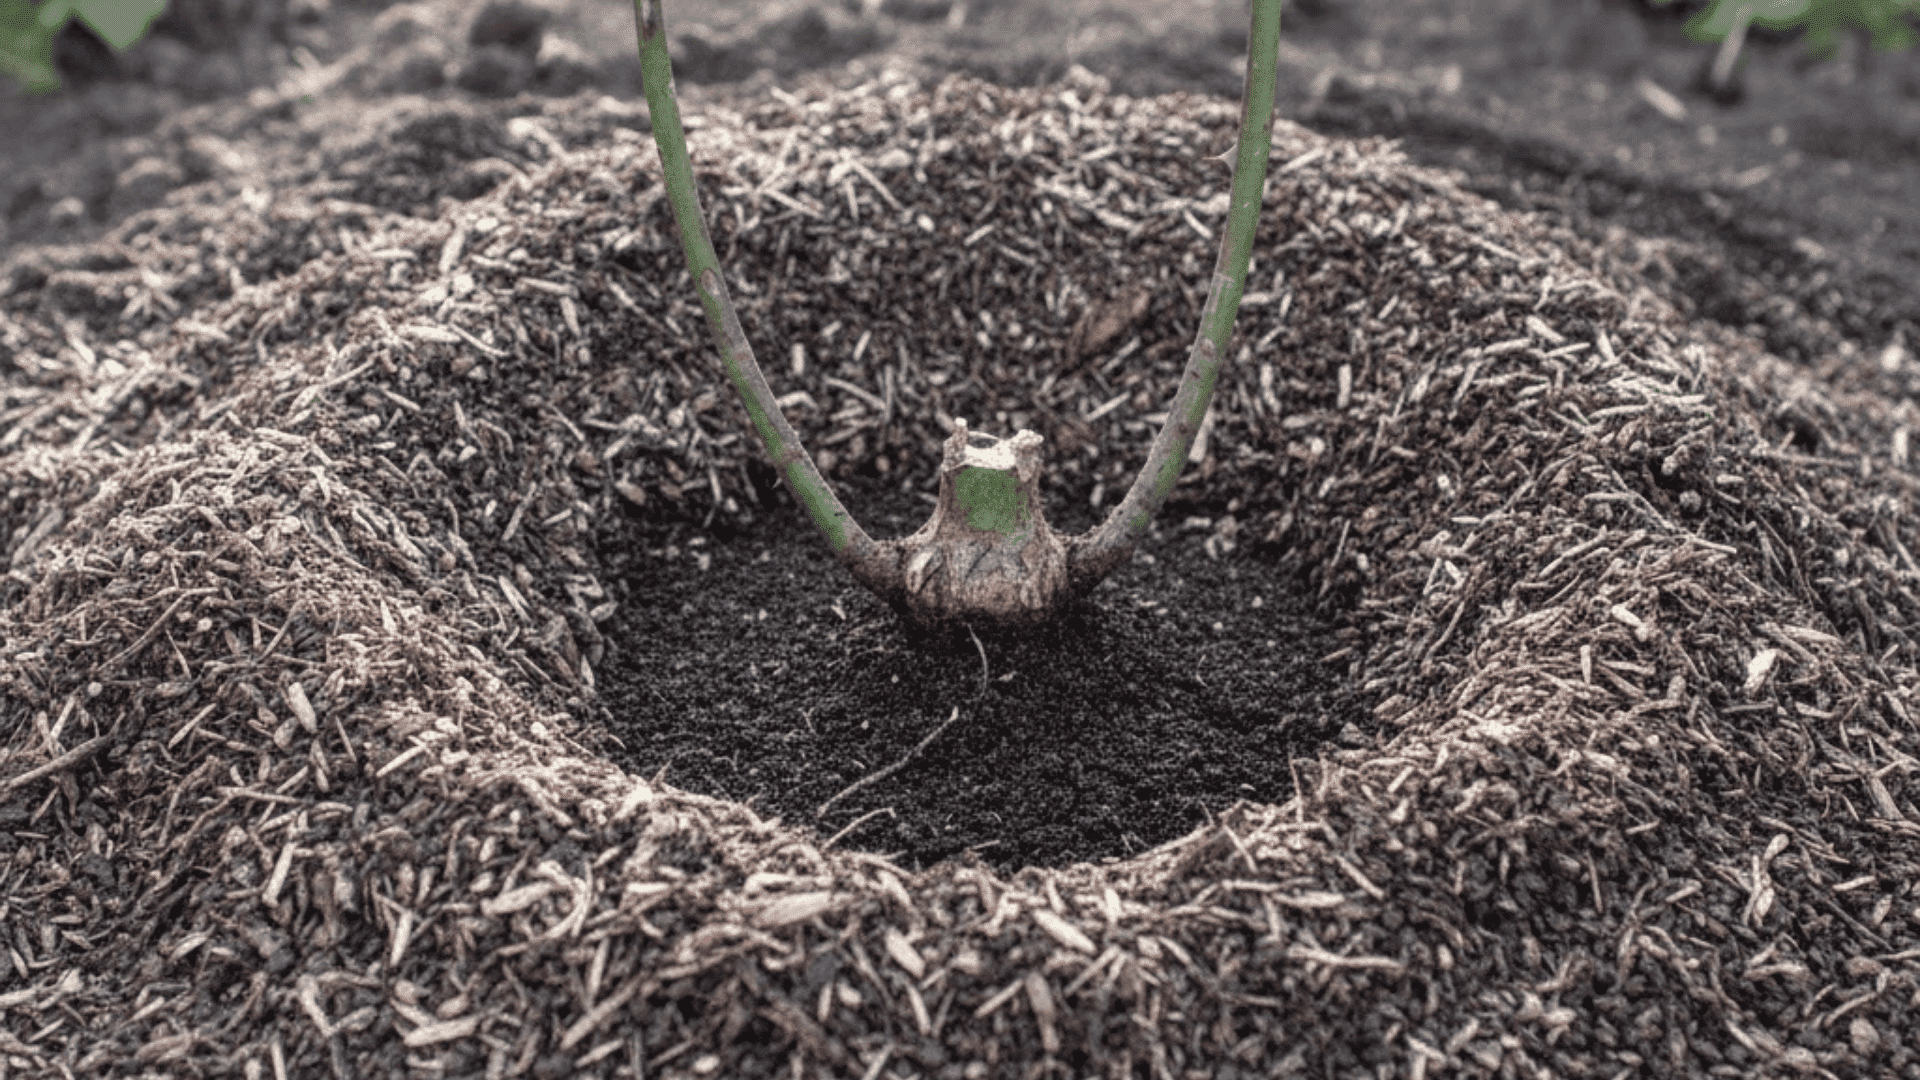
Apply two to three inches of mulch around the base of the rose. Mulch helps regulate soil temperature and slows moisture loss.
Keep mulch a few inches away from the stems. Piling mulch against the canes traps moisture and encourages disease. The goal is to protect the soil, not bury the plant.
When these steps are done evenly, the rose can focus on establishing roots instead of recovering from stress.
Difference Between Bare-Root vs. Potted Roses
This choice affects cost, timing, and early care. Neither option is better in all cases. They just behave differently at the start.
| Feature | Bare-Root Roses | Potted Roses |
|---|---|---|
| What they are | Sold without soil, usually dormant | Sold growing in soil with leaves |
| Cost | Usually less expensive | Usually more expensive |
| First impression | Look bare and fragile at planting | Look established and healthy |
| Root behavior | Settle quickly into native soil | Roots may be crowded or circling |
| Planting window | Narrow, season-dependent | Wider, more flexible timing |
| Transplant stress | Lower when planted on time | Often higher after planting |
| Handling at planting | Lightweight and easy to position | Heavier and sometimes rootbound |
| Best for | Patient gardeners planting in season | Gardeners needing flexibility |
If you plant at the right time, bare-root roses often establish faster in the long term. Potted roses work well when timing isn’t ideal or when you want visual reassurance early. The best choice depends more on your schedule and climate than on the rose itself.
Planting Roses in Pots vs. the Ground
Whether you plant roses in pots or in the ground changes how the plant grows and how much attention it needs. Neither option is better in every situation.
When Pots Make Sense
Pots are a good option if you’re gardening on a patio, balcony, or in a rented space where digging isn’t possible. They also work well when your garden soil drains poorly or is hard to amend.
Containers give you control over soil quality and placement, which can make growing roses possible in otherwise difficult conditions.
Container Size and Drainage Tips
Roses need room for their roots. Choose a large container with several drainage holes so excess water can escape. Small pots dry out quickly and heat up faster, which stresses roots. Heavier containers are more stable and less likely to tip over in wind or storms.
Long-Term Care Differences
Potted roses need more hands-on care over time. Because roots are confined, water runs through faster, and nutrients are used up sooner. This means more frequent watering and regular feeding.
Temperature changes also affect containers more quickly than ground soil, so potted roses respond faster to heat and cold and may need extra protection.
In hotter regions, especially USDA Zones 8 and above, containers heat up faster than ground soil, which means potted roses may need extra watering and heat protection.
What to Do Right After Planting
The period right after planting is when roses adjust to their new environment. The goal isn’t fast growth. It’s stability. When early care is steady and restrained, the plant can focus on building roots instead of reacting to stress.
Watering Schedule for The First Month
Water deeply so moisture reaches the full depth of the root zone. In most conditions, this means a slow, thorough soak rather than frequent light watering.
Let the top inch of soil dry slightly between waterings, but don’t allow the root area to dry out completely.
Constantly wet soil limits oxygen and can cause root problems, while shallow watering trains roots to stay near the surface, making the plant weaker over time.
When to Fertilize and When Not To
Do not fertilize immediately after planting. Newly planted roses need time to repair roots and adjust to soil conditions.
Fertilizer pushes leaf and stem growth before the root system can support it, which adds stress instead of helping.
Wait until you see consistent new growth and the plant looks settled before feeding.
Should You Prune at Planting Time?
Light pruning is helpful, especially for bare-root roses, because it balances the top of the plant with the reduced root system. Remove broken, damaged, or crossing stems.
Avoid heavy pruning unless necessary. Right after planting, the rose needs energy for root growth, not aggressive shaping.
Common Beginner Mistakes to Avoid
Most beginner problems don’t come from neglect. They come from trying to help too much, too fast.
- Planting too shallow or too deep: Incorrect depth exposes roots to temperature stress or limits oxygen flow, which slows establishment and forces the plant to spend energy stabilizing instead of growing.
- Overwatering or underwatering: Constantly wet soil suffocates roots, while inconsistent or shallow watering prevents deep root growth and leaves the plant vulnerable to heat and drought stress.
- Expecting fast blooms: Pushing for flowers too soon leads to early feeding and pruning, which shifts energy away from root development and increases long-term stress.
- Being afraid to touch or prune roses: Avoiding basic pruning allows weak or crowded growth to persist, creating poor structure and more disease issues later.
Once you understand what the rose actually needs at each stage, these mistakes are easy to avoid. Slow, steady care almost always produces better results than trying to rush progress
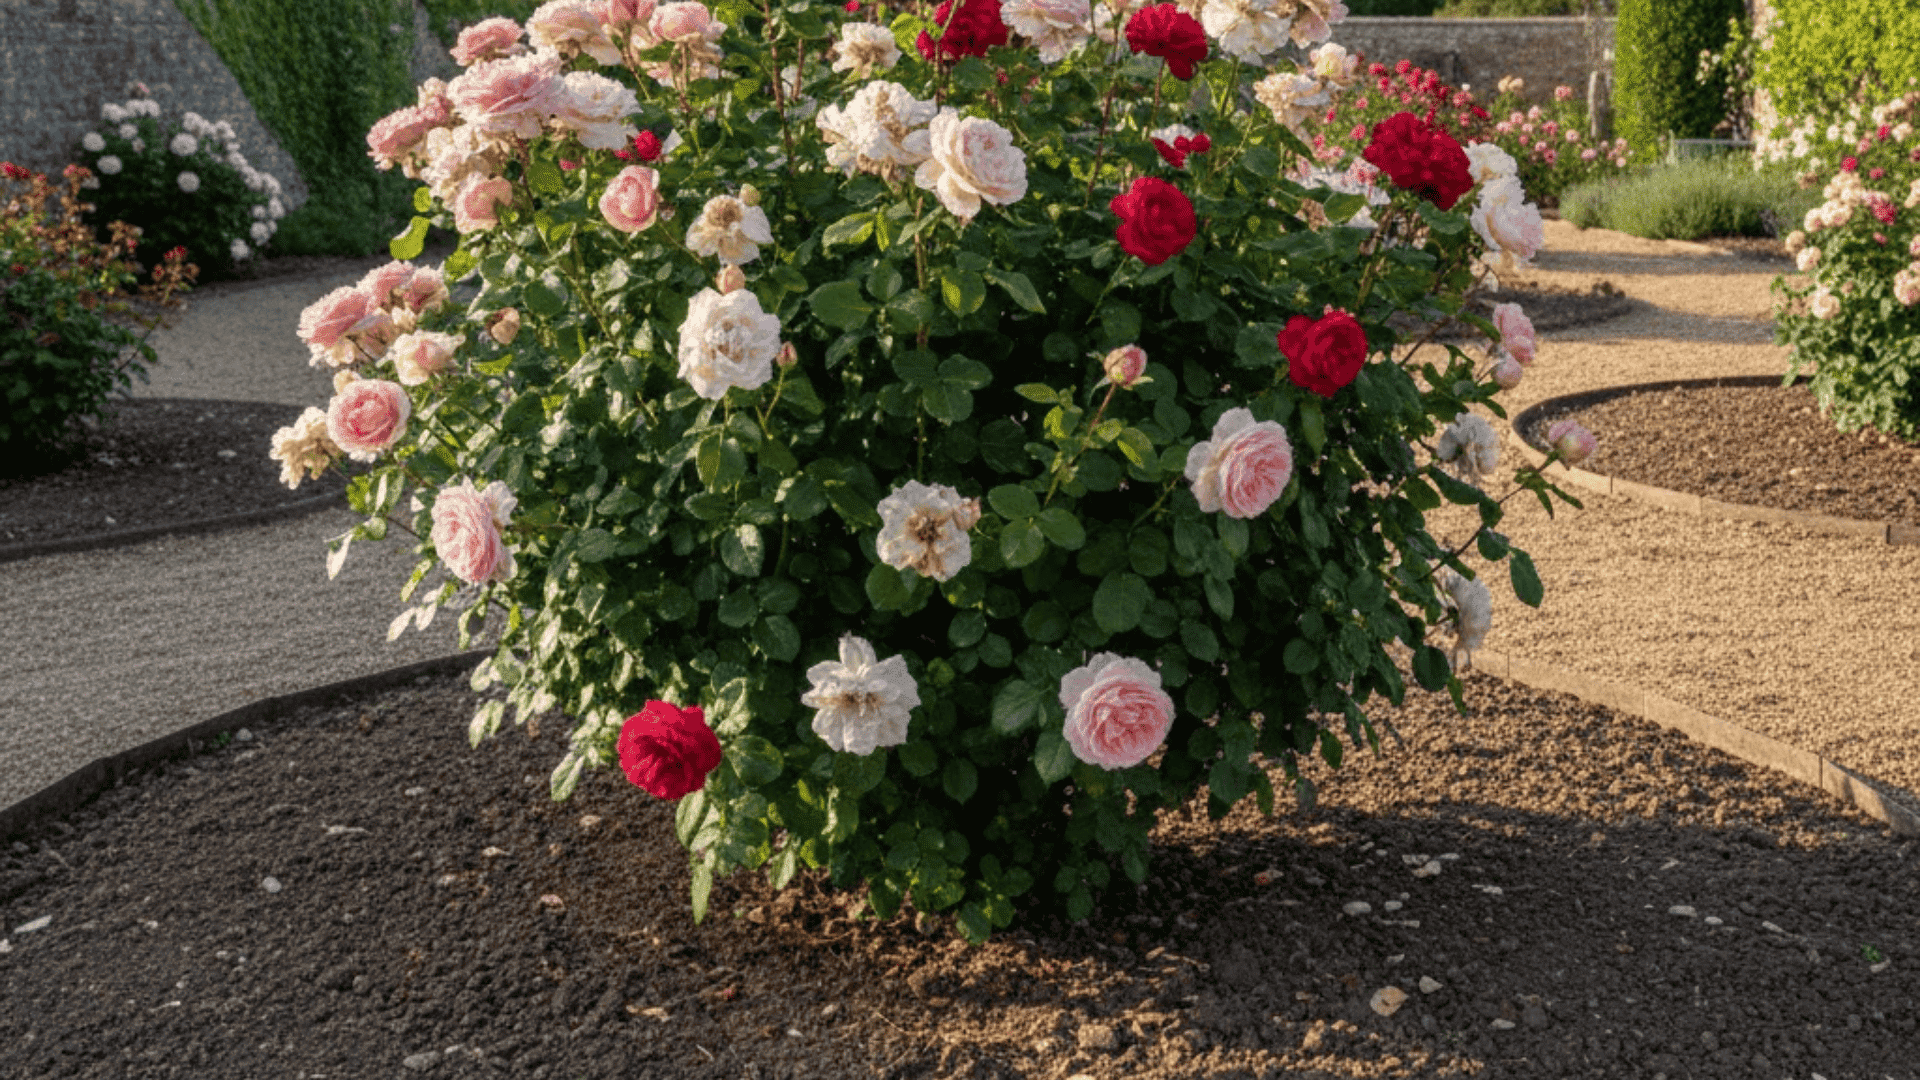
How Long Until Roses Start Growing and Blooming?
Most roses begin showing new growth within 2 to 4 weeks after planting. Root establishment happens first, and that process usually takes 4 to 6 weeks. Flowering typically follows later, often 6 to 10 weeks after planting, depending on variety, season, and conditions.
Leaves usually appear before flowers. This is normal. Early leaf growth means the roots are starting to work, not that they’re finished developing.
Some roses drop leaves or pause briefly after planting. This is transplant stress, not failure. The plant is adjusting to new soil, light, and moisture levels.
The key thing to watch is progress, not speed. Healthy roses improve gradually over months, not days, and stronger roots always come before reliable blooms.
Quick Rose Planting Checklist
Before planting:
- Choose the right time and location.
- Prepare soil for drainage and structure.
During planting:
- Dig wide holes.
- Place the bud union correctly.
- Water deeply.
After planting:
- Mulch lightly.
- Water consistently.
- Delay fertilizing.
Wrapping Up
Growing roses isn’t about doing everything perfectly. It’s about understanding what the plant is trying to do and not getting in the way.
Most failures happen when advice is followed without context. With clear timing, good placement, and steady care, roses respond well.
If you’re planting for the first time, trust that steady progress matters more than speed. Planting roses is less about control and more about setting conditions and letting the plant do its work.
If you want to go deeper, browse the other gardening guides on the website. They’re written to help you understand the “why,” not just the steps.