Painting a tile backsplash sounds simple at first. Clean it, prime it, paint it, and you’re done.
But that’s usually where things go wrong.
Tile isn’t drywall or wood. It’s coated in a hard, glossy glaze designed to resist stains and moisture. That smooth surface is what makes it easy to wipe down, but it’s also what makes paint struggle to bond.
Over the years, I’ve worked on and tested enough painted tile projects to see the pattern clearly. Careful prep leads to finishes that hold up. Rushed prep leads to failure.
By the time you finish reading this, you’ll understand exactly what makes paint bond to tile, what causes it to fail, and how to do it right the first time.
Can You Paint a Tile Backsplash Successfully?
Yes, you can. But not every backsplash is a good candidate.
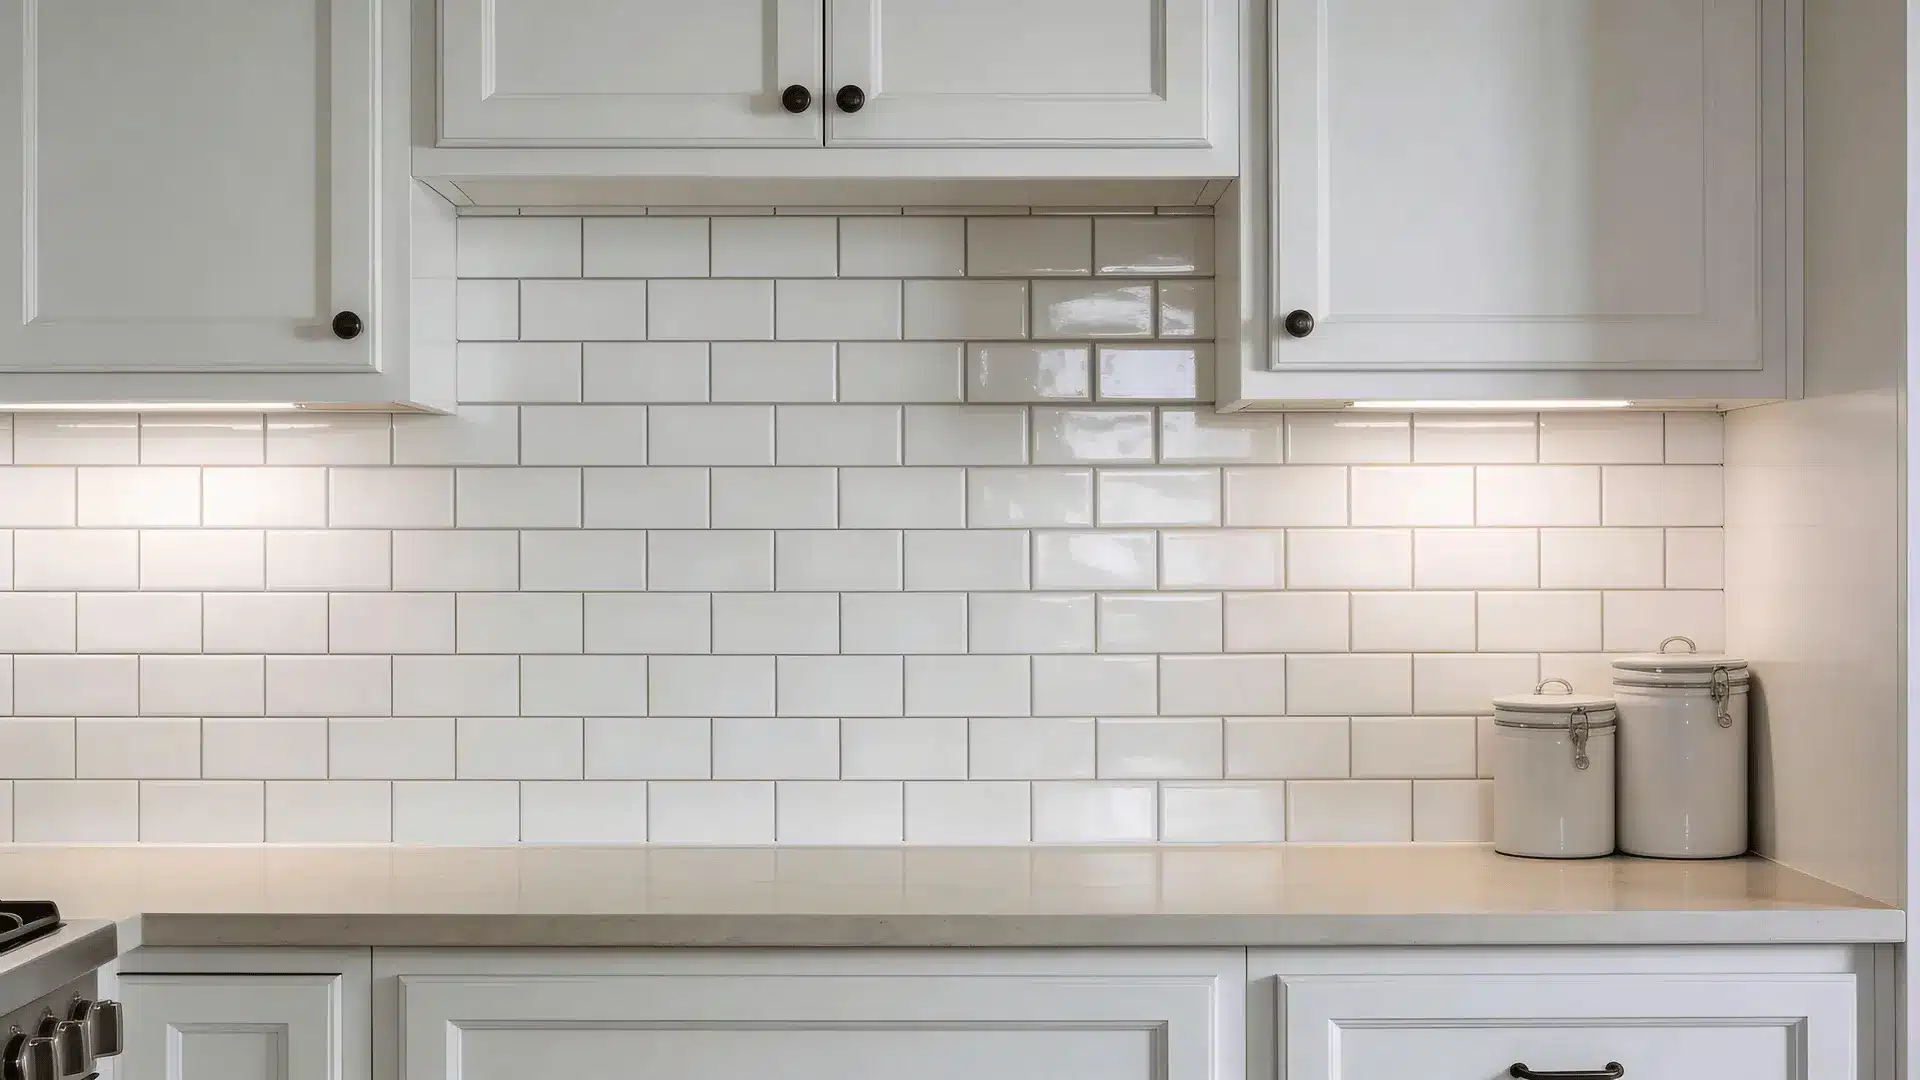
Most kitchen and bathroom backsplashes are made from glazed ceramic or porcelain. That glaze is essentially a thin glass-like coating baked onto the tile. It makes the surface non-porous and resistant to water. That’s helpful for cleaning. It’s difficult for paint.
Porous tile behaves differently. Unglazed surfaces allow coatings to soak in slightly, which helps adhesion. Glazed tile does not. Paint has to rely on surface grip and bonding layers instead.
Painting works well when the tile is firmly attached, the grout is stable, and the area isn’t exposed to constant high heat. It tends to fail when tiles are loose, grout is crumbling, or the backsplash sits directly behind an intense gas flame.
Some people believe tile can’t be painted at all. Others assume every tile can be treated the same. The reality sits in between. Surface condition and environment matter more than the idea itself.
What Makes Paint Stick to Tile and Why It Peels
To do this right, you need to understand adhesion.
Glazed tile has very low surface energy. In simple terms, liquids don’t naturally spread out and grab onto it. They bead up. That includes paint. If paint can’t properly wet the surface, it can’t anchor into it.
Grease adds another layer of trouble. Cooking oils settle into grout lines and leave a thin film across the tile. Even when it looks clean, that residue can block bonding. In that case, paint isn’t sticking to tile at all. It’s sticking to grease. When the grease shifts or breaks down, the paint lifts with it.
Paint bonds in two primary ways: mechanical and chemical adhesion.
Mechanical adhesion comes from sanding. When you scuff the glaze, you create microscopic scratches. Paint flows into those tiny grooves and hardens, forming a physical grip. Without that texture, the bond remains shallow.
Chemical adhesion comes from bonding primers. These primers are designed to stick to slick, non-porous surfaces and act as a bridge between tile and paint. They strengthen the bond, but they don’t replace surface prep.
- If you skip sanding, the primer has less to hold onto.
- If you skip primer, the paint relies mostly on surface tension.
That’s when peeling usually starts along edges, around grout lines, and near sinks where moisture and cleaning stress the surface.
Primer supports sanding. It doesn’t substitute for it. When both are done properly, you create layered adhesion instead of one fragile connection.
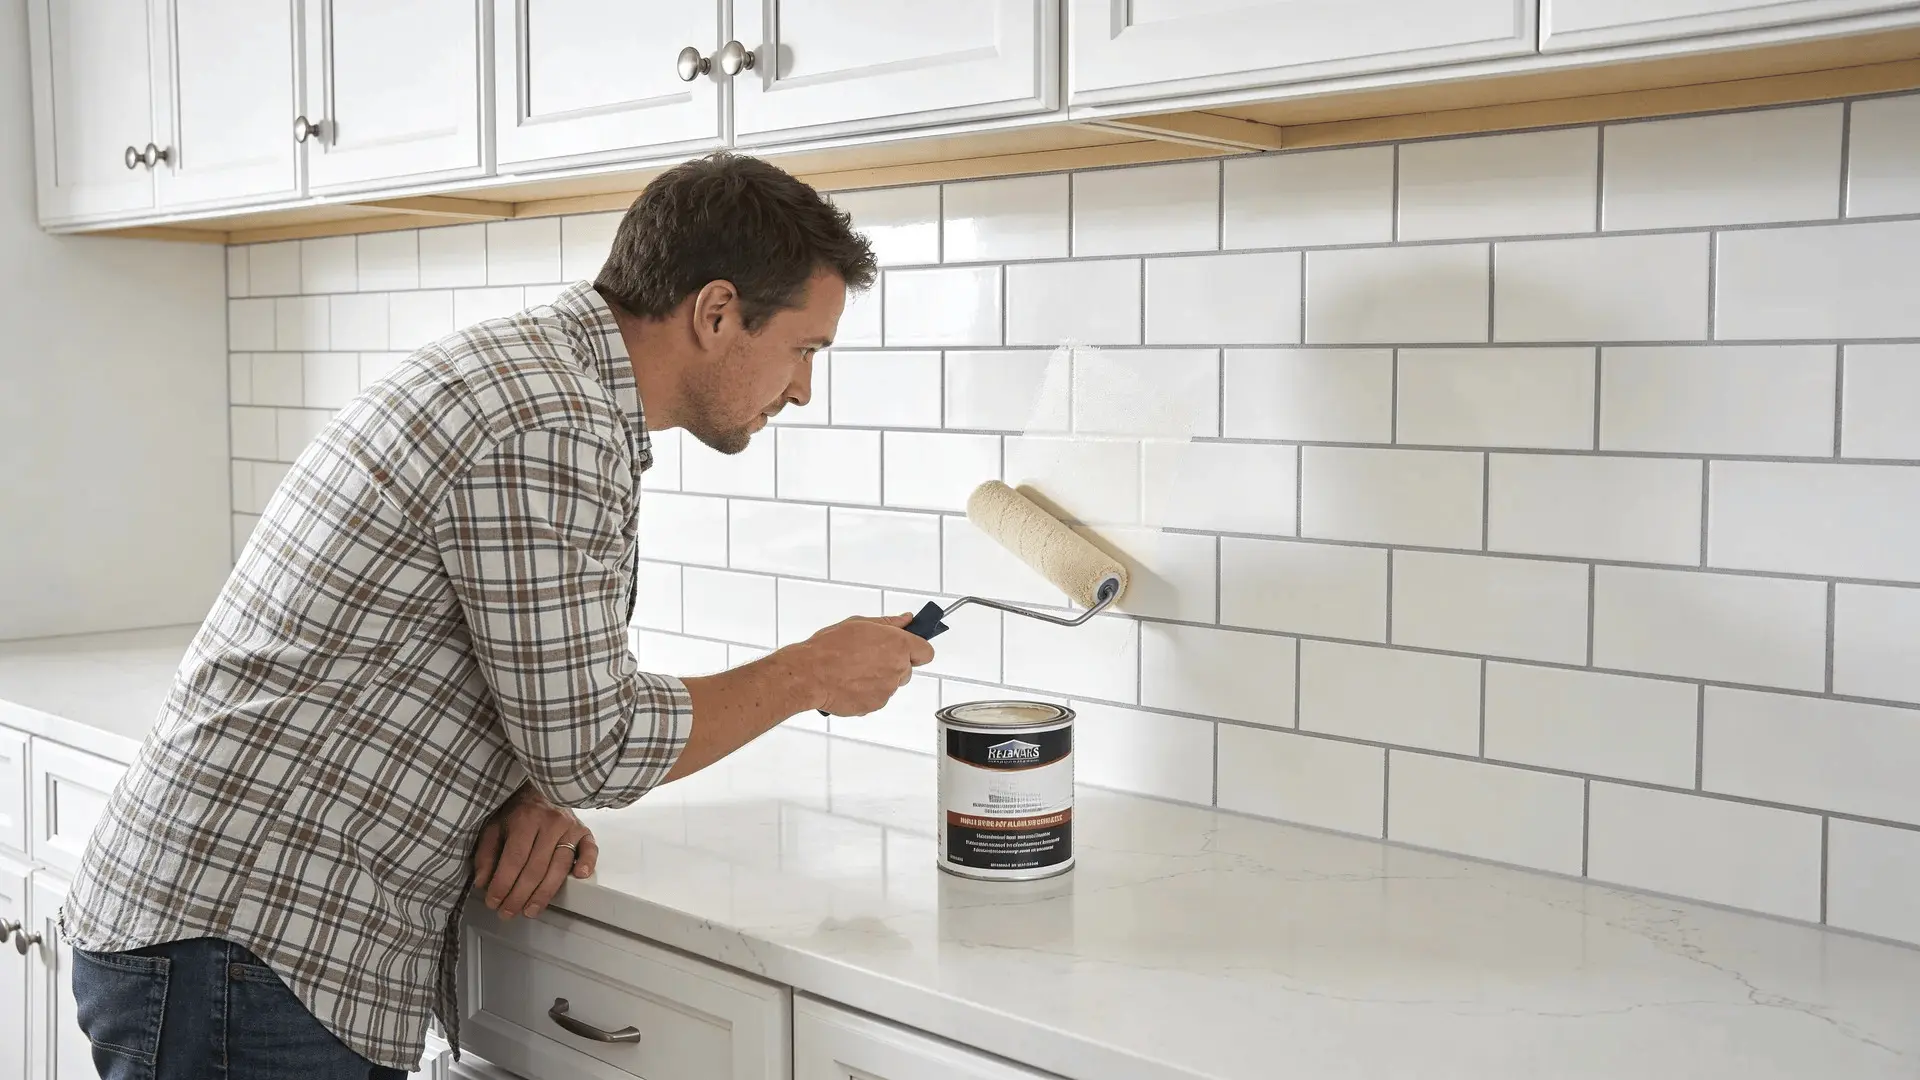
Step-by-Step: How to Paint a Tile Backsplash (Start to Finish)
Follow these steps in order. Each one builds on the last.
Step 1 – Protect the Area and Remove Hardware

Remove outlet covers and switch plates. Turn off power if needed.
Cover countertops, cabinets, and nearby appliances with plastic or drop cloths. Tape edges carefully along counters and cabinet lines.
Masking isn’t just about neat lines. It prevents paint buildup where surfaces meet. Thick ridges along edges are more likely to crack later.
Step 2 – Deep Clean and Degrease
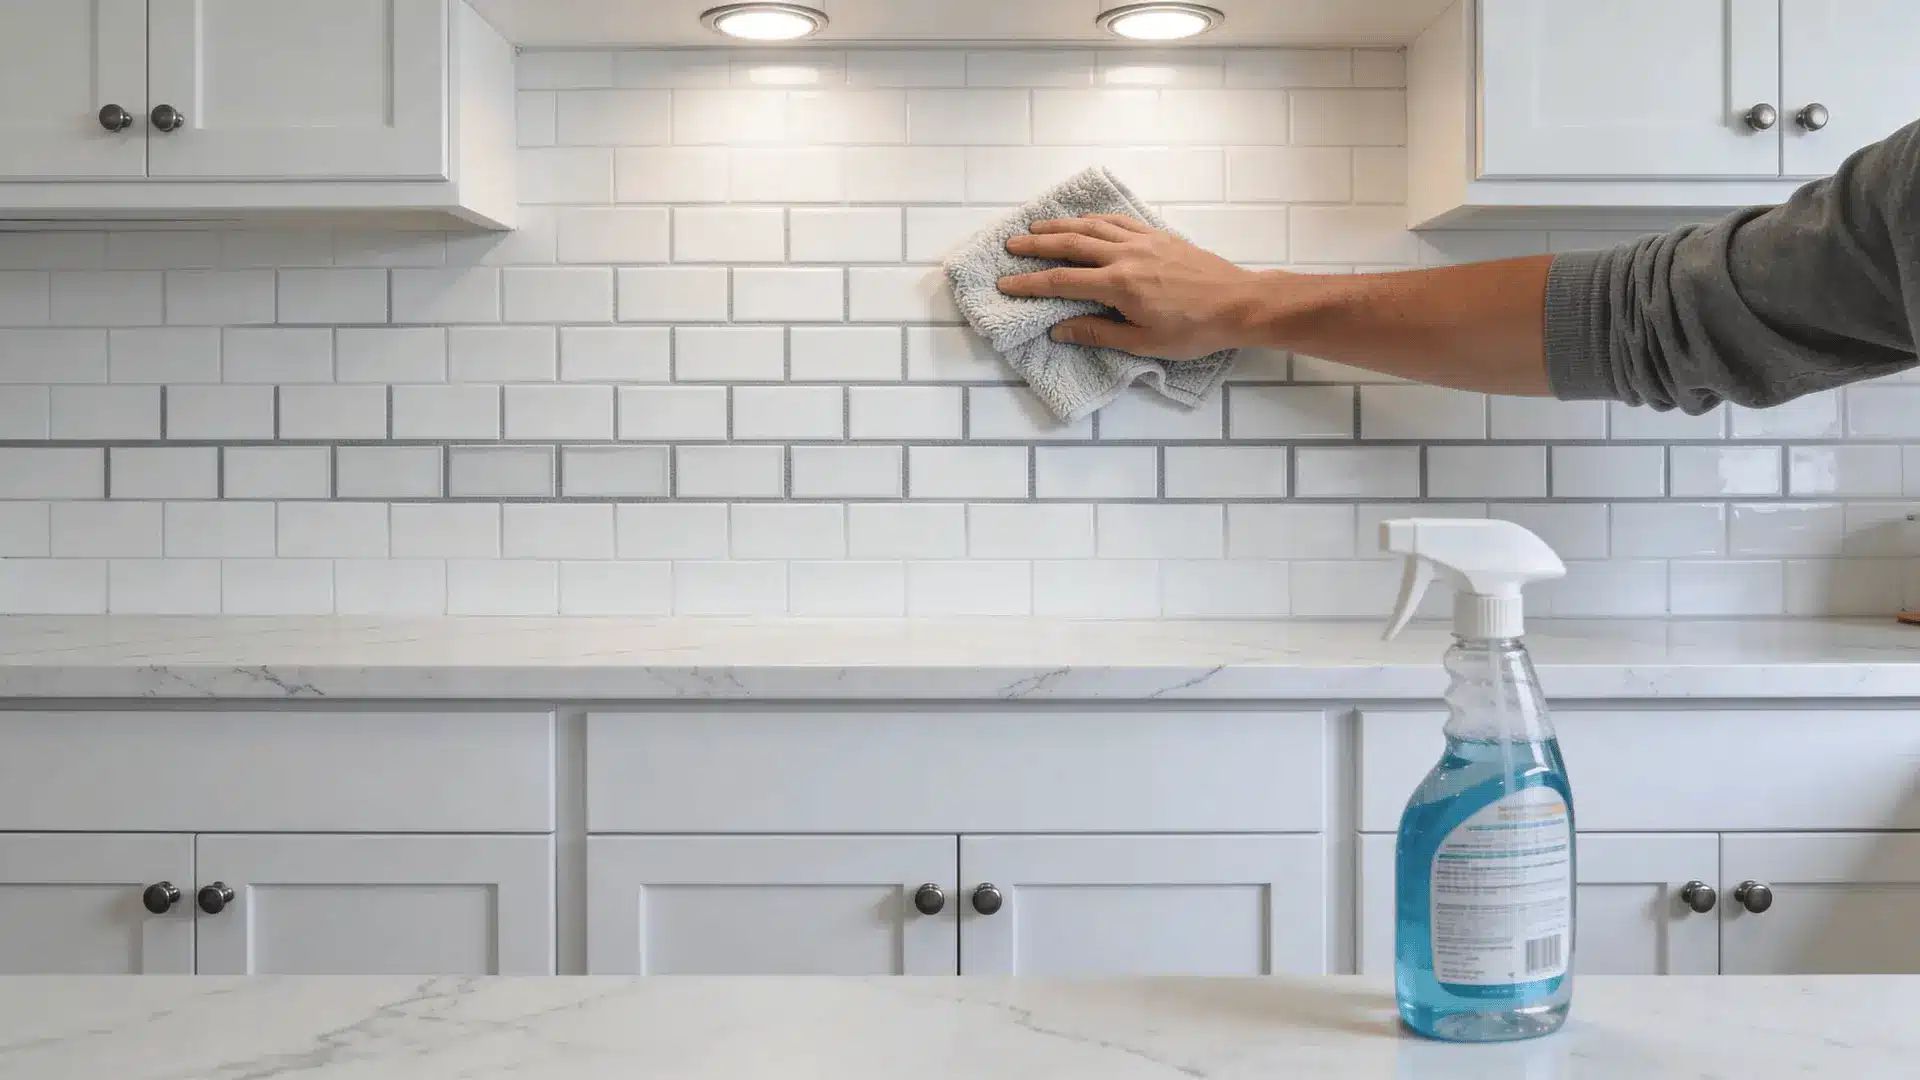
Use a strong degreaser suited for kitchen surfaces. Scrub both tile and grout thoroughly.
Rinse with clean water, then wipe again to remove residue. Let everything dry completely.
“Clean enough” means the surface no longer feels slick. If water beads heavily or your fingers slide easily across the tile, grease may still be present.
Areas near stoves and sinks often need extra attention. That’s where most adhesion problems begin.
Step 3 – Sand or Degloss the Tile
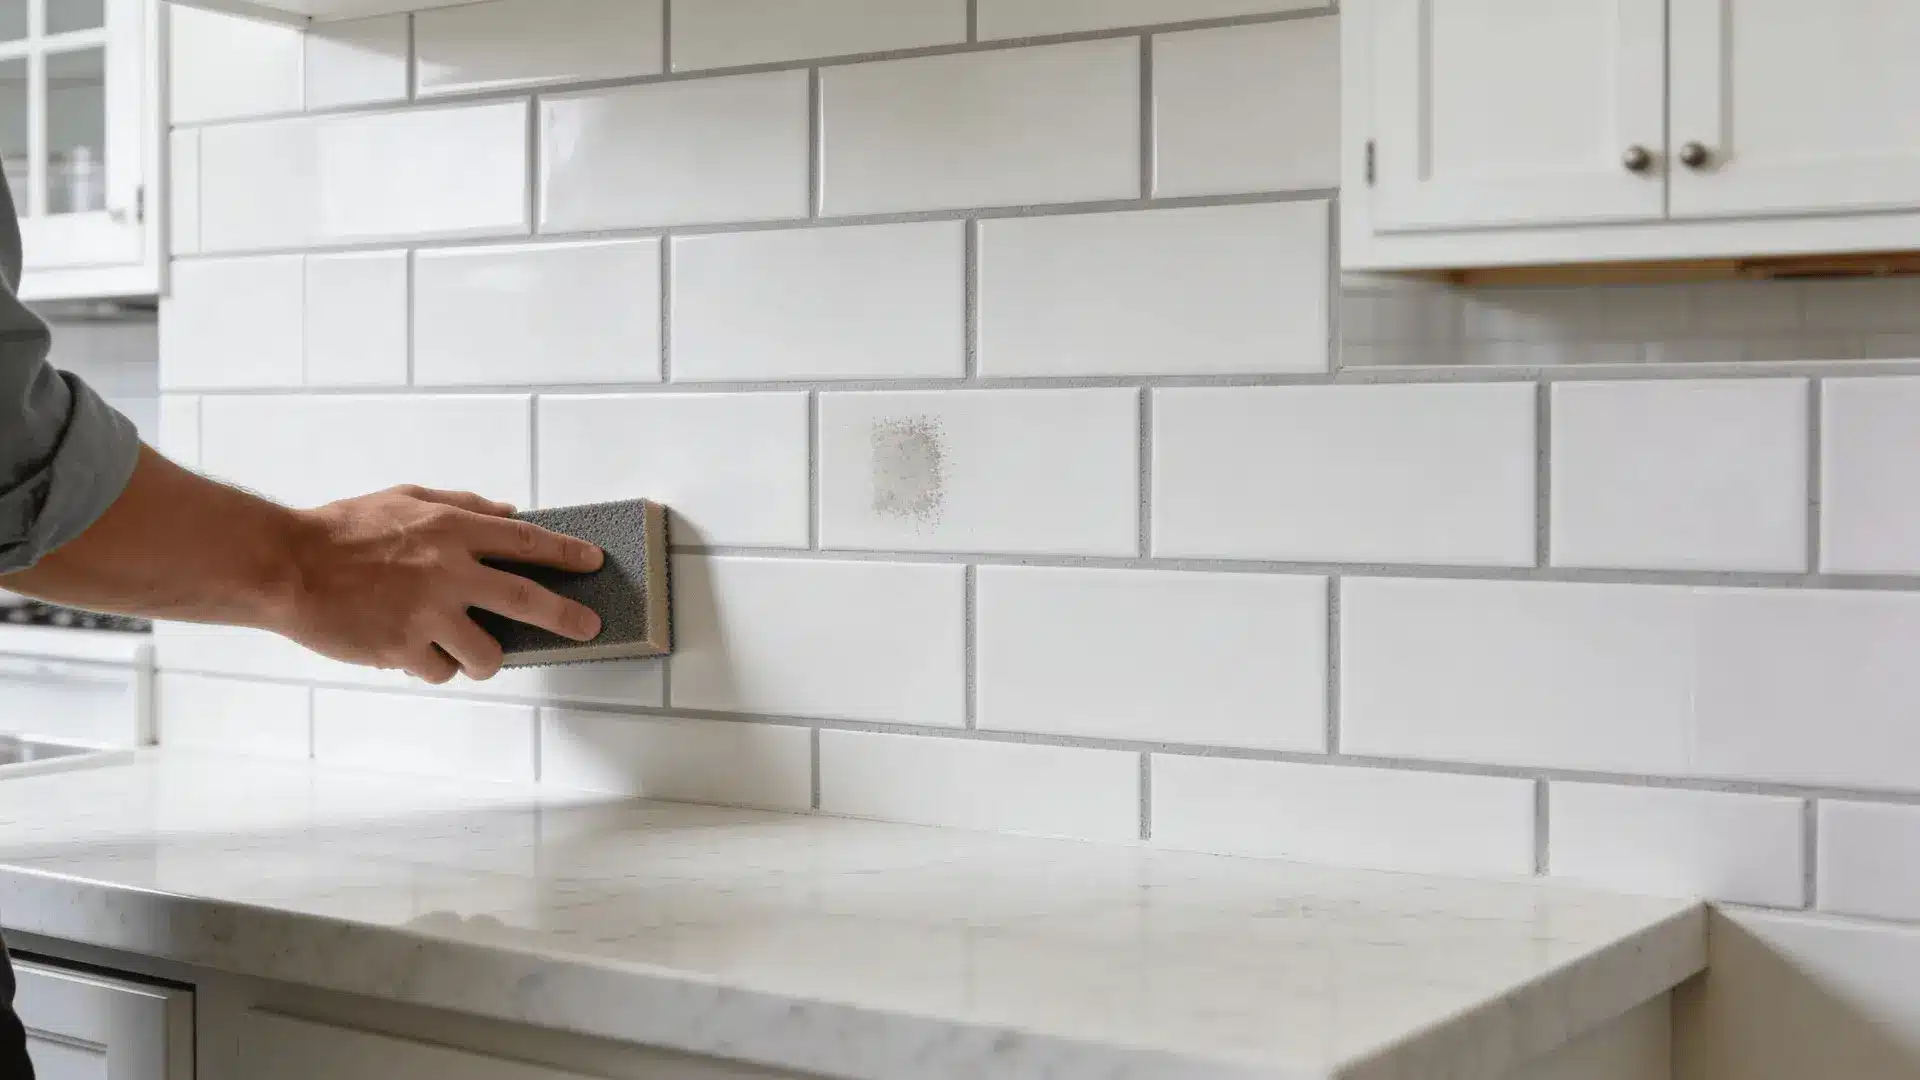
Use 220–400 grit sandpaper. The goal isn’t to remove the glaze entirely. You’re dulling it.
After sanding, the surface should look slightly hazy rather than glossy. That haze signals microscopic scratches that help paint grip.
Liquid deglossers can work on lightly used surfaces, but sanding gives more consistent mechanical adhesion.
If you skip this step, the paint may look fine at first. Months later, it can peel in sheets, especially in high-moisture zones.
Wipe away all sanding dust before moving forward.
Step 4 – Repair and Prep the Surface
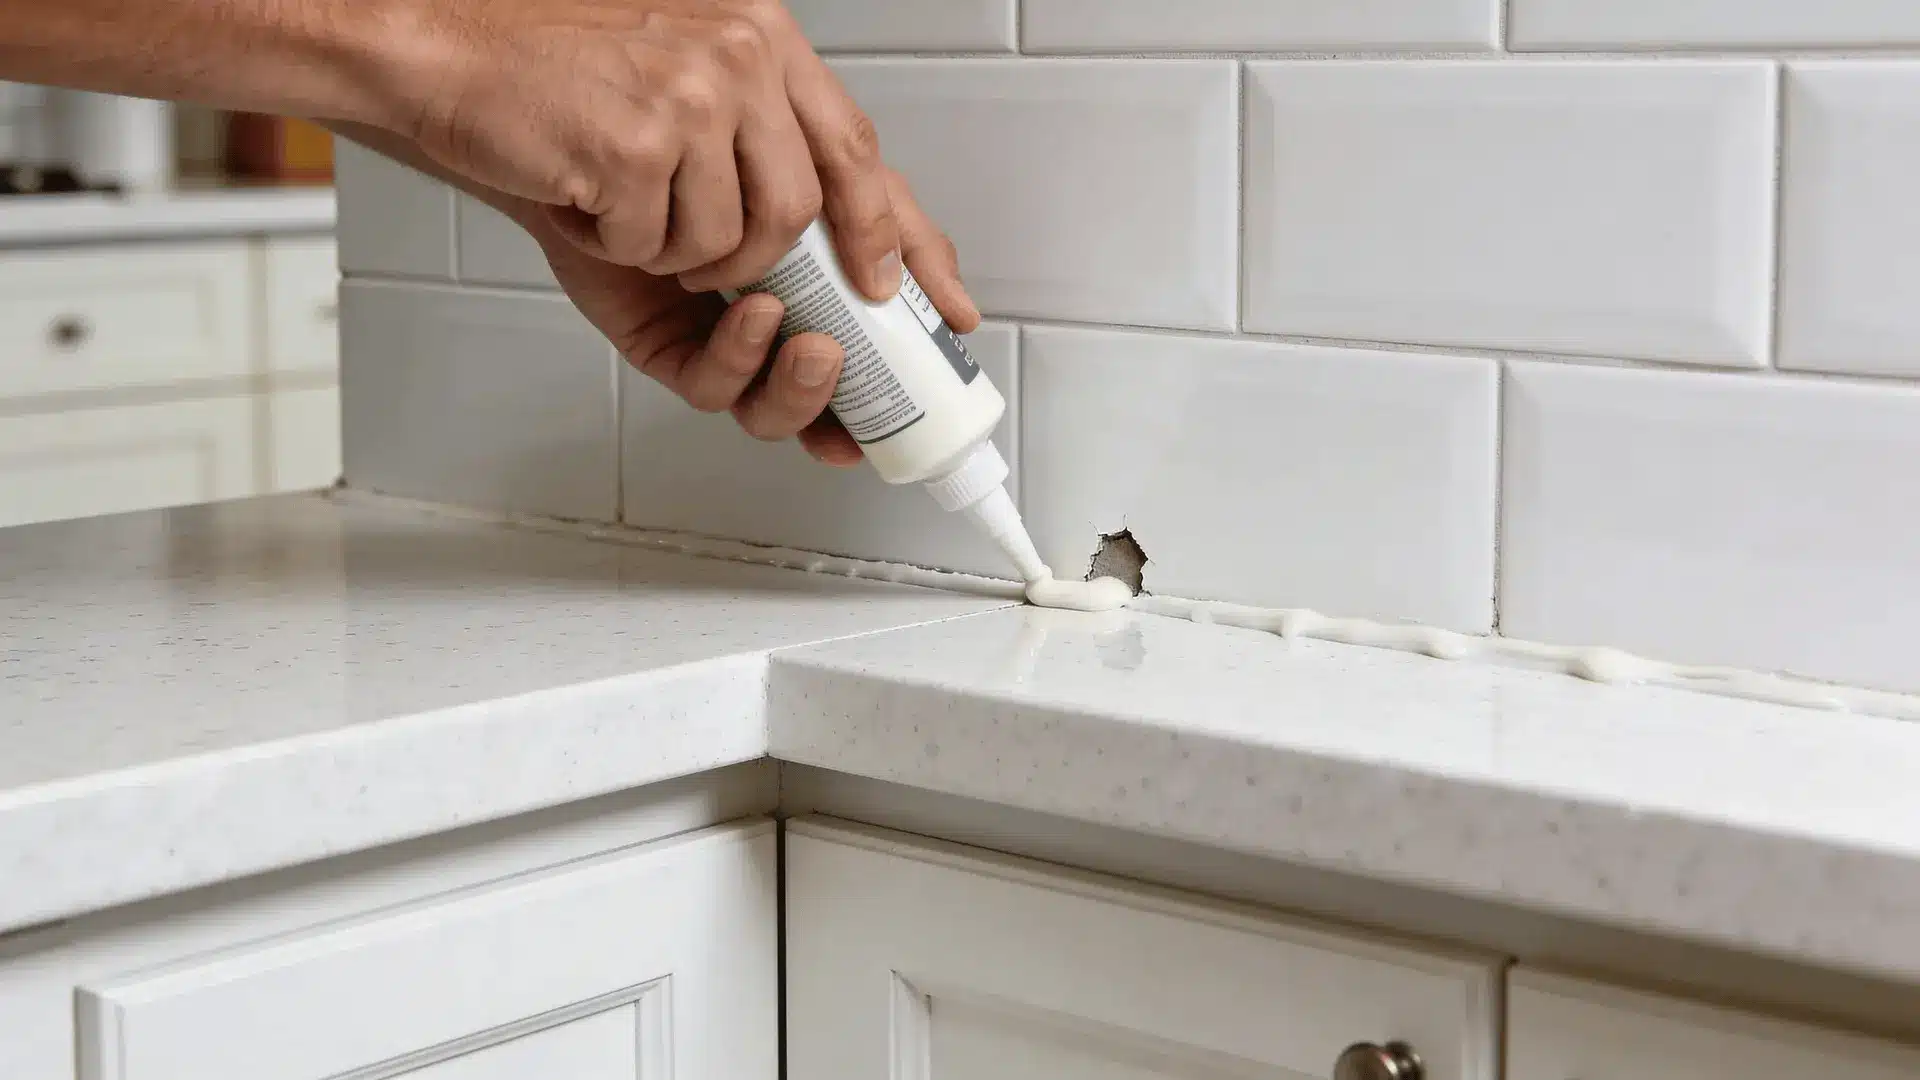
Fill small chips with patching compound and allow it to cure fully.
Check grout lines. If grout crumbles under light pressure, repair it first. Paint cannot stabilize loose grout.
Re-caulk edges where the backsplash meets the countertop or cabinets. Let caulk cure completely before priming.
Painting over unstable areas traps movement underneath. That movement often shows up later as cracks in the paint film.
Step 5 – Apply Bonding Primer
Use a bonding primer formulated for slick surfaces.
Apply thin, even coats with a small roller for flat areas and a brush for grout lines and corners. Thick coats can trap moisture and take longer to cure.
Pay attention to dry time and recoat windows. If you paint too soon, the primer may not have formed a stable bond. If you wait too long, light sanding may be needed for best adhesion.
Primer’s job is to create a stable base layer that paint can grip securely.
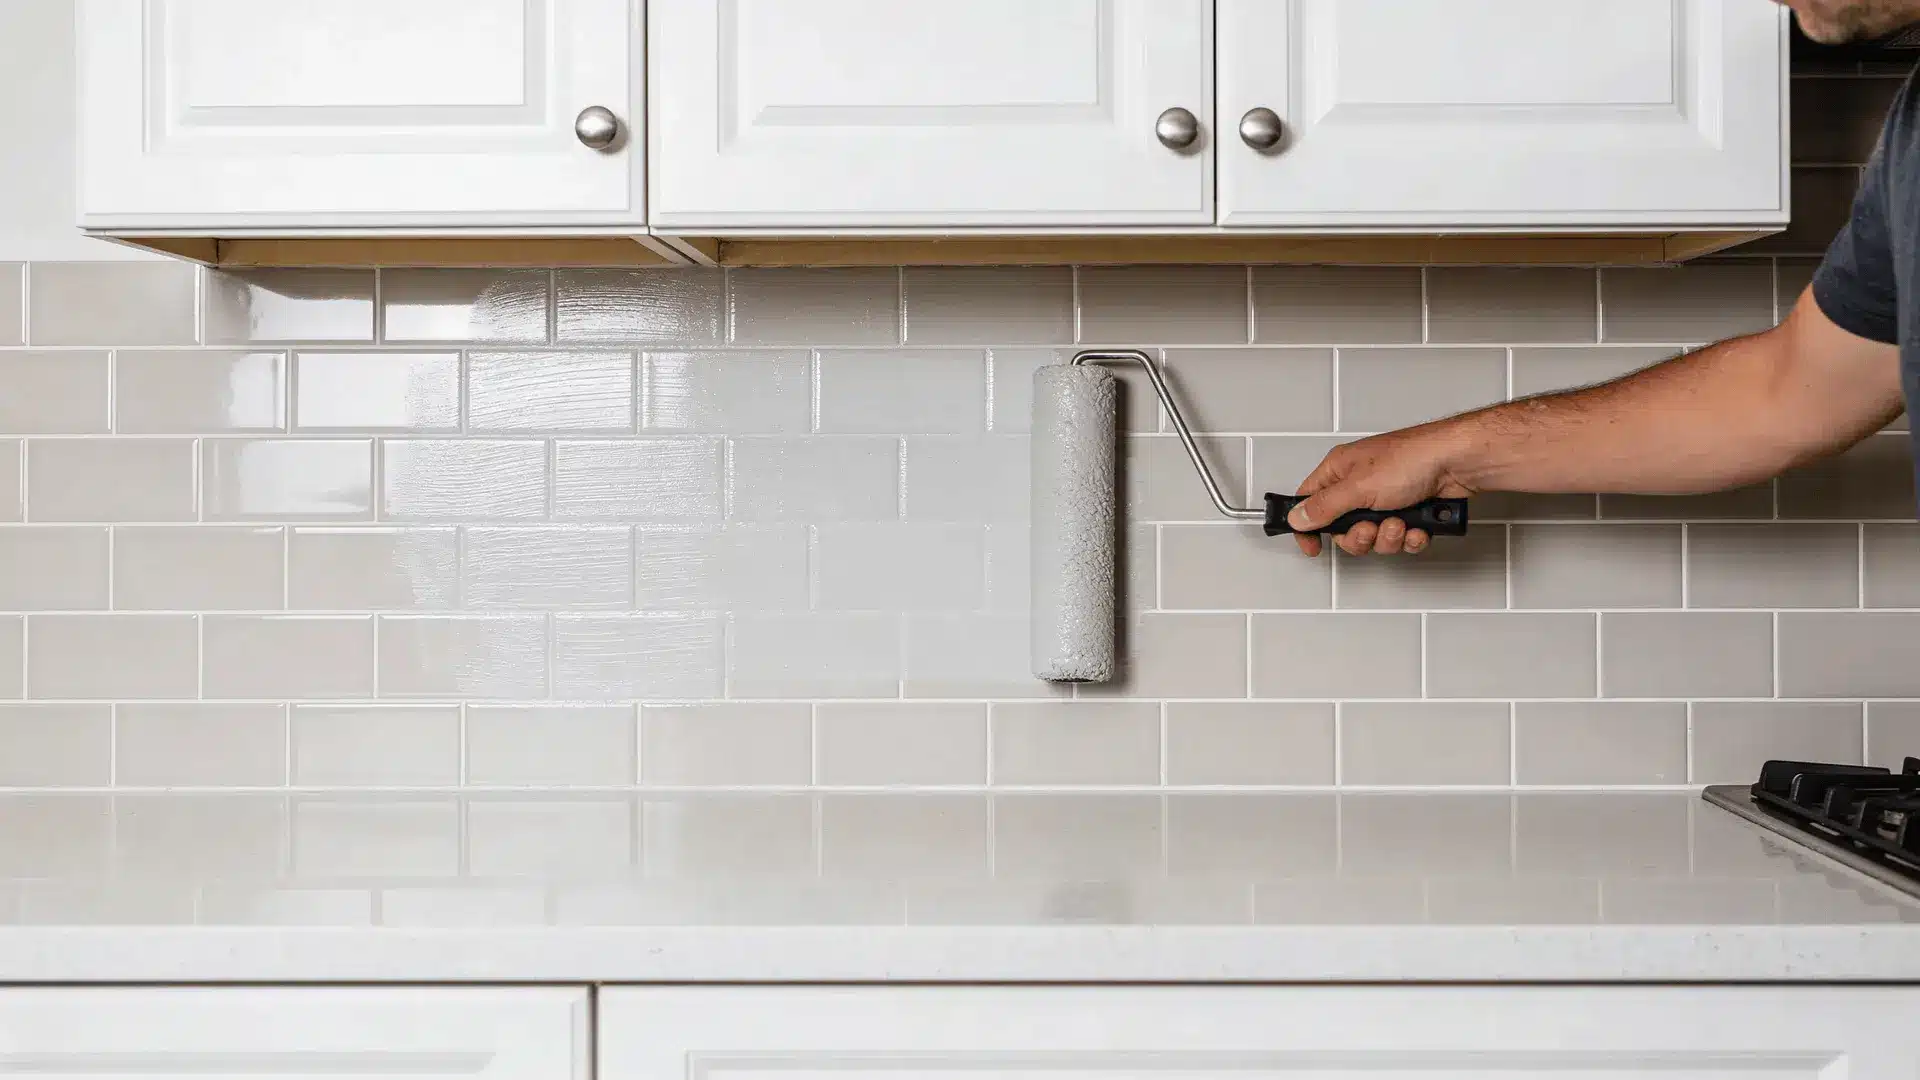
Step 6 – Apply Paint (Two Coats Minimum)
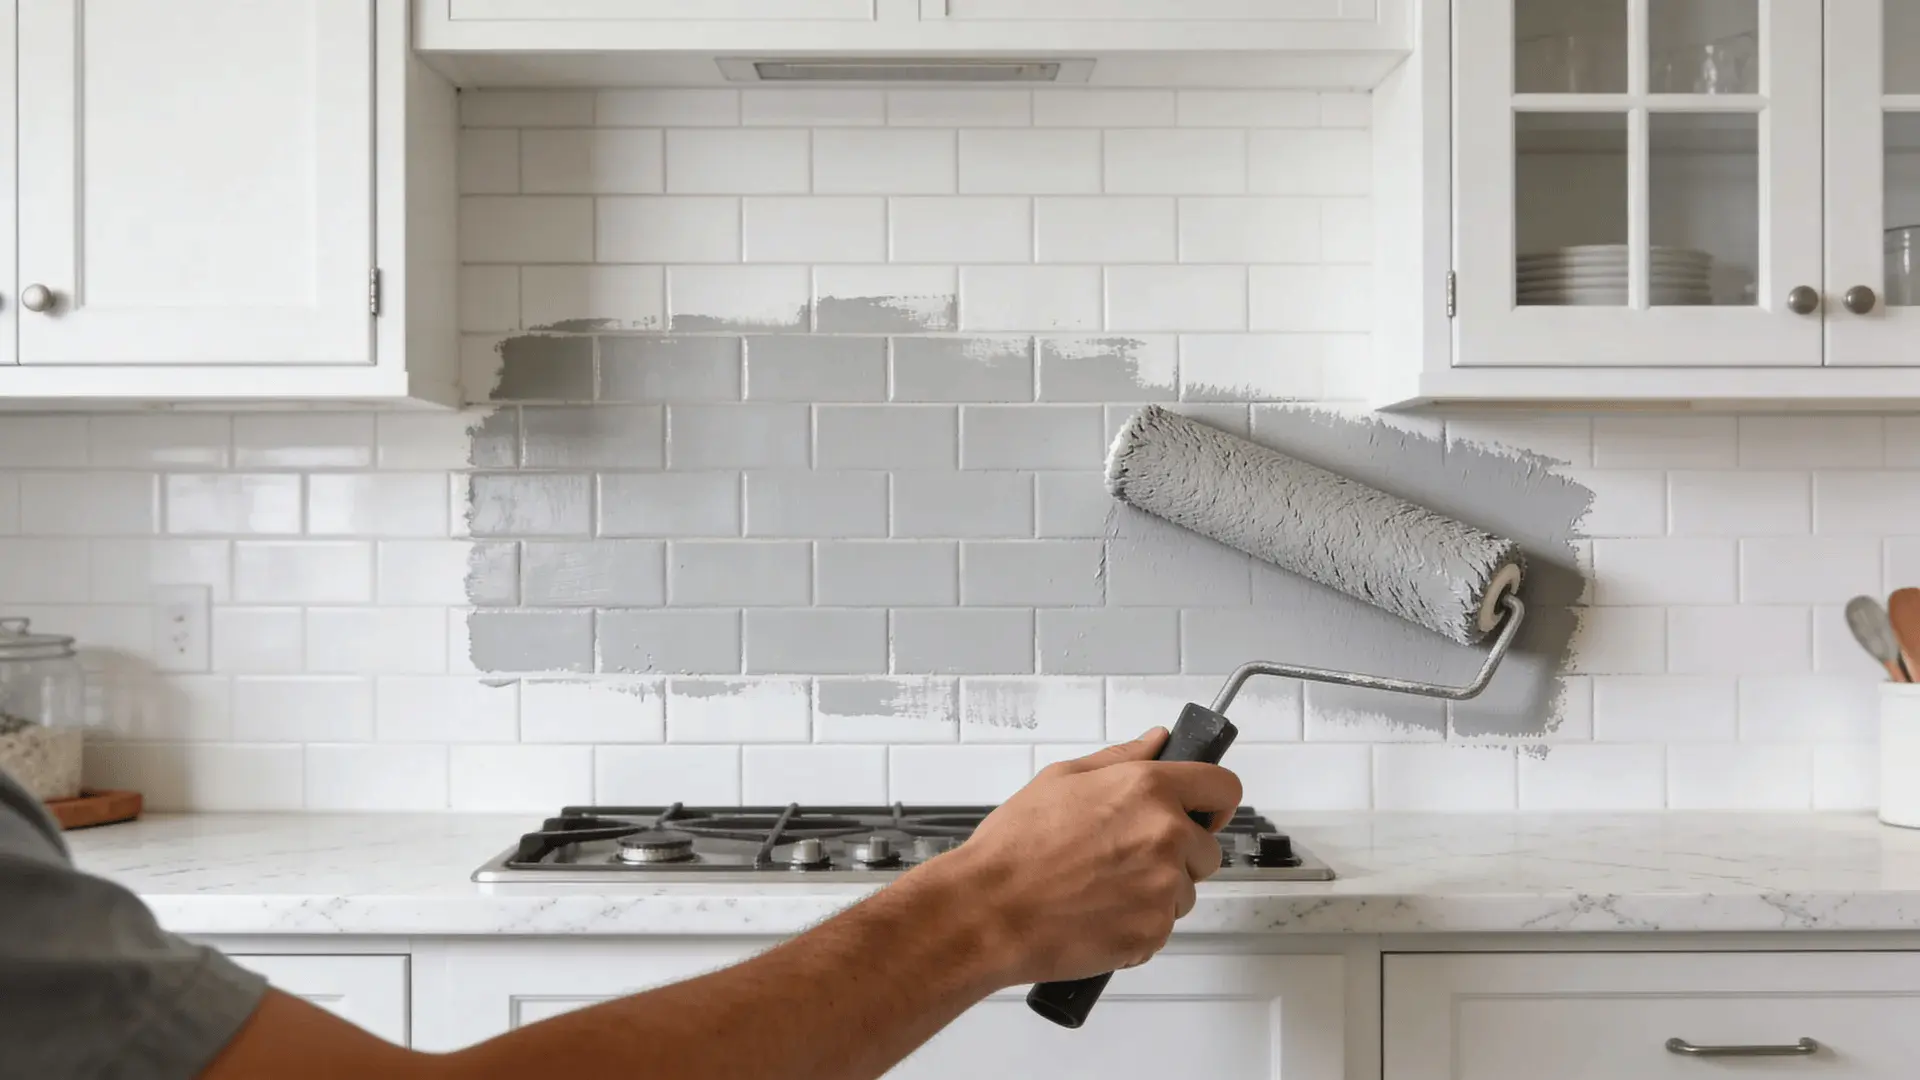
Choose a durable paint designed for moisture and cleaning exposure.
Roll flat sections first, then brush into grout lines. Avoid heavy buildup in grooves. Thick paint dries unevenly and can crack over time.
Apply at least two thin coats rather than one heavy coat. Thin layers cure more evenly and resist peeling better.
Respect recoat timing. Rushing the second coat can trap solvents, weakening the film beneath the surface.
Heat and steam exposure add stress. Behind stoves, even curing and proper film thickness matter even more.
Step 7 – Apply a Protective Topcoat (If Needed)
Some paint systems cure into a durable finish on their own. Others benefit from a clear topcoat, especially in high-moisture areas.
Sealing is more important near sinks, dishwashers, and cooking zones where splatter and steam are frequent.
Water-based topcoats typically stay clearer over time. Oil-based options may develop a slight amber tint, especially over light colors.
Apply thin coats and follow dry times carefully. Rushing this layer can cause wrinkling or cloudiness.
Paint Drying vs. Curing Timeline
Dry to the touch is not the same as fully cured.
Dry means the surface feels firm. Cured means the paint film has hardened completely and reached maximum durability.
Light use may be possible after a day or two, depending on temperature and humidity. Full cure can take several days or longer.
Early scrubbing is one of the most common causes of premature failure. Even if the surface feels dry, aggressive cleaning can damage a paint film that hasn’t fully hardened.
Patience during curing protects the entire project.
Choosing the Right Primer and Paint for Your Backsplash
Material choice matters, especially in kitchens and bathrooms. Tile is non-porous, and moisture exposure varies by location, so the coating system has to match the environment.
| Paint Type | Durability Level | Moisture Resistance | Ease of Application | Best Use Case |
|---|---|---|---|---|
| Epoxy-Based Paint | Very high | Excellent | Moderate (requires careful prep) | High-splash or heavy-use areas |
| Enamel Paint | High | Good | Easier than epoxy | Moderate moisture zones |
| Standard Interior Wall Paint | Low on tile | Poor | Easy, but not suitable | Not recommended for tile surfaces |
Standard interior wall paint usually fails on tile because it’s designed for porous surfaces. It bonds partly through absorption, and tile provides none. Without that grip, peeling becomes likely.
Finish sheen also affects performance:
- Semi-gloss and gloss → Resist stains and handle scrubbing well
- Flat finishes → Trap dirt and break down faster in wet zones
Match the system to your exposure level. A low-splash prep area has different demands than a backsplash directly behind a cooktop.
Do You Really Need a Sealer?
Not always, but in many cases, yes.
Some paint systems are designed to handle light cleaning on their own. In low-moisture areas, that can be enough.
In high-steam or splatter zones, though, a topcoat makes a real difference. Repeated moisture exposure can slowly soften unprotected paint. Over time, that weakens durability.
If you’re deciding, focus on exposure:
- Low moisture + light use → A sealer may not be necessary.
- Frequent steam, grease, or splashes → A protective topcoat is recommended.
The type of sealer also matters:
- Water-based sealers resist yellowing and stay clear longer.
- Oil-based sealers can amber slightly, especially in bright kitchens with strong light.
The need for a sealer depends on environmental exposure, not just personal preference
How Long Does a Painted Tile Backsplash Last?
Longevity depends mostly on prep and environment.
A well-prepped backsplash in a low-stress area can last several years. Poor prep can lead to peeling within months.
Cleaning habits matter. Abrasive cleaners shorten lifespan. Gentle cleaning helps preserve the surface.
Heat and steam exposure also play a role. Areas behind high-output burners experience more expansion and contraction, which stresses the paint film.
It isn’t permanent like new tile. It also isn’t automatically short-lived. Most outcomes fall somewhere in between, depending on conditions.
When You Should Not Paint a Tile Backsplash
Painting works in many cases, but sometimes it’s simply not the right fix. If the base surface is unstable, paint won’t correct it. Avoid painting if:
- Tiles are loose or shifting: Movement underneath will crack or peel the new finish.
- Grout is failing across large areas: Widespread grout breakdown signals a deeper bonding issue.
- The backsplash sits behind constant high heat: Ongoing direct heat can weaken adhesion and cause early failure.
- There’s already a failing coating on the surface: Painting over peeling or flaking layers won’t stop the breakdown.
Paint is a surface solution. It can refresh appearance, but it won’t fix structural problems underneath. If the base layer isn’t solid, the finish layer won’t last.
Wrapping Up
Painting tile backsplash can be a practical way to refresh a space without replacing the tile.
The key is understanding that this project isn’t just about color. It’s about adhesion, surface condition, and patience during curing.
When you respect how tile behaves and follow the process carefully, the results can look clean and hold up well. Take your time, prep thoroughly, and let each layer cure properly. That’s what turns a quick update into a finish that lasts.
For more guides like this one, check out other blogs on the website and keep upgrading your home.