Growing dahlias can feel a little intimidating the first time around, but once you understand how these plants work, the whole process becomes a lot smoother.
When you plant dahlia tubers the right way, you set yourself up for a season full of big, bold blooms that look like they came straight from a show garden.
What most people don’t realize is that small choices early on make the biggest difference later.
In this guide, I’ll walk you through the key steps, the simple prep that saves headaches, the early care that keeps the plants strong, and the mistakes you want to avoid. By the end, you’ll feel ready to get started.
When to Plant Dahlia Tubers
You want to plant at the right moment so the tubers actually wake up and grow instead of just sitting in cold soil doing nothing. Timing is half the game with dahlias, and getting this part right saves you from a lot of frustration later.
How to Choose Healthy Tubers
A good dahlia tuber should feel firm when you squeeze it, not mushy or hollow. If it feels soft, smells off, or looks like it’s collapsing in on itself, that tuber’s not going to make it.
Dry, wrinkled skin is normal, but deep shriveling usually means it’s too far gone.
You also want to find the eye, which is the small bump near the crown. That’s where all the new growth comes from. If there’s no eye, that tuber won’t produce a plant. Simple as that.
Zone-by-Zone Planting Timeline
The right planting time depends on how cold your winters are and how long your spring takes to warm up. Use your USDA zone as a guide.
- Zones 3–5: Plant late spring, usually late May into early June. Your soil takes longer to warm up, and planting too early can stall the tubers.
- Zones 6–7: Mid to late spring works here. Most gardeners plant sometime in April or early May, depending on weather patterns.
- Zones 8–10: You can plant early, often in March, and in many warm areas you can even overwinter tubers in the ground. Just make sure you’re past your last frost.
Soil Temperature Requirements
Dahlias don’t wake up until the soil hits about 60°F (15°C). Anything colder and the tubers sit dormant, which slows everything down and increases the chance of rot.
You can test soil temperature with a simple soil thermometer. Push it a few inches down and let it sit for a moment to get an accurate reading. Once you’re seeing consistent temperatures at or above 60°F, the soil is ready and the tubers can go in.
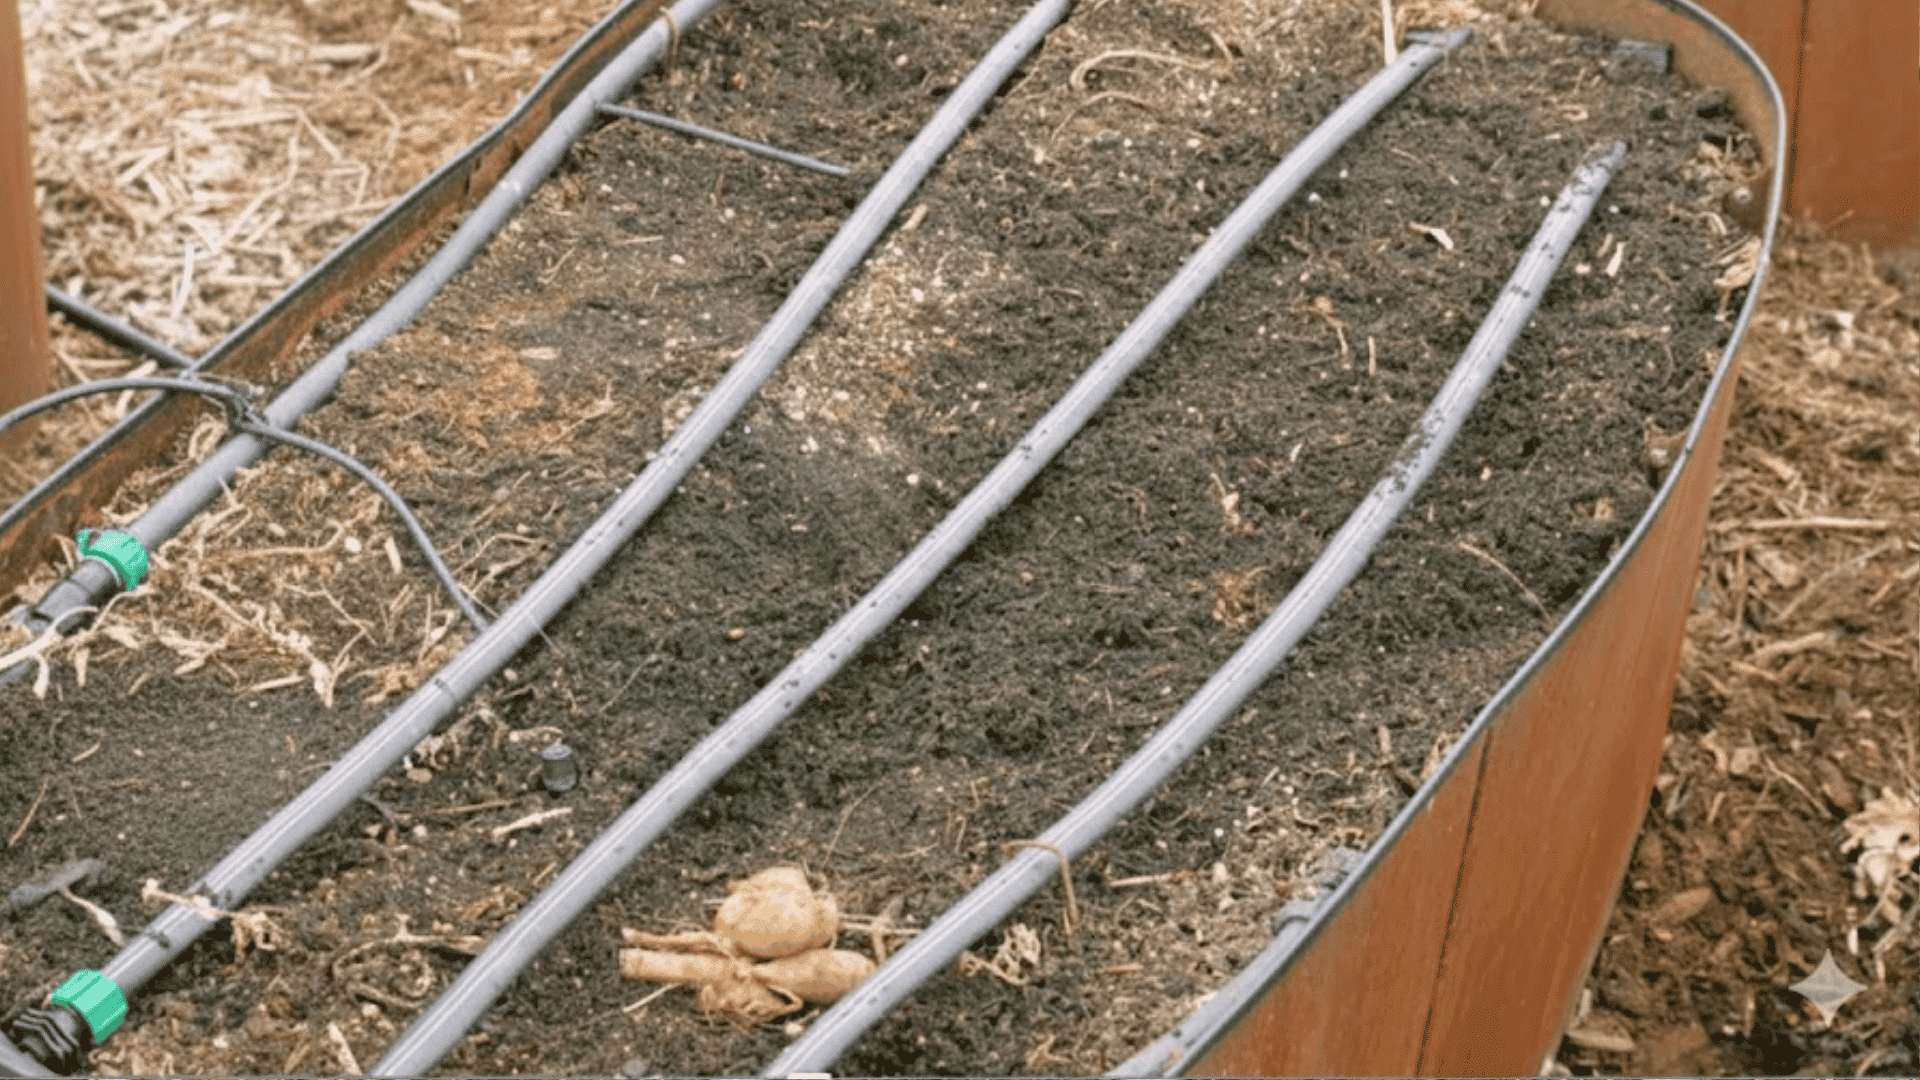
Where to Plant Dahlia Tubers: Ground vs. Pots
You can grow dahlias straight in the garden or in containers, and both options work well as long as you set them up right. The main difference is how much control you have over the soil and how quickly things warm up in spring.
Here’s what you need to know so you can choose the setup that fits your space:
Planting in the Garden
Dahlias want full sun, and they really do best when they get at least eight hours of sunlight every day. Pick a spot that isn’t shaded by trees or buildings, because they slow down fast if they’re sitting in partial shade.
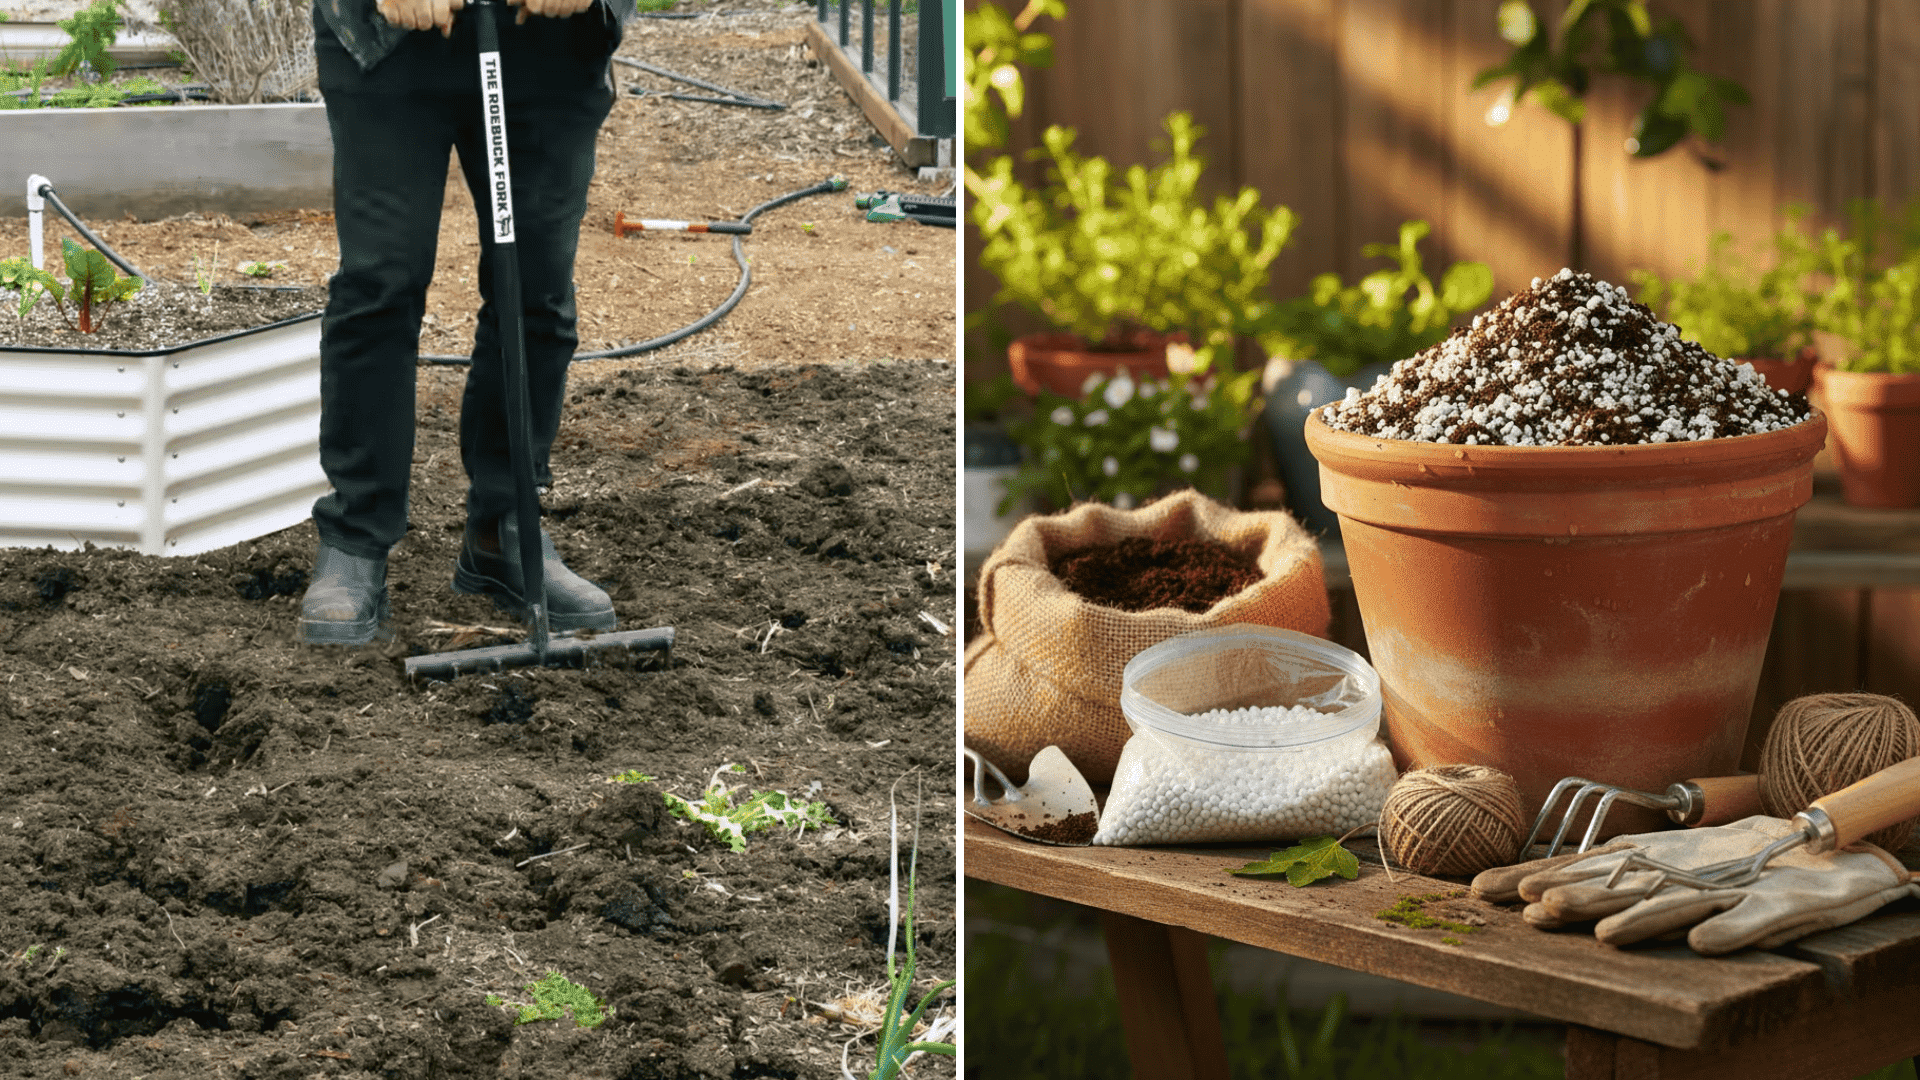
Before planting, loosen the soil so the tubers aren’t fighting their way through packed ground. They like rich soil that drains well, so if your yard leans heavy or compacted, mix in compost to give them a better start.
When you place your tubers, give each plant at least eighteen inches of space. They grow into big, full plants, and the extra room helps them stay healthy.
Planting in Pots
Dahlias grow surprisingly well in containers as long as the pot is big enough. A good starting point is a pot that holds at least three gallons, and bigger varieties often need even more room.
Make sure the pot has drainage holes so water doesn’t pool at the bottom and cause rot.
When you plant, keep your depth the same as in the ground, about four to six inches. Use a soil mix that drains well, like a blend of potting soil, compost, and a little perlite to keep things airy.
Container dahlias dry out faster, so you’ll end up watering them more often once they’re growing, but you still skip watering right after planting. Let the tubers wake up first, then start watering as they put on growth.
How to Plant Dahlia Tubers: Step-by-Step Guide
This guide walks you through planting dahlia tubers step by step, so here’s a quick setup before you get into the actual process.
Tools and Materials You’ll Need
Basic Tools:
- A trowel or hand shovel for digging the planting holes
- A shovel or fork for loosening soil in garden beds
- A broadfork (optional, but helpful for loosening large areas of ground)
- Bamboo stakes or similar supports for tall dahlia varieties
- Twine or soft ties for securing the plants to the stakes
For Indoor Starting (Optional):
- Small containers or nursery pots
- A heat mat if you want to warm the soil and wake tubers early
Soil and Amendments:
- Well-draining garden soil or raised-bed mix
- Compost or organic matter to enrich compacted soil
The Tubers Themselves:
- Dahlia tubers or full tuber clumps
- A clean, sharp knife or pruners if you plan to split large clumps into individual tubers (each piece needs an eye)
Step 1: Check the Tuber and Find the Eye

Every tuber needs an “eye,” which is the little bump near the crown where new growth starts. If you don’t see an eye, that tuber won’t produce a plant.
You can plant the whole clump or split it into singles; just make sure each piece has an eye attached, otherwise you’re basically burying a potato for no reason.
Step 2: Plant the Tuber at the Right Depth
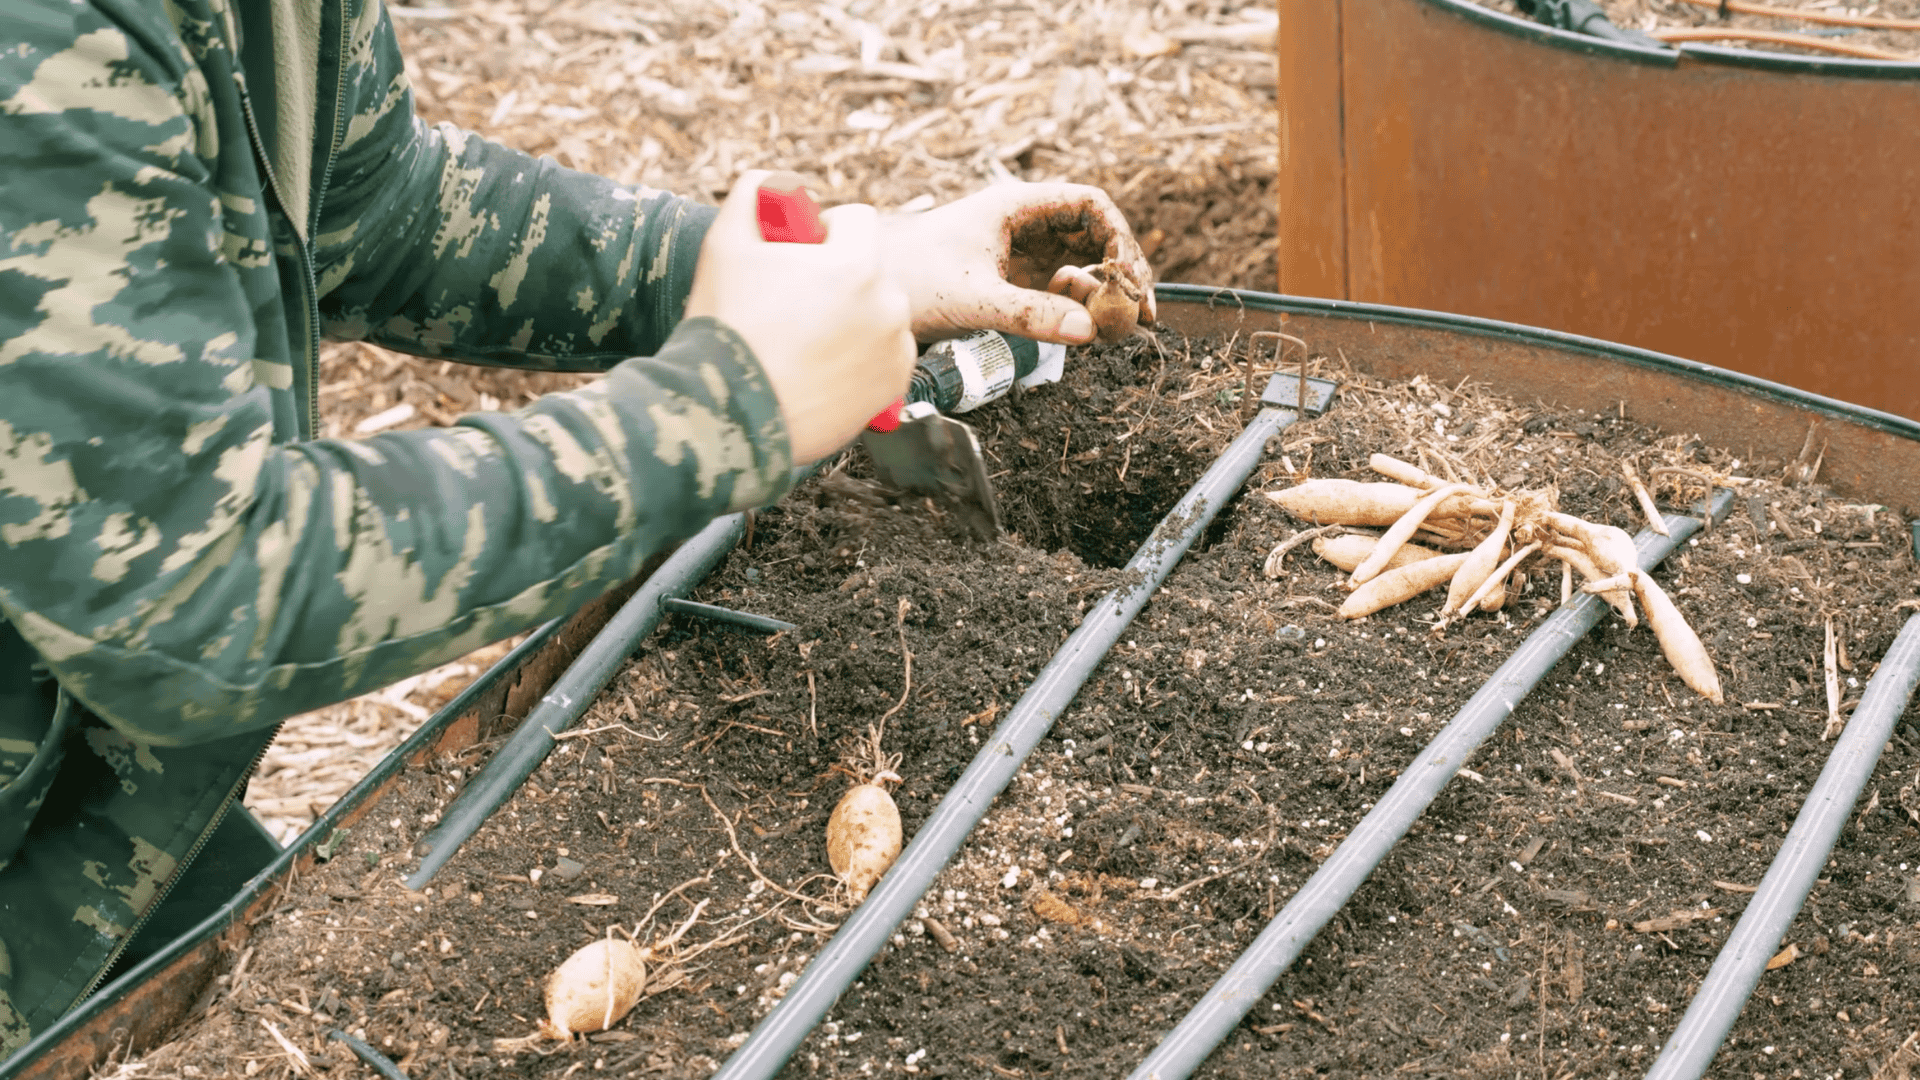
Dig a hole about four to six inches deep. Lay the tuber on its side with the eye facing upward, which gives it the easiest path out of the soil.
Cover it gently and give each plant at least eighteen inches of space so they’re not crowding each other once they take off. Dahlias get big, and tight spacing can turn into a mess later.
Step 3: Hold Off on Watering
Don’t water immediately after planting. Freshly planted tubers sitting in cold, wet soil can rot fast. Wait until you see new growth breaking the surface, then start giving them about an inch of water per week.
When they’re blooming hard, move up to two inches. They go from “don’t water me yet” to “please keep up” pretty quickly once they wake up.
Step 4: Start Indoors if Your Soil is Still Cold
If the soil outside hasn’t warmed up to at least 60°F (15°C), start the tubers in small pots indoors. You can use a heat mat to help them push out early growth. Once the outdoor soil catches up, transplant them into the garden and they’ll settle right in.
Step 5: Support the Plant as It Grows
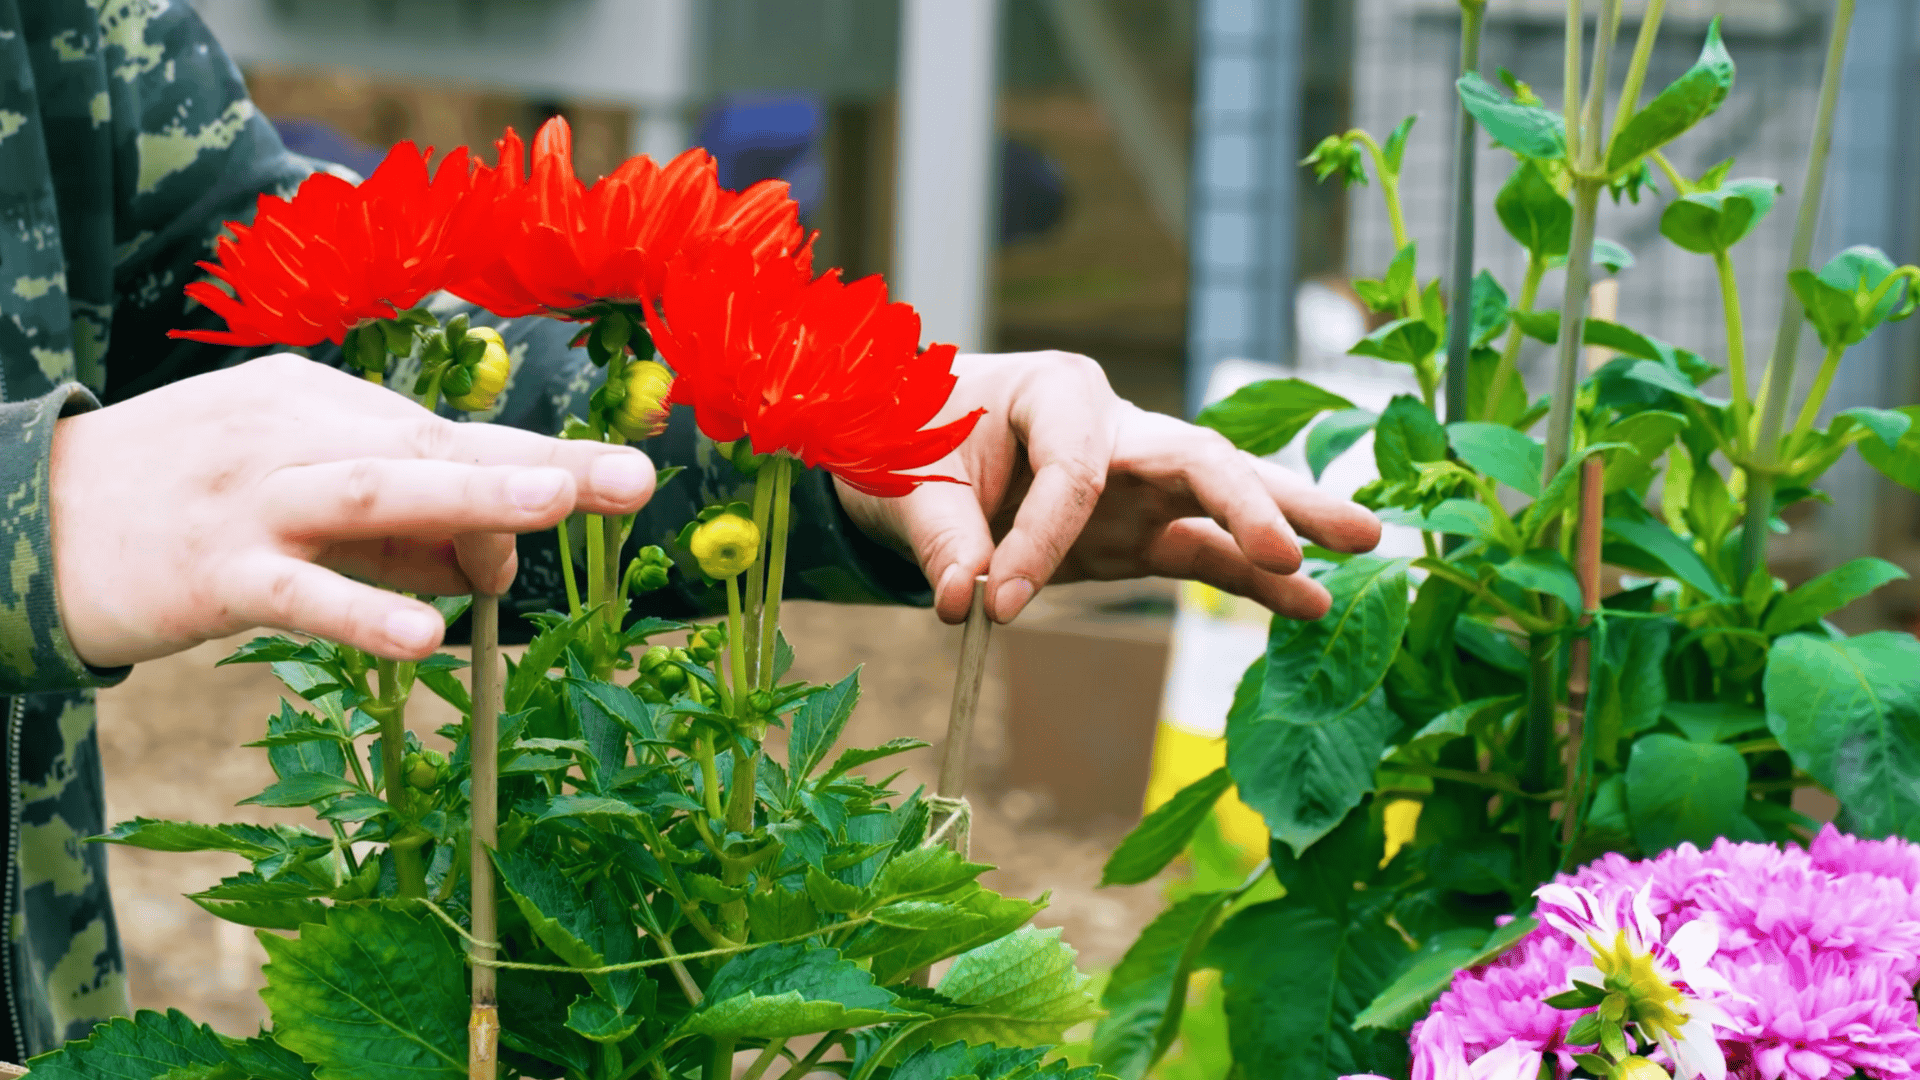
As the plant starts putting on size, add a stake early so you’re not trying to drive one into the ground later and accidentally stab a tuber.
If you want a bushier, wider plant, pinch the top when it reaches about a foot tall. If you want a tall, upright look, skip the pinch and let it grow naturally.
If you want to see the whole process in action, this video walks through the same steps. Check it out:
How to Pre-Sprout or Wake Up Tubers
Pre-sprouting gives your dahlias a head start, especially if your spring warms up slowly or you just want the plants to hit the ground running.
It lets you confirm which tubers are alive before you commit them to the garden, and it speeds up early growth so you’re not waiting weeks for signs of life.
By getting the tuber warm, comfortable, and awake before it ever touches outdoor soil, you cut down the guesswork, lower the risk of rot, and catch any duds early. If you’re in a cooler zone, this step helps your plants stay on schedule instead of falling behind the season.
How to Pre-Sprout Your Tubers
Place your tubers in shallow trays or small pots filled with slightly damp potting mix.
You don’t bury them the way you would in the garden; you’re just giving them enough contact with the soil to encourage growth.
Keep the eye facing upward, and make sure the mix stays barely moist, not wet. Set the trays in a warm spot that stays around 60–70°F so the tubers actually wake up.
How Long It Takes
Most tubers start showing growth in about two to three weeks once they’re warm enough.
Some varieties take a little longer, so don’t rush to judge them too early. When the sprouts reach a couple of inches tall, they’re ready to be planted in the garden or moved into larger containers.
What to Do If No Sprouts Appear
If a tuber hasn’t sprouted after a few weeks, check it by gently pressing on the body of the tuber. A healthy one feels firm. A soft, mushy, or hollow feeling usually means it’s not viable.
If it’s still firm but slow, give it more time and make sure you’re keeping the soil just lightly moist and warm enough. Some tubers simply take longer to wake up, especially if they were stored on the drier side.
Common Problems and How to Fix Them
| Problem | What You’ll See | What It Means | How to Fix It |
|---|---|---|---|
| My tuber isn’t sprouting | No growth after weeks | Soil is too cold, or the tuber is just slow | Keep it warm and lightly moist; if the tuber is firm, give it more time. If it’s soft or hollow, replace it. |
| My tuber looks shriveled | Deep wrinkles, collapsed shape | Tubers dried out in storage | Place in slightly damp soil and warm conditions; if it firms up, it’s usable. If it stays collapsed, discard it. |
| The neck is broken | Tuber separated at the neck | Growth can’t travel from tuber to crown | Only plant pieces still attached to the crown with an eye. Or discard if fully separated. |
| Mold on tubers | White fuzz, surface mold, or musty smell | Mild mold or early rot | Wipe off light mold and let the tuber air dry. If it’s soft, smelly, or rotting, discard it. |
| I planted too deep / too shallow | Slow sprouting or exposed tubers | Wrong planting depth | Lift and reset at 4–6 inches deep. Add soil if too shallow. Replant if too deep in cold, wet soil. |
| Overwatering issues | Soft tubers, rot, sour smell | Too much moisture before sprouting | Don’t water until growth appears. Once growing, water deeply but not constantly. Ensure drainage in pots. |
Care After Planting Dahlias
- Watering: Start watering once fresh green shoots appear, giving about an inch per week and increasing to two inches during heavy blooming so the plant stays consistently hydrated without risking early rot.
- Fertilizing: Feed every three to four weeks with a balanced, low-nitrogen fertilizer to build steady growth and stronger blooms without pushing soft, leafy growth that steals energy from flower production.
- Mulching: Add a light layer of mulch after the plant is established to hold moisture, reduce weeds, and keep the soil cool, keeping the mulch a few inches away from the stem.
- Early Growth Care: Install stakes early, clear competing weeds quickly, and pinch the top around a foot tall if you want a wider, bushier plant with stronger branching throughout the season.
These simple habits keep your dahlias steady, healthy, and ready to bloom hard once the season kicks in. A little attention early on makes the rest of the growth feel effortless.
Common Mistakes to Avoid
Crowding the Plants: Giving dahlias less than eighteen inches of space forces them to compete for light and airflow, which leads to weaker growth and a higher chance of disease.
Skipping Support: Waiting too long to stake taller varieties makes it harder to keep the stems upright, especially once the plant fills out and starts producing heavy blooms.
Neglecting Warm-Up Time Indoors (If Needed): Leaving tubers sitting untouched in cold climates without pre-sprouting or indoor starting can delay the entire season and shorten bloom time.
Ignoring Weeds Early On: Letting weeds establish around young dahlias drains moisture and nutrients, slowing the plant during the stage when it needs support the most.
Wrapping Up
Once you understand how to plant dahlia tubers and what helps them settle in, the rest of the season becomes a lot more enjoyable.
These plants reward even basic care with incredible color and size, and the small habits you build early can make the blooms stronger and longer-lasting.
Keep things warm, give the plants space, stay consistent with support and watering, and you’ll see how quickly they take off. If you’re ready to bring more color into your garden and want a plant that pays you back all summer, dahlias are worth your time.
Ready for your next gardening project? Explore more blogs on the website for easy, practical guides that help you grow with confidence.