Want to fill your garden with bright, butterfly-friendly blooms? I’ll show you exactly how to plant coneflower seeds and turn your yard into a colorful haven.
These hardy flowers, also known as Echinacea, come in purple, pink, white, and yellow, and they bloom all summer long.
They’re tough once established, thrive in dry weather, and are a favorite of bees and butterflies. Best of all? They’re super easy to grow from seed, even for beginners.
Here, I’ll walk you through everything: when to plant, how to start indoors or outside, and simple tips for growing strong, healthy plants.
Why Grow Coneflowers From Seed
Starting coneflowers from seed is one of the easiest ways to fill your yard with color, without emptying your wallet.
For the price of one nursery plant, you can grow dozens of flowers from a single seed packet.
You’ll also get way more color options when you grow from seed. Beyond classic purple, you’ll find white, yellow, pink, and fun mixed varieties you won’t always see in stores.
Once they sprout, they don’t need much care and can handle harsh weather like champs.
They’re also great for covering large spaces or creating wildflower patches. Just plant them, let them spread, and enjoy a pollinator-friendly garden full of butterflies and birds.
When to Plant Coneflower Seeds
Timing matters when it comes to planting coneflower seeds. You’ve got two great options depending on your setup. For outdoor sowing, plant in early spring or late fall.
Fall is ideal because natural winter cold helps prepare the seeds.
Starting seeds indoors? Begin about 8–10 weeks before your last frost. That gives seedlings time to grow strong before moving outside.
For best results, use cold stratification. This Step mimics winter and boosts germination. It’s a simple trick that makes a big difference. If indoors or out, timing and prep help your coneflowers thrive.
Materials You’ll Need for Growing Coneflower
You don’t need fancy tools to start growing coneflowers. Most supplies are inexpensive, and you probably already have a few on hand. Here’s a quick budget breakdown:
| Material | Estimated Cost Range |
|---|---|
| Coneflower seeds | $4.84–$27.99 |
| Coffee filters/towels | $1.99–$5.99 |
| Ziplock bag | $5.99–$13.99 |
| Spray bottle | $0.58–$3.28 |
| Seedling trays | $6.00–$25.99 |
| Humidity dome (optional) | $0.00–$10.00 |
| Seed-starting mix | $2.65–$15.99 |
| Labels & marker | $0.00–$9.99 |
| Total estimated range | $22.05–$113.22 |
This total assumes you’re buying everything from scratch. If you already have basics like a spray bottle or labels, your actual cost could be much lower.
NOTE: Prices are estimates and can vary by location or over time. Always check local sources for the most accurate costs.
Steps on How to Plant Coneflower Seeds
Just follow these simple Steps to go from seed to sprout, even if you’re brand new to gardening. Let’s walk through the process together.
Step 1: Cold-Stratify Your Seeds (Optional but Helpful)
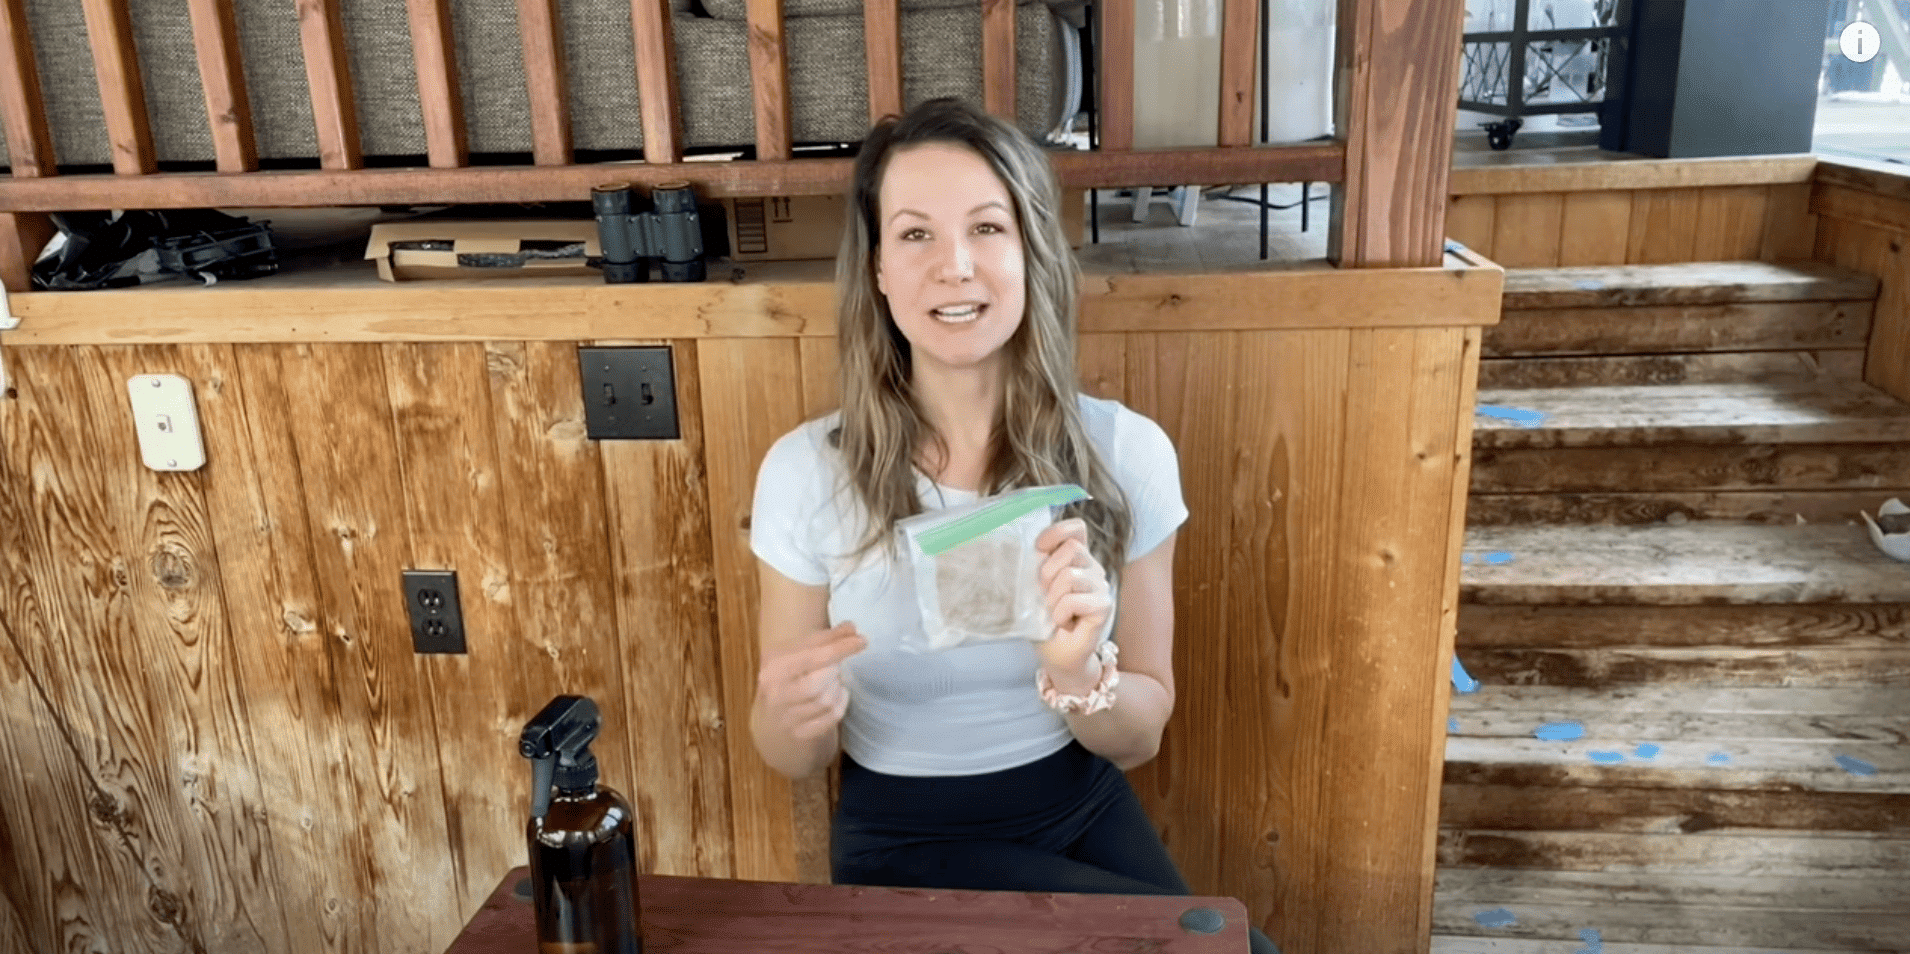
If you live in a colder zone, cold stratification boosts your germination success.
Wrap your coneflower seeds in a damp coffee filter, slide them into a labeled ziplock bag, and place them in the fridge for 10–20 days. This simulates winter conditions, encouraging sprouting.
Pro Tips:
- Label the bag with the seed name and date.
- Check weekly for mold or early sprouting.
- If any seeds sprout, plant them right away.
Step 2: Mix Seed-Starting Soil
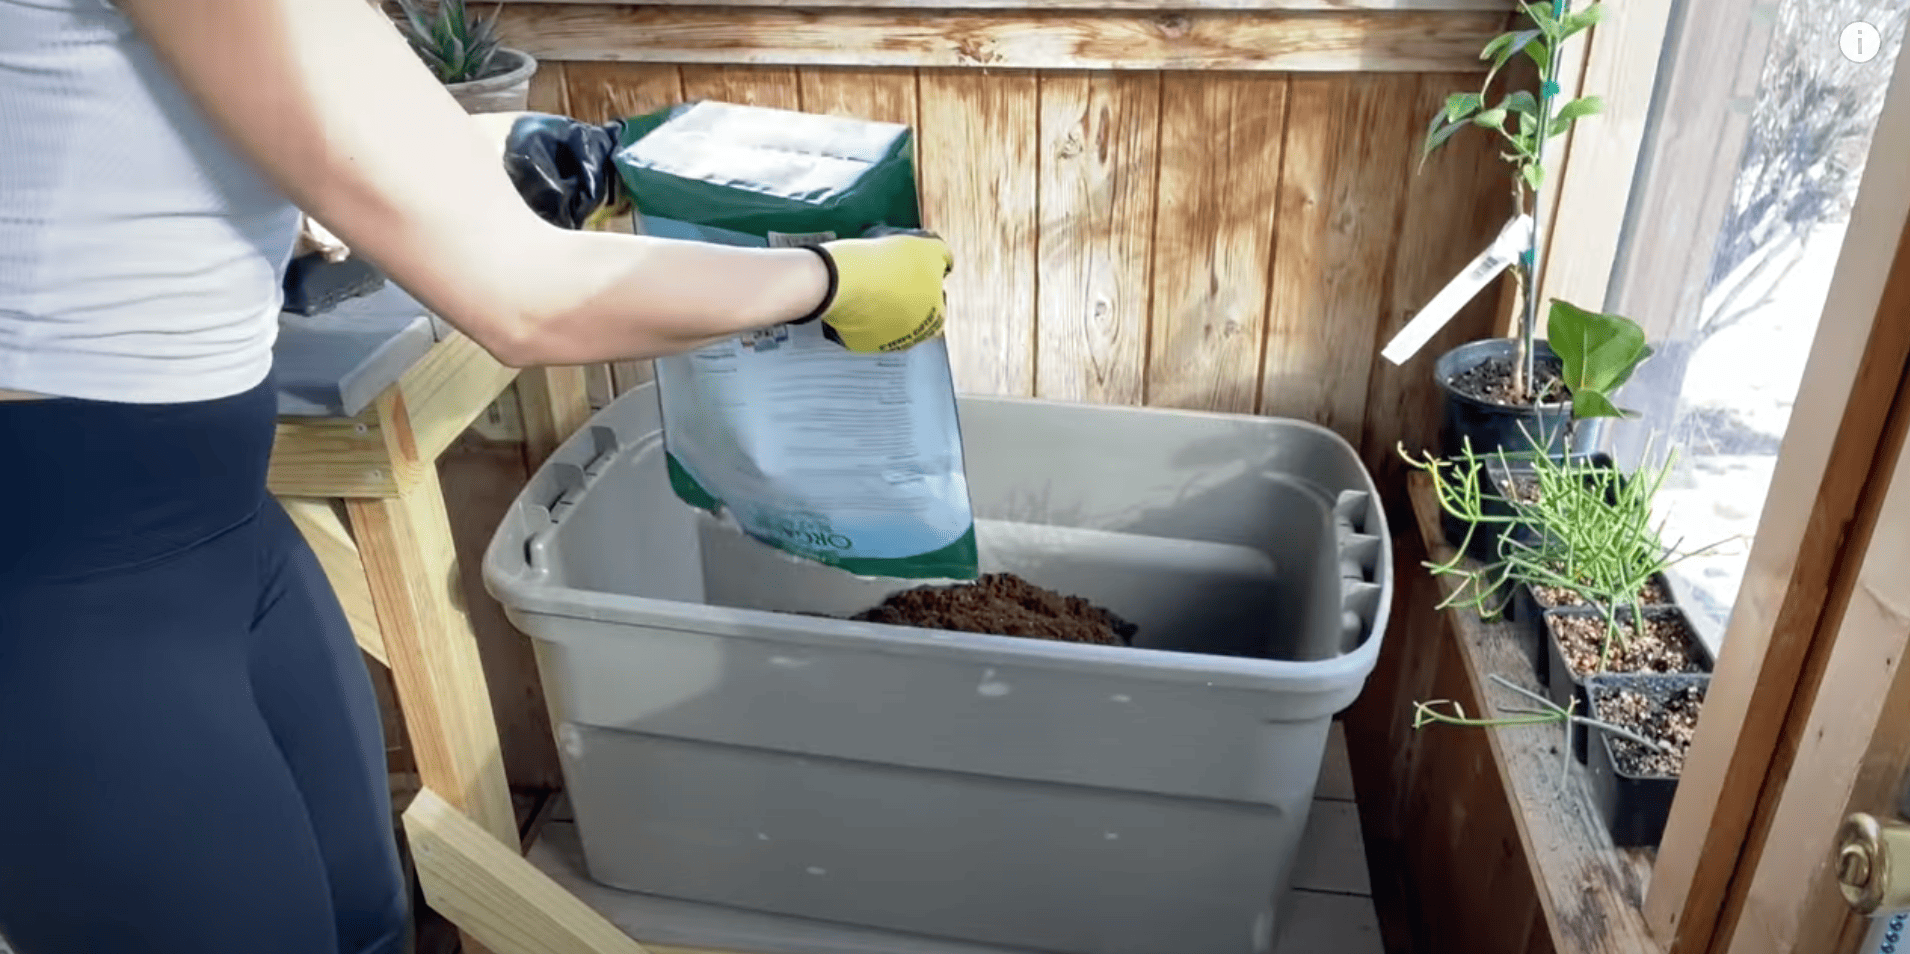
Coneflower seeds need light, well-draining soil. Mix 75% peat moss or coco coir with clean sand and add 25% organic garden soil. Mix until fluffy and even, no big clumps.
Pro Tips:
- Use store-bought sand, not backyard dirt.
- Mix everything thoroughly before adding to trays.
- Store leftovers in a sealed bin for next time.
Step 3: Fill Your Trays
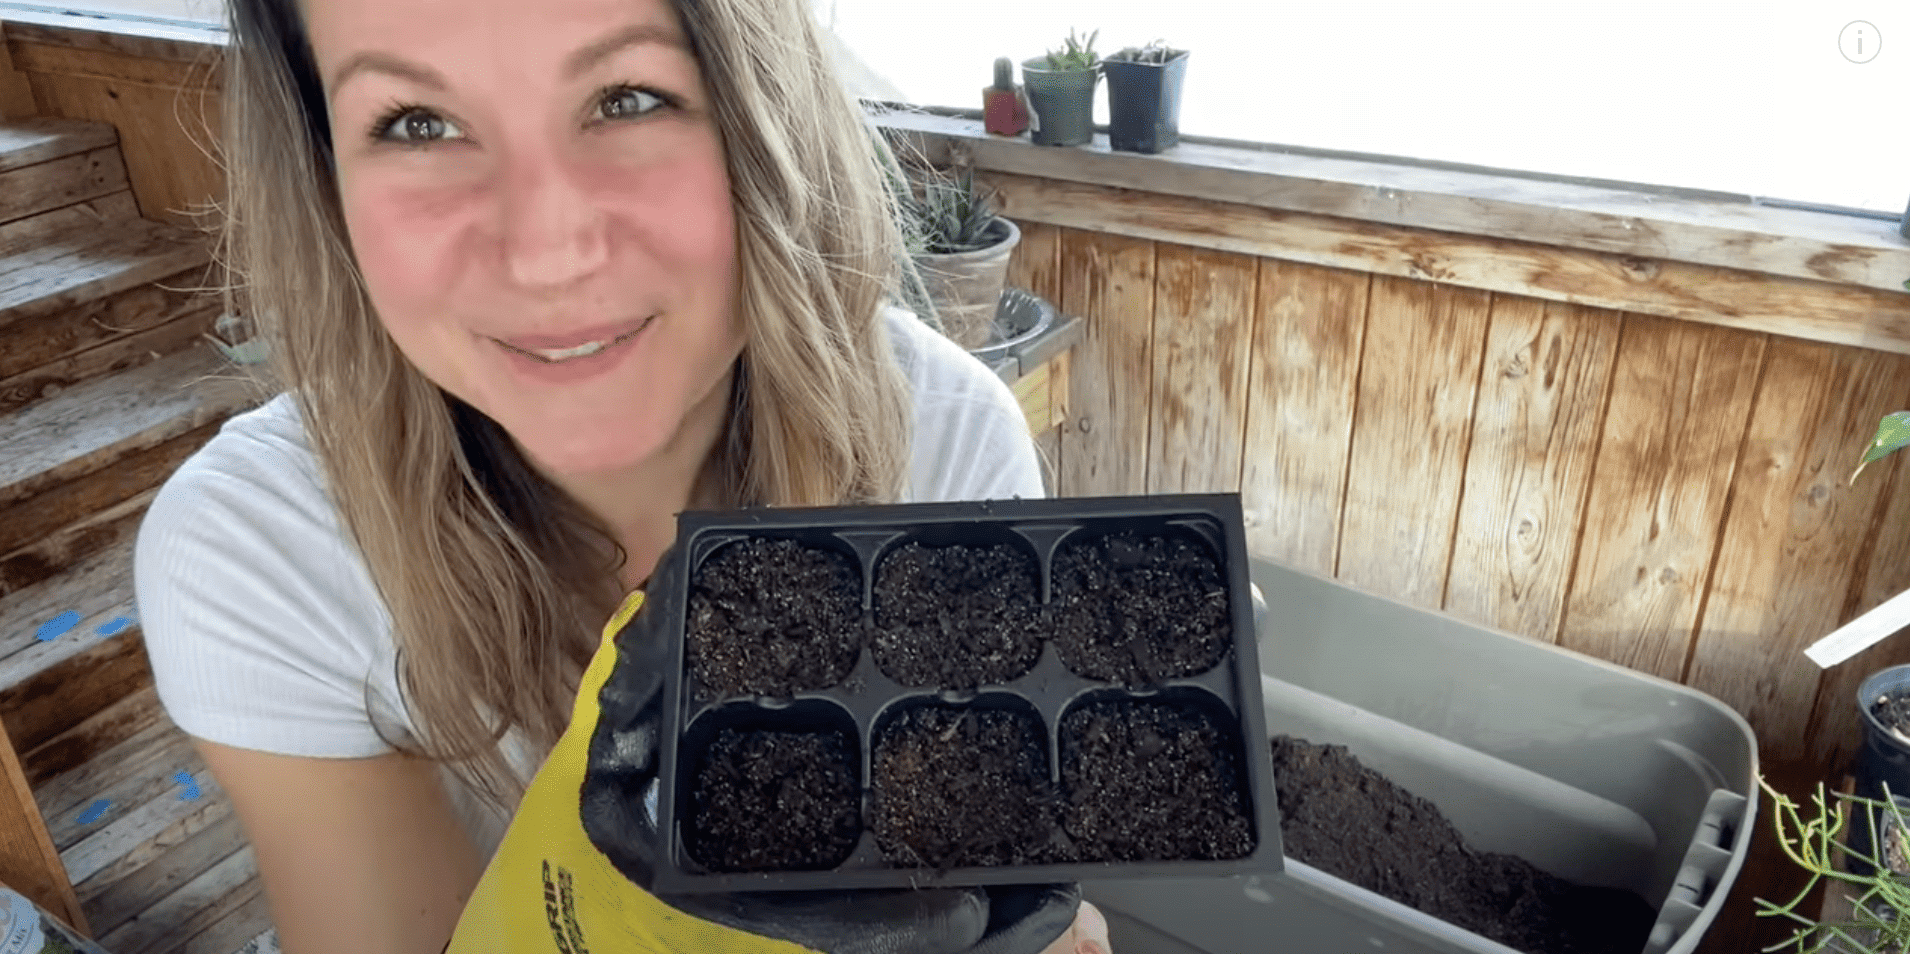
Scoop the soil into your seedling trays, leaving about ¼ inch from the top. Tap the tray to help the soil settle, but don’t press it down; you want it loose and airy for root growth.
Pro Tips:
- Choose trays with solid drainage holes.
- Place a solid tray underneath to catch water.
- Use a humidity dome if your air is dry.
Step 4: Plant Your Seeds
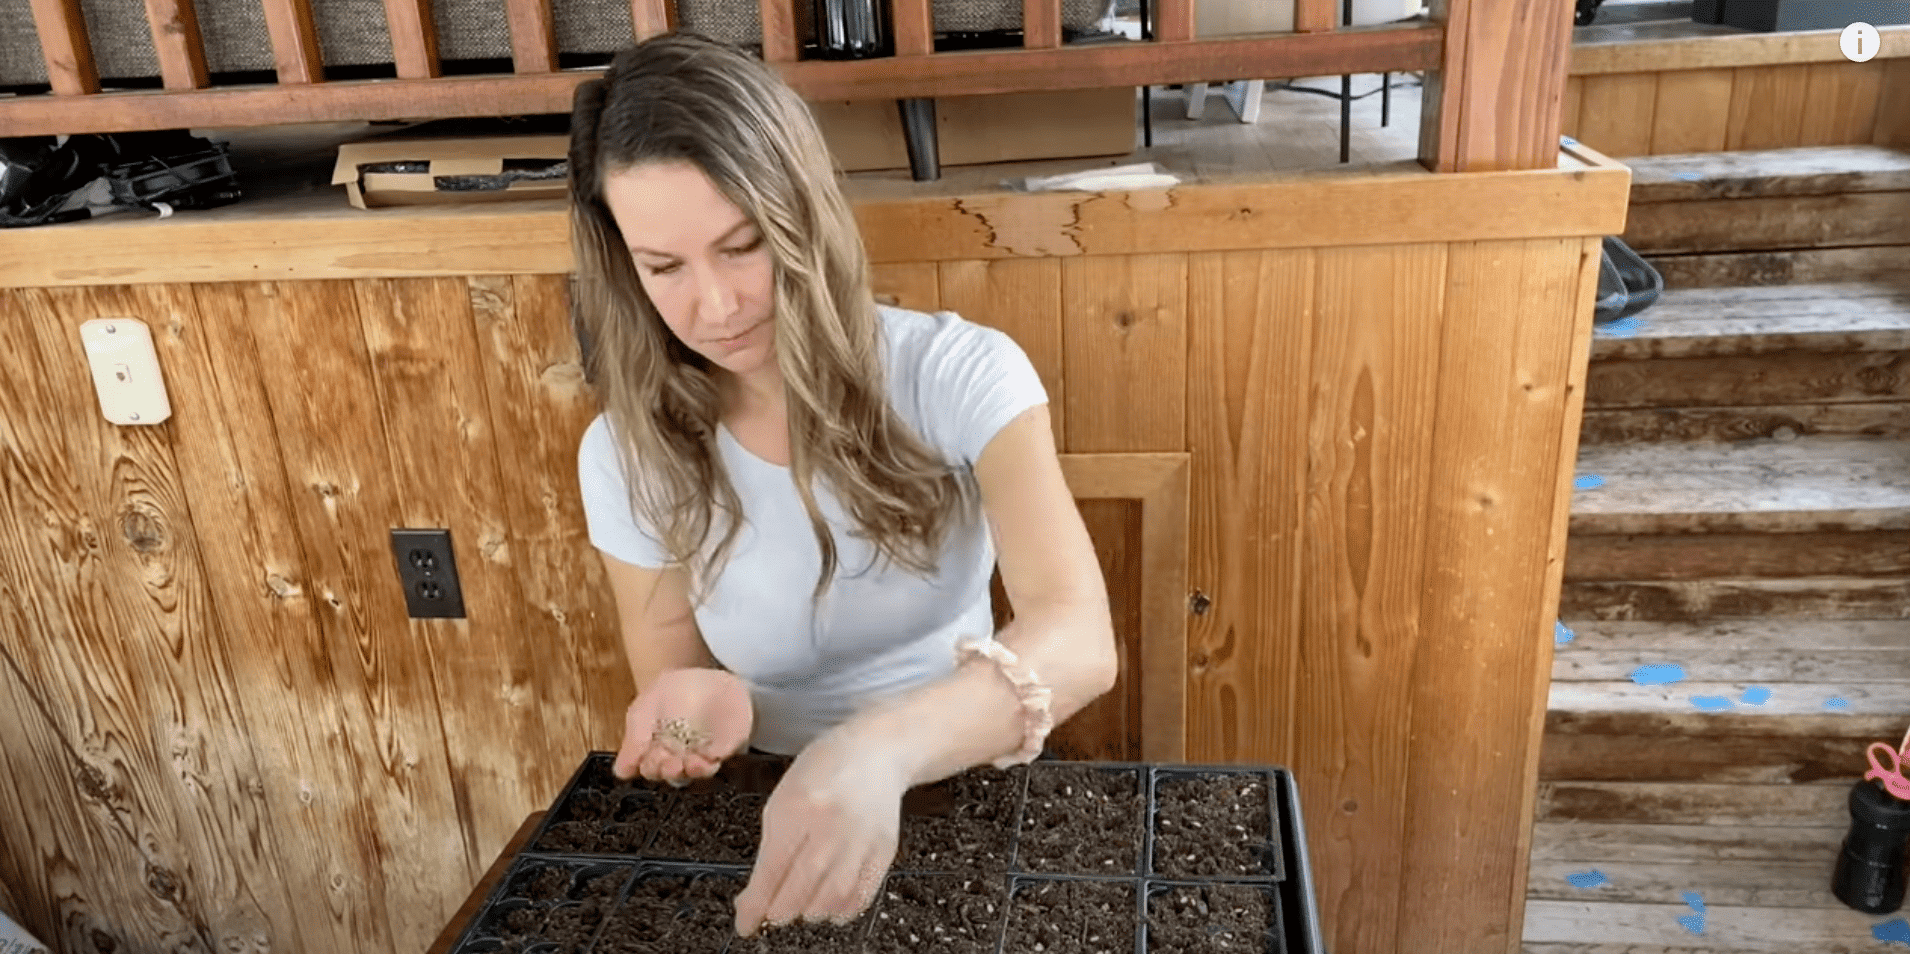
Make a small hole, approximately ⅛ inch deep, in each soil cell. Drop in 2–3 coneflower seeds per hole, then cover lightly with soil. Water gently to keep seeds in place without washing them away.
Pro Tips:
- A pencil tip makes perfect planting holes.
- Don’t plant seeds too deep.
- Expect a 60–75% germination rate; some won’t sprout.
Step 5: Water, Label, and Wait
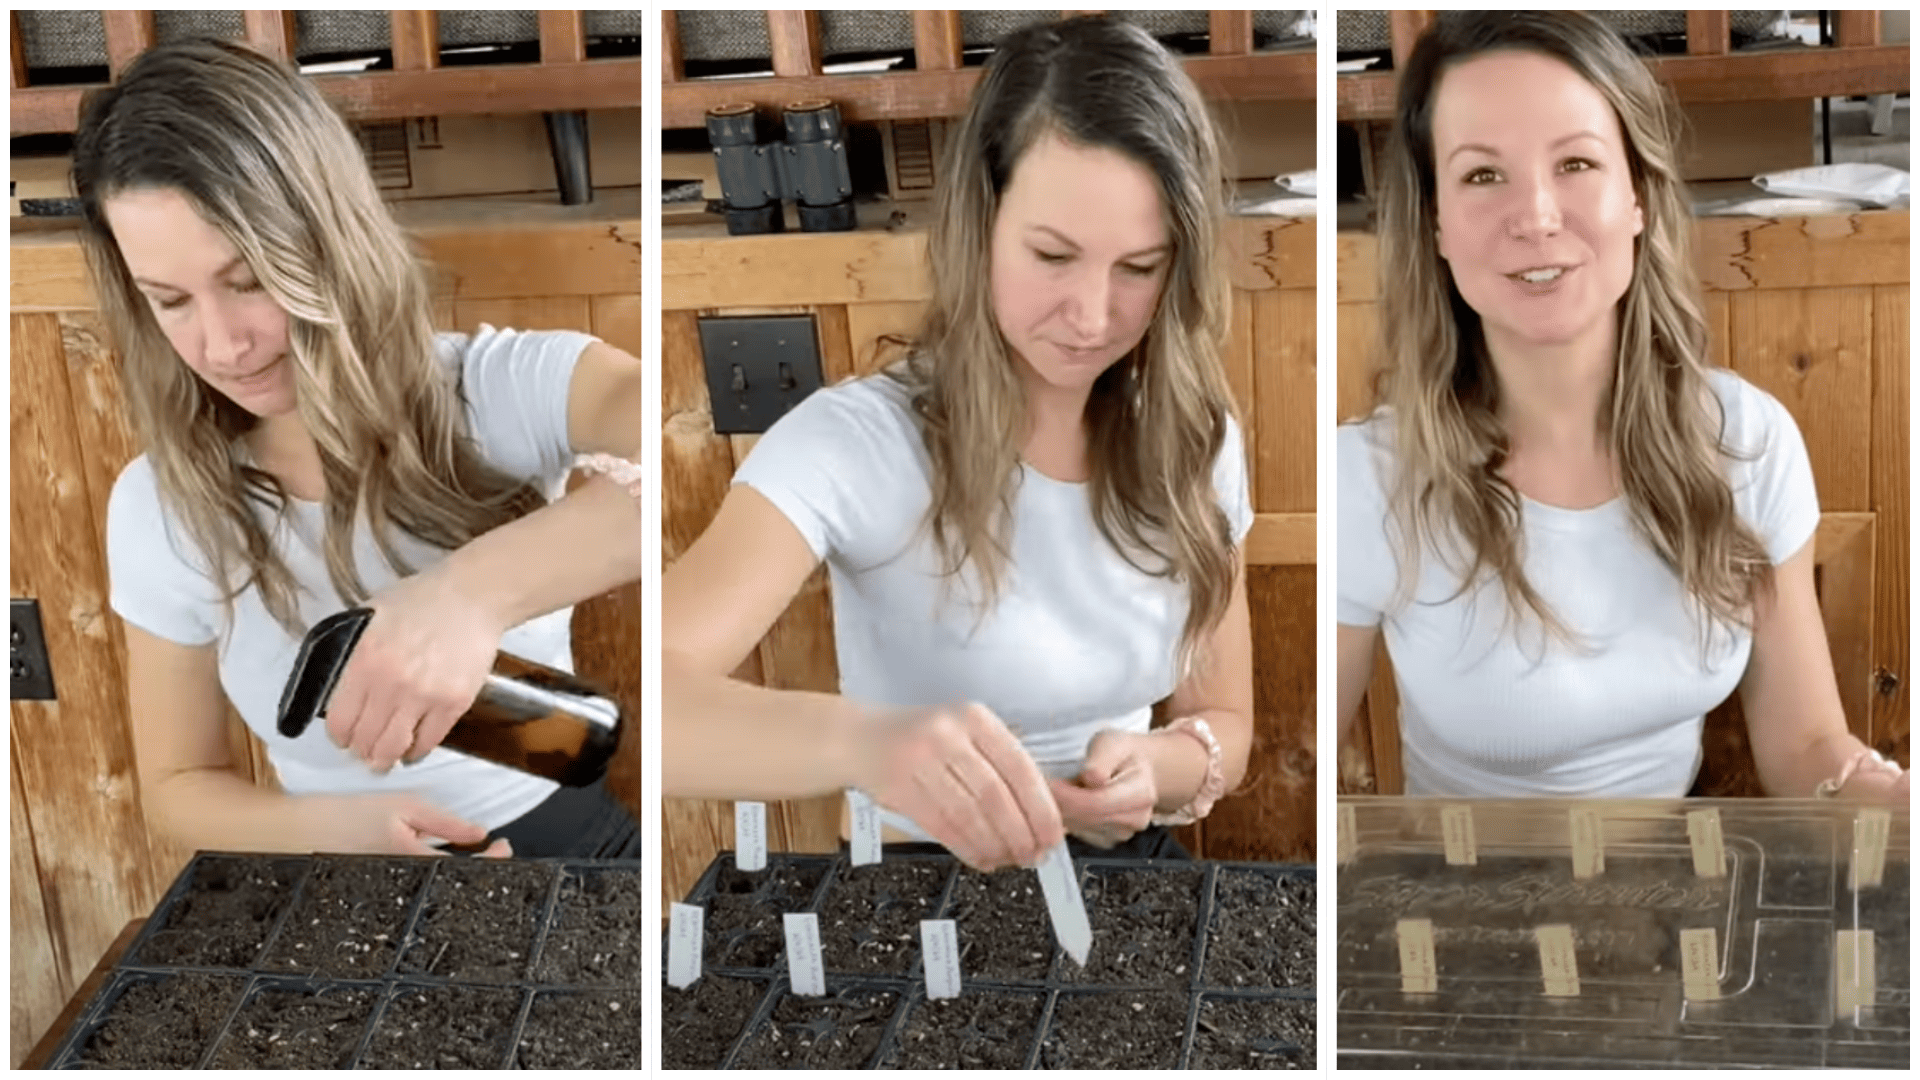
Give your tray a good soak (but no puddles). Label it with the seed name and date. Cover with a dome if you have one.
Germination can take 10–21 days, so stay patient; some seeds pop up early, others take longer.
Pro Tips:
- Check daily for sprouts or mold.
- Remove the dome once green shoots appear.
- Keep the soil consistently moist, never soggy.
Watch How it’s Done: Complete Video Tutorial
Caring for Young Coneflower Plants
Young coneflowers are pretty easy to care for once they’re in the ground. They don’t need much attention, but a few simple Steps can help them get established faster.
- Water lightly until established: Too much water can harm young roots.
- Skip fertilizer early on: These tough plants prefer lean soil conditions.
- Use mulch in warm, dry climates: It helps keep roots cool and soil moist.
- Give them space to breathe: Avoid crowding with other plants too soon.
Once your coneflowers are settled, they become incredibly low-maintenance and will reward you with blooms year after year.
When to Expect Blooms
The timing of your coneflower blooms depends on when and how you planted the seeds. Don’t worry if flowers don’t show up right away.
If you started seeds indoors early in the season, you might see some blooms in the first year. These early-started plants have a head start and extra time to grow before winter.
Seeds planted directly in the garden or started late usually wait until their second year to bloom. That’s totally normal and even healthier in the long run.
Fall-planted seeds often focus on building strong roots in their first year. The second year is when the real show begins; bigger, brighter blooms that last longer.
Be patient, your coneflowers are just getting ready to shine.
Secrets to Growing Amazing Coneflowers
These easy tips will help you grow healthy, colorful coneflowers from seed. Just a few wise choices can make the difference between so-so results and stunning blooms.
- Choose native species: They’re better adapted to your local climate and usually grow stronger.
- Label your varieties: If planting more than one type, keep track so you know which color is which.
- Avoid overwatering: Coneflowers are drought-tolerant once they’re settled, so less is often better.
- Start with purple coneflowers: They’re the most beginner-friendly and very reliable.
Stick with these basics, and your coneflowers will thrive. Don’t be surprised if neighbors start asking for your growing tips!
Final Words
Learning how to plant coneflower seeds might just be one of the most rewarding skills you pick up in the garden.
These hardy, gorgeous blooms don’t ask for much, and they’ll keep coming back stronger every year.
Starting indoors gives you early blooms, while outdoor sowing creates a more natural look. Try both and see which suits your space best. You’ll learn what works best in your space.
The real reward? Watching your yard burst into color while butterflies flock to your blooms all summer long.
I’d love to hear how it goes; drop your questions in the comments below.