Hanging art seems simple until you’re standing in front of a blank wall, second-guessing every inch. Most people just want the room to feel balanced, but the height you choose changes the whole mood.
In this guide, I break down how high to hang pictures in a way that actually makes sense in everyday rooms, with clear steps you can follow and examples you can use right away.
You’ll learn how to work with different furniture setups, ceiling heights, and room layouts so the art feels like it belongs. Let’s start with the height that works in almost every situation and build from there.
The Standard Height to Hang Pictures
Most people overthink this part. I’ve done it too. You stand there with a hammer, trying to guess what looks right. The easiest way to skip all that is to aim for 57 to 60 inches from the floor to the center of the artwork. Not the top. Not the bottom. The center.
That range works because it lines up with where people naturally look when they’re standing. That’s why galleries use it. Different pieces, different sizes, same center line. It keeps everything balanced without any guesswork.
Once you measure from the center, the whole process gets easier. It just lines up the way it should.
Why Eye-Level Matters
- Comfortable viewing height: When art sits where your eyes naturally land, you’re not tilting your neck or adjusting your posture. It’s easy to look at.
- Consistent room flow: Keeping pieces at a steady eye-level makes the whole room feel intentional and put together.
- Professional gallery approach: Galleries measure from the floor to the center of each piece, not by eyeballing. That center line keeps everything balanced, no matter the size of the artwork.
How to Measure Picture Hanging Height: Step-By-Step
Hanging art feels a lot easier when you know the numbers. You only need a few quick measurements, and the whole thing falls into place. Here’s the cleanest way to do it without guessing or putting four extra holes in the wall.
Tools You Need
- Tape measure
- Pencil
- Level
- Hammer
- The artwork
Step 1: Measure Artwork Height
Measure the full height of the frame from top to bottom.
Step 2: Divide by 2 to Find the Center
Take that measurement and cut it in half.
This number tells you where the center point of the art sits within the frame.
Step 3: Add the Distance From Top to the Hanging Hardware
Measure from the top of the frame down to where the nail or hook will actually sit.
Add this number to the center measurement so the nail ends up in the right spot.
Step 4: Subtract From 57–60 Inches
Pick your target height, anywhere in the 57–60 range. Subtract your combined measurement from that number. The result is where the nail goes.
Example Measurements for Different Frame Sizes:
For a small 16×20 frame, the height is 20 inches, the halfway point is 10 inches, the hardware drop adds 2 more, and the nail ends up at 45–48 inches from the floor.
For a medium 24×36 frame, the height is 36 inches, the halfway point is 18 inches, the hardware drop adds 3, and the nail lands at 36–39 inches from the floor.
For a large 30×40 frame, the height is 40 inches, the halfway point is 20 inches, the hardware drop adds 4, and the nail goes at 33–36 inches from the floor.
How High to Hang Pictures Above Furniture
Hanging art over furniture works best when you keep the spacing tight and the layout simple. The goal is to make the art feel connected to the piece below it, not floating off on its own.
A small gap looks cleaner, and centering the art over the furniture keeps the whole wall calm and balanced.
General spacing rules:
- Keep the art close to the furniture so everything reads as one setup.
- Stay in the 4–10 inch range depending on the piece.
- Aim for art that’s proportional to what’s underneath.
How to center horizontally:
- Find the midpoint of the furniture.
- Find the midpoint of the artwork or grouping.
- Line those two points up.
- That’s the easiest way to avoid the crooked, “something feels off” look.
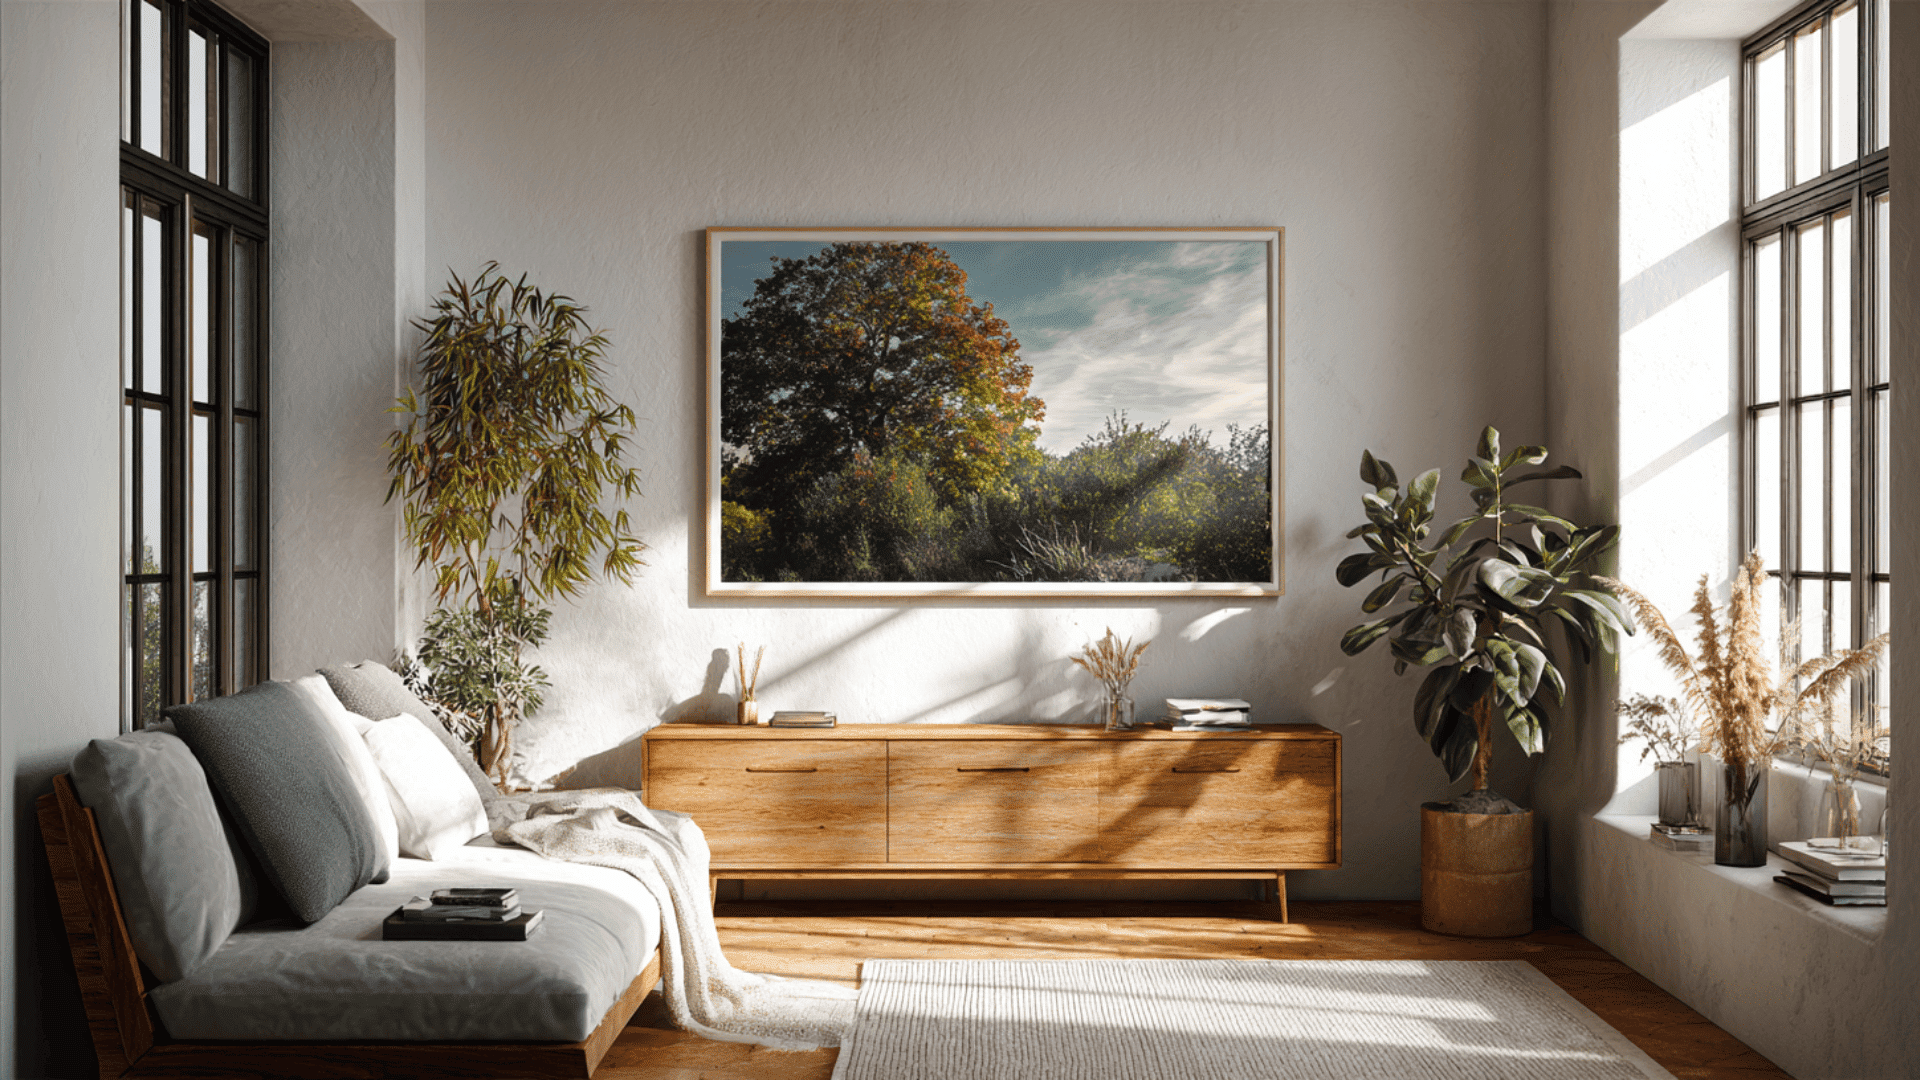
1. Above a Sofa
Keep the artwork 4–8 inches above the back of the sofa so the gap doesn’t feel stretched.
Try to choose a piece (or grouping) that’s around two-thirds the width of the sofa. That ratio keeps things grounded without overwhelming the wall.
2. Above a Bed
Place artwork 6–10 inches above the headboard. The extra space gives the bedroom to breathe.
For sizing:
- Over a queen, medium to large pieces work best.
- Over a king, go bigger or use two or three pieces so the headboard doesn’t dwarf the art.
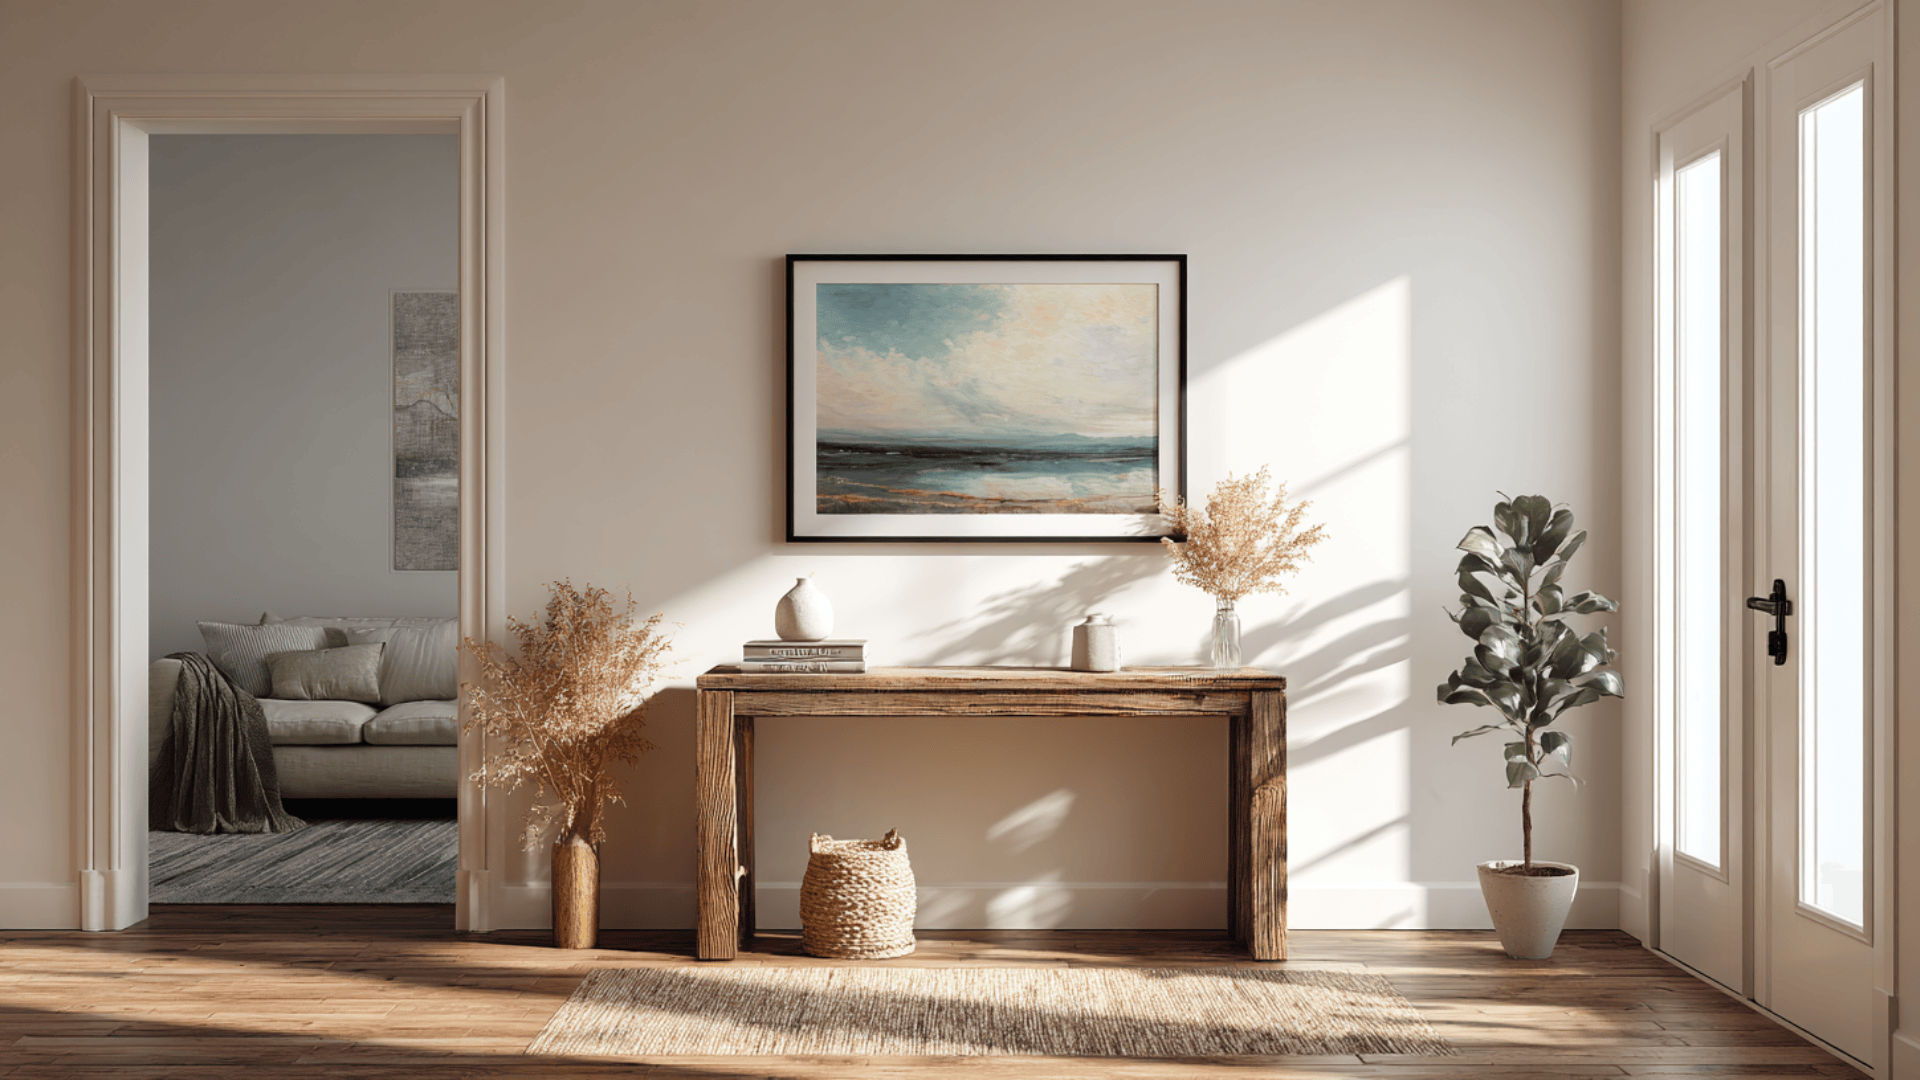
3. Above a Console Table
Hang the art 4–6 inches above the table so the whole setup feels connected.
A single large piece works well, but two or three smaller pieces lined up cleanly can look good too as long as the spacing stays tight.
4. Above a Fireplace Mantle
Set the artwork 4–7 inches above the mantle.
If the mantle is deep, watch the angle; larger pieces sit better because they won’t look pushed back or swallowed by the space.
How High to Hang Pictures in Different Rooms
| Room | How to Hang | Why It Works |
|---|---|---|
| Living Room | Hang at standing eye-level and adjust to connect with nearby furniture. | People stand and move around here, so the art needs to sit naturally in that sightline. |
| Dining Room | Hang lower than usual so the center lines up with seated eye-level. | Most time is spent sitting, so a lower height feels more natural. |
| Hallways | Hang slightly higher than normal. | People walk past while standing, and higher placement keeps the art visible in motion. |
| Home Office | Hang based on your seated eye-level at the desk. | You’re sitting most of the time, so the art should sit comfortably within that view. |
| Kids’ Rooms | Lower the art to a child’s eye-level. | The room feels more personal and accessible to them. |
Every room works a little differently. People sit in some spaces, stand in others, and move through a few without stopping at all. That’s why the same height doesn’t always make sense everywhere.
How High to Hang Pictures with Different Ceiling Heights
The height of the ceiling changes how the wall reads, but it doesn’t change where people naturally look. That’s why the standard range still works in most cases.
The main idea is simple: anchor the art to human eye-level, not the ceiling line.
| Ceiling Height | Recommended Center Height | Key Notes |
|---|---|---|
| 8 feet | 57–60 inches | Stick to standard height. Don’t raise artwork to match the ceiling. |
| 9 feet | 60–62 inches (optional) | A slight bump works if the room feels tall, but not required. |
| 12 feet or vaulted | Use furniture as the anchor, not a fixed inch mark | Keep the art tied to the furniture. Avoid hanging high just to fill empty space. |
How High to Hang Large or Oversized Art
Big pieces work a little differently. The size changes how your eye reads the wall, and that can shift what feels natural. Oversized art has more visual weight, so the placement matters even more.
The goal is to keep it balanced and connected to the room instead of letting it dominate the wall in a weird way.
When the 57–60 rule still applies: Large art still lines up well at the standard center height when the wall is wide, and the piece isn’t fighting with furniture. Most of the time, sticking to the rule keeps things clean and grounded.
When to break the rule: If the piece is extremely tall or has a lot of visual weight at the top, dropping it a little lower can make the room feel more stable. Same goes for rooms where people sit most of the time; the art might need to come down a few inches.
How to ground oversized art with furniture: Use the furniture under it as the anchor. Keep the bottom of the artwork close to the sofa, console, or headboard so the piece feels connected, not floating. This lets the size work for you instead of overwhelming the room.
How to Hang Multiple Pictures Together
Grouped pieces work best when they feel like one unit. Keep the spacing tight and measure from the center so the whole arrangement stays balanced.
1. Vertical Stacks

Keep the center of the full stack at the 57–60 inch height so it reads as one piece. Use 2–3 inches of space between frames to keep everything tight and connected.
This spacing helps the eye move naturally and prevents the stack from feeling stretched or uneven.
2. Horizontal Rows
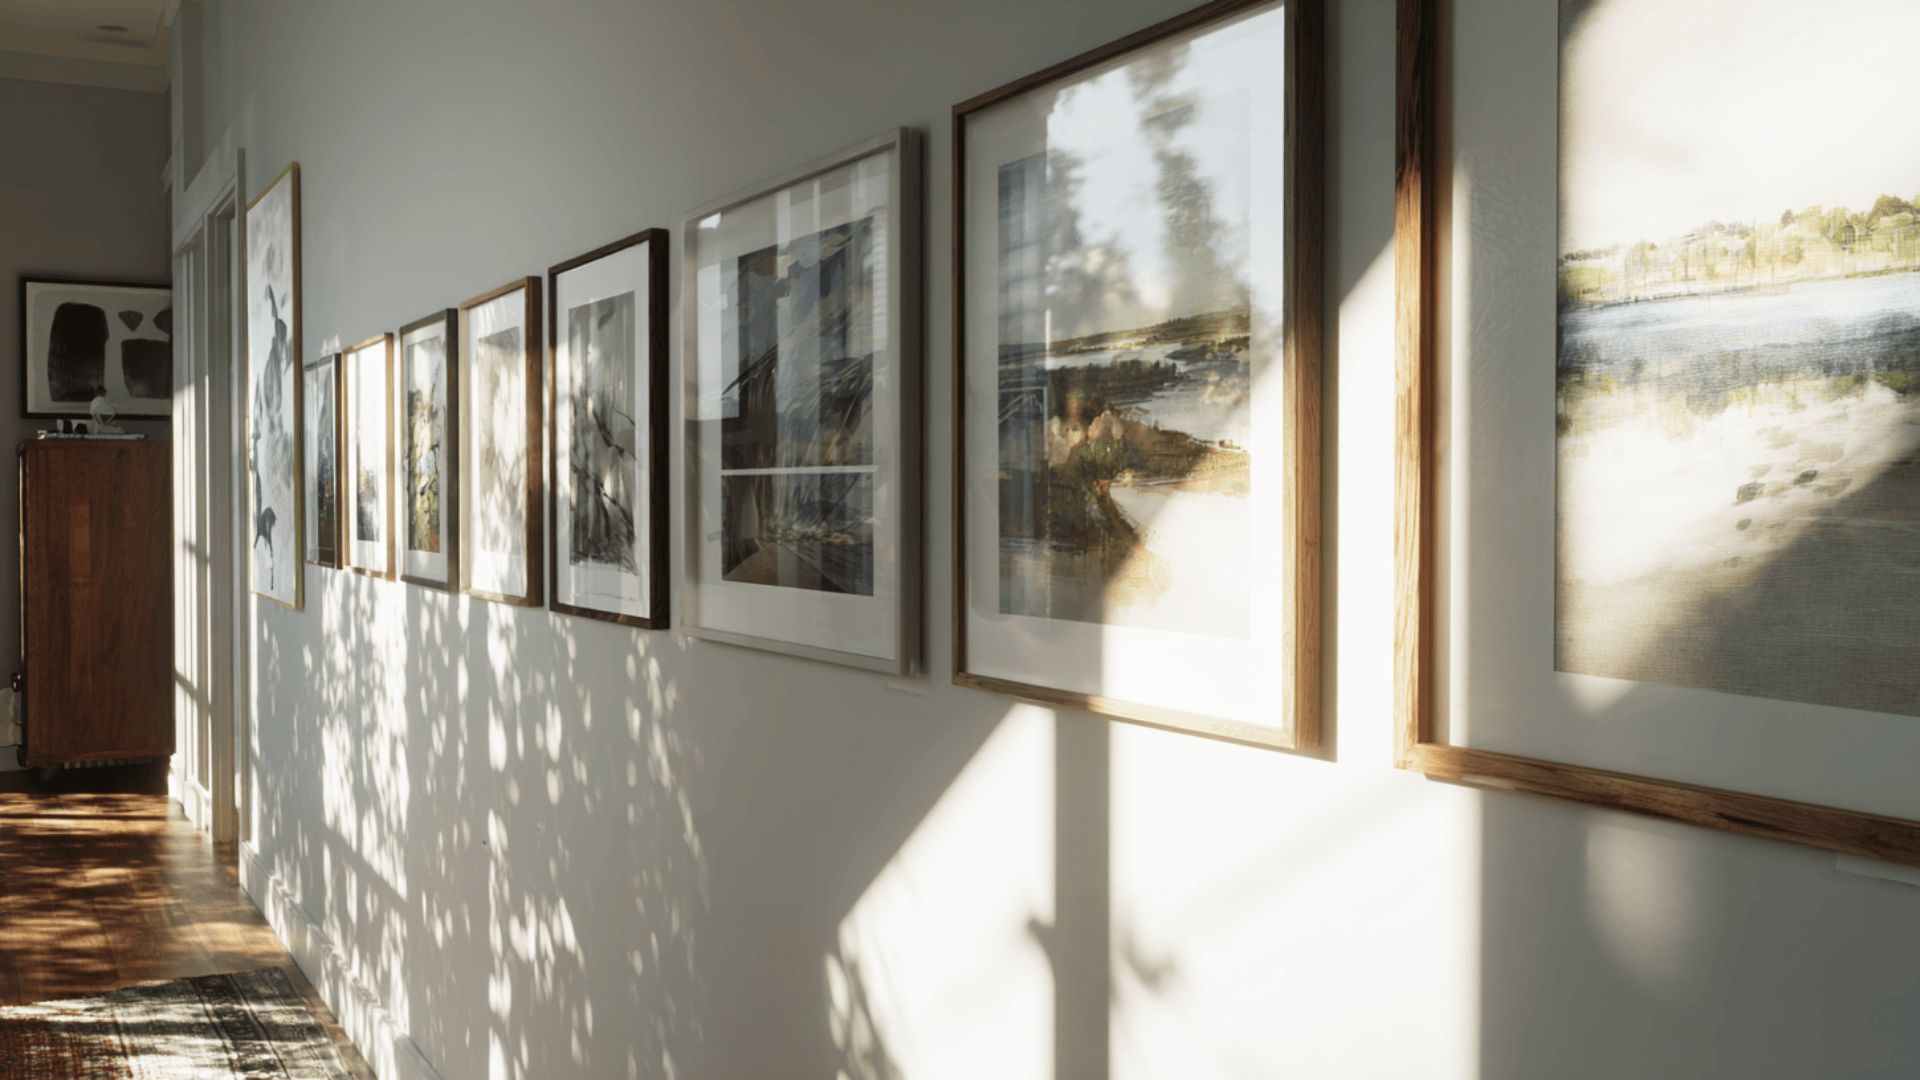
Line up the centers of each frame so the row sits cleanly across the wall. Matching the tops makes different frame sizes look off, but aligning the centers keeps everything balanced.
Stick to 2–3 inches of space between pieces to keep the row visually smooth and intentional.
3. Gallery Walls
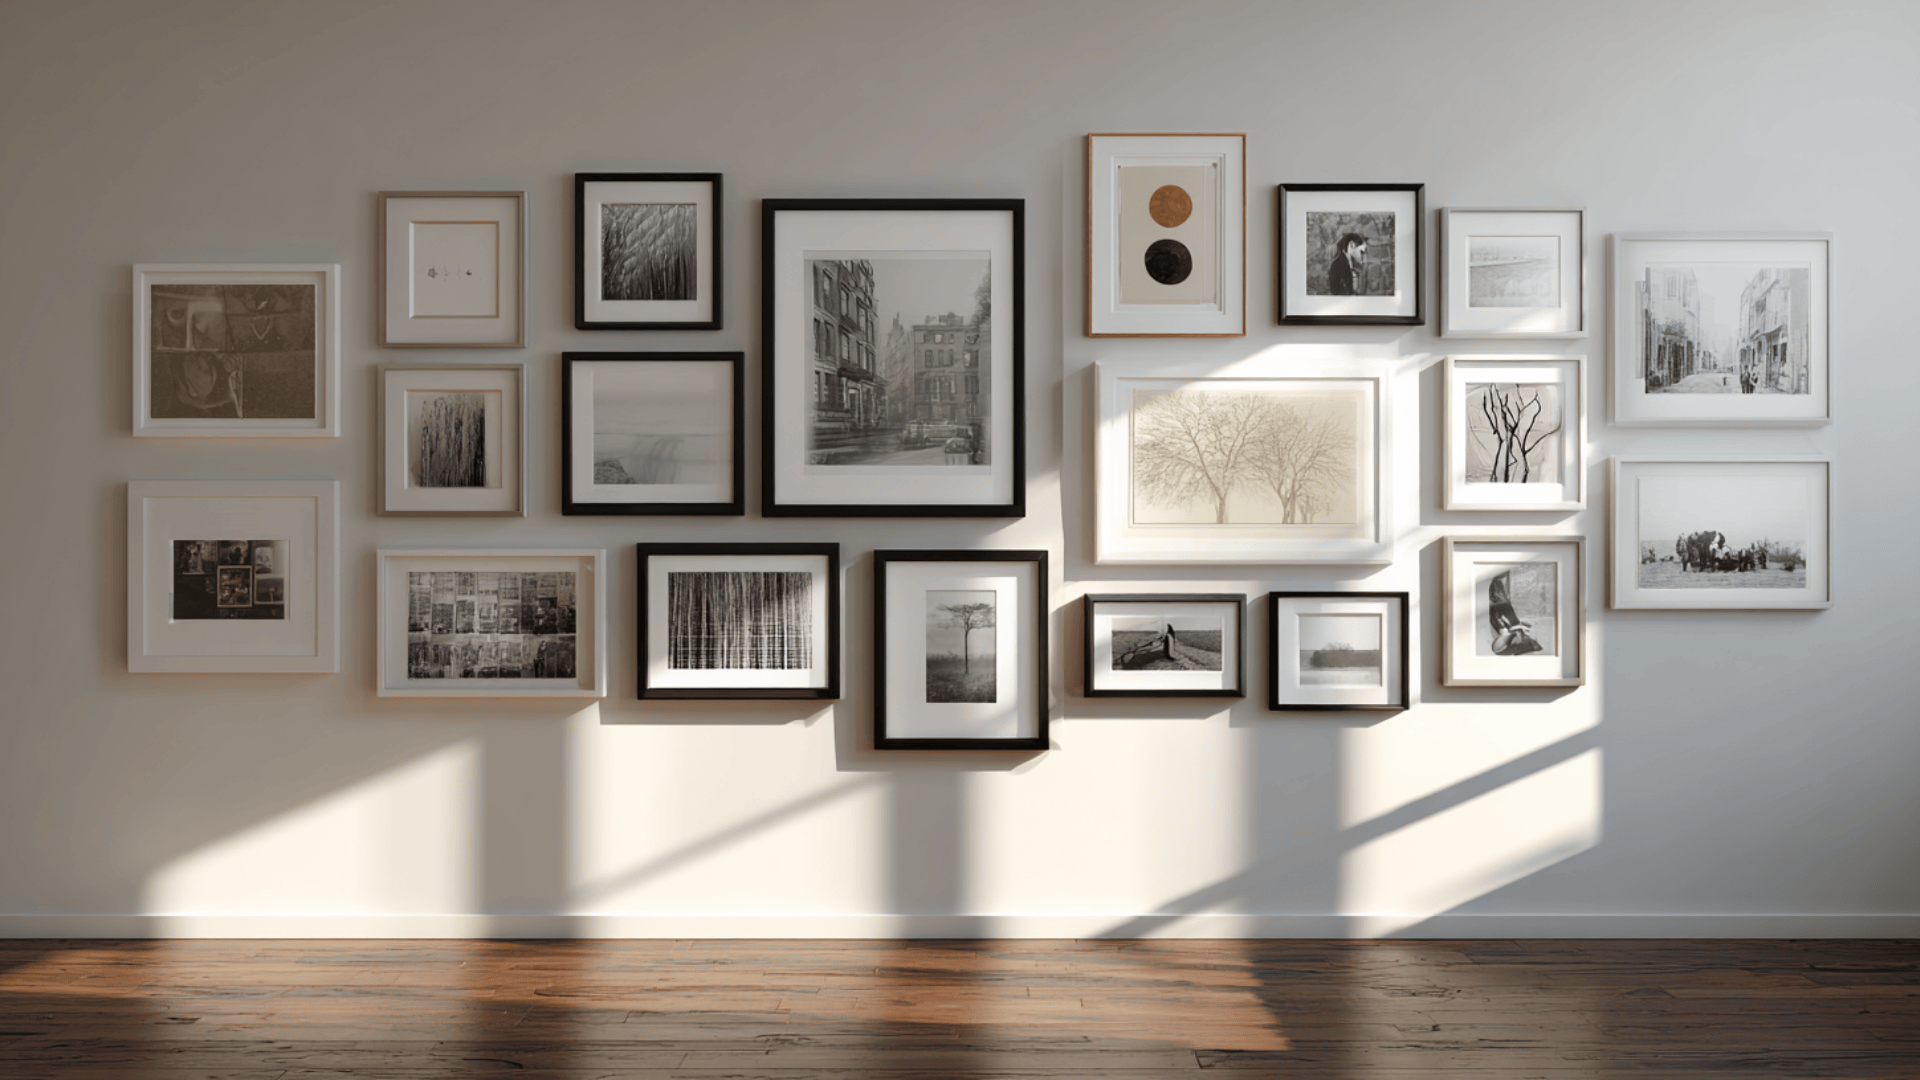
Treat the entire gallery as one large artwork. Keep the spacing consistent at 2–3 inches to avoid a cluttered look.
Lay everything out on the floor first so you can see how the shapes work together, then hang it with the grouping’s center sitting at the standard 57–60 inch height.
Common Picture Hanging Mistakes (And How to Fix Them)
It’s easy to get this wrong, and most people do. A few small adjustments usually fix the whole wall. Here’s what goes off the rails most often and how to tighten everything up without starting from zero.
| Mistake | Why It Happens | How to Fix It |
|---|---|---|
| Hanging art too high | People measure from the top of the frame or try to “fill the wall,” which pushes the art upward. | Drop the center to the 57–60 inch range. Even lowering it 4–6 inches can make the wall feel balanced again. |
| Incorrect alignment over furniture | The artwork isn’t centered with the sofa, bed, or console, so the whole setup looks off. | Find the midpoint of the furniture and shift the art to match it. Small adjustments of a few inches usually fix the imbalance. |
| Holes you need to patch | Moving art leaves visible holes that make the wall look messy. | Fill holes with lightweight spackle, smooth it, let it dry, then lightly sand. Tap on matching paint and feather the edges so the spot blends in. |
A few careful adjustments can turn a wall from “something feels off” to clean and intentional. Small moves make a big difference.
Wrapping Up
The right placement can change how the whole room feels, and once you understand how high to hang pictures, every wall gets easier to design.
The key is paying attention to how people move through the space and using simple measurements to keep things balanced.
With the right spacing, better alignment, and a few small corrections, your walls start to look intentional instead of improvised.
Take what you learned here and try it on one room first. You’ll see the difference fast. When you’re ready, use these same steps throughout your home and watch every space come together.