Adding craftsman-style window trim can change how your home looks and feels. This trim style features clean lines and wide boards, making it suitable for farmhouse and traditional homes.
Many homeowners choose this method because it looks professional without complex cuts. The flat stock design makes installation easier than ornate molding styles.
You need the right measurements and a clear plan before starting. This guide walks you through each step, from planning to painting.
You will learn about extension jambs, sill installation, and header assembly. We cover tools, materials, dimensions, and common problems.
By the end, you will know how to install Craftsman-style window trim that lasts for years.
What Is Craftsman Style Window Trim?
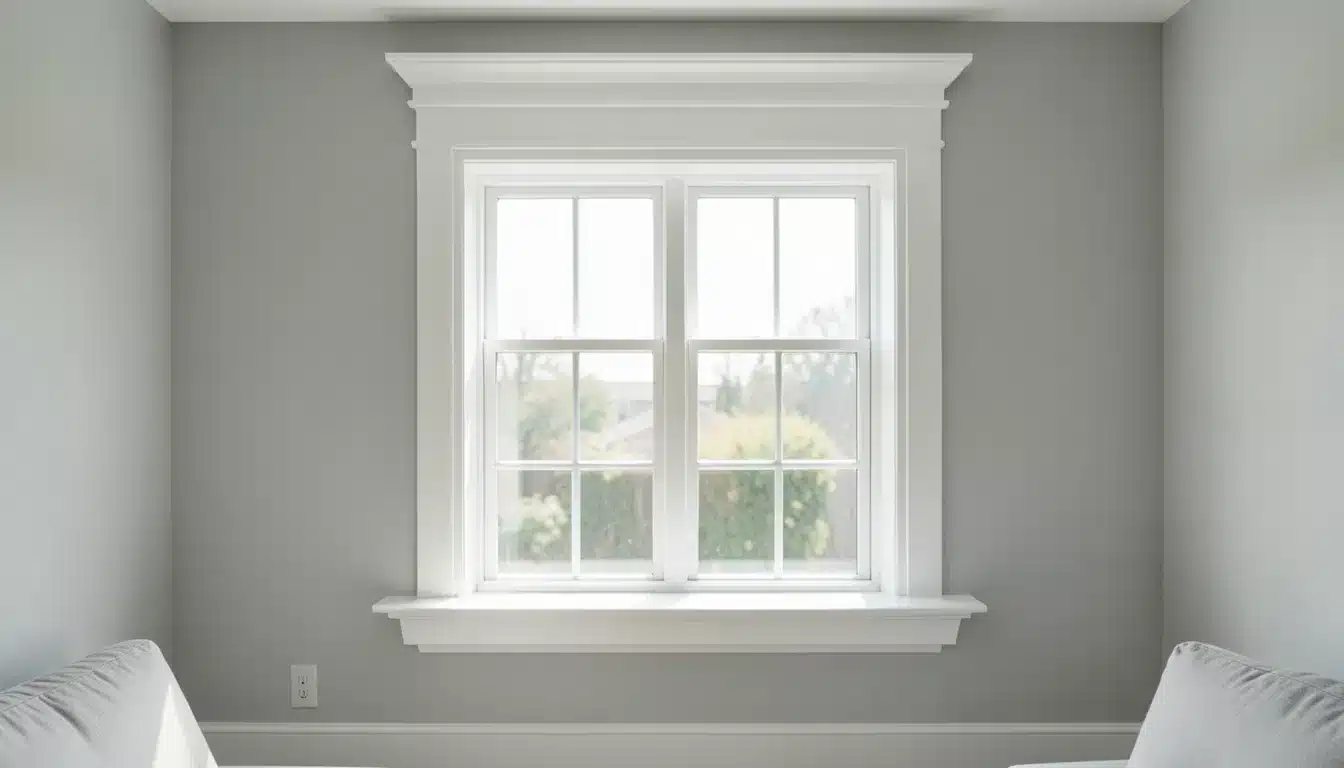
Craftsman-style window trim features flat stock lumber with square edges and wide casings. The design includes prominent windowsills with extended ears and a layered header assembly at the top.
Side casings typically measure 2.5 to 3.5 inches wide and create strong vertical lines. The header adds visual weight with a thick face board topped by crown molding or lattice strips.
This style works well in farmhouse and traditional homes because it complements simple architecture. DIYers prefer it over ornate molding because the straight cuts require fewer complex tools.
The clean appearance adds character without overwhelming the room. You can build this trim using basic carpentry skills and standard lumber from home improvement stores.
Planning Your Craftsman Window Trim Installation
Good planning saves time and prevents costly mistakes during installation. Setting your measurements early keeps every window in the room looking consistent.
- Window Type Matters: Windows like Andersen 400 series have groove details that affect how the trim attaches. Rabbeted extension jambs create cleaner reveals than standard flat jambs because they hide the joint line.
- Choosing Reveal Size: A standard 1/4-inch reveal provides the best shadow line and visual balance. Keeping this measurement consistent matters more than picking the exact size for professional results.
- Determining Stool Projection and Ear Length: Plan sufficient ear extension so the side casings sit flush with the sill edges. Most craftsmen’s sills project 3/4 to 1 inch beyond the casing face for proper proportions.
- Selecting Casing Widths and Header Proportions: Common casing widths range from 2.5 to 3.5 inches, depending on window size. The header face should be 1.5 to 2 times the width of the side casing for balanced visual weight.
- Creating a Repeatable Trim Recipe: Lock in your reveal size, casing width, header thickness, and sill overhang measurements. Apply these same numbers to every window in the room for a cohesive finished look.
What You Need to Install Craftsman Window Trim
Having the right tools ready before you start makes installation faster and more accurate. Quality materials prevent problems like warping and splitting during assembly.
Essential Tools
| Tool | Purpose |
|---|---|
| Table saw | Ripping boards to width and cutting rabbets |
| Dado blade | Creating rabbets in extension jambs |
| Router table | Rounding over sill edges |
| Miter gauge | Accurate crosscuts on headers |
| Oscillating multi-tool | Trimming shims flush |
| 16-gauge nailer | Securing casings to framing |
| 18-gauge brad nailer | Installing extension jambs |
| 23-gauge pin nailer | Attaching small return pieces |
Lumber Selection
| Material | Use |
|---|---|
| 1×6 boards | Extension jambs and header faces |
| 1×4 boards | Side casings |
| 1×3 boards | Apron under the sill |
| 5/4 stock | Window sills for thickness |
| Lattice strips | Header detail accents |
Adhesives
| Product | Application |
|---|---|
| Wood glue | Structural bonds on jambs and headers |
| CA glue with activator | Small mitered returns that need instant hold |
How to Install Craftsman Style Window Trim: Step-by-Step
Now that you have your tools and materials ready, it’s time to start building. Follow these six steps in order for the best results.
Step 1: Fabricating and Installing Extension Jambs
Extension jambs bridge the gap between your window frame and the wall surface.
Cut a rabbet along one edge of your 1×6 board using a dado blade, typically 3/8 inch deep to match your window’s groove system.
Preassemble the four-piece frame with wood glue and 18-gauge brads, then install it with shims at 12-inch intervals before nailing through the shims into the wall framing.
Why this matters: A straight extension jamb prevents every other trim piece from looking crooked or misaligned.
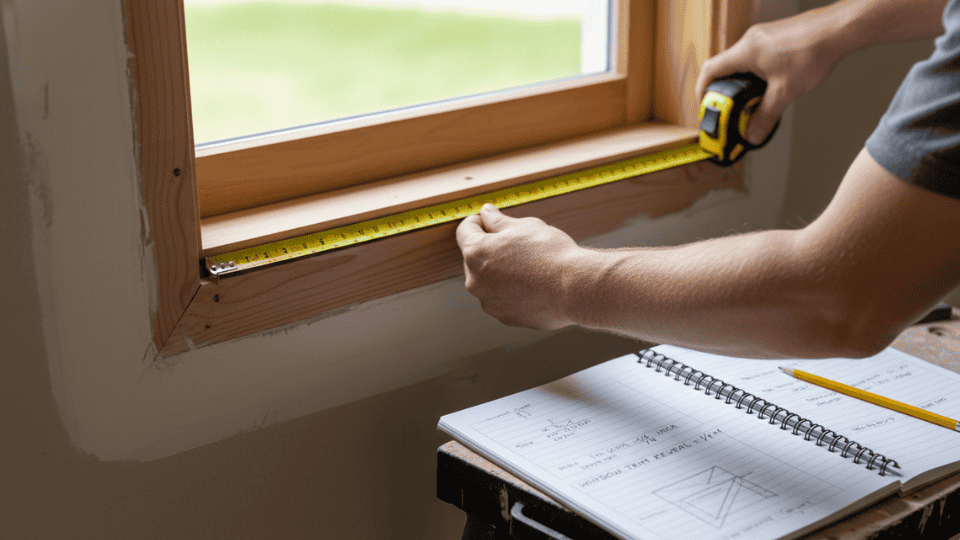
Step 2: Installing the Window Sill
The window sill, also called a stool, sits at the bottom and supports the side casings.
Measure the overall length by adding ear extensions to both sides, then mark and cut notches where extension jambs intersect the sill board.
Route a gentle roundover on the front edge, level with shims underneath, and secure to blocking with finish nails.
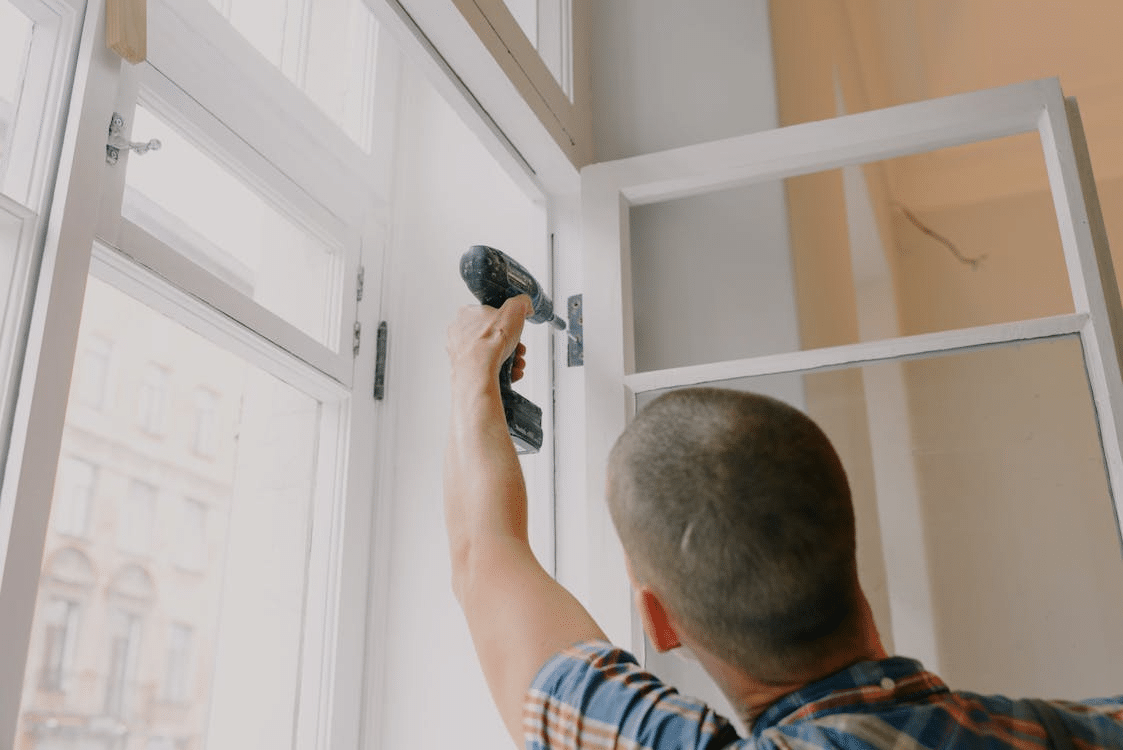
Step 3: Installing Side Casings
Side casings run vertically from the sill to the header area and frame the window.
Cut casing boards to length, position each with a 1/4-inch reveal from the extension jamb edge, and use a dual-nail method into both the wall framing and the jamb.
Check that each casing stays perfectly vertical using a level before finishing the nail pattern.
Step 4: Installing the Apron
The apron sits directly under the window sill and covers the wall gap.
Measure the apron length to match the outer edges of the side casings, remove any leftover shims, and secure to the wall framing using 16-gauge finish nails spaced every 8 inches.
Step 5: Building the Header Assembly
The header creates the distinctive top profile of craftsman style window trim. Rip a narrow lattice strip on the table saw, then attach it to the bottom edge of a 1×6 header board with wood glue and brad nails.
Add crown molding to the top edge, cut small mitered returns at each end, and use CA glue with activator to bond the returns instantly.
Step 6: Installing the Header
The completed header assembly caps off the window trim and ties all pieces together.
Hold the header in place above the window to check the fit, align the bottom edge with the tops of the side casings, and nail it into the wall framing with 16-gauge nails at an angle.
Confirm the header sits level by checking with a short level across its length.
Video Tutorial
Special thanks to JLM Woodworks for providing valuable insights in their video, which I referenced while creating this guide.
Common Installation Problems and How to Fix Them
Even experienced carpenters face challenges during trim installation. Knowing these solutions helps you handle problems without starting over.
| Problem | Cause | Solution |
|---|---|---|
| Crooked walls | Drywall is not flat or plumb | Shim behind casings to bring them plumb |
| Misaligned reveals | Extension jambs are not square | Adjust the reveal at each corner individually |
| Trim bowing | Not enough nail points | Add nails every 8-10 inches along the length |
| Small return pieces shifting | Not enough glue or pressure | Use CA glue with activator for instant bond |
| Seasonal movement cracks | Wood expanding and contracting | Leave 1/16 inch gaps at corners before caulking |
Cost Breakdown: DIY vs Hiring a Carpenter
Understanding the cost difference helps you decide whether to tackle this project yourself or hire a professional.
Materials per Window Typically Cost $40 to $75
Depending on lumber quality and window size. This includes extension jambs, casings, sill, apron, and header materials. Paint and finish supplies add another $15 to $25 per window.
Tool Investment Ranges from $300 to $800
If you need to purchase a table saw, nailers, and a router setup. Many DIYers already own basic tools, which significantly reduces this cost. Consider renting specialty tools, such as brad nailers, if you only need them for one project.
Professional Installation Costs $150 to $300 per Window
Including materials and labor in most markets. Carpenters charge more in high-cost areas or for custom trim details. You might pay premium rates if your walls are not straight or windows are unusual sizes.
Batching Saves Considerable Time
when trimming multiple windows in one room or throughout your house. Set up your table saw once and cut all pieces to the same dimensions.
This approach reduces setup time and ensures consistent measurements across every window. DIY projects take longer per window but save hundreds in labor costs over time.
Finishing the Craftsman Style Window Trim
The finishing process protects your trim work and creates the final polished appearance. Taking time here makes the difference between amateur and professional results.
- Filling Nail Holes: Fill all nail holes with wood filler that matches your paint or stain color for a smooth surface.
- Sanding Joints: Lightly sand any joints where boards meet to blend the surfaces and remove any glue squeeze-out.
- Minimal Caulk: Use caulk sparingly, only where trim meets drywall, avoiding caulk between wood-to-wood joints.
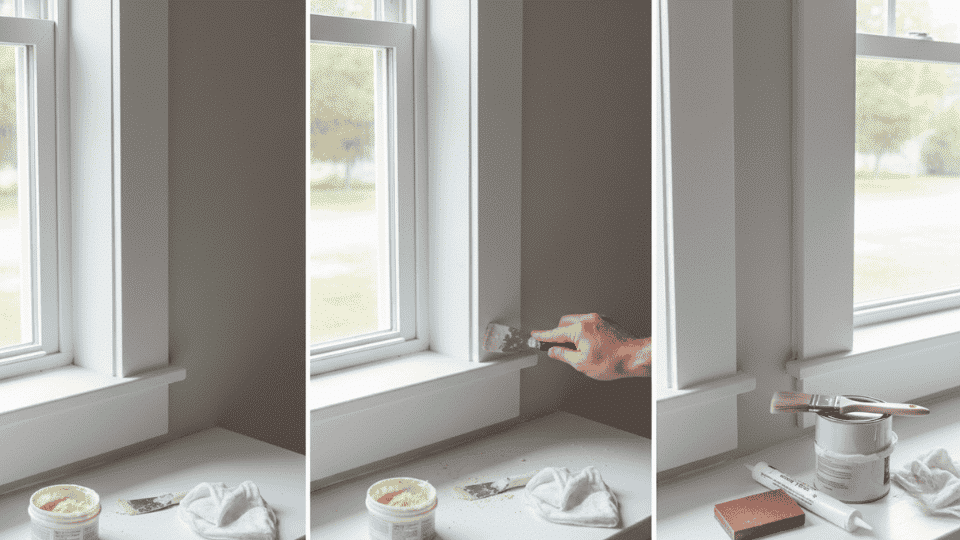
- Painting Process: Prime all surfaces before applying two coats of paint, allowing proper drying time between coats.
- Long-Term Durability Tips: Paint all six sides of trim boards before installation to prevent moisture absorption and warping.
Standard Dimensions for Craftsman Style Window Trim
Following traditional proportions helps your trim look balanced and authentic. These measurements work well for most standard-sized windows in homes.
A 1/4 inch reveal between the window jamb and casing creates the classic shadow line. Side casings typically measure 2.5 inches wide for small windows and up to 3.5 inches for larger openings.
Window sills should project 3/4 to 1 inch beyond the face of the casing for proper proportion. Header assemblies usually measure 4.5 to 5 inches tall on the face for good visual weight.
The balanced proportion rule suggests setting your header width to 1.5 to 2 times your side casing width. Keeping these ratios consistent throughout your home creates a cohesive professional appearance.
Final Thoughts
Installing Craftsman-style window trim adds character and value to your home with DIY skills you can achieve. This project requires careful planning, accurate measurements, and patience during each step.
Starting with properly installed extension jambs sets the foundation for all other trim pieces. The layered header assembly and wide casings create the distinctive look that defines this style.
Remember to maintain consistent reveals and proportions across all windows in the same room. Common problems like crooked walls have simple solutions when you know the techniques.
Your finished trim will last for decades with proper priming and painting on all surfaces. The investment in tools pays off quickly when you trim multiple windows throughout your home.
Take your time, follow these steps carefully, and enjoy your beautiful new window trim.