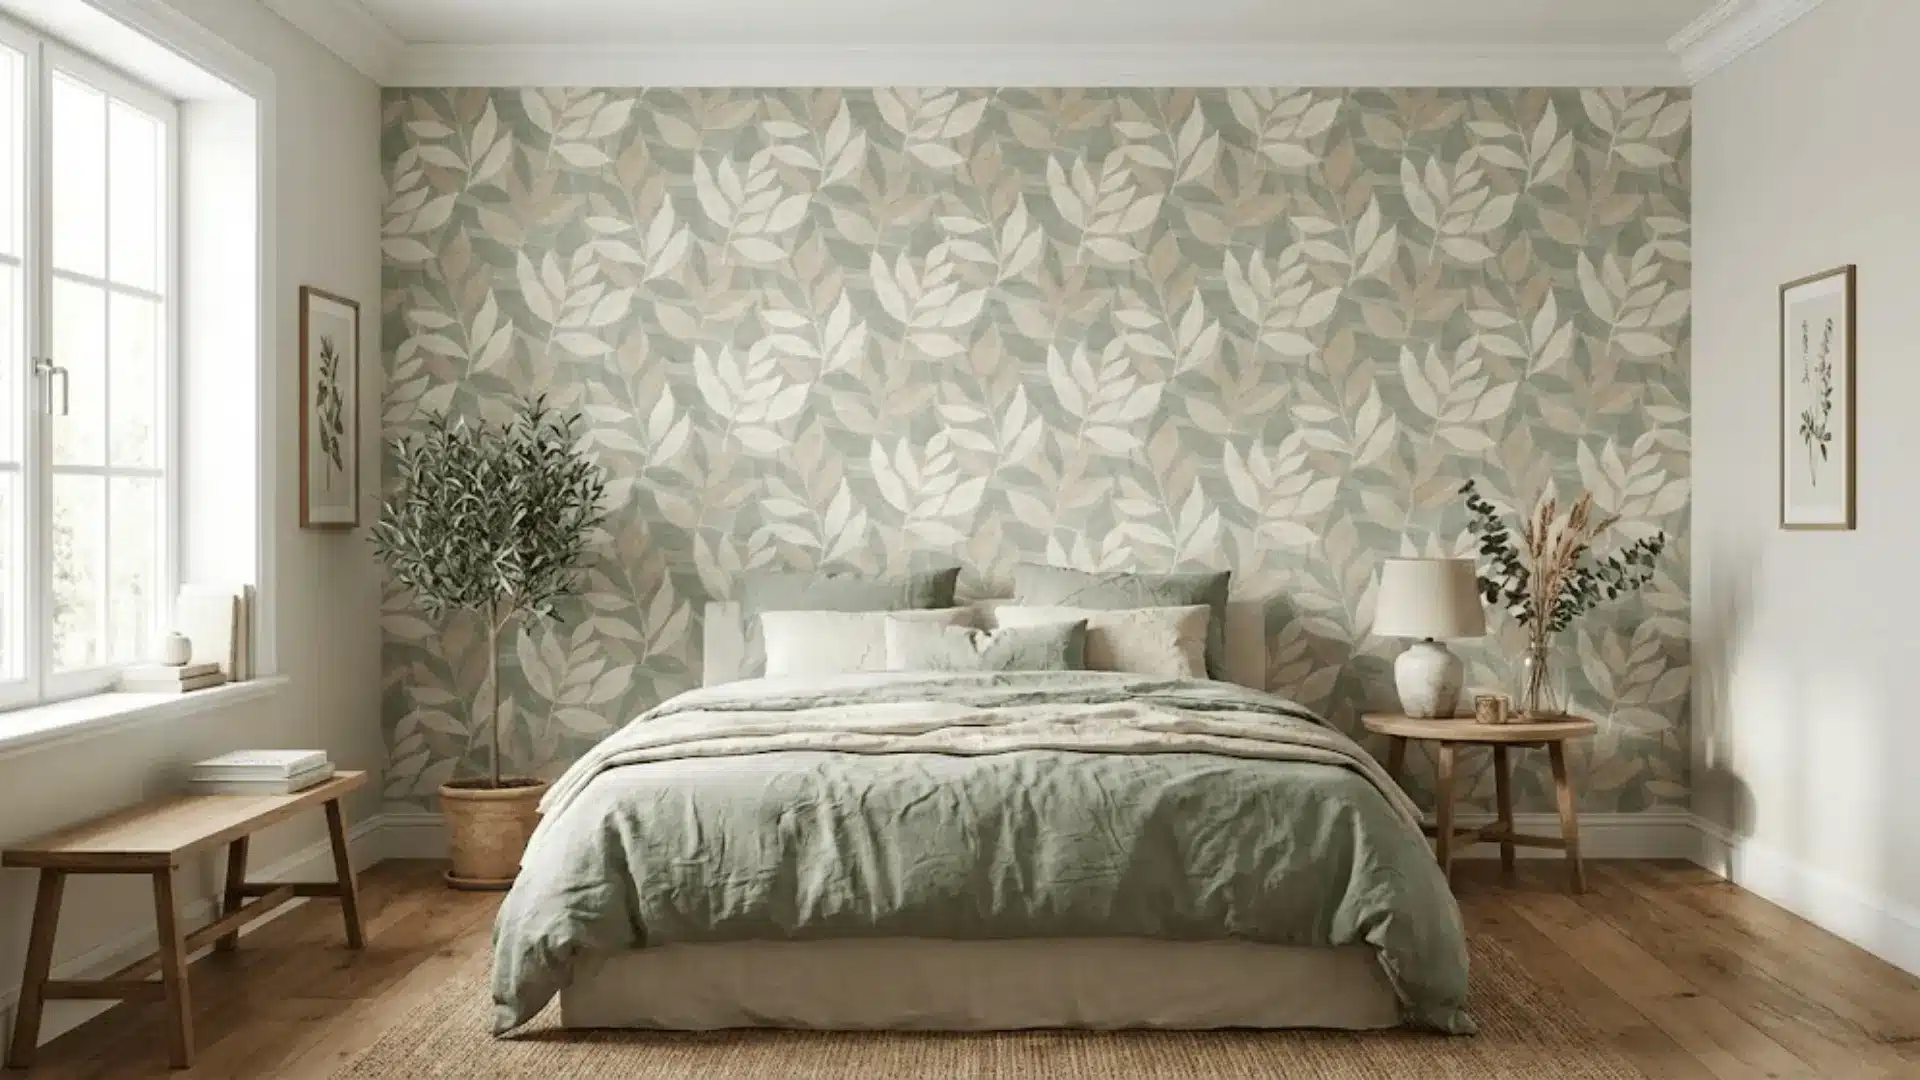
You found the perfect wallpaper, and now your textured walls are giving you second thoughts. It happens to the best of us.
Here is what most people do not realize, though: wallpapering textured walls is completely doable, and it looks stunning when approached the right way.
This guide walks you through figuring out if your walls are ready, prepping them properly, picking the right wallpaper, and avoiding the common mistakes that trip people up.
Your dream room is honestly just a few steps away.
Can You Wallpaper Textured Walls?
Yes, you can wallpaper textured walls, but the texture type makes all the difference.
Light textures like orange peel or smooth plaster work well with proper prep and adhesive. Heavy textures like popcorn or rough stone are challenging because the wallpaper can bubble and peel over time.
In those cases, skimming or sanding the wall first is the smarter move. Proper surface prep is non-negotiable regardless of texture level.
Cleaning, priming, and smoothing the wall as much as possible sets the entire project up for a finish that actually lasts.
Types of Wall Texture
Not all textured walls are created equal, and knowing what you are working with saves you a lot of trouble down the line.
Some textures play nicely with wallpaper, others need a little convincing, and a few really need to be dealt with before you even think about hanging anything.
1. Light Orange Peel Texture
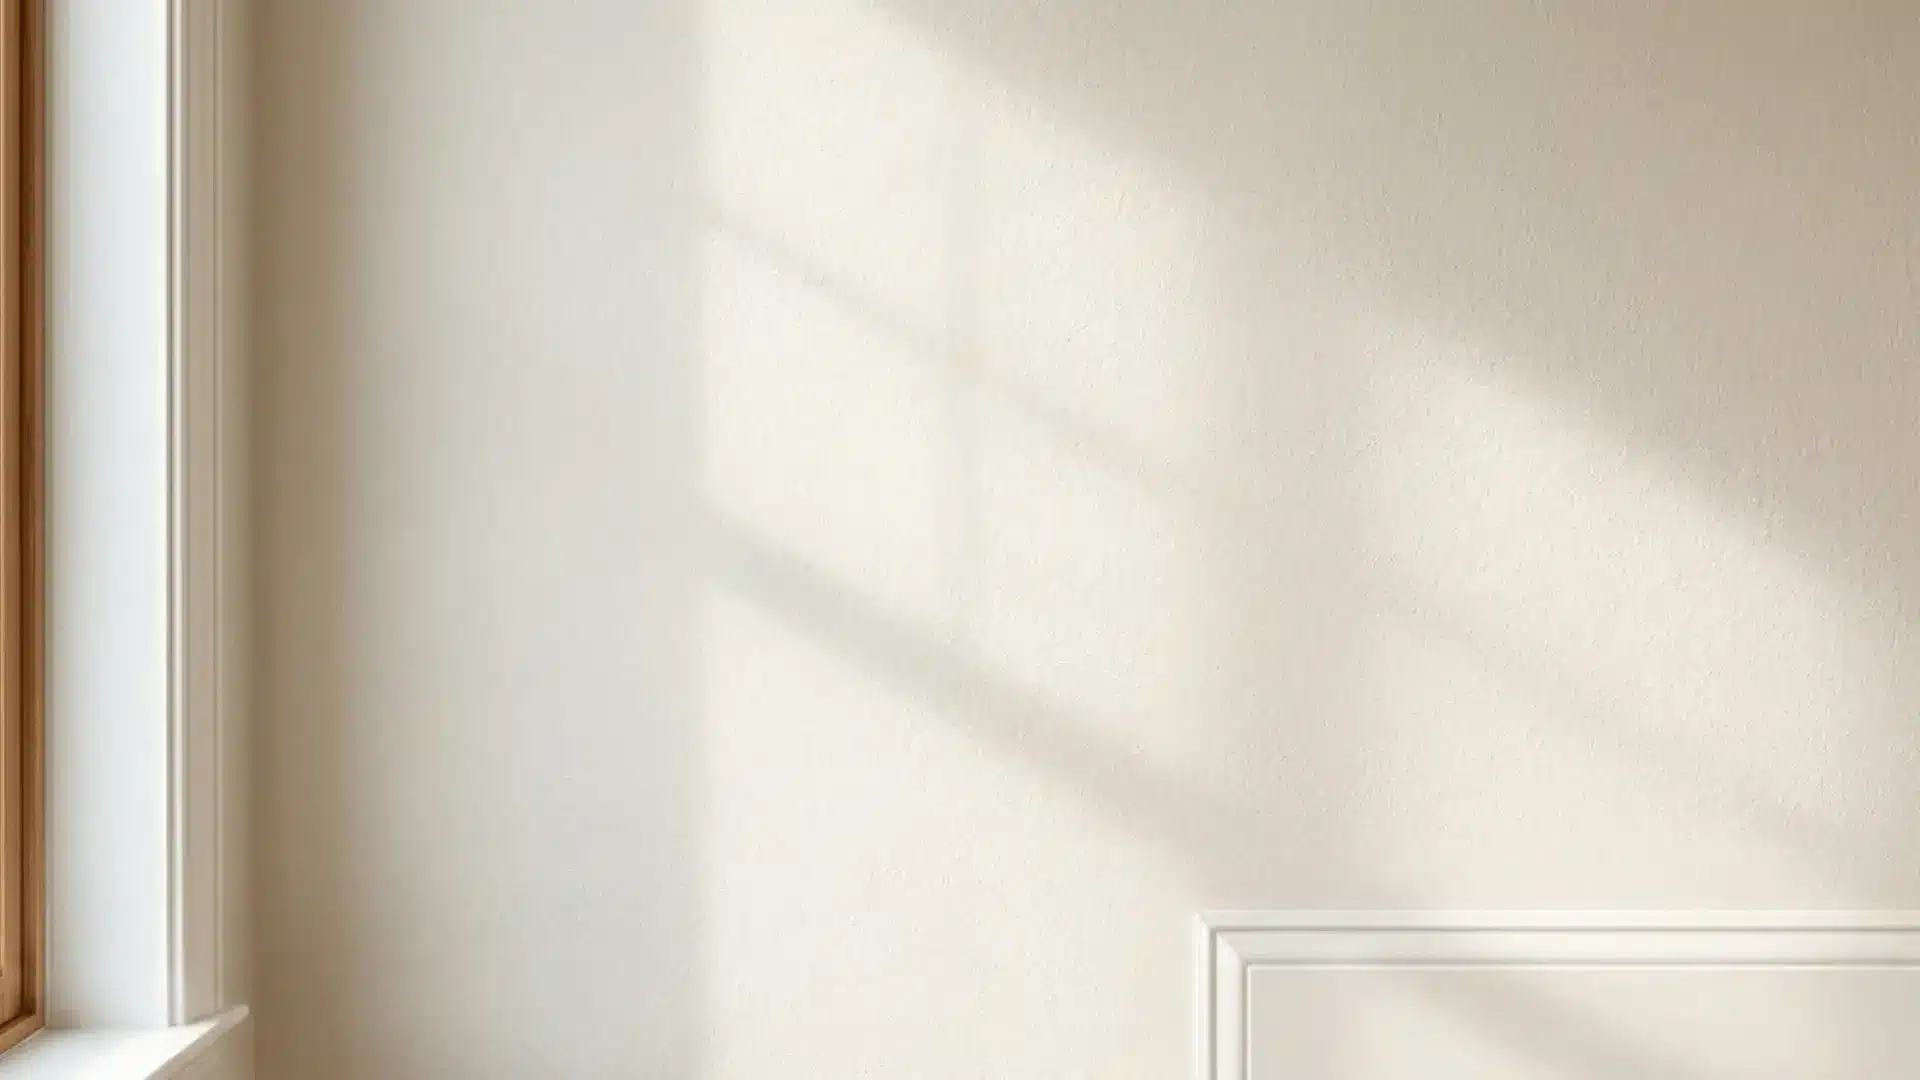
This is the most wallpaper-friendly texture out there. The surface is subtle enough that wallpaper can grip it without too much fuss, especially with a good primer underneath.
A bonding primer is your best friend here since it creates a stable base that helps the wallpaper adhere evenly. Minimal prep, satisfying results.
2. Knockdown Texture
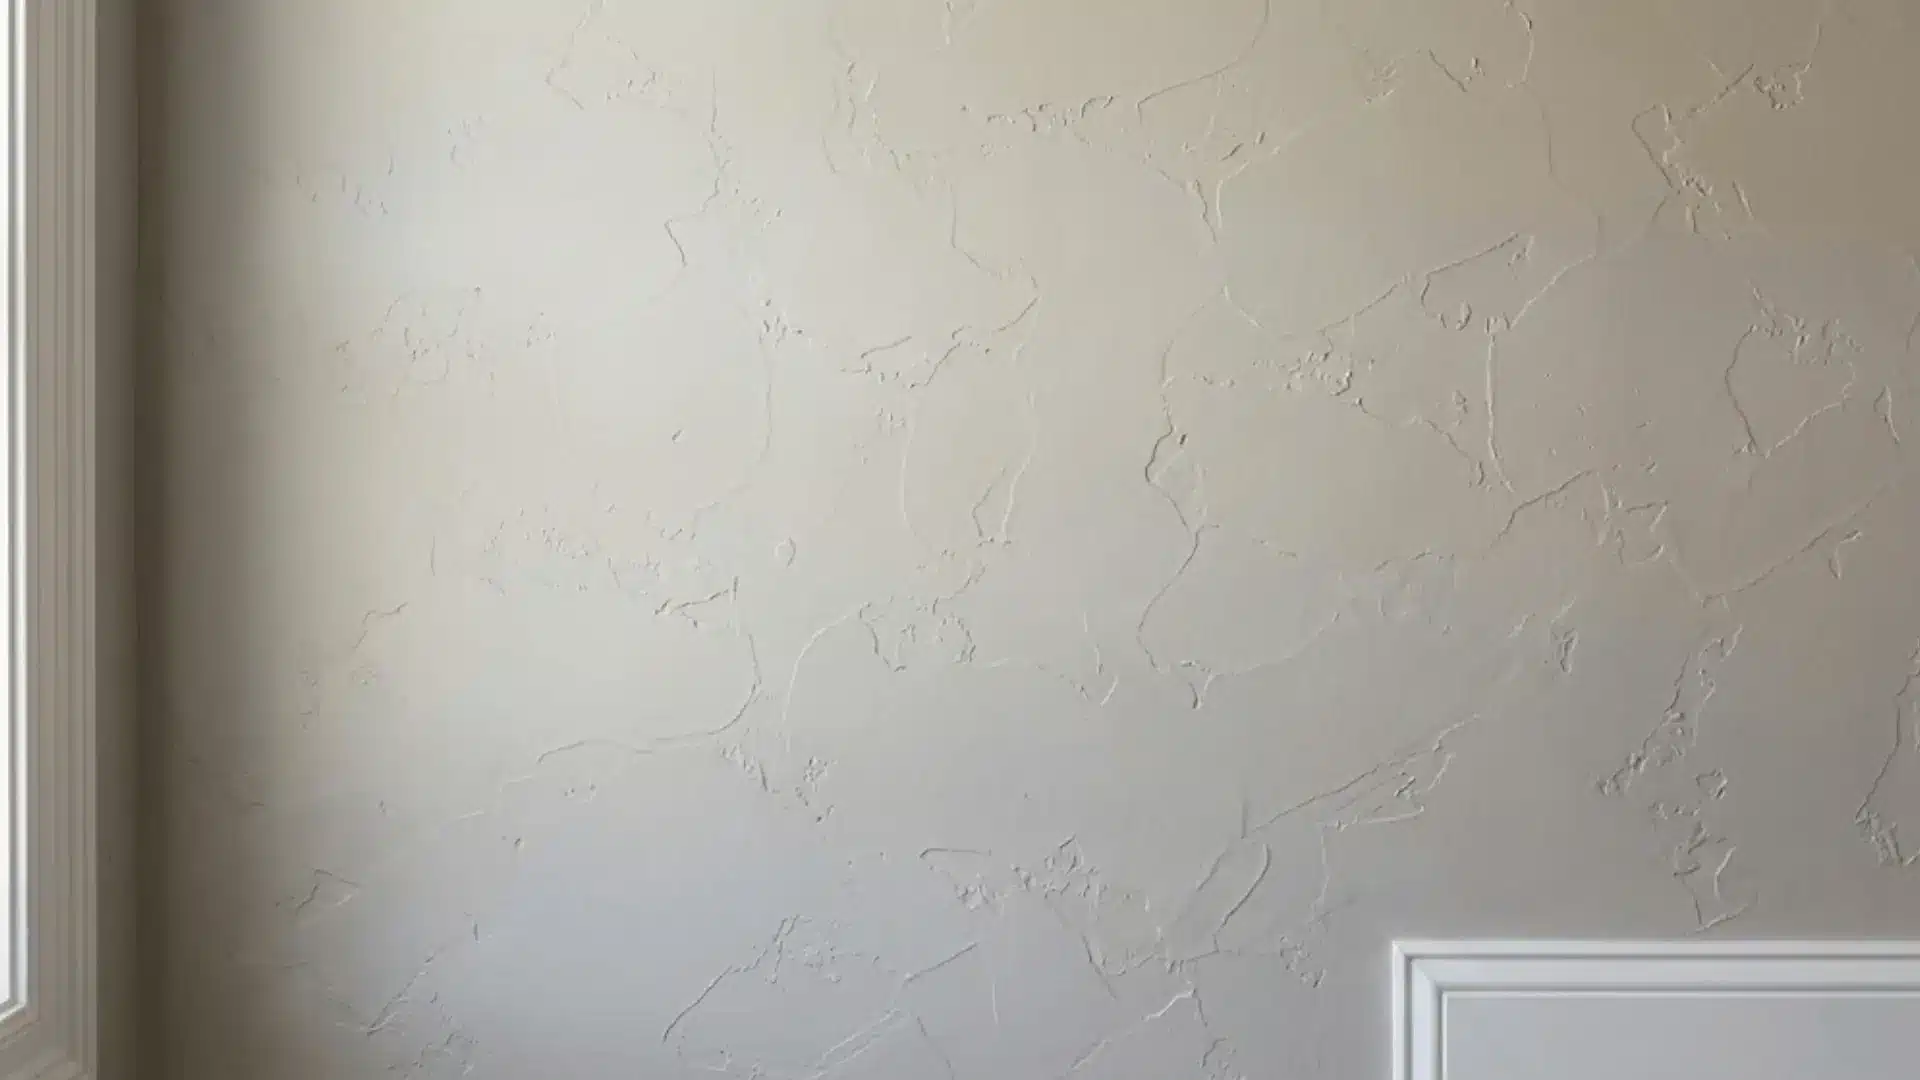
Knockdown texture can work, but it comes with a catch. The uneven, flattened peaks can show through thinner wallpapers, leaving you with a bumpy finish that is hard to ignore.
Skim coating the wall first significantly reduces that risk and gives the wallpaper a much smoother surface to cling to. Worth the extra effort if you love the wallpaper you picked.
3. Popcorn Texture
Popcorn texture and wallpaper are not a great match. The thick, bumpy surface makes it nearly impossible for wallpaper to adhere properly, and the result usually looks uneven and starts peeling quickly.
Removing the popcorn texture entirely before wallpapering is the recommended route. It is a bit of a process, but it is the only way to get a clean, lasting finish.
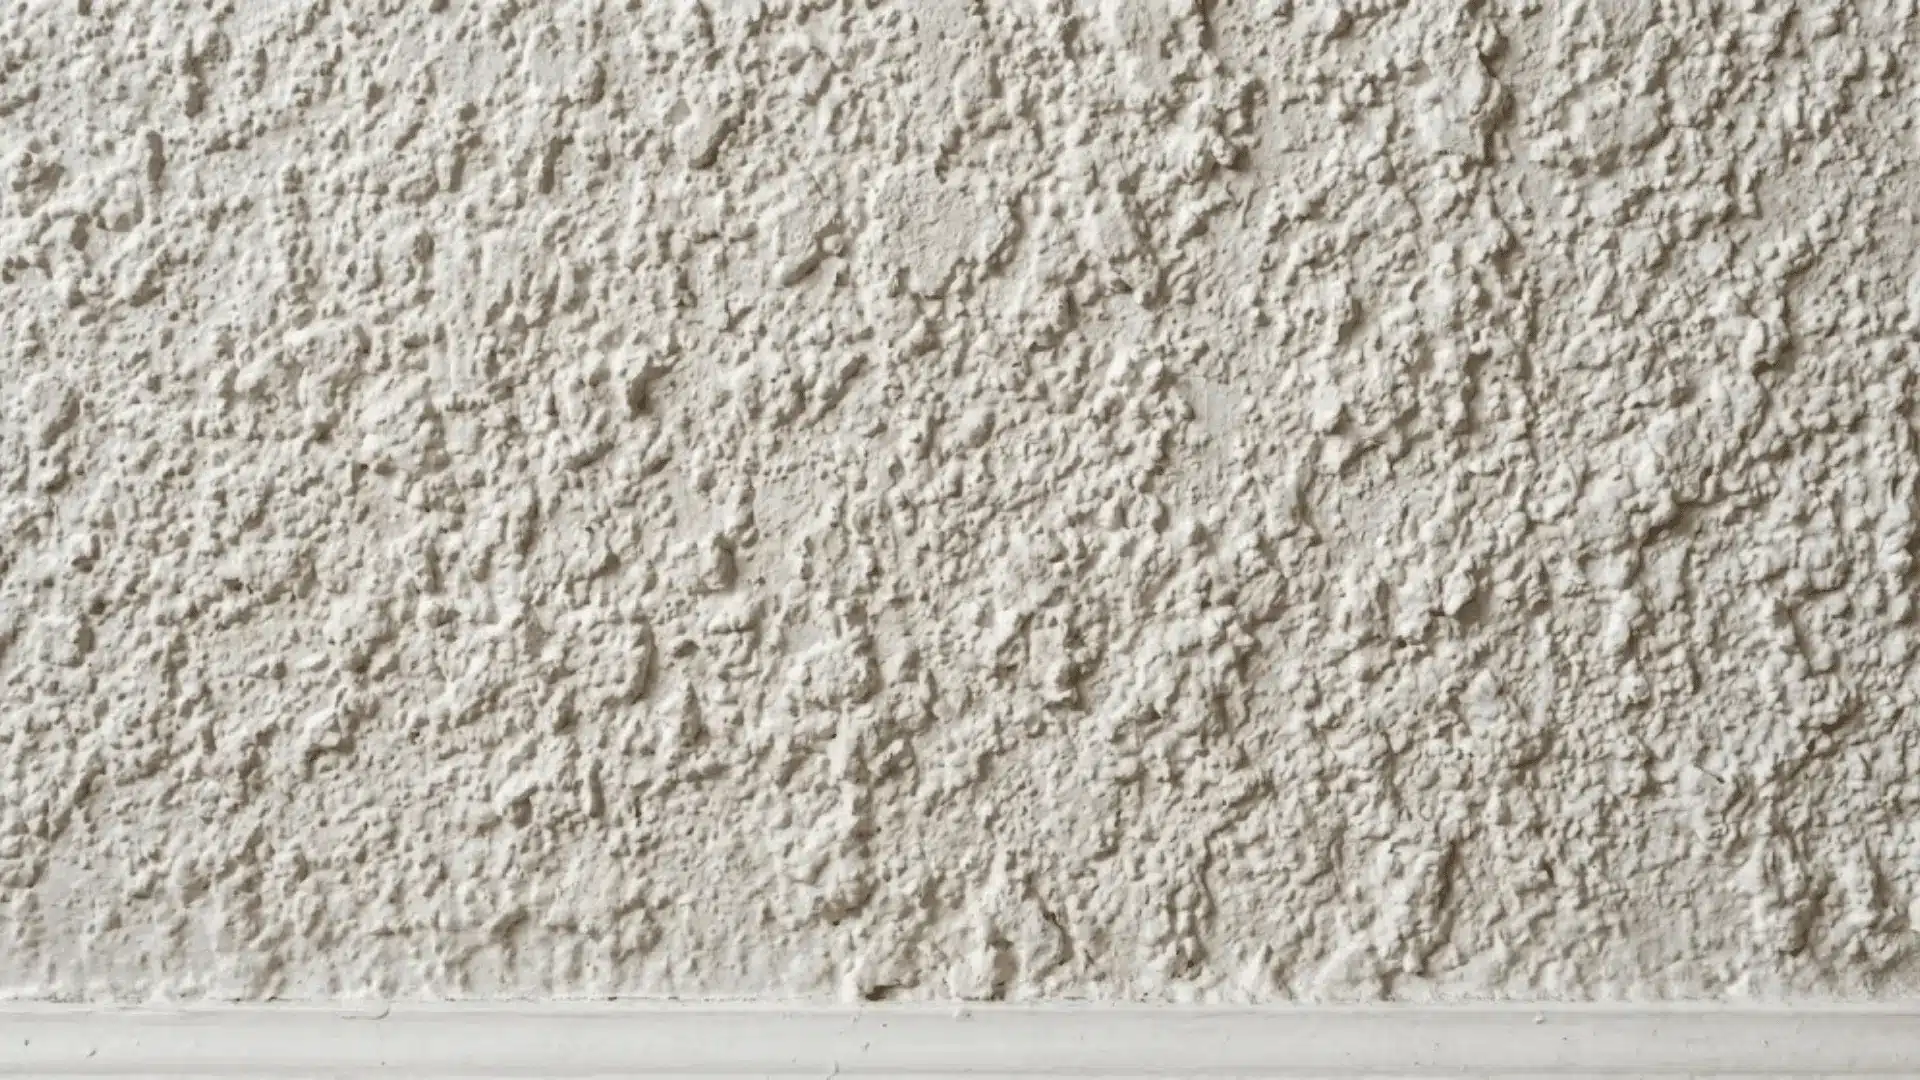
4. Heavy Stucco or Sand Texture
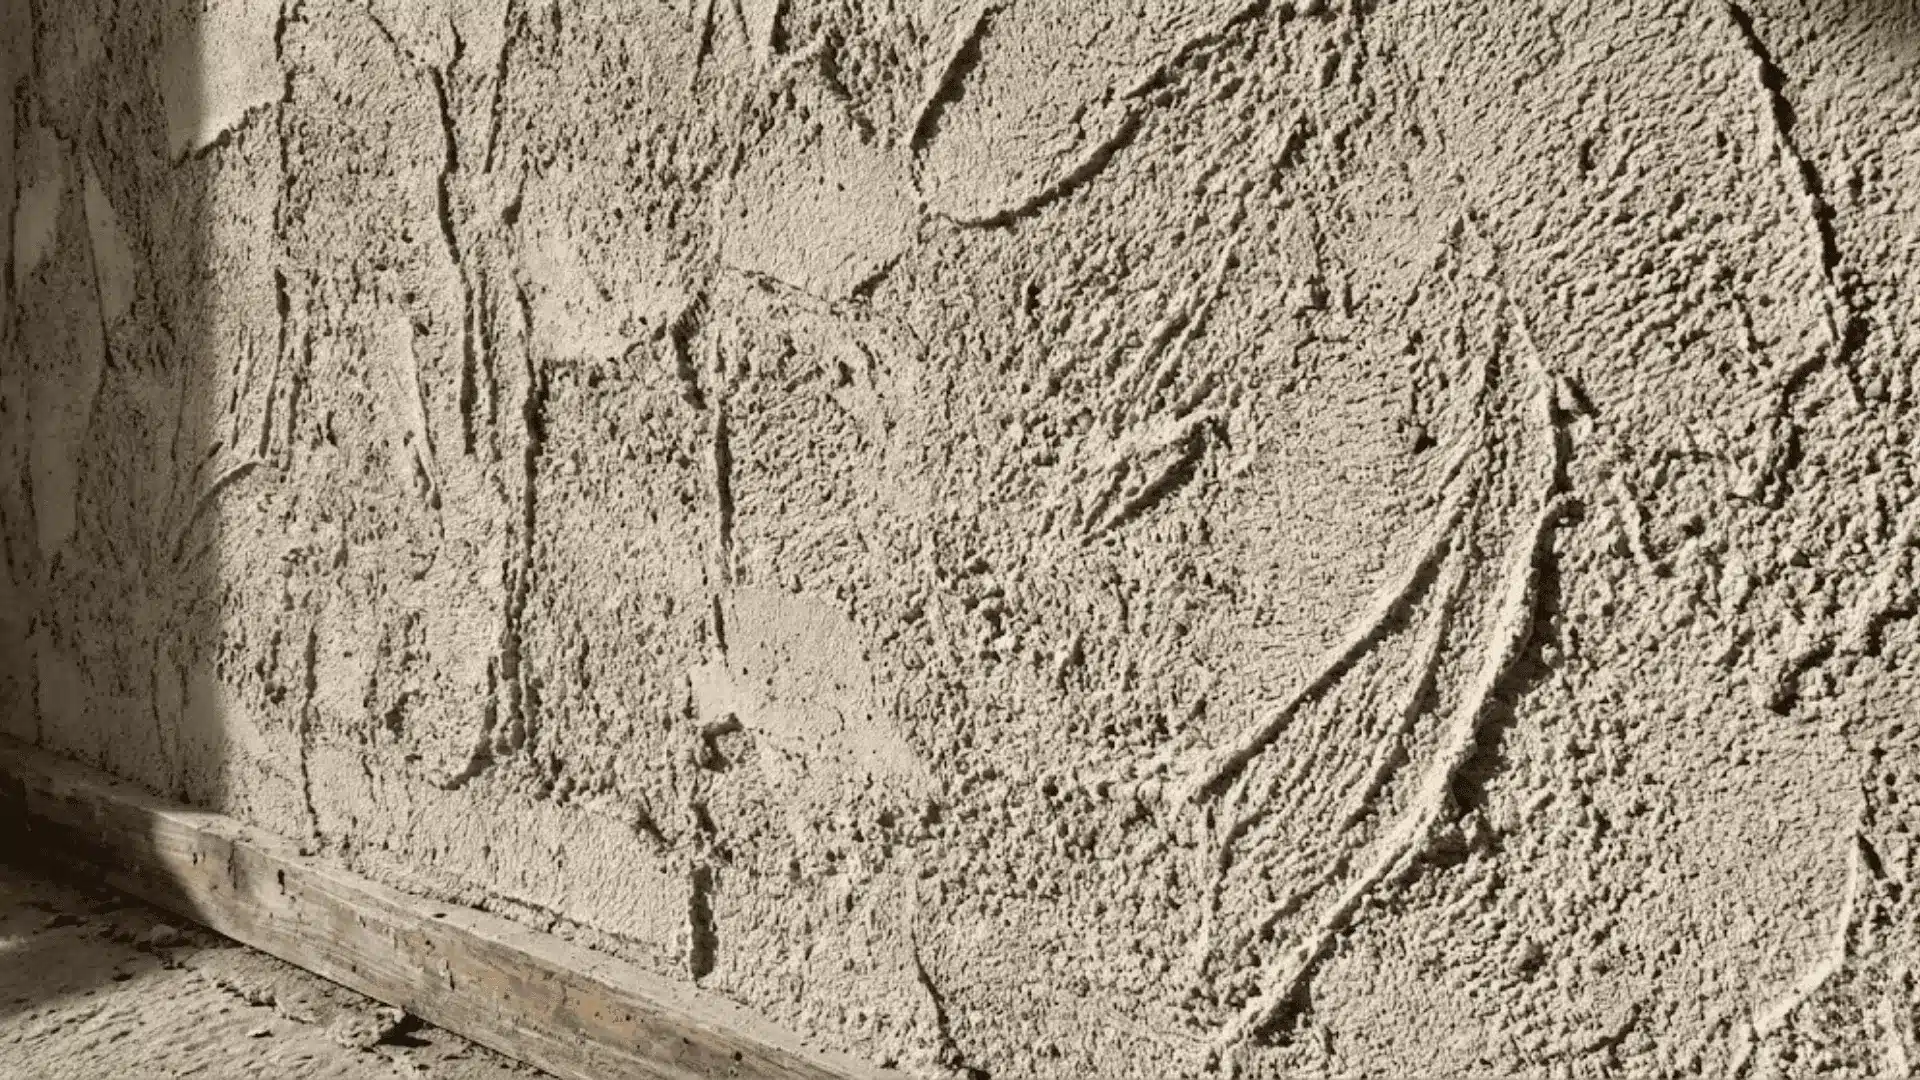
Heavy stucco and sand textures are rough, deeply uneven, and genuinely difficult to wallpaper over. The wallpaper cannot bond properly with such an irregular surface, which leads to lifting edges and visible gaps.
Smoothing or resurfacing the wall before you begin is strongly advised. Skipping this step usually means redoing the whole project sooner than you planned.
Quick Comparison Table
| Texture Type | Wallpaper Friendly? | Prep Required |
|---|---|---|
| Light Orange Peel | Yes | Priming |
| Knockdown | Sometimes | Skim coating |
| Popcorn | No | Full removal |
| Heavy Stucco / Sand | No | Smoothing or resurfacing |
What Happens If You Apply Wallpaper Over Texture?
Skipping proper prep might feel like a time-saver, but the wall has a way of making you regret it later.
- Air gaps and bubbles form where the wallpaper cannot make full contact with an uneven surface.
- Adhesion weakens quickly on rough textures, causing edges to lift and seams to separate.
- Patterns look distorted since bumps and ridges interrupt the design’s natural flow.
- Peeling becomes inevitable over time as the bond between wallpaper and texture continues to break down.
Catching these problems after the fact is frustrating and costly, so getting the surface right from the start is always worth it.
Step-by-Step: How to Prepare Textured Walls for Wallpaper?
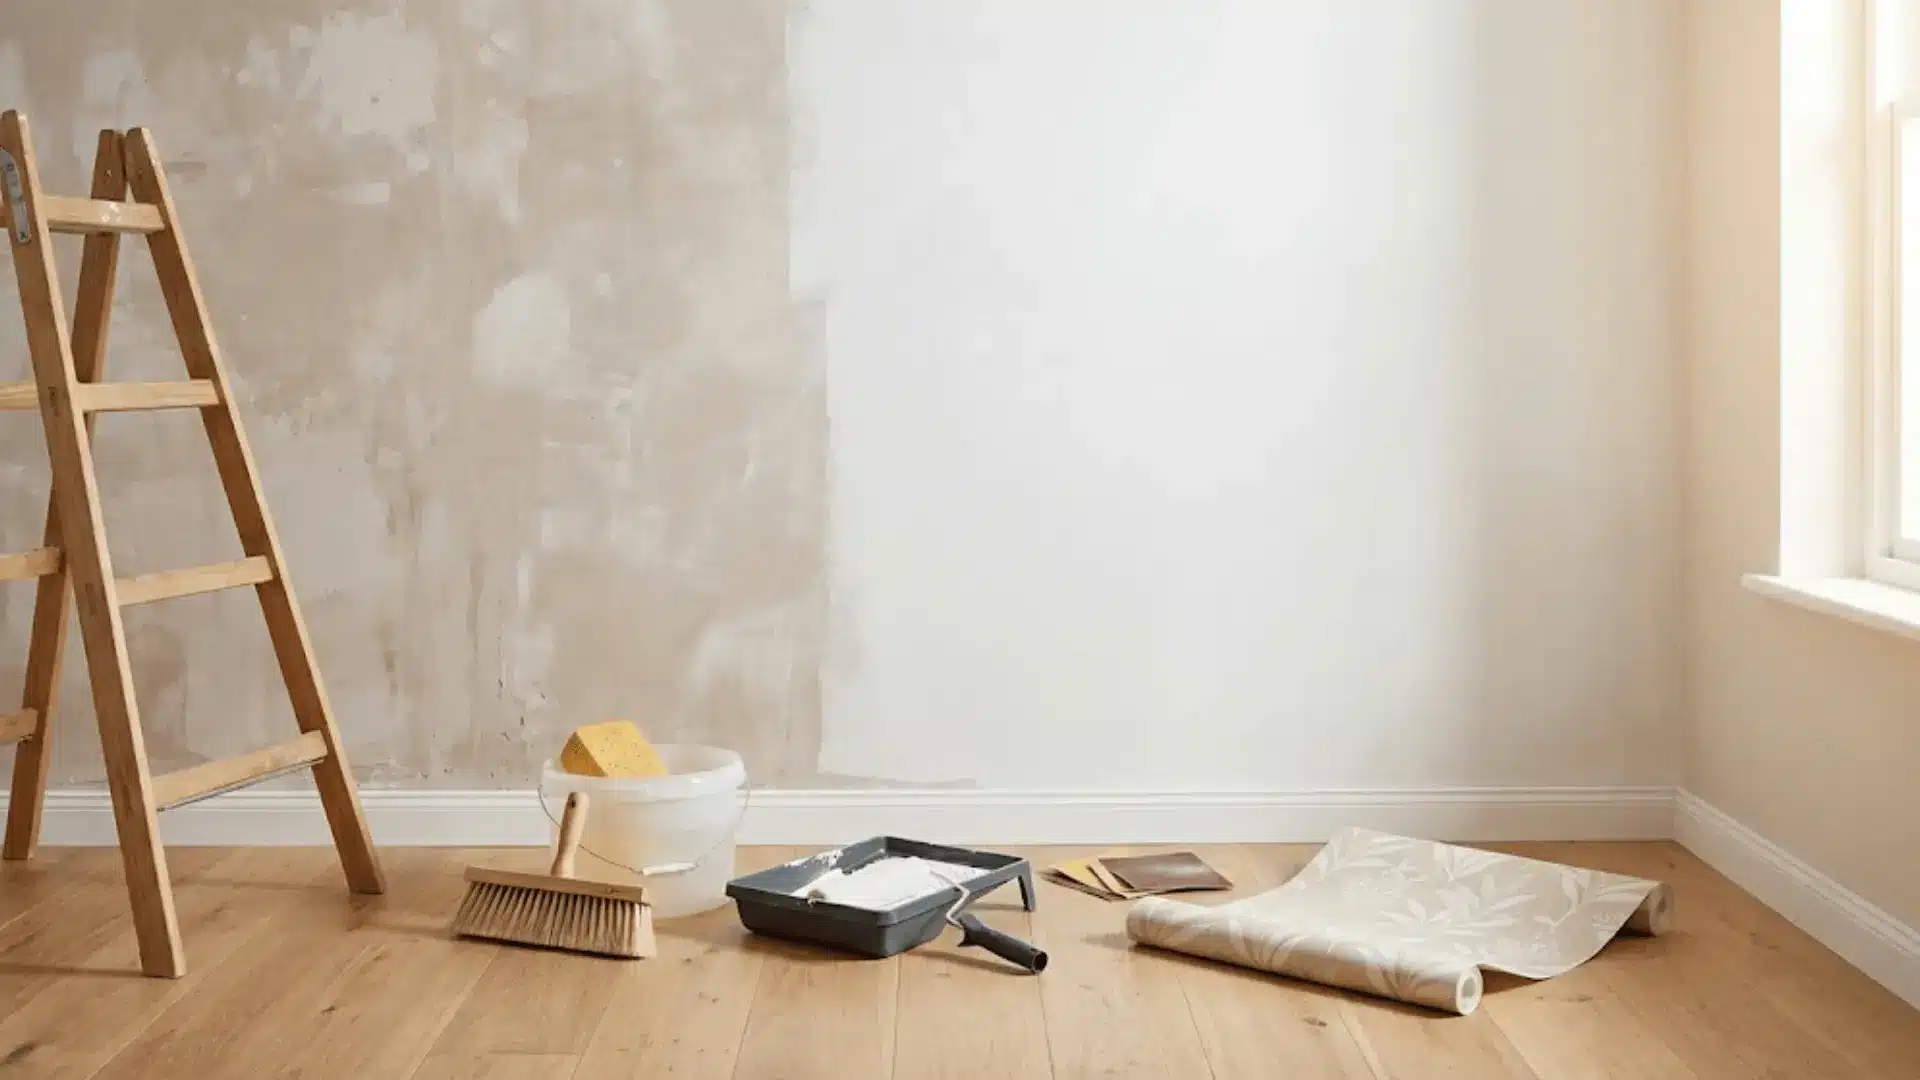
Good prep separates long-lasting wallpaper jobs from those that fail quickly.
Taking the time to work through each step properly makes the whole process smoother and the end result so much more satisfying.
Step 1: Clean the Surface
Before anything else, the wall needs to be clean. Dust, grease, and debris all interfere with adhesion, so wipe the surface down thoroughly with a damp cloth and a mild cleaner.
Pay extra attention to corners and baseboards where buildup tends to hide. Let the wall dry completely before moving on.
Step 2: Sand High Points
Run your hand across the wall and feel for sharp ridges or raised peaks. Sanding those high points down creates a more even surface and reduces the risk of bumps showing through your wallpaper.
A medium-grit sandpaper works well here. Wipe away all the dust afterward so nothing interferes with the next steps.
Step 3: Apply Skim Coat (If Needed)
If your texture is moderate to heavy, skim coating is worth every bit of effort. It involves spreading a thin layer of joint compound across the wall to fill in the uneven areas.
Let it dry fully before sanding it smooth, and do not rush this part. A well-applied skim coat gives you something close to a flat wall to work with.
Step 4: Prime the Wall
Priming is essential; regular paint primer isn’t enough. A dedicated wallpaper primer or sizing seals the surface, controls moisture, and ensures a strong bond with the wallpaper adhesive.
Without it, even a well-prepped wall can cause the wallpaper to bubble or slide during installation.
Step 5: Install Wallpaper
With a prepped and primed surface, you are ready to hang. Thicker, textured wallpapers like grasscloth or non-woven perform better on imperfect walls as they are more forgiving than thin vinyl or paper styles.
Work slowly, smooth out air pockets as you go, and let each panel set properly.
Best Types of Wallpaper for Textured Walls
Choosing the right wallpaper type does a lot of the heavy lifting, especially when your walls are not perfectly smooth.
Some materials are simply more forgiving than others, and picking the right one can make the whole process feel a lot more manageable.
| Wallpaper Type | Why It Works | Best For | Recommended? |
|---|---|---|---|
| Thick Vinyl | Bridges minor imperfections without showing through | Light to moderate texture | Yes |
| Non-Woven | Stable and tear-resistant on uneven surfaces | Most textured wall types | Yes |
| Textured Wallpaper | Camouflages bumps and ridges naturally | Walls that cannot be fully smoothed | Yes |
| Traditional Paste | Stronger, longer-lasting bond on imperfect surfaces | Any textured wall | Yes |
| Peel-and-Stick | Often lifts and peels on uneven surfaces | Smooth or very light texture only | Not recommended |
When You Should NOT Wallpaper Textured Walls
Sometimes the most aesthetic choice is knowing when to hold off. A few situations call for a different approach altogether before wallpaper even enters the picture.
- Rental properties are a risky choice since removal often damages walls and costs more than the project was worth.
- High-humidity areas like bathrooms and kitchens cause wallpaper to peel, warp, and grow mold over time.
- Extremely rough textures prevent proper adhesion, making bubbling and lifting almost unavoidable.
- Structural wall damage, like cracks or moisture issues, needs to be fully resolved before anything goes on the wall.
Wallpaper is a long-term commitment, and the wall underneath needs to be in good shape to honor that.
What to Expect to Spend When Wallpapering Textured Walls?
Budgeting for a wallpaper project goes beyond just picking a roll you love.
The condition of your walls plays a big role in what you end up spending, so it helps to know what each part of the process might cost before you get started.
| Cost Factor | DIY Cost | Professional Cost | Notes |
|---|---|---|---|
| Skim Coating | Low, materials only | Moderate to high | Needed for moderate to heavy textures |
| Wallpaper Primer | Budget-friendly | Included in labor | Non-negotiable step regardless of approach |
| Peel-and-Stick Wallpaper | Low to moderate | Rarely needed | Best for smooth or lightly textured walls |
| Vinyl / Non-Woven Wallpaper | Moderate | Moderate to high | Most reliable option for textured walls |
| Grasscloth / Specialty Wallpaper | High | High | Premium look, requires careful installation |
| Full Professional Installation | Not applicable | Highest overall cost | Worth it for heavy texture or large spaces |
Final Verdict
Wallpapering textured walls is absolutely within reach when you go in prepared and pick the right materials for the job.
The process asks for a little patience, but the payoff is a space that feels yours entirely.
Smoothing things out with a skim coat or simply choosing a forgiving wallpaper type, every small step gets you closer to that finished room you have been envisioning.
Have you tried wallpapering over textured walls before? Drop your experience in the comments, a win or a lesson learned, because someone out there needs to hear it.