I used to think any potting mix would work for my aloe plants until I watched them slowly decline despite regular care. Turns out, aloe vera needs specific soil conditions to actually thrive.
The right soil for aloe vera is well-draining, slightly acidic to neutral, and mimics the sandy, arid conditions these succulents naturally love. When your aloe sits in dense, moisture-retaining soil, root rot becomes inevitable.
You’ll find exactly what makes ideal aloe soil, how to create your own custom mix at home, and which store-bought options actually deliver results.
I’ll also walk you through common soil mistakes that silently damage your plant and how to spot when your current mix isn’t cutting it anymore.
Why Your Aloe Vera Needs Special Soil
Your aloe vera comes from the desert. That tells you everything about what it needs.
In its native home, aloe grows in sandy, rocky terrain. Rain drains away fast. The soil dries out quickly.
This shaped how aloe roots work. They’re built for quick water absorption, not constant moisture. Regular potting soil holds water too long. It stays damp for days. Your aloe’s roots sit in wetness they weren’t designed to handle.
That’s when root rot starts. The roots literally drown and decay. You’ll notice your aloe turning brown or mushy at the base.
I’ve seen healthy aloes die in weeks from the wrong soil. The plant looks fine on top, while the roots are rotting below.
Fast-draining soil mimics desert conditions. Water flows through quickly. Roots get what they need, then dry out.
That’s the difference between a thriving aloe and a struggling one.
What Makes the Best Soil for Aloe Vera
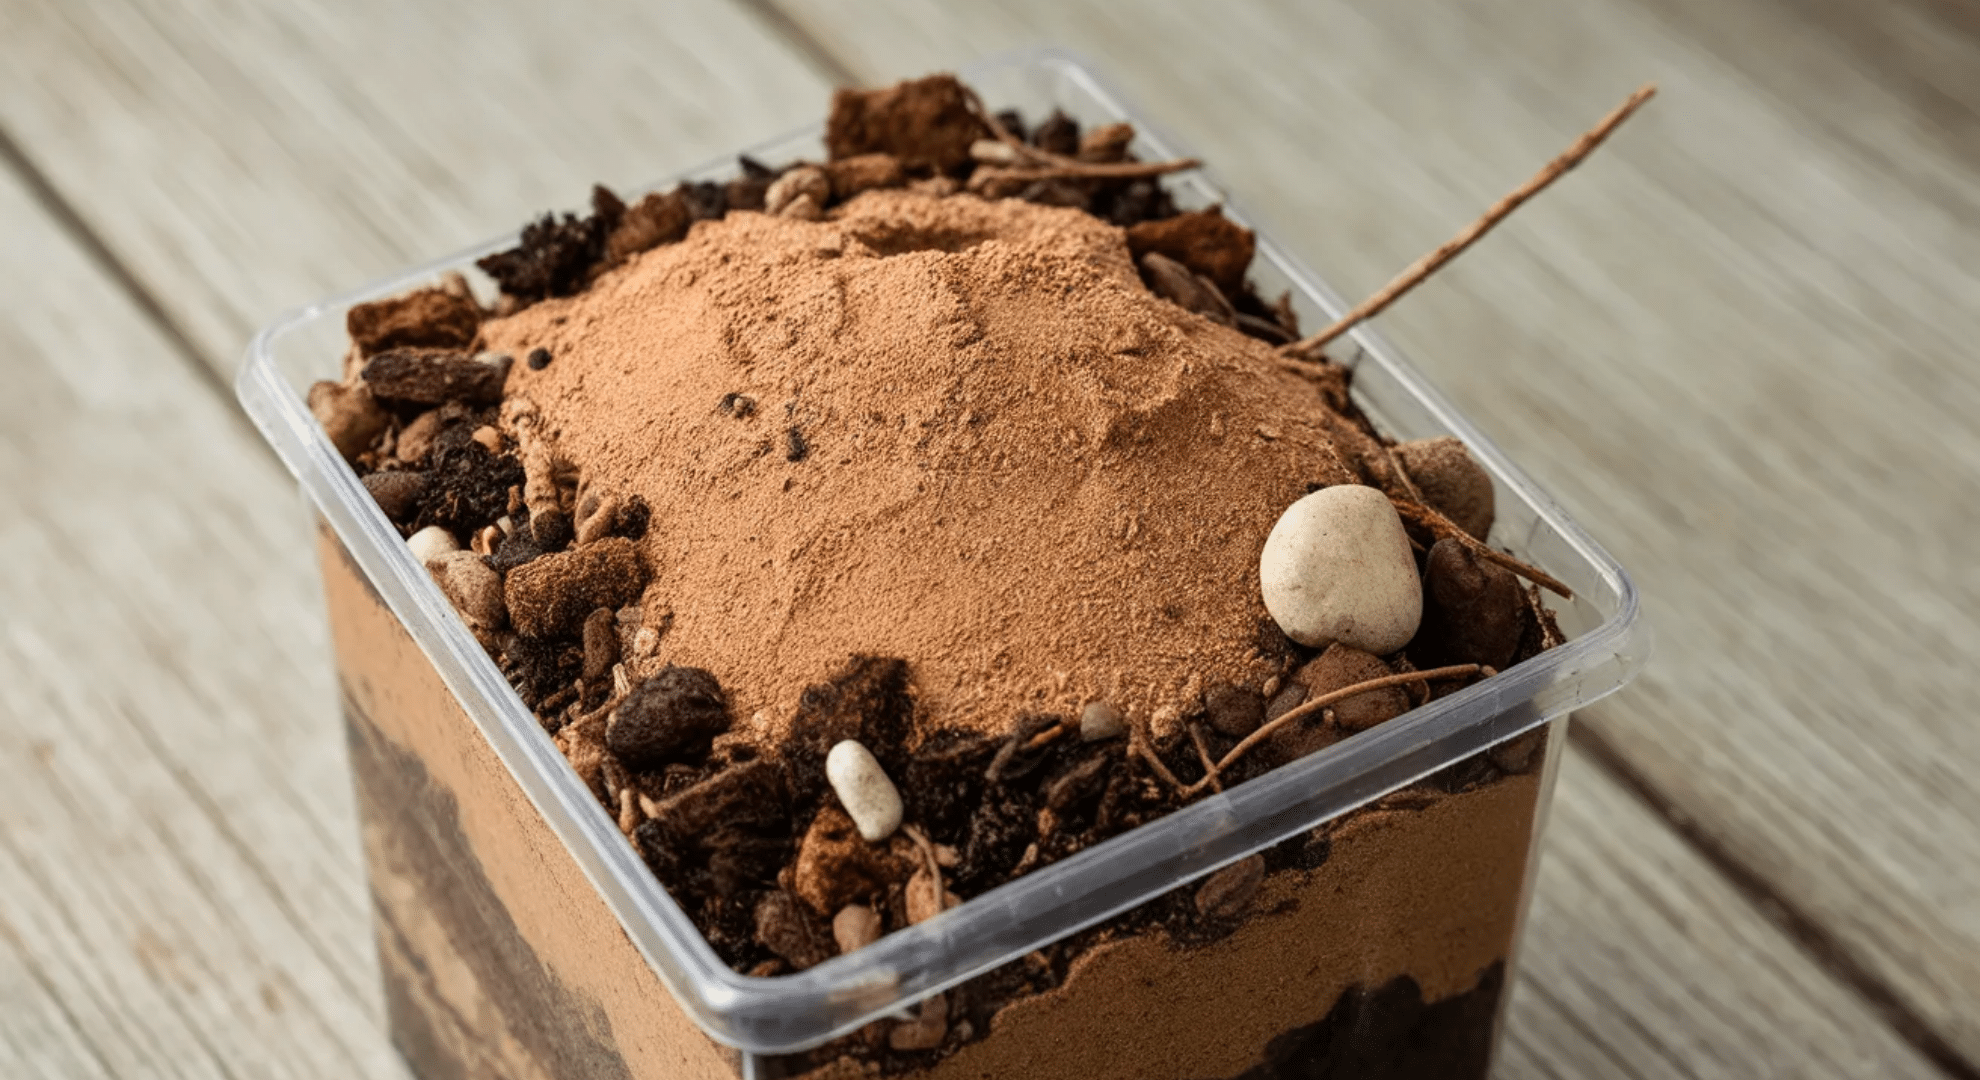
The best aloe soil does one thing really well: it drains fast. You want a mix that lets water flow through in seconds, not minutes. When you water, excess moisture should exit quickly, leaving just enough for the roots to absorb.
The key ingredients that make this happen:
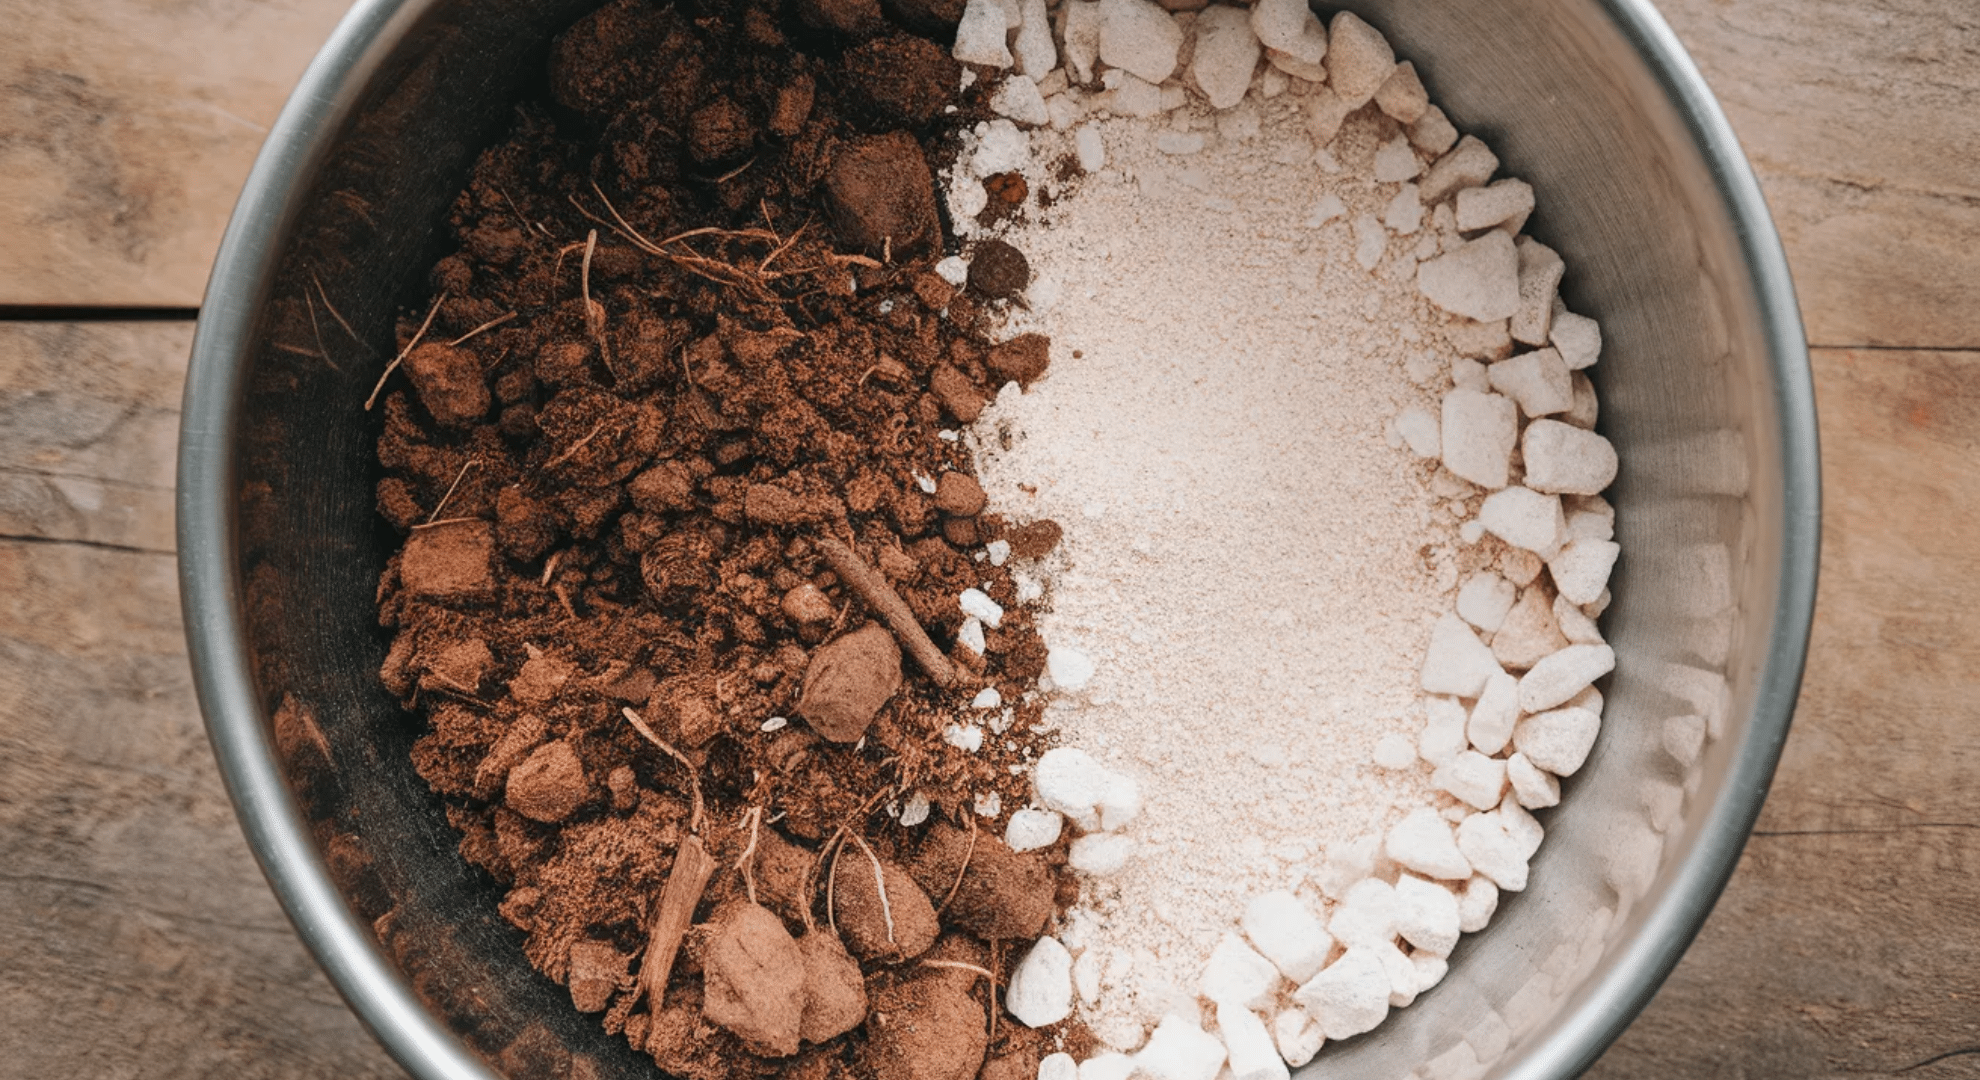
- Coarse sand or perlite: Creates air pockets so water doesn’t pool
- Pumice or gravel: Adds weight and drainage without holding moisture
- A small amount of potting soil: Provides some nutrients and structure
- No peat moss or heavy materials: These retain too much water
I’ve found the ideal ratio is about 60% gritty material to 40% organic matter. This balance gives your aloe what it needs without the soggy problems.
When you squeeze a handful of good aloe soil, it should crumble apart easily. It shouldn’t clump or hold its shape. That loose, sandy texture is exactly what your plant’s roots are looking for. Get the soil right, and everything else becomes easier.
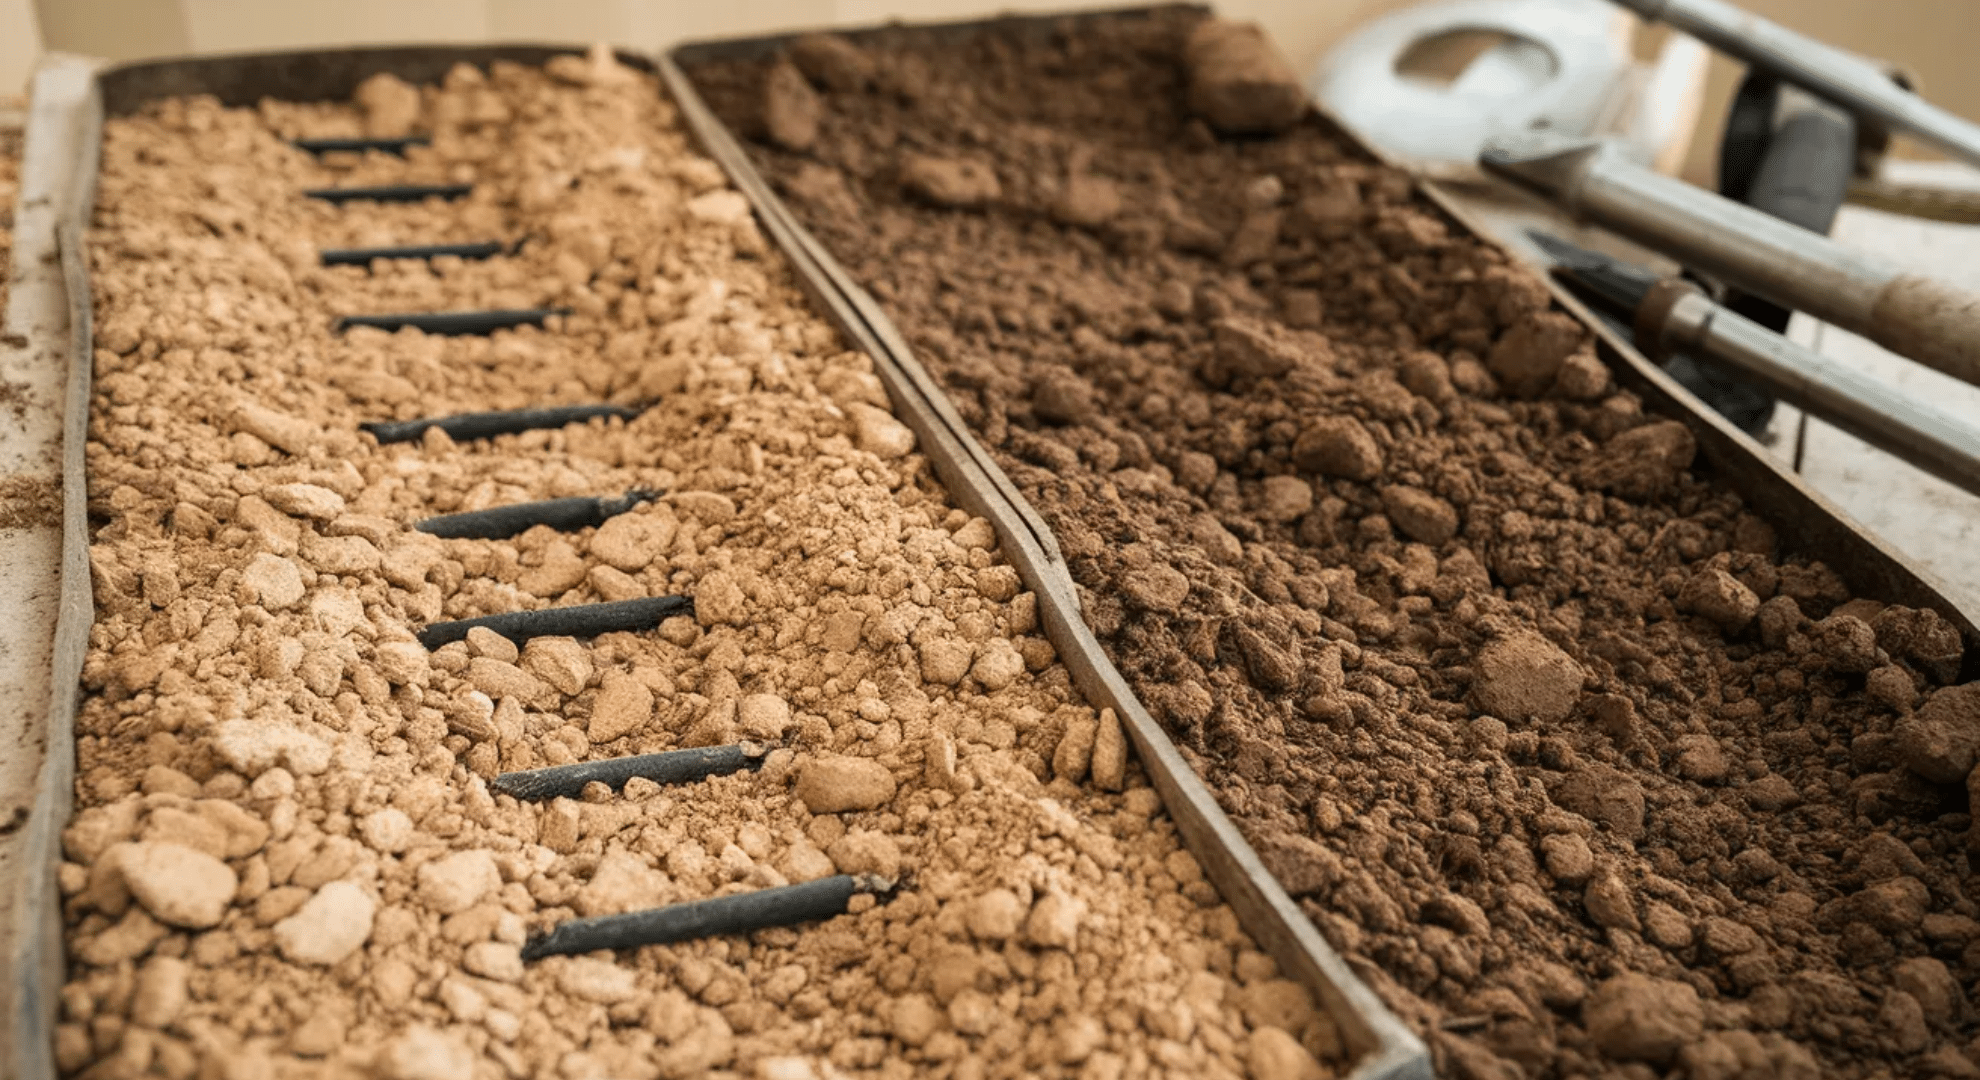
Essential Ingredients for Your Aloe Vera Soil Mix
Building the right soil is easier than you think. You just need a few key ingredients that work together to keep water moving.
Drainage Boosters
These are your soil’s best friends. They create spaces for water to escape fast.
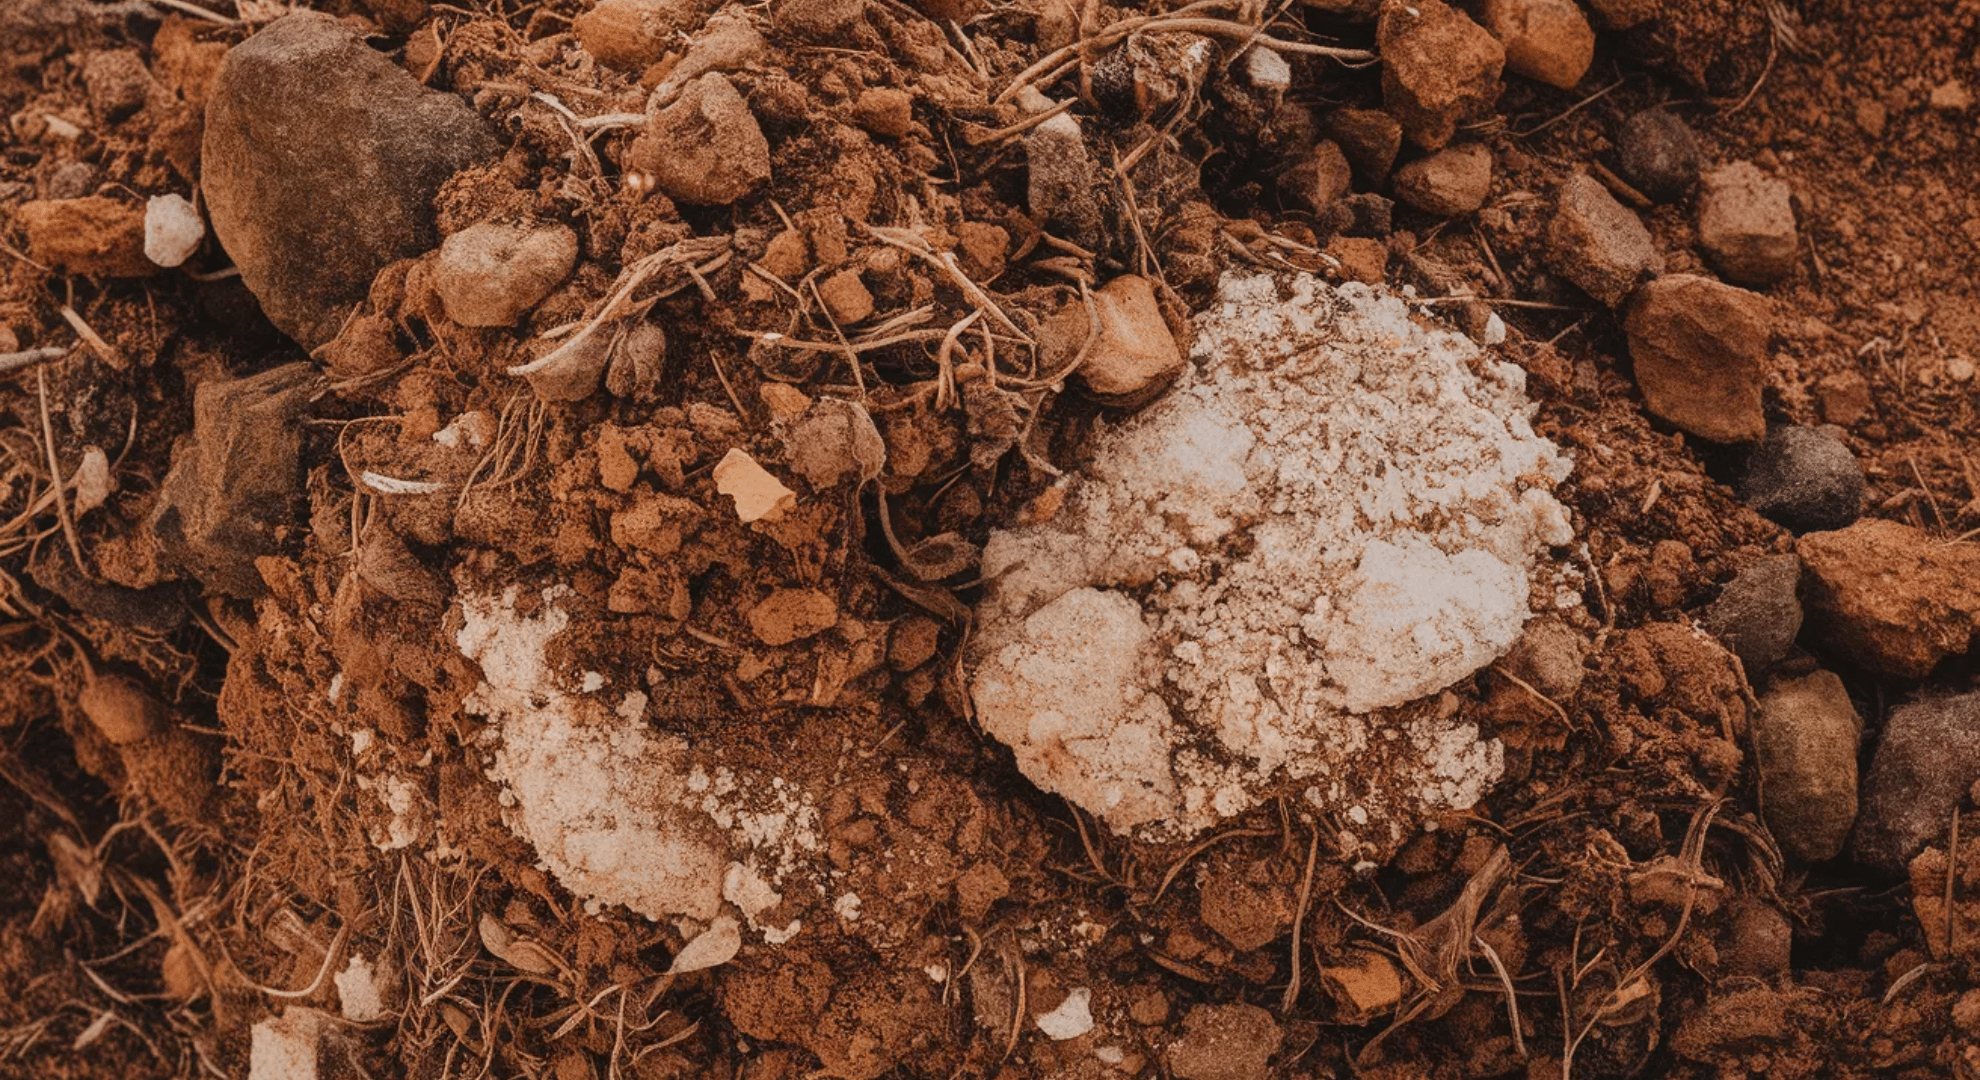
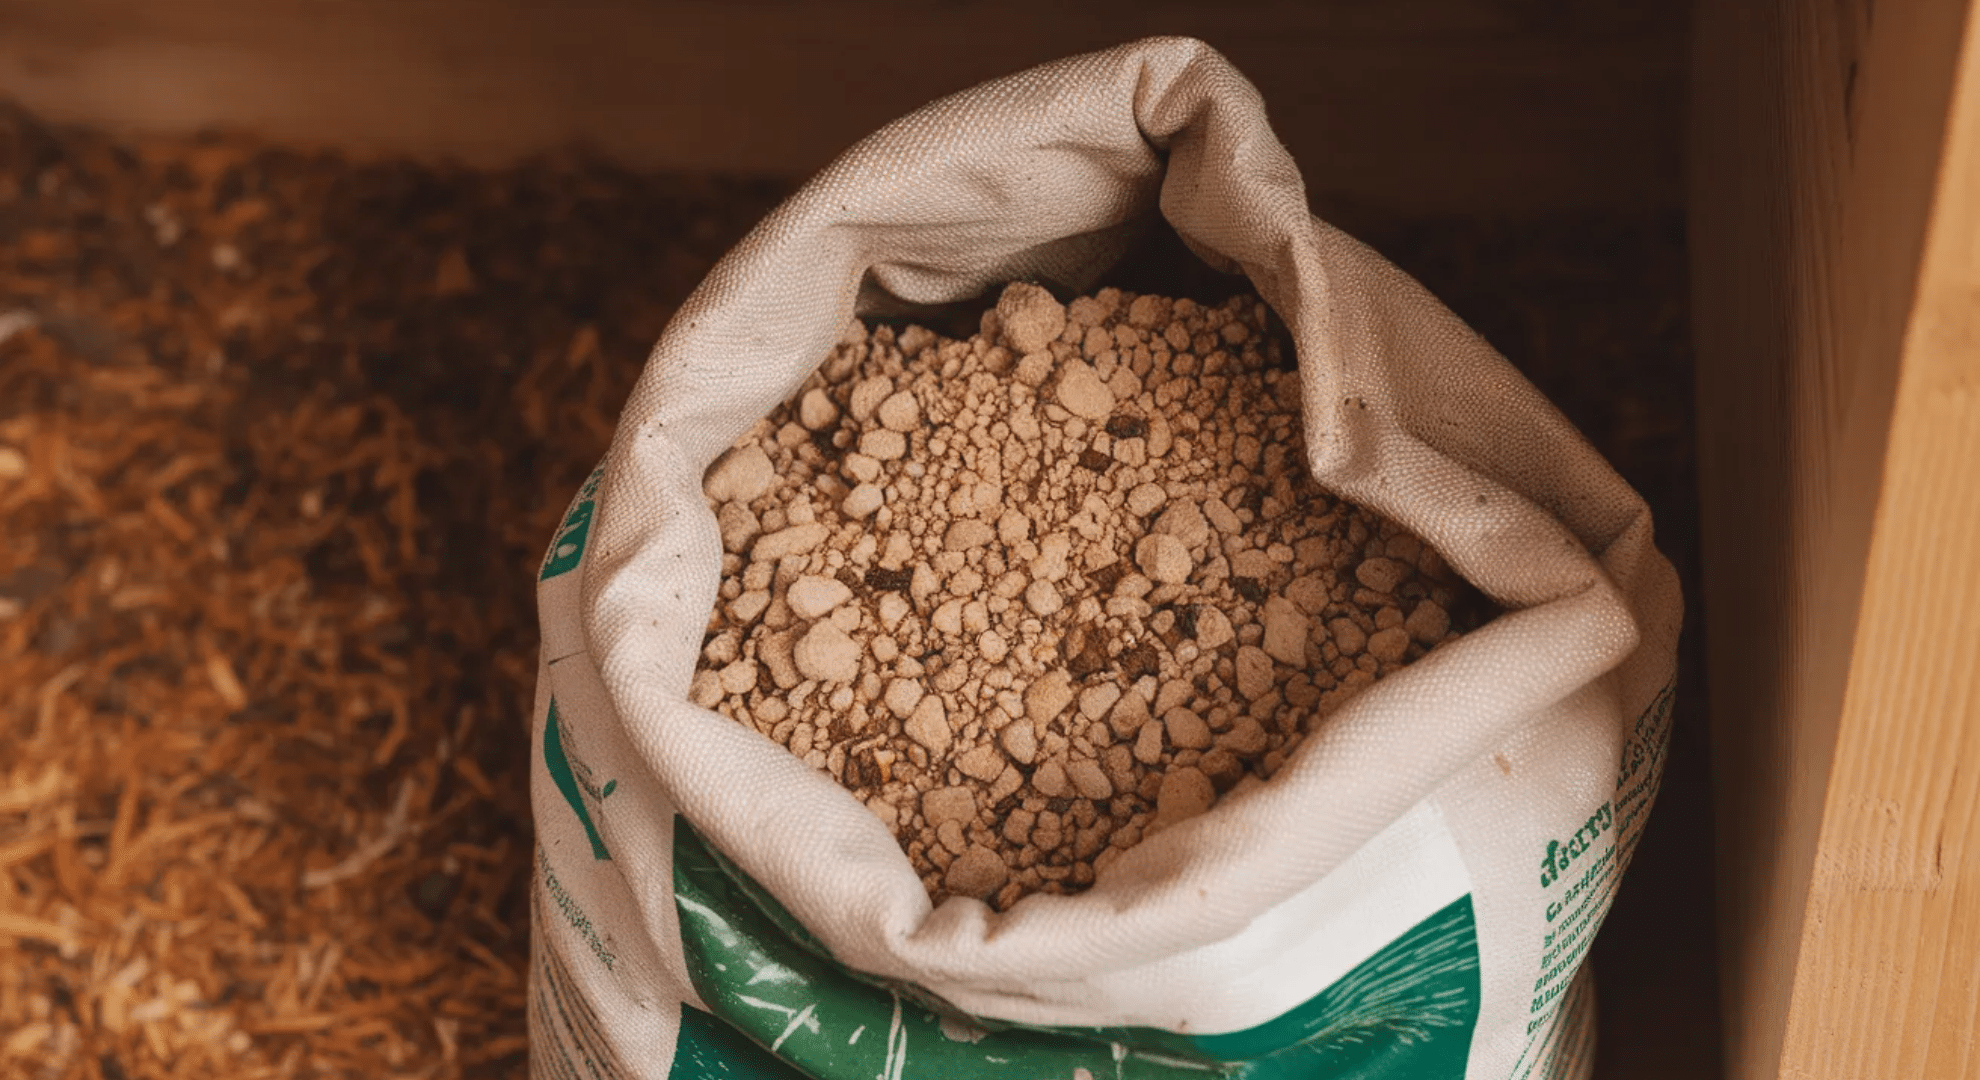
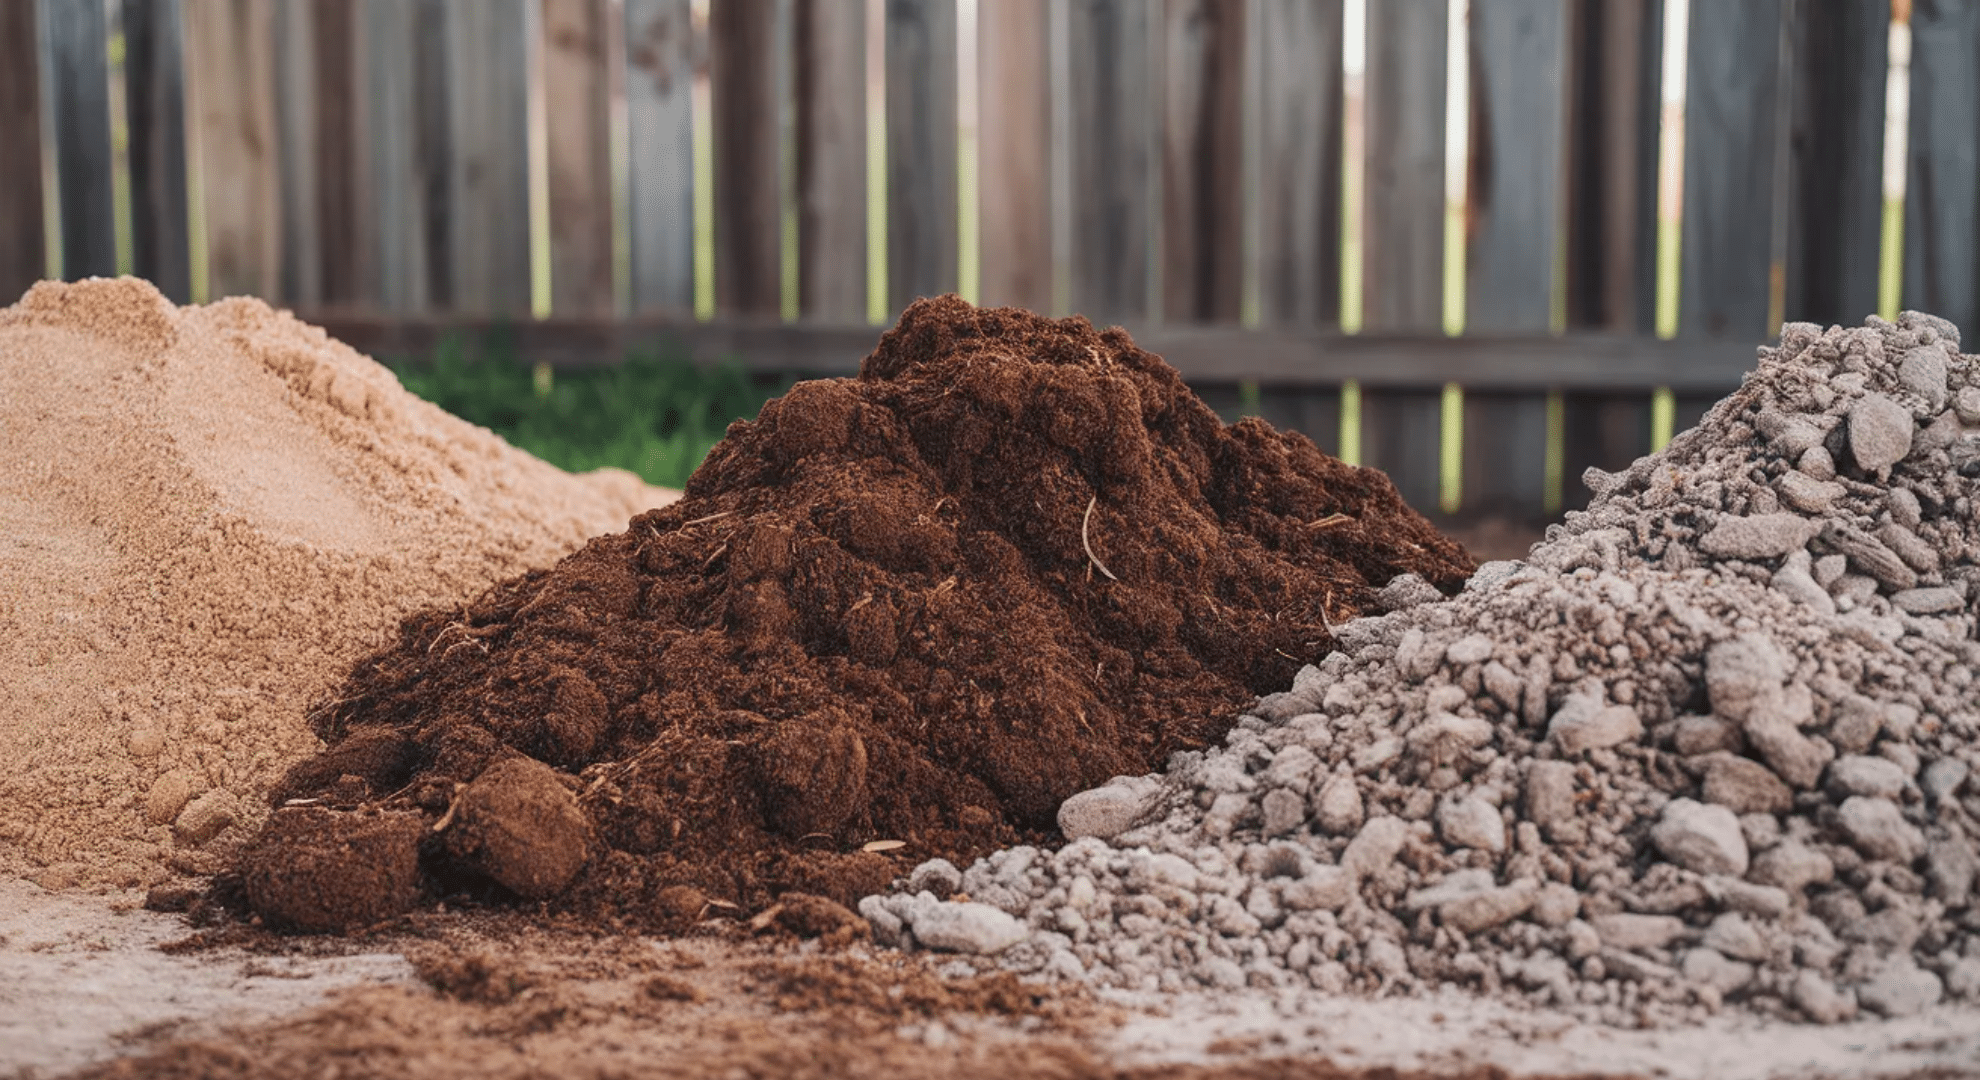
Perlite is those white, lightweight bits you see in potting mixes. It’s volcanic glass that’s been heated. I use it because it’s cheap and available everywhere. Add about 30-40% to your mix. It keeps soil airy and prevents compaction.
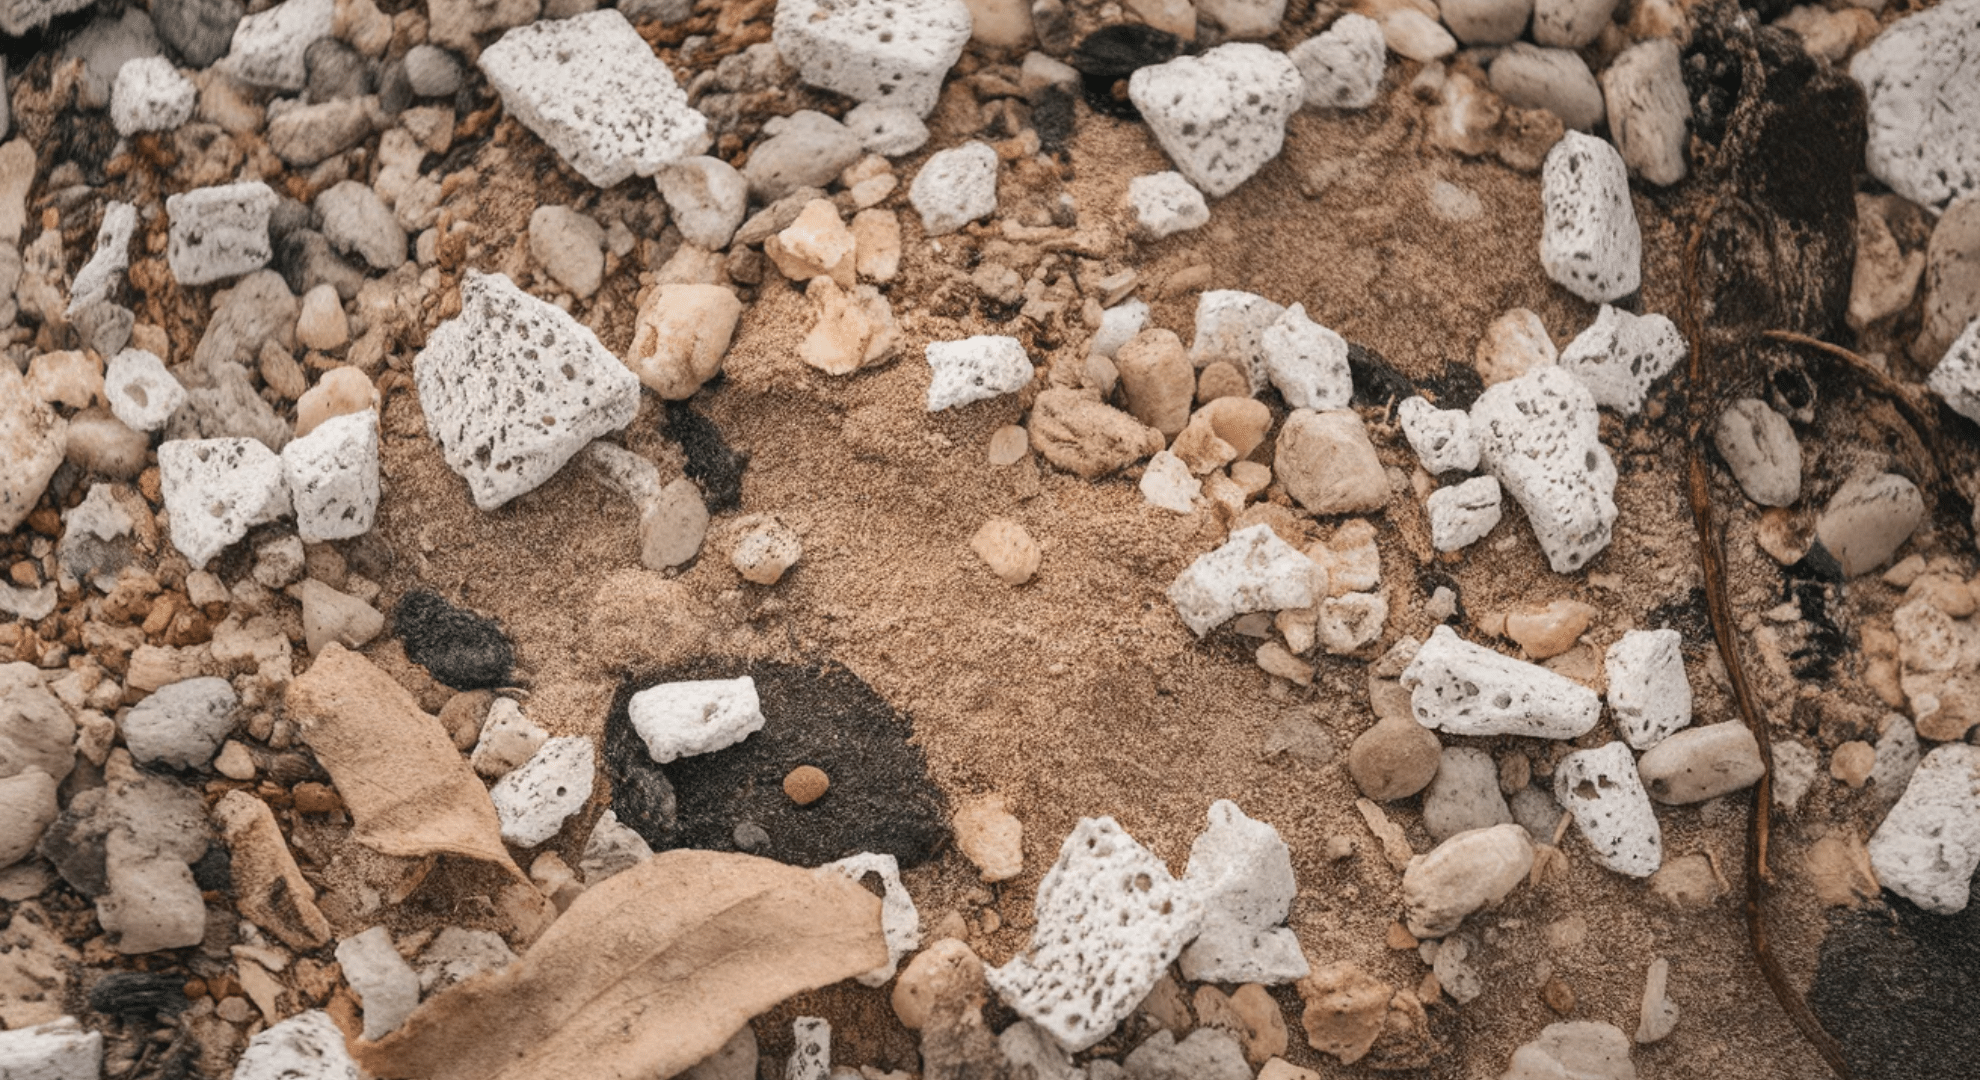
Pumice works like perlite but it’s heavier. Choose this if your pot tends to tip over easily. It won’t float to the top when you water. Use the same ratio as perlite.
Coarse sand adds grit and drainage. Get horticultural or builder’s sand—never beach sand. Beach sand has salt that’ll harm your aloe. Mix in 20-30% for that desert-like texture.
Lava rock is porous and drains beautifully. The downside? It’s heavier and can be pricey. But it lasts forever and adds great aeration. Use small pieces, about 10-15% of your mix.
Base Materials
You need something to hold it all together.
Cactus or succulent potting mix is your easiest starting point. It’s already formulated for drainage. I still add extra perlite or sand to it—most commercial mixes aren’t quite gritty enough.
Regular potting soil can work in small amounts. Keep it to 20-30% max. It adds some nutrients and helps the mix hold together slightly. More than that and you’re asking for trouble.
Pine bark chips are optional but useful. They break down slowly and improve aeration. Use small pieces and keep them under 10% of your mix.
What to Avoid
Some materials will ruin your aloe soil.
Moisture-retaining crystals or gels are the enemy. They’re designed to hold water—exactly what you don’t want. They’ll keep your aloe’s roots wet for way too long.
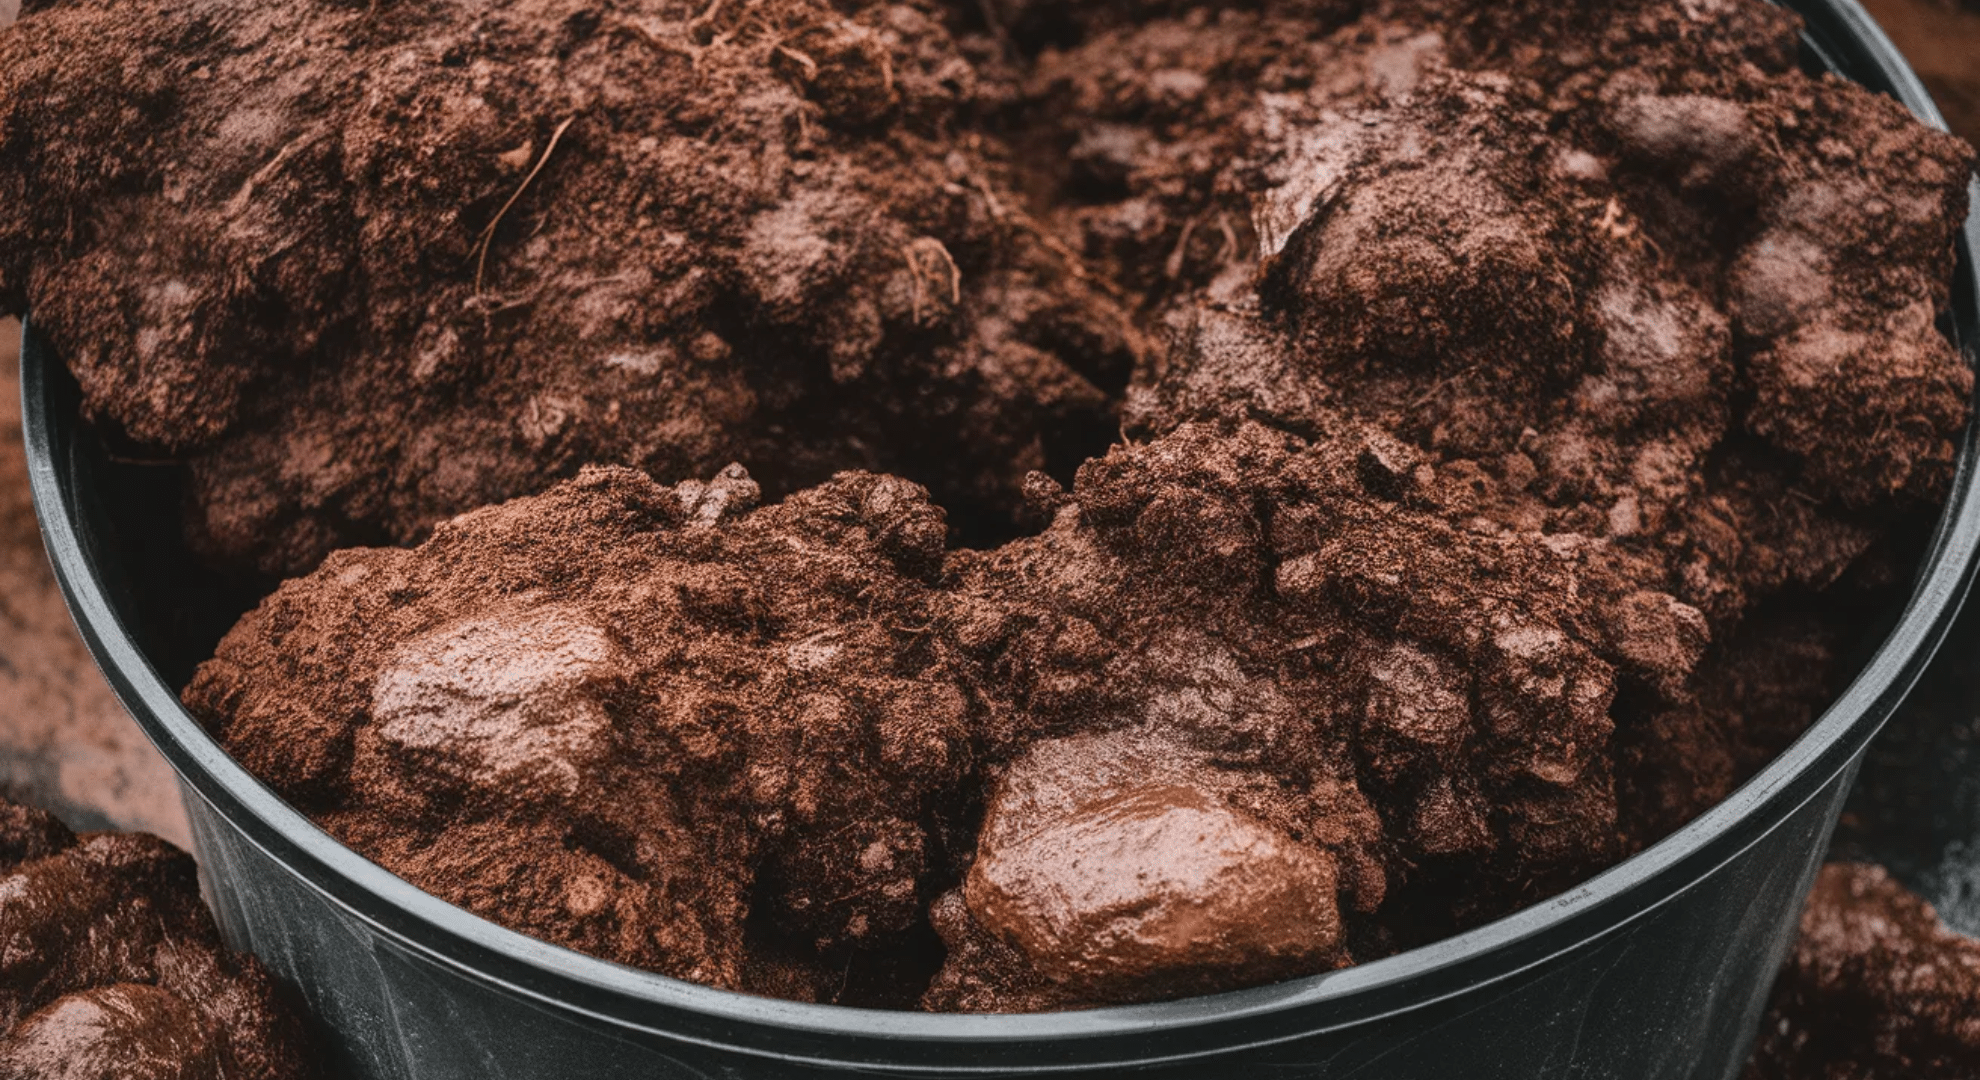
Heavy garden soil is too dense. It compacts easily and drains poorly. Your aloe’s roots can’t breathe in it.
Clay-based mixes are even worse. Clay holds water like a sponge and hardens when it dries. I’ve seen aloe roots suffocate in clay soil.
Peat-heavy potting soil stays soggy for days. Peat absorbs and retains moisture. A little bit is okay, but avoid mixes where it’s the main ingredient. Your aloe will thank you.
Here’s your section:
DIY Aloe Vera Soil: Mix Your Own in Minutes
Let me walk you through some proven mixes. Pick the one that fits your experience level and what you have available:
Basic Mix for Beginners
This is where I started. It’s simple and hard to mess up.
Mix 1 part regular potting soil with 1 part perlite. That’s it. If you’re using cups, do 2 cups of each. For a bigger batch, use equal amounts of whatever container you have.
Pour the potting soil into a bucket or large container. Add the perlite. Mix thoroughly with your hands or a trowel. You want it evenly distributed—no clumps of just soil or just perlite.
This mix works best for indoor aloes in average humidity. It’s forgiving if you accidentally overwater. The drainage isn’t as aggressive as desert mixes, but it’s good enough for most situations.
Advanced Desert-Style Mix
Once you’re comfortable, try this. It mimics natural desert conditions more closely.
You’ll need 3-4 parts coarse sand, 3-4 parts potting soil, and 2-3 parts perlite. For a practical batch: 3 cups sand, 3 cups potting soil, 2 cups perlite.
Start with the sand in your mixing container. Add the potting soil next and blend these two thoroughly. Finally, fold in the perlite. Mix for a few minutes until everything looks uniform.
The result should feel gritty and loose. When you squeeze it, it barely holds together.
This mix is best for experienced growers who understand their aloe’s water needs. It dries out faster, so you need to watch your plant more closely. I use this for my outdoor aloes and any plant that’s shown sensitivity to moisture.
Budget-Friendly Option
You don’t need expensive ingredients for good drainage.
Skip the perlite and use coarse sand instead; it’s cheaper. Mix 1 part potting soil with 1 part sand. Add a handful of small gravel or aquarium rocks if you have them.
Can’t find horticultural sand? Check construction supply stores for coarse builder’s sand. Just rinse it first to remove dust.
Instead of buying cactus mix, grab the cheapest potting soil and modify it yourself. You’ll save money and still get proper drainage. I’ve used this method many times with great results.
Climate-Specific Adjustments
Your location matters more than you’d think.
- Humid climates need extra drainage help. Increase your perlite or sand to 50-60% of the mix. The air already holds moisture, so your soil needs to compensate. I live where it’s humid, and this adjustment saved my aloes from constant sogginess.
- Dry climates can handle slightly more organic matter. Go with 40-50% potting soil. The air dries things out fast enough that a little extra moisture retention helps.
- Indoor vs outdoor makes a difference too. Indoor aloes dry slower, less air circulation and sun. Use more drainage materials indoors. Outdoor plants in full sun can handle a bit more potting soil since they dry faster.
Seasonal adjustments might be needed. In winter, when growth slows, I sometimes add extra perlite to my indoor pots. Less watering means the soil stays wet longer. In summer’s heat, a touch more organic matter prevents roots from drying out too fast between waterings.
Best Commercial Soil Mixes
Not everyone wants to mix their own soil. I get it. Here are the best ready-made options I’ve tested and what makes each one worth considering:
| Soil Mix | Drainage Rating | Best For | Pros | Cons |
|---|---|---|---|---|
| Hoffman Cactus and Succulent Soil Mix | Excellent | Beginners, indoor aloes | Ready to use, widely available, good drainage | May need extra perlite in humid climates |
| Bonsai Jack Succulent Soil | Superior | Experienced growers, valuable plants | Professional grade, zero root rot risk, perfect drainage | Expensive, requires more frequent watering |
| Miracle-Gro Cactus, Palm & Citrus Mix | Good | Budget-conscious, casual growers | Affordable, easy to find, decent results | Retains more moisture, add perlite for best results |
| Black Gold Cactus Mix | Very Good | Outdoor aloes, multiple plants | Organic ingredients, good volume for price | Can compact over time, refresh annually |
| Espoma Cactus Mix | Very Good | Organic gardeners | All-natural, enriched with nutrients | Slightly more moisture retention than ideal |
My top pick for most people is Hoffman; it’s the sweet spot of price, availability, and performance. But if you’ve struggled with root rot before, Bonsai Jack is worth the extra cost.
How to Pot Aloe Vera in the Right Soil
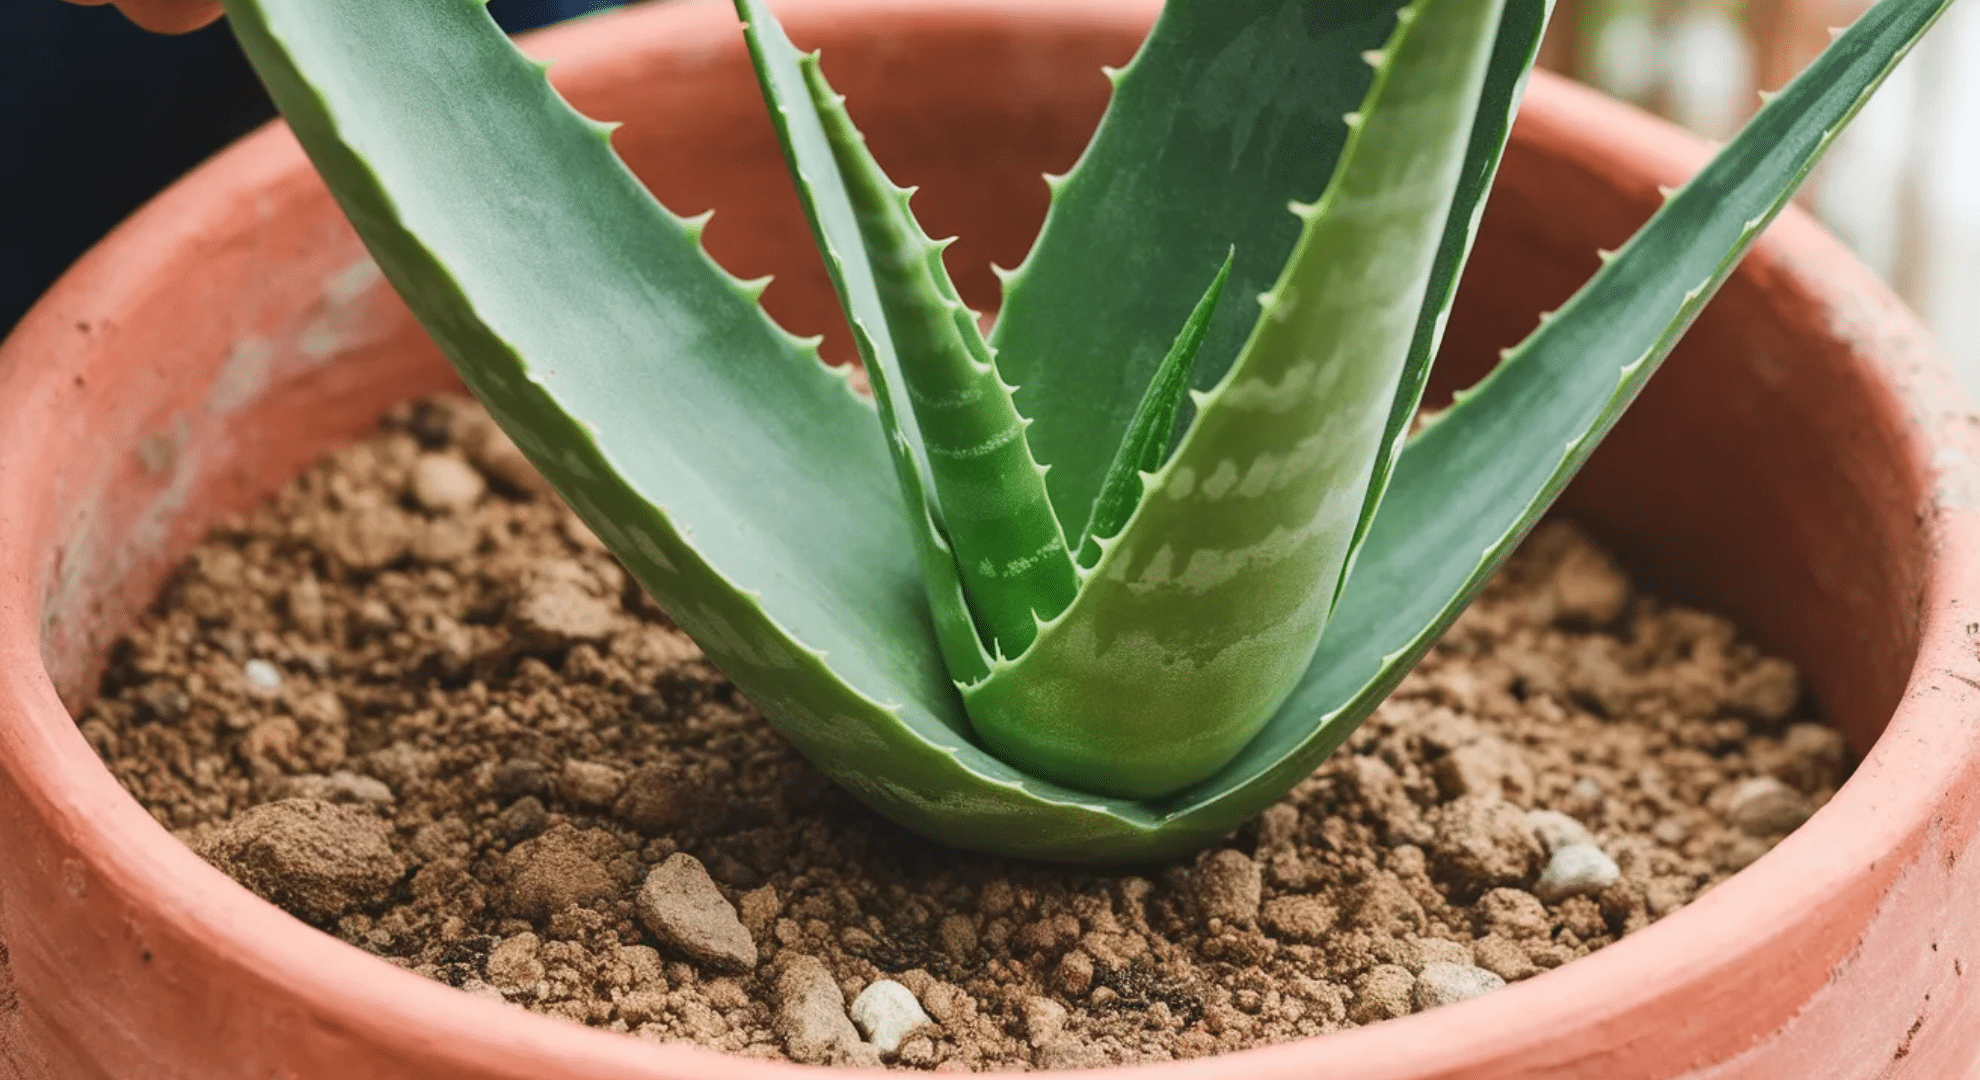
Getting your aloe into its new soil the right way matters. I’ve learned a few tricks that make a real difference.
Start with a clean pot that has drainage holes. No holes means trapped water, no matter how good your soil is.
Add a thin layer of your soil mix to the bottom. Just enough to position your aloe at the right height. Place your aloe in the center. Hold it steady while you fill around the roots with soil. Don’t pack it down hard; keep it loose.
Leave about an inch of space between the soil surface and the pot rim. This prevents water from spilling over when you water.
Here’s what I always do: wait three to five days before watering. This gives any damaged roots time to heal. Watering immediately can cause rot.
Pat the soil gently to settle it, but don’t compress it. You want air pockets to remain.
When to Repot Your Aloe Vera
Your aloe will tell you when it needs new soil. You just have to know what to look for.
Check if roots are coming out of the drainage holes. That’s a clear sign it’s outgrown its home. If water runs straight through without absorbing, the soil’s probably broken down. Old soil compacts and loses its drainage ability.
I repot every two to three years even if the plant looks fine. Soil quality degrades over time. Nutrients deplete and the mix gets dense.
Spring is the best time to repot. Your aloe is entering its active growing phase. It’ll recover and establish faster. If your plant is wobbly or leaning heavily to one side, it might be top-heavy for its pot.
Pups crowding the base are another sign. They’re competing for space and nutrients. Don’t repot a struggling aloe immediately. Fix its care conditions first, then consider repotting once it stabilizes.
Common Soil Mistakes That Kill Aloe Vera
I’ve made most of these mistakes myself. Learning what not to do saved more of my aloes than learning what to do right.
- Using garden soil straight from the ground: It’s way too heavy and holds moisture like clay. Your aloe’s roots will suffocate in it.
- Not adding enough drainage material: A little perlite isn’t enough. You need at least 30-40% gritty material or your soil won’t drain fast enough.
- Reusing old soil without refreshing it: Soil breaks down over time. What drained well two years ago is now compacted and waterlogged.
- Mixing in fertilizer-heavy soil: Aloes don’t need rich soil. Too many nutrients can actually burn the roots and cause more harm than good.
- Forgetting drainage holes in the pot: Perfect soil can’t save your plant if water has nowhere to escape. Always check for holes before potting.
- Packing soil too tightly around roots: I used to press down firmly thinking it would secure the plant. It just eliminates air pockets the roots need.
- Adding moisture-retaining amendments: Things like vermiculite or water crystals defeat the whole purpose of fast-draining soil.
- Using beach sand instead of horticultural sand: Beach sand contains salt that damages roots. It also tends to be too fine and compacts easily.
These mistakes are fixable. If you catch them early, you can repot with the right soil and your aloe will bounce back. I’ve saved plants that looked nearly dead just by correcting the soil situation.
Wrapping Up
I’ve seen too many aloes struggle simply because their soil wasn’t right. Getting the soil for aloe vera correct makes everything else easier—watering becomes simpler, root rot becomes rare, and your plant actually thrives instead of just surviving.
You now know exactly what your aloe needs. Fast drainage, gritty texture, and the right balance of materials. Whether you mix your own or buy commercial, you’ve got options that work.
The difference between soggy soil and proper drainage is often just adding more perlite or sand. Small change, massive impact.
Start with the basics, adjust based on what you see, and your aloe will show you it’s happy through strong growth and vibrant color.
Want more plant care tips? Check out other gardening guides on the website for practical advice that works!