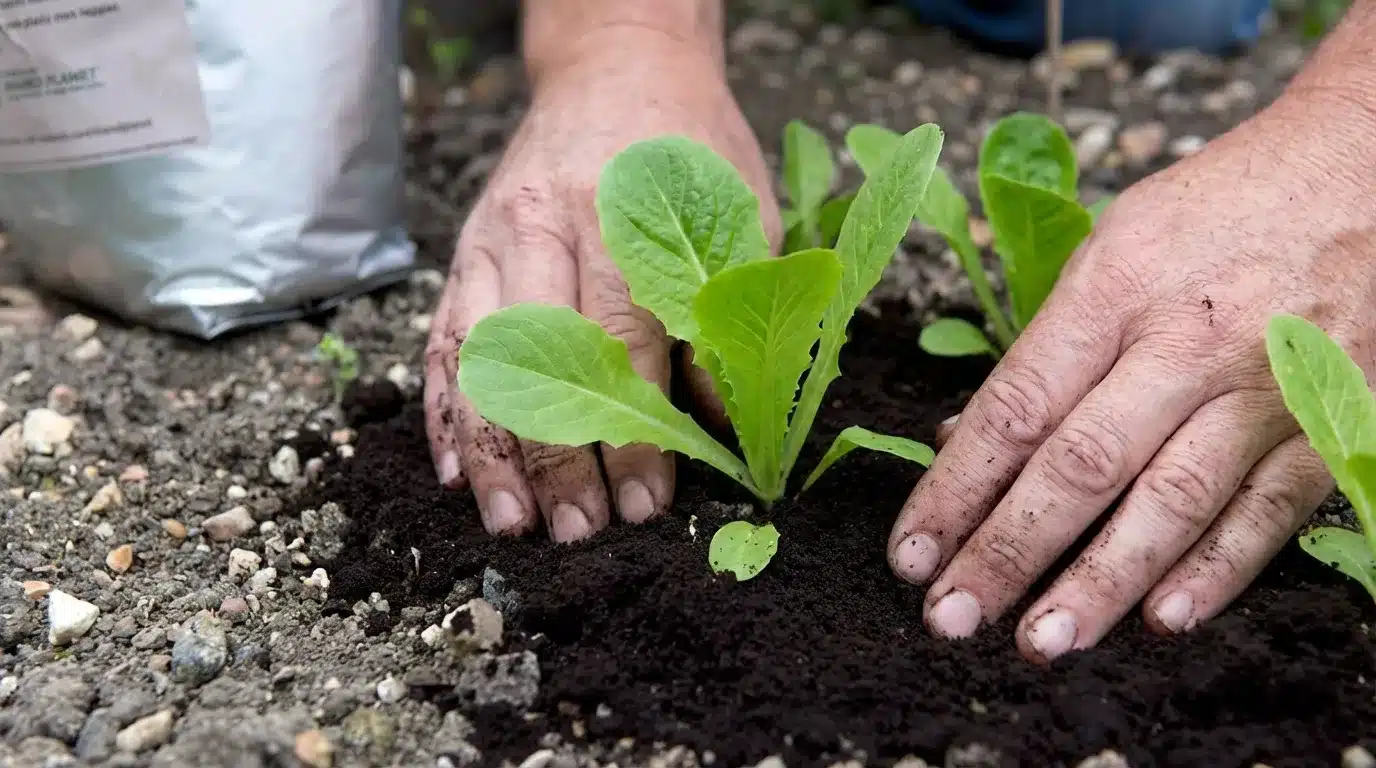
Growing basil looks simple until you actually start cutting it and wonder why the plant suddenly stalls or collapses.
The truth is, there’s a sweet spot to getting steady, healthy growth, and once you understand how the plant works, it’s almost effortless.
Today, I’ll walk you through the practical steps that keep basil producing, the little details people overlook, and the situations where your approach needs to shift.
You’ll also pick up tips for storing your harvest, collecting seeds, and avoiding the mistakes that trip up beginners. By the end, you’ll feel a lot more confident with how to harvest basil and keep it thriving.
When Basil is Ready to Harvest
Alright, so here’s the deal with basil. People overthink this plant like it’s some fragile little thing, but it’s tough. It just needs a little structure.
When it’s ready, you’ll know, because the whole plant starts looking like it’s trying to take off. And if you get the timing right, it keeps coming back stronger. This is the sweet spot you’re aiming for.
Height and Growth Stage
I’ve seen this a lot in home gardens. Folks want to cut basil the second it pops out of the soil. But the plant’s basically a toddler at that point. You gotta give it a little time to stand on its own.
Here’s what you look for:
- Around six inches tall. That’s the baseline.
- Three or four sets of true leaves. Not the tiny baby leaves it starts with. Real leaves.
- The plant should look full, not stretched or floppy. If it’s leaning or reaching for light, fix the light first.
A healthy basil plant looks steady. Thick enough stem. Leaves that feel firm. Color that’s rich. If your plant looks tired or washed out, don’t harvest yet. Let it get its strength up.
The Best Time of Day to Harvest
You ever try to work when you’re soaked and half-awake? That’s basil in the early morning with dew on it. Give it a little time to shake off the moisture.
The best time is late morning, once the dew dries but before the heat really rolls in. The leaves are firmer then. They bruise less. They taste better. The plant handles the cut without going, “Seriously? Now?”
It’s like catching it in a good mood.
How Often You Can Harvest
Basil’s like one of those people who actually gets motivated when you challenge them. The more you pick it, the harder it pushes back with fresh growth.
Here’s the rhythm:
- Big cuts every week or so. Seven to ten days feels right.
- Tiny snips? Go for it whenever you need some for a recipe. Grab a little off the top. It doesn’t mind.
Just don’t take half the plant at once and expect it to thank you. Keep it steady. A third at most. Treat it with a little respect, and it’ll give you more than you expect.
The Correct Way to Harvest Basil Step-by-Step
When you cut basil the right way, the whole plant kicks into overdrive. These steps keep it growing strong instead of leaving it looking wiped out.
Step 1: Stop Stripping Leaves – Use Proper Cutting
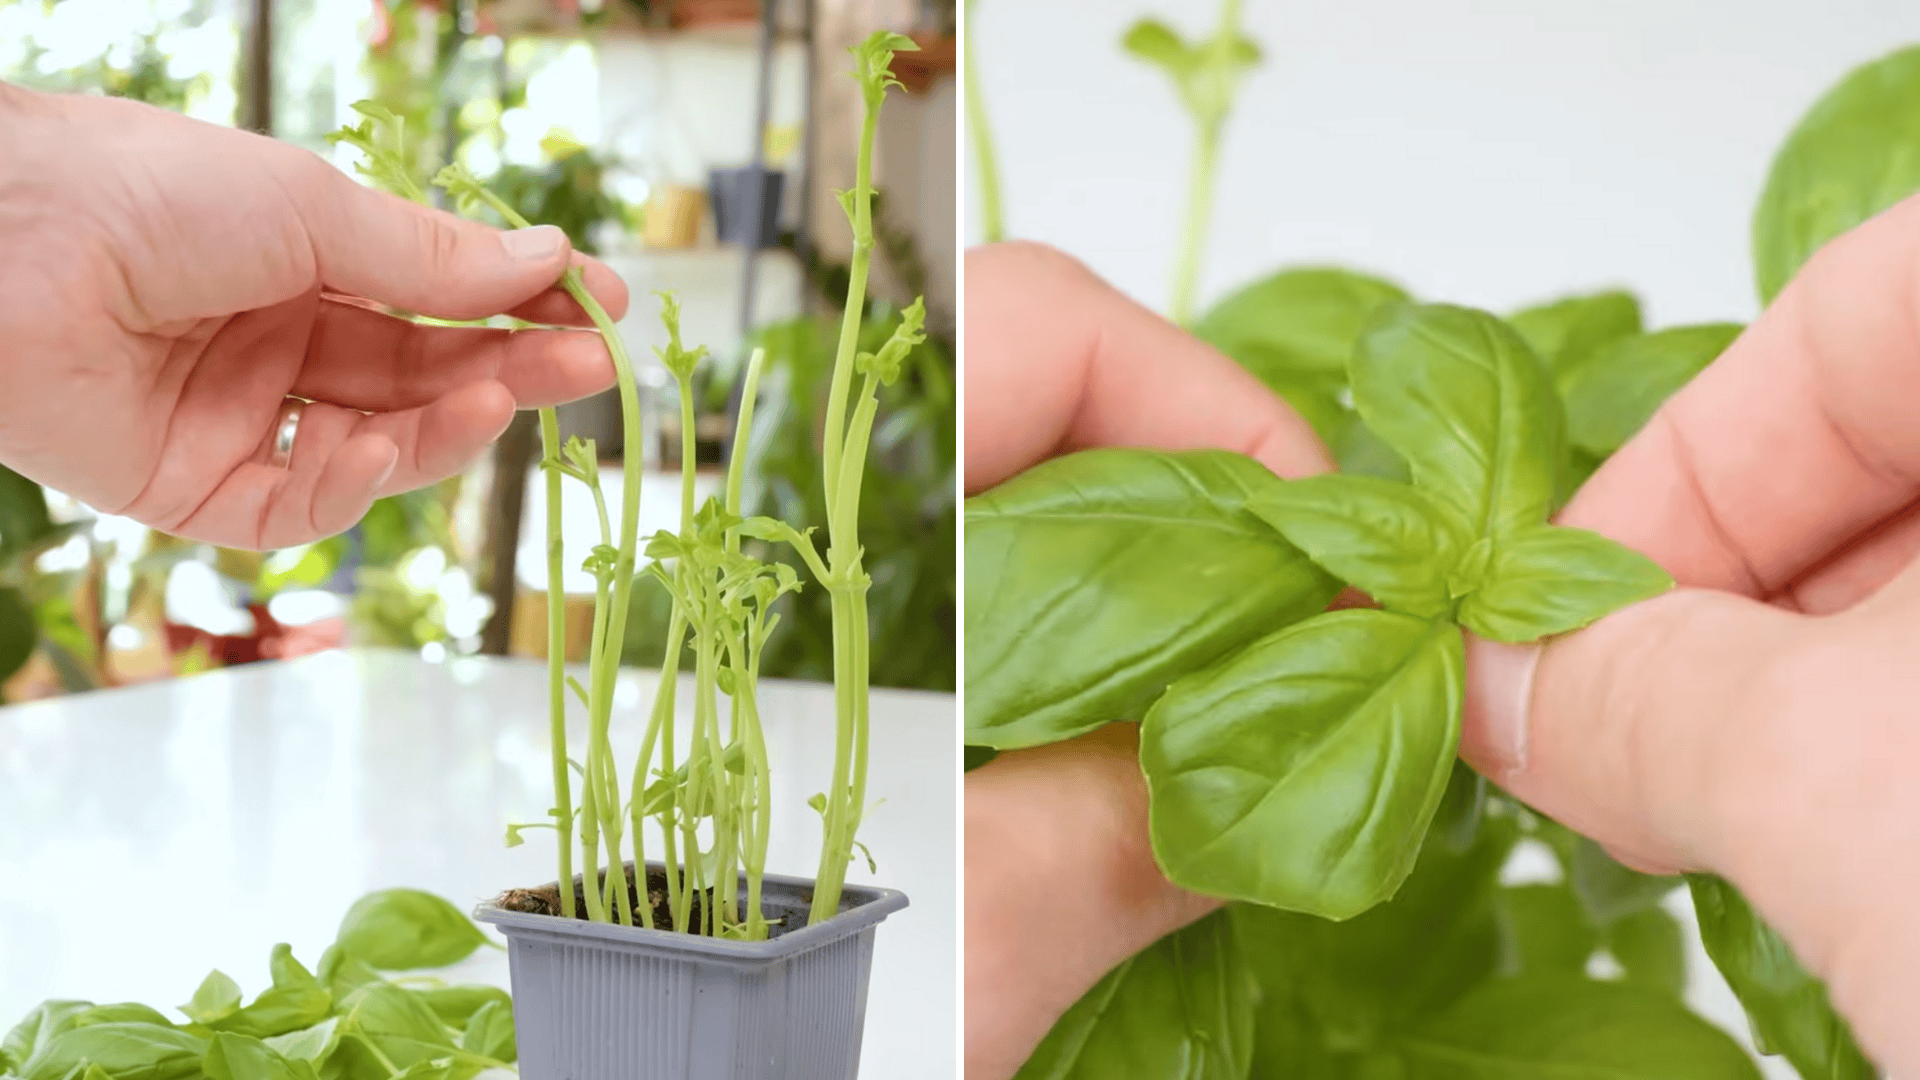
Most people ruin basil by plucking leaves one by one. That leaves the plant with bare stems, no way to photosynthesize, and it dies.
So rule number one: don’t pick leaves off randomly. Always cut the stem, never strip the leaves.
Use clean scissors; not sterile, just clean. Dirty or rusty blades introduce bacteria that can kill the plant after pruning.
Step 2: Study the Stem and Find the Growth Points
Look closely at each stem. You’ll see:
- A single main stalk
- Leaf pairs branching off
- Tiny baby leaves tucked where the leaf pairs meet the stem
Those baby leaves are everything. They’re the plant’s next move. They’re the spots basil grows from after you prune.
If you cut below a node or above immature leaves, the plant can’t rebuild. You want a mature leaf pair with visible baby leaves beneath it.
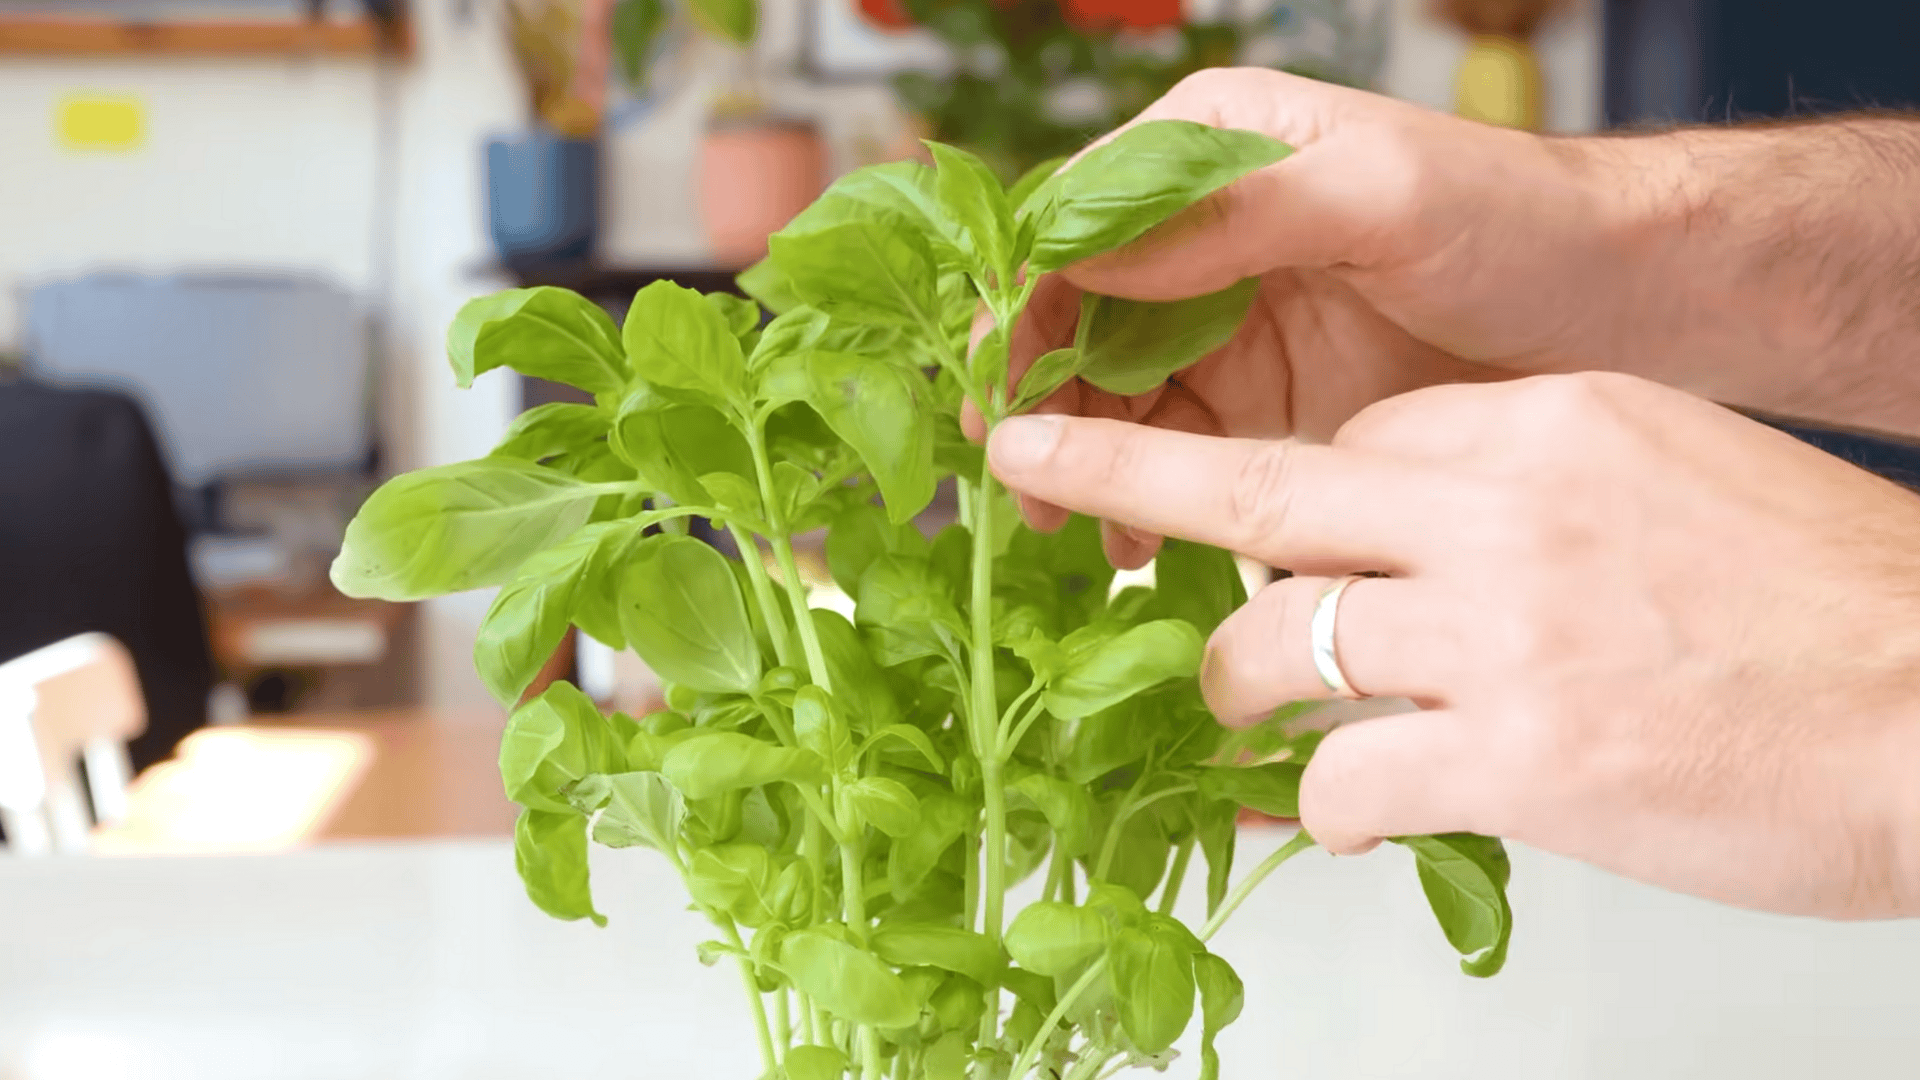
Step 3: Make One Clean Cut Just Above a Leaf Node

This is the core technique. Find the lowest healthy leaf set you want to keep.
Then:
- Cut just above that leaf pair
- Leave those leaves behind
- Don’t cut above tiny immature leaves at the base
What happens next is the magic:
- The plant sends energy to the baby leaves below your cut
- Those two baby leaves become two new branches
- One stem becomes two, two stems become four
- This is how you get a big, bushy basil plant
If you skip this step and just grab leaves, your plant stays tall, skinny, and eventually collapses.
Step 4: Harvest the Whole Plant (But Leave Enough to Recover)
Do this across every stem:
- Cut stems above mature leaf pairs
- Leave at least one strong leaf pair per stem
- Avoid cutting down to tiny base leaves; they’re too small to power recovery
- Never take more than one-third of the plant during a major harvest
When you’re done, the plant may look like it got a rough haircut, but that’s normal. Give it a few weeks, and it comes back fuller than before.
Step 5: Give the Plant the Light It Needs to Bounce Back
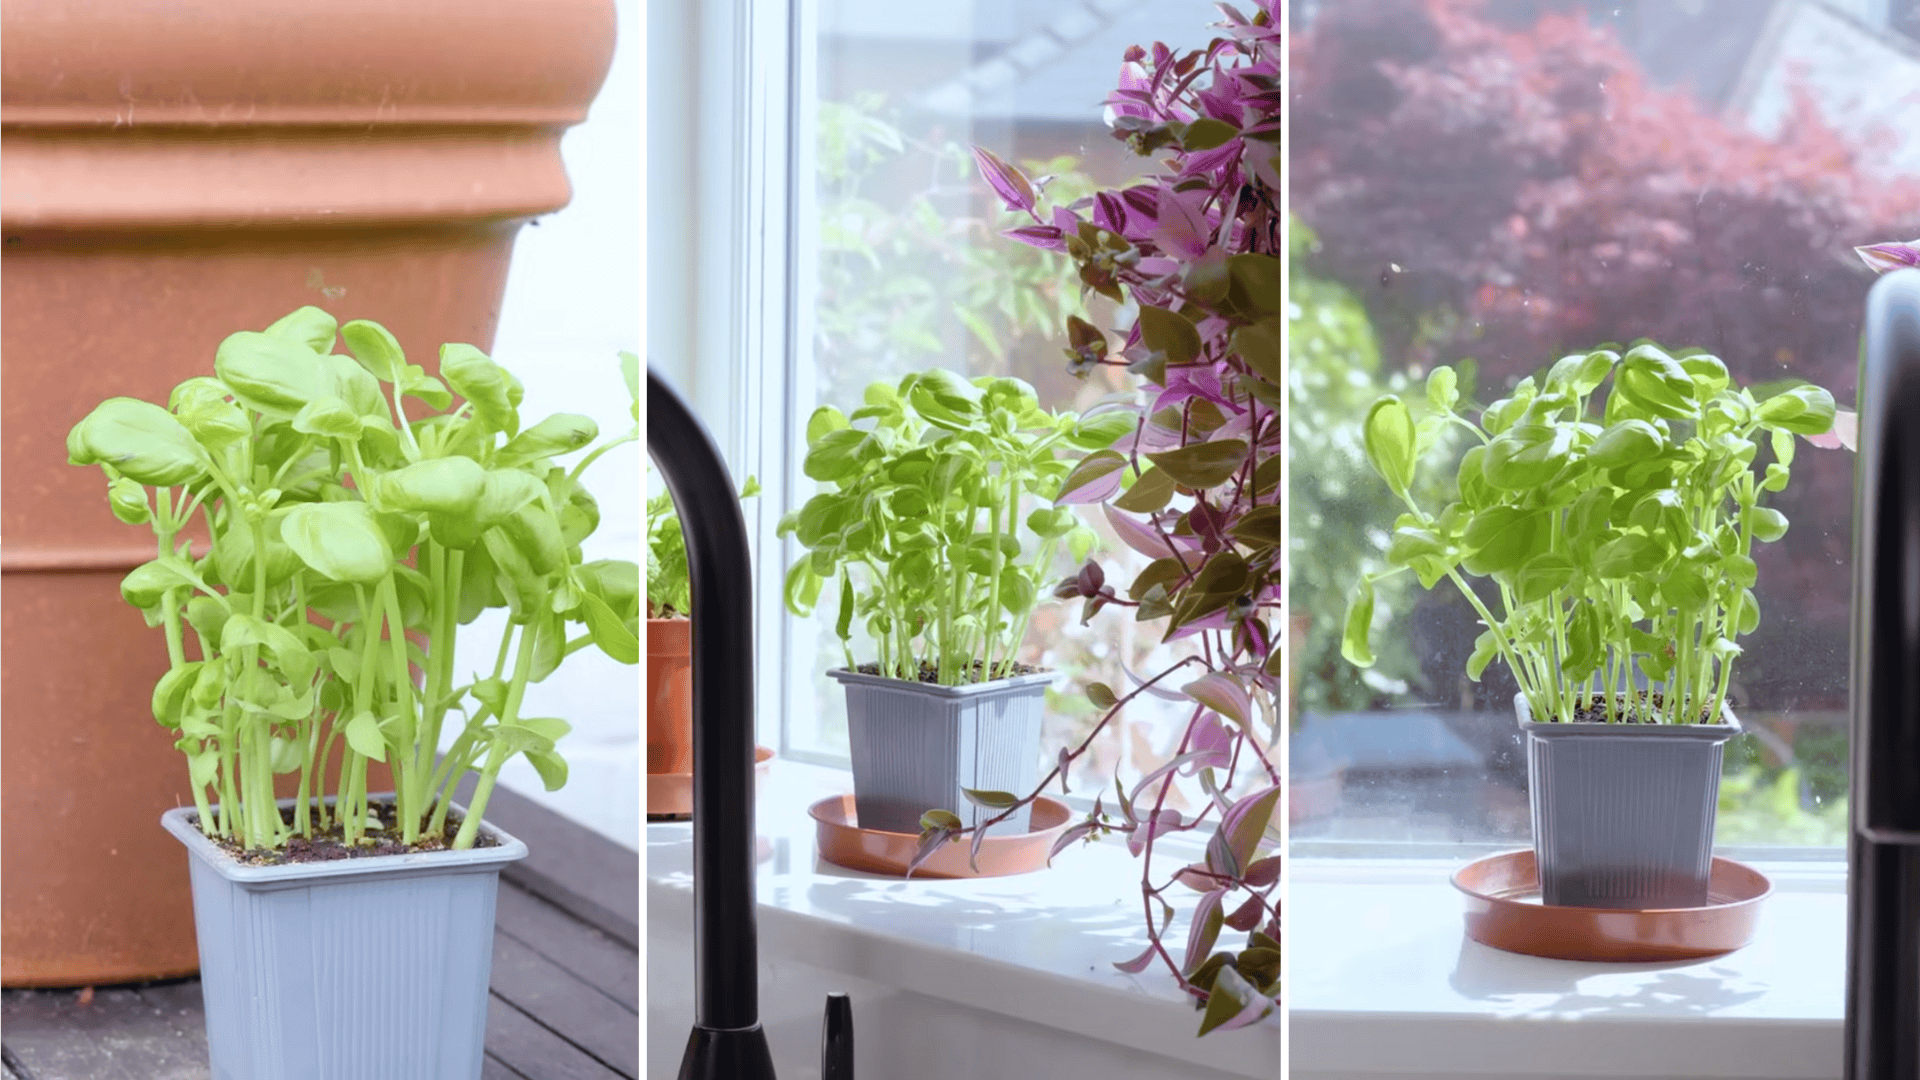
After pruning, basil hits a sensitive phase where light becomes the biggest factor in how fast it bounces back. Think of it as a sun-powered plant that needs a real energy boost to recover.
Basil comes from warm, sunny regions. It wants as much direct sun as you can give it. Outdoors always beats indoors. Aim for 6–8 hours of direct sunlight a day.
Indoors, rotate the pot every few days since basil leans toward the brightest spot. Not enough sun indoors? Use a grow light for about 14 hours a day.
Note: Don’t keep the light on nonstop. Basil still needs darkness to rest.
Get the light right, and the plant recovers fast. If the light is weak, you’ll see slow growth, floppy stems, and a plant that never quite fills back in. Light is the main driver after pruning.
Step 6: Manage Temperature, Water, and Feeding Properly
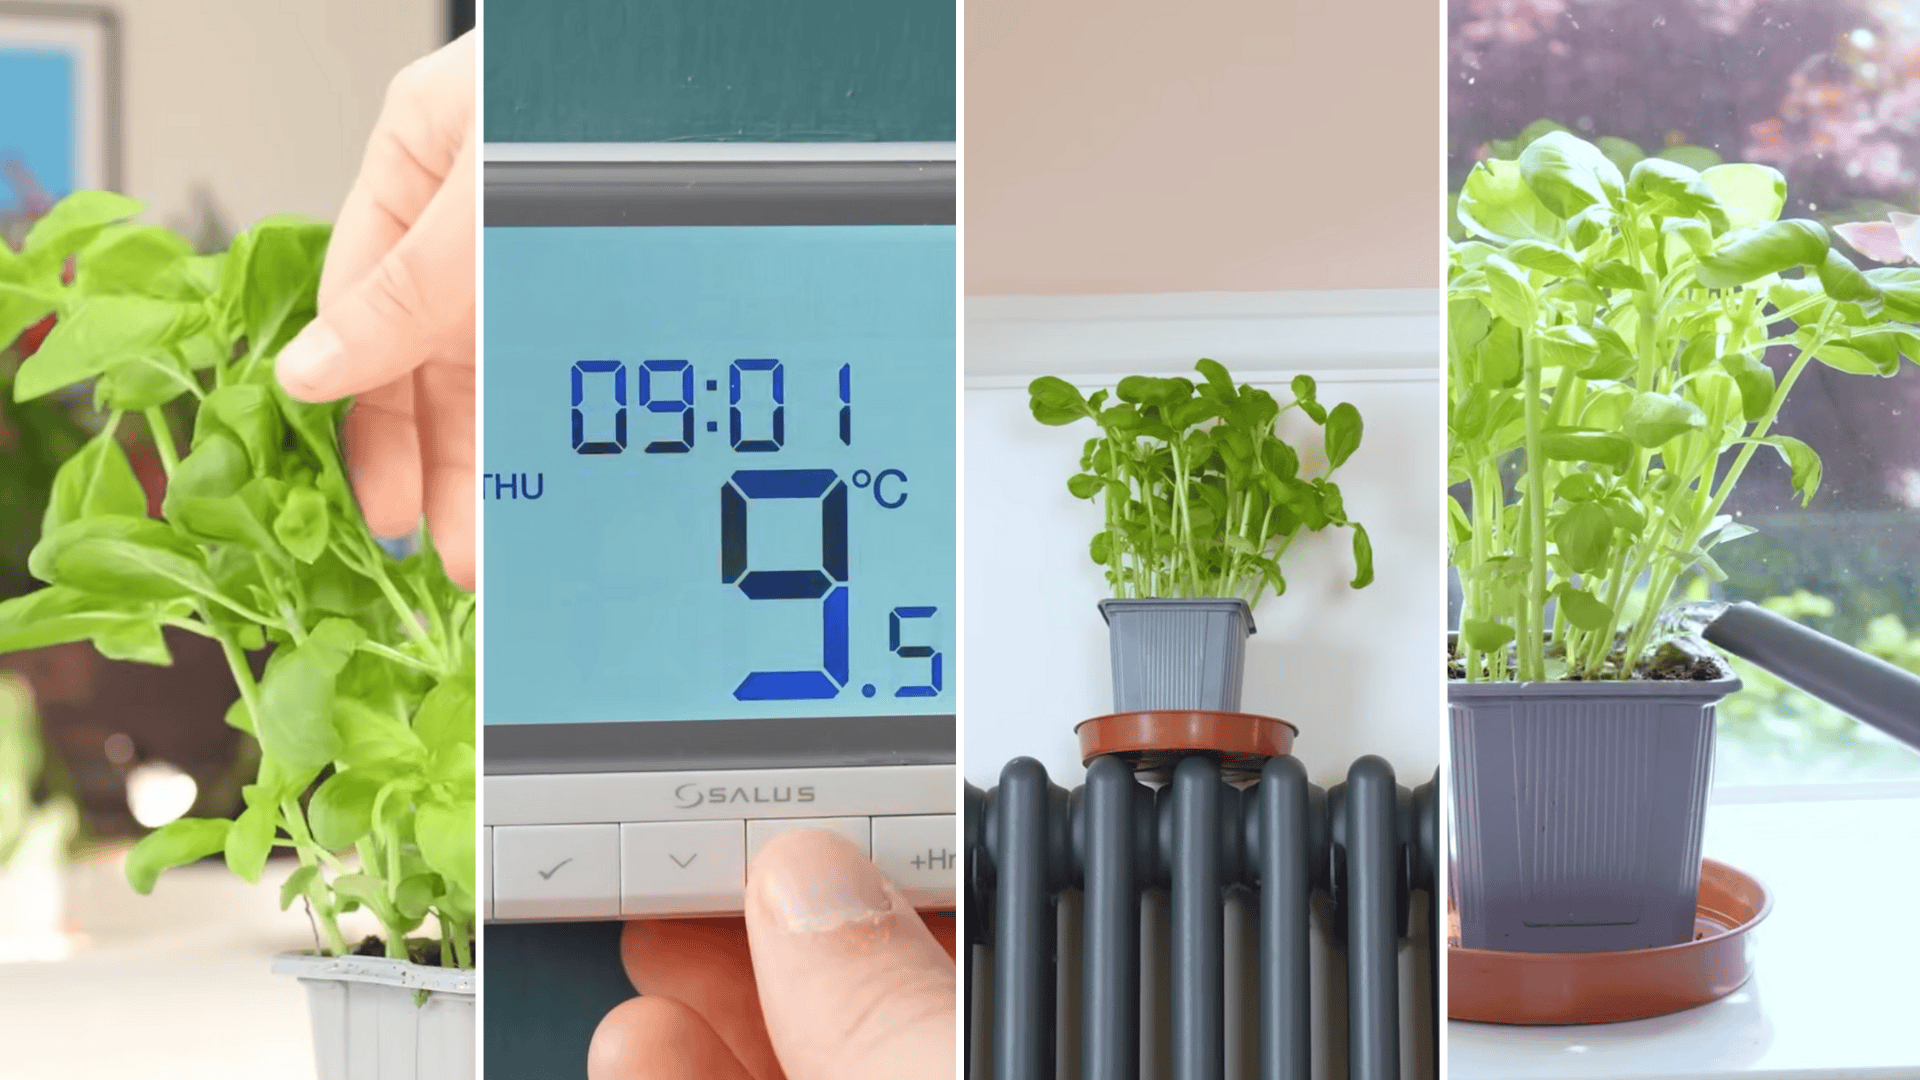
This is where people lose basil without realizing why.
Temperature:
- Thrives at 21–24°C (70–75°F)
- Hates temps below 16°C (60°F)
- Keep away from drafty windows, exterior doors, heaters, and AC vents
- Basil wants warm, stable conditions
Watering:
- Soil should stay moist but never soggy
- If it dries out, basil wilts
- If it’s waterlogged, roots suffocate
Stick your finger deep into the soil. If it feels dry, water thoroughly until it drains out the bottom.
Feeding:
- Store-bought basil is usually starving
- Basil grows fast and burns through nutrients
- Use a liquid feed with nitrogen
- Feed lightly but regularly so the plant has the resources to grow new stems
All of this together keeps the plant alive after a heavy harvest.
For a quick visual walkthrough of the right way to prune basil, take a look at this guide from Sheffield Made Plants: Stop Harvesting Basil Like This
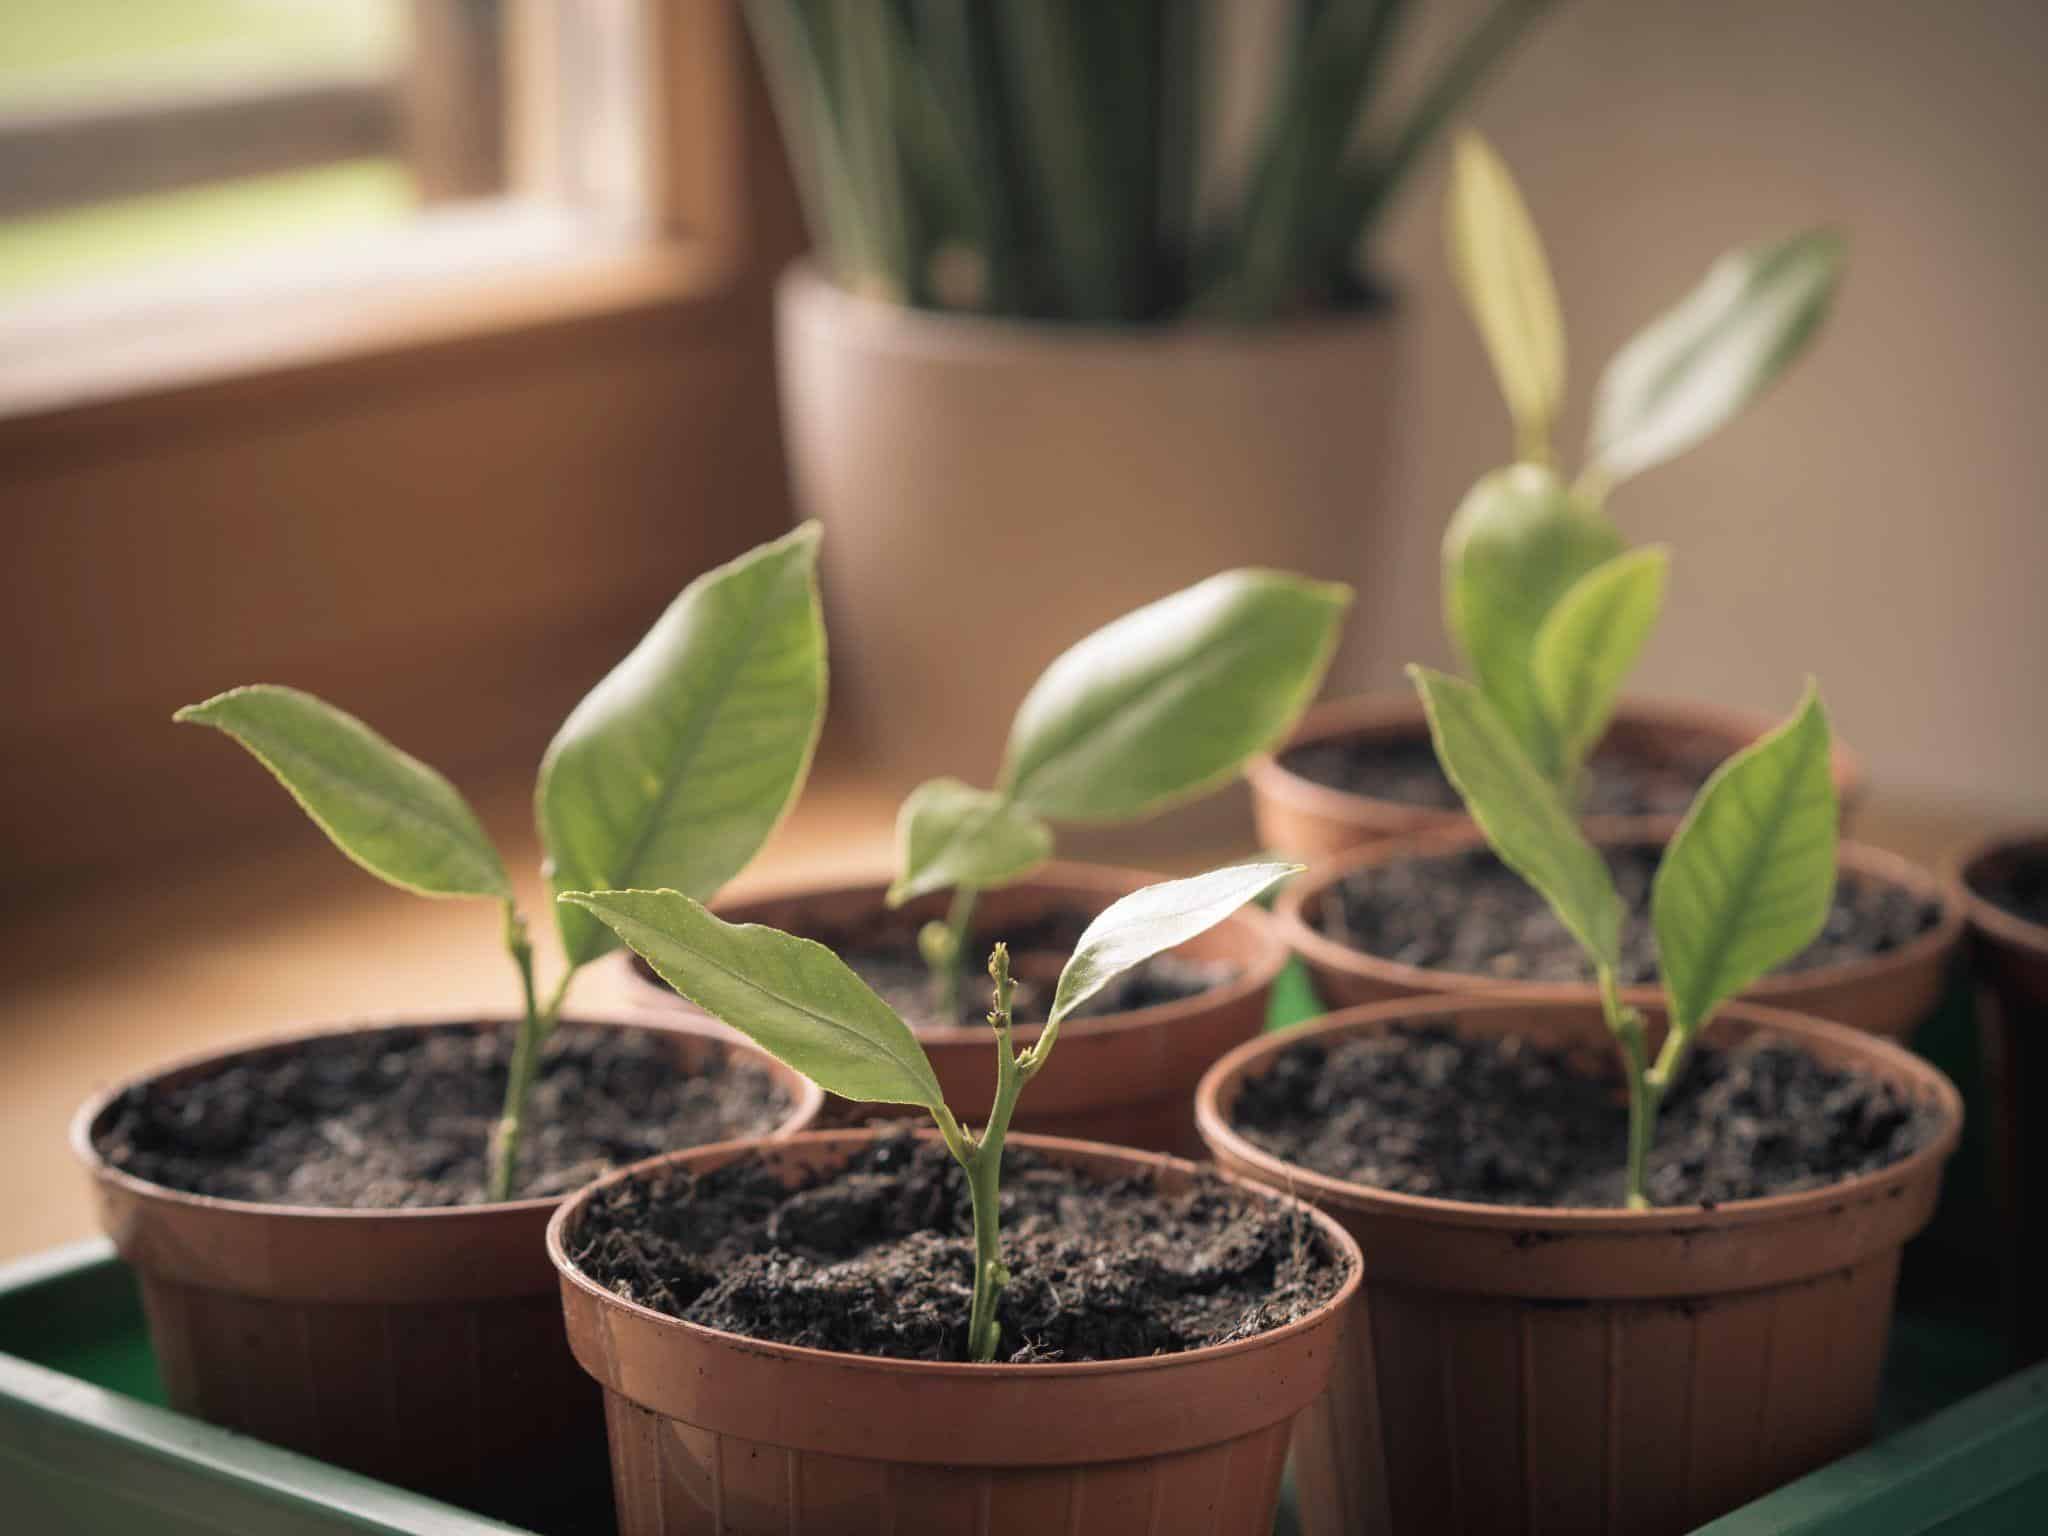
How to Fix Overcrowded Supermarket Basil
Most grocery-store basil isn’t dying because you harvested it wrong; it’s dying because it’s crammed into the pot like a packed subway car.
What looks like one plant is usually twenty or thirty seedlings all fighting for the same tiny space. If you don’t separate them, they choke each other out fast. Here’s the simple fix:
- Take the whole root ball out of the pot
- Gently tease the stems apart into individual plants or small clusters
- Repot them so each one has room to grow on its own
Once they have space, every plant grows stronger and lives way longer. This one step alone can turn “basil that dies in a week” into basil that lasts for months.
How to Harvest Basil for Different Needs
There isn’t just one way to harvest basil. How you cut it depends on what you’re cooking and how much you need. Here’s how to handle the small stuff, the big hauls, and those days when you’re going full pesto-mode:
If You Only Need a Few Leaves
When you just need a little basil for a dish, keep it simple. Pinch a couple of leaves from the top of the plant. Stay away from the lower leaves; those are the ones doing most of the heavy lifting to keep the plant healthy.
Taking from the top encourages new growth and keeps the plant pushing upward without stressing it out.
If You Need a Large Harvest
When you’re taking a bigger chunk, switch to shears so the cuts are clean.
Look for the major nodes on each stem, the spots where full leaf pairs are growing, and make your cuts just above those points. Spread the cuts around the plant instead of taking everything from one side. That keeps the plant balanced and helps it regrow evenly.
How to Harvest Basil for Pesto
Pesto days hit different, because you need a ton of leaves fast. Go for the larger, mature leaves higher up on the plant, they have the best flavor and they’re easier to gather quickly.
Work stem by stem, cutting above strong nodes so the plant keeps branching out. You’ll fill a bowl fast, and the plant will still bounce back with fresh growth.
Special Harvesting Situations
Sometimes basil throws curveballs; flowers, weak indoor light, or cold weather, and you’ve got to adjust how you harvest it. Here’s how to handle those situations without losing the plant:
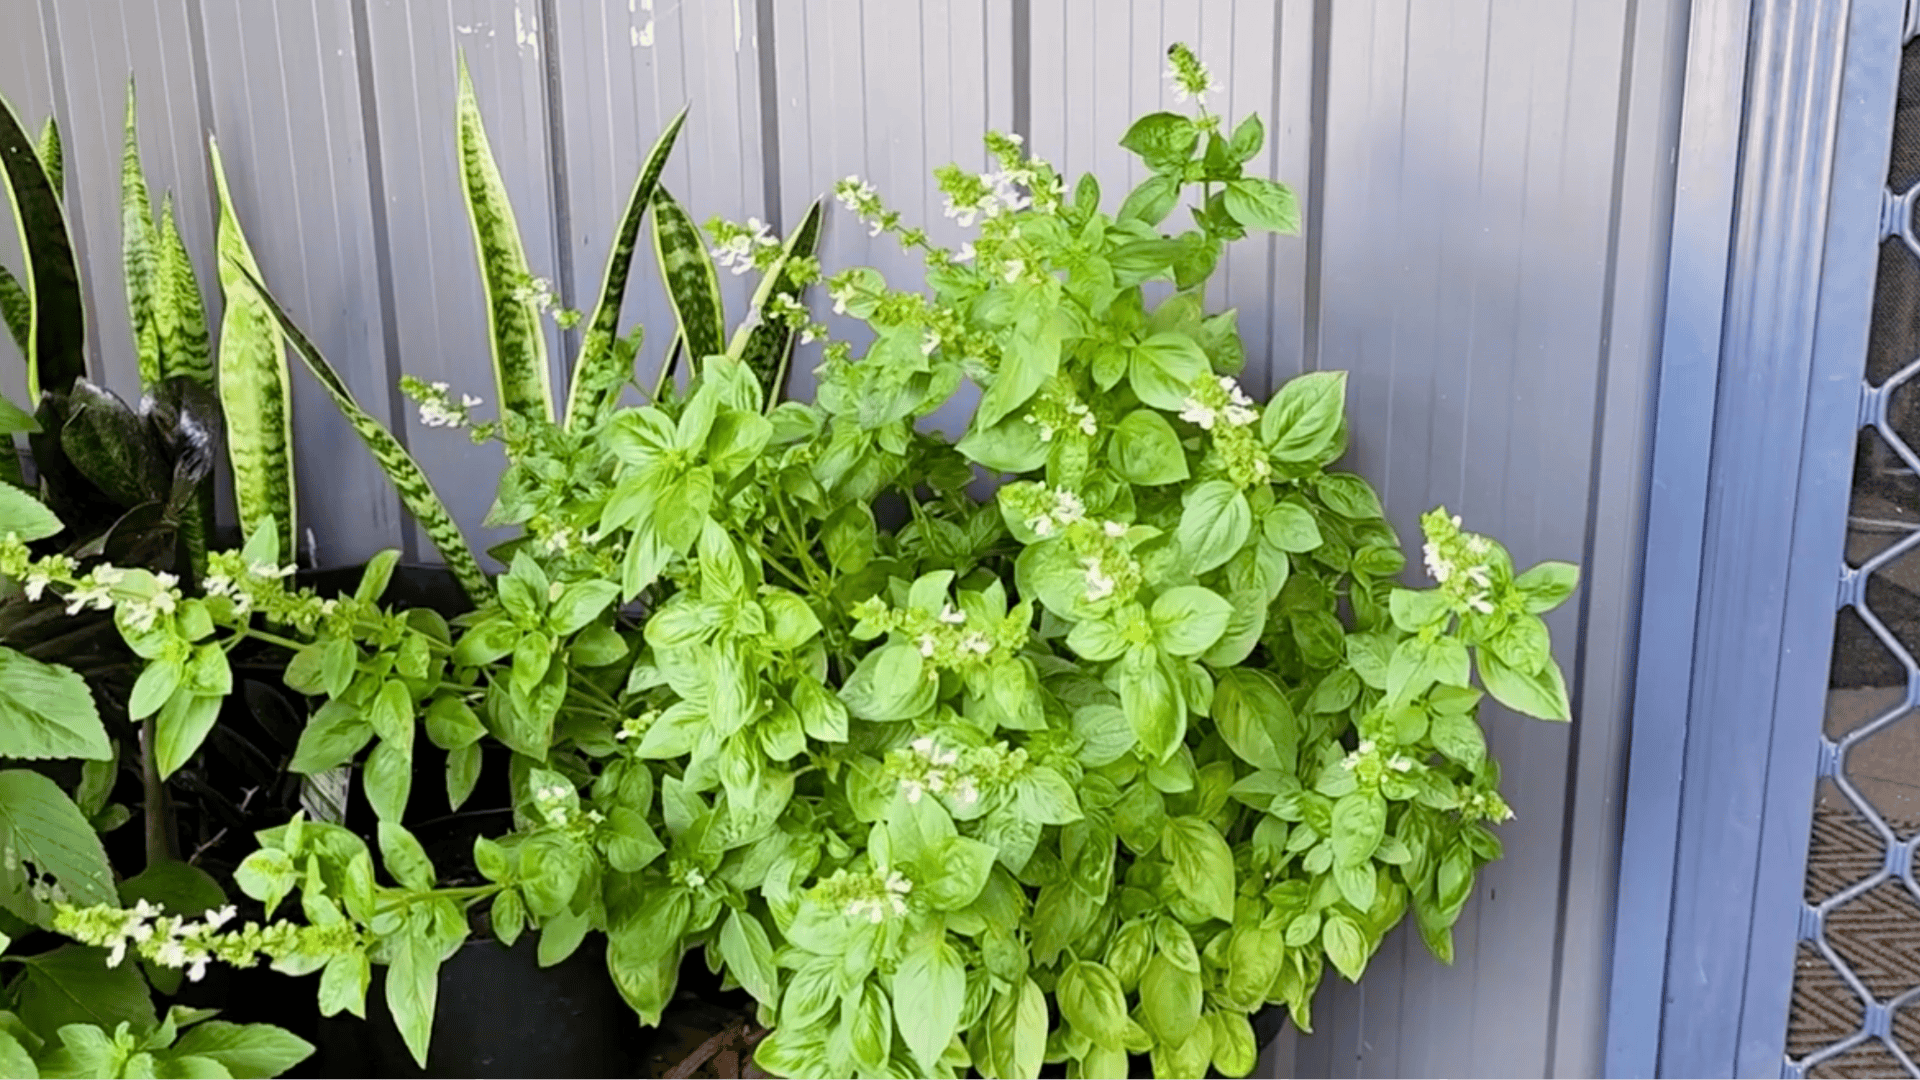
Harvesting Basil that is Flowering
Flowering changes the flavor; the leaves get sharper because the plant is spending its energy on blooms.
Just snip off the flower spikes and cut the stem back to a solid leaf node below them. If it’s bolting hard and getting tall and skinny, prune it a bit lower to reset it.
Harvesting Indoor Basil
Indoor basil grows differently because the light is weaker. Rotate the pot every few days, trim above leaf nodes to stop it from stretching, and use a grow light if the window light isn’t cutting it. This keeps it compact instead of leggy.
End-Of-Season Basil (Before Frost)
Once the nights get cold, basil starts taking damage fast. When frost is coming, pull the whole plant, take the good leaves, and use or freeze them right away. This lets you save as much as possible before the cold wipes it out.
How to Harvest Basil Seeds
Saving basil seeds is easy, and it’s a solid way to grow fresh plants next season without buying new ones. Once the flowers dry out, the plant gives you everything you need; you just have to collect it the right way.
You’ll know the seeds are ready when the pods turn brown and dry, and they come off the plant with almost no effort. If they’re still green or soft, they’re not ready yet.
Steps to Harvest and Clean Basil Seeds
- Let the basil form long flower spikes and dry out naturally; the pods should turn brown and crumble easily.
- Run your hand along the dried spikes to strip off the pods, collect everything, and let it dry for about a week.
- Rub the dried material through a fine strainer so the seeds fall through while most of the husks stay behind.
- Shake the seeds in a bowl and blow lightly to remove the fine chaff; the lighter bits blow away while the heavier seeds stay put.
- Keep cleaning until you’re happy with them, then store the seeds in a dry paper envelope until you’re ready to plant next season.
If you’d rather watch someone do it, this video shows the exact method from start to finish:
Best Way to Store Basil Seeds
Keep the seeds in a cool, dark spot where the temperature stays steady. Paper envelopes or packets work best because they let the seeds breathe and stay dry until you’re ready to plant them.
How to Store Basil After Harvest
Basil bruises fast and loses flavor quickly, so how you store it matters. Handle it gently, keep it dry, and pick a method that matches how soon you plan to use it.
1. Short-Term Storage (Fresh Use)
If you’re using the basil within a few days, the easiest way is the jar-in-water method. Trim the stem ends, place the basil in a glass of water like a bouquet, and leave it on the counter. It keeps the leaves firm and bright.
You can refrigerate basil, but the cold can darken the leaves. If you chill it, keep it loosely covered to protect it from direct cold air.
2. Freezing Basil
Freezing is great for keeping the flavor without worrying about wilting. You can freeze whole leaves on a tray, then bag them once solid.
Another option is the ice-cube method: blend basil with a little olive oil, pour it into ice cube trays, and freeze for easy portions.
If you’ve got a freeze dryer, that gives the best long-term flavor retention and keeps the leaves crisp and light.
3. Drying Basil
Drying changes the flavor a bit, but it’s perfect for cooking. Hang small bundles upside down in a warm, dry spot with good airflow, or use a dehydrator for a quicker turnaround.
Dried basil shines in soups, sauces, and anything that simmers long enough to wake the flavor back up.
4. Other Preservation Methods
You can also turn fresh basil into things that last longer.
- Basil oil adds quick flavor to roasted vegetables or pasta.
- Basil vinegar gives you a bright, herbal kick for dressings and marinades.
- Basil salt is an easy way to season dishes while keeping that fresh basil aroma around longer.
Common Mistakes to Avoid
| Mistake | Why It’s a Problem |
|---|---|
| Cutting too low on the stem | Leaves the plant with no growth points, slowing or stopping recovery. |
| Picking single leaves only from the bottom | Weakens the plant because the lower leaves do most of the energy production. |
| Removing more than ⅓ of the plant at once | Shocks the basil and stalls new growth for weeks. |
| Ignoring flower spikes | Flowers pull energy away from leaf growth and change the flavor. |
| Using dull or dirty tools | Causes ragged cuts and increases risk of infection or stem rot. |
Wrapping Up
Basil grows fast, but it only stays productive when you cut it with a little intention.
Once you understand where the plant wants to grow from, how much you can take, and how to support it afterward, the whole thing becomes easy. You get steady harvests, fuller plants, and better flavor all season
And if you decide to store leaves or collect seeds, you’ll get even more out of your effort. The key is paying attention to the small signals the plant gives you and working with them instead of against them.
If you’re ready to put everything into practice, grab your scissors and start your next harvest today.