A blank wall can make a finished room feel incomplete. The harder part is knowing what belongs there. You may need frames, art, tools, and secure hanging supplies. That list can feel unclear before you measure anything.
A gallery wall brings photos, prints, mirrors, textiles, and personal objects into one group. It can suit a living room, hallway, bedroom, or small bath.
You do not need to buy every item at once. Start with what you own, then add only the missing sizes and shapes.
These gallery wall ideas cover styles, rooms, budgets, and useful materials. You will also learn a simple DIY gallery wall method. The content below will help you choose the right pieces and build the wall in a clear, steady order.
Give Your Gallery Wall a Clear Purpose Before Buying Anything
A clear purpose keeps the wall useful and helps you avoid random purchases. Start by deciding what the display should hold.
Use these checks before you shop. They will shape your gallery wall frames, art choices, and hanging plan.
- Wall: Choose space above furniture, along stairs, or in a hallway.
- Purpose: Pick photos, art, keepsakes, or a balanced mix.
- Size: Measure the wall and any furniture below it.
- Budget: Set a firm spending range before buying new pieces.
- Existing items: Gather frames, prints, mirrors, and personal objects.
- Main piece: Choose one larger item to guide the group.
- Wall type: Check which hardware suits the surface.
This quick review helps you buy only what fits your wall and plan.
Gallery Wall Ideas for Different Rooms and Budgets
Your wall size, budget, and current collection will guide the right setup. Each idea explains what to gather and where it works.
1. Matching Black Frame Grid
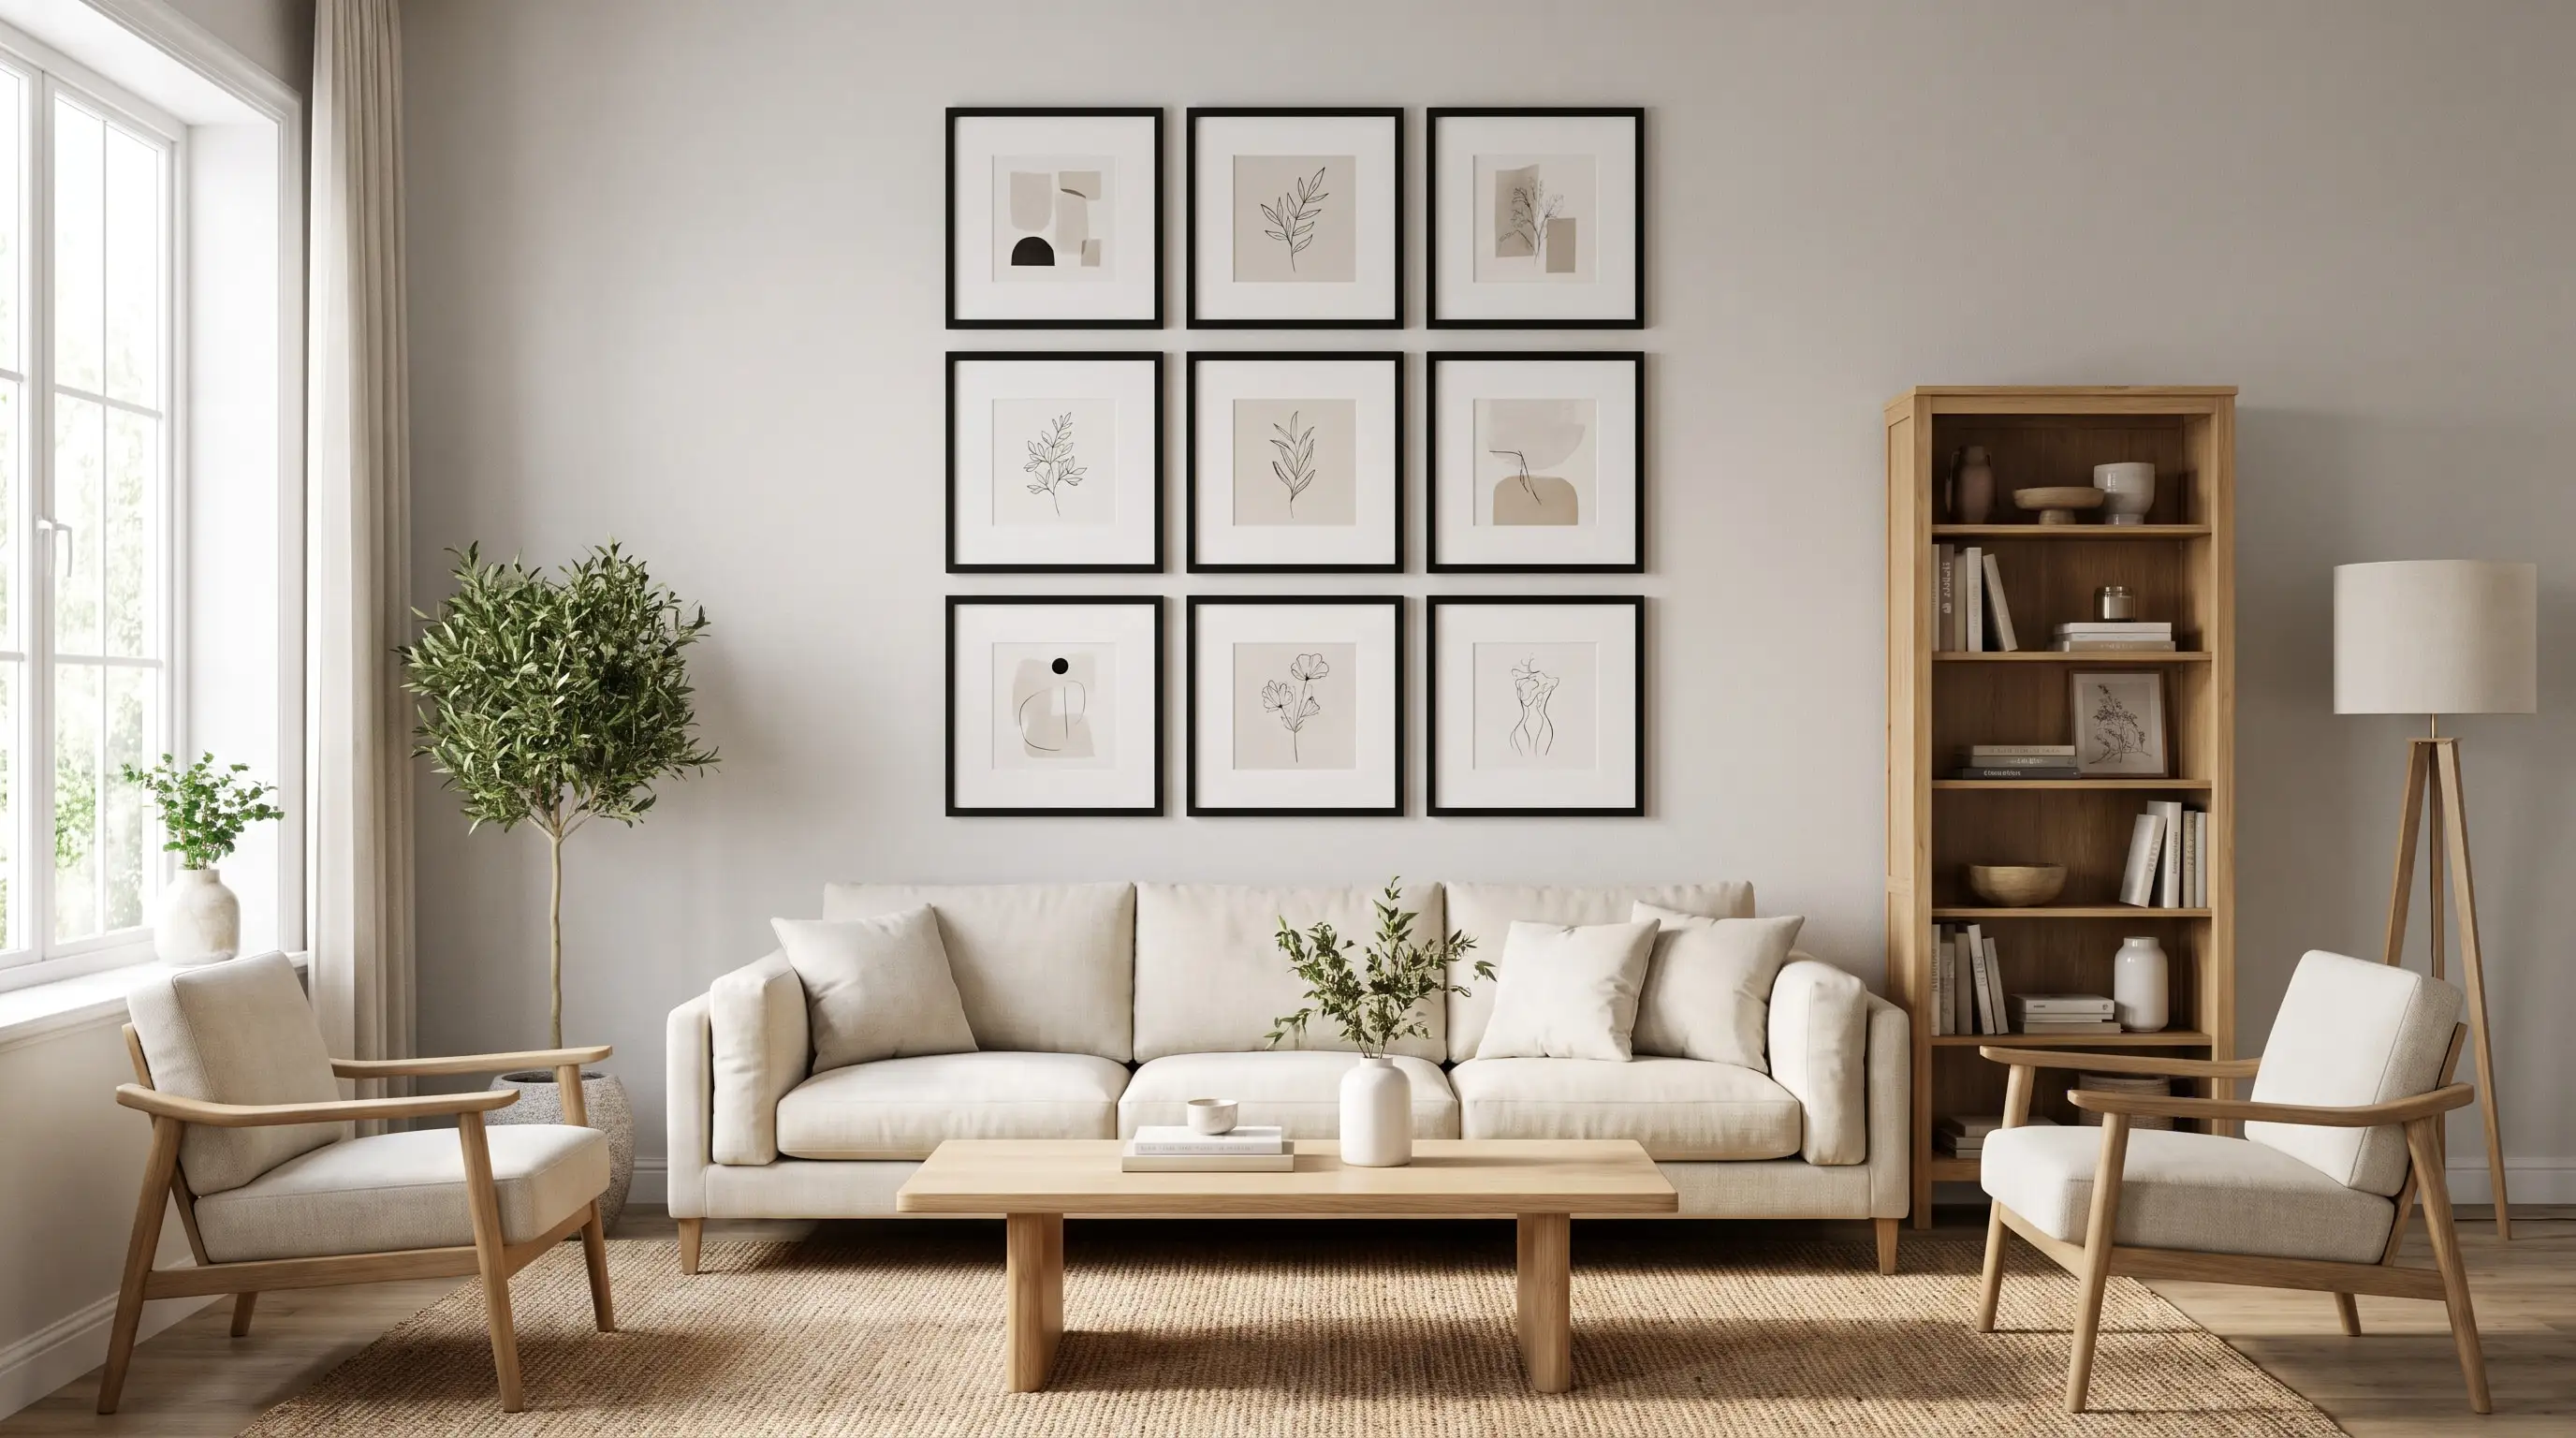
A black frame grid gives the wall a clear, steady shape. Use equal frames, white mats, and art in one size. This setup works above a sofa, desk, bed, or console. Keep every gap even, then check each row with a level.
Choose this option when you want simple gallery wall layout ideas. A ready-made frame set can also reduce measuring time.
2. Natural Wood Frame Wall
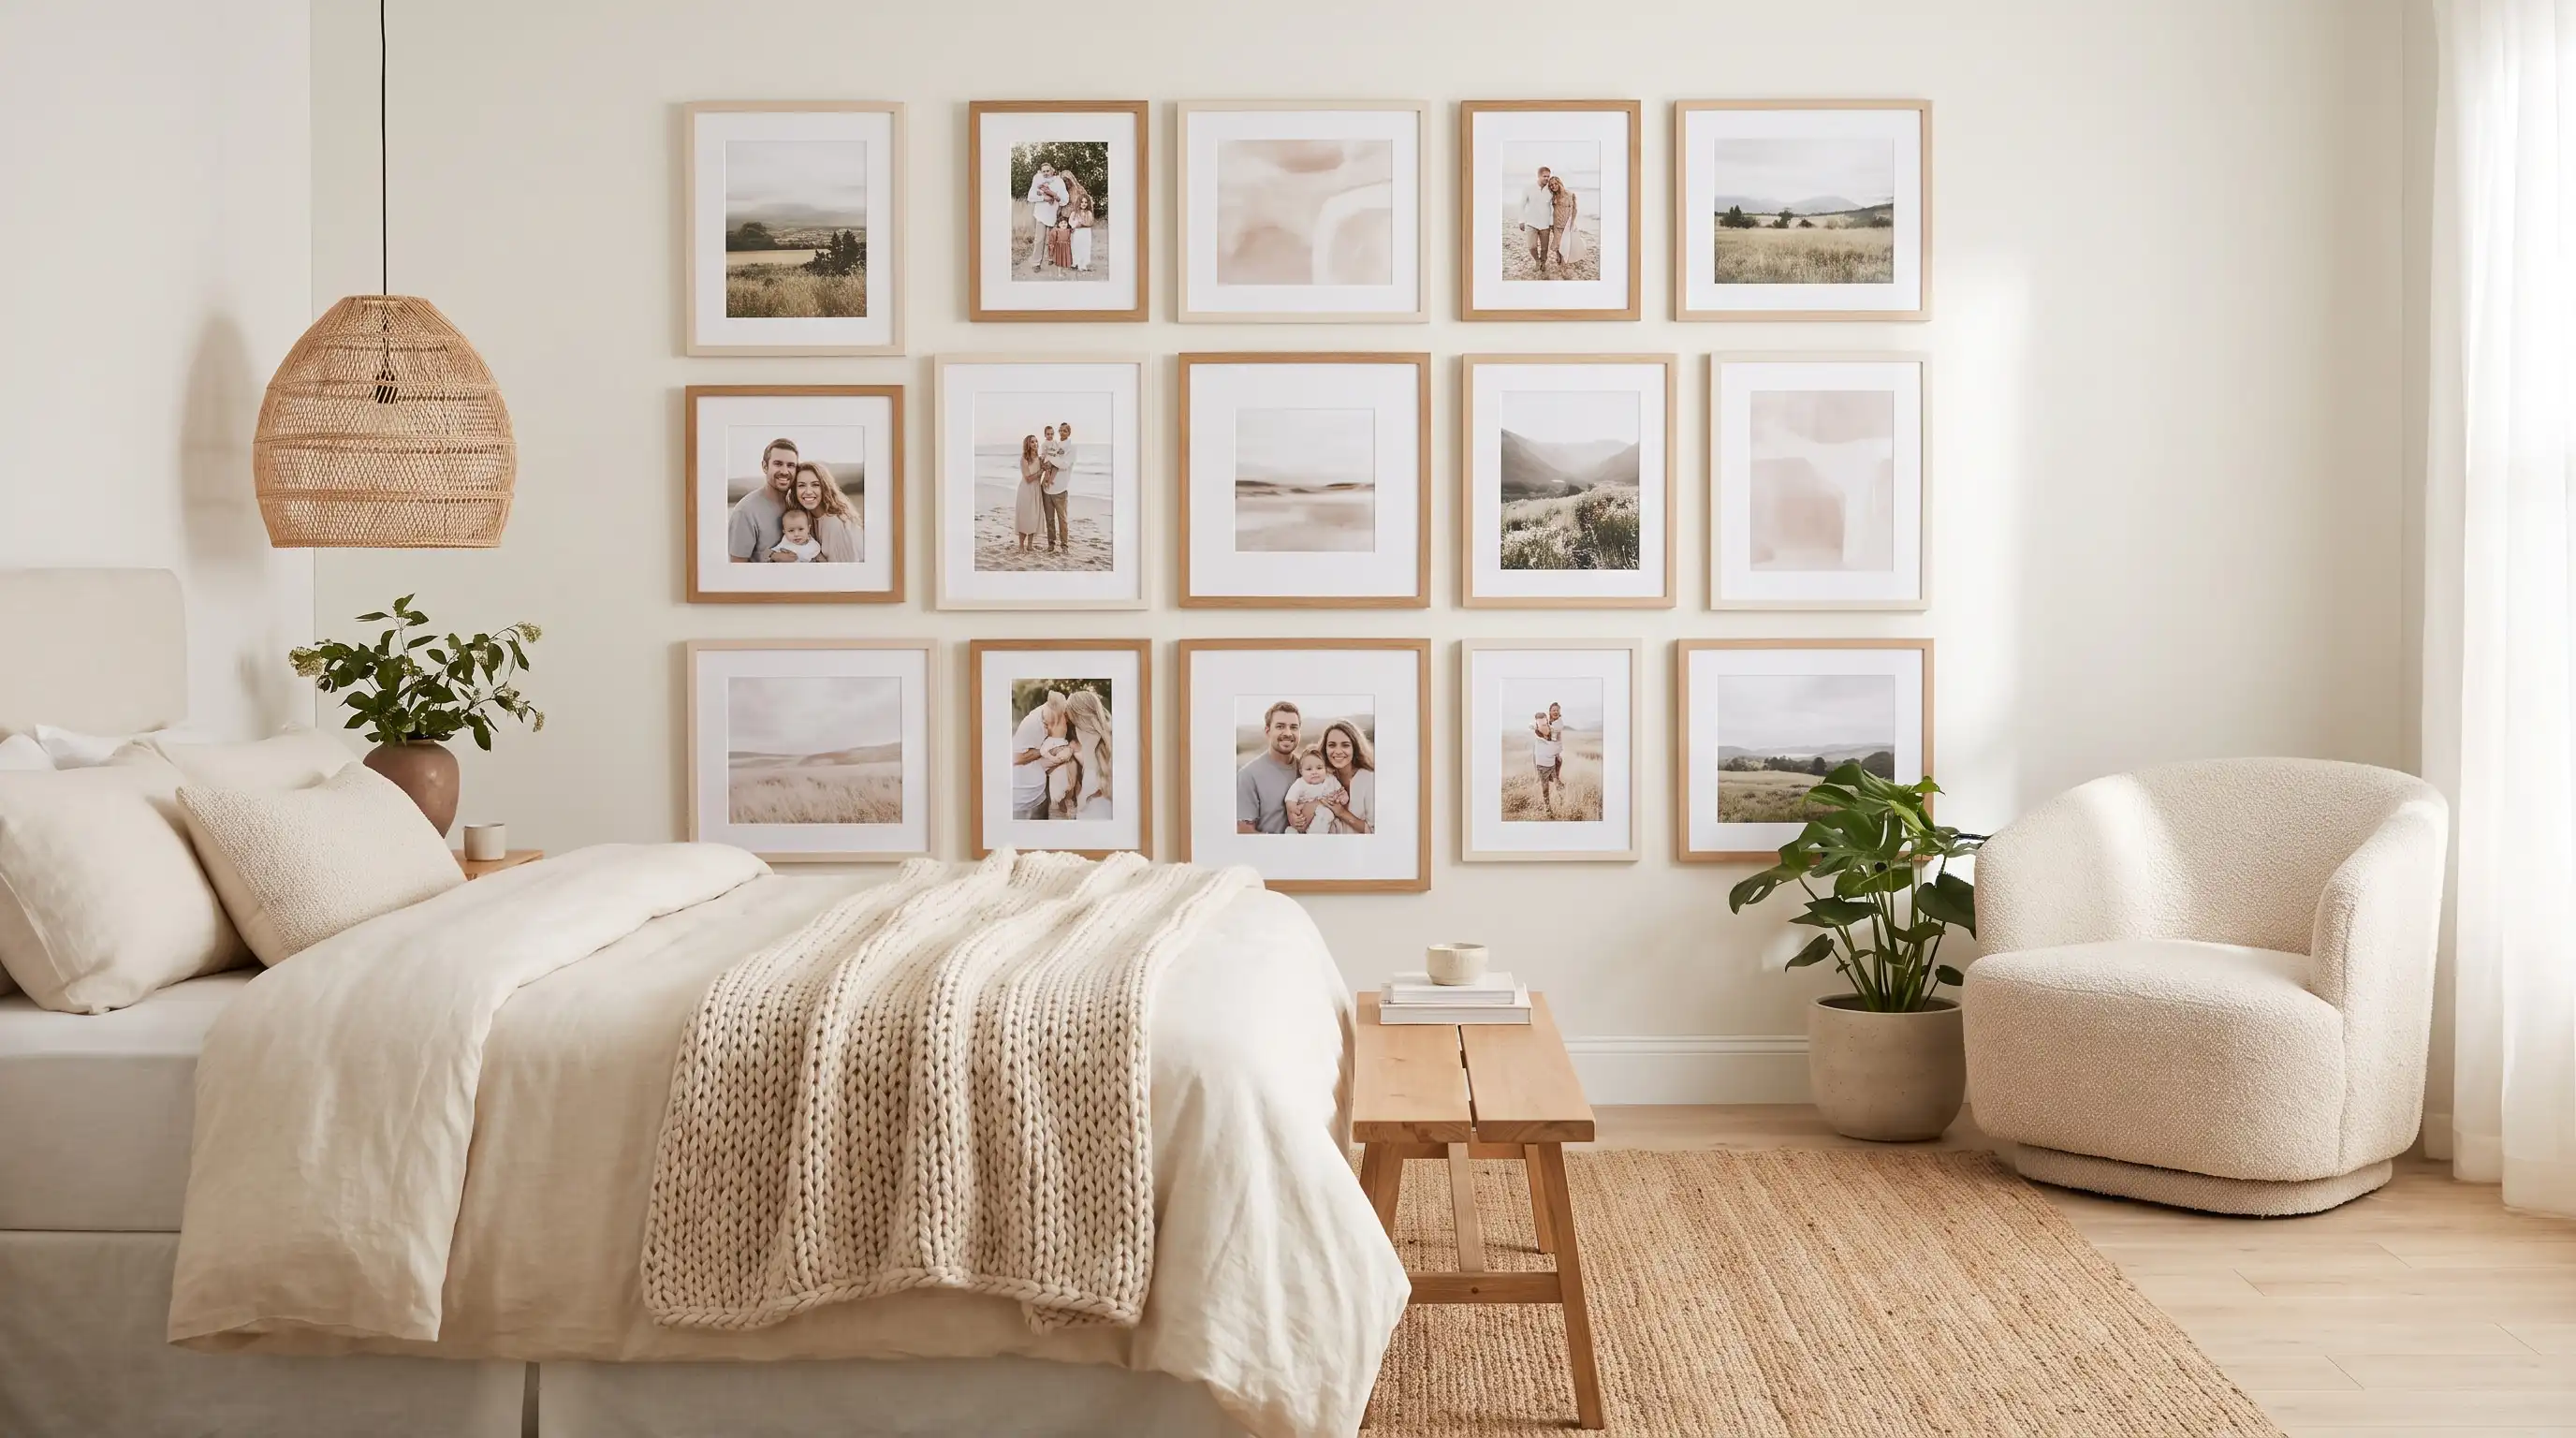
Natural wood frames add warmth without making the wall feel heavy. Use light or medium wood with calm art or photos. This idea works well in bedrooms, dining rooms, and relaxed living areas.
Repeat one mat shade across the full group. Wood tones can vary slightly, but the undertone should feel related. I usually compare every frame on the floor first.
3. Mixed Vintage Frame Wall
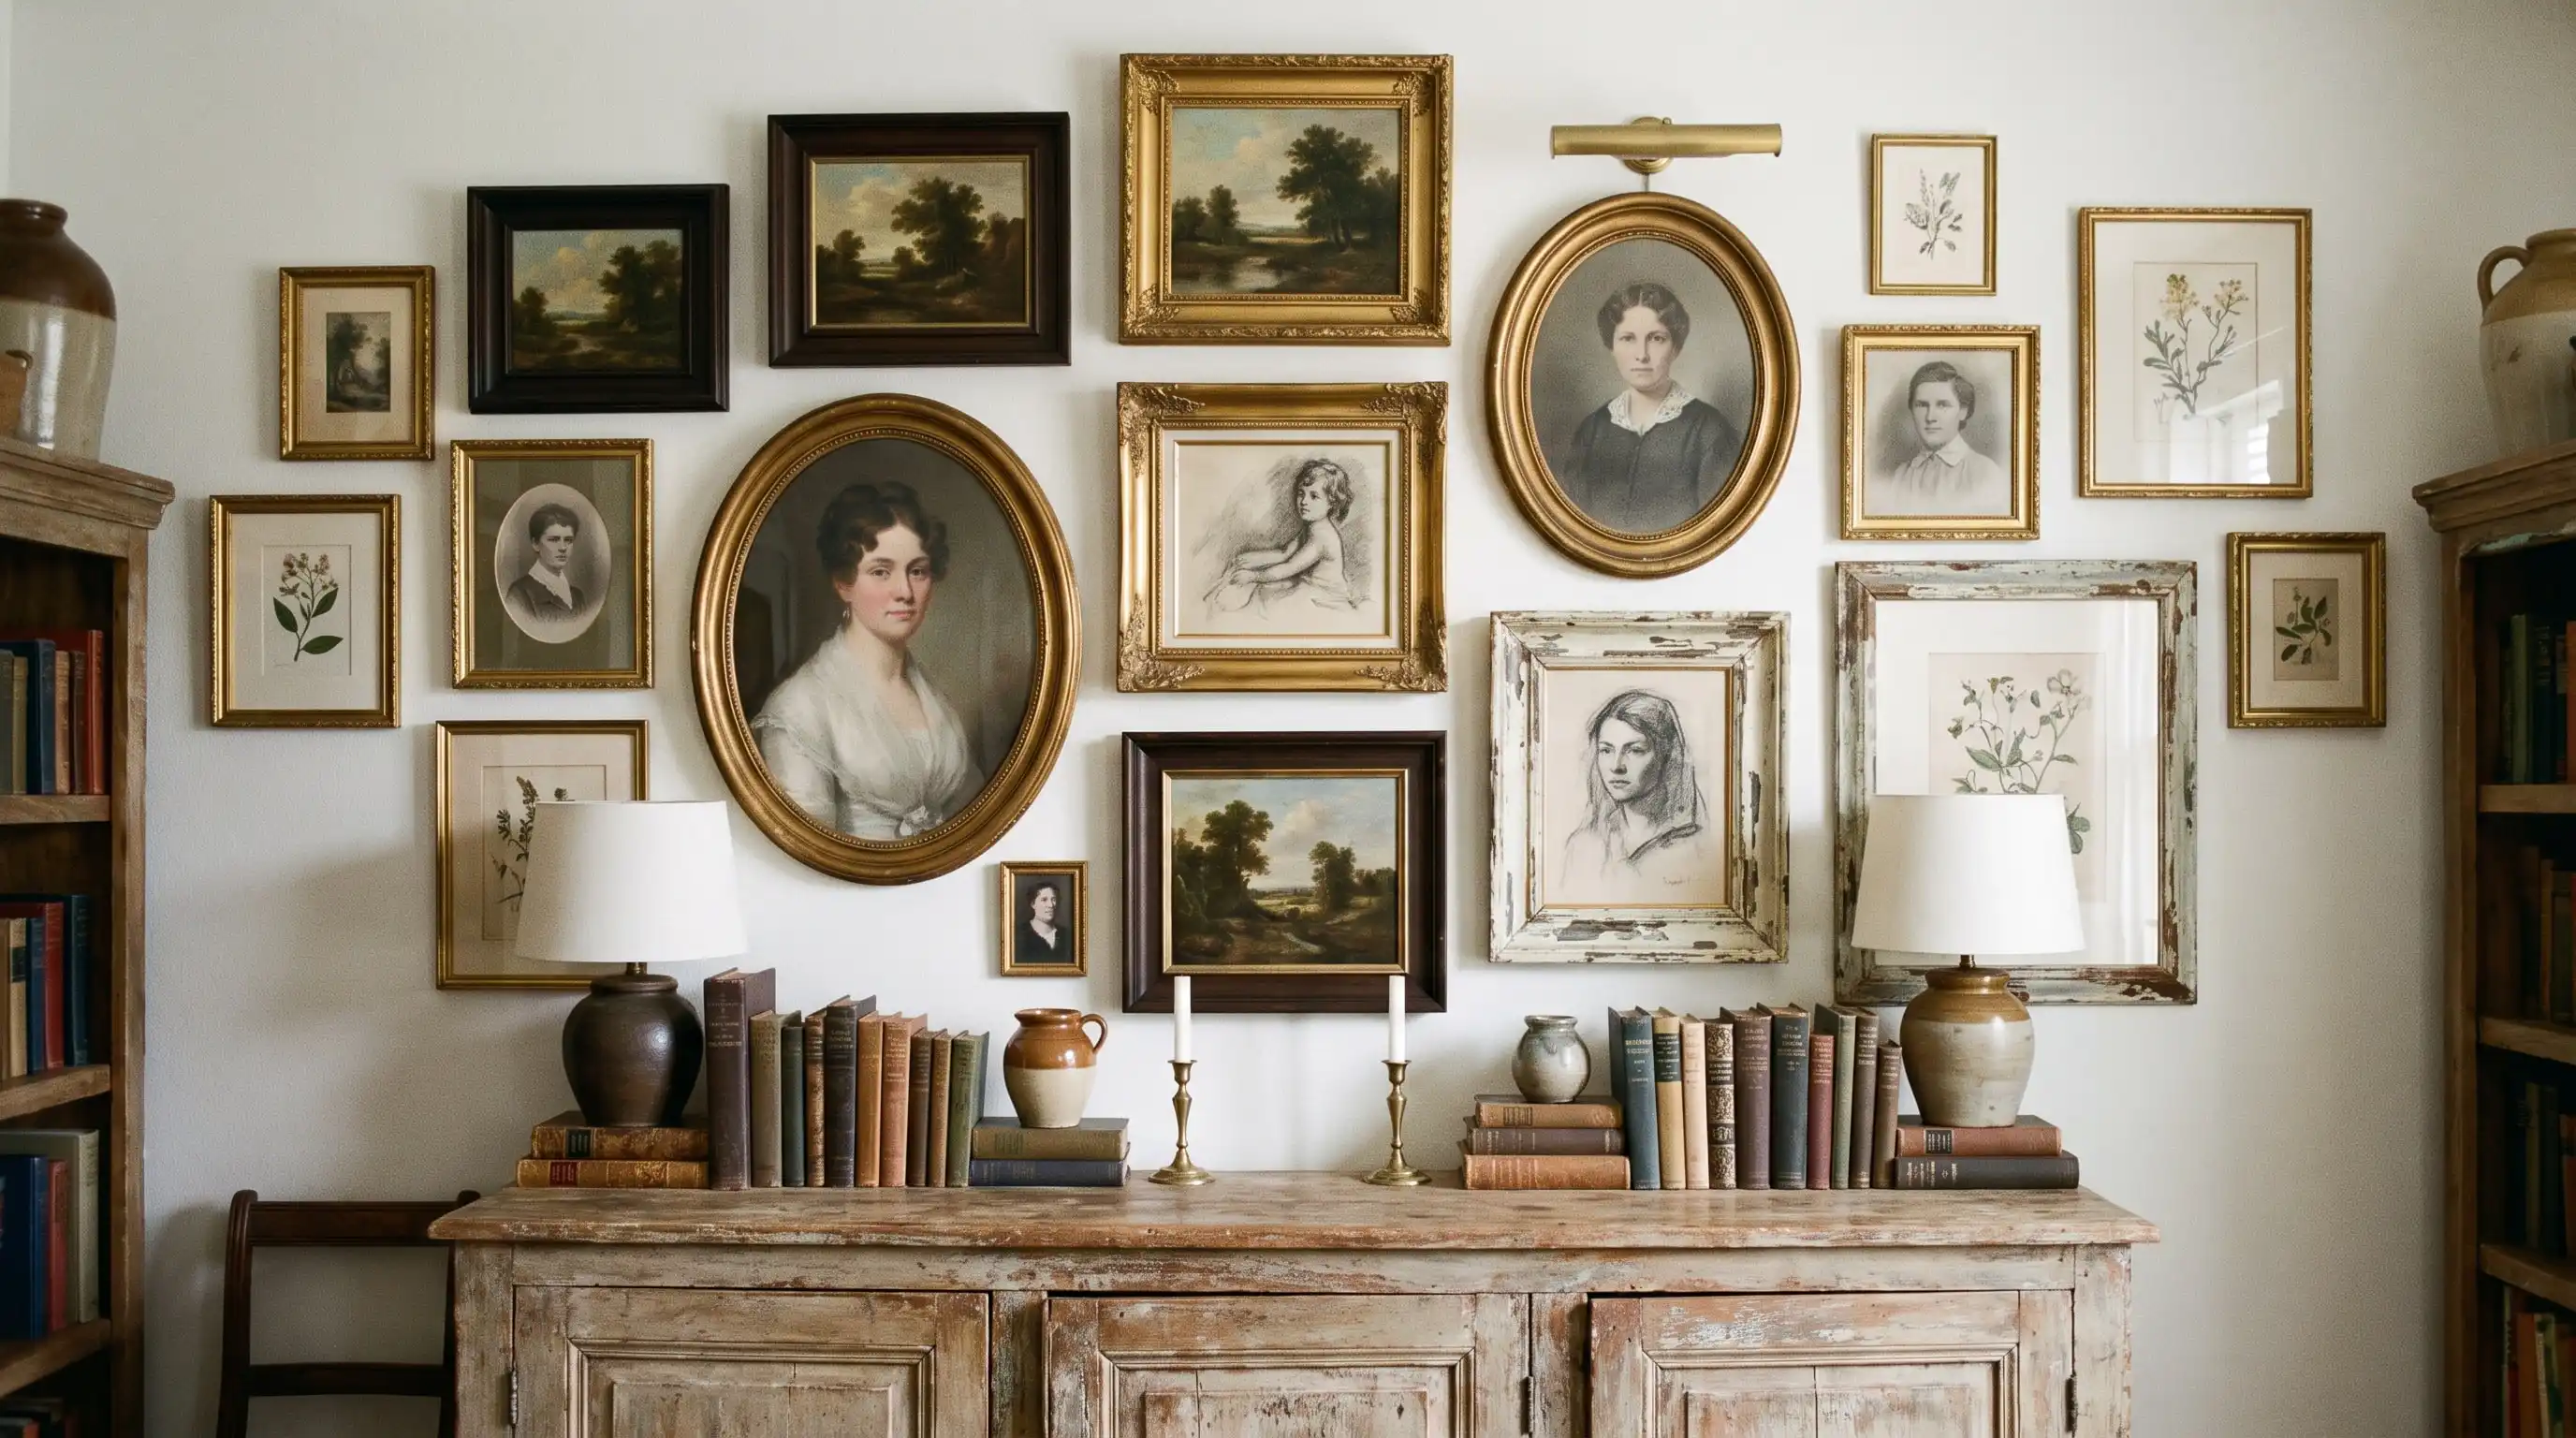
Secondhand frames can give a wall more age and personal meaning. Gather different shapes, widths, and surface finishes. Use one repeated detail to hold the group together.
That detail might be a mat color, dark edge, or warm metal tone. Thrift shops, estate sales, and resale sites can help here.
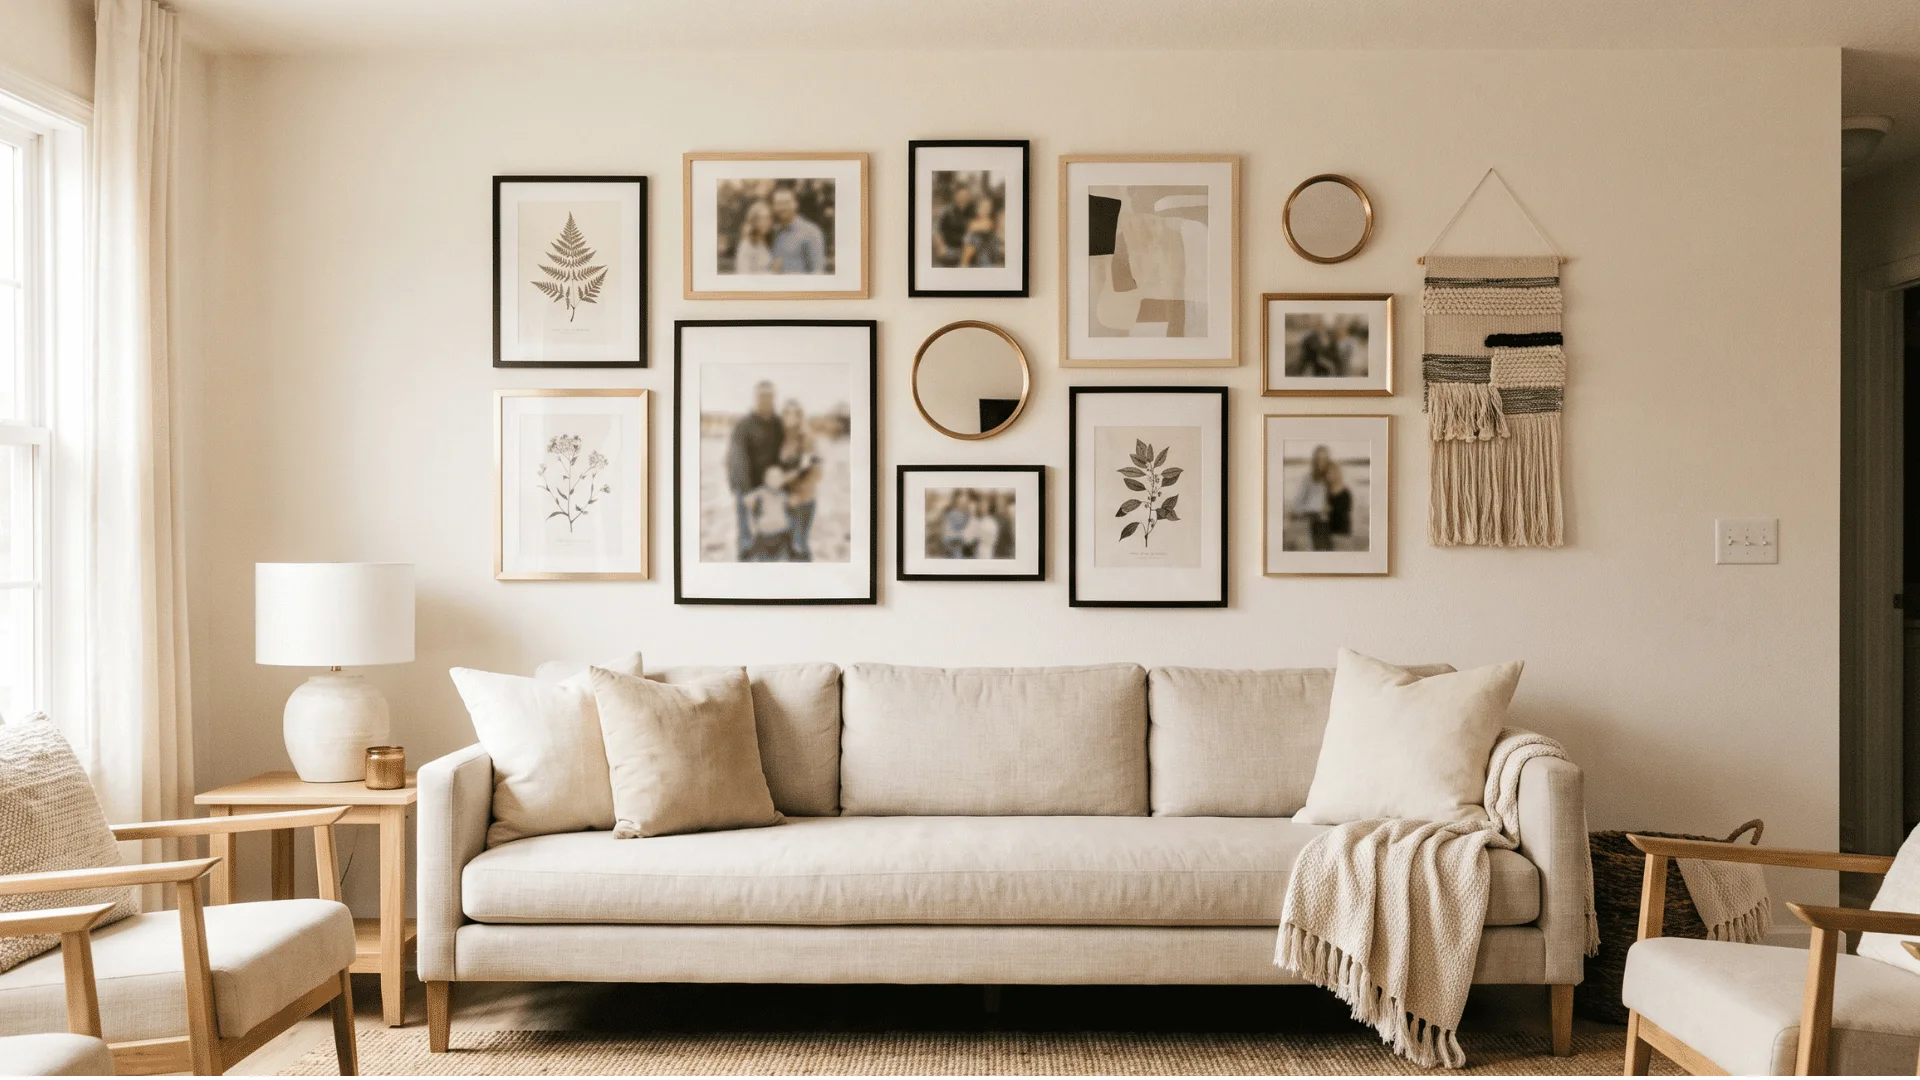
4. Brass and Black Frame Mix
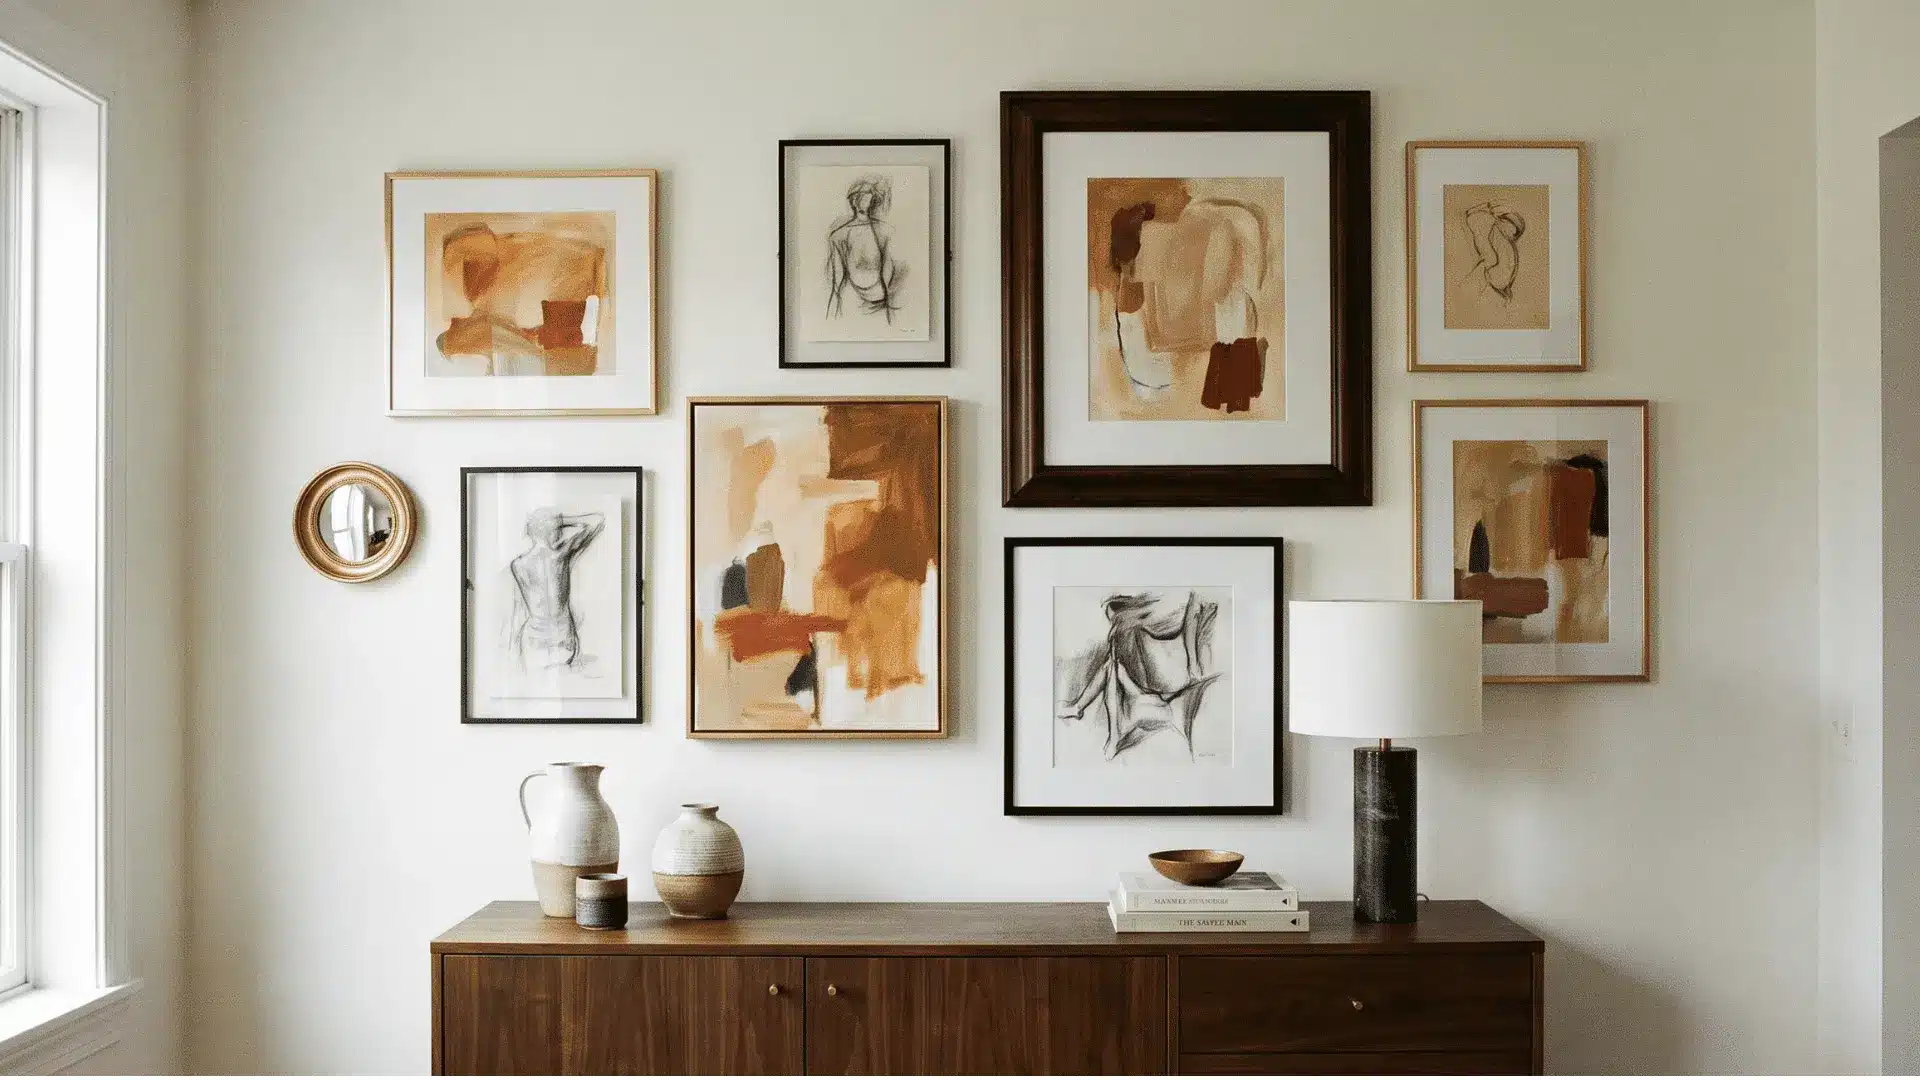
Brass and black frames create a warm contrast that still feels controlled. Add dark wood only when the group needs softness. Use older art, simple sketches, and one small mirror.
This setup works well in dining rooms, bedrooms, and entry spaces. Spread brass across the wall instead of grouping it in one corner. That small choice helps the full display feel balanced.
5. Monochrome Print Wall
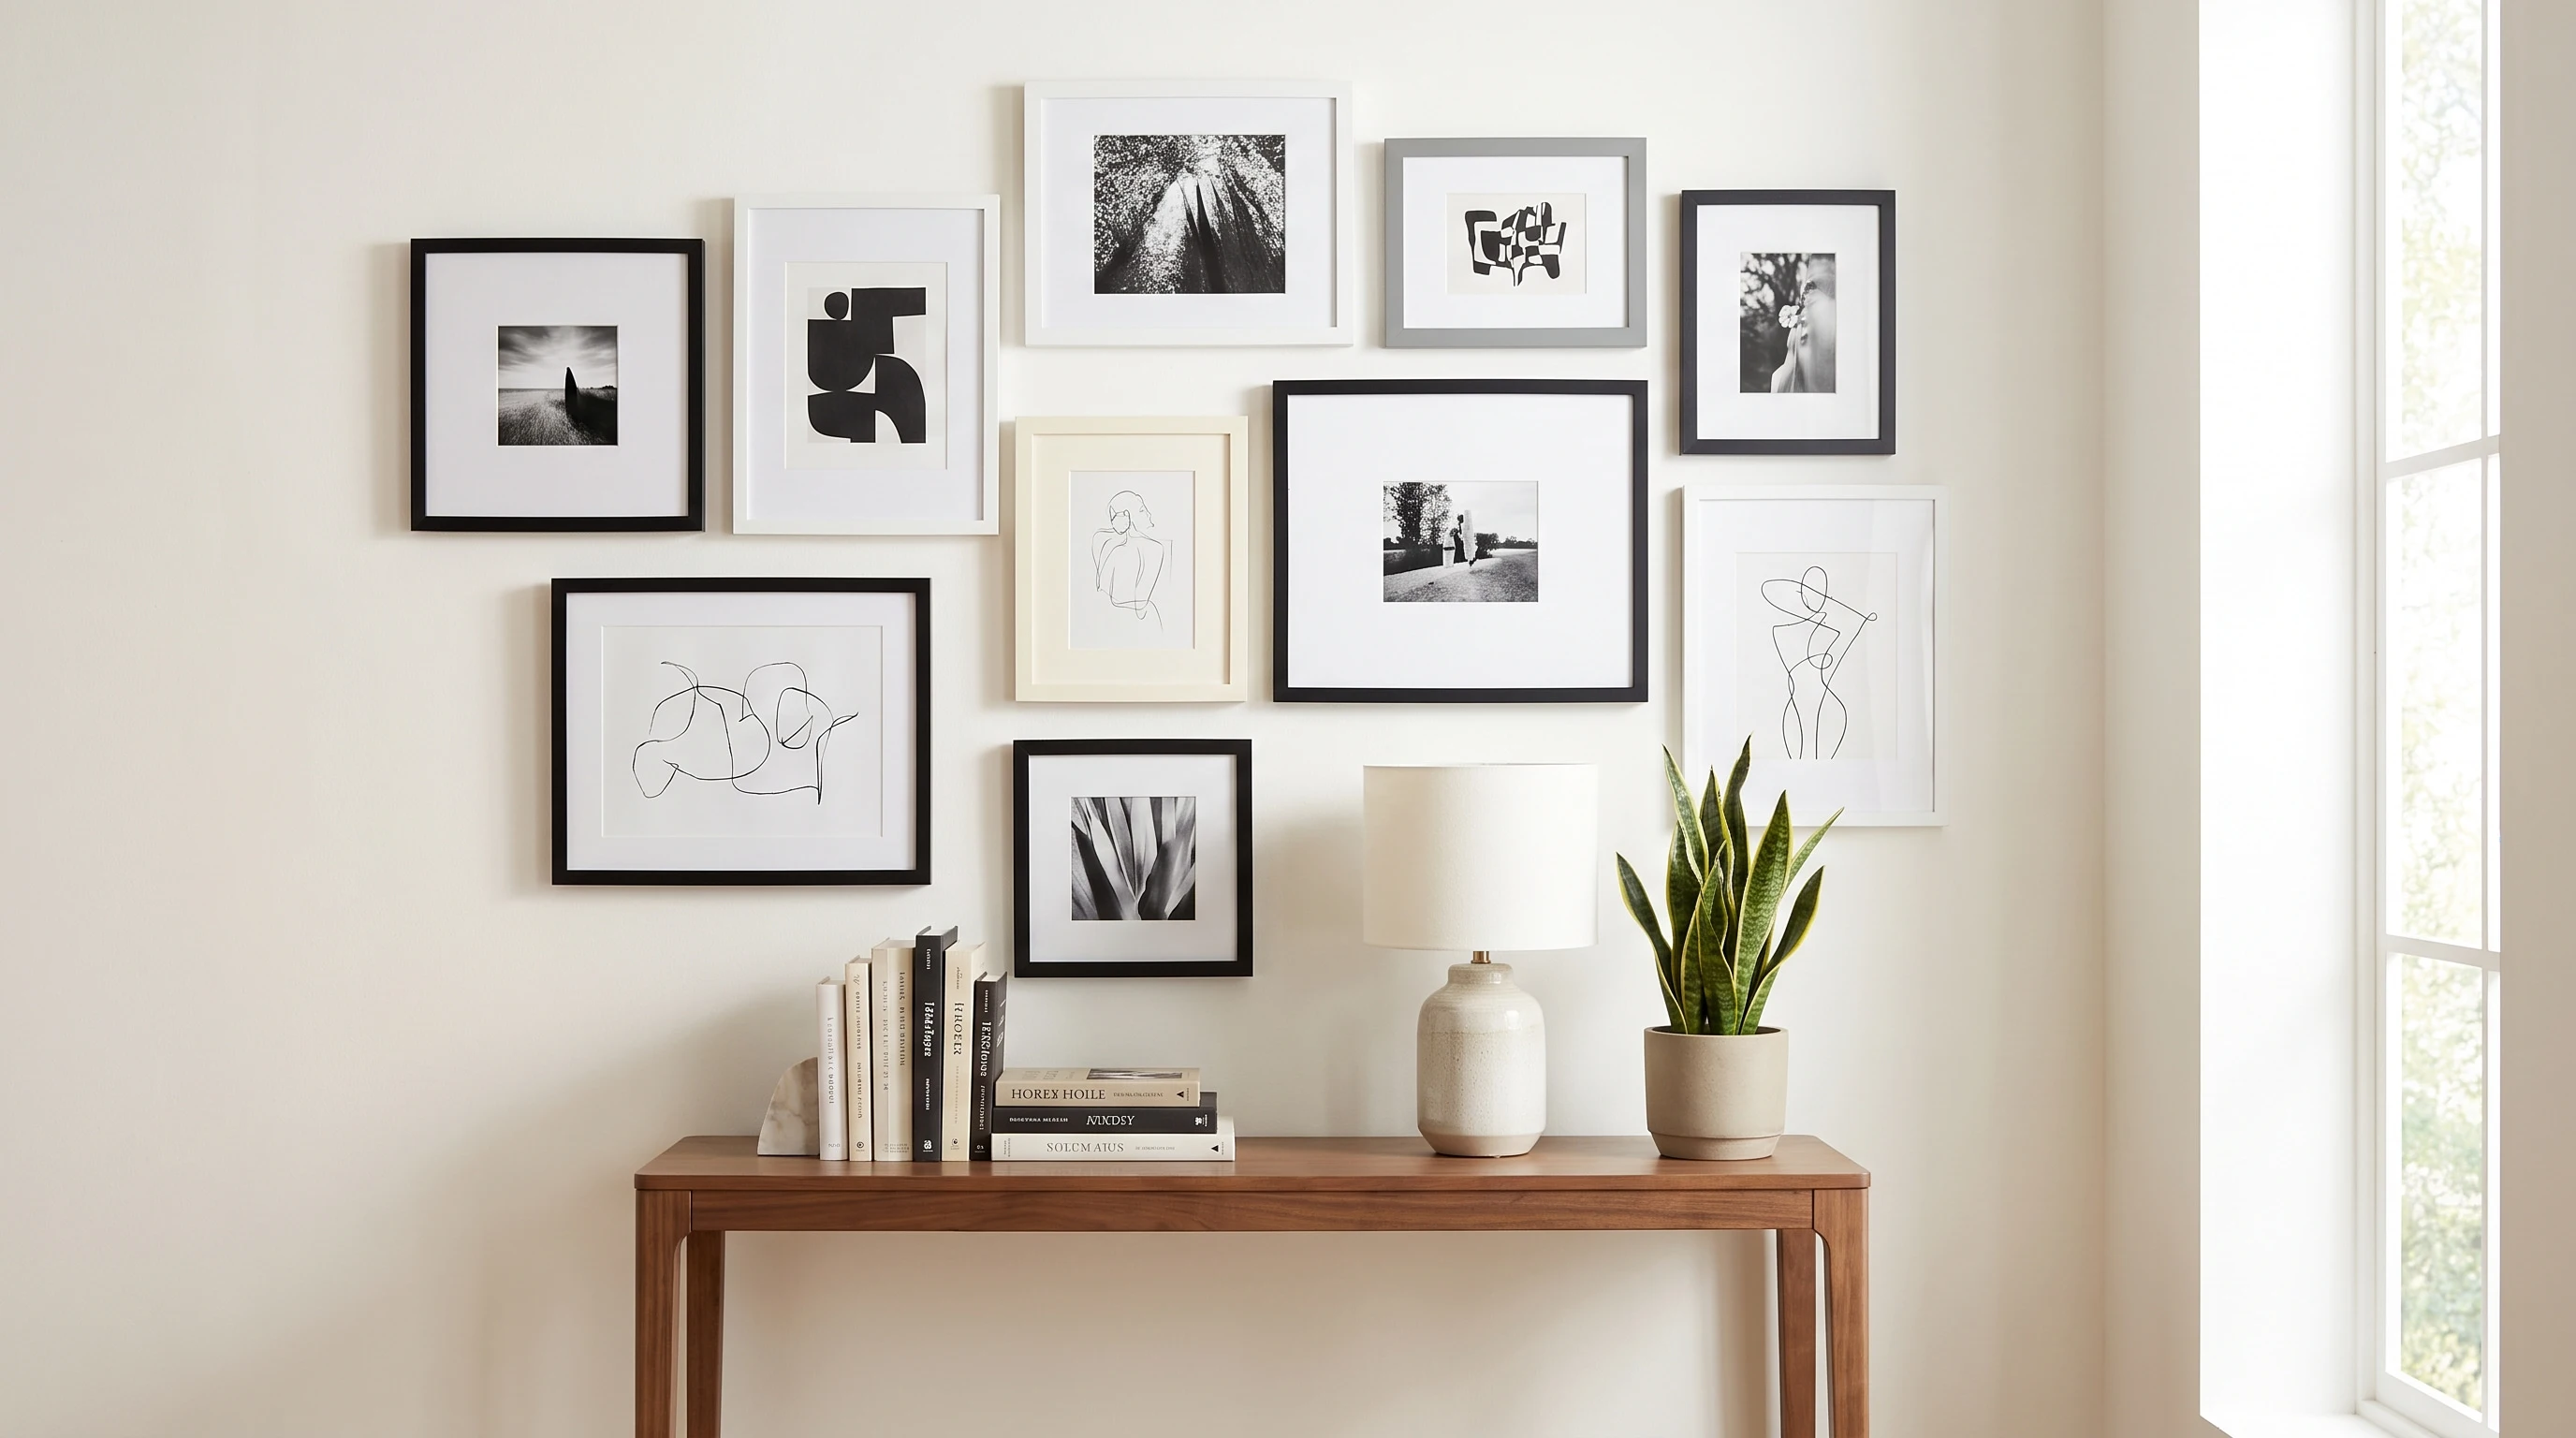
A monochrome wall uses art and photos from one limited color range. Black, cream, gray, or muted brown can work well. You can still mix frame sizes and orientations. Keep the art tones steady, then repeat one or two frame finishes.
This idea suits modern rooms and narrow halls. It also helps unrelated subjects feel more connected when their colors match.
6. Family Photo Story Wall
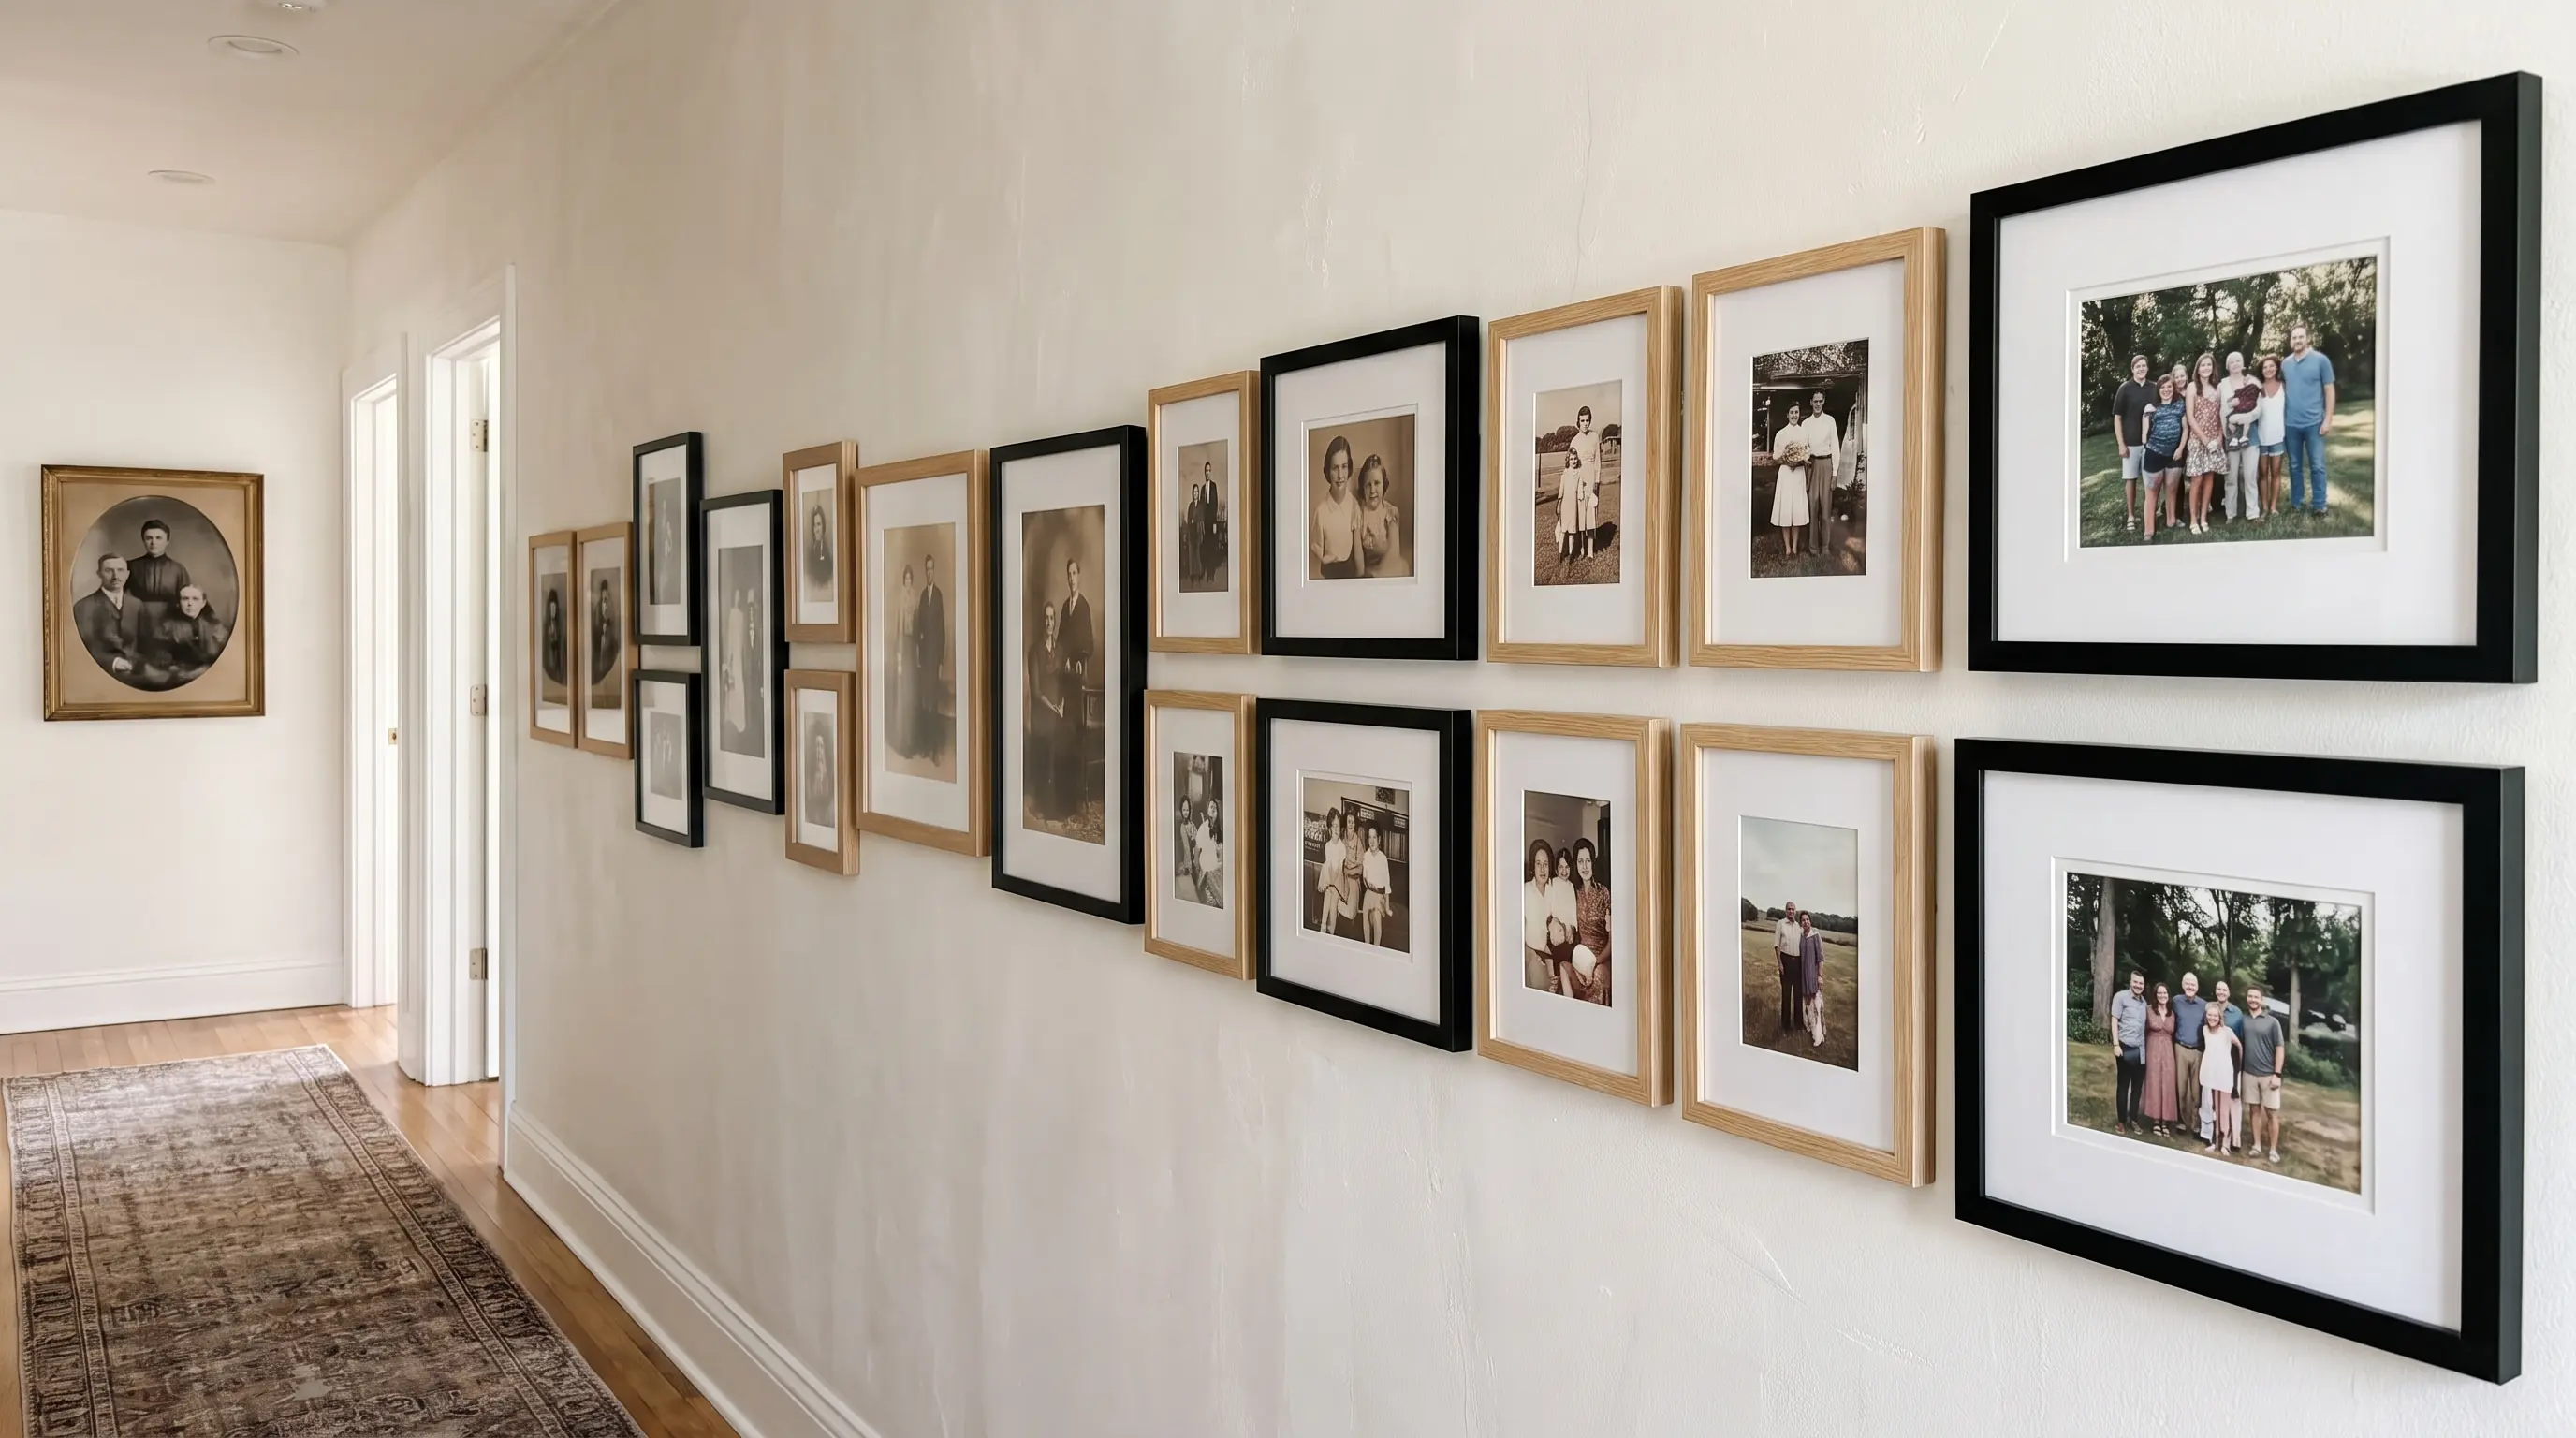
A family photo wall can follow time, events, or family groups. Choose one clear order before you start arranging frames. Use matching mats or similar image edits to link photos from different years. Standard frame sizes can also reduce costs.
This idea feels at home in hallways, bedrooms, stairs, and family rooms. Leave a little space for later additions.
7. Travel Memory Wall
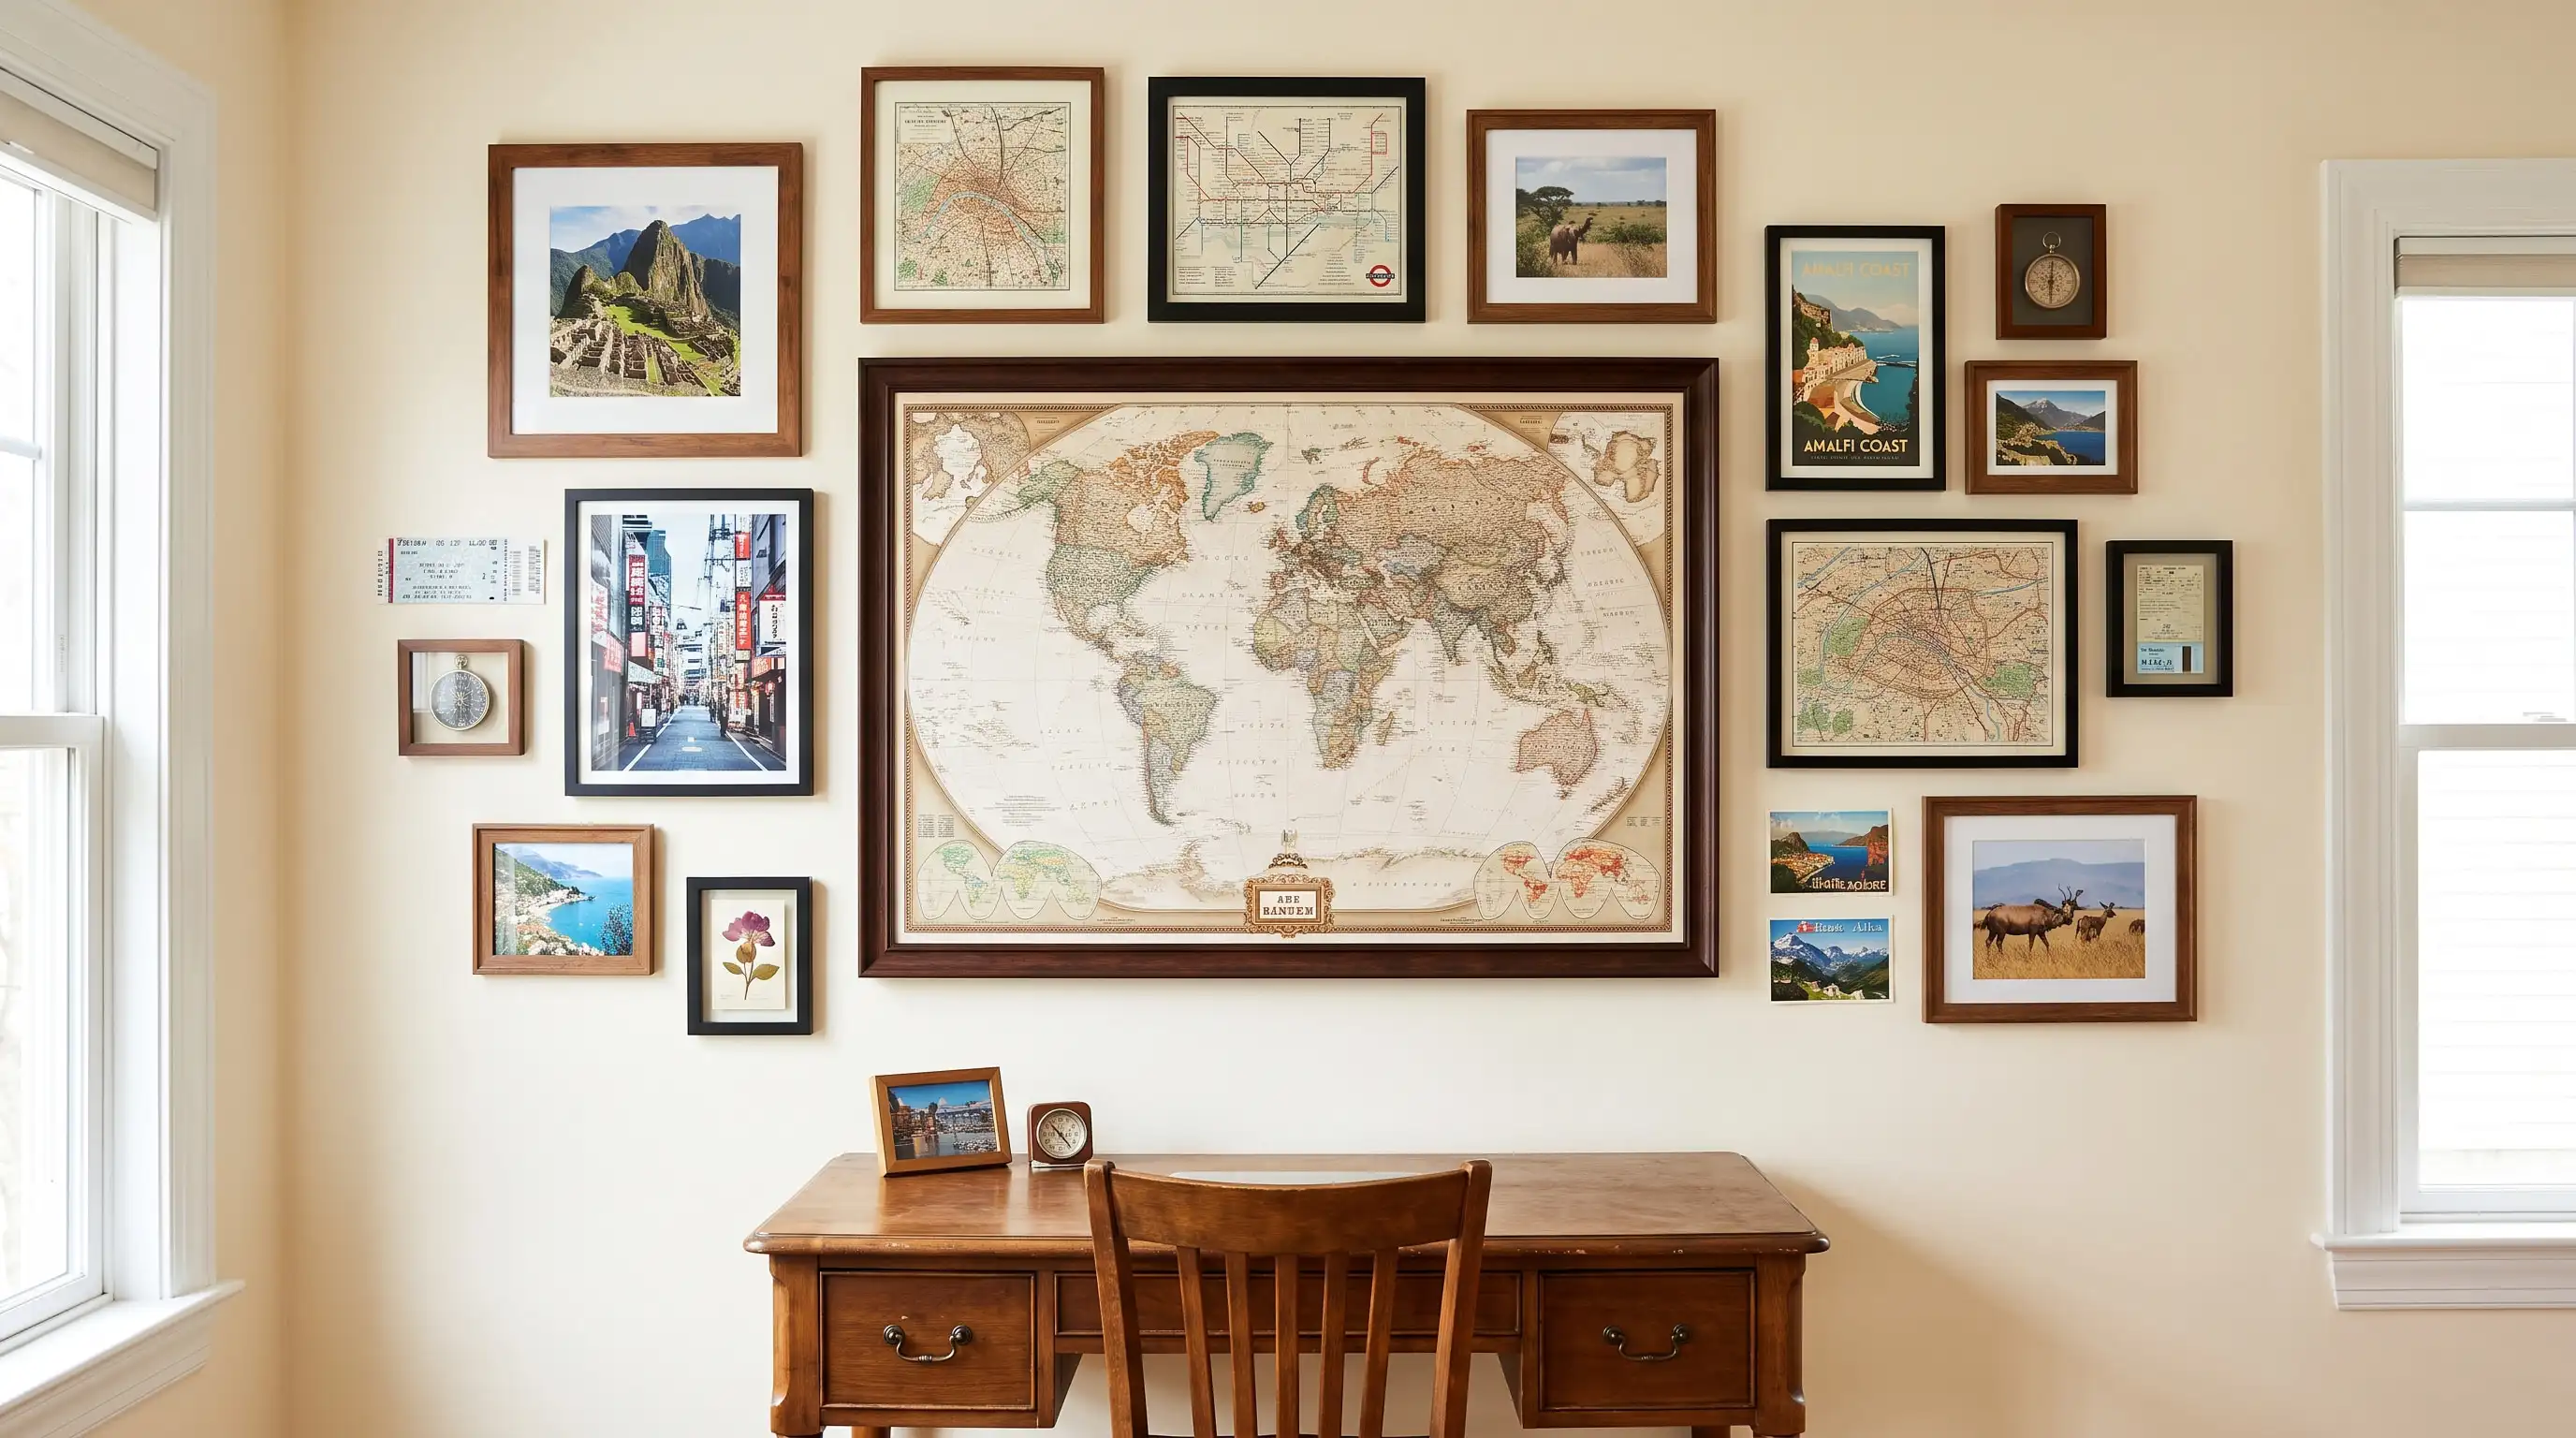
Travel photos, maps, tickets, and postcards can form a personal wall. Group them by trip, place, or repeated color. Use small frames for paper keepsakes and larger frames for key images. A shadow box can hold thicker objects safely.
This idea works well in offices, hallways, and guest rooms. It grows easily as you bring home new pieces.
8. Children’s Art Wall
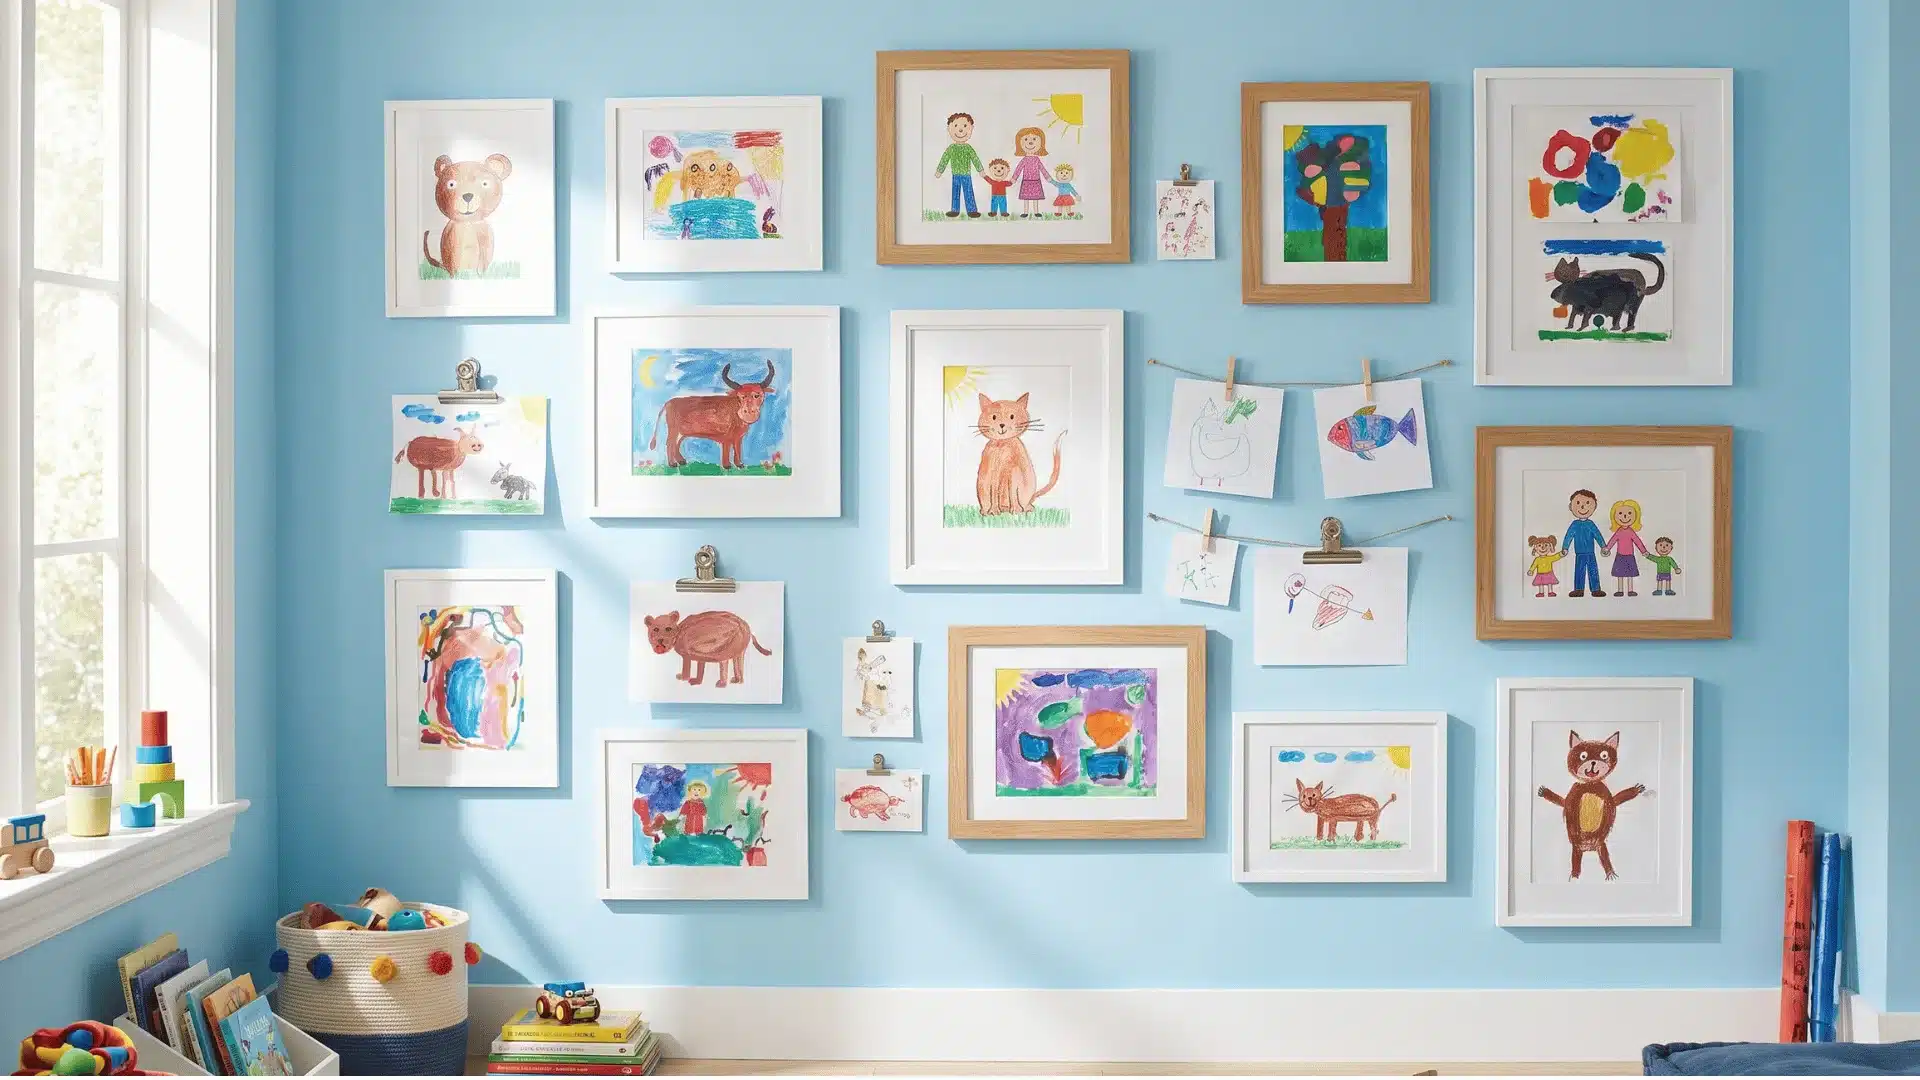
Children’s art changes often, so the display should be easy to update. Use front-opening frames, clips, or shallow ledges. Choose a simple frame color and let the art provide the color.
Leave several open spaces for new work. Gallery clips are useful for unframed art that changes often.
9. Botanical Print Wall
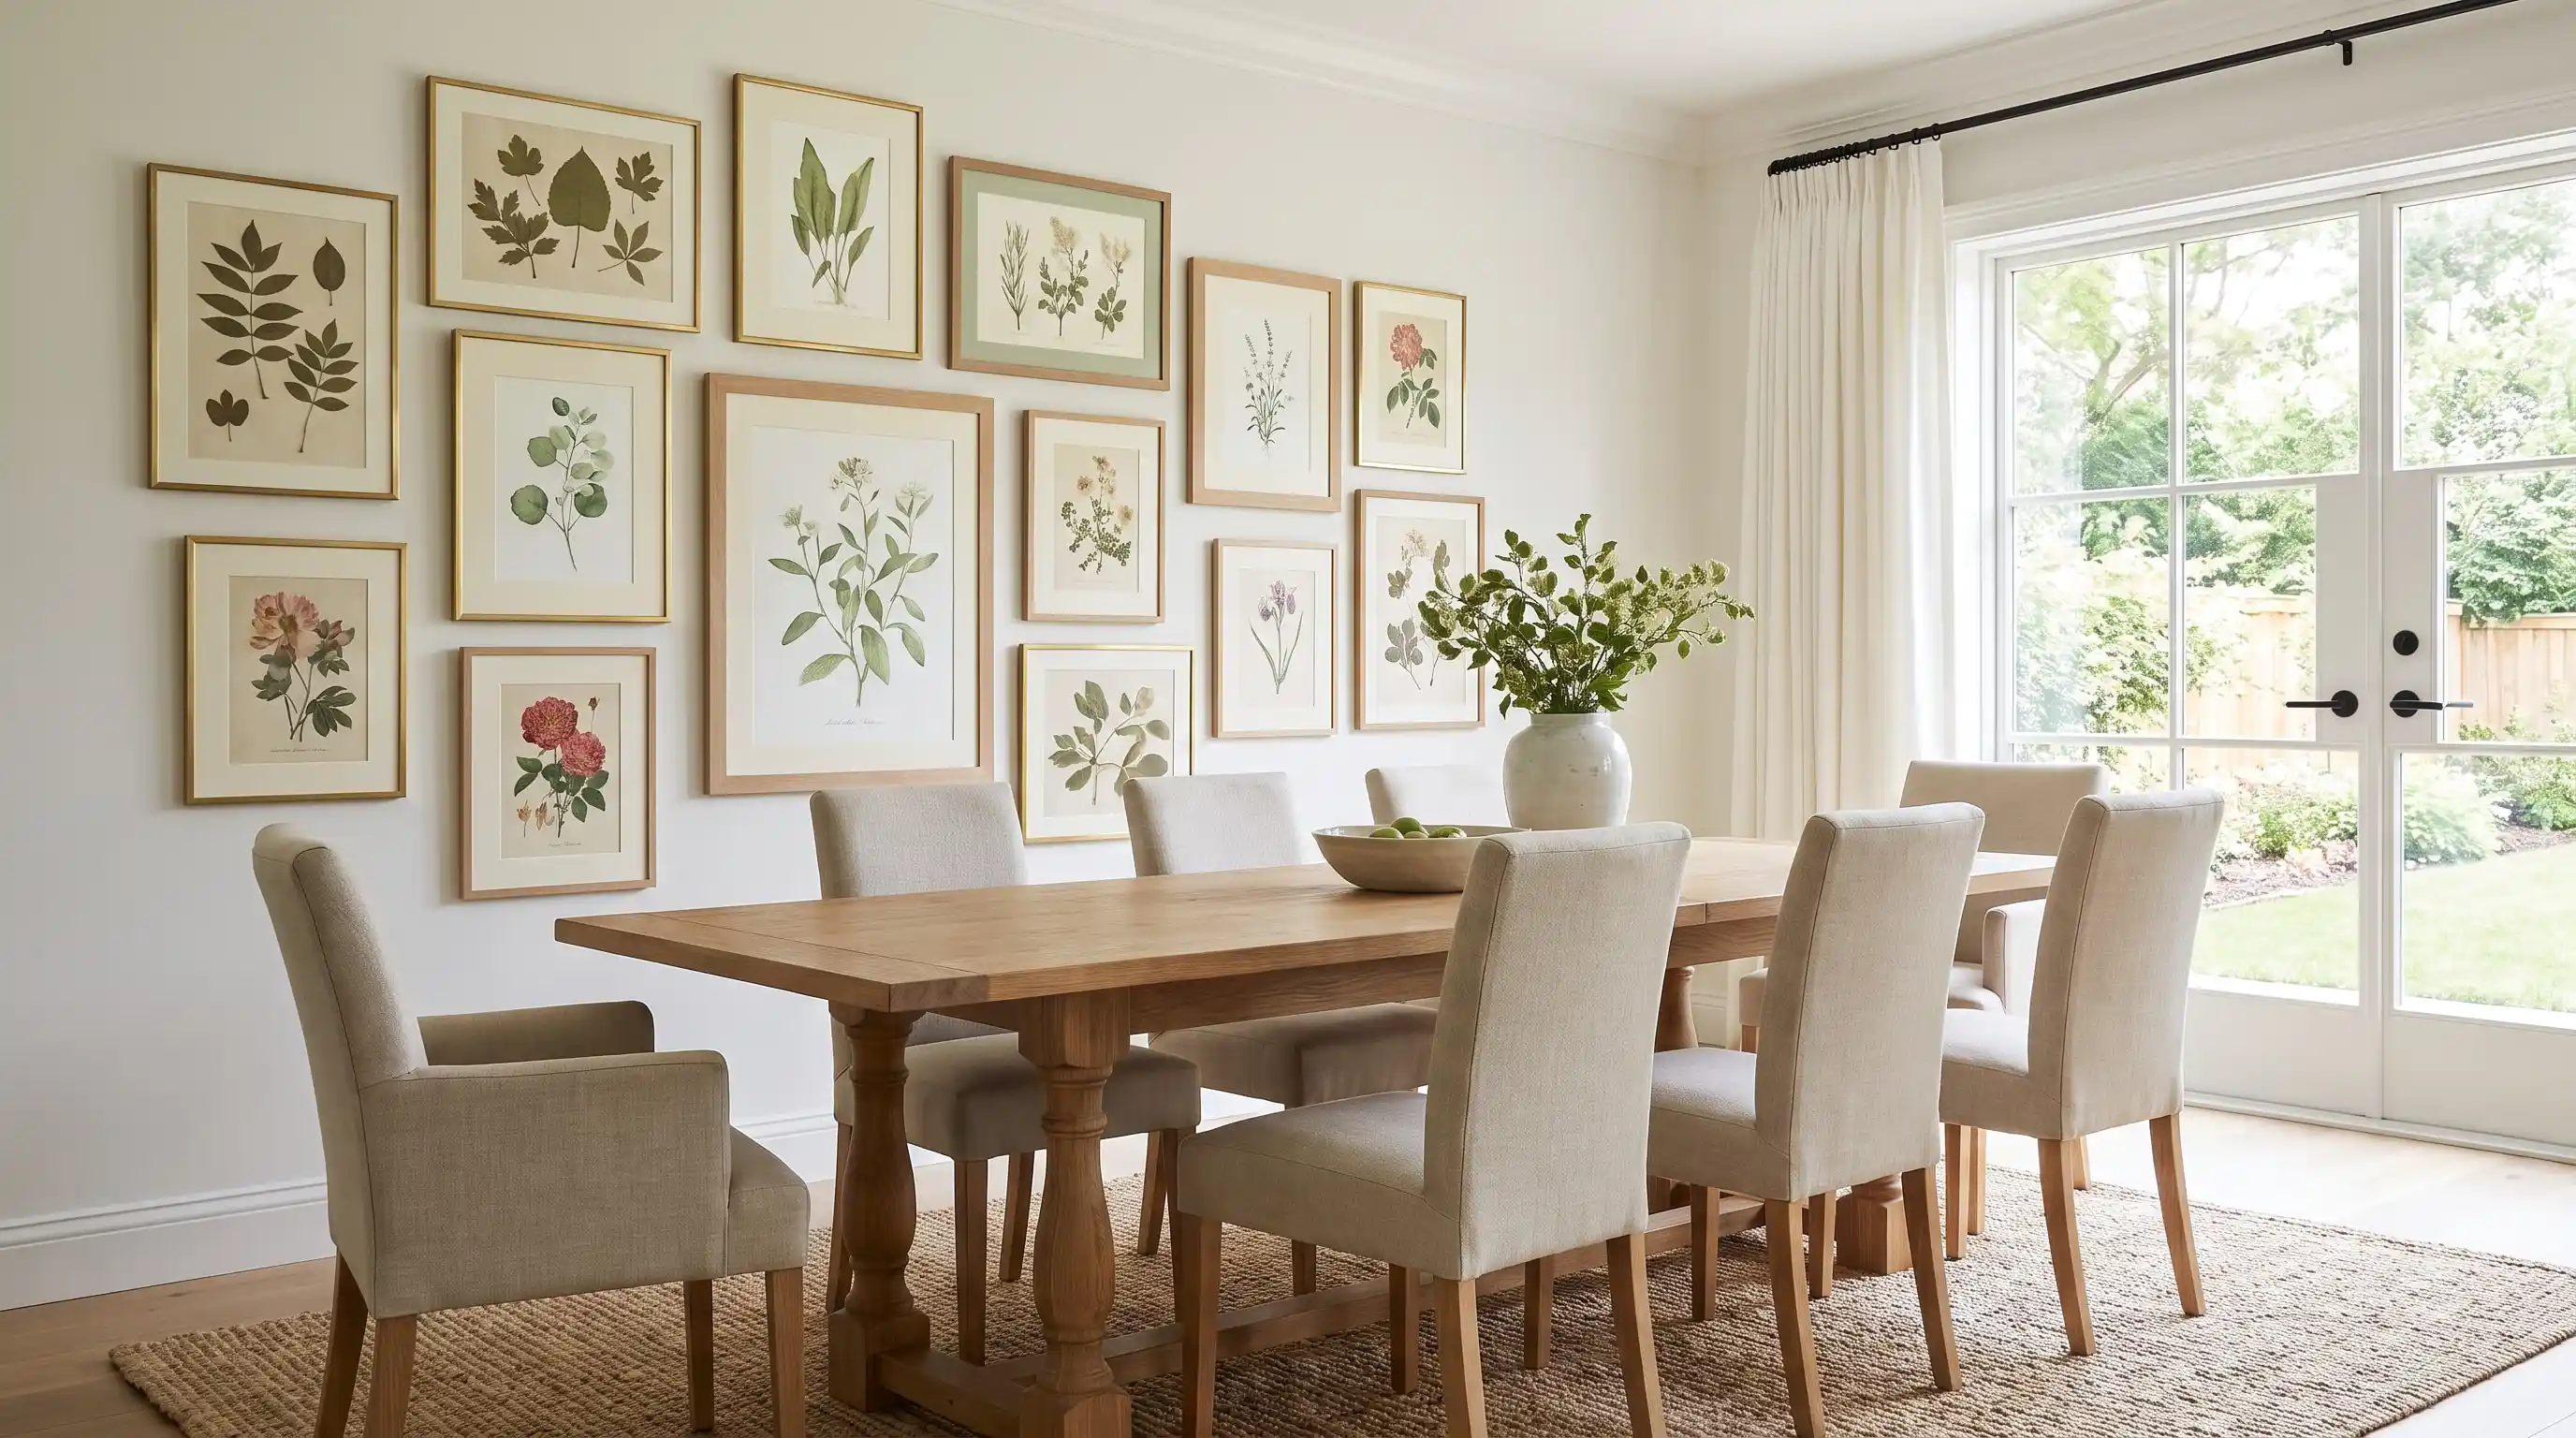
Botanical art brings a calm, natural subject to the room. Use leaf prints, pressed plants, or older plant studies. Repeat the background shade or frame finish across the wall. Brass, black, and natural wood all suit this theme.
This idea works in bedrooms, dining rooms, offices, and small baths. Protect real plant pieces from moisture and strong sunlight.
10. Art Wall Around a Television
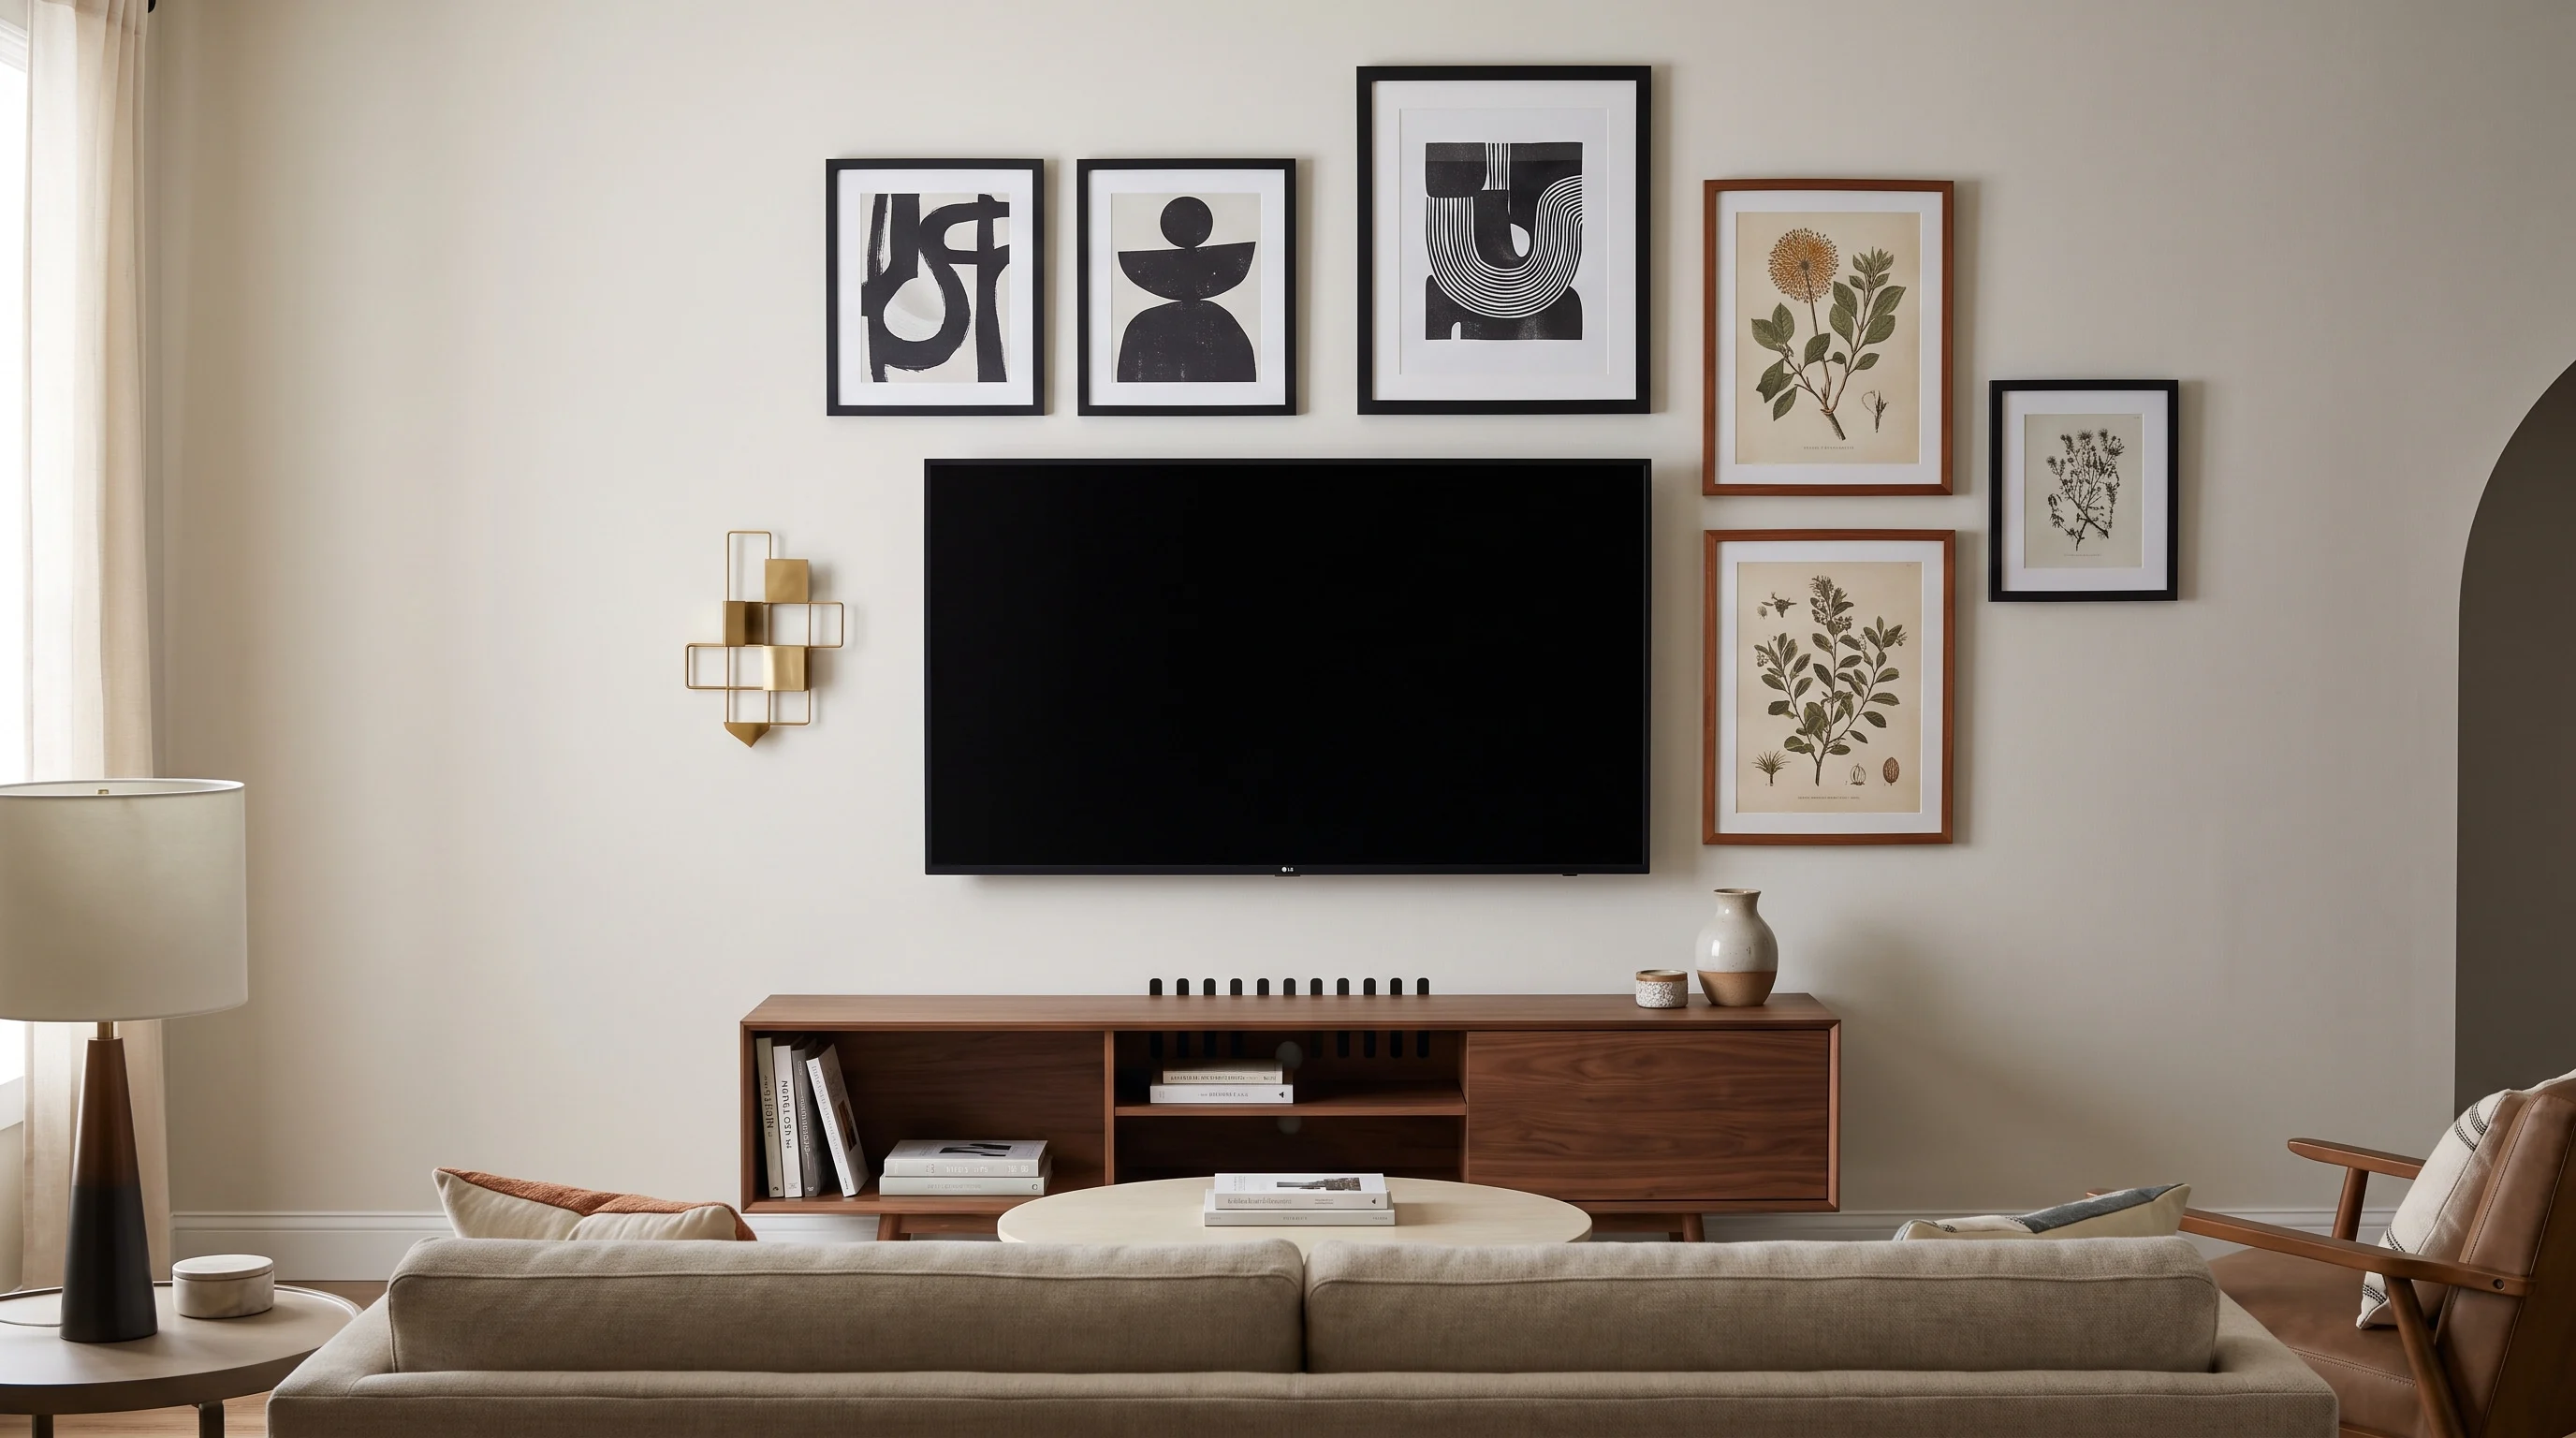
Frames around a television can soften a large dark screen. Keep the layout wider than the screen, not tightly packed around it. Use art with enough contrast to stay clear from across the room.
Leave space near vents, cables, and controls. Black frames can help the screen blend into the group. Keep the lower edge connected to the console below.
11. Statement Art With Smaller Fillers
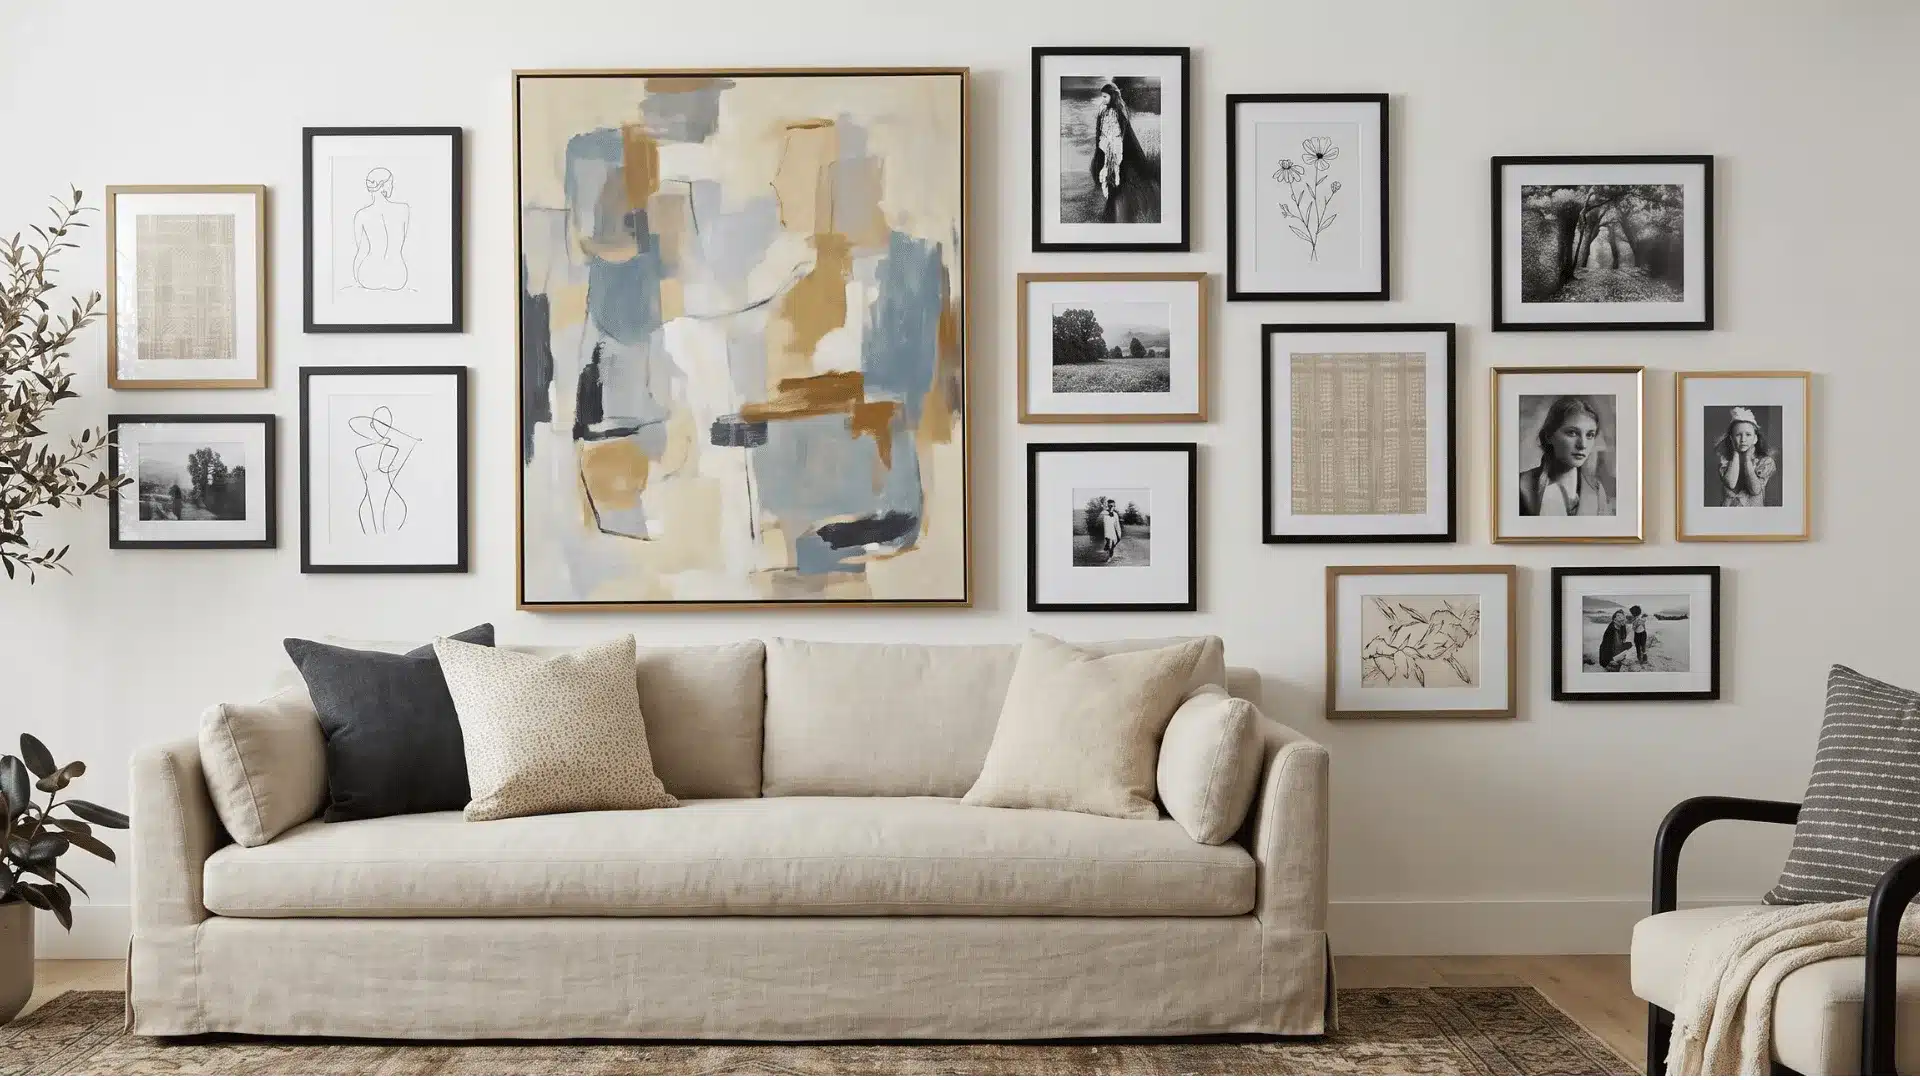
Start with one large work near the center or slightly off-center. Add medium and small pieces around its outer edges.
The smaller pieces should support the main work, not compete with it. Repeat a color, subject, or frame finish. This layout works above sofas, consoles, and dining cabinets.
12. Mirror and Art Mix
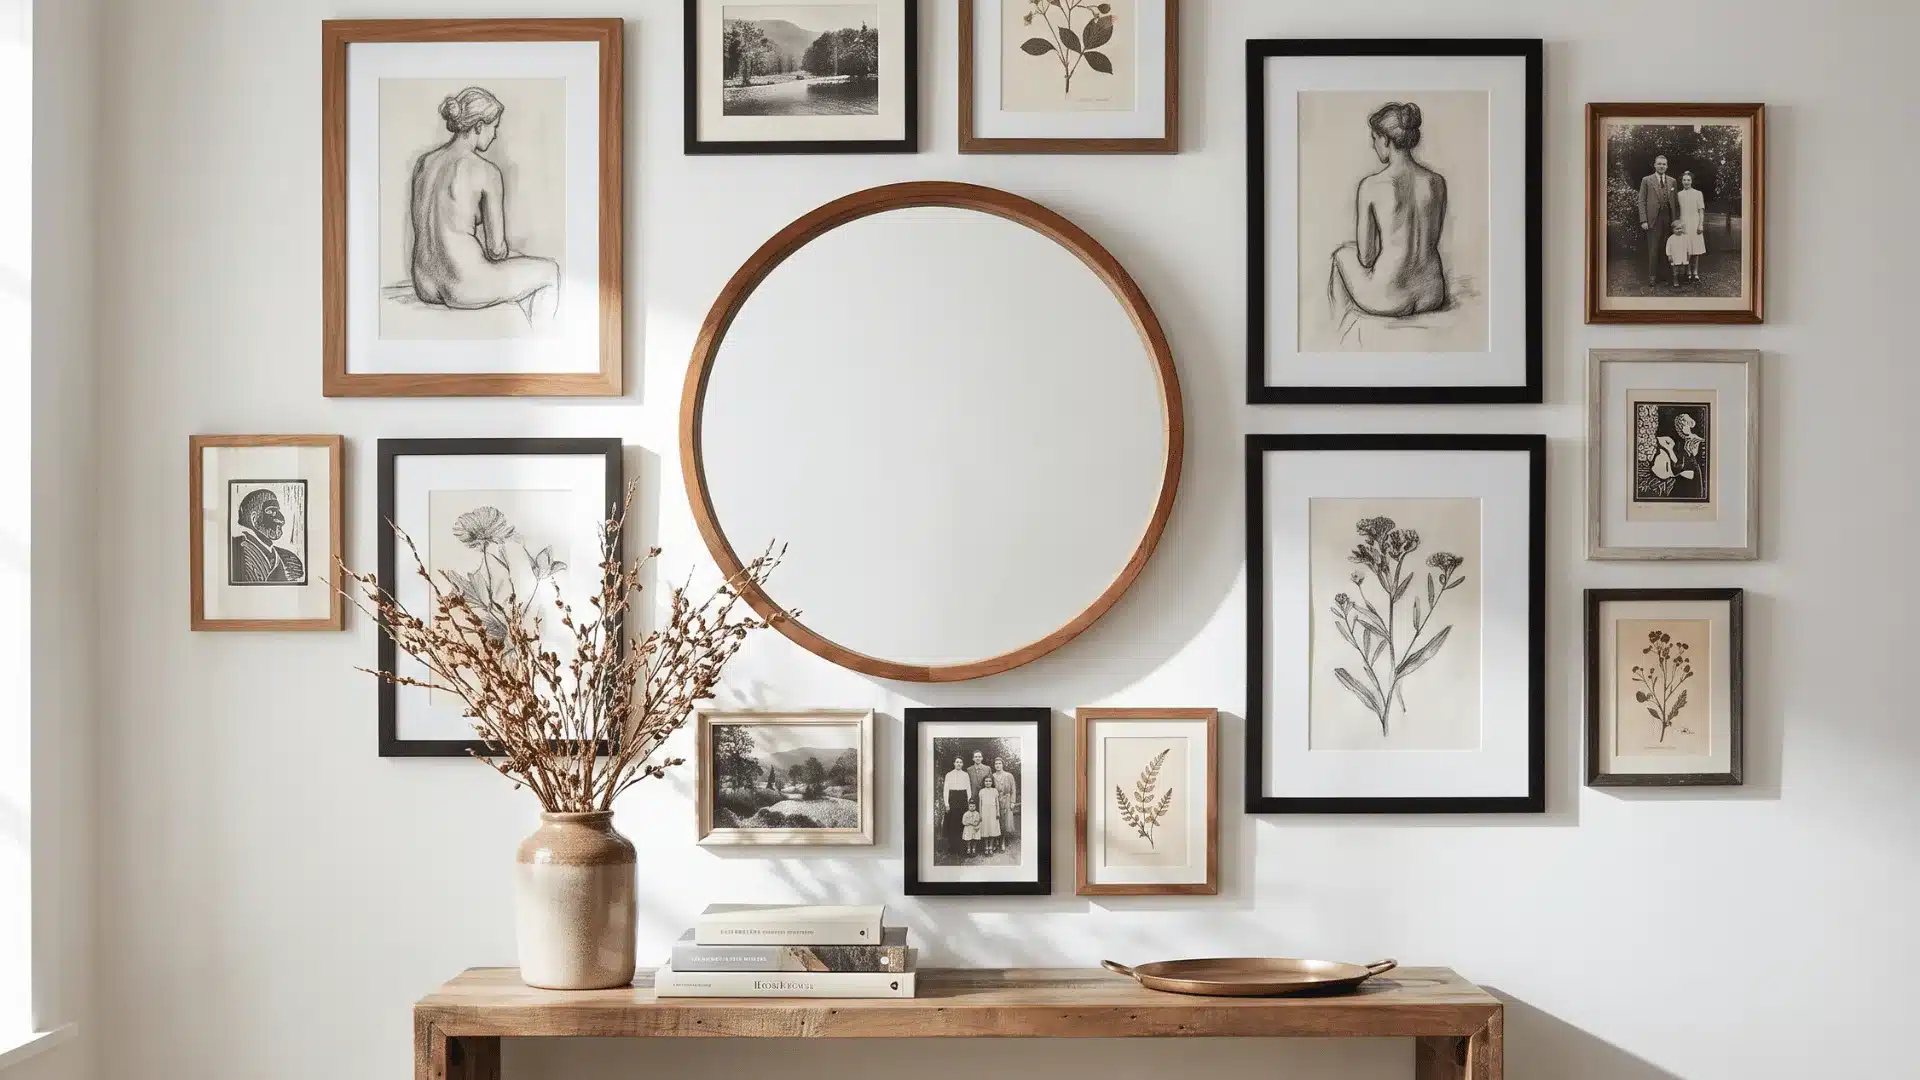
A mirror can act as the main piece while reflecting light. Check the reflection before choosing its final place.
Add framed art around it using one or two repeated finishes. Round mirrors are useful when the wall has many hard corners. This setup works well in dining rooms, entry spaces, and small baths. A mirror’s full weight, glass included, is usually heavier than it looks, and matching the anchor to that real weight is the same principle behind the Consumer Product Safety Commission’s guidance on anchoring heavy items to the wall.
13. Display Ledge Wall
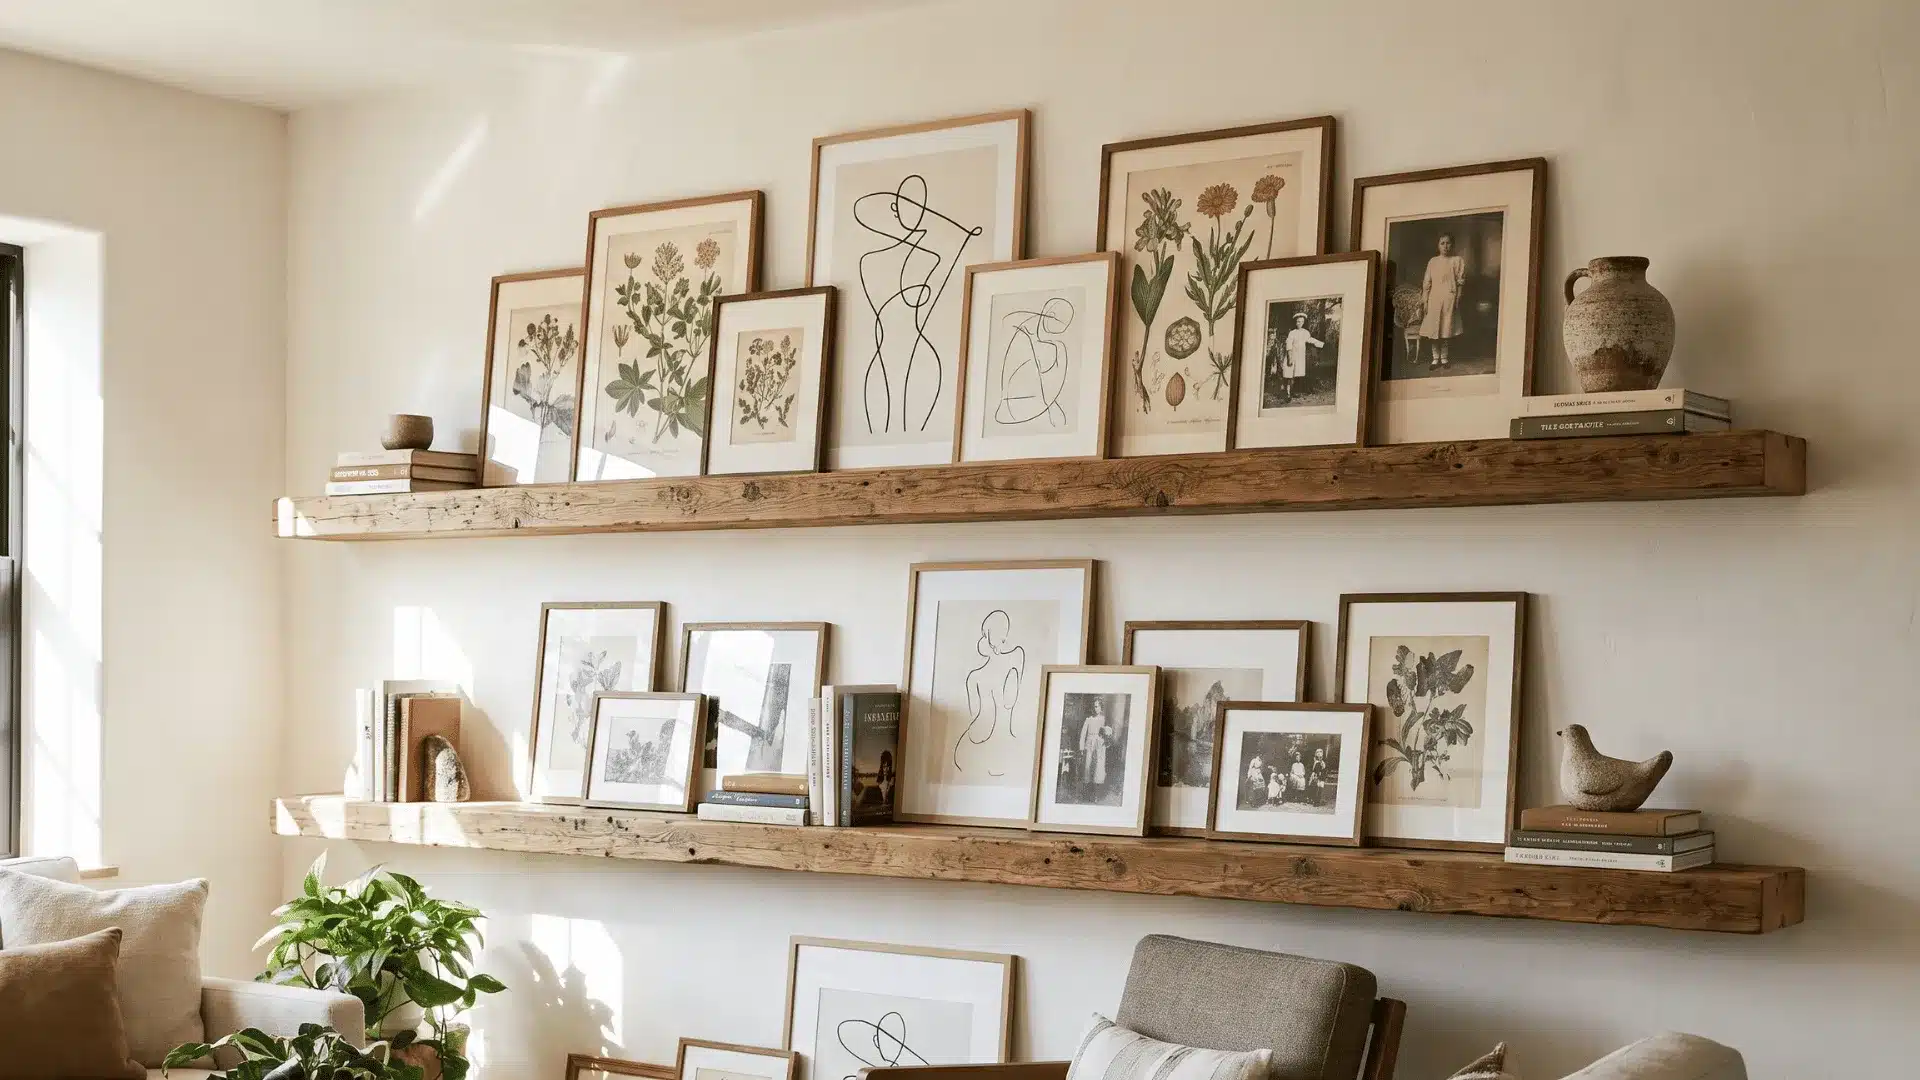
A display ledge lets you layer frames without hanging every item alone. Use one long ledge or two shorter rows.
Mix tall and low frames, then add a few small objects. Keep the front items from covering key parts of the art. This setup also makes later changes easier.
14. Clip-Hung Art Wall
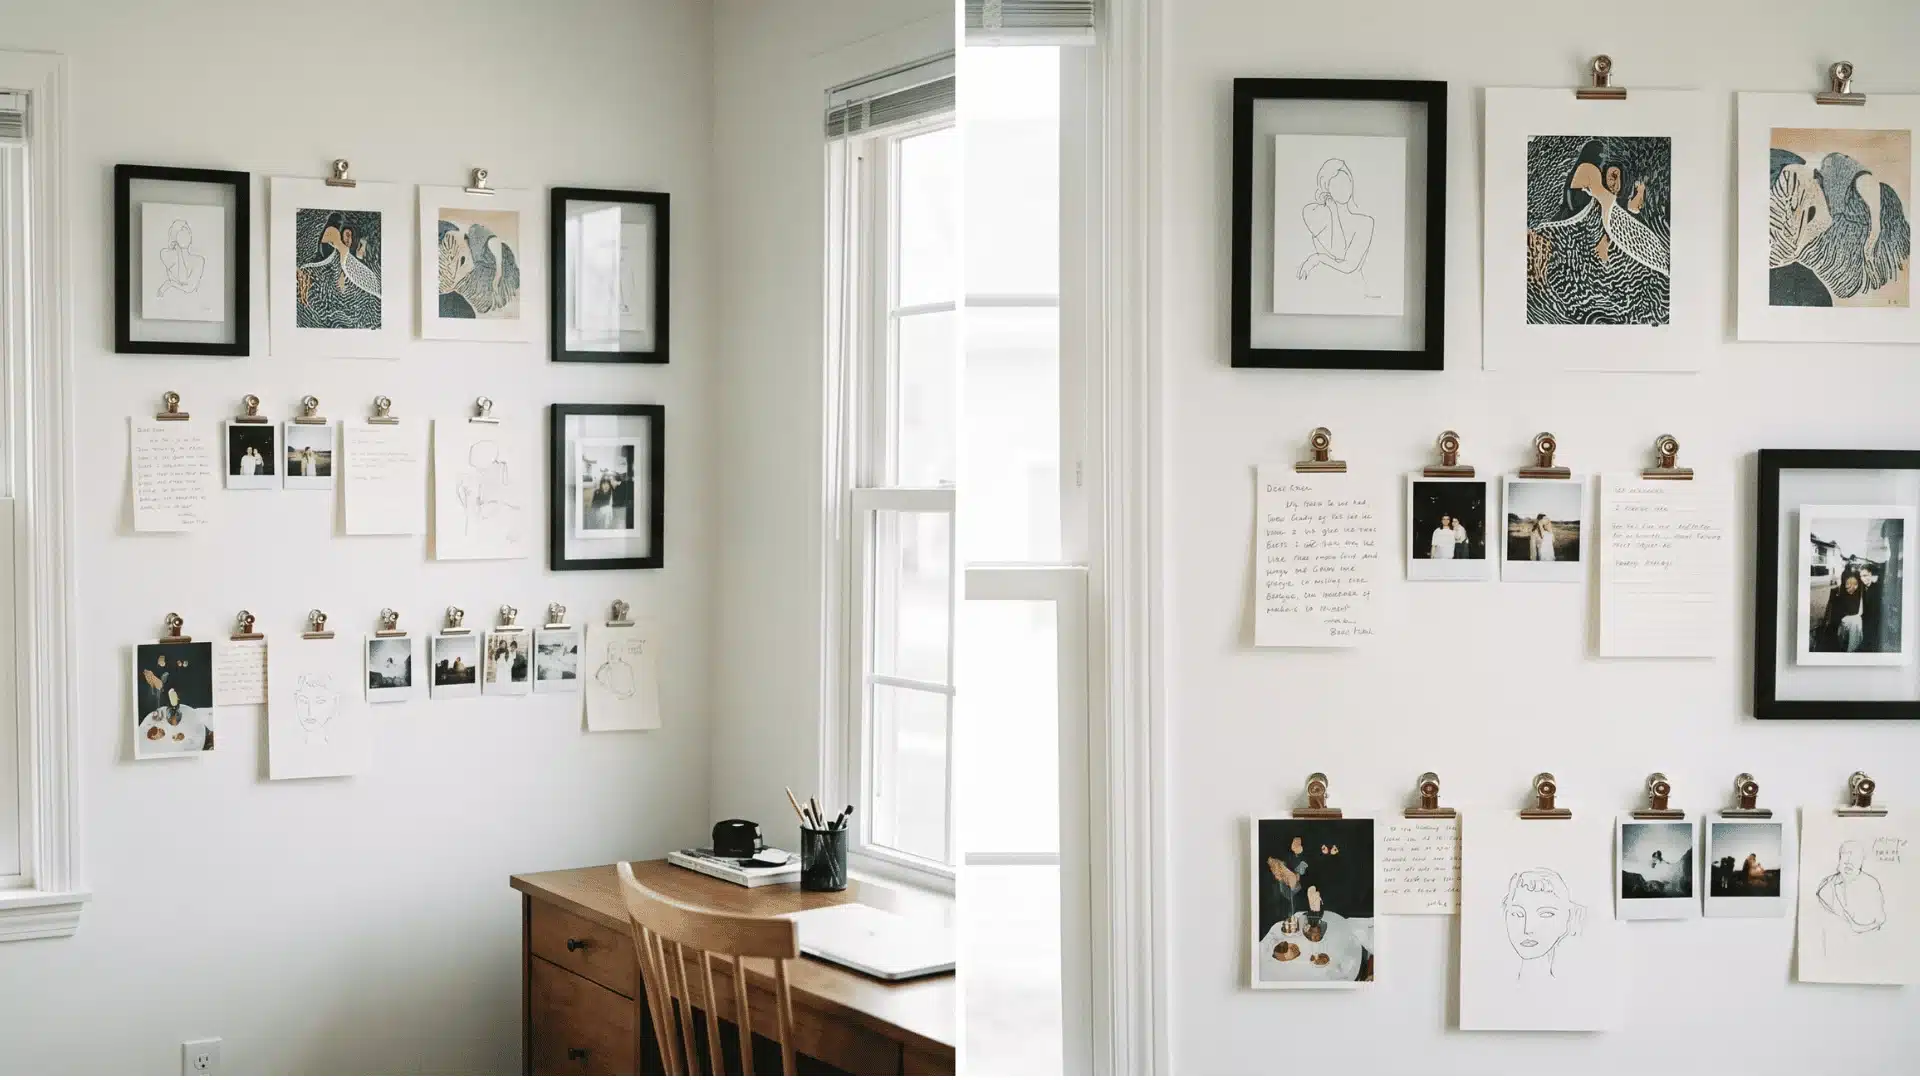
Wall clips work well for light prints, notes, photos, and children’s art. They cost less than many frame sets. Keep the clips in straight rows or a loose grid. Use one metal finish so the display feels connected.
This idea suits offices, kitchens, craft rooms, and rentals. Check the clip edges before using them on thin paper.
15. Textile and Fabric Wall
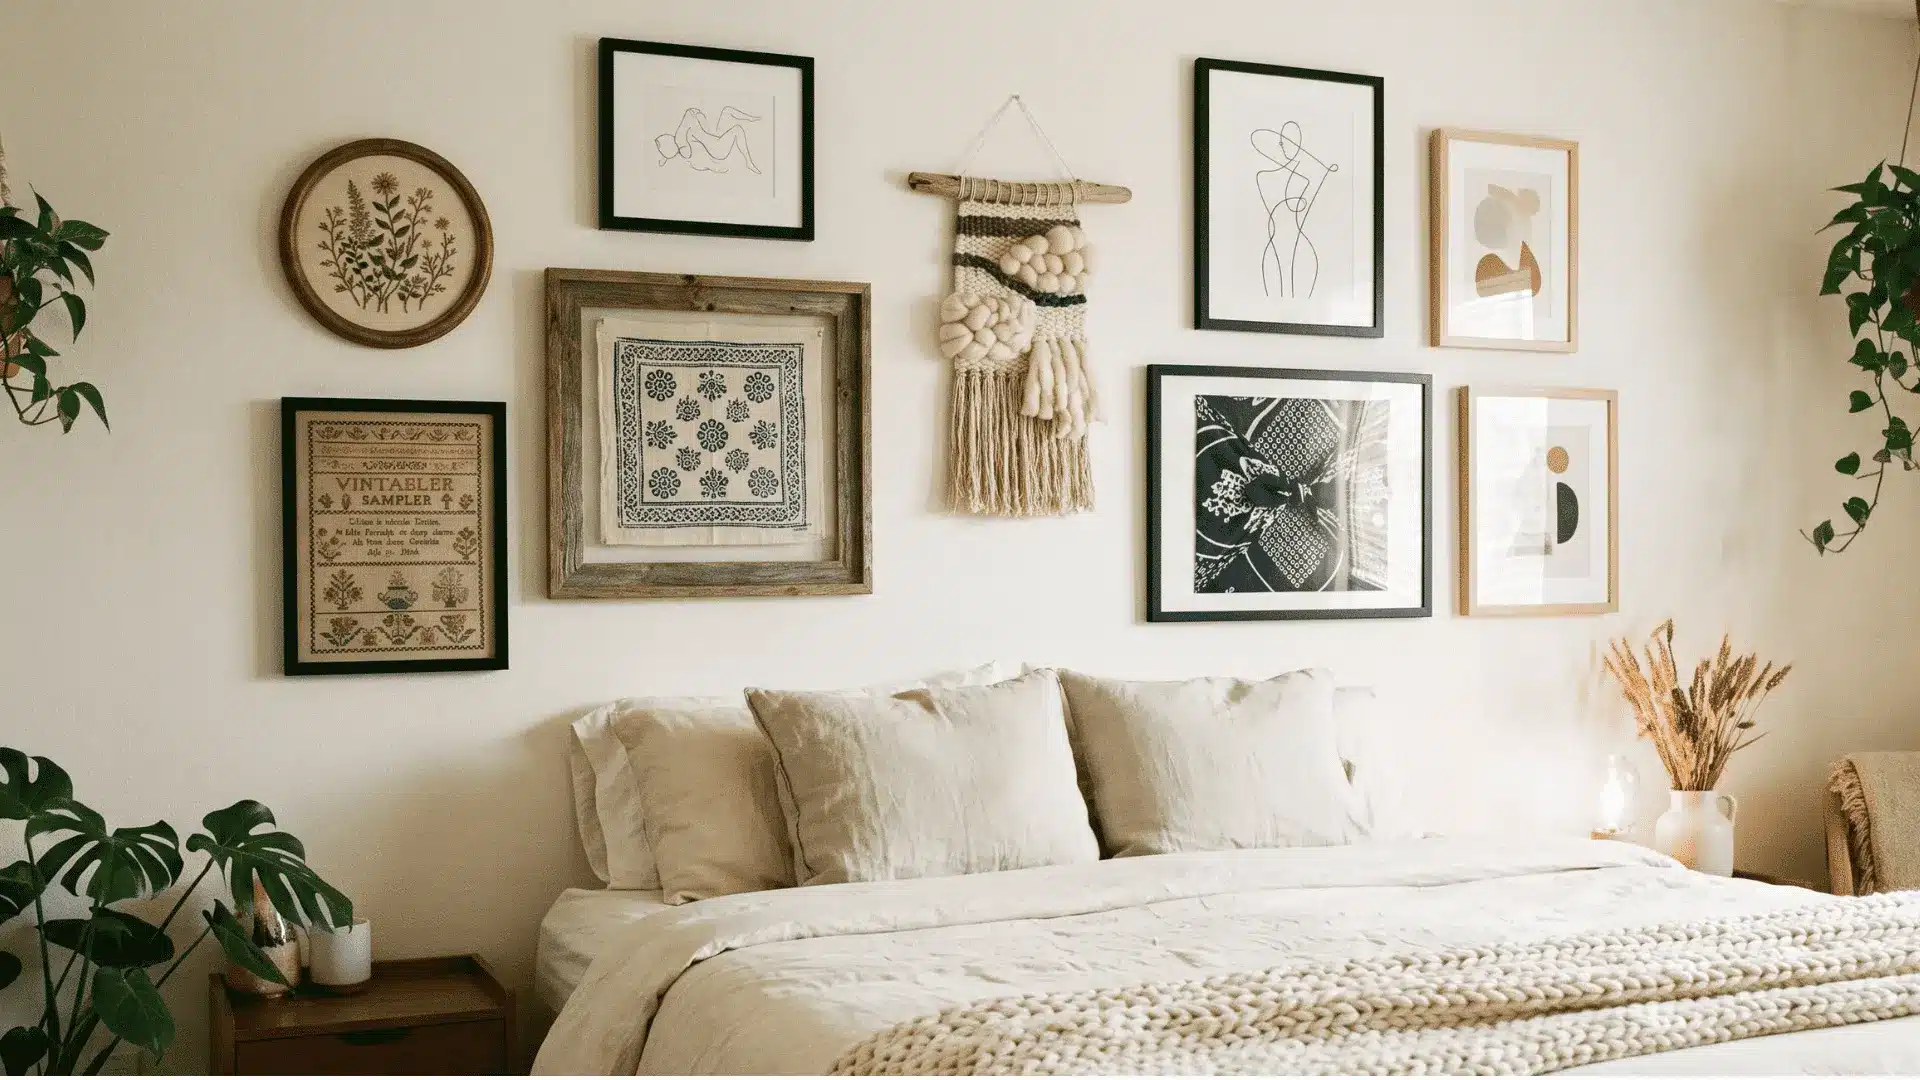
Fabric adds softness and depth to a wall of hard-edged frames. Use embroidery, small rugs, or framed cloth. Pair textiles with simple frames so the wall does not feel too busy. Repeat one fabric color elsewhere in the room.
This setup works well in bedrooms, halls, and reading corners. Valuable cloth may need protective framing and careful support.
16. Plate and Basket Wall
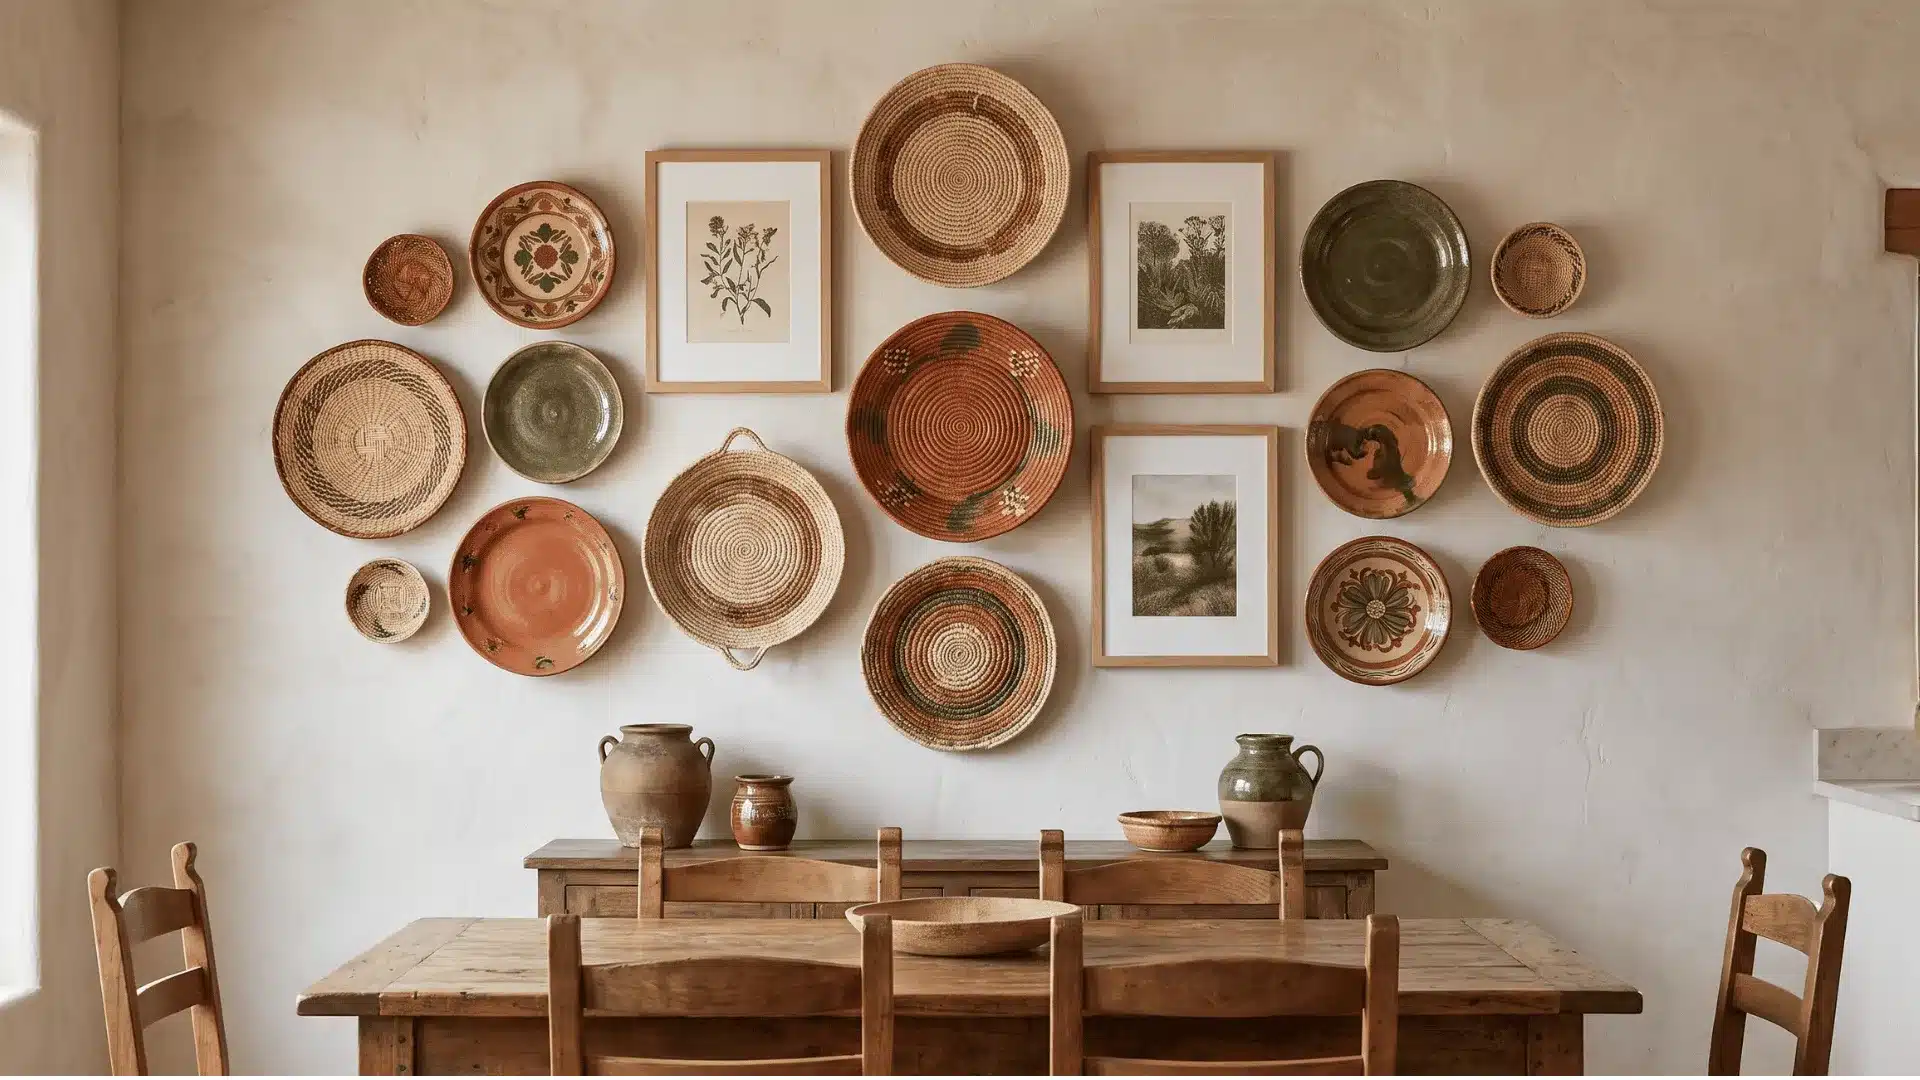
Plates and shallow baskets add round shapes and surface texture. Mix them with a few simple framed prints. Use hangers made for each item’s shape and weight. Test every hanger before placing the item above furniture.
This idea suits kitchens, dining rooms, and breakfast areas. Keep heavier pieces lower when the wall includes several sizes.
17. Postcard and Letter Wall
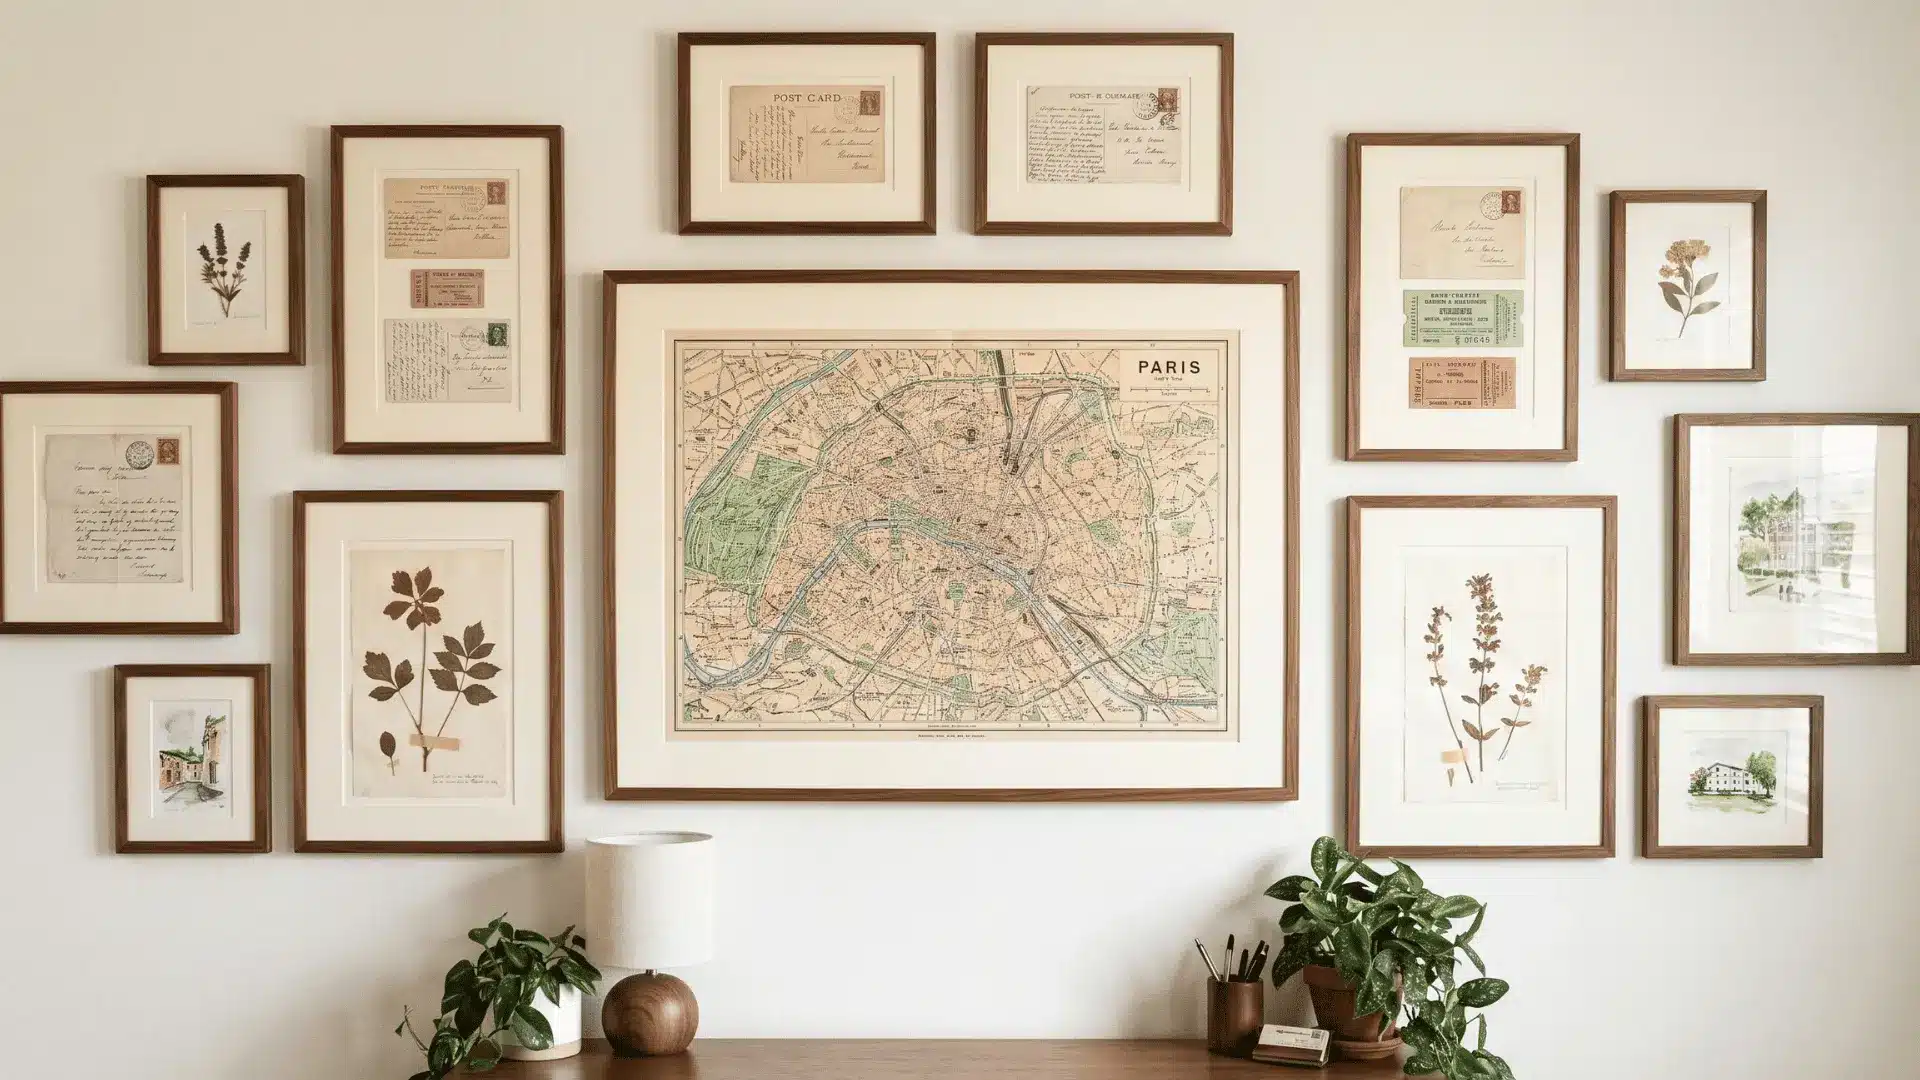
Postcards, letters, maps, and notes can become meaningful wall art. Use matching mats to connect their different sizes. Frame fragile paper behind clean glazing. Avoid folding or trimming original items that may matter later.
Paper exposed to light fades and yellows over time even behind UV-filtering glass, a point the Library of Congress’s preservation guidelines for matting and framing raise when discussing how to display original documents safely.
This setup works in offices, bedrooms, and travel-themed rooms. Start with one larger map, then add smaller paper pieces.
18. Record and Music Wall
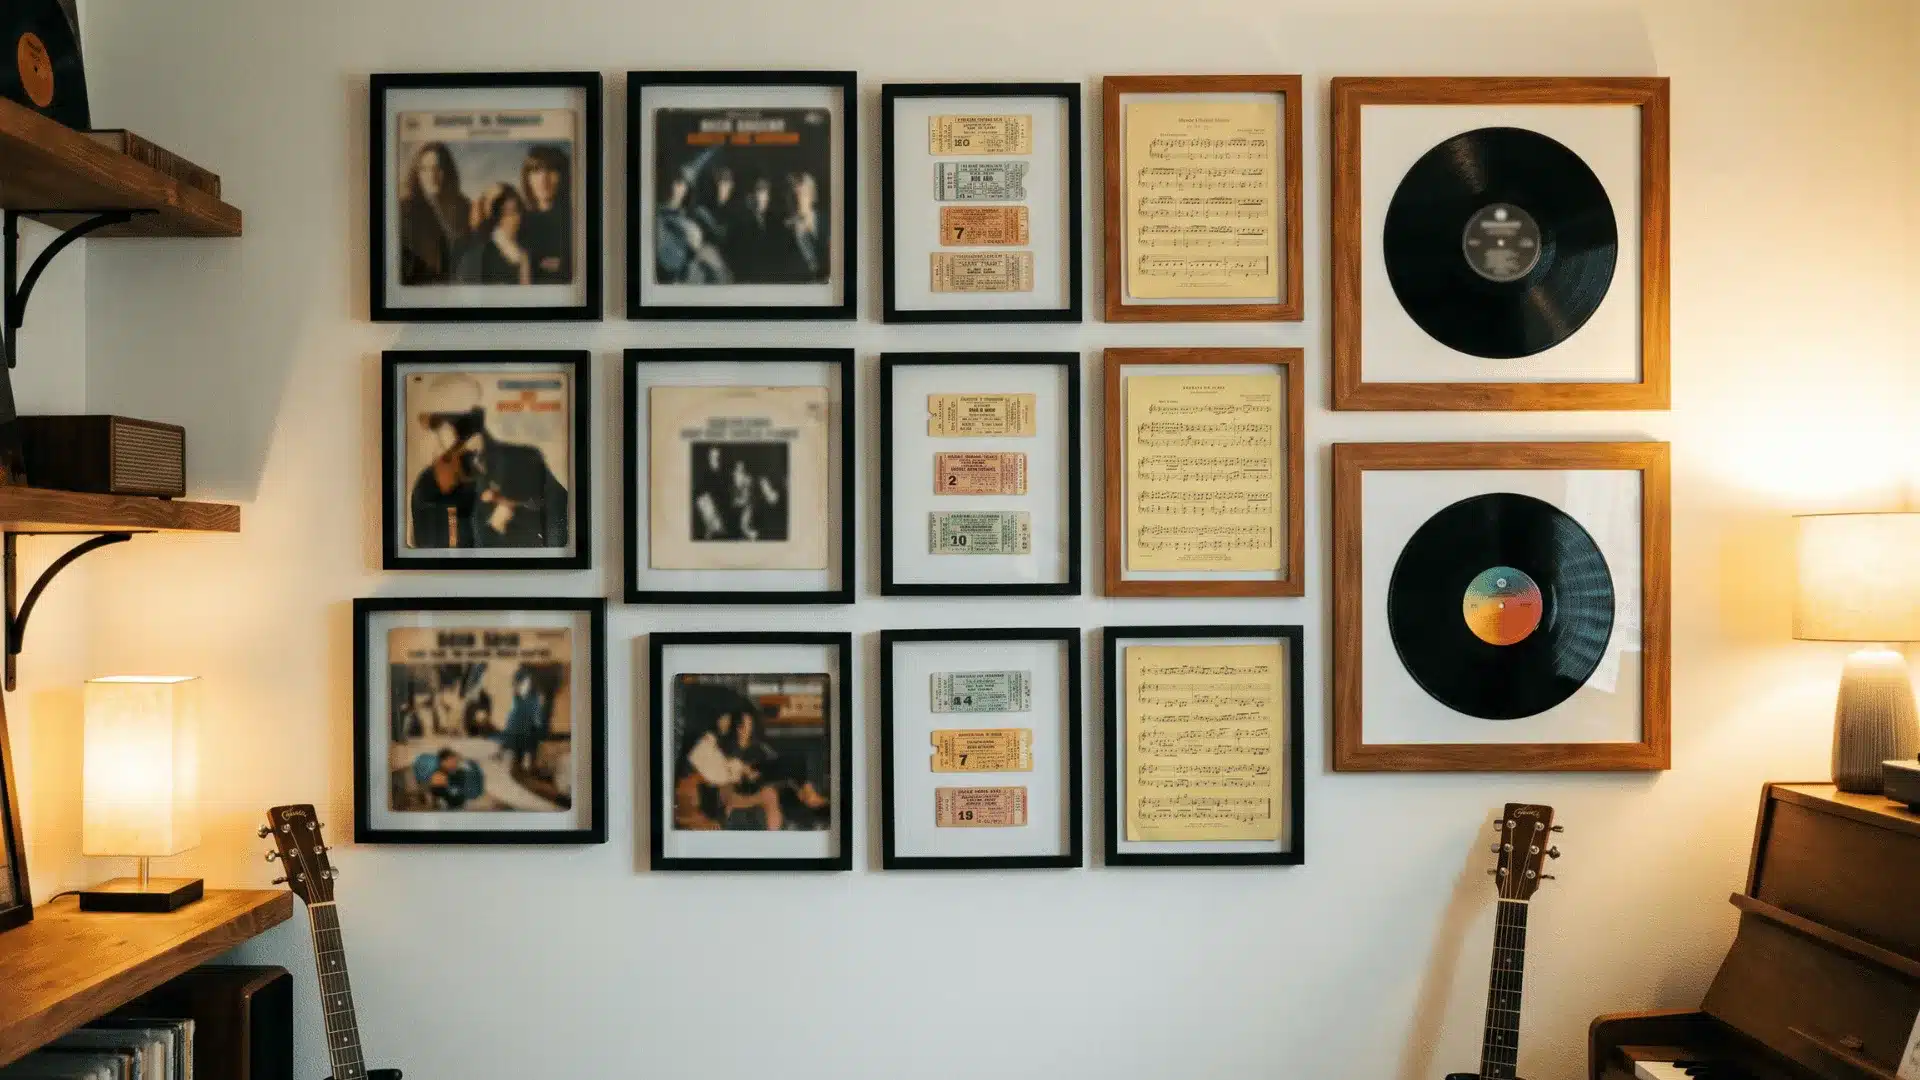
Album covers, concert tickets, and sheet music can create a clear music theme. Choose items linked by artist or era. Use square frames for covers and smaller frames for tickets. Keep valuable records away from strong heat and sunlight.
This idea works in music rooms, offices, and living spaces. Repeat black frames to connect the varied paper sizes.
19. Local Art Collection
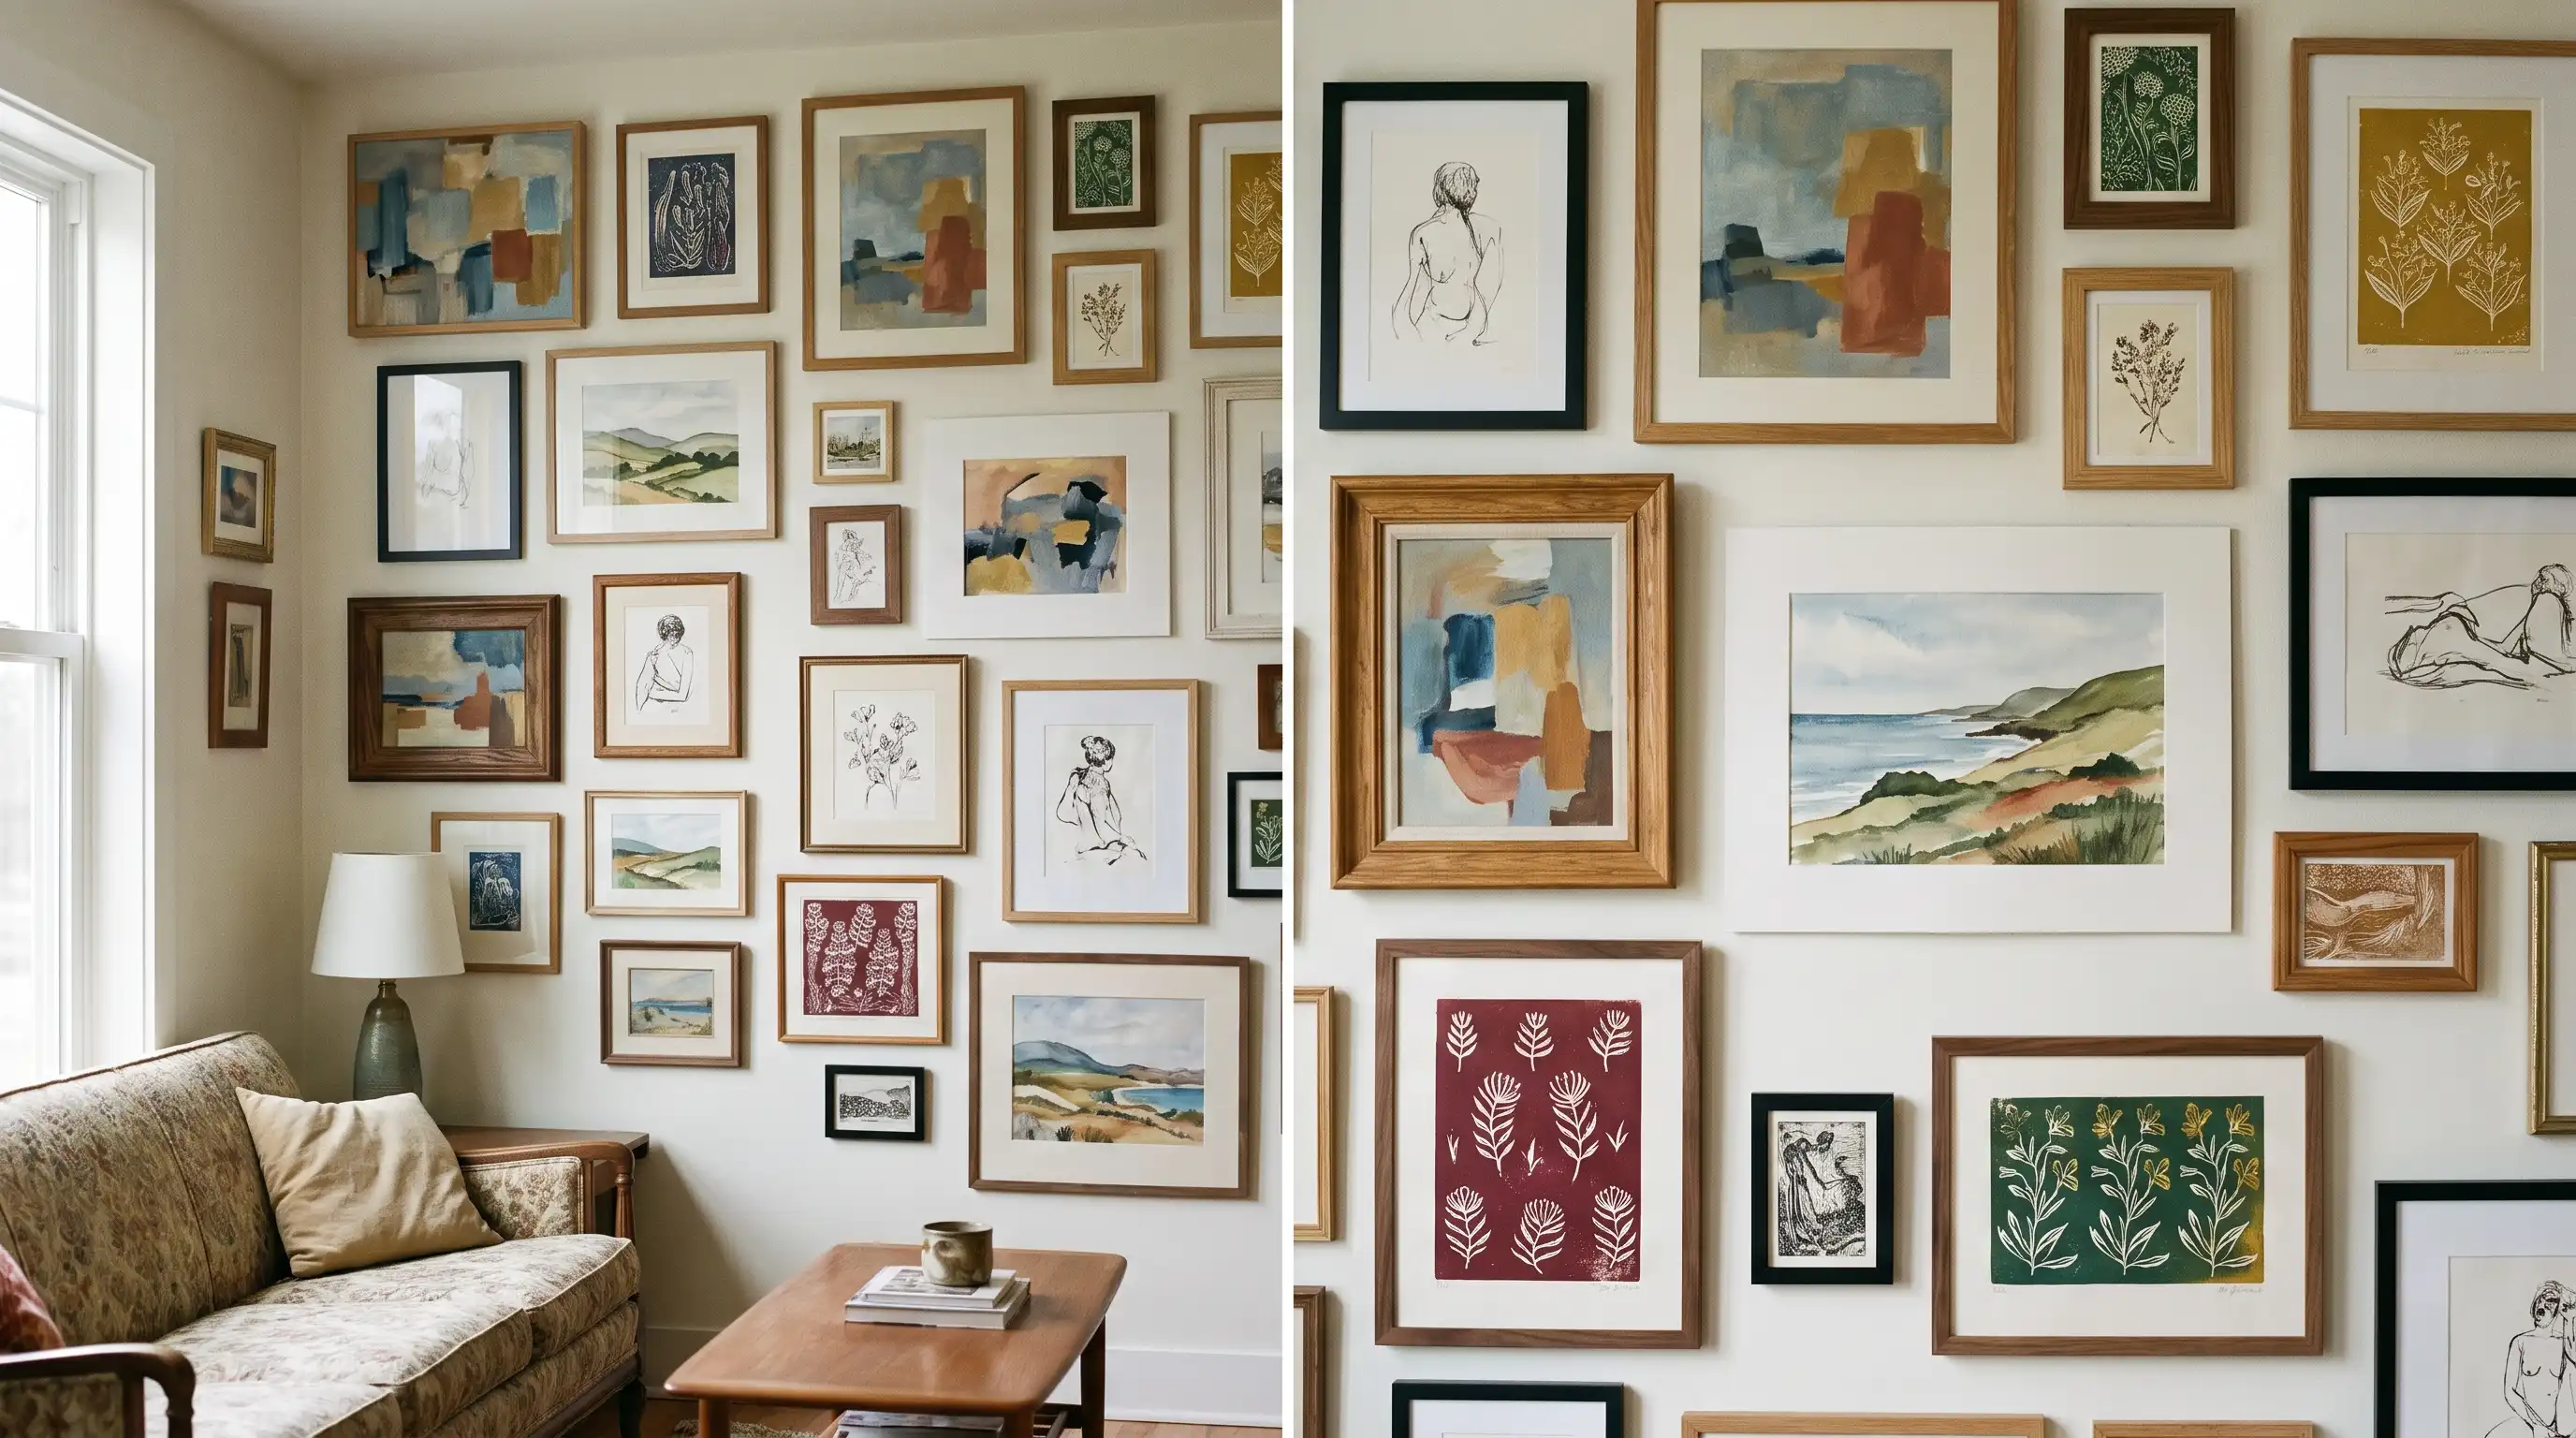
Small works from local artists can make the wall feel more personal. Start with a few pieces rather than filling everything. Look for repeated colors, subjects, or frame finishes. Add new work slowly as the collection grows.
This approach suits almost any room. It also gives you time to choose pieces that fit the wall and budget.
20. Floor-to-Ceiling Art Wall
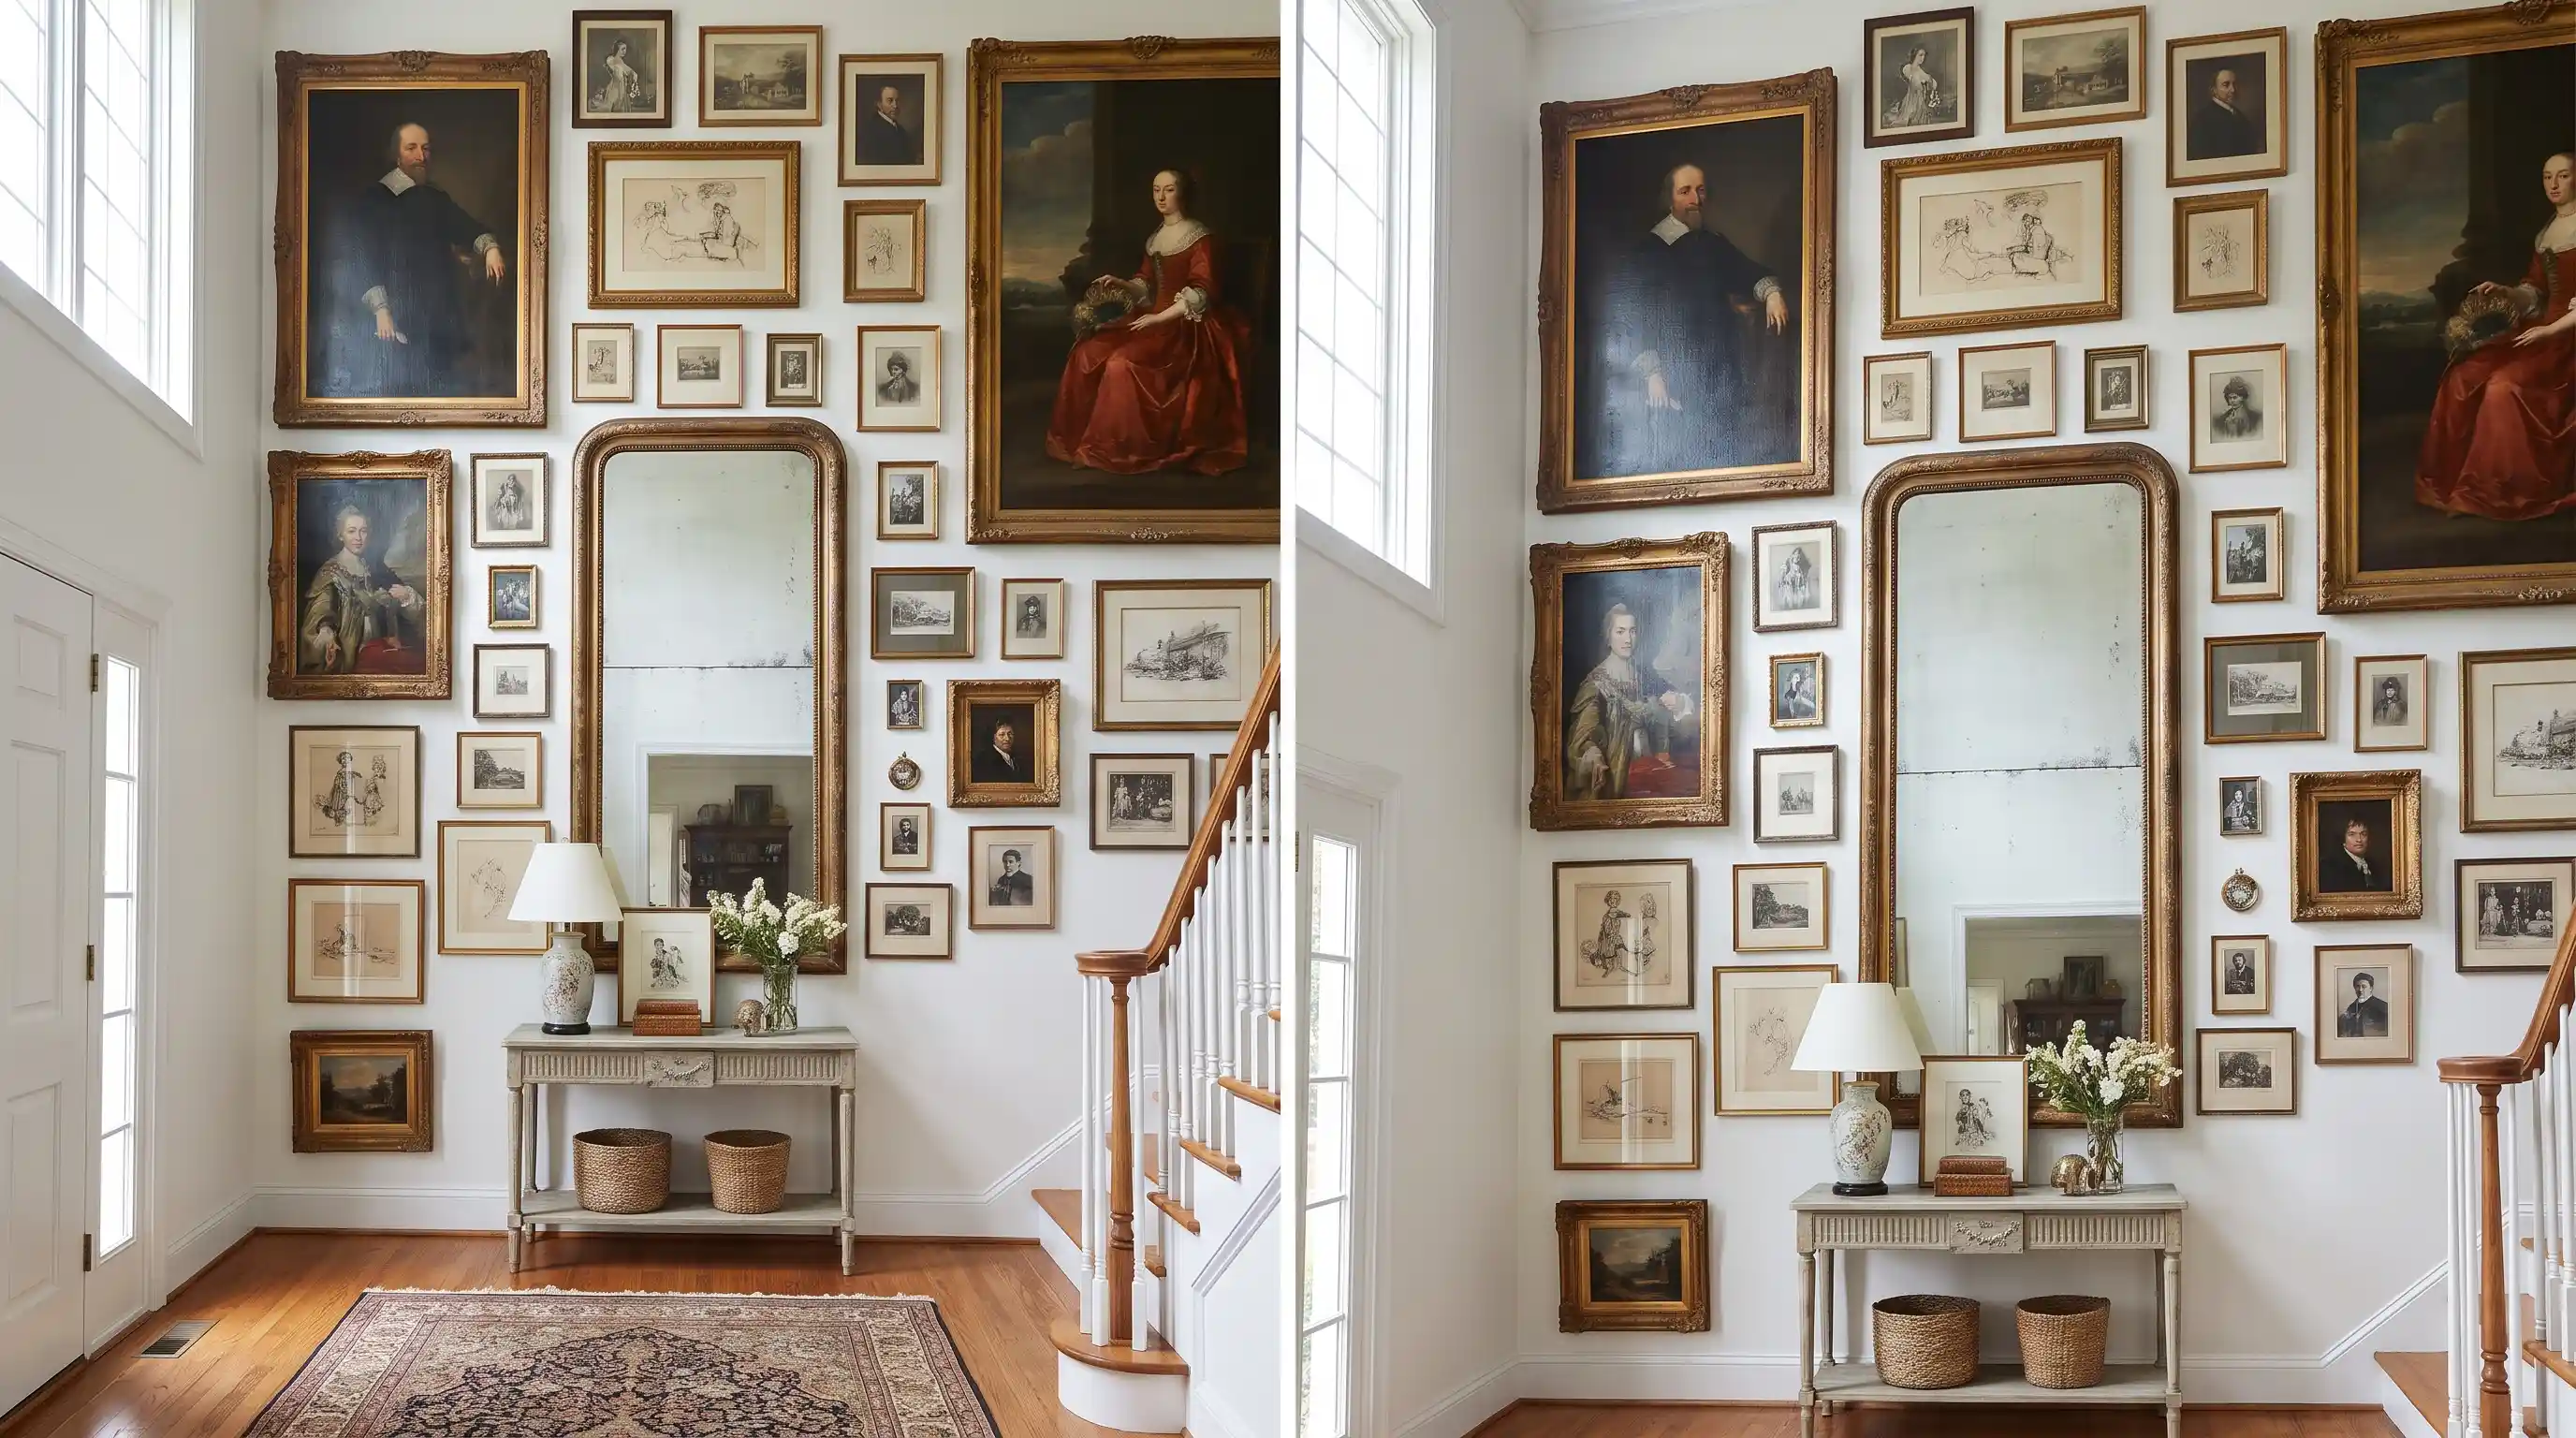
A tall wall can hold art from near the floor toward the ceiling. This setup works best with a larger collection.
Spread the largest pieces across the full height. Do not place every heavy frame near the bottom or one side. Use secure anchors and safe ladder access.
21. Staircase Gallery Wall
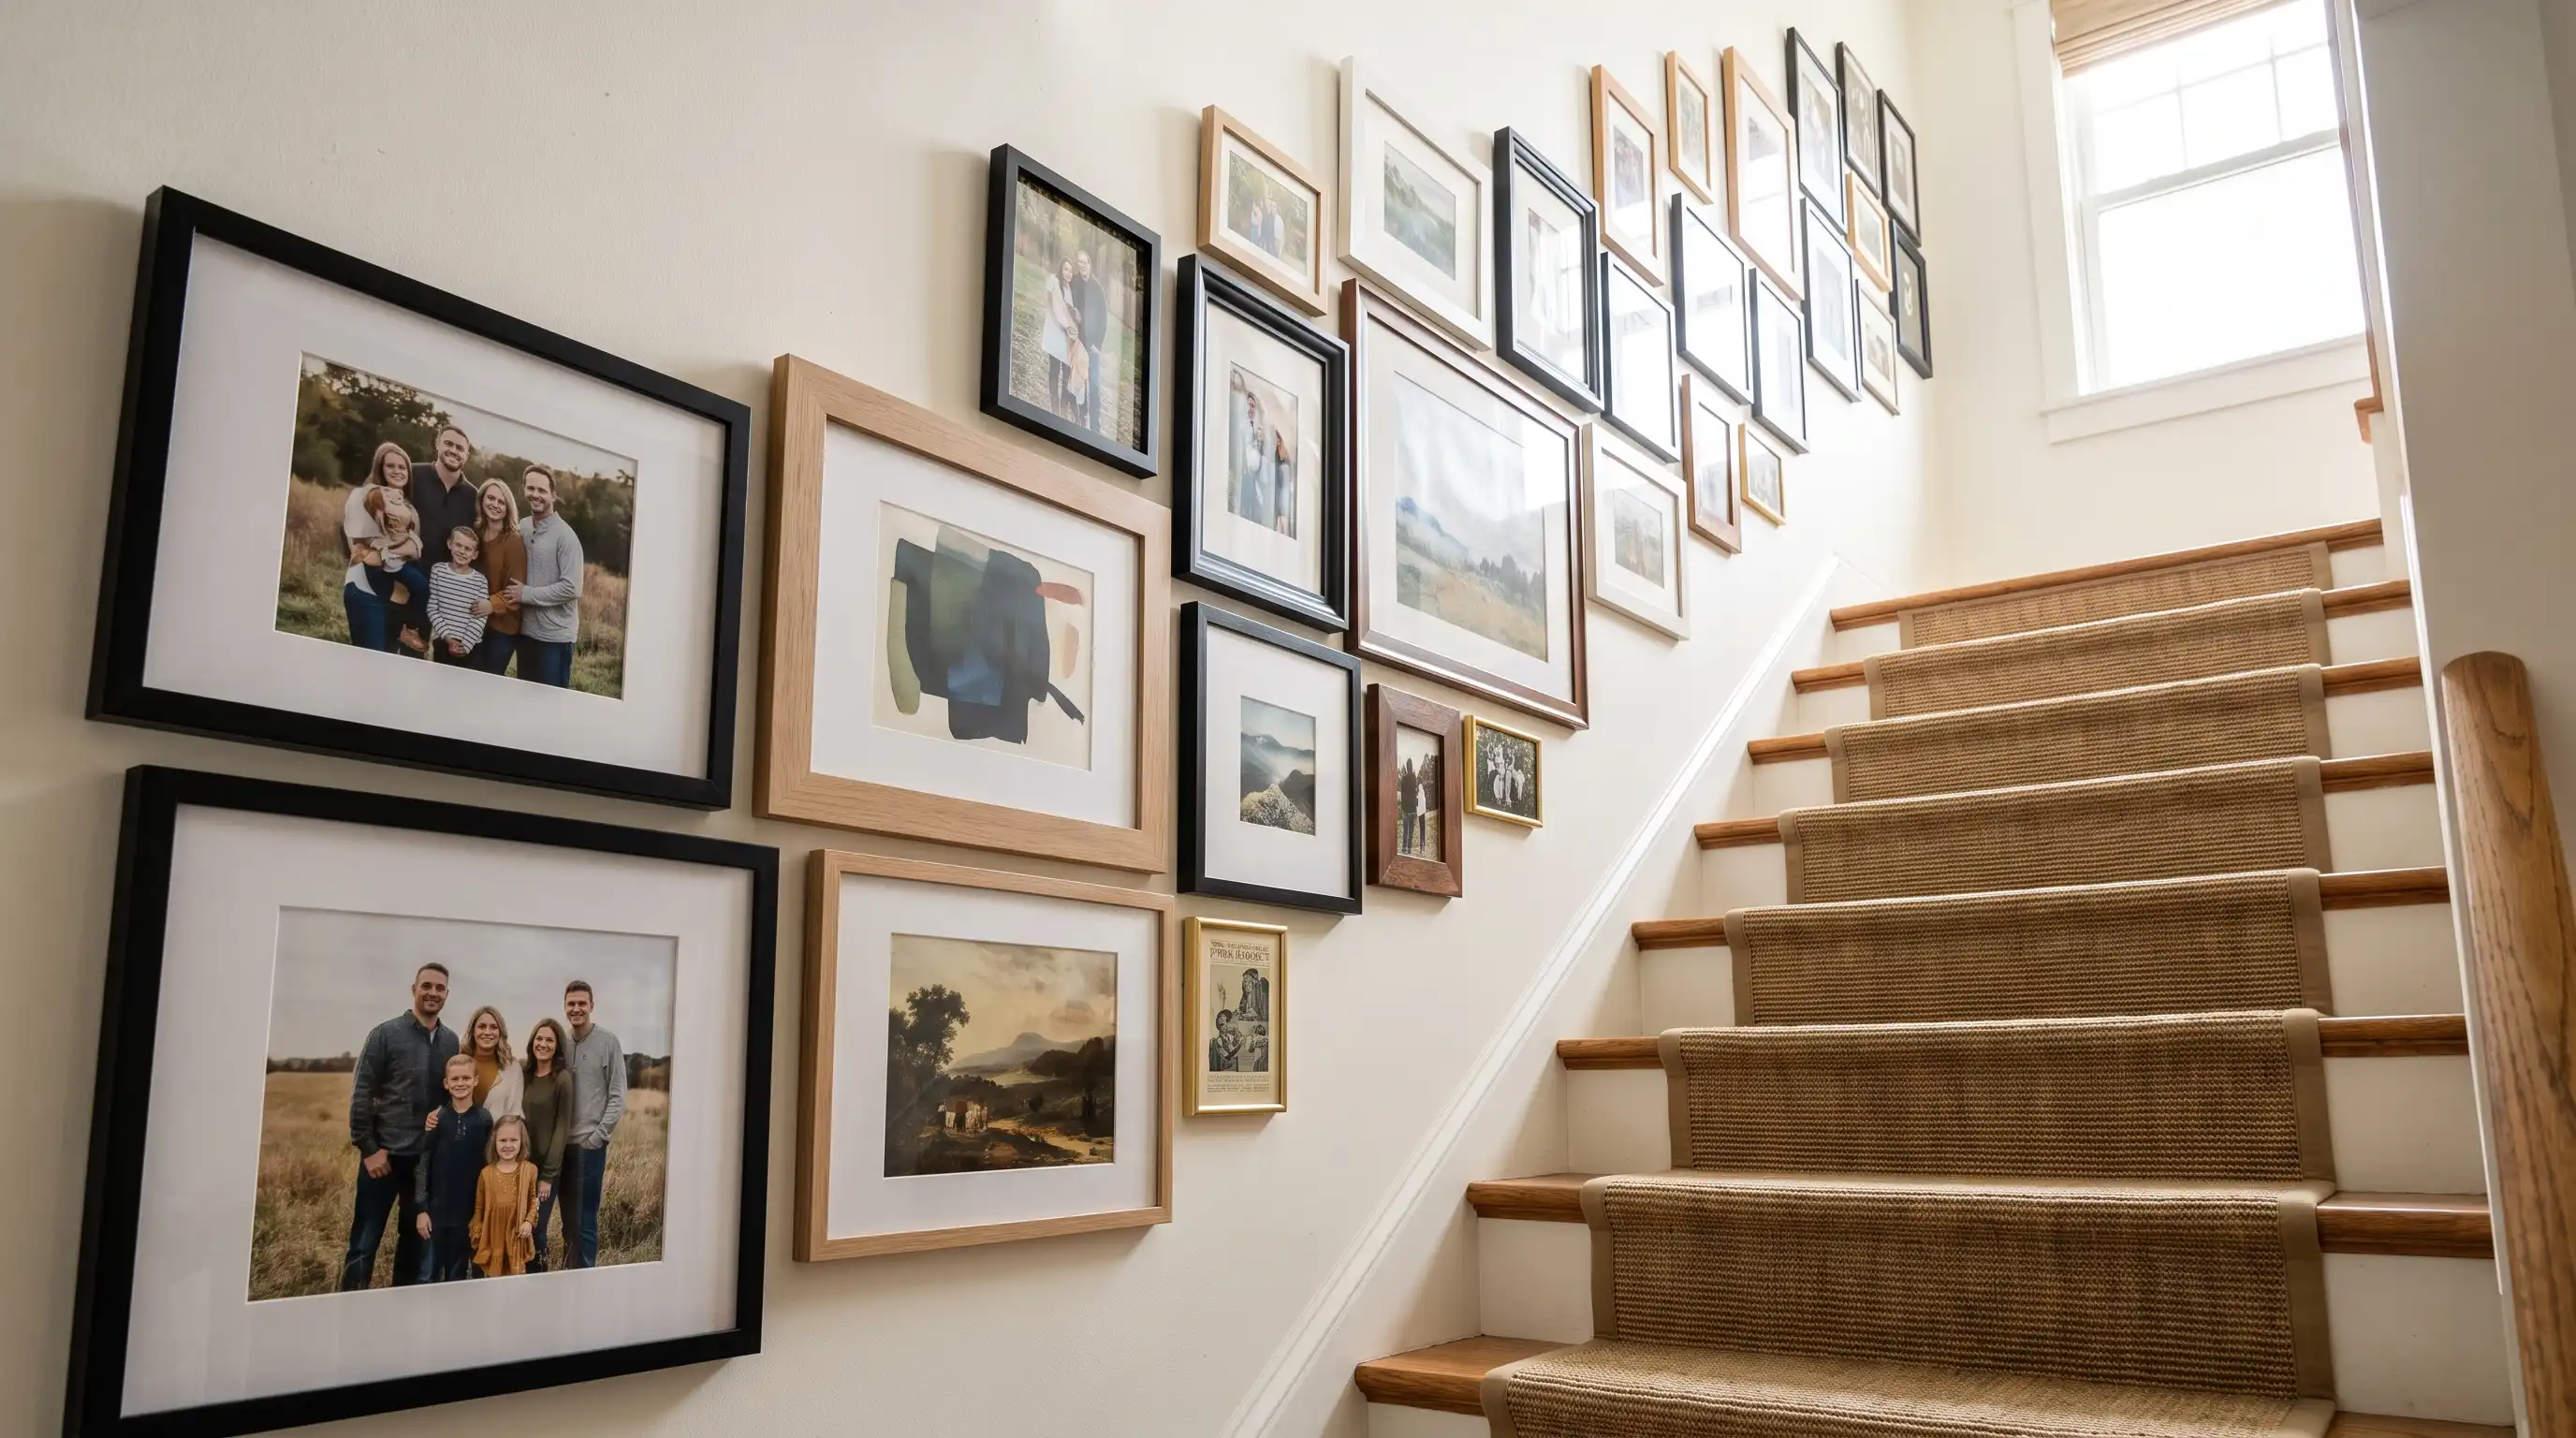
A staircase wall should follow the rise of the steps. Use both horizontal and vertical frames to fill the angled shape. Begin with larger pieces, then place smaller frames between them. Check the view from the top and bottom.
This setup works well for family photos and travel items. Paper templates help you adjust the angle before making holes.
22. Long Hallway Row
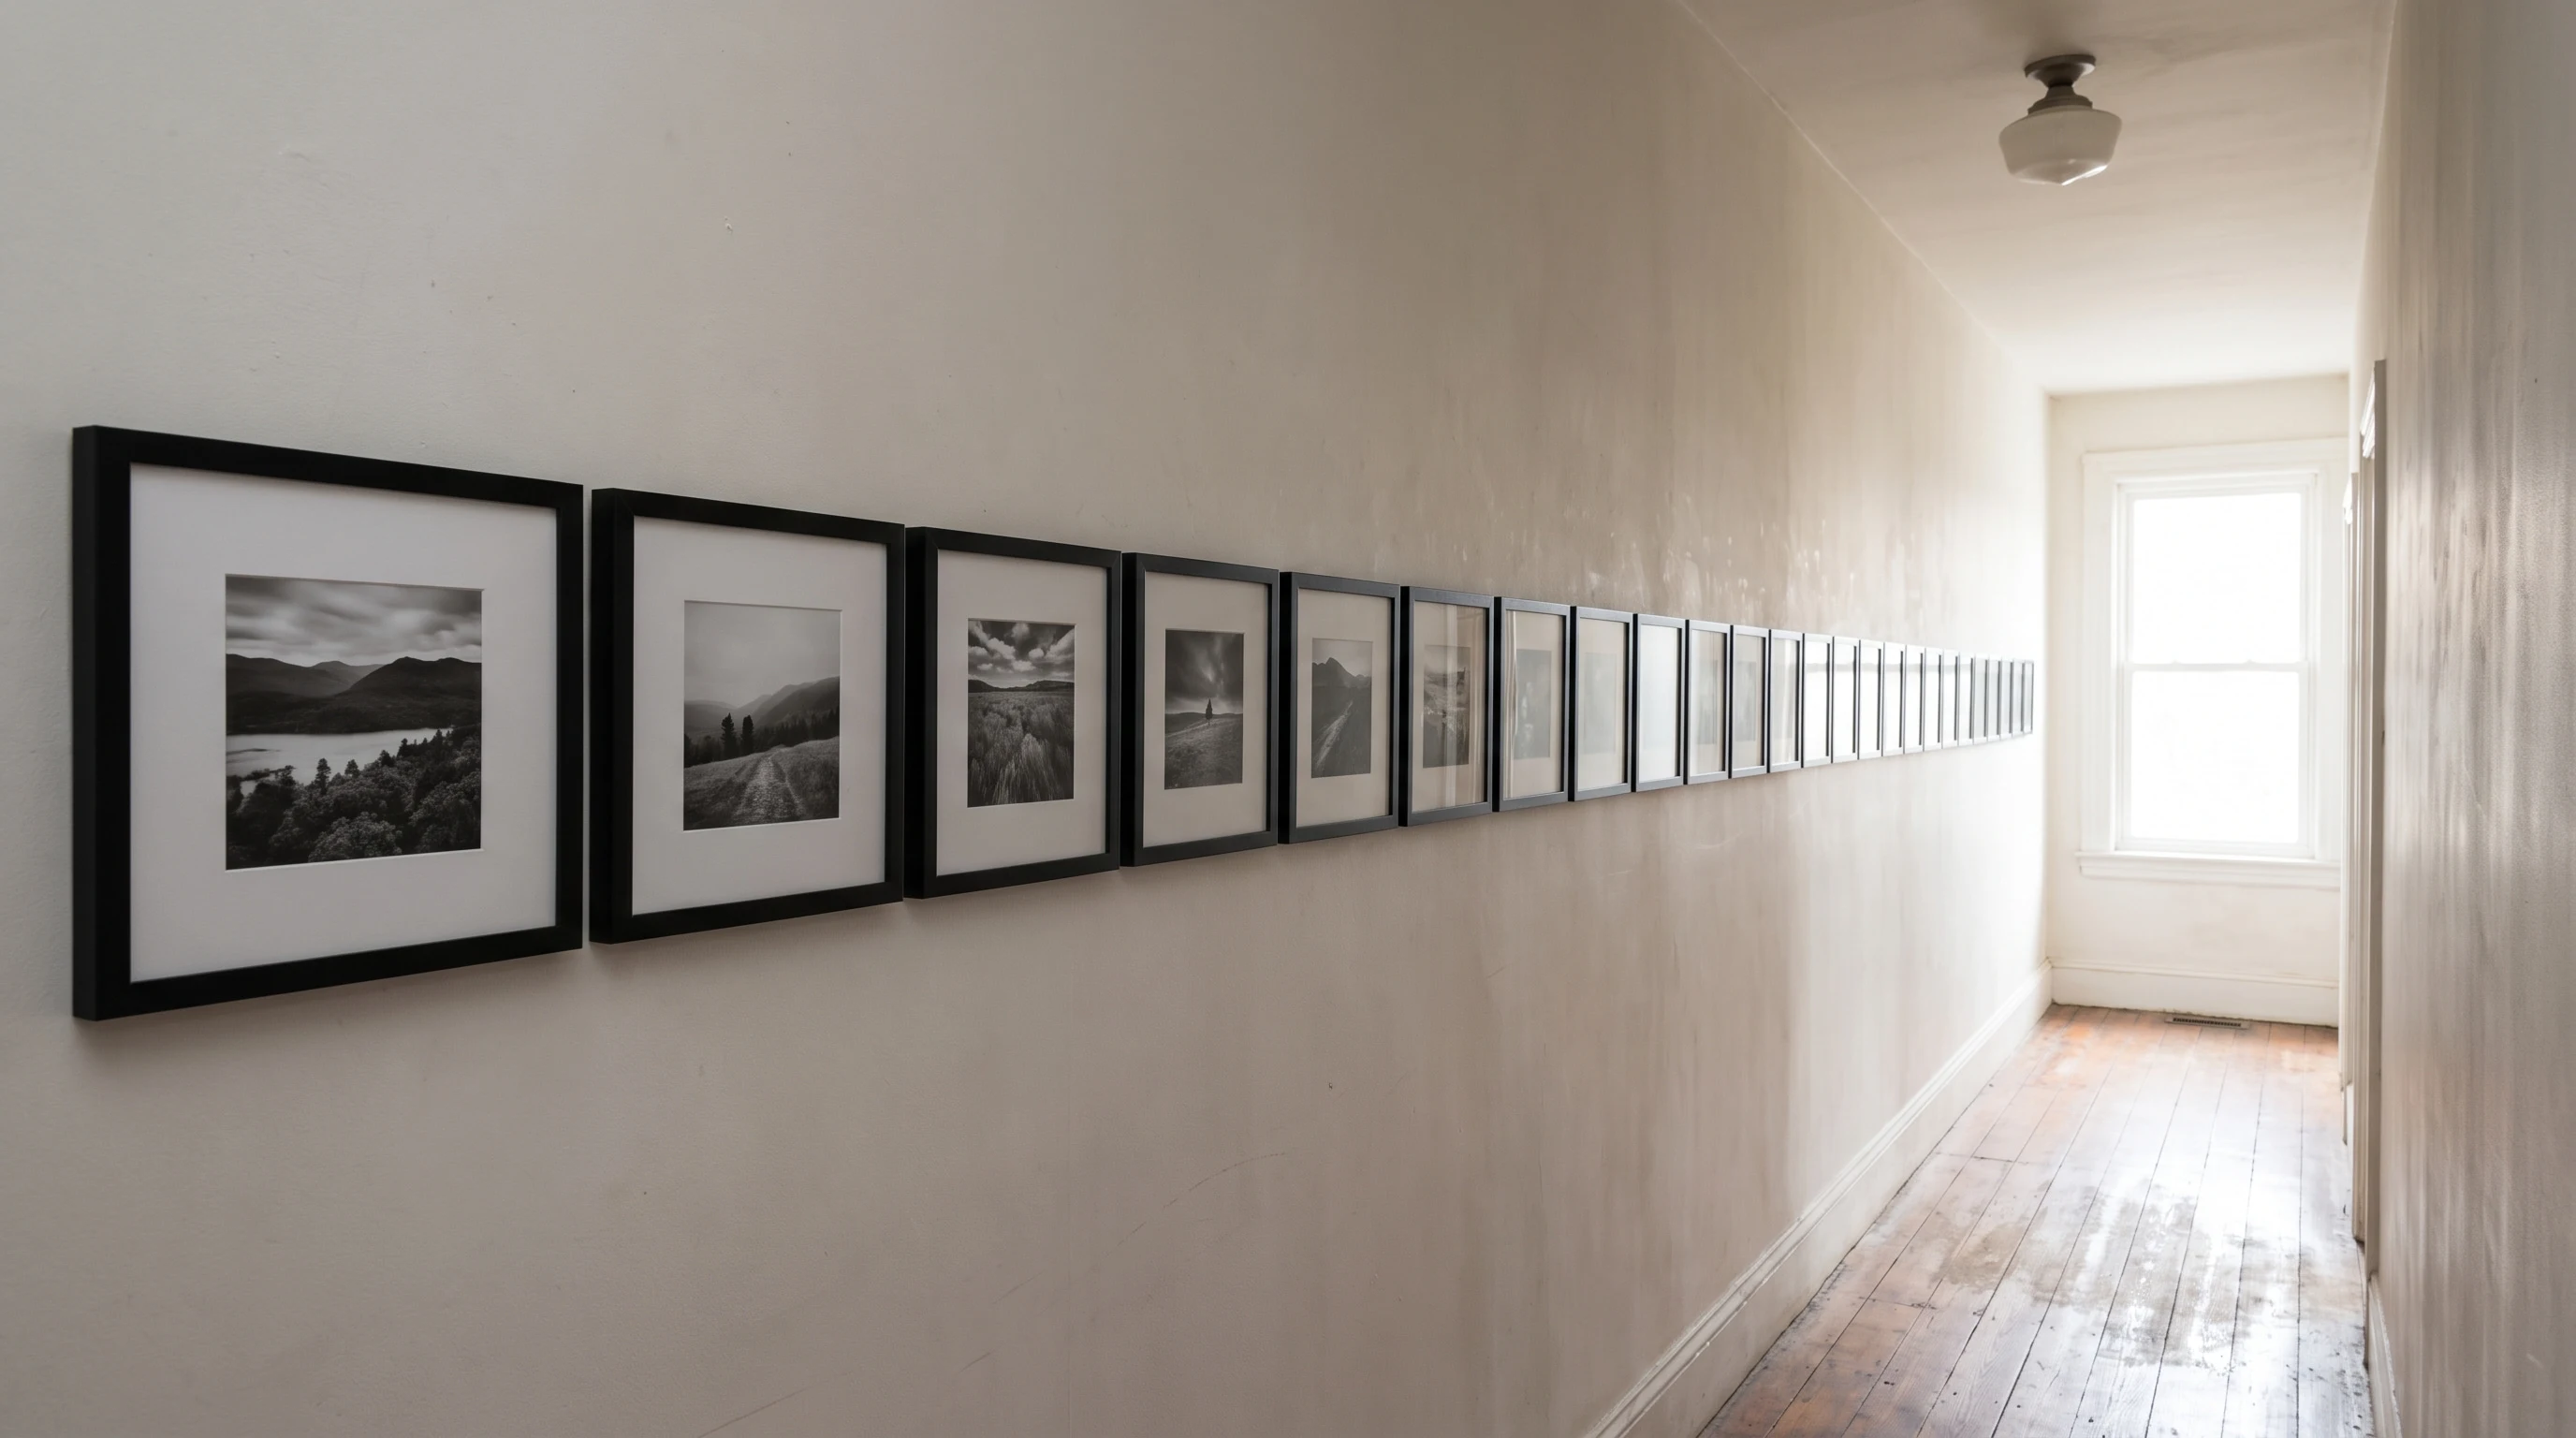
A long hallway suits one straight row or a narrow grid. Choose shallow frames that do not crowd the walkway. Use related art or similar photo edits. Keep the center line steady from one end of the hall.
This idea can make a plain passage feel finished. Leave enough open wall space so the row does not feel cramped.
23. Gallery Wall Above a Sofa
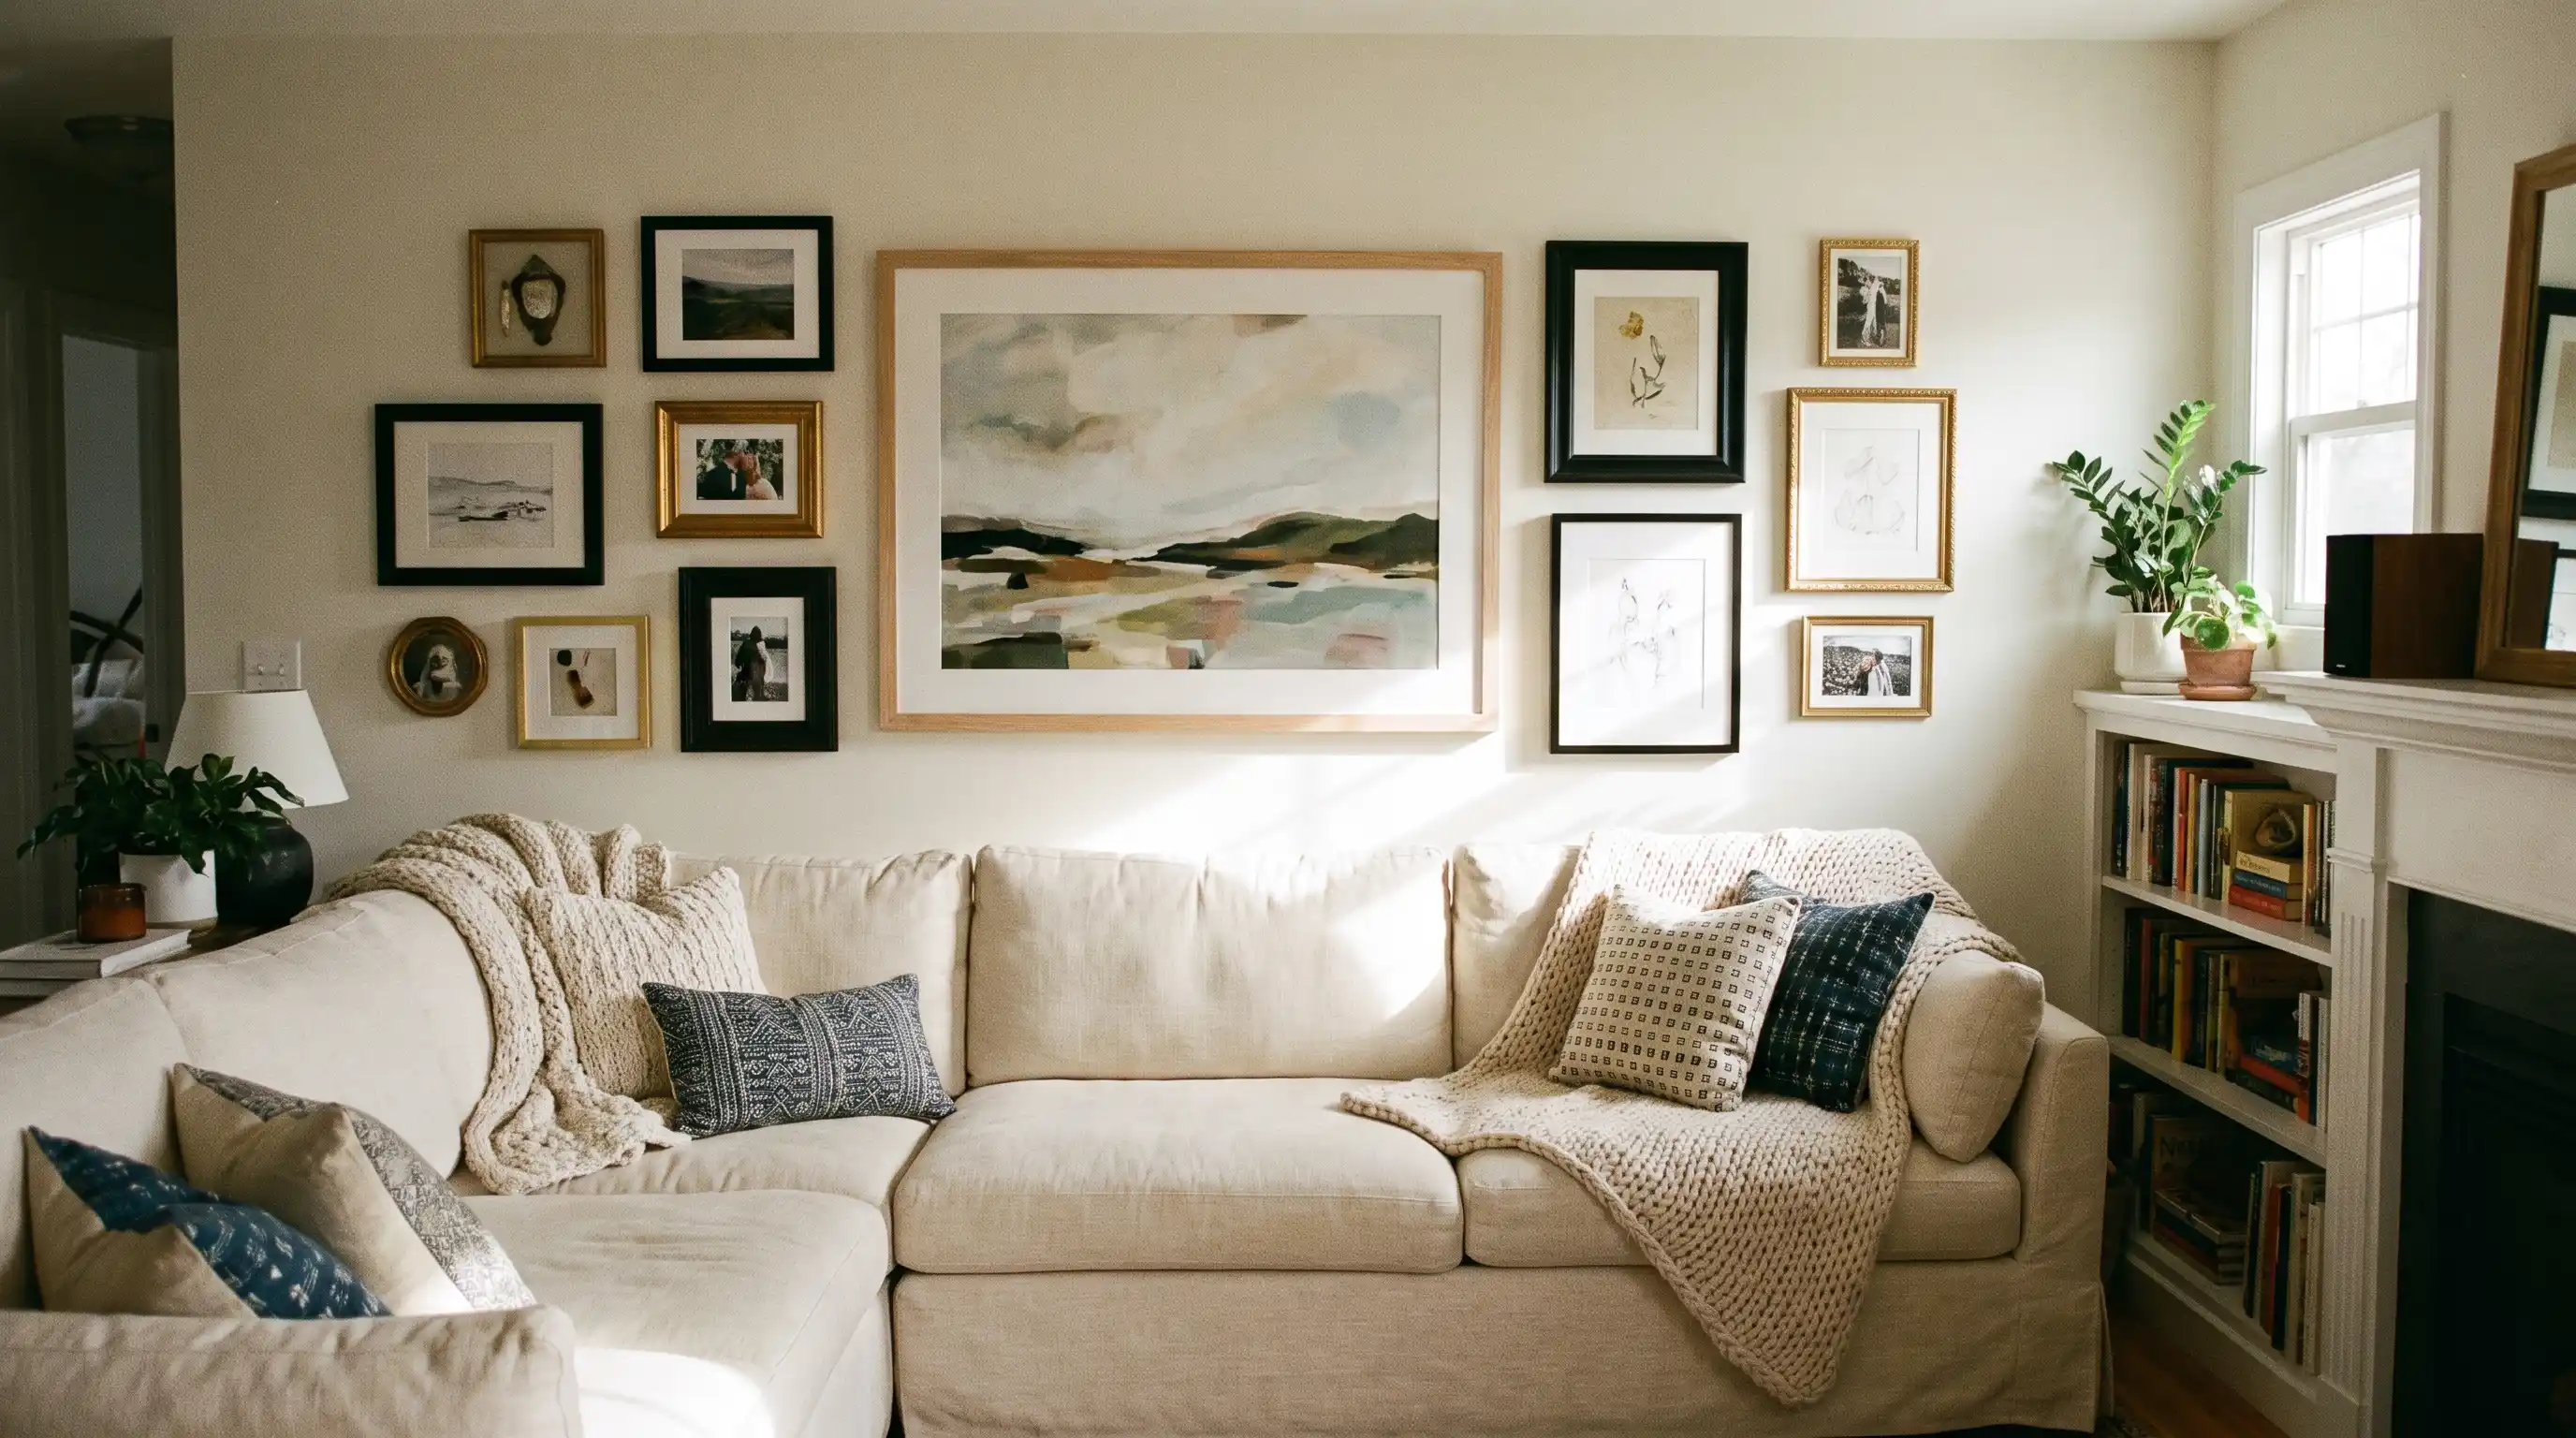
A wall above a sofa needs enough width to relate to the furniture. Use one larger work with smaller supporting pieces.
Keep the group visually connected to the sofa below. Avoid pushing the full display close to the ceiling. Mark the outer boundary with tape before choosing more frames. It will show when the current pieces feel too small.
24. Gallery Wall Above a Headboard
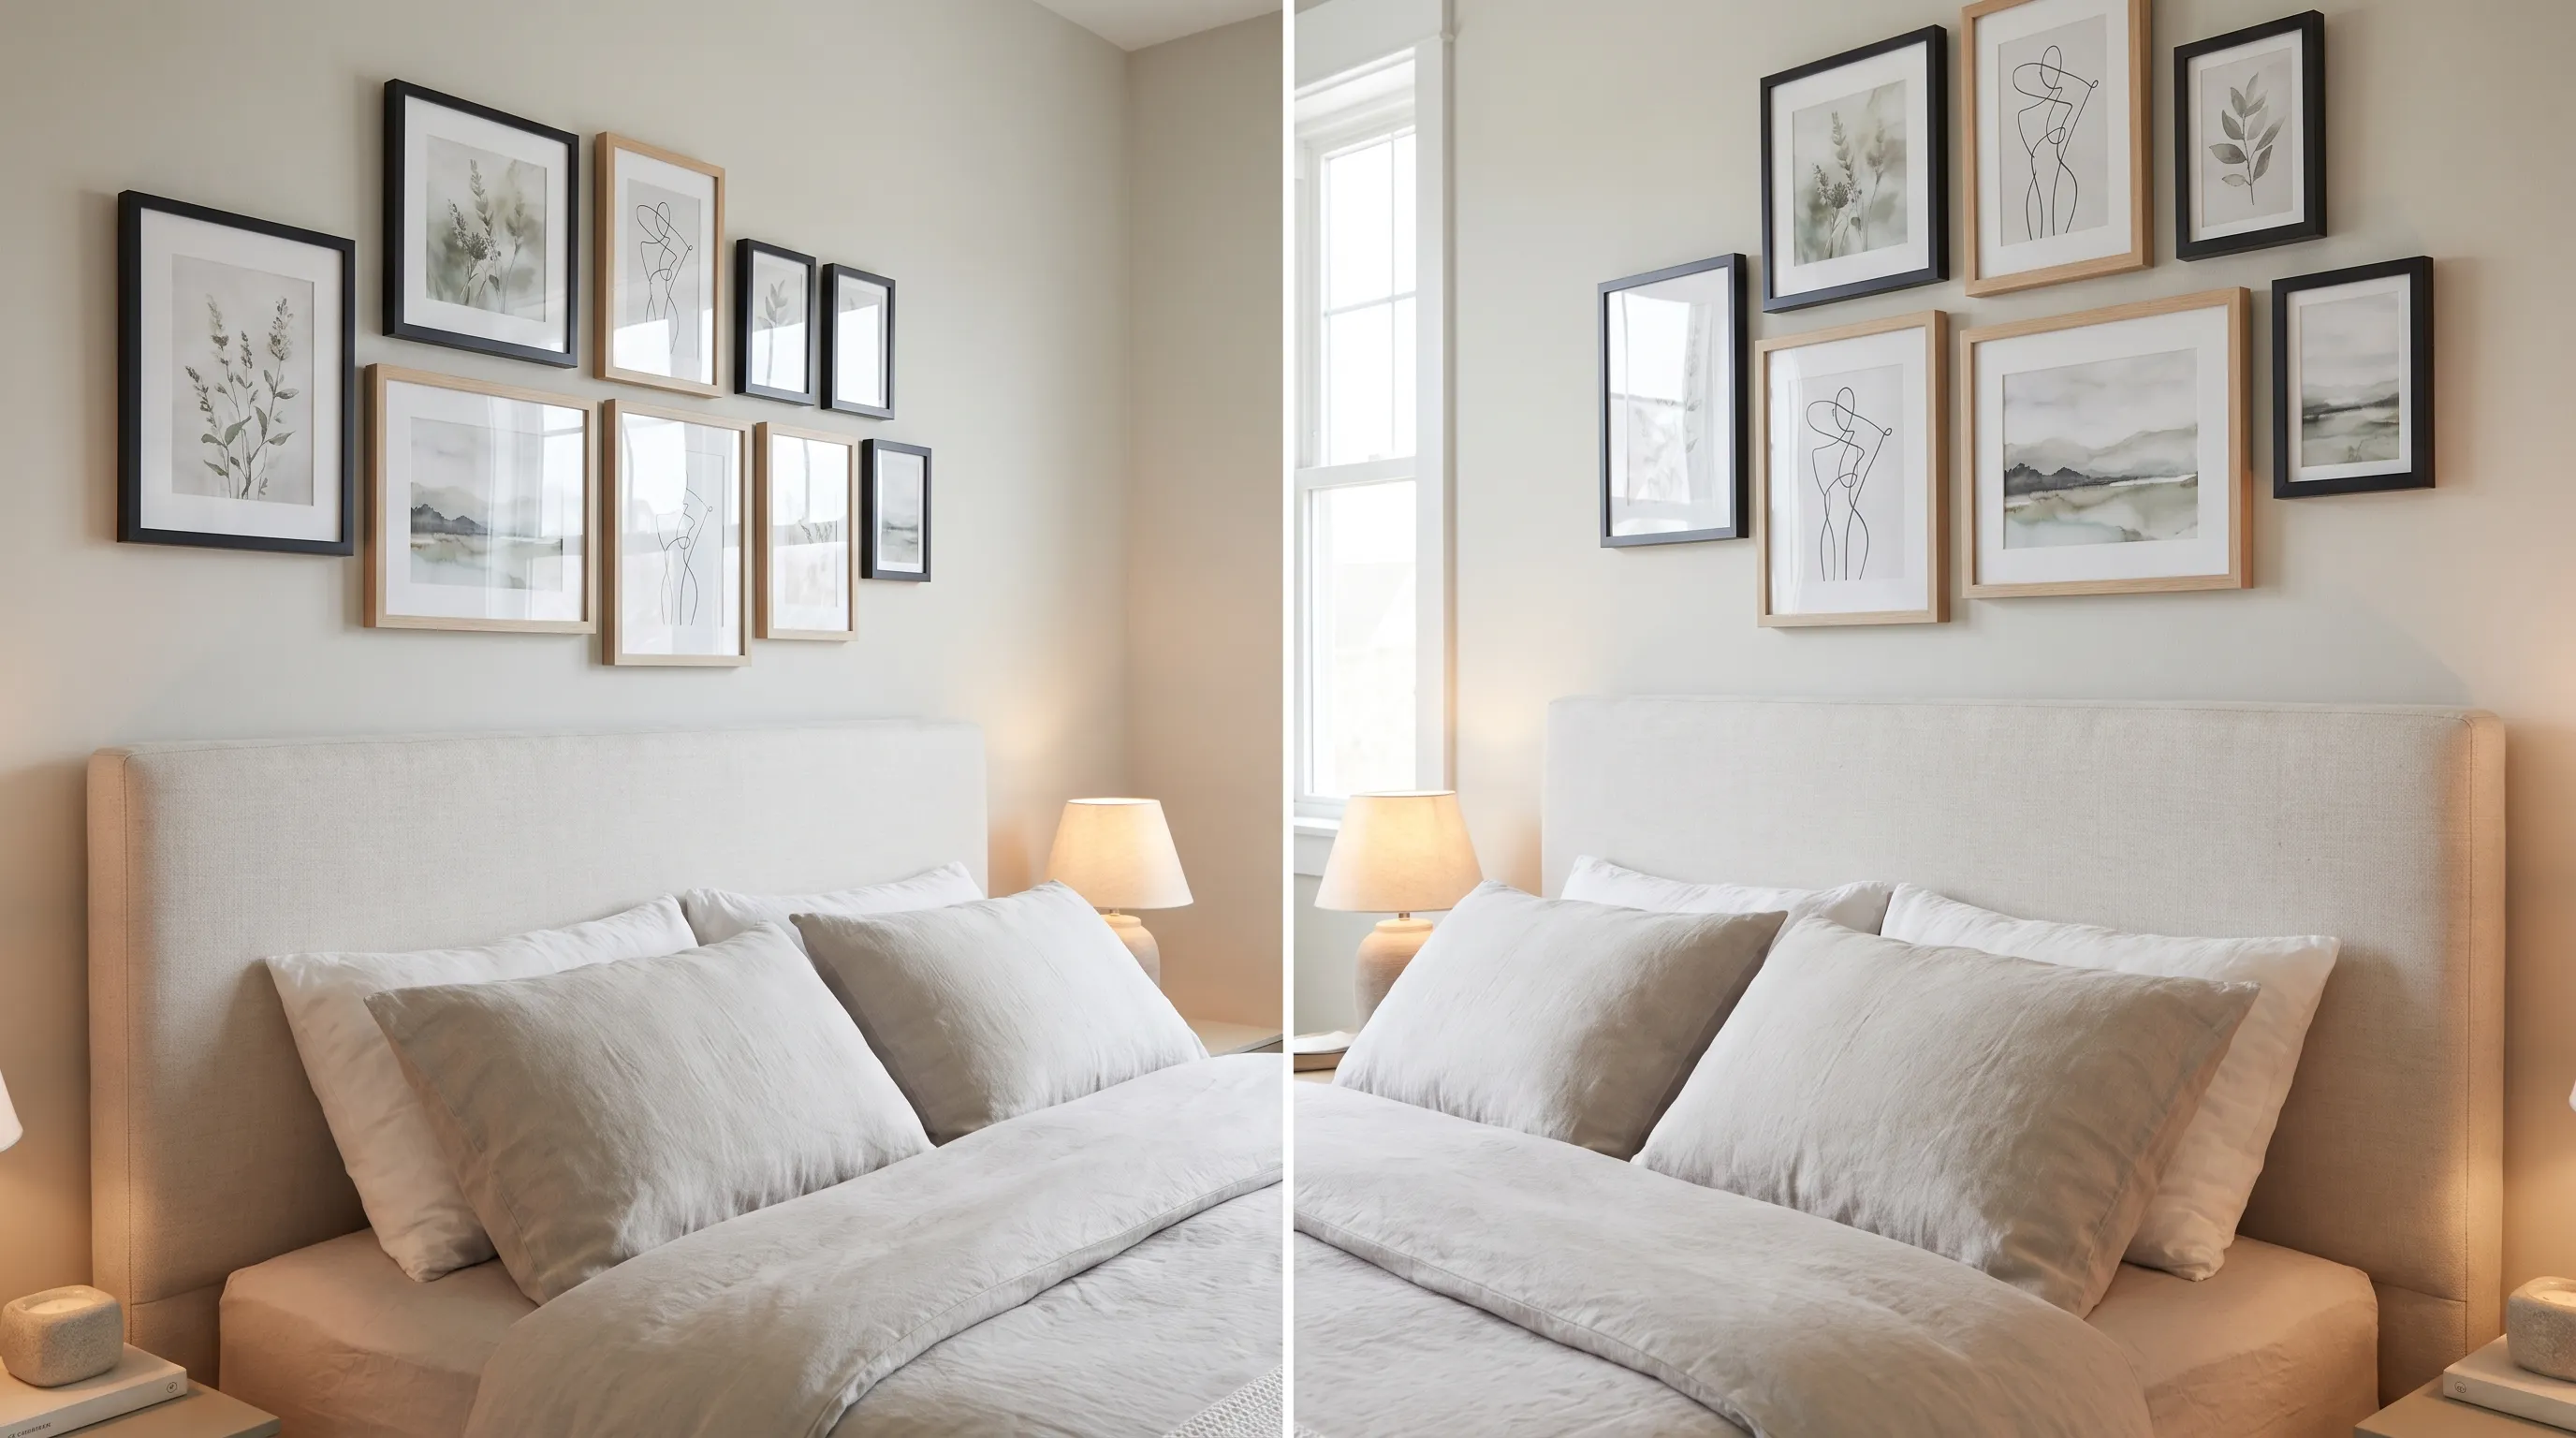
A bedroom wall needs secure, lighter pieces above the bed. Avoid loose shelves or heavy items in this location. Use a grid, a calm photo group, or one anchor with fillers. Keep enough open space above the headboard.
A few small frames grouped above the bed can make the corner feel personal without turning into a full feature wall, an approach that shows up among these ideas on how to decorate a small bedroom.
This idea works best with simple art and steady frame finishes. Check every hook before placing the bed underneath.
25. Dining Room Mirror-Centered Wall
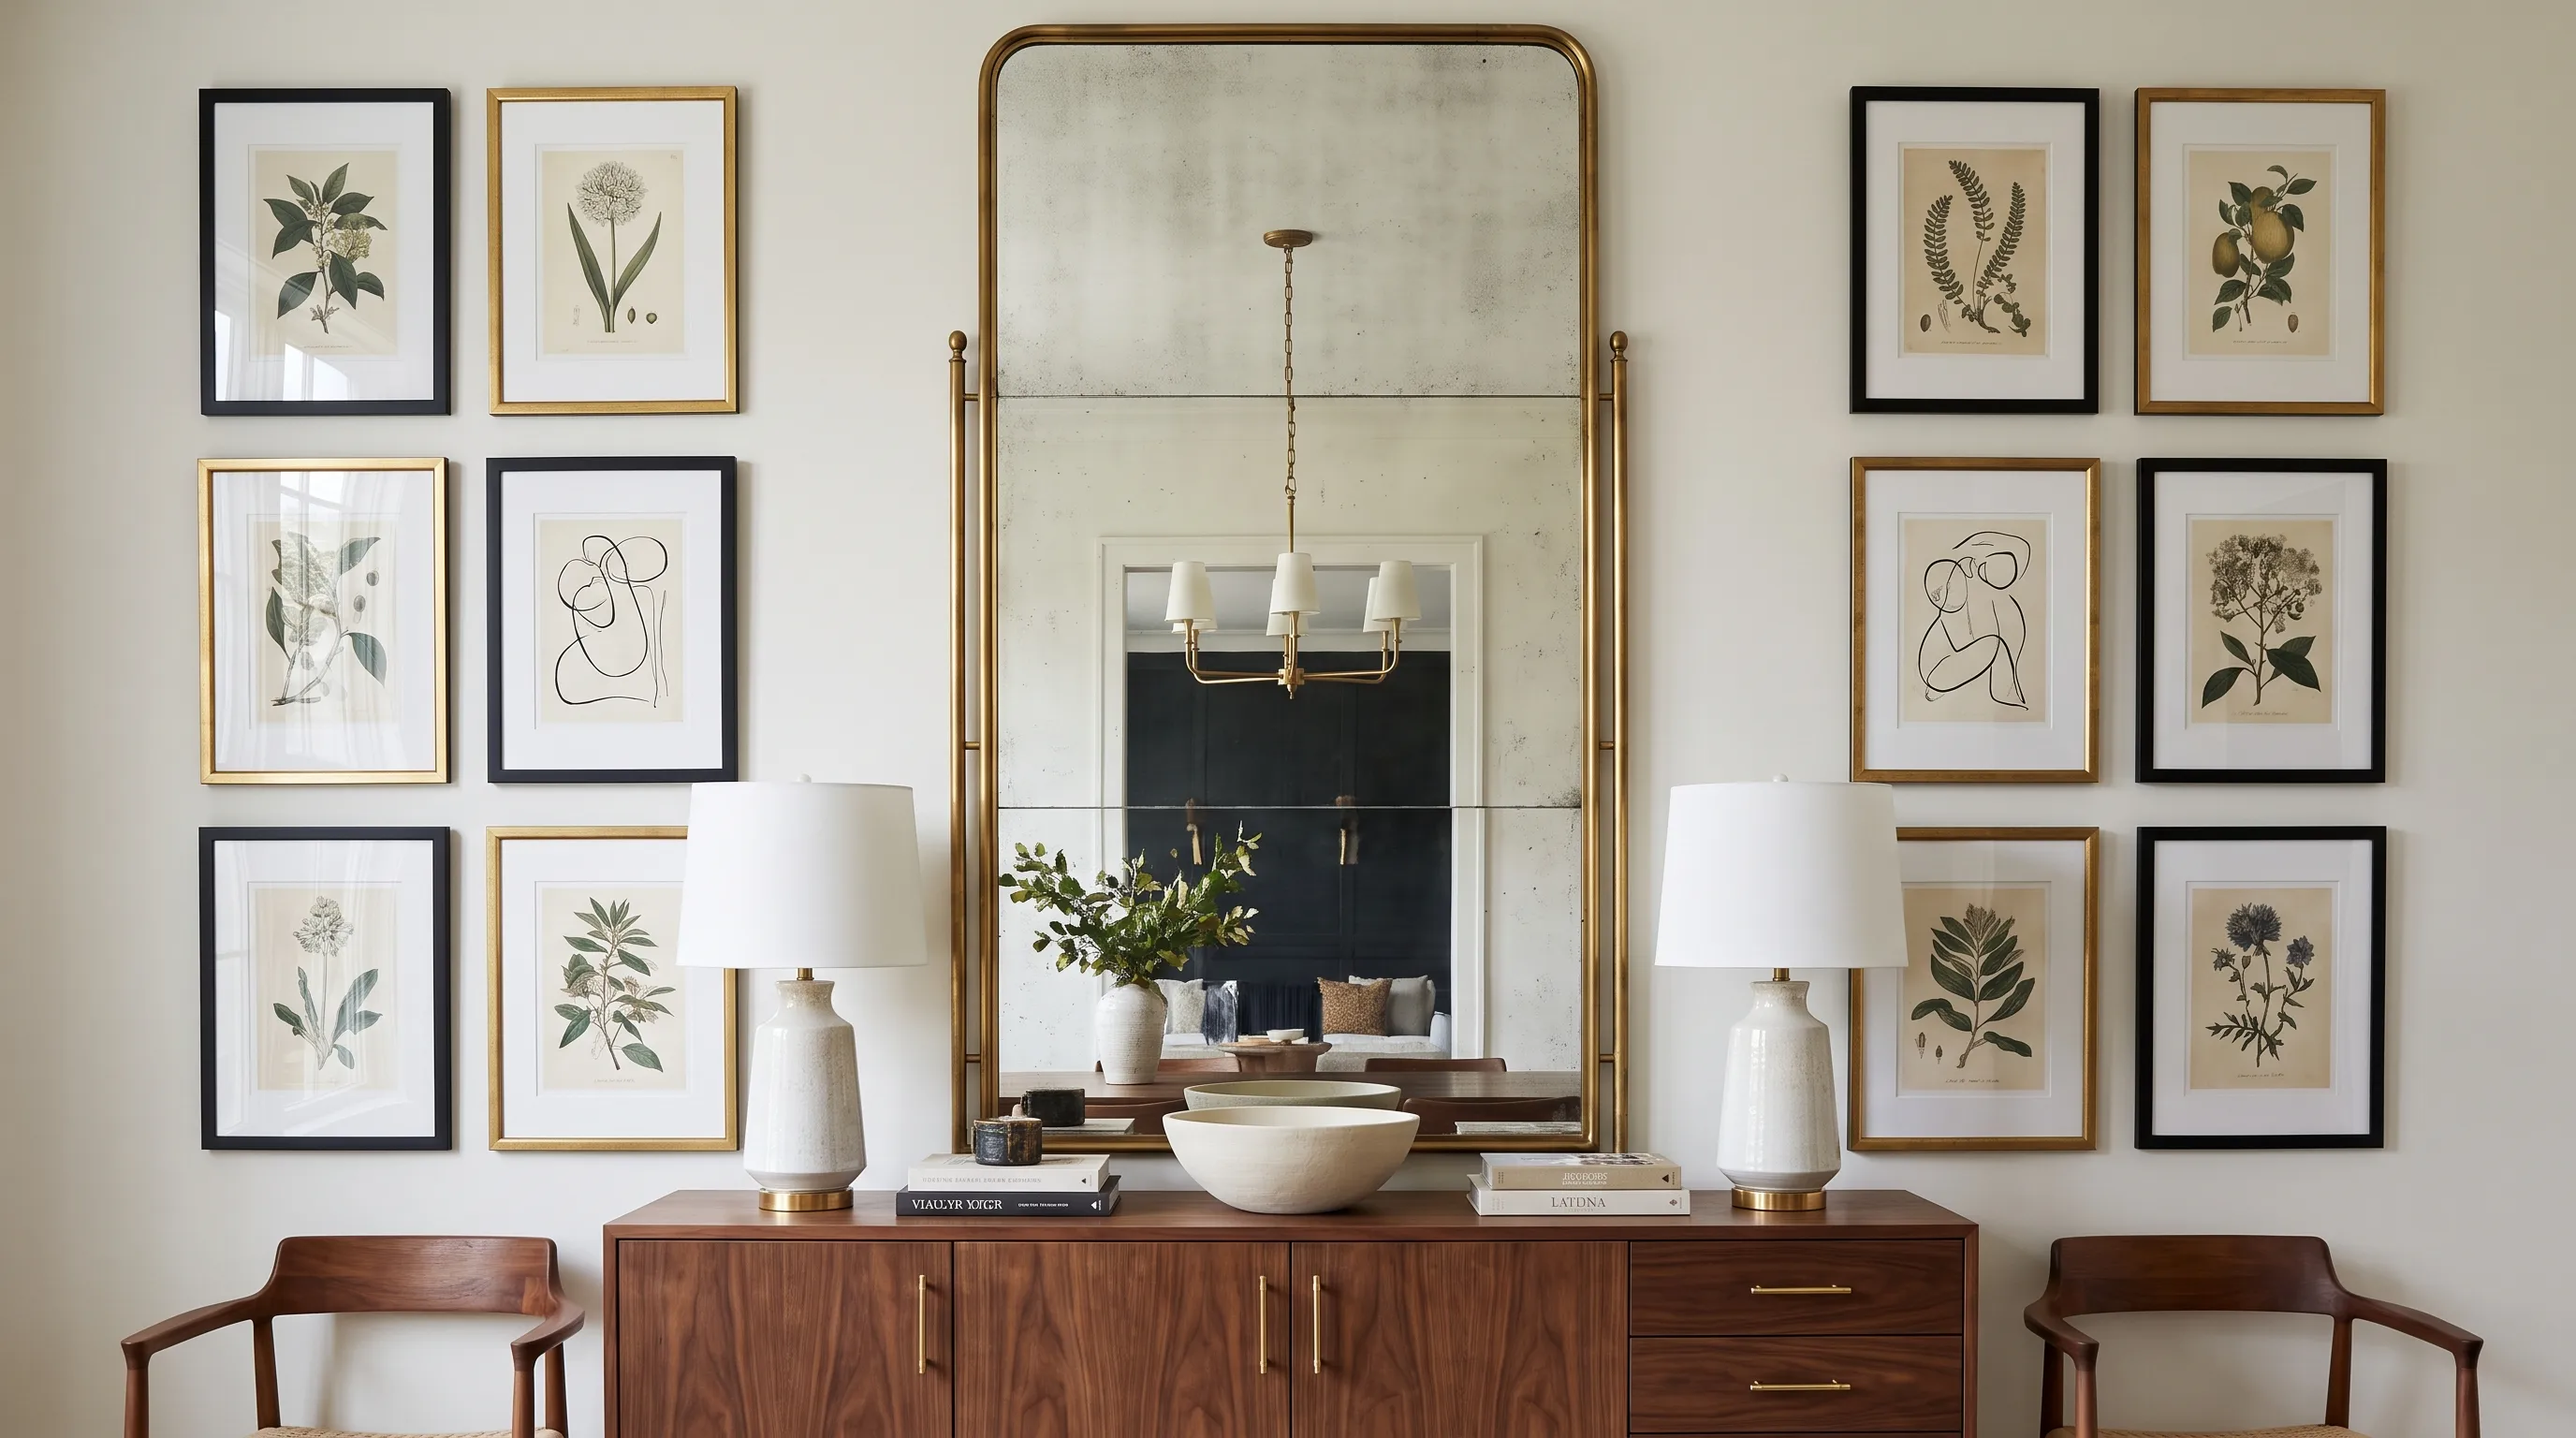
Place a mirror in the center, then balance art on both sides. The arrangement can be even or loosely matched, depending on your room. Repeat the same frame finishes across both sides and check the mirror from sitting and standing positions.
This setup works well above a sideboard or along a wide wall. Keep the art clear of lamps and serving items.
26. Small Bathroom Gallery Wall
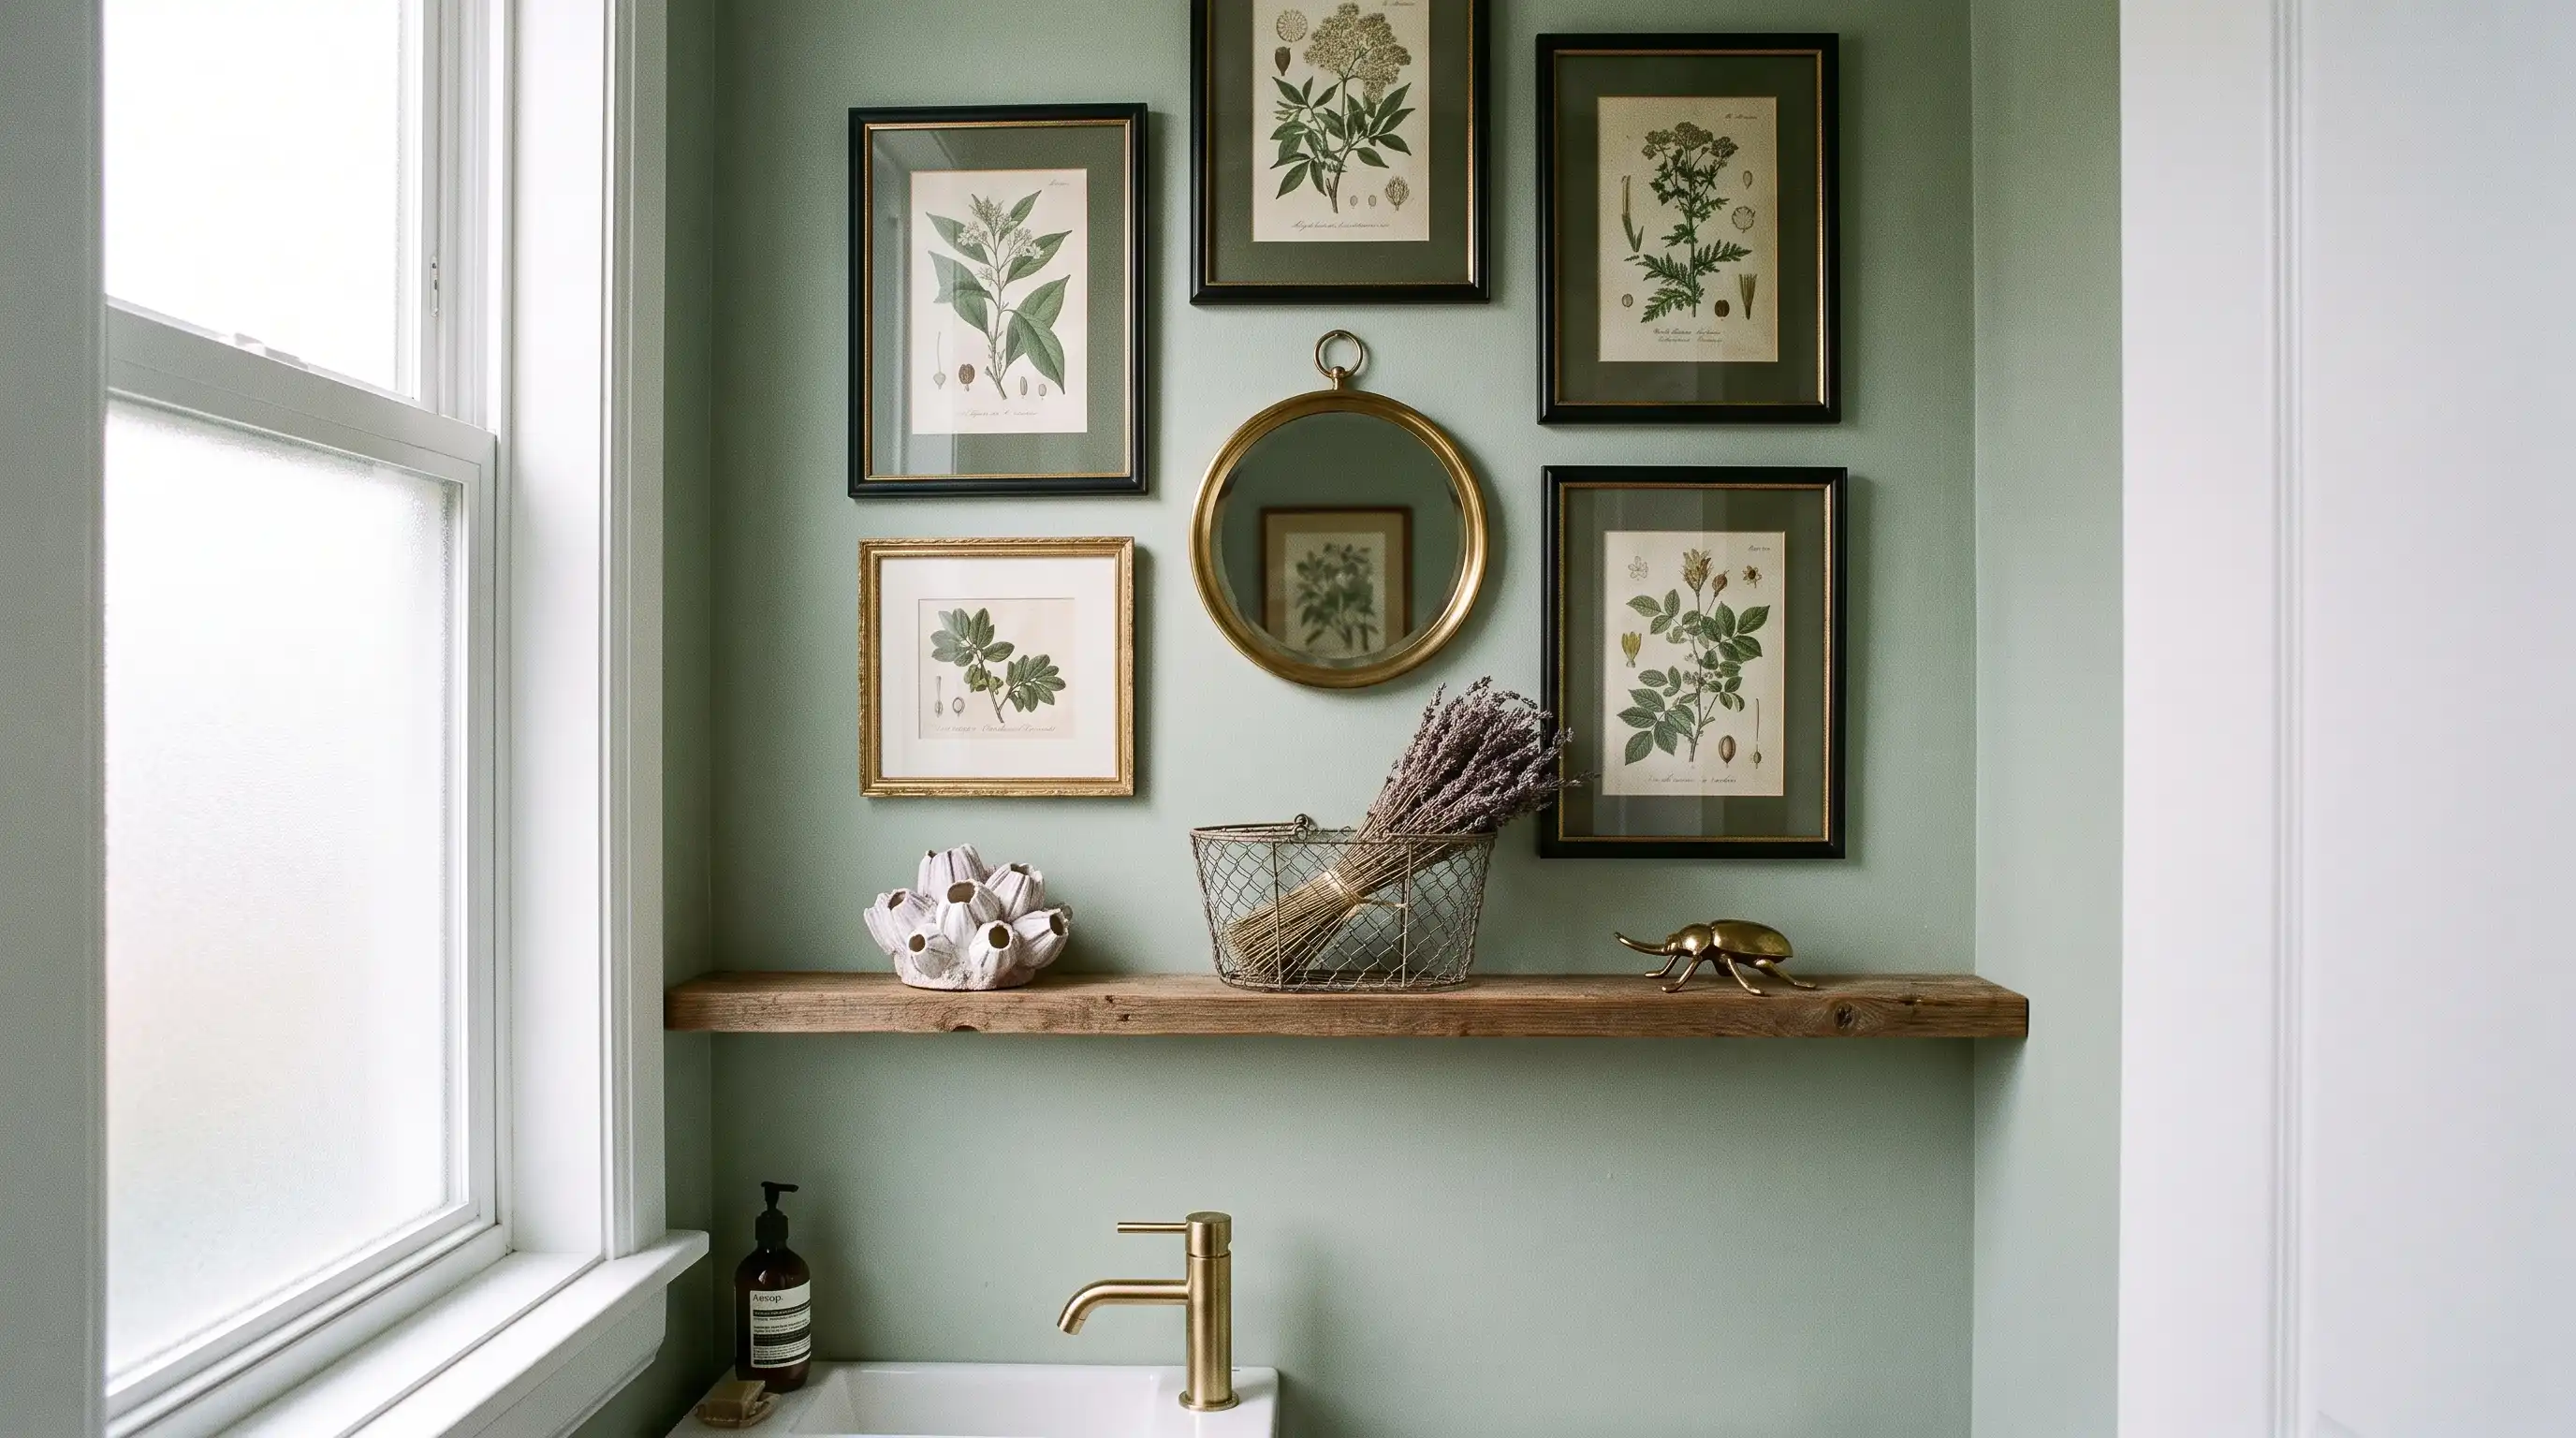
A small bath can hold protected prints, light mirrors, and moisture-safe objects. Keep paper away from direct water. Use smaller frames and a tight outer shape. A vertical group can make a narrow wall feel taller.
This idea works best in powder rooms and well-vented baths. Avoid valuable paper in rooms with steady steam.
27. Rental-Friendly Gallery Wall
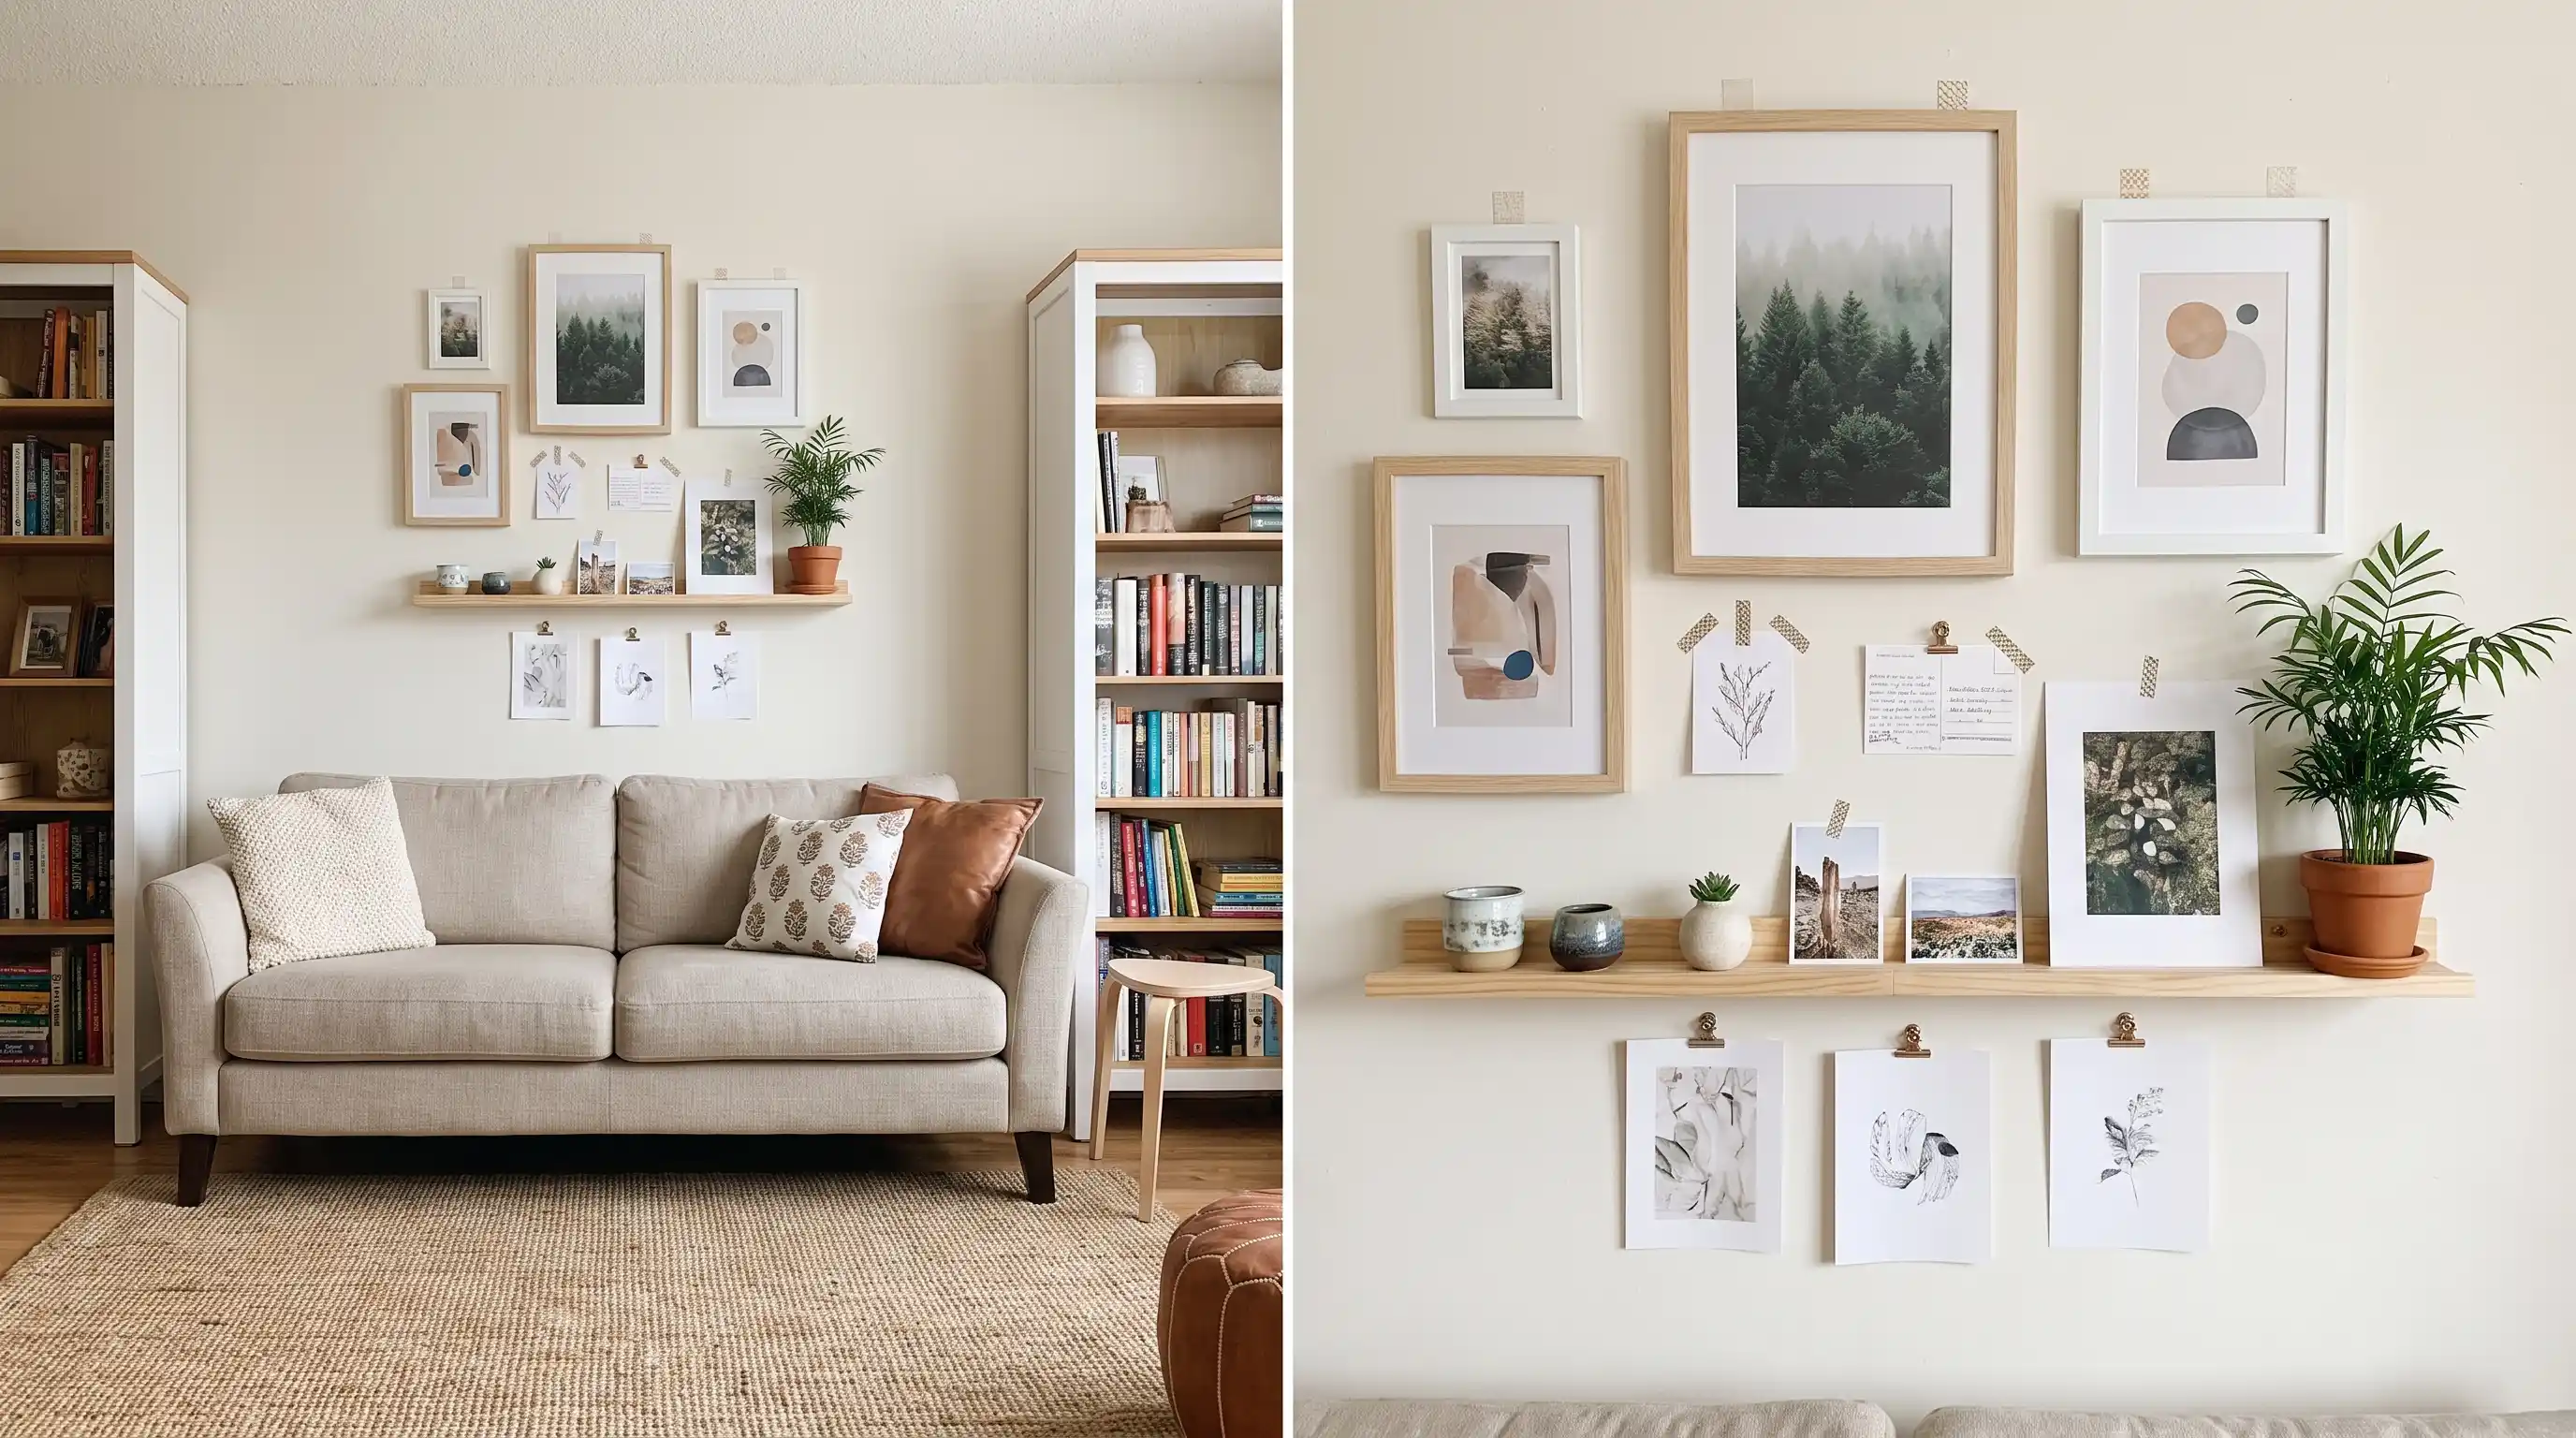
Renters can use approved strips, lightweight clips, or display ledges. Always check the wall surface and item weight first. Choose light frames and flexible art. Keep the arrangement simple, so later removal takes less time.
This setup suits bedrooms, offices, and small living rooms. Follow every product instruction, since rough walls may reduce grip. Choose the idea that fits your real wall and current collection. You can combine two ideas when their materials and layout work together.
Simple Steps to Build a DIY Gallery Wall
A tested layout saves time and limits extra wall holes. Arranging mixed frames on the floor before hanging them is worth the extra few minutes. Filling gaps with something original, like DIY abstract art or a framed photo collage, is one of the simplest ways to round out a wall that still has a few empty spots.
- Step 1: Prepare the Wall: Remove old hooks, nails, dust, and dirt to create a clean working surface.
- Step 2: Measure and Mark: Measure the usable area, then outline the planned gallery wall with painter’s tape.
- Step 3: Gather Your Pieces: Place all frames, art, mirrors, and small wall objects together before planning the layout.
- Step 4: Build the Floor Layout: Start with the largest item, then arrange medium and smaller pieces around it.
- Step 5: Make Paper Templates: Trace each item onto paper and mark the exact hook or wire point.
- Step 6: Test the Wall Layout: Tape the templates to the wall, keeping most gaps between two and three inches.
- Step 7: Hang and Check: Match the hardware to each item’s weight, hang the anchor first, then work outward.
Step back after every few pieces. Check the spacing, height, and balance from the room’s main viewing spot.
Items that Help Any Gallery Wall Look More Finished
Not every supply will suit your wall, budget, or layout. Start with the items that support your chosen setup.
| Item | How to Use It |
| Frames | Use matching frames or repeat two to three finishes across the wall. |
| Mats | Choose one mat shade to connect different art styles and frame sizes. |
| Art | Mix prints, photos, paintings, postcards, and other paper items. |
| Fillers | Add a mirror, textile, basket, plate, or small wall object. |
| Planning tools | Gather paper, painter’s tape, scissors, a pencil, and a tape measure. |
| Hanging tools | Use a level, hooks, anchors, screws, or approved hanging strips. |
| Finishing items | Add frame bumpers behind the lower corners to limit movement. |
| Wall light | Add suitable lighting when the wall needs more light after dark. |
Gather what fits your wall first, then fill in gaps as you go. A well-stocked supply list keeps the build simple and helps the final display feel complete and intentional.
Common Gallery Wall Mistakes to Avoid
Most gallery wall mistakes are easier to fix while paper templates are still in place. Check these points before hanging your final pieces.
- Buying Before Measuring: Measure the wall first to avoid frames that feel too small or oversized.
- Using Only Small Frames: Add a few larger pieces to create balance and structure.
- Hanging Too High: Keep the display connected to nearby furniture instead of placing it close to the ceiling.
- Leaving Uneven Gaps: Maintain similar spacing so the layout feels intentional.
- Mixing Too Many Frames: Stick to two or three finishes to keep the look connected.
- Skipping the Floor Test: Arrange pieces first to adjust the layout without extra holes.
- Using Wrong Hardware: Choose hooks and anchors based on the wall type and frame weight.
- Forgetting Personal Items: Add photos, keepsakes, or artwork to make the wall feel unique.
- Filling Every Space: Leave some empty wall around the display to help pieces stand out.
- Leaving No Room to Grow: Keep space available if you plan to add more pieces later.
Consistent spacing, matching finishes, and balanced frame sizes help create a gallery wall that feels polished and personal. Make adjustments while templates are still easy to move.
Frequently Asked Questions
Can a gallery wall grow after it is hung?
Yes. Leave one outer edge open and keep notes about missing frame sizes. Add new pieces around the outside, while keeping the original spacing and repeated finishes steady.
Can framed and unframed art be mixed?
Yes. Clips, textile pieces, and unframed canvas can sit beside frames. Repeat one color or material so the mixed display still feels connected and calm.
How can artwork be protected from strong sunlight?
Place sensitive paper away from direct sun. Use suitable glazing, curtains, or shades during bright hours, and rotate lower-value prints when needed throughout the year.
Can a gallery wall sit above a radiator?
It can, but heat may harm paper, wood, and some finishes. Leave clear space above the radiator and avoid valuable items in that area whenever possible.
What works best on brick or plaster walls?
Use hardware made for that surface and the item’s full weight. Drilling may be needed, so check hidden pipes and wires before starting work at home.
Summing Up
Good gallery wall ideas start with purpose, wall size, and budget. Those choices shape every frame, tool, and art piece that follows.
Begin with what you already own, then note the sizes, shapes, and finishes still missing. This keeps your spending focused and your layout easier to plan.
Measure the wall, test the layout on the floor, and use paper templates before making holes. Hang the largest item first, then add smaller pieces until the wall feels balanced.
A gallery wall does not need to be finished in one day. In my experience, the most personal walls grow slowly over time. Start today and choose one wall, gather your first five pieces, and make a short shopping list before buying anything.
Drop a comment below and let me know which one you chose.