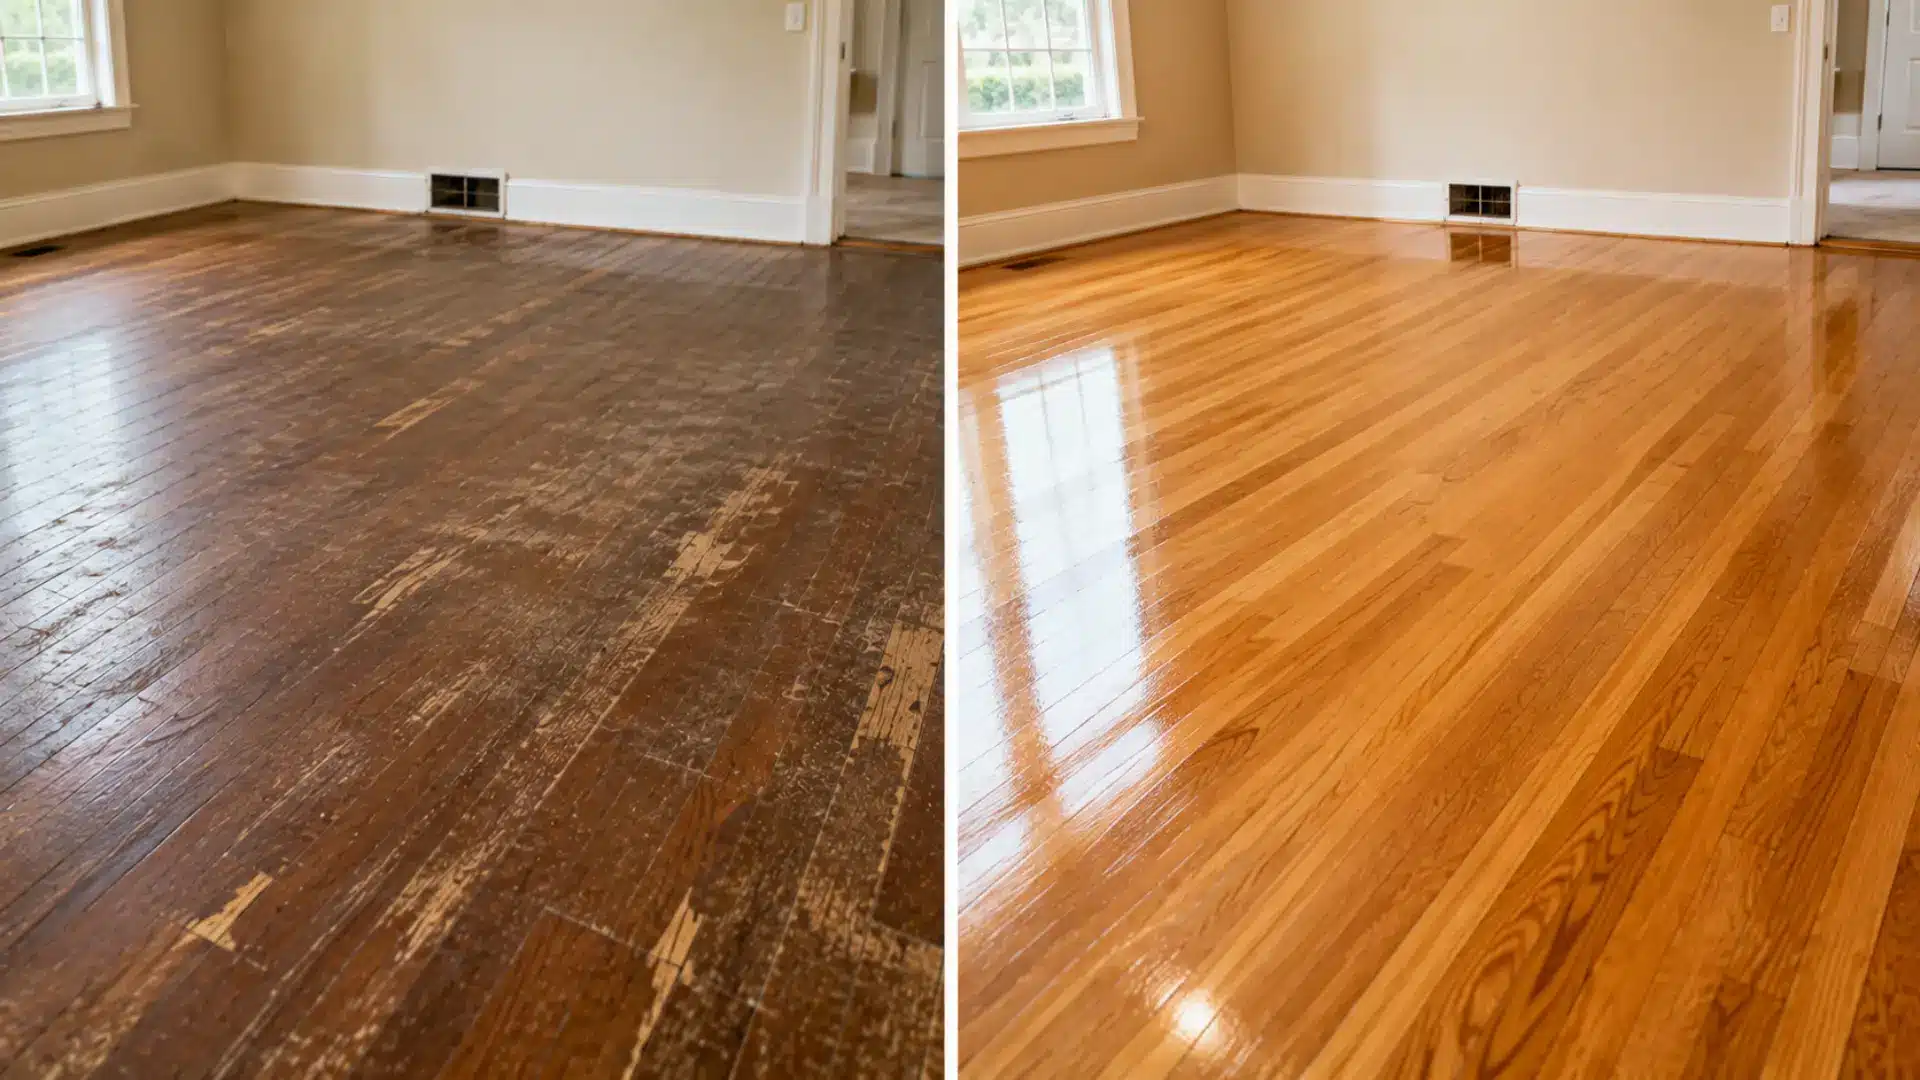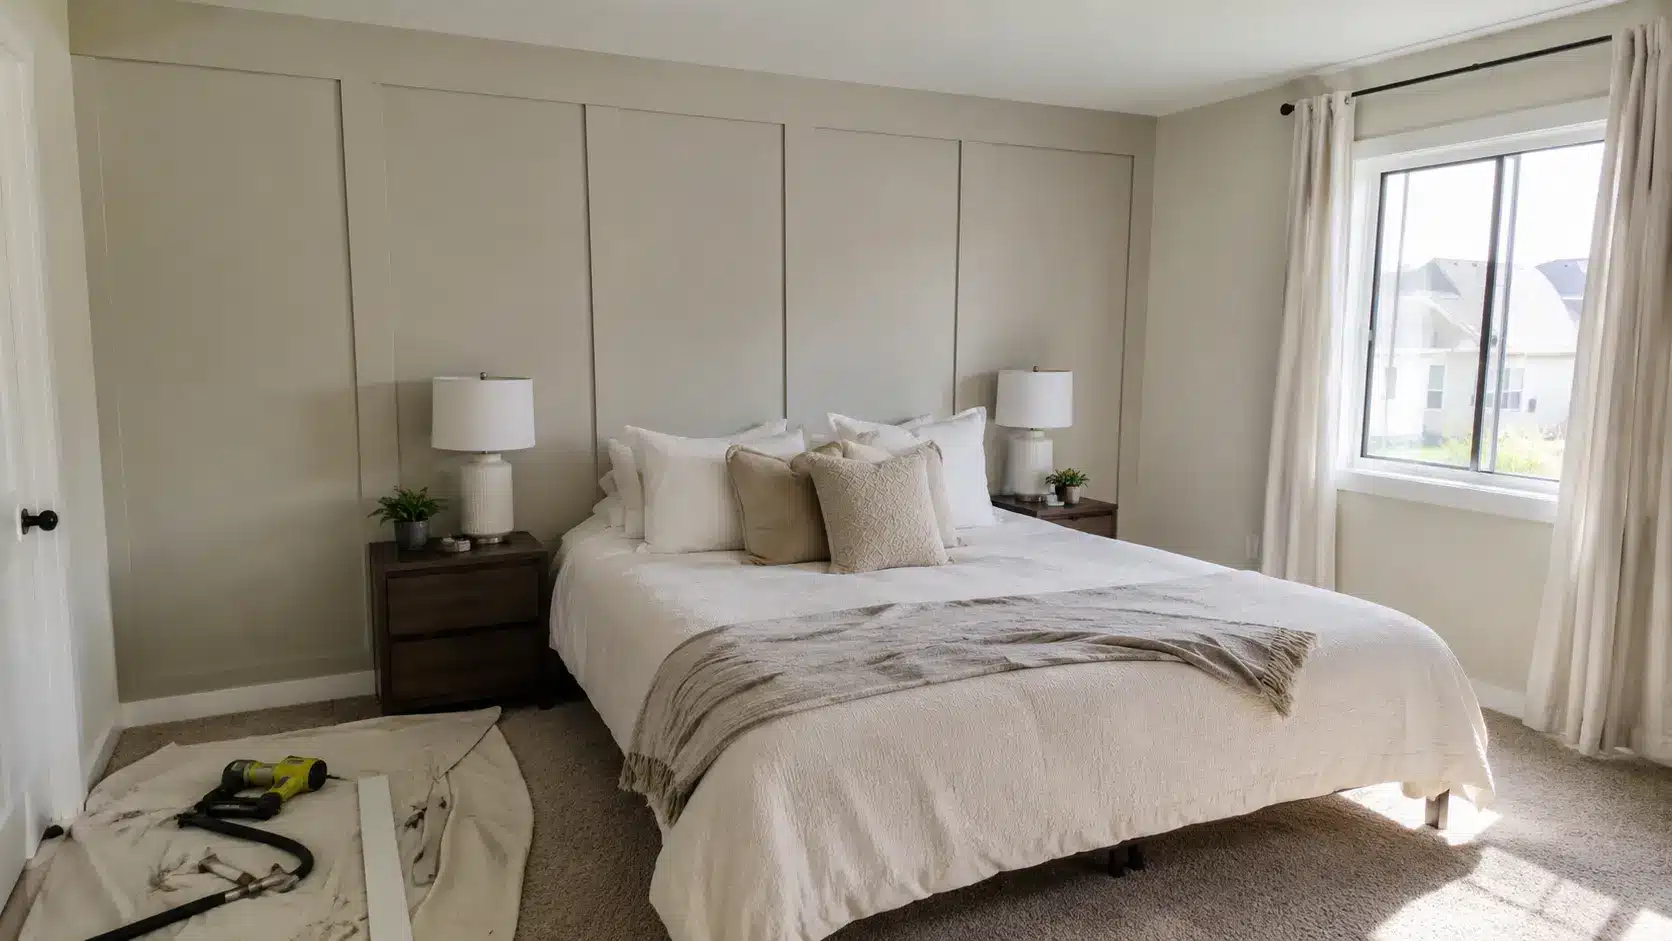
A plain wall can make a room feel unfinished, even when the furniture looks right. A DIY board-and-batten wall can fix that without a huge project or a high bill.
The smart move is to plan before buying boards. Wall size, spacing, baseboards, outlets, and paint all affect the final cost.
I like this project because the best results come from careful prep, not pricey trim. A board-and-batten wall can work in a bedroom, hallway, dining room, bathroom, or entryway.
You’ll see how to plan, build, finish, and avoid common mistakes without wasting money. It also explains where to spend time, where to save, and when a kit may make sense.
Plan Cost, Spacing, and Trim Before Buying Boards
Start with the wall, not the supply cart. Most money gets wasted when boards are bought before the layout is clear.
Measure the full wall width and height. Then mark outlets, light switches, door trim, window trim, vents, and baseboards. These details decide how many boards you need and where each vertical strip should go.
I would always tape the layout first. Painter’s tape shows if the spacing feels off before you cut anything. It also helps you see if a strip will land too close to an outlet.
Check these items before shopping:
- Wall width and height
- Baseboard depth
- Outlet and switch spots
- Board width and thickness
- Full wall or half wall height
- Paint, caulk, nails, and filler cost
- Tool access or rental needs
A little planning here can save boards, paint, time, and frustration.
Best Budget Materials and Tools
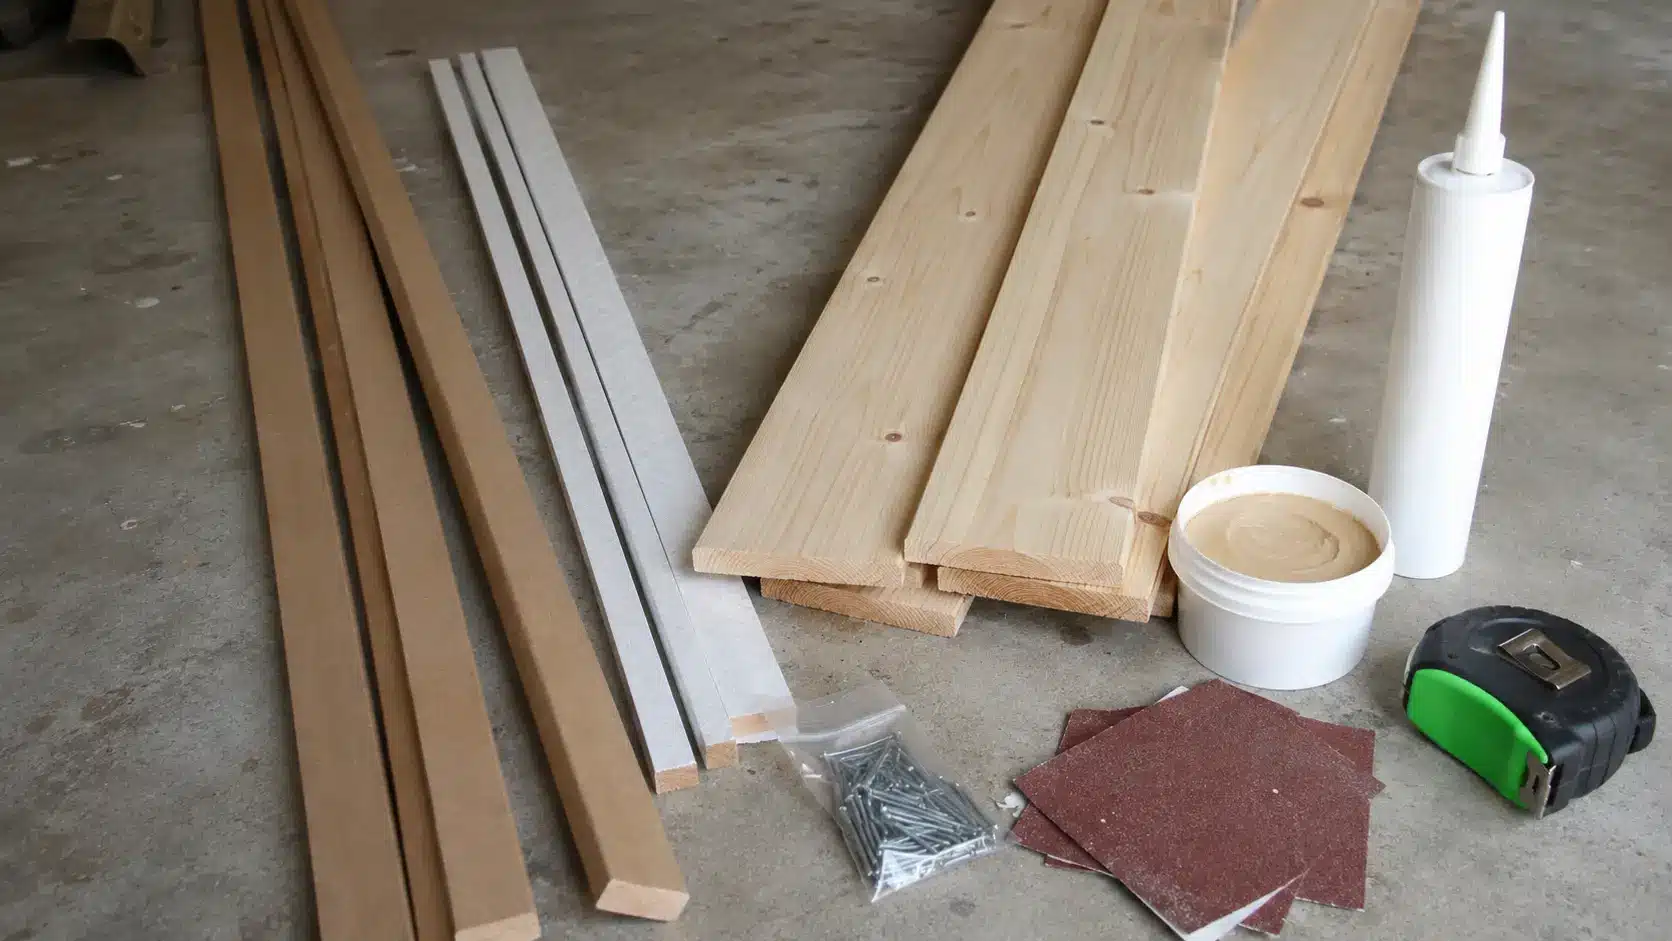
The right material depends on your room, wall texture, and baseboards. For most indoor walls, MDF, pine, or primed lattice works well.
| Material | Best For | Cost Level | What to Know |
|---|---|---|---|
| MDF strips | Dry bedrooms, offices, and dining rooms | Low | Smooth and easy to paint, but weak in damp rooms |
| Pine boards | Stronger trim and busier spaces | Medium | Solid, but each board should be checked for bends |
| Primed lattice | Tight budgets and shallow baseboards | Low | Thin and cheap, but less sturdy |
| Hardboard panels | Textured walls | Medium | Adds a smooth face, but raises the cost |
| Wall kits | Faster installs | Medium to high | Easier to plan, but less flexible |
MDF is usually the easiest budget pick for dry rooms. Pine works better where the wall may get more wear. A primed lattice is helpful when you want thin strips that meet existing baseboards cleanly.
Basic tools you may need:
- Tape measure
- Level
- Pencil
- Painter’s tape
- Stud finder
- Saw
- Brad nailer or hammer
- Caulk gun
- Sanding block
- Brush and small roller
Money-saving tips:
- Borrow a brad nailer if this is a one-time job.
- Ask the store to cut long boards for easier transport.
- Use a miter box and a hand saw for a small wall.
- Rent a saw instead of buying one.
- Use finish nails and a hammer if needed.
Do not buy tools before checking what you can borrow, rent, or replace with a simpler option.
Get the Spacing and Baseboards Right
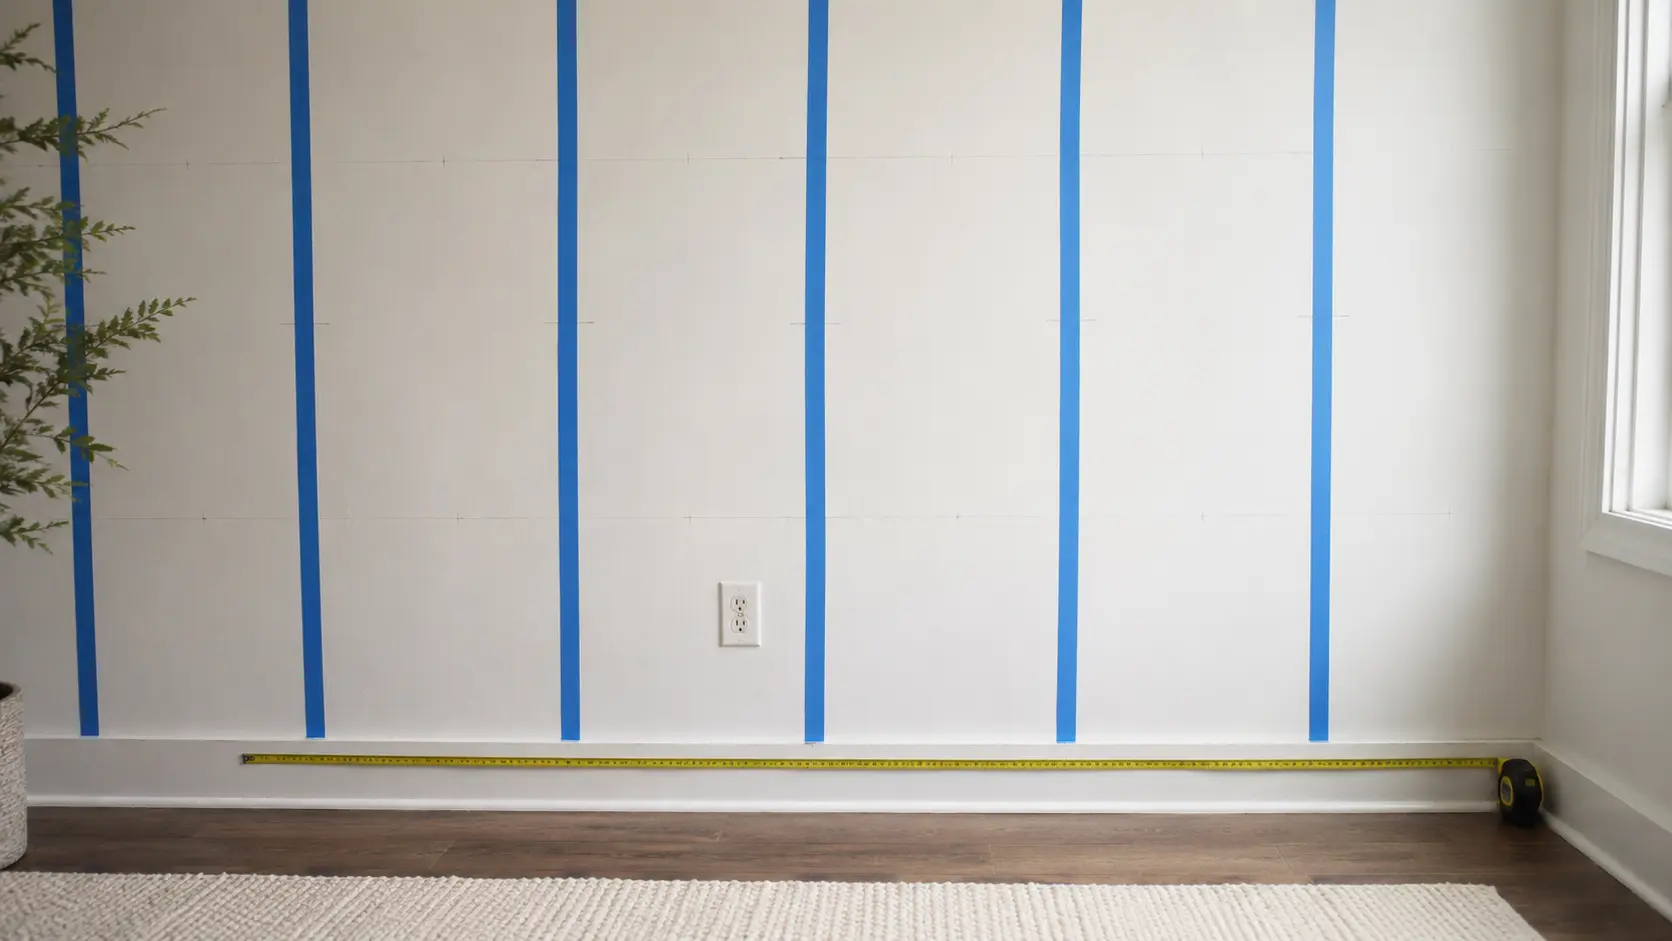
Spacing can make or break the wall. If the gaps look uneven, the whole wall can look off. Start with the spacing first. Then check the baseboards before buying all your trim.
How to Work Out the Spacing
Use this method before cutting any boards:
- Measure the full wall width.
- Choose how many vertical strips you want.
- Multiply the number of strips by the strip width.
- Subtract that number from the wall width.
- Divide the leftover number by the open spaces.
- Tape the layout on the wall before cutting.
Here is an easy example.
A 120-inch wall uses 6 vertical strips. Each strip is 3.5 inches wide.
- 6 strips x 3.5 inches = 21 inches
- 120 inches minus 21 inches = 99 inches
- 99 inches divided by 5 spaces = 19.8 inches per space
Before cutting, check the outlets and switches. If one strip lands too close to an outlet, shift the layout slightly. It is easier to adjust tape than fix a bad cut later.
Check the Baseboards Before You Buy Trim
Baseboards matter because the vertical strips need to meet them cleanly.
If the strips are thicker than the baseboard, the bottom edge can stick out and look unfinished. Hold one scrap strip against the baseboard before buying all your boards.
Keep the baseboards if:
- They are flat and in good shape.
- The new strips are thin.
- The trim depth looks balanced.
- You want less work and lower cost.
Replace the baseboards if:
- They are rounded or damaged.
- They are too thin for the new strips.
- The battens stick out too far.
- You want a cleaner lower edge.
That quick test can save you from buying trim that does not sit right against the wall.
Steps to DIY Board and Batten Wall
The steps are simple, but the order matters. Start by clearing the wall, measuring the layout, and cutting the boards before anything goes up. In the video, the horizontal boards go on first, then the vertical battens, then the optional top shelf, caulk, and paint.
Step 1: Clear the Wall and Gather Your Tools
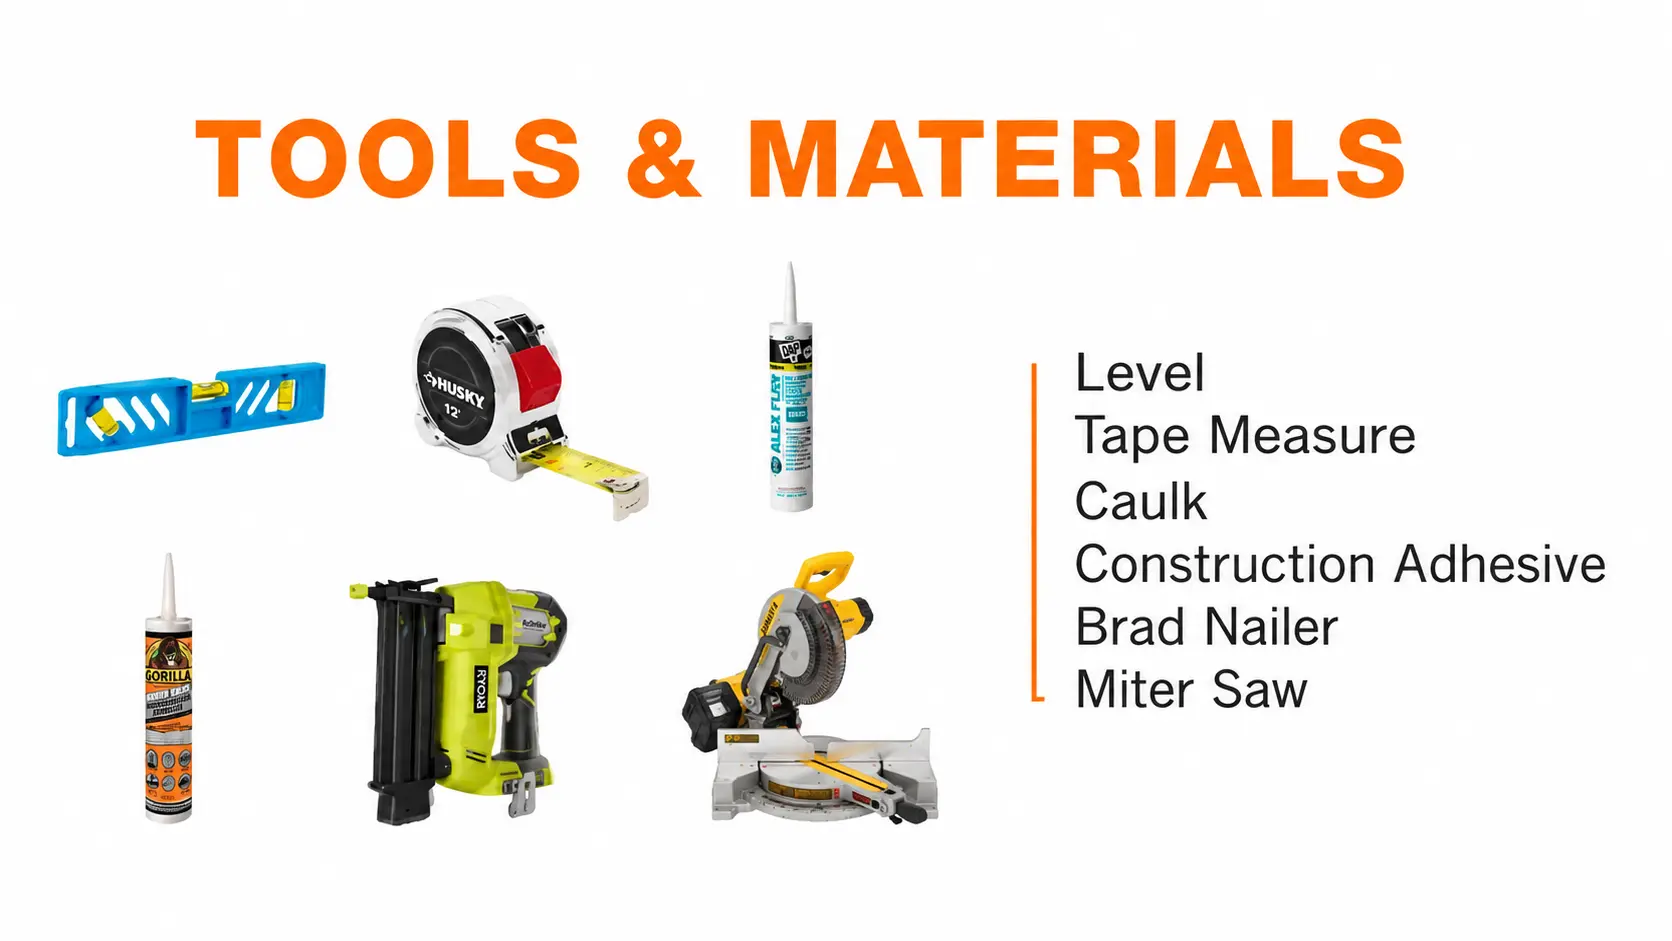
Start by clearing the space so the full wall is open. Move furniture, remove decor, and make sure the work area is easy to reach. This makes measuring and installing the boards much easier.
For this project, you’ll need a level, tape measure, caulk, construction adhesive, brad nailer, and miter saw. Keep everything nearby before you start. It saves time and keeps the project moving.
Step 2: Measure the Wall and Mark Your Boards
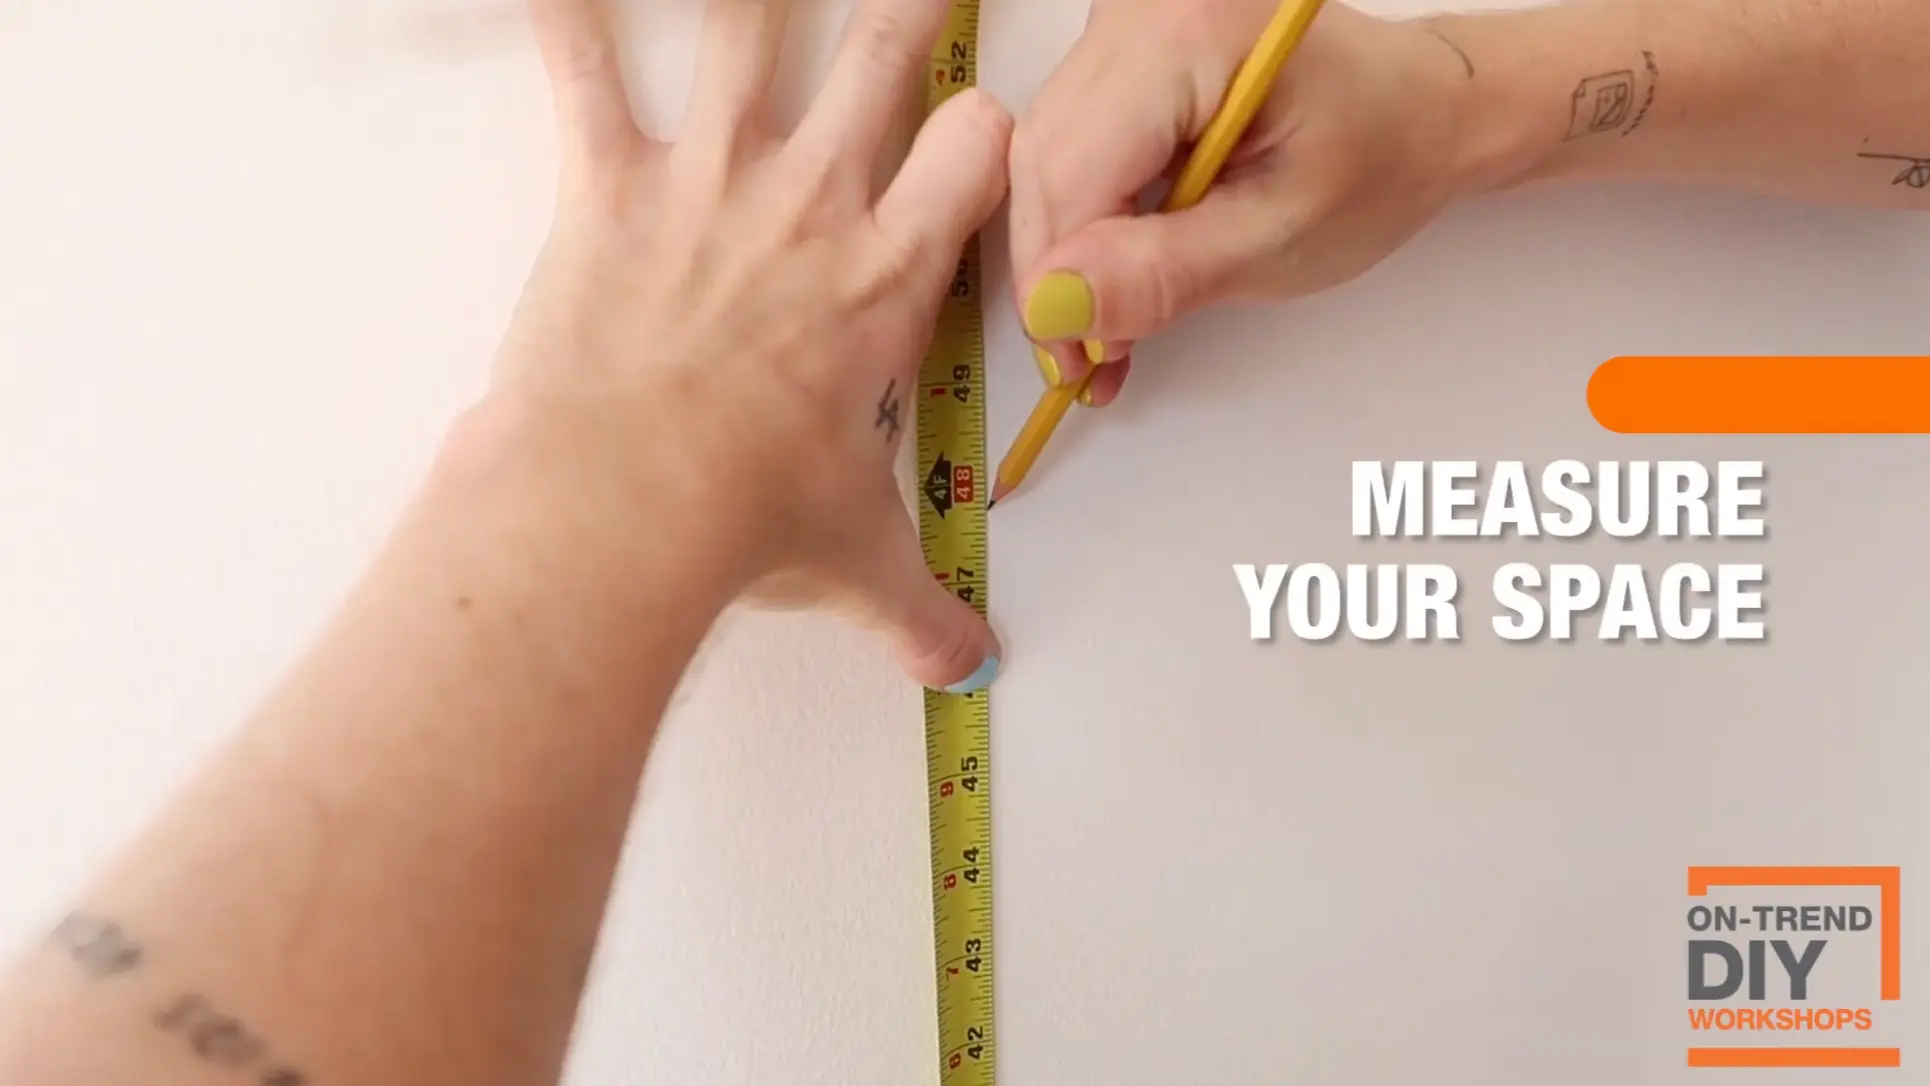
Decide how tall you want the board and batten wall to be. In the video, the height is measured at 4 feet because the 8-foot boards can be cut into two pieces. That helps reduce waste.
Next, measure each wall section and write the numbers down before cutting. If your wall has windows, outlets, or trim, mark those too. Keeping the measurements on paper helps you avoid mixing up board lengths.
Step 3: Cut the Boards to Size
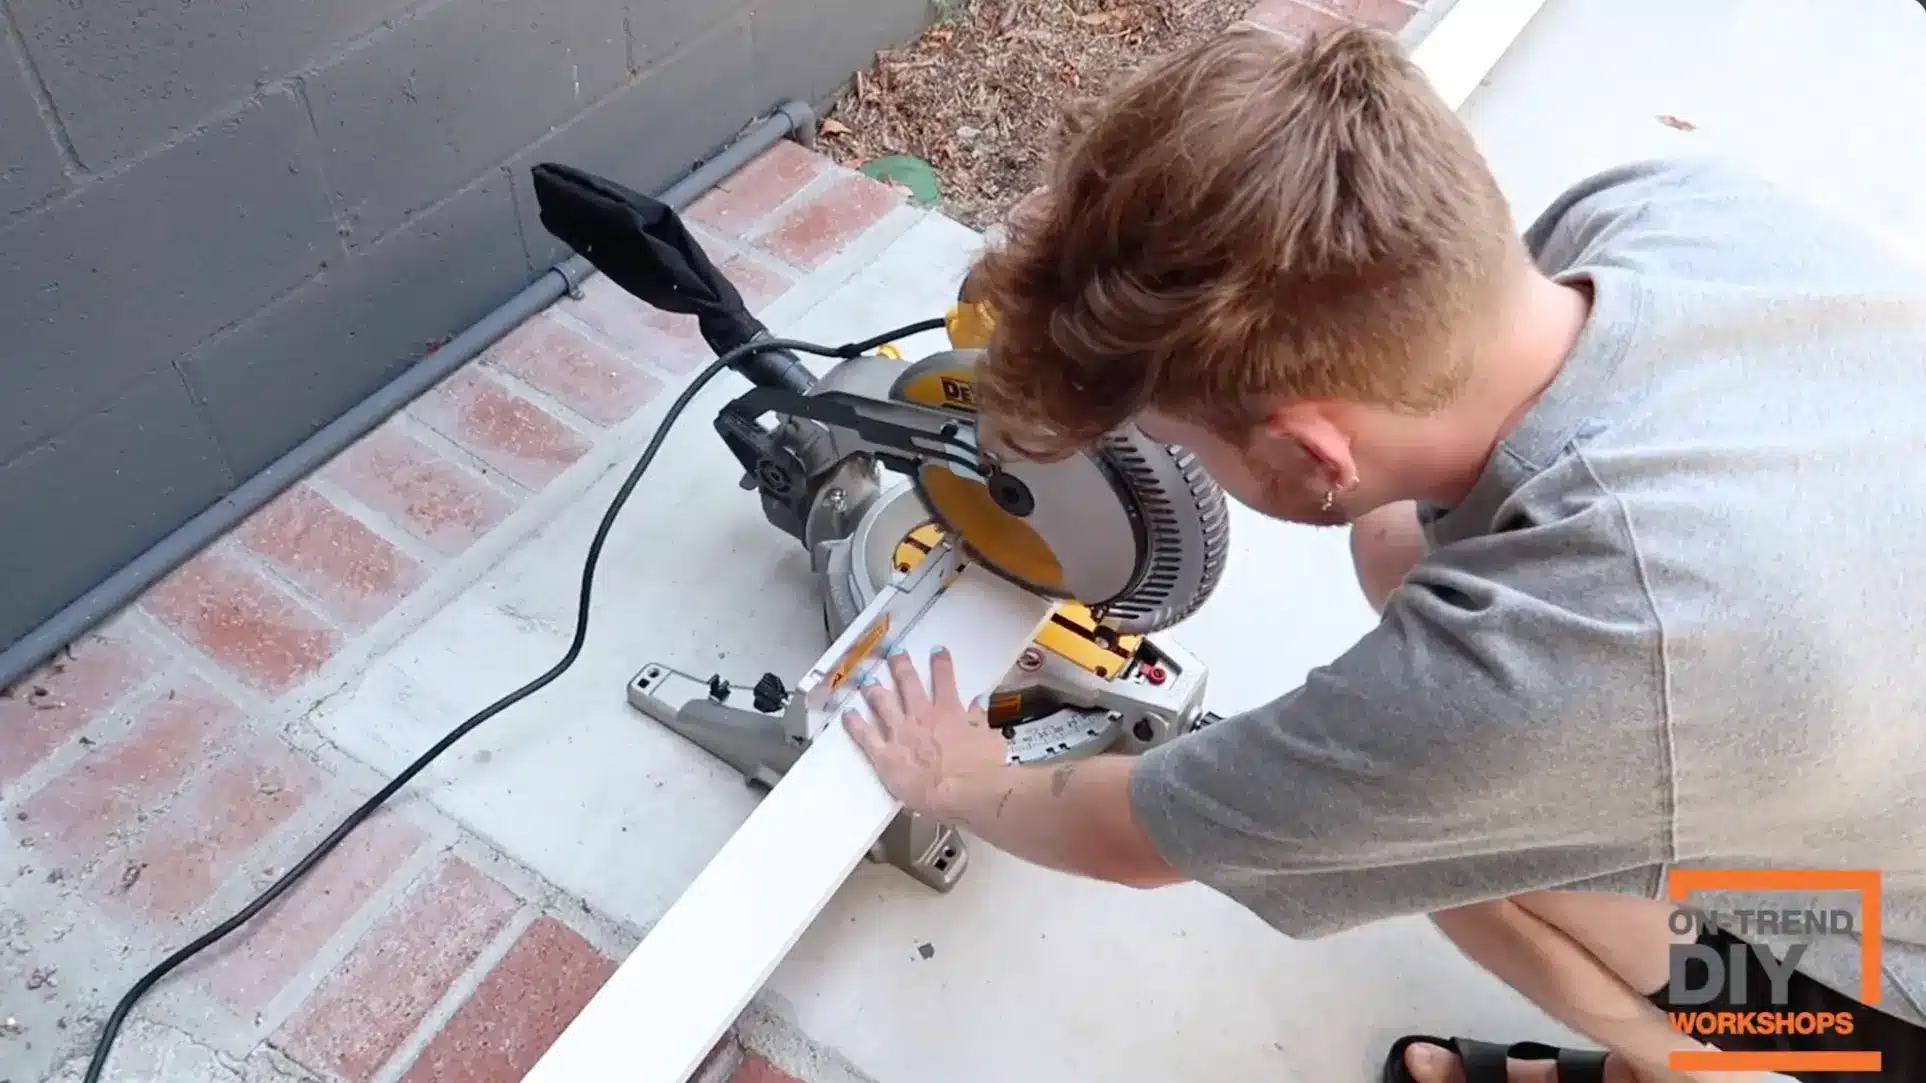
After measuring, mark the boards and cut them with a miter saw. The video shows the boards being cut before installation, which keeps the wall work cleaner and faster.
Cut carefully and check each measurement before making the final cut. If you are unsure, cut a little long and trim it down. It is easier to take off a small amount than replace a board that was cut too short.
Step 4: Install the Horizontal Boards First
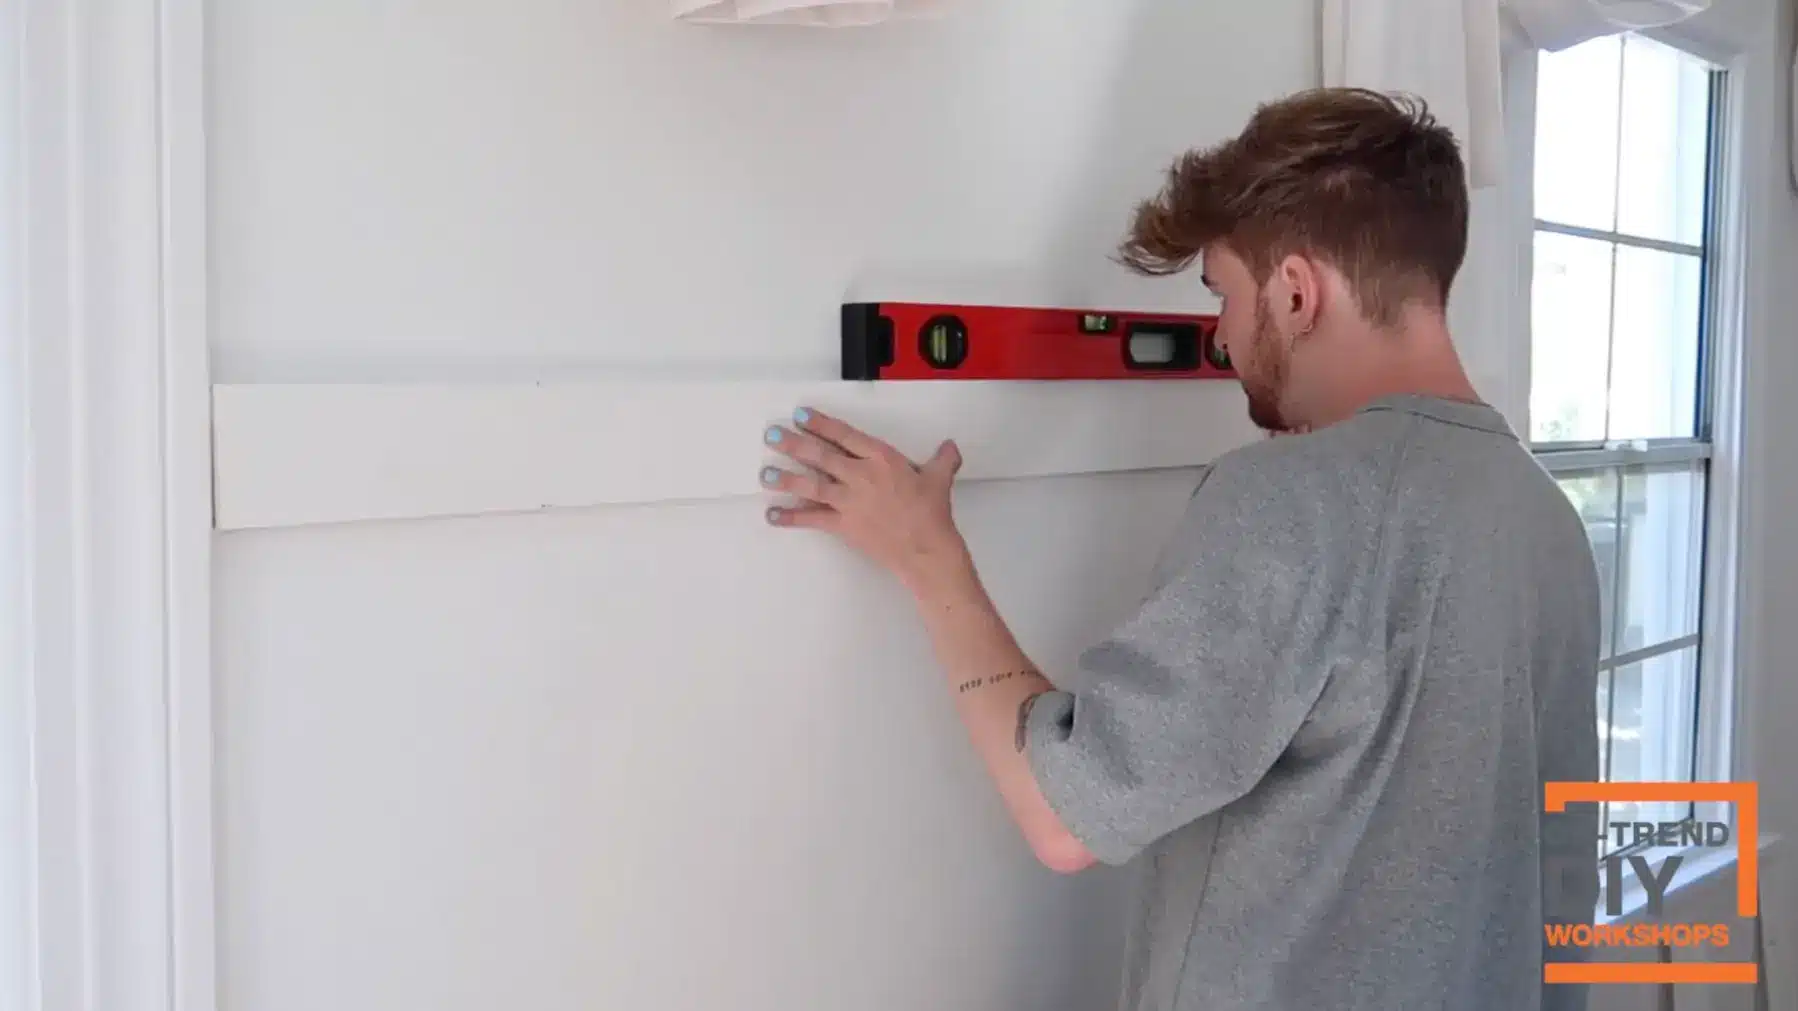
Add construction adhesive to the back of each horizontal board, then press it against the wall. Use a level to make sure the board is straight before fastening it.
Once it is level, secure it with a brad nailer. The nails hold the board in place while the adhesive dries. Install the horizontal pieces first because they create the frame for the vertical battens. This makes the next steps easier to line up.
Step 5: Measure, Space, and Attach the Vertical Battens
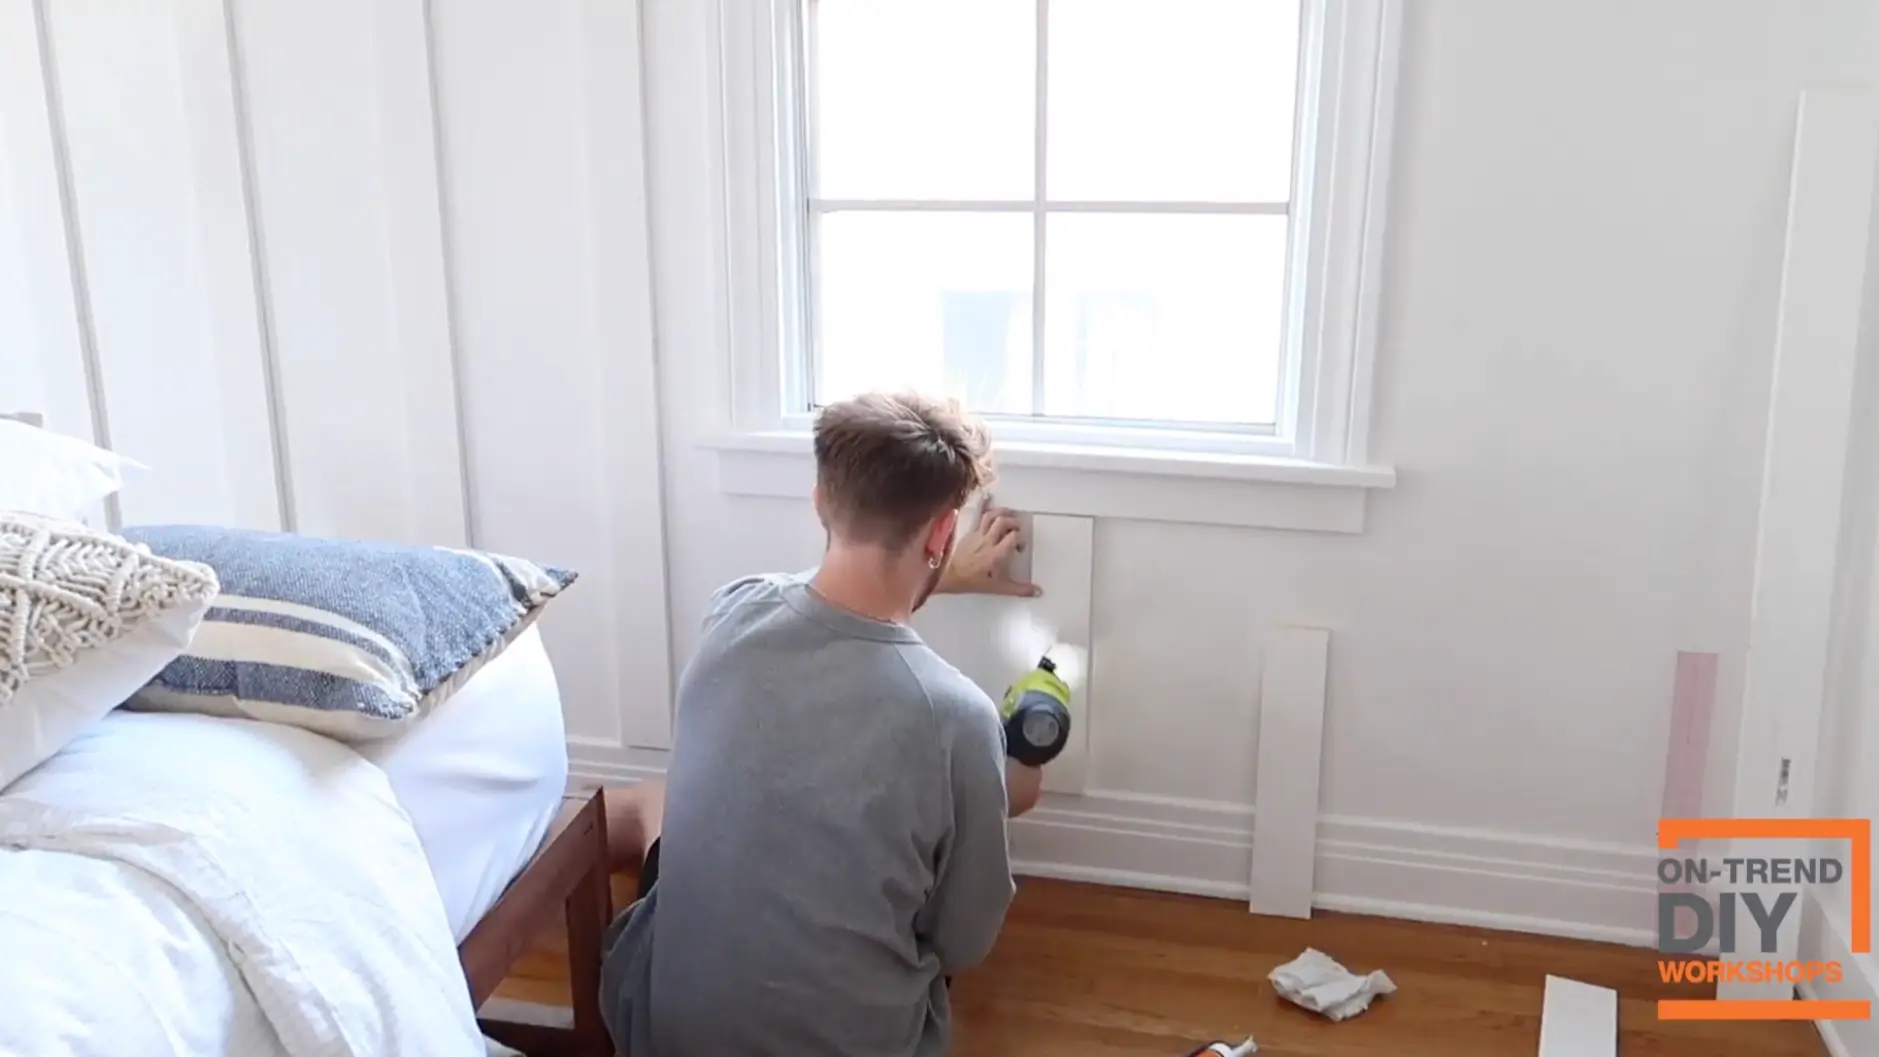
Once the horizontal boards are installed, measure each vertical batten in the exact spot where it will go. Do not cut every piece the same length because baseboards, walls, and floors can be slightly uneven.
The video uses a 10-inch gap with boards that are about 3.5 inches wide. You can adjust that spacing to fit your wall. Add adhesive to each batten, check it with a level, then secure it with a brad nailer.
Step 6: Add the Top Shelf or Ledge
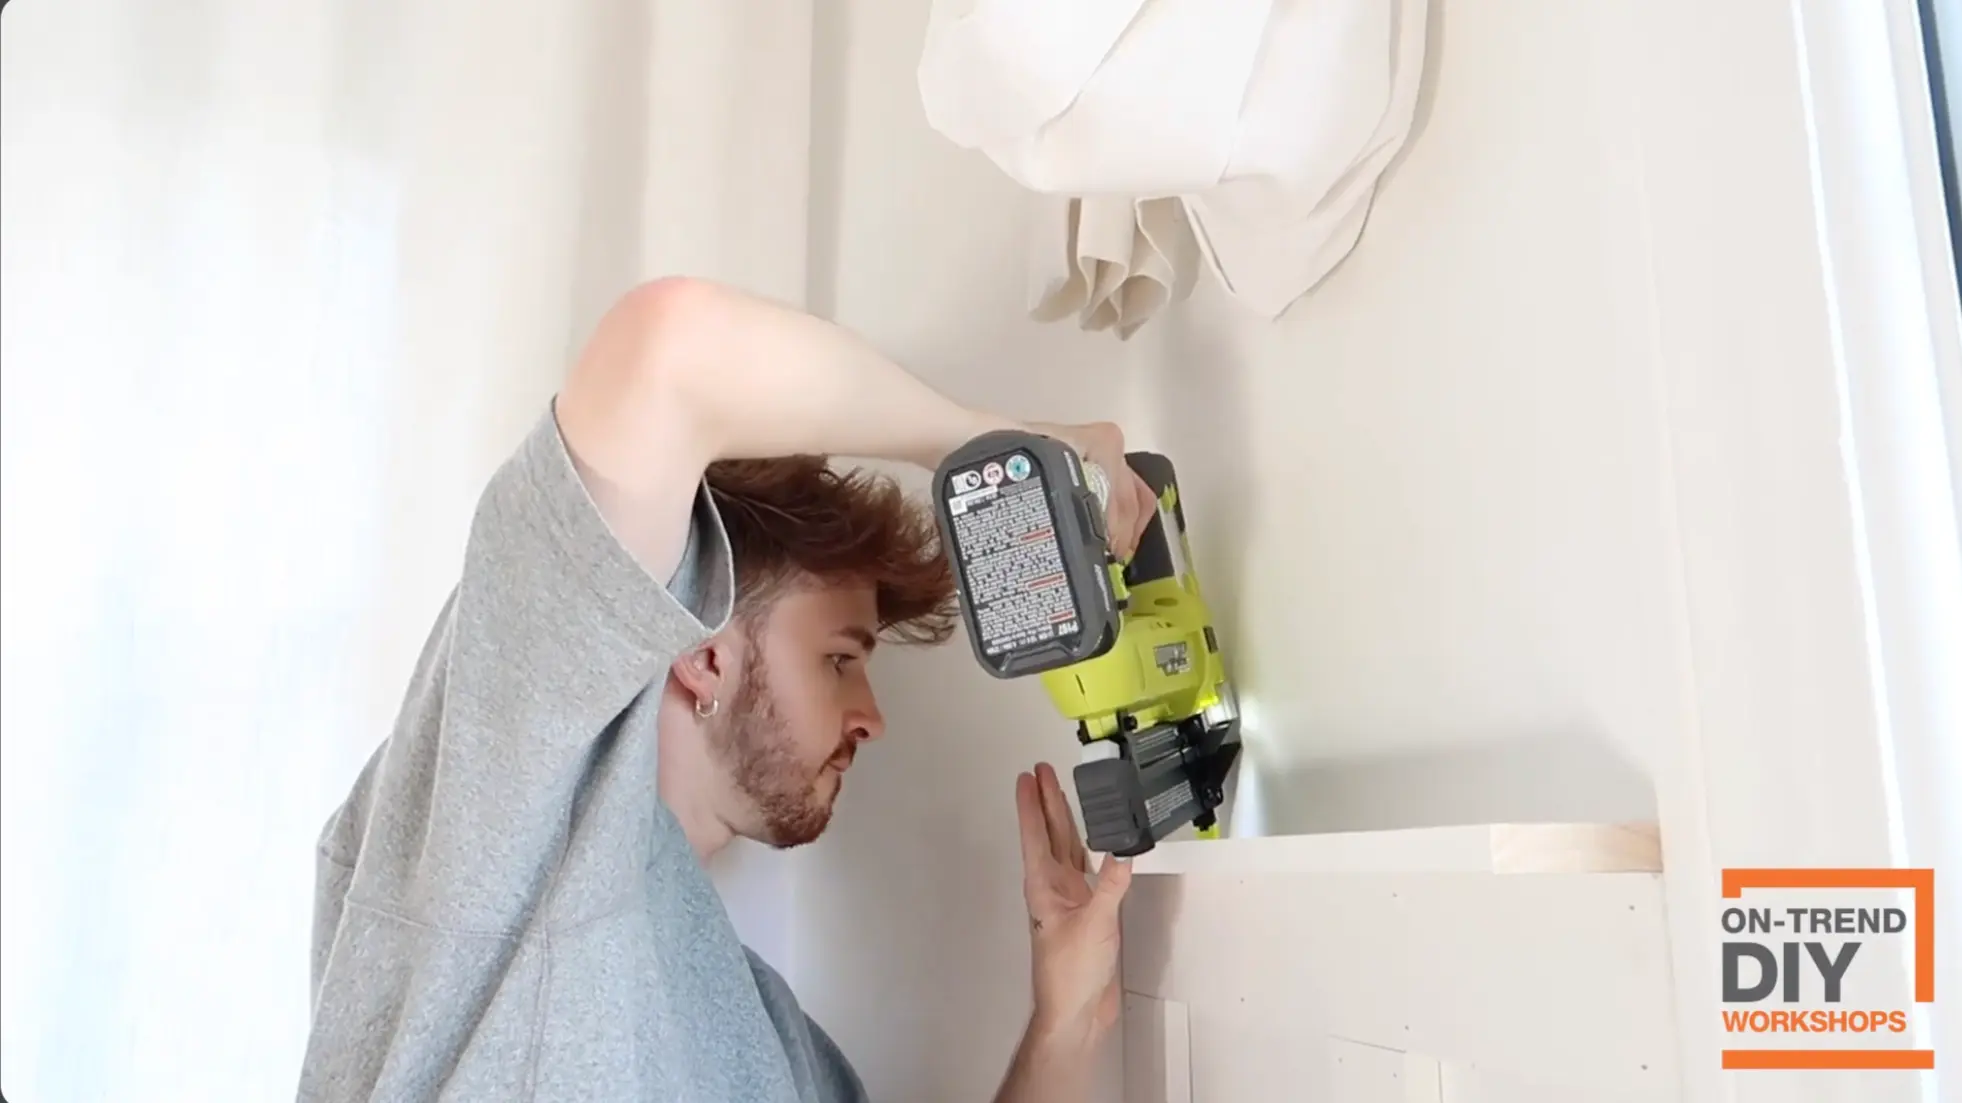
A small top shelf is optional, but it can make the wall look more finished. In the video, the shelf is added after the vertical battens are installed.
Measure the shelf board to fit across the top of the board and batten section. Add construction adhesive to the top edge, place the shelf board on it, then nail down into the trim below. Let the adhesive dry so the ledge holds well.
Step 7: Caulk the Gaps and Seams
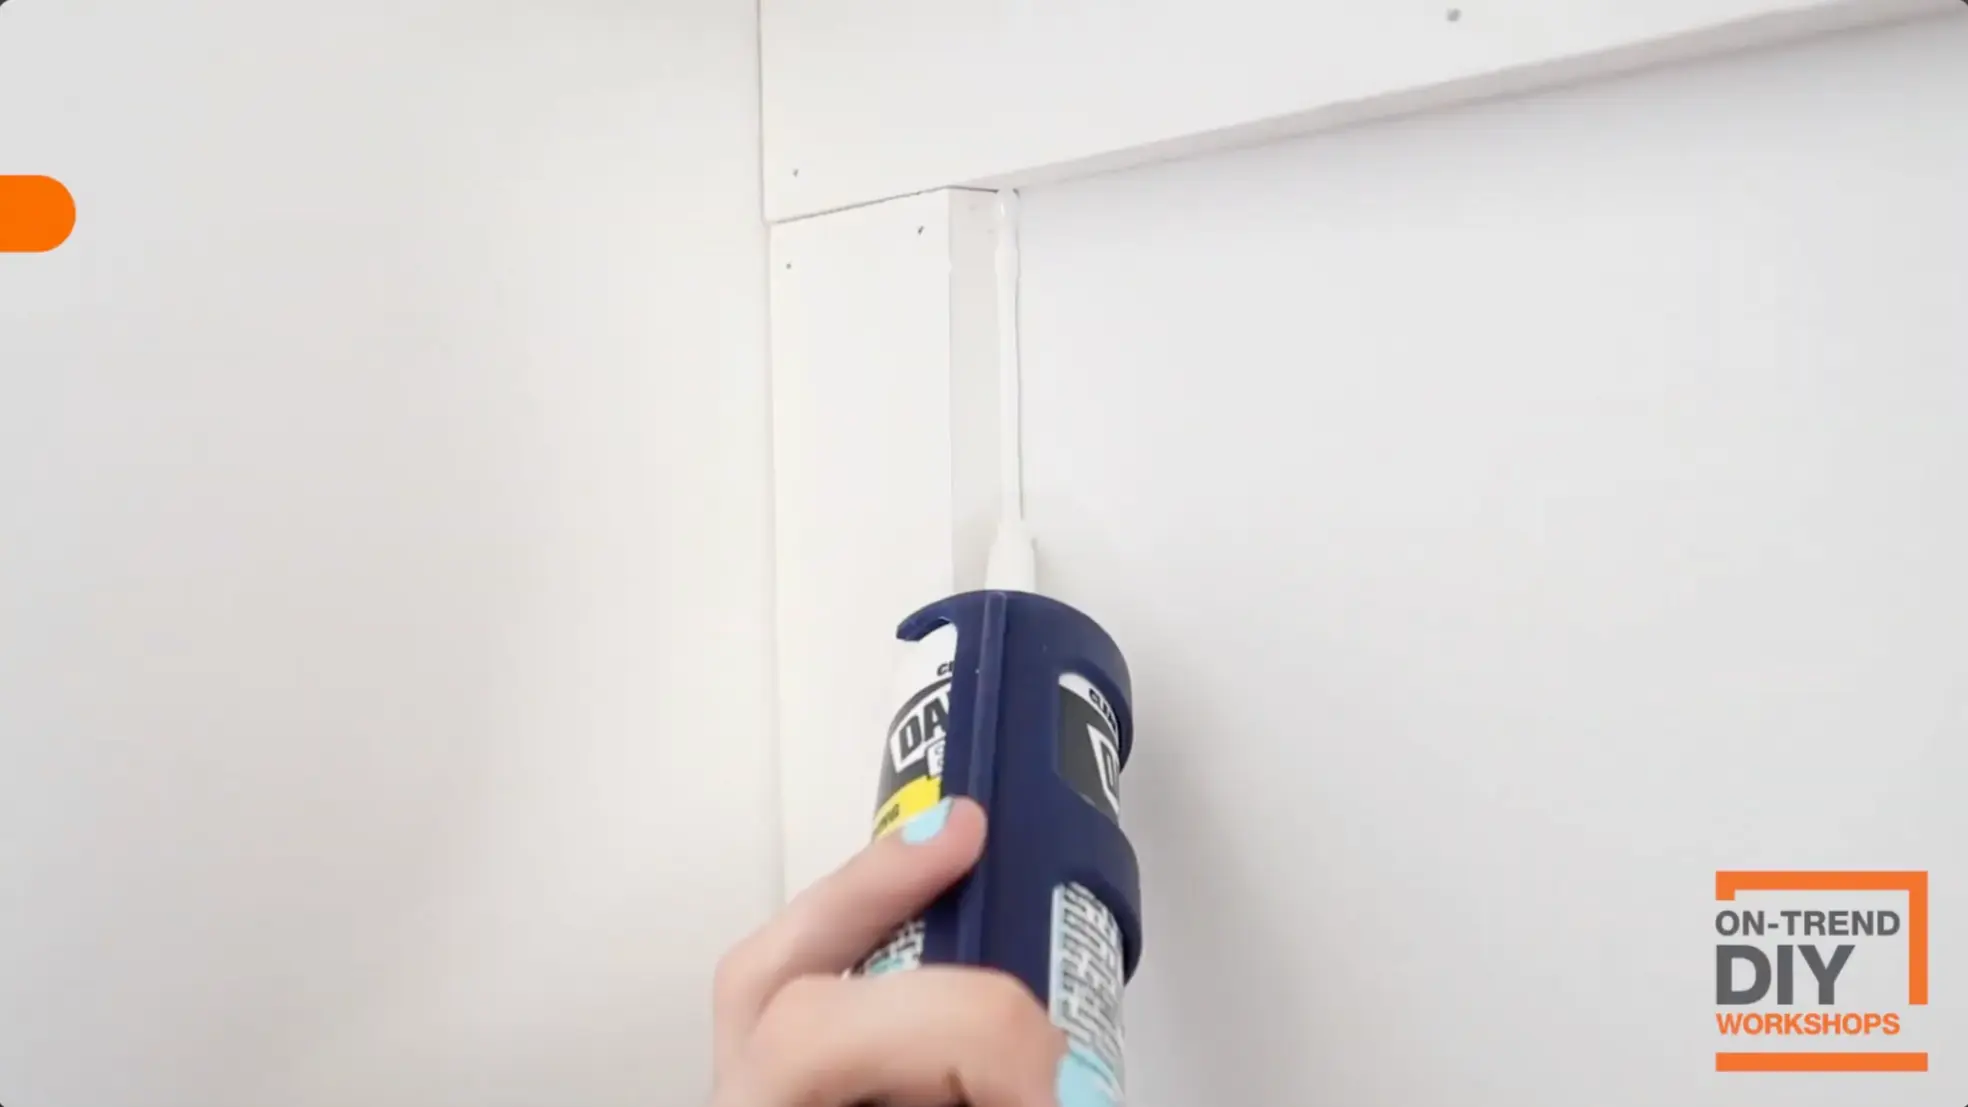
After all the boards are installed, add paintable caulk where the wood meets the wall. Small gaps are normal, especially if the wall is older or not perfectly flat.
Run a thin bead of caulk along the vertical and horizontal seams. Smooth away the extra caulk with your finger or a caulk tool. This step helps the boards look flush and makes the whole wall cleaner after paint.
Step 8: Paint the Wall and Trim
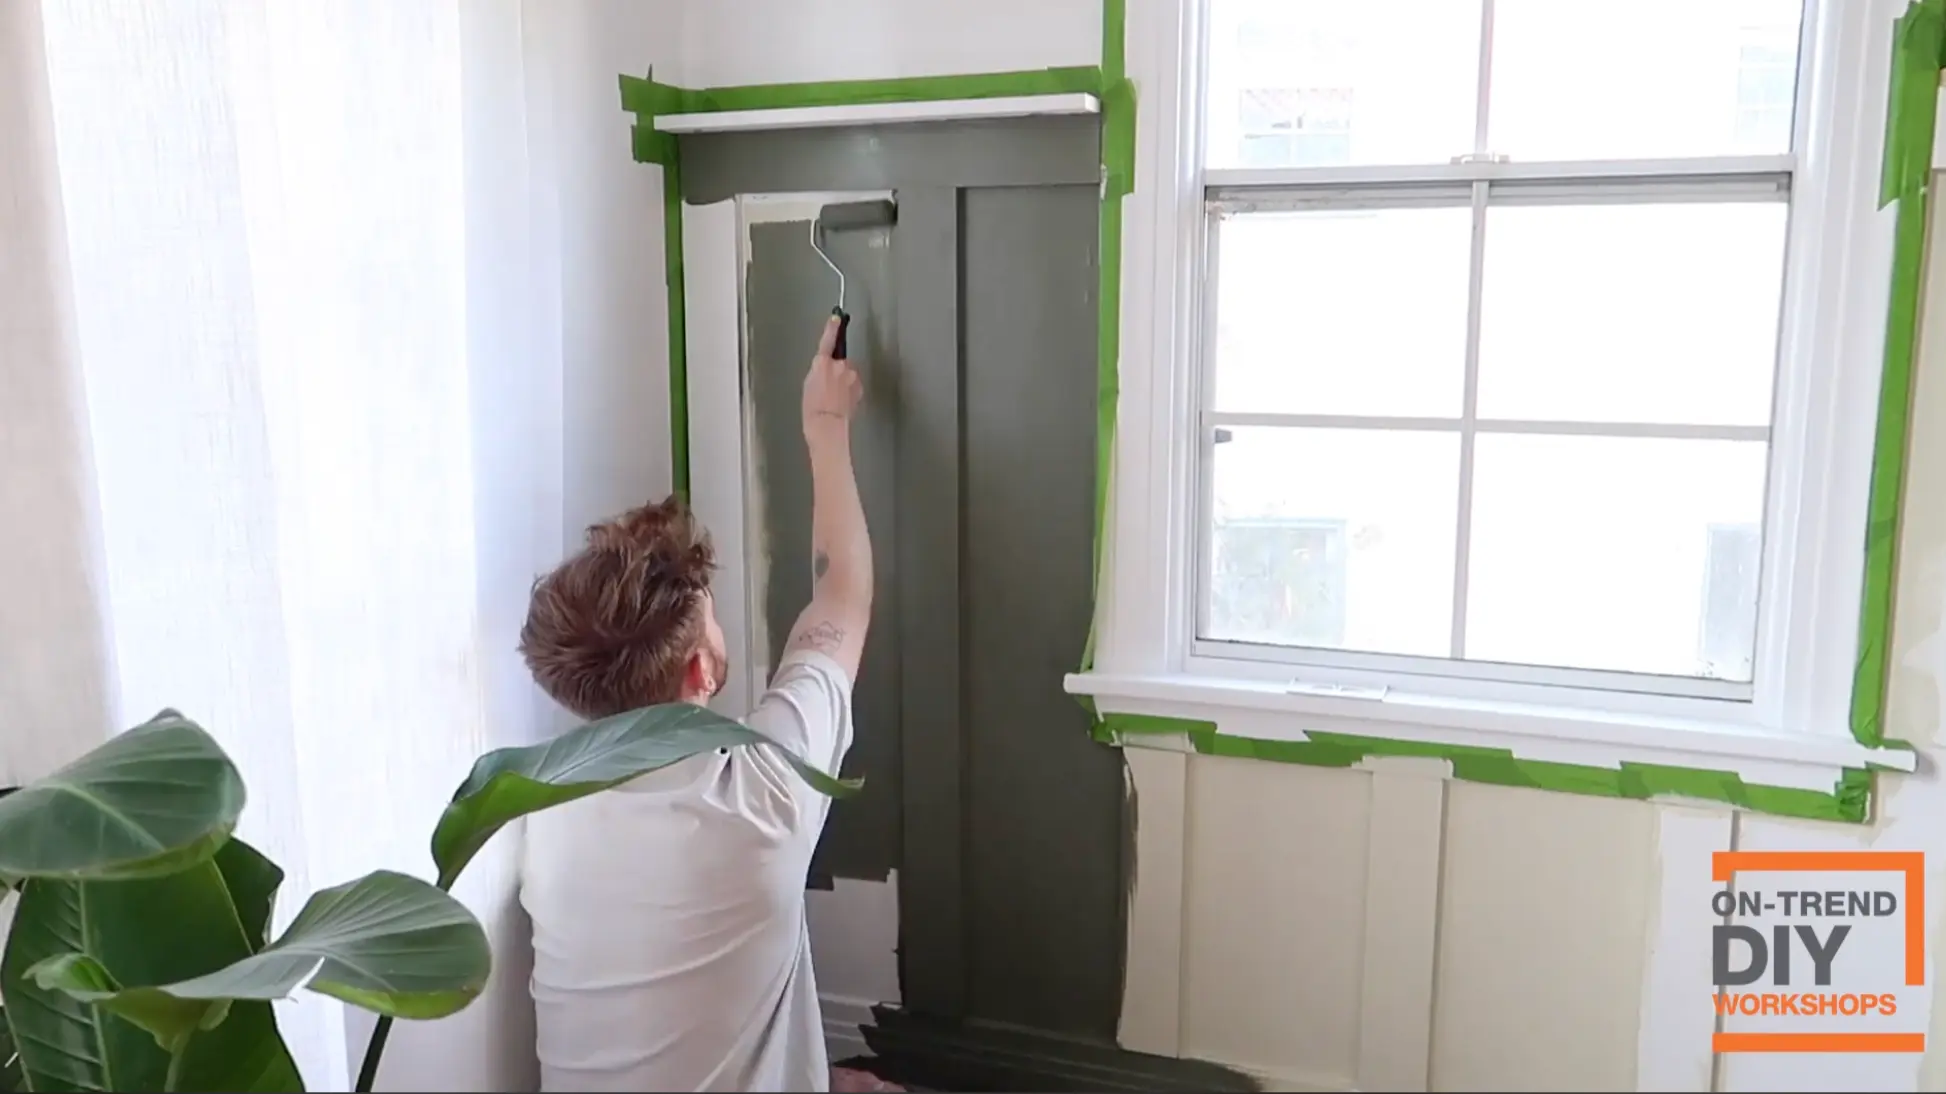
Once the caulk dries, paint the board and batten wall. Use a foam roller for a smooth finish and a brush for edges and tight spots. Paint the baseboard the same color as the lower wall section so everything feels connected.
Two coats usually give better coverage than one thick coat. Let the first coat dry before adding the second. After the paint dries, check the wall in natural light and touch up any small spots before moving furniture back.
Watch the video below to see these steps in order, from the blank wall and measurements to the finished painted board and batten wall.
Finish Work that Makes Budget Boards Look Better
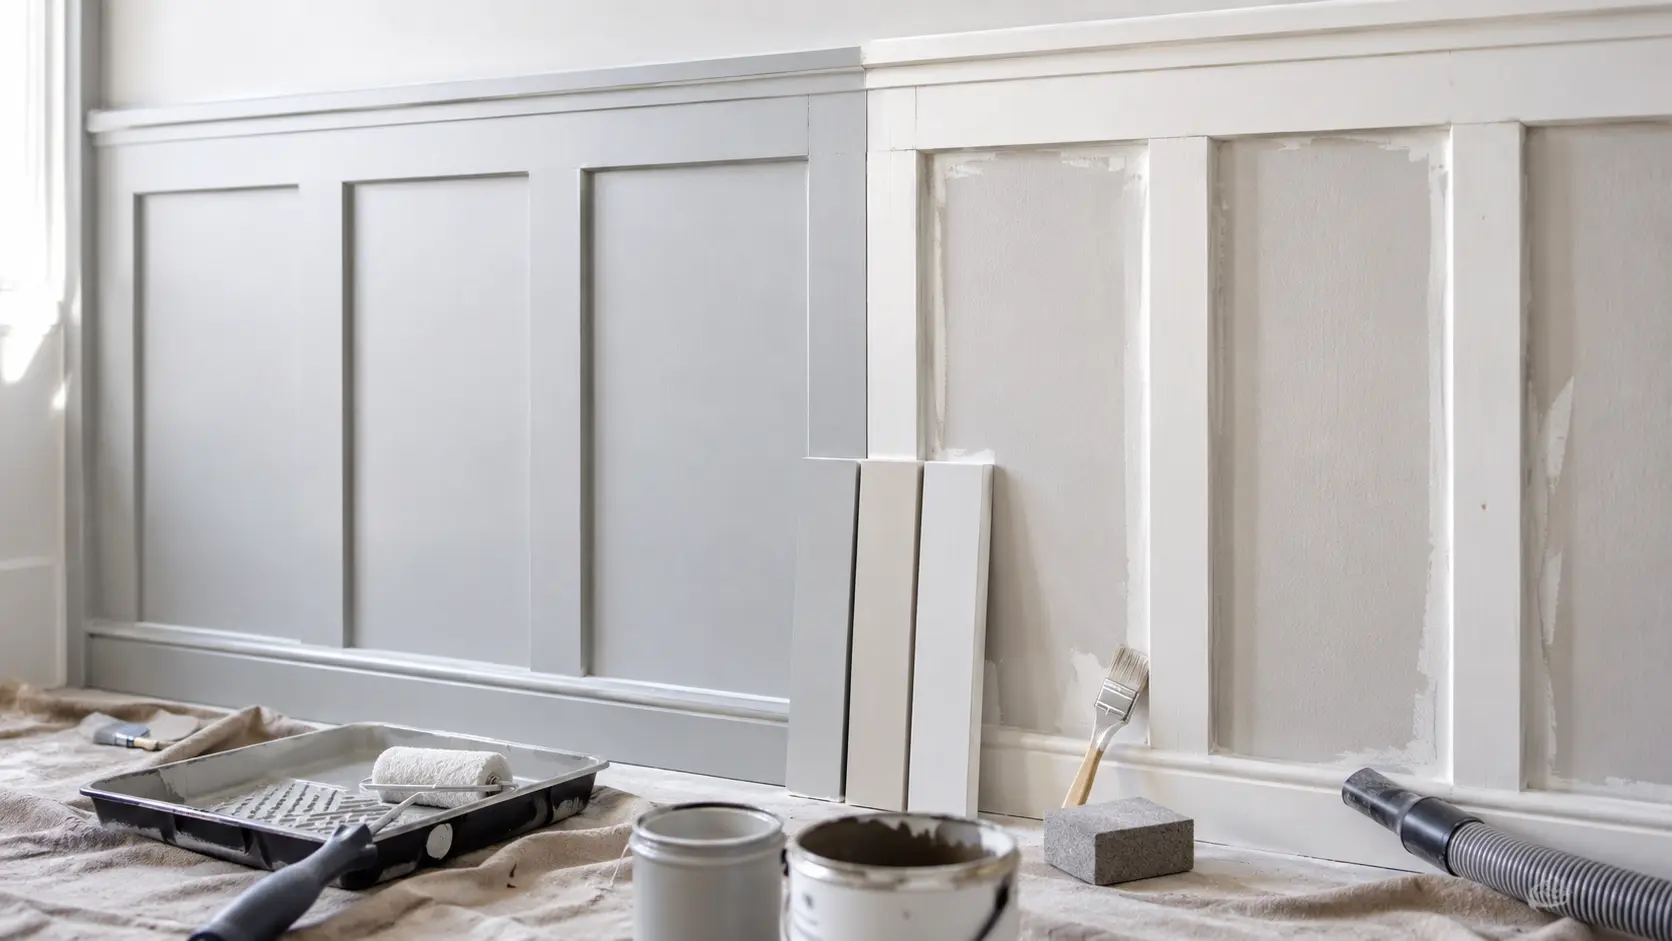
This is where the slow parts start to matter. A low-cost wall can look much better when the nail holes, seams, and paint are handled with care. Follow these tips:
- Sand every filled nail hole.
- Vacuum or wipe away dust.
- Use paintable caulk.
- Let the caulk dry before painting.
- Prime raw boards.
- Apply two thin coats of paint.
- Save leftover paint for small repairs.
Paint finish matters too. Eggshell works in quiet rooms. Satin is better for hallways, bathrooms, entryways, and kids’ rooms. Semi-gloss can work on trim-heavy walls that need easy cleaning.
If I had to put extra effort into anything, I would put it into caulk and paint. Those steps hide small gaps and make the wall feel finished.
Pick the Right Wall Style for Your Room
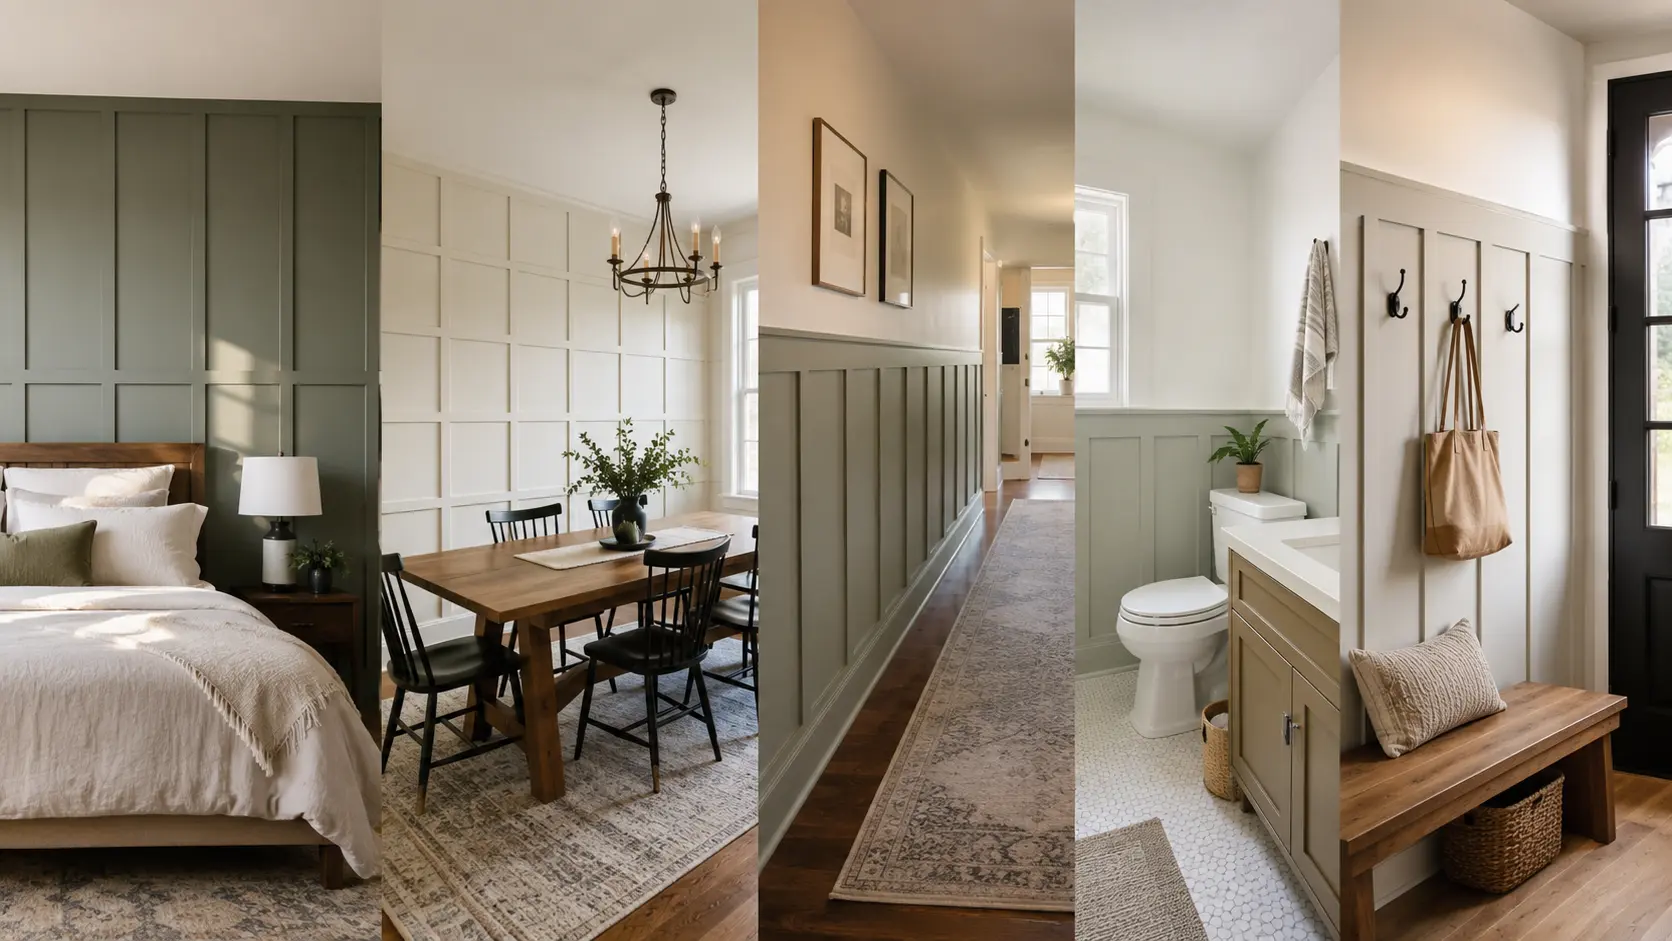
You do not need to cover every wall. One wall is enough for most rooms, especially when the goal is to save money.
Start by choosing between a full wall and a half wall. A full wall works well when you want one strong focal point, such as behind a bed, in an office, or along a dining room wall.
A half wall works better in spaces that take more daily wear, such as hallways, bathrooms, mudrooms, and entryways. A low-cost board can still look clean if the layout is simple, the cuts are straight, and the finish work is neat.
- Bedroom: Full wall behind bed works best; center layout and keep spacing balanced; test with tape before cutting
- Hallway: Half wall helps protect from scuffs; use simple spacing and satin paint for easy cleaning; avoid bulky trim in narrow spaces
- Bathroom: Half wall is safer for moisture areas; avoid raw MDF near water; use caulk, moisture-resistant paint, and proper ventilation
- Dining Room: Full or half wall both work; align rail with furniture height to avoid chair impact; use washable paint for stains and marks
- Entryway: Half wall protects high-contact zones; plan hook placement before installation; use satin or semi-gloss paint for durability
How Much a Budget Wall May Cost
A low-cost wall can still look neat if the finishing work is done well. The boards are only part of the cost, so include paint, caulk, nails, filler, and sandpaper.
| Project Type | Estimated Cost | Best Fit |
|---|---|---|
| Primed lattice wall | $60 to $150 | Small walls and tight budgets |
| MDF strip wall | $100 to $250 | Smooth dry rooms |
| Pine strip wall | $150 to $350 | Stronger trim and busy areas |
| Hardboard backing with trim | $180 to $400 | Textured walls |
| Premade wall kit | $75 to $850 or more | Faster projects with fewer cuts |
Your final cost depends on wall size, board choice, and the tools you already own. A small bedroom wall will cost much less than a full dining room wall.
For a first project, I would choose one flat wall with a few outlets. It keeps the cost lower and makes mistakes easier to fix.
Mistakes That Waste Money
Most costly mistakes start with rushed planning. You can avoid many of them with tape, scrap boards, and careful measuring. Watch for these problems:
- Buying boards before checking outlets
- Skipping the tape layout
- Using warped boards
- Choosing strips thicker than the baseboard
- Cutting every vertical strip to the same length
- Forgetting to check for studs
- Using too much adhesive
- Skipping caulk
- Painting over dust
- Rushing the second coat
If something looks off before paint, fix it before moving on. Paint will not hide bad spacing or crooked trim.
Frequently Asked Questions
What is the cheapest way to build a board-and-batten wall?
Use primed lattice or MDF strips, keep the existing baseboards if they fit, and paint the wall yourself. Borrow tools when possible. Good spacing and clean caulk matter more than costly trim.
How far apart should the vertical strips be?
Most vertical strips sit 12 to 22 inches apart. The best spacing depends on wall width, strip width, and outlet placement. Tape the design first so awkward gaps can be fixed before cutting.
Can trim go straight onto drywall?
Yes, trim can go straight onto drywall. Nail into studs when possible, then use light adhesive only where needed. Check every strip with a level before fastening so the layout stays straight.
Do old baseboards need to come off?
Not always. Keep them if the new strips are thin enough and the trim depth looks balanced. Replace them if the boards stick out too far or the old baseboards have a rounded top.
Can this work on textured walls?
Yes, but a heavy texture may show between the strips after the paint. Thin hardboard panels can create a smoother surface first. For a light texture, careful caulk, primer, and paint may be enough.
Final Thoughts
A DIY board-and-batten wall is a smart project when you want a cleaner room without paying for a full remodel. The budget stays under control when you measure first, test the spacing with tape, and choose boards that fit your baseboards.
A good board-and-batten wall does not need pricey trim. It needs straight cuts, neat caulk, smooth sanding, and paint that can handle daily use.
I would start with one flat wall if this is your first trim project, then try a larger room later.
Measure your wall, price the boards, pick your layout, and start with the version that fits your room, budget, and tools. Comment and let me know if this blog was helpful.