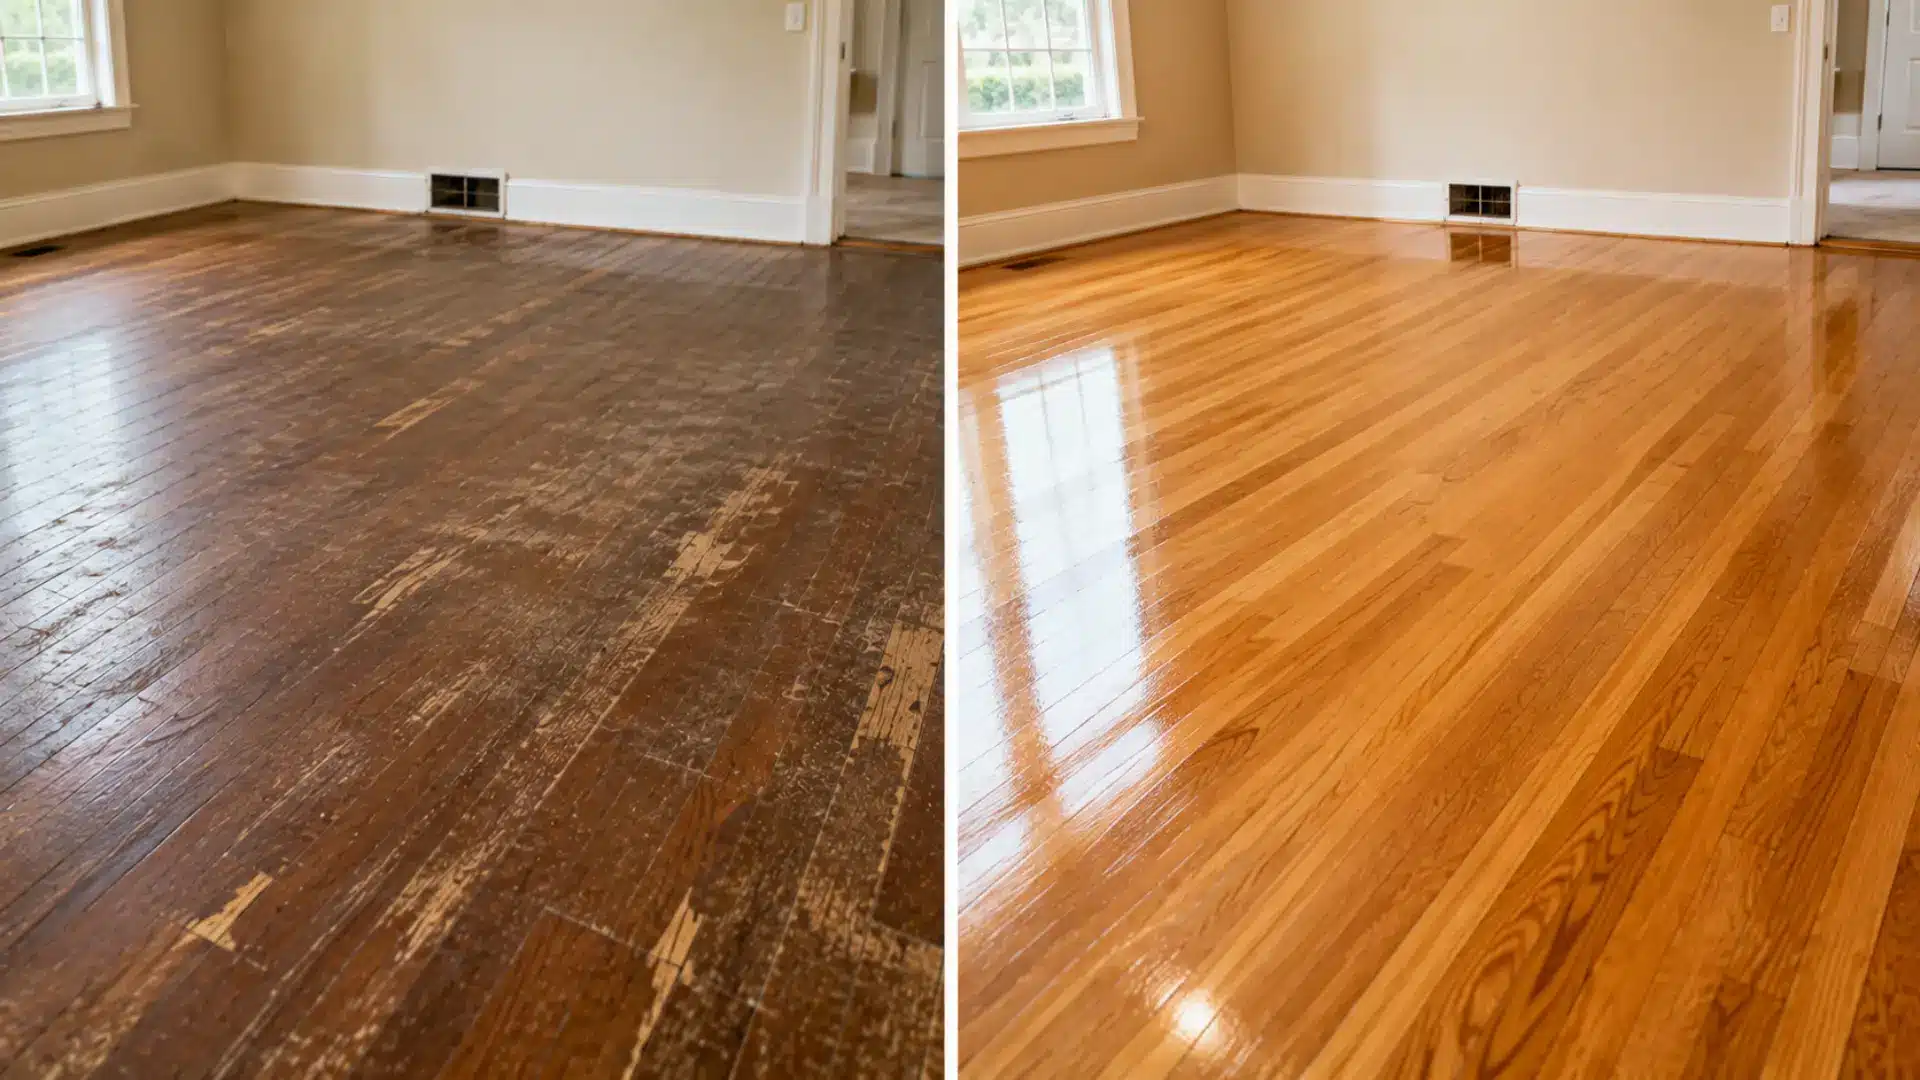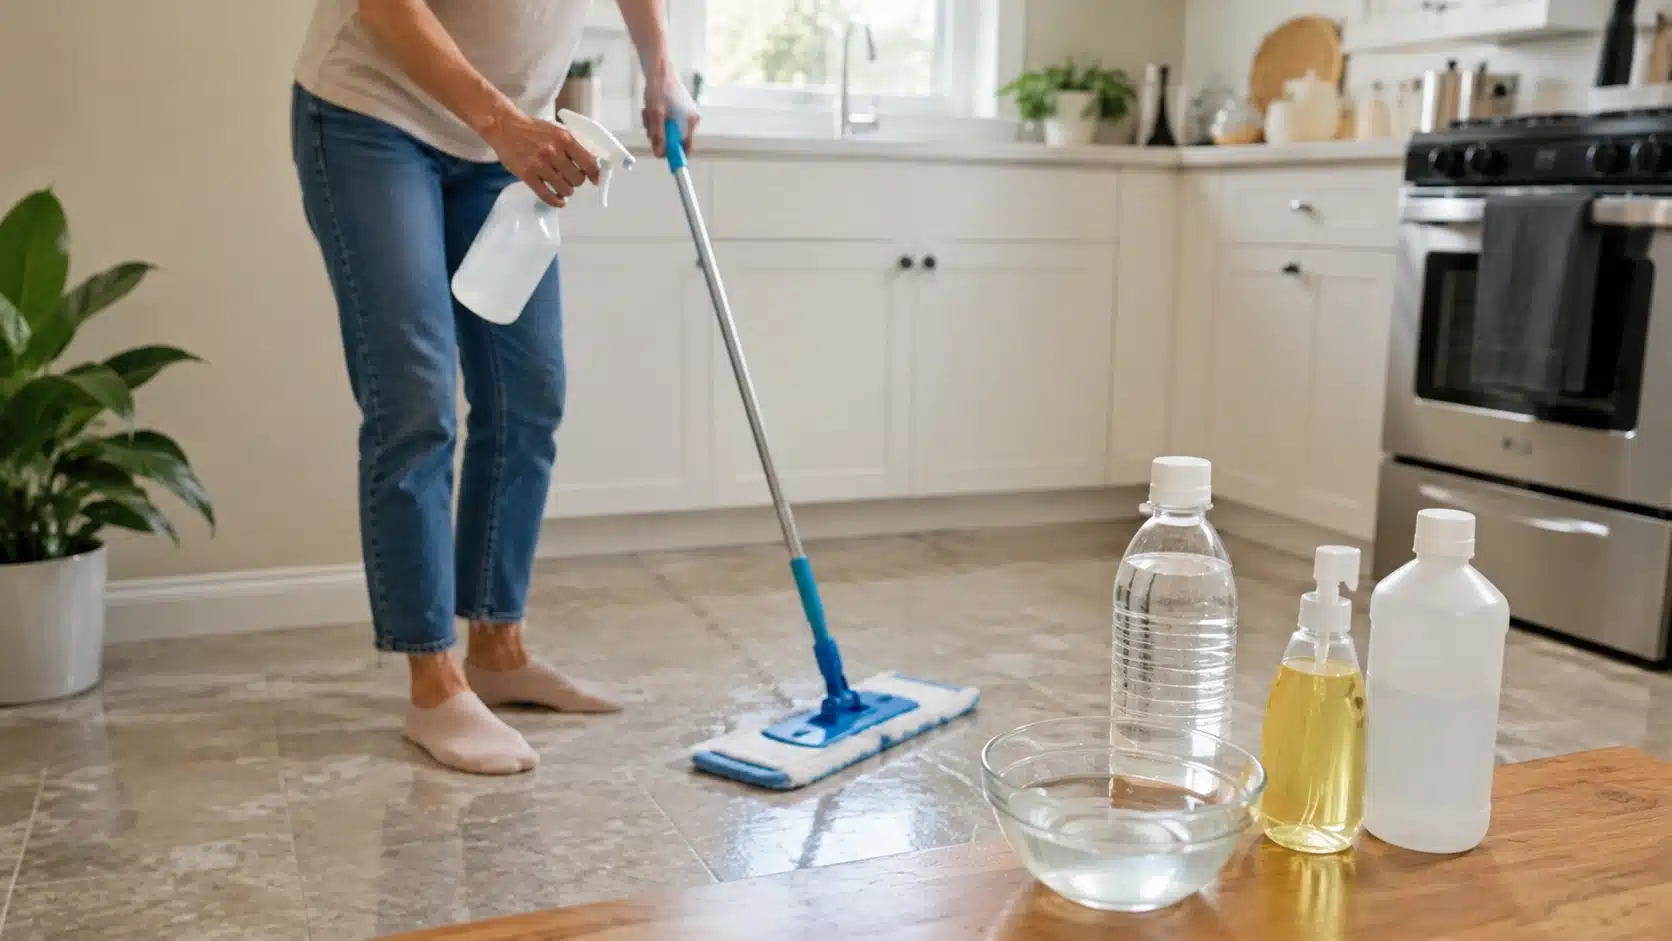
A clean floor changes the whole feel of a room. I notice it most in the kitchen, where one sticky spot can somehow make the entire house feel messy.
You mop, wait for it to dry, then walk across it and feel that little tack under your shoes. That is usually the moment when a homemade cleaner starts sounding pretty good.
A diy floor cleaner can be simple, cheap, and useful for everyday messes. But the recipe has to match the floor. Vinyl, laminate, hardwood, tile, and linoleum do not all respond the same way to vinegar, soap, alcohol, or water.
The goal is not to make the strongest cleaner in the pantry. The goal is to make a safe mix that cleans dirt without leaving streaks, dullness, or sticky residue.
Homemade vs. Store-Bought Cleaners
A DIY floor cleaner is a homemade cleaning solution made from simple ingredients like water, white vinegar, rubbing alcohol, and mild dish soap.
It is used for regular cleaning on sealed hard floors and can work well for everyday dirt, footprints, and light kitchen messes.
The main difference between a homemade cleaner and a ready-made floor cleaner is control. With a homemade cleaner, you choose the ingredients and adjust the recipe for vinyl, hardwood, laminate, tile, or linoleum.
A ready-made cleaner is already mixed, tested, and labeled for specific surfaces, which makes it more convenient but less flexible.
That does not mean homemade is always better. A cleaner that works well on sealed tile may not be safe for unsealed wood, waxed floors, stone, or freshly refinished surfaces. The recipe still has to match the floor type, not just the dirt.
What Ingredients Make a Homemade Floor Cleaner Work?
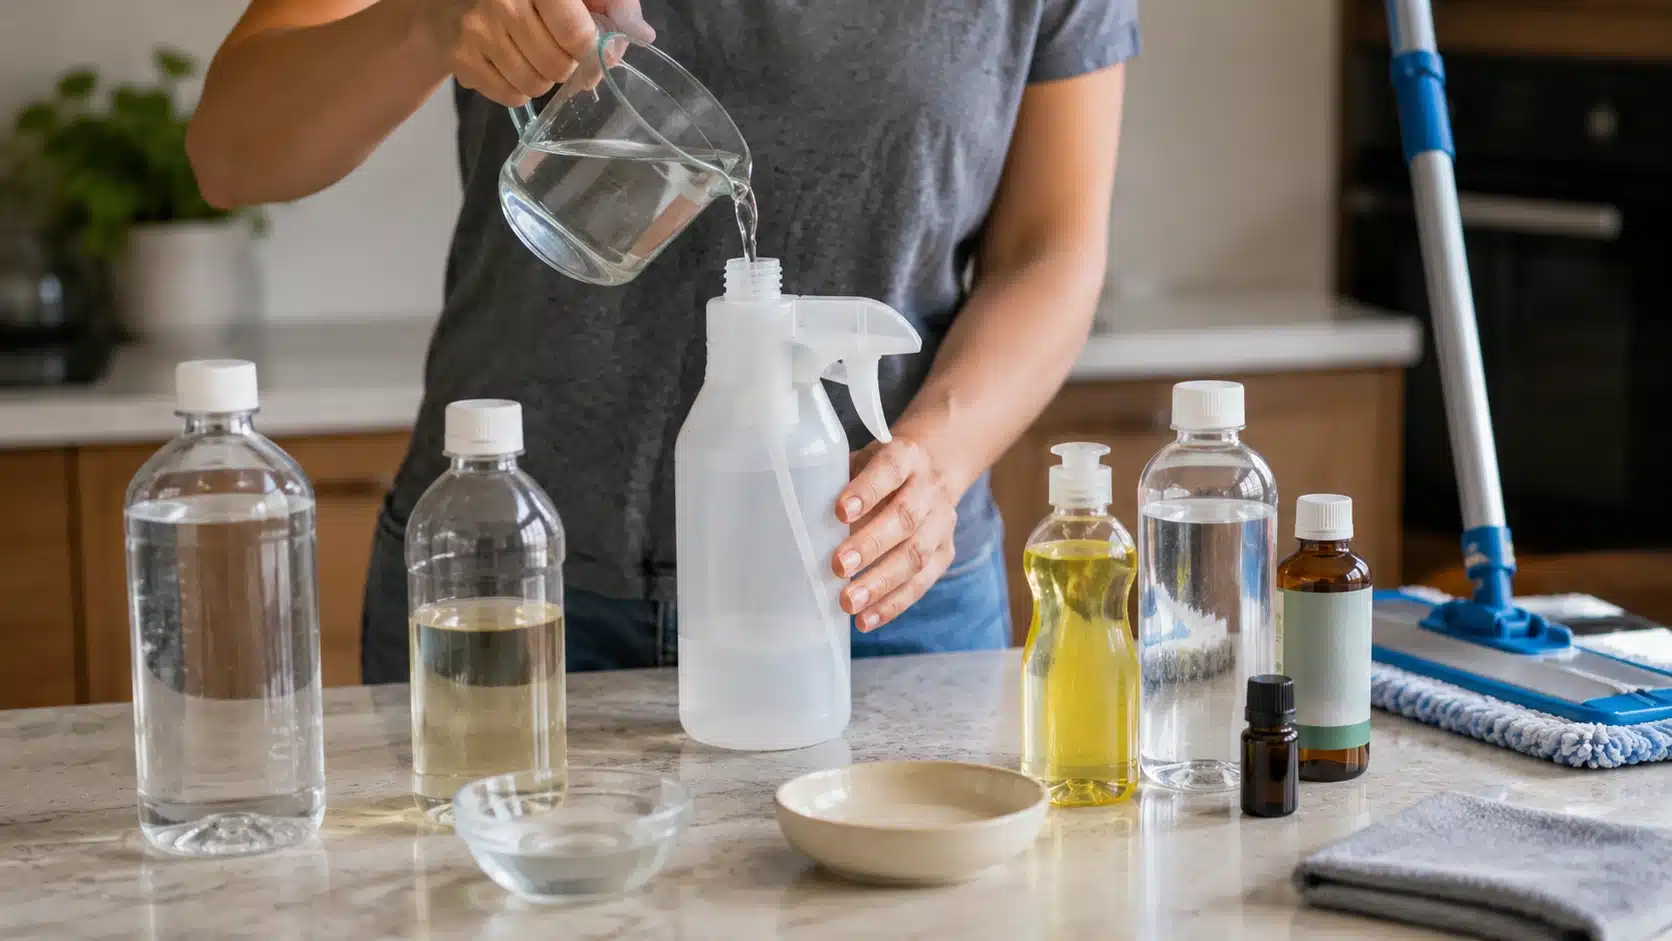
Choosing the right ingredients comes down to understanding what each one actually does when it hits the floor surface. Mixing the wrong ratio, or combining ingredients that do not work well together, is where most homemade cleaners go wrong.
| Ingredient | What It Does | Best Used For | Caution |
| Warm water | Dissolves dirt and dilutes all other ingredients | All floor types | Too much water can damage wood and laminate |
| White vinegar | Cuts through light grease and mineral buildup | Sealed tile, vinyl, sealed hardwood | Avoid on unsealed wood, waxed floors, and stone |
| Rubbing alcohol | Helps the floor dry faster, reduces streaking | Laminate, vinyl | Do not mix with bleach |
| Mild dish soap | Lifts grease and grime from the surface | All floors in very small amounts | Too much leaves a sticky, filmy residue |
| Castile soap or Sal Suds | Gentle plant-based alternative to dish soap | All floors, especially delicate ones | Use sparingly, same residue risk as soap |
| Essential oils | Adds scent only | Optional in any recipe | Some oils are unsafe for pets. Check first |
| Distilled water | Prevents mineral spots on shiny or finished surfaces | Laminate, vinyl, hardwood | Not required, but better in hard water areas |
The common mistake here is adding more soap to clean better. More soap means more residue, which means a floor that looks cloudy or feels sticky after it dries. One to two drops of dish soap is almost always enough.
Best DIY Floor Cleaner Recipes by Floor Type
One universal cleaner is not always the safest choice. A recipe that works well on vinyl may be too wet for hardwood, and a cleaner that dries fast on laminate may not be strong enough for tile grout.
1. For General Mopping on Sealed Hard Floors
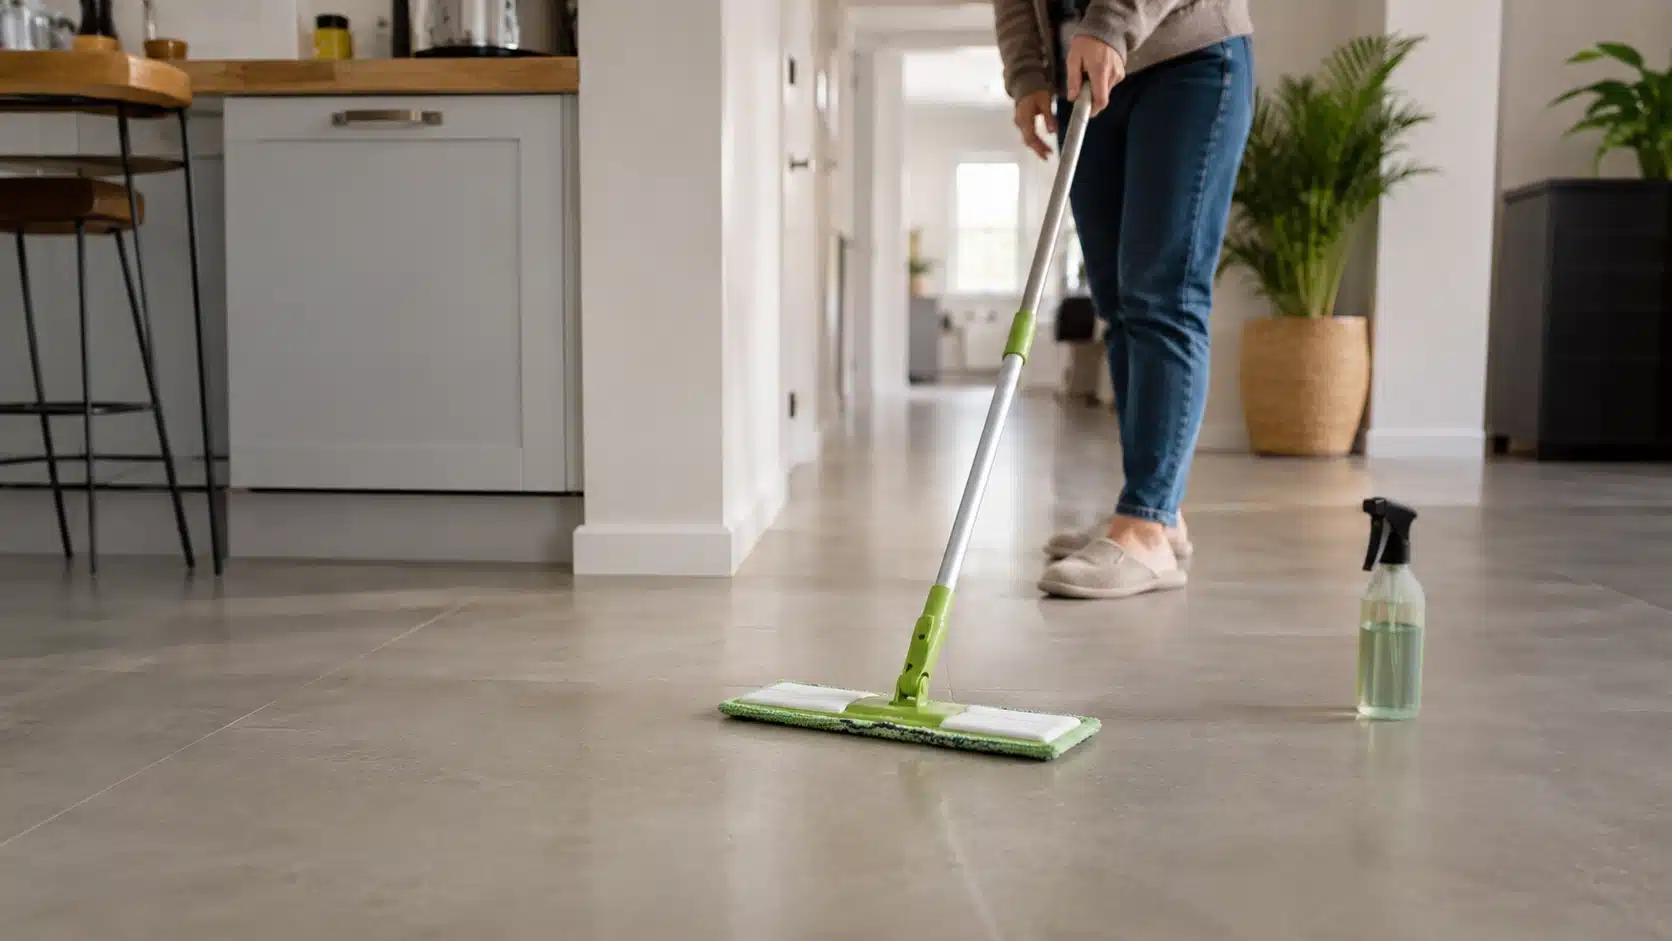
This general cleaner works for regular cleaning on most sealed hard floors. It is useful for light dirt, footprints, and everyday messes. It dries quickly because of the rubbing alcohol, and it does not need rinsing when used lightly.
Recipe:
- 2 cups warm water
- 1/4 cup white vinegar
- 1/4 cup rubbing alcohol
- 1 to 2 drops of mild dish soap
How to use it:
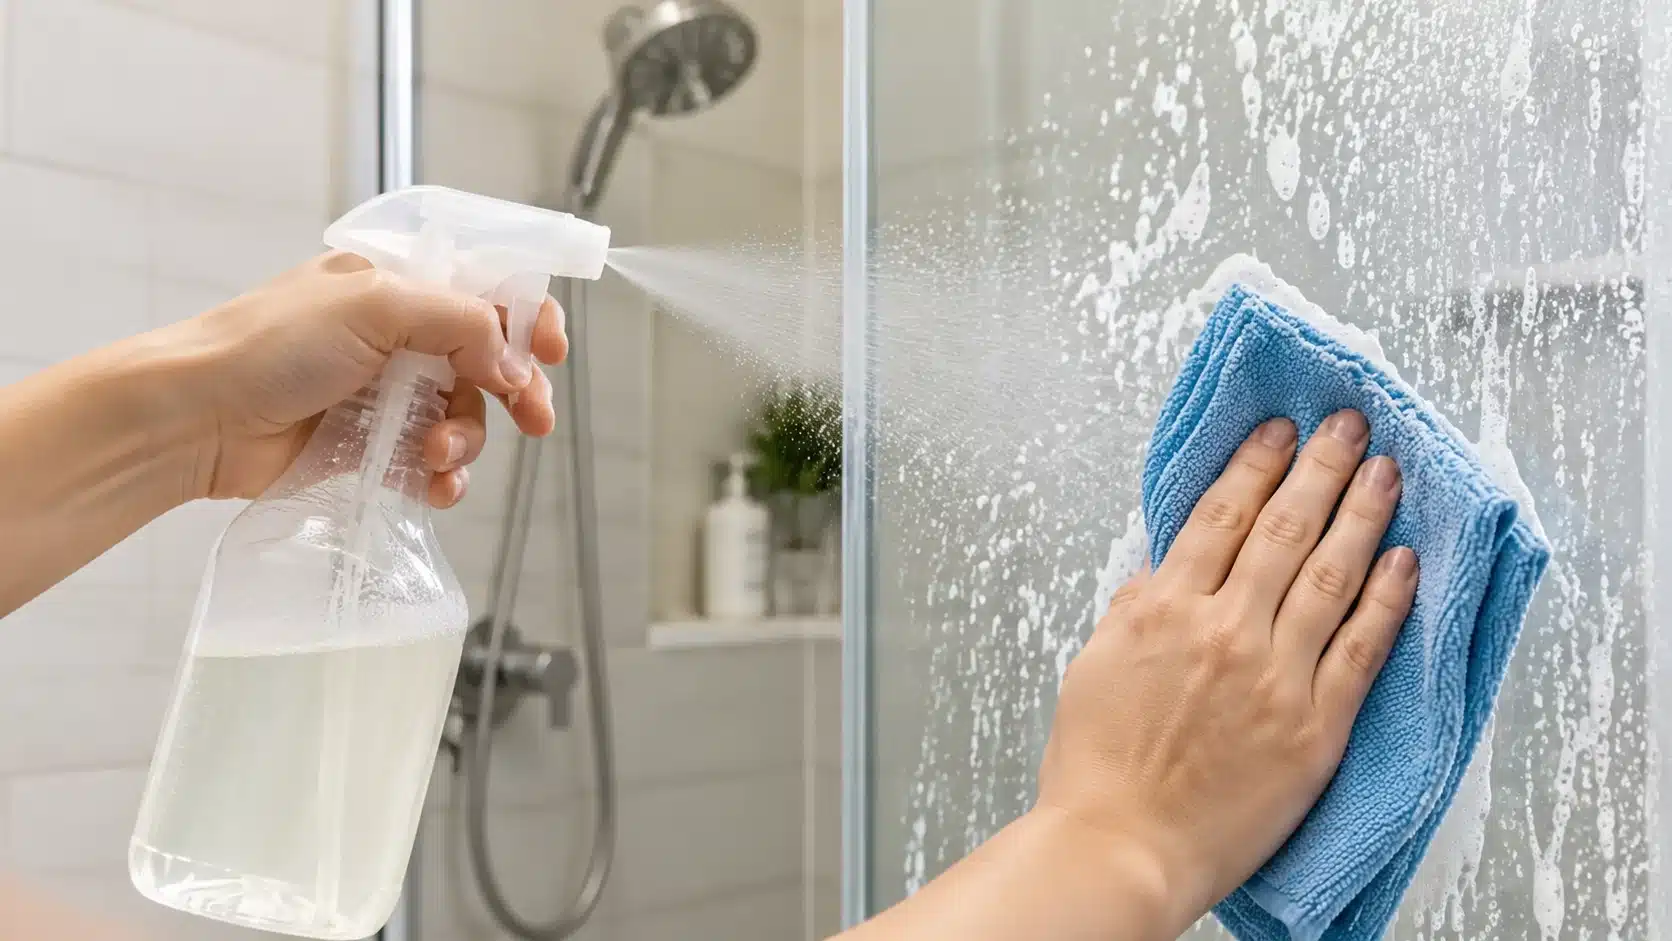
- Add all ingredients to a clean spray bottle.
- Shake gently to combine.
- Spray lightly on a small floor section.
- Mop with a microfiber mop using back-and-forth strokes.
- Let the floor air dry.
| Tip/caution: Use this on sealed tile, sealed hardwood, vinyl, and most laminate only if the floor care instructions allow it. Avoid it on unsealed wood, waxed floors, freshly refinished surfaces, stone floors, or any floor that needs a specific cleaner. |
2. For Vinyl Floors
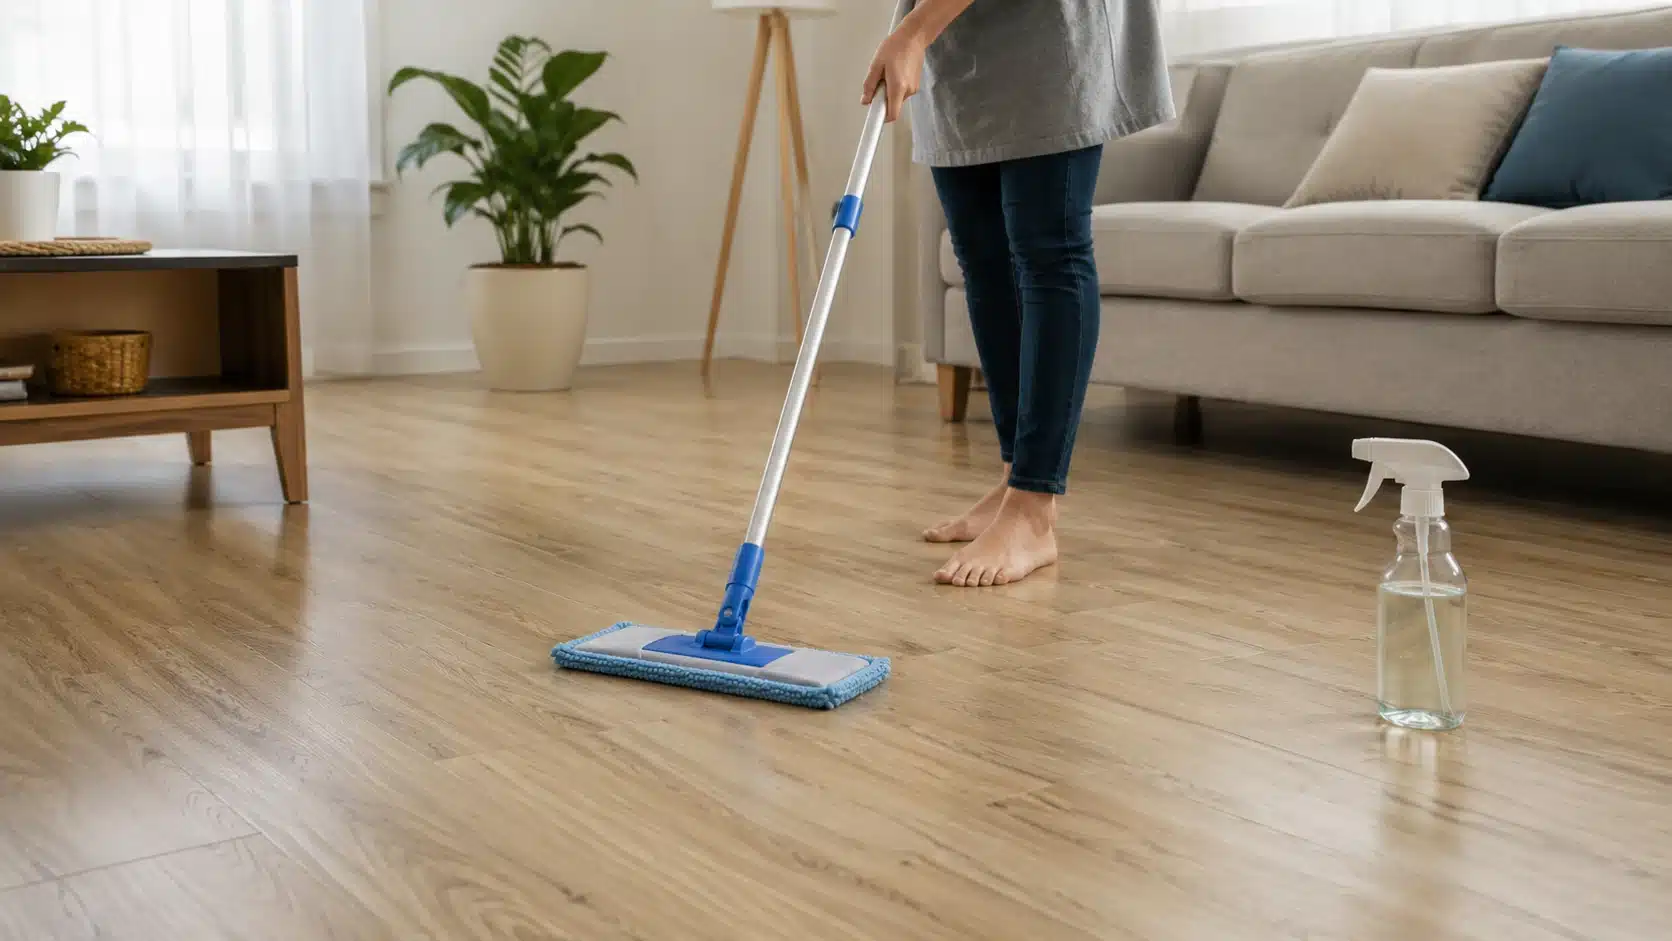
Vinyl is more forgiving than hardwood or laminate, but it can still look dull if too much soap is used. A good homemade vinyl floor cleaner should clean surface dirt without leaving a film behind.
Recipe:
- 2 cups warm water
- 1/2 cup white vinegar
- 2 to 3 drops of mild dish soap
- Optional: 1/4 cup rubbing alcohol for faster drying
How to use it:
- Mix the ingredients in a spray bottle or small bucket.
- Use a microfiber mop and wring it out well.
- Mop in small sections instead of flooding the floor.
- Do not let water sit along seams or edges.
- For sticky spots, spray the area and wipe with a clean cloth.
| Tip/caution: If vinyl looks hazy after cleaning, soap film is usually the cause. Reduce the soap to one drop, rinse the mop pad more often, and mop once with plain warm water. |
3. For Hardwood Floors
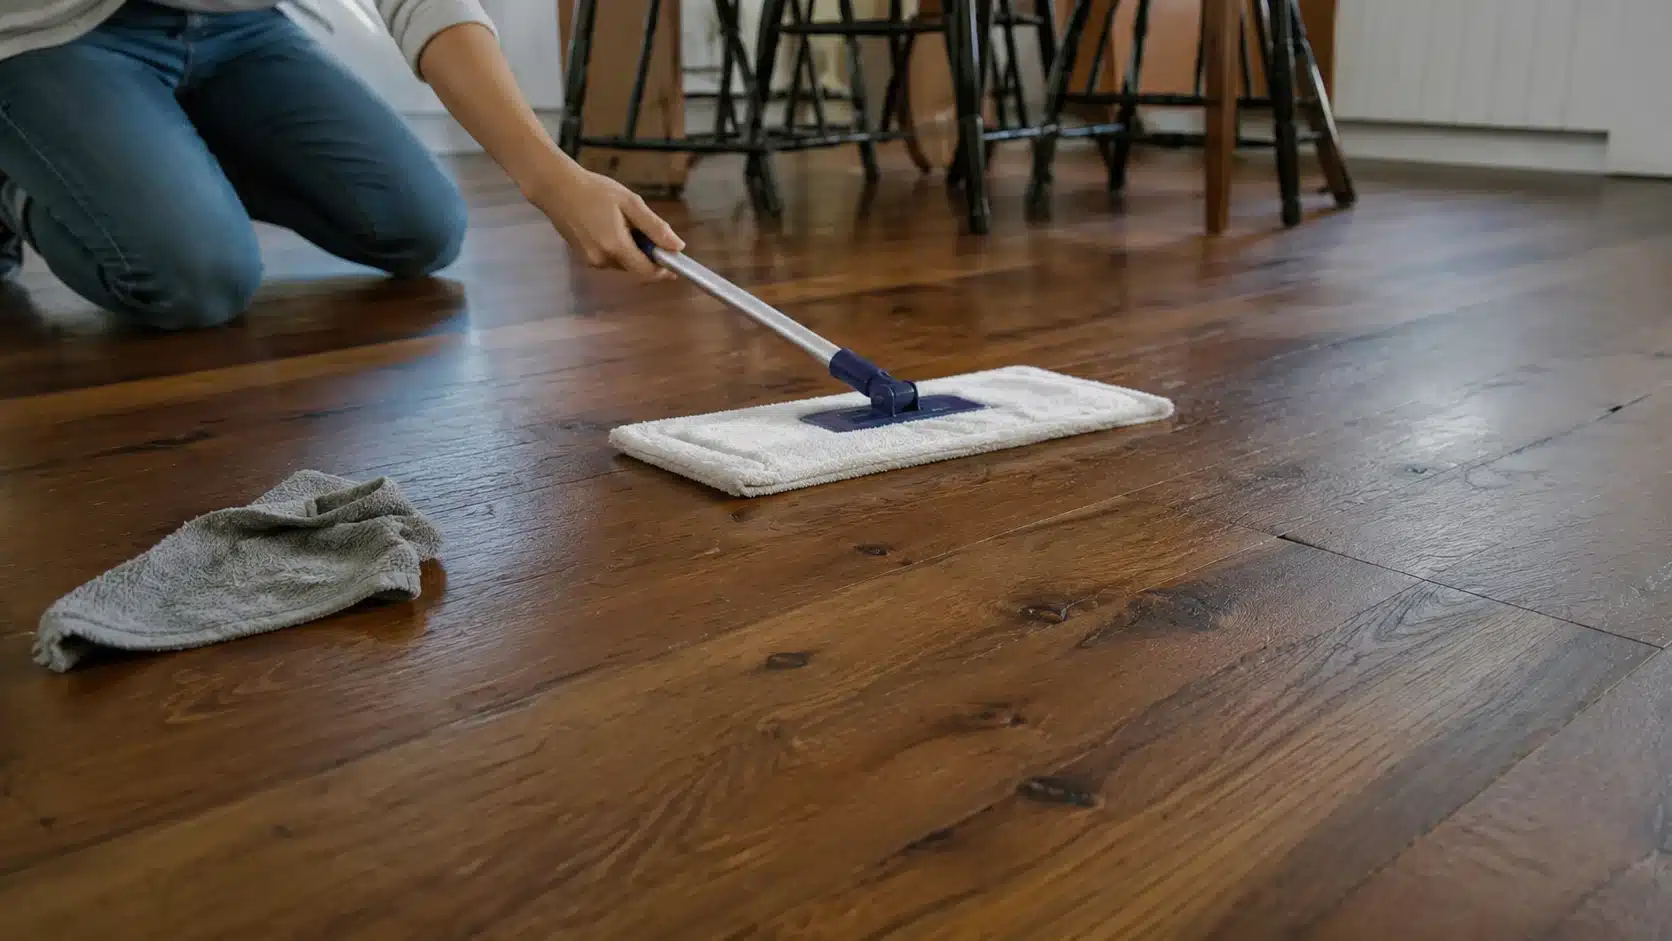
Hardwood needs the most care because moisture can damage wood, and some finishes do not handle vinegar well. A mild cleaner and a lightly damp mop are safer than a strong solution.
Recipe:
- 2 cups warm water
- 1 to 2 drops of mild dish soap
- Optional: 1 teaspoon white vinegar, only if the floor is sealed and the maker allows it
How to use it:
- Mix the cleaner in a spray bottle or bowl.
- Spray the mop pad lightly instead of spraying the floor.
- Mop with the direction of the wood grain.
- Wipe any wet spots right away with a dry cloth.
- Let the floor dry fully before walking on it.
| Tip/caution: Skip vinegar on unsealed wood, waxed floors, worn finishes, or recently refinished hardwood. If you are unsure about the finish, use only warm water with a tiny amount of mild soap and test a hidden spot first. |
4. For Laminate Floors
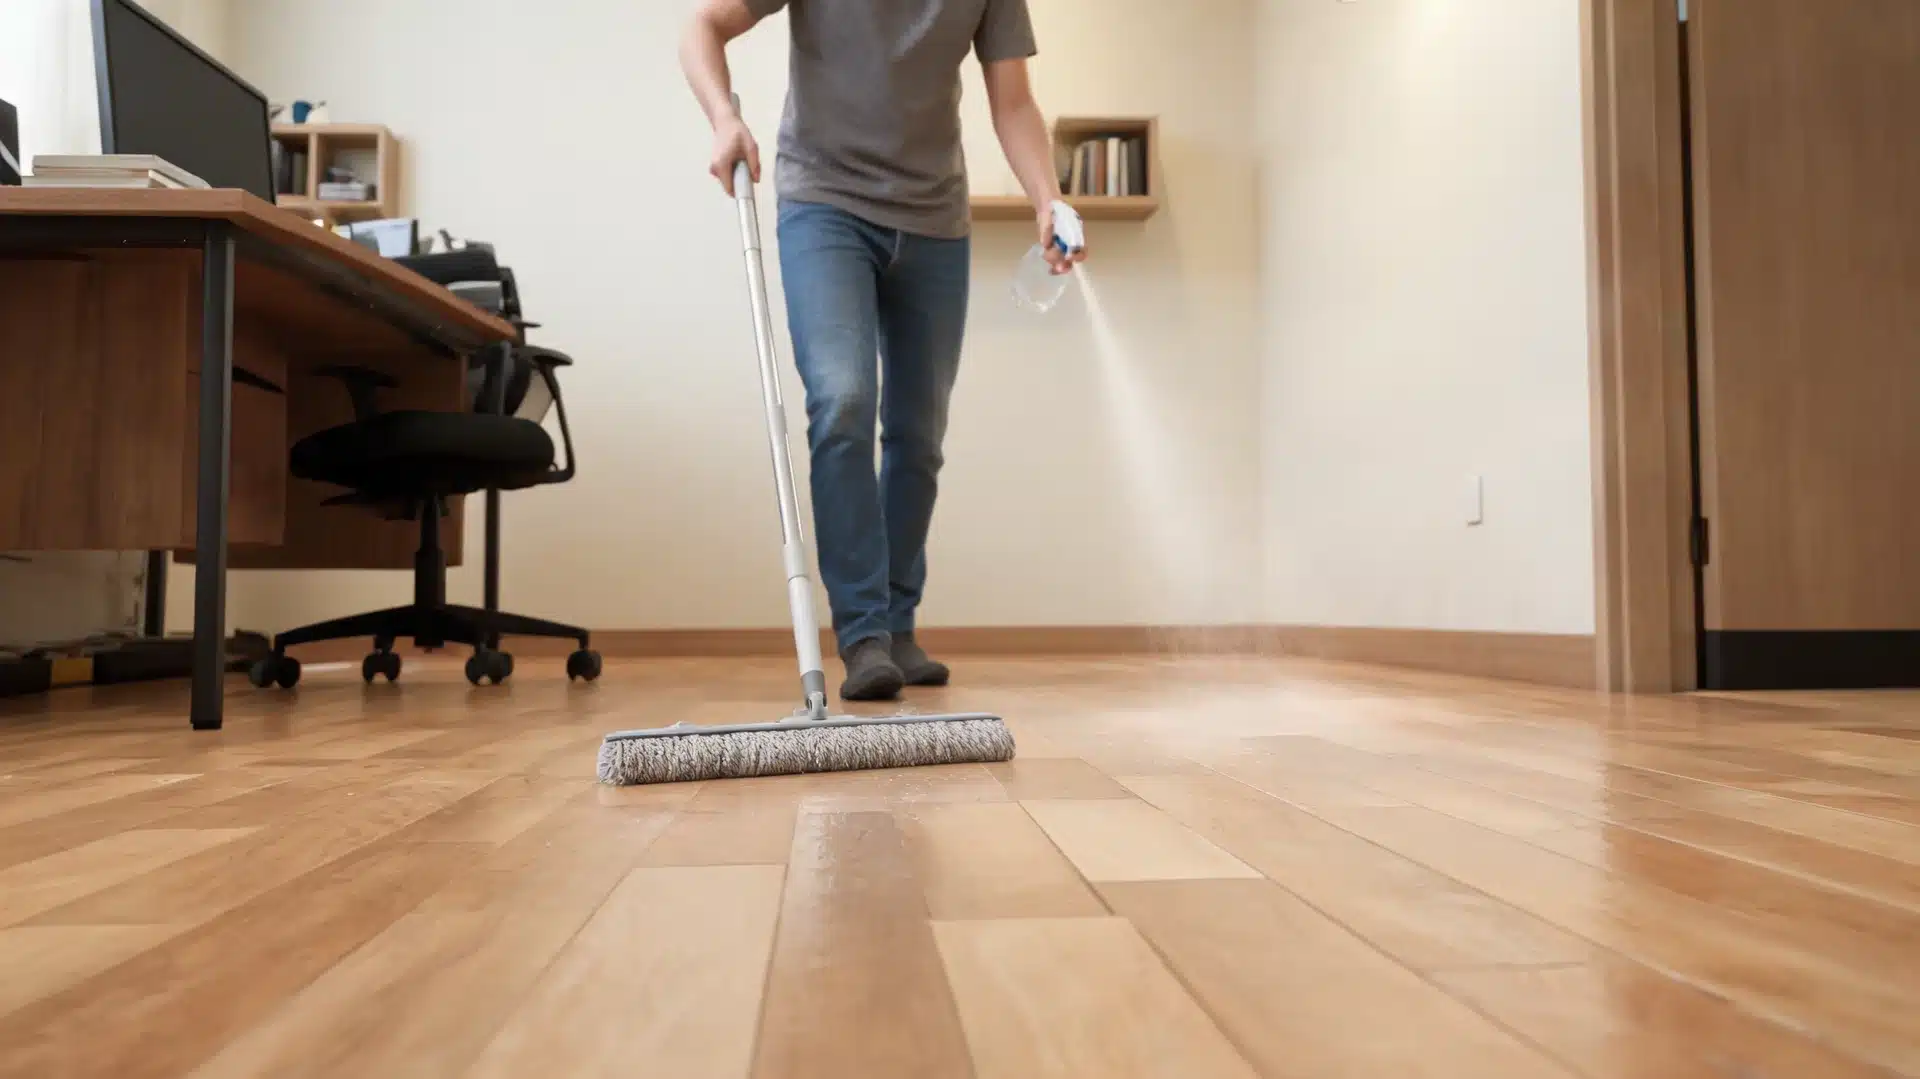
Laminate looks like wood, but it does not handle moisture well. Water can get into edges and seams, which may cause swelling or bubbling. A fast-drying cleaner is the safer choice.
Recipe:
- 1 cup distilled water
- 1 cup rubbing alcohol
- 1 drop mild dish soap
How to use it:
- Add the ingredients to a clean spray bottle.
- Shake gently.
- Spray a light mist on a small section.
- Mop with a clean microfiber mop.
- Let the floor dry before moving to heavy foot traffic.
| Tip/caution: Avoid steam mops on laminate. Heat and moisture can damage the protective layer and edges. If streaks appear, use less cleaner, rinse the mop pad, and keep the soap to one drop. |
5. For Tile and Linoleum Floors
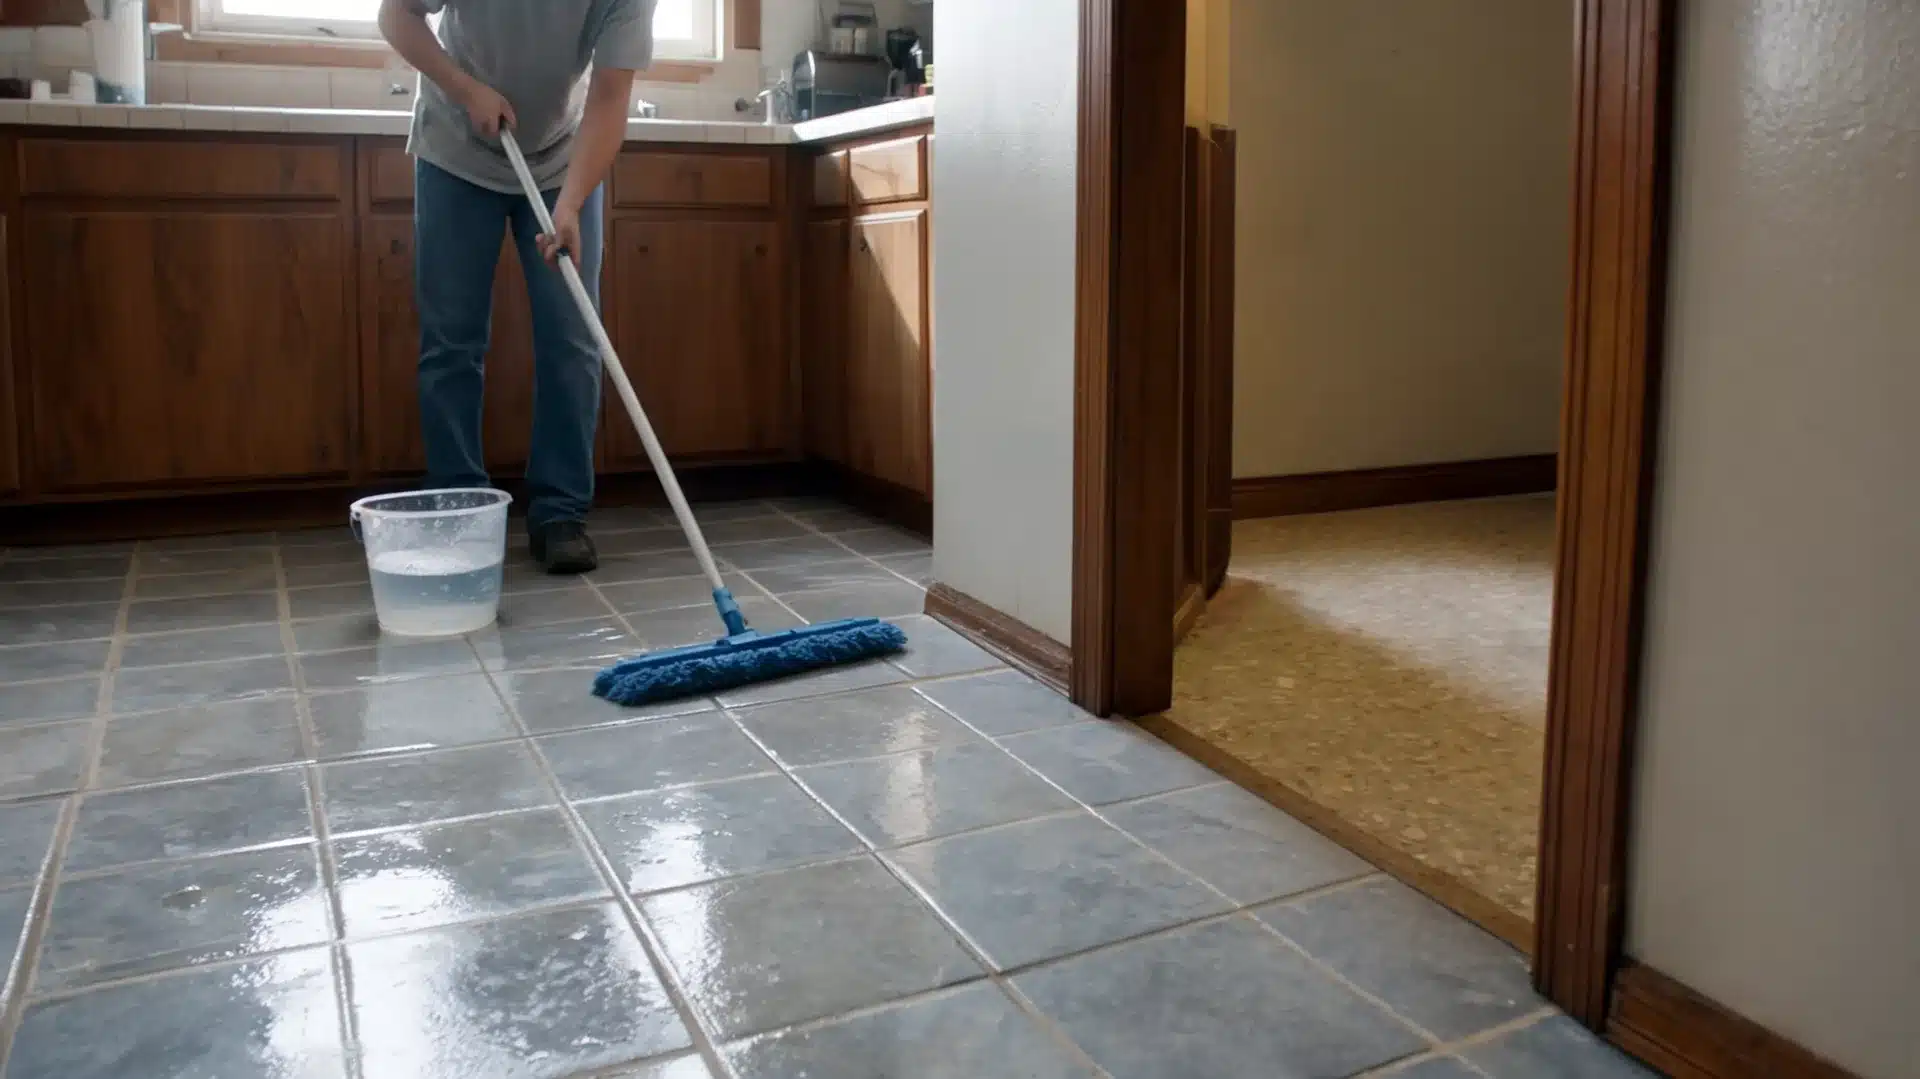
Tile can handle a stronger mix than wood or laminate, but too much soap can still leave a film. Linoleum can also be cleaned this way, but older or worn linoleum should be spot tested first.
Recipe:
- 1 gallon of warm water
- 1/2 cup white vinegar
- 1 tablespoon mild dish soap
How to use it:
- Mix the ingredients in a bucket.
- Use a clean microfiber mop or string mop.
- Mop the floor in sections.
- Change the water once it turns grey or cloudy.
- Dry slippery spots with a clean cloth.
| Tip/caution: This mix handles regular dirt, but stained grout may need separate cleaning. If the tile looks hazy after drying, use less soap next time and mop once with clean, warm water. |
The best cleaner is not the strongest one. It is the one that fits the floor, removes dirt, and dries without leaving streaks or film. Once the right recipe is chosen, the next step is using it with the right mopping method.
| Floor type | Best homemade cleaner | Avoid | Best method |
| General sealed floors | Water, vinegar, rubbing alcohol, and 1 to 2 drops of soap | Unsealed wood, wax, stone | Spray lightly, microfiber mop |
| Vinyl | Water, vinegar, and 2 to 3 drops of soap | Excess soap, standing water | Wring mop well, clean in sections |
| Hardwood | Water, 1 to 2 drops of soap, optional tiny amount of vinegar | Vinegar on risky finishes | Spray mop pad, mop with grain |
| Laminate | Distilled water, rubbing alcohol, and 1 drop of soap | Steam mops, excess liquid | Light mist, microfiber mop |
| Tile and linoleum | Warm water, vinegar, dish soap | Dirty water, too much soap | Mop sections, change cloudy water |
How to Use Homemade Vinyl Floor Cleaner Without Streaks
Streaks are almost never a recipe problem. They are an application problem. Using too much cleaner, a dirty mop pad, or too much soap are the three causes behind most streaky floors.
- Sweep or vacuum first: Loose dirt mixed into a wet cleaner turns into a paste that smears across the floor rather than lifting off.
- Spray lightly or wring the mop well: The floor should feel damp, not wet. If water is pooling, you are using too much.
- Clean in small sections: Working a few square feet at a time gives you more control and stops the cleaner from drying unevenly.
- Rinse or change mop pads when dirty: A mop pad that has absorbed grime is just moving it around. Clean or replace pads as needed.
- Let the floor dry fully before walking on it: Walking on a slightly wet floor leaves footprints and smudges.
If the floor still feels sticky after drying, it almost always means too much soap was used. The fix is simple: go over the floor again with a clean pad and plain warm water. That second pass picks up the soap residue and usually solves the problem.
Clean floors are the goal, but safe mixing matters just as much.
What Should You Never Mix in a Homemade Floor Cleaner?
This is one safety step worth keeping. Homemade cleaners can still cause problems when common ingredients are mixed the wrong way. Keep bleach separate from all floor cleaner recipes, and do not add extra products just to make the mix stronger.
| Ingredient mix to avoid | Why to avoid it | Safer choice |
| Vinegar and bleach | Can create harmful chlorine gas | Use vinegar only in non-bleach recipes |
| Bleach and ammonia | Can create toxic fumes. Some cleaners contain ammonia | Read labels before mixing any products |
| Rubbing alcohol and bleach | Can create harmful vapors | Keep alcohol-based cleaners bleach-free |
| Too many essential oils | Some oils may bother pets or sensitive people | Skip oils if you have pets or allergies |
| Random cleaners together | More ingredients can cause reactions or residue | Follow one simple recipe at a time |
The safest rule is simple: stick to the recipe and keep bleach completely separate. Once the cleaner is mixed safely, store it well so it stays easy to identify and use.
How Long Does Homemade Floor Cleaner Last?
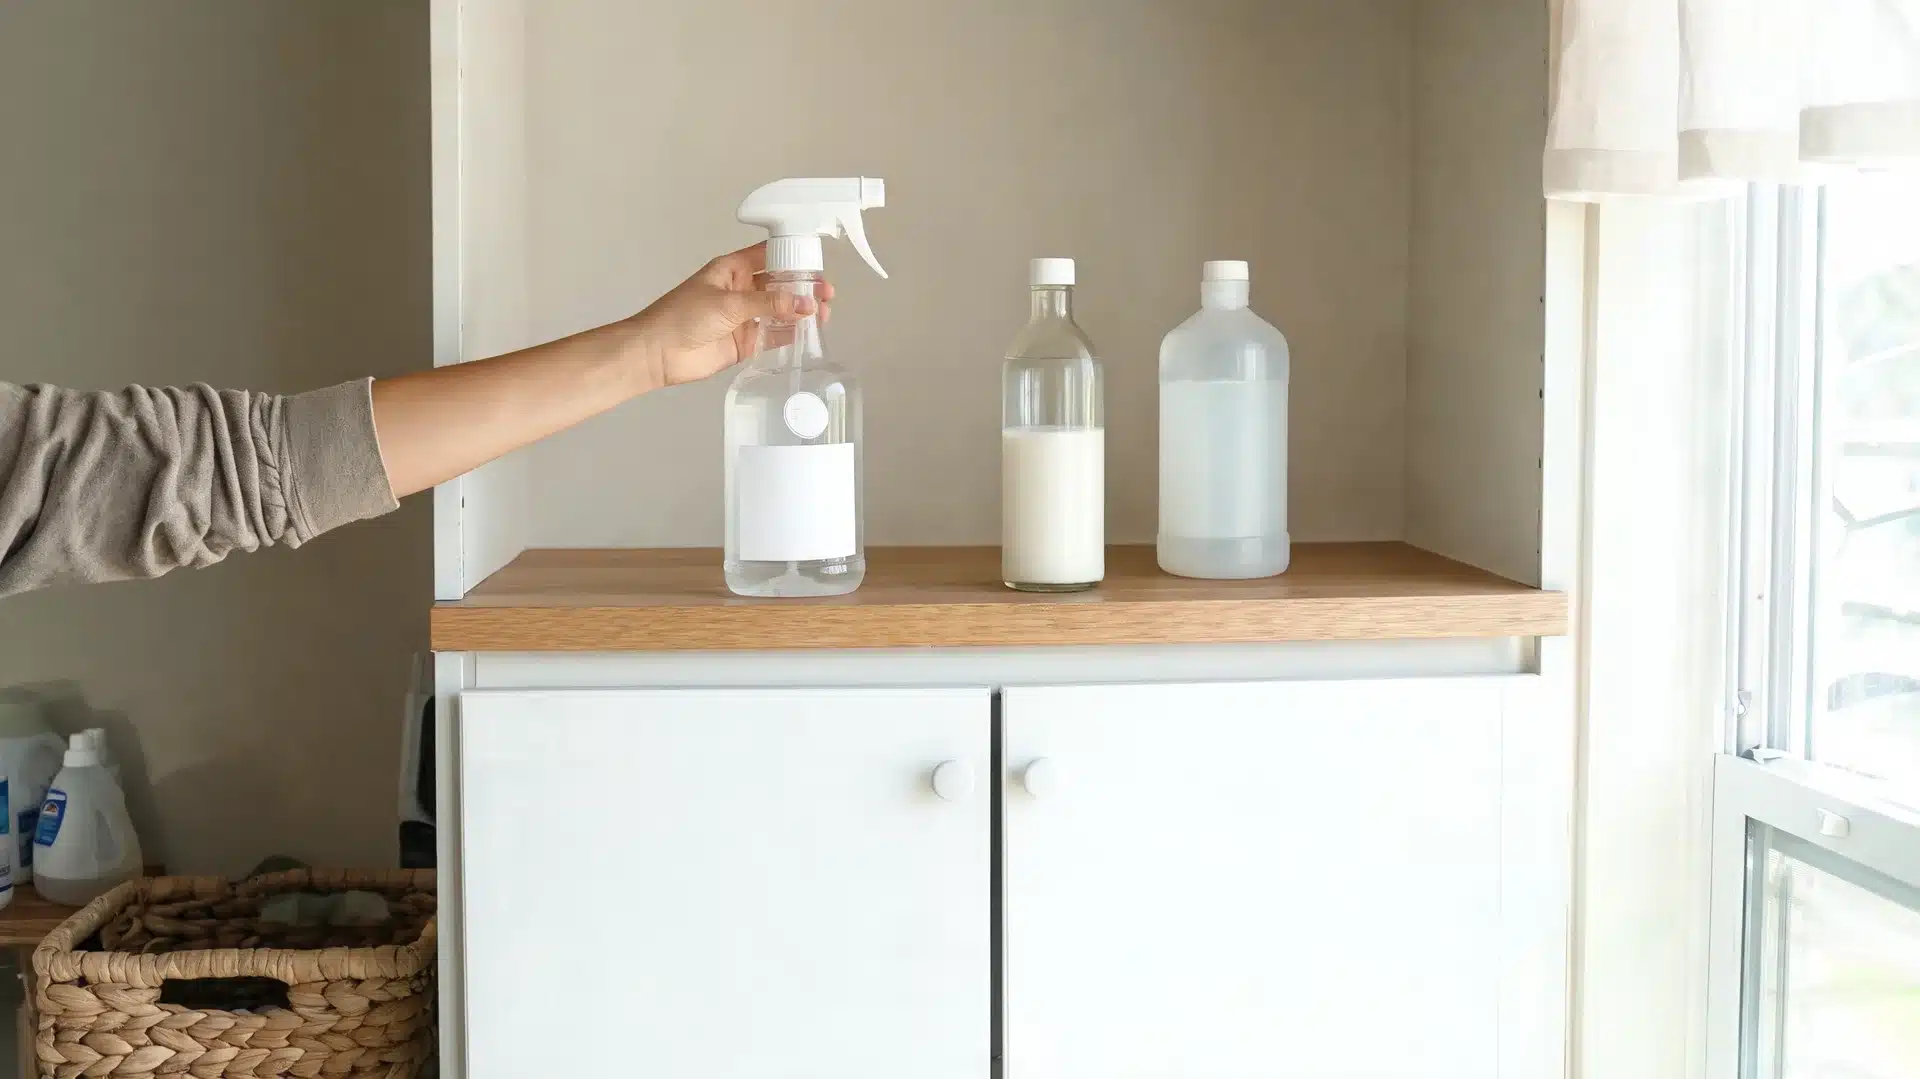
A water-based homemade floor cleaner does not have the preservatives that commercial products use to extend shelf life. Most batches are best used within one to two weeks, especially if they contain only water and soap with no alcohol or vinegar.
- Store it in a clean spray bottle
- Label the bottle with the ingredients
- Add the date you mixed it
- Keep it away from children and pets
- Shake gently before each use
- Throw it out if it smells odd or looks cloudy
The alcohol in laminate and general-purpose recipes acts as a mild preservative and extends the cleaner’s usable life slightly compared to soap-and-water-only mixtures. Vinegar-based recipes also tend to last longer because vinegar itself has mild antibacterial properties.
Before wrapping up, it helps to know when a homemade cleaner is not the right choice.
When Should You Skip
Homemade cleaners are useful for regular mopping, but they are not safe for every floor or every mess.
Skip a floor cleaner when the surface is unsealed wood, freshly waxed, peeling, or already damaged, because water, vinegar, or soap can make the problem worse.
Use extra caution if the floor maker recommends a specific cleaning product, especially on newer laminate or refinished hardwood.
You should also avoid general homemade cleaners on deep stains, pet accidents, mold concerns, or natural stone like marble, slate, or travertine, since these surfaces and messes need more specific care.
A homemade vinyl floor cleaner may work well on vinyl, but that does not mean it belongs on wood, stone, or laminate. When you are unsure, test a small hidden area first.
Frequently Asked Questions
Can I add essential oils to a homemade floor cleaner?
Yes, a few drops add scent, but use caution around pets and children. Some essential oils, including tea tree, eucalyptus, and citrus-based oils, can be harmful to cats and dogs. If you have pets at home, skip the oils or check with a vet.
Why does my floor feel sticky after mopping?
A sticky floor almost always means too much soap or cleaner was left on the surface. Mop once more with plain warm water and a clean microfiber pad. For the next batch, reduce dish soap to one drop.
Can I use tap water in a homemade floor cleaner?
Tap water works for general cleaning, but distilled water is a better choice in hard water areas. Minerals in hard water can leave white spots or streaks, especially on shiny or dark floors.
Should the homemade floor cleaner be rinsed off?
A properly made no-rinse cleaner does not need rinsing when applied lightly. If the floor feels sticky or looks dull after drying, a plain warm water pass with a clean mop pad will remove any leftover residue.
Can a homemade floor cleaner remove old stains?
Light dirt and fresh spills respond well to homemade cleaners. Old stains, dried pet accidents, deep grout discoloration, and damaged finish usually need a targeted or floor-specific treatment.
Ending Note
Clean floors should not need a shelf full of products. Most regular messes can be handled with a simple mix, a clean mop pad, and the right amount of moisture.
The key is matching the cleaner to the floor. A diy floor cleaner for vinyl can use vinegar more comfortably than a hardwood cleaner. Laminate needs fast drying. Tile can handle a bucket mix, but too much soap still leaves film.
If I were mixing one at home, I would start mild, test a small corner, and only make it stronger if the floor still needed it. That small step can save a lot of regret.
If your floor keeps looking dull, sticky, or streaky after mopping, share your floor type and the issue you are seeing in the comments. That makes it easier to find the cleaner that fits.