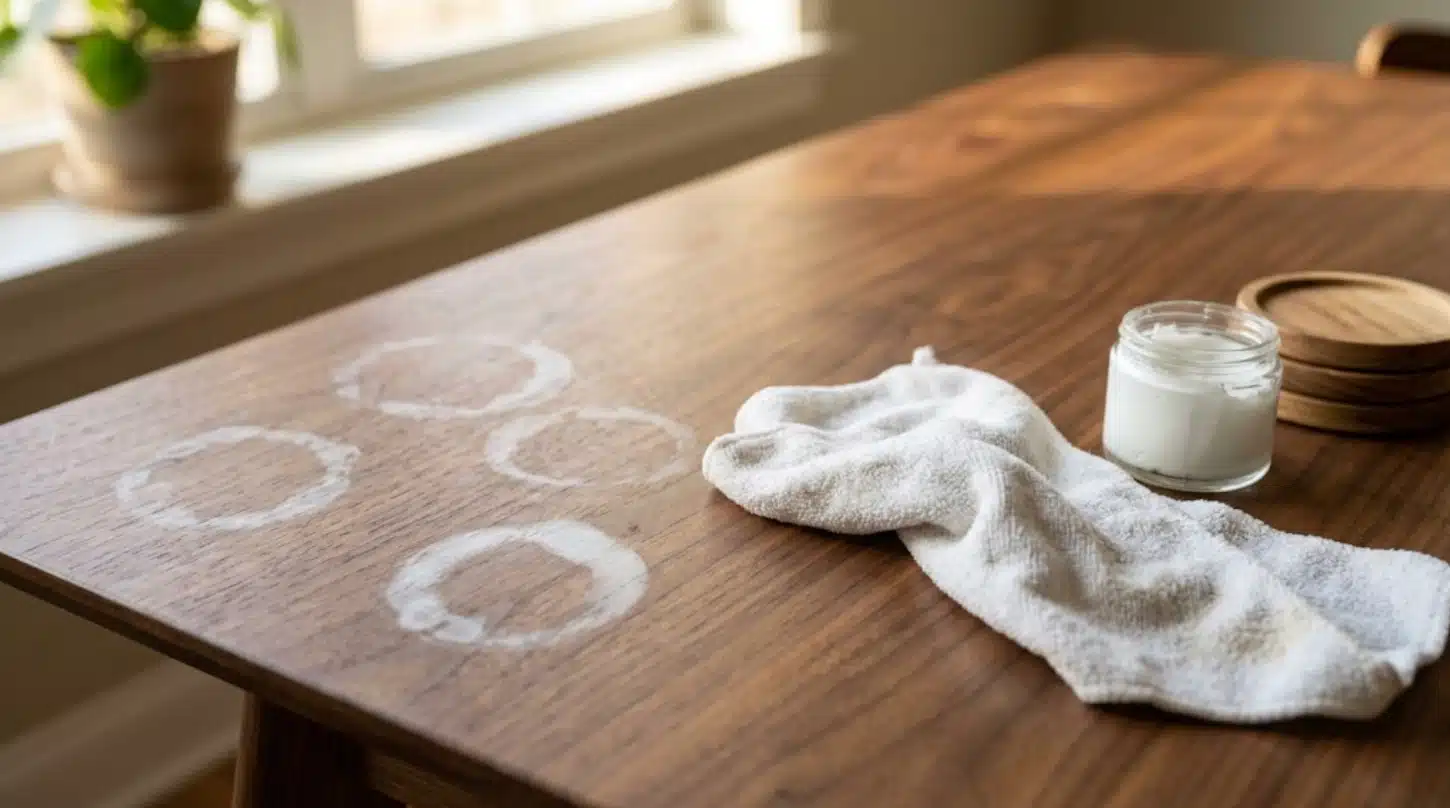
A wet glass left on a wooden table for ten minutes can leave behind a white ring that feels permanent. A plant pot, a damp towel, or a forgotten spill can do the same thing and sometimes worse.
The good news, and my experience confirms this, is that most water stains can be fixed at home with products already in the kitchen or bathroom cabinet.
If you want to know how to remove water stains from wood, the starting point is always the same: look at the stain color first. White or cloudy marks usually sit in the finish and respond well to heat or oil.
Dark or black marks may have penetrated deeper into the wood and may require more serious treatment.
What Water Stains on Wood Actually Are?
Water stains form when moisture sits on a wood surface long enough to affect either the protective finish or the wood fibers underneath it. There are two distinct types, and they behave very differently.
White or cloudy stains happen when moisture gets trapped in the top finish layer, usually from a cold drink, a damp cloth, or a plant pot. These are surface-level and are usually the easiest to address.
Dark or black stains indicate the water penetrated the finish and reached the wood itself, often due to a prolonged spill, ongoing moisture, or water that was never fully wiped up.
Fresh spills should be blotted immediately with a dry cloth, not rubbed, and left to dry fully before any treatment begins. Not every stain needs sanding, but some deep ones do.
Supplies to Have Ready
Most methods below use items already found at home. For darker stains, a few extra products are worth sourcing before starting.
- Soft cotton cloths and microfiber cloths for applying and buffing
- Hair dryer for fresh white rings
- Clothes iron with the steam turned off
- White non-gel toothpaste for mild surface marks
- Baking soda mixed with water into a paste
- Mayonnaise or petroleum jelly for older white rings
- White vinegar and olive oil for a light, natural treatment
- Fine sandpaper for deeper repairs on solid wood
- Oxalic acid wood bleach for dark or black stains
- Gloves and eye protection when using wood bleach
- Furniture polish, wood oil, or wax for aftercare
Before You Start: Identify the Stain and Check the Surface
Start by matching the mark to the surface before using any cleaner. A quick check helps you choose a safer method and keeps heat, oil, or acid from causing damage:
| Stain Type | Appearance | Best First Method | Avoid |
|---|---|---|---|
| Fresh white ring | Cloudy, milky, ring-shaped | Hair dryer, iron, and clothes | High heat directly on wood |
| Old white ring | Pale, settled into finish | Mayonnaise or petroleum jelly | Heavy scrubbing |
| Dark or black stain | Brown, grey, or black mark | Oxalic acid or refinishing | DIY abrasive scrubbing |
| Veneer stain | Any discoloration on the thin surface | Gentle heat or oil method | Sanding without knowing the thickness |
When you know the stain and surface, work slowly and test first. Stop if the color changes, the finish softens, or the wood looks thin, cracked, uneven, or fragile in spots.
| Note: Always test any method on a hidden area first, such as the underside of a table or the back of a drawer front. A finish that softens, clouds, or lifts during testing is a signal to stop and try a gentler approach. |
How to Remove White Water Stains From Wood
White and cloudy marks respond best to heat, oil, or gentle abrasion, depending on how settled the stain is. Work through these in order, starting with the gentlest option for the surface type.
Method 1: Hair Dryer for Fresh White Rings
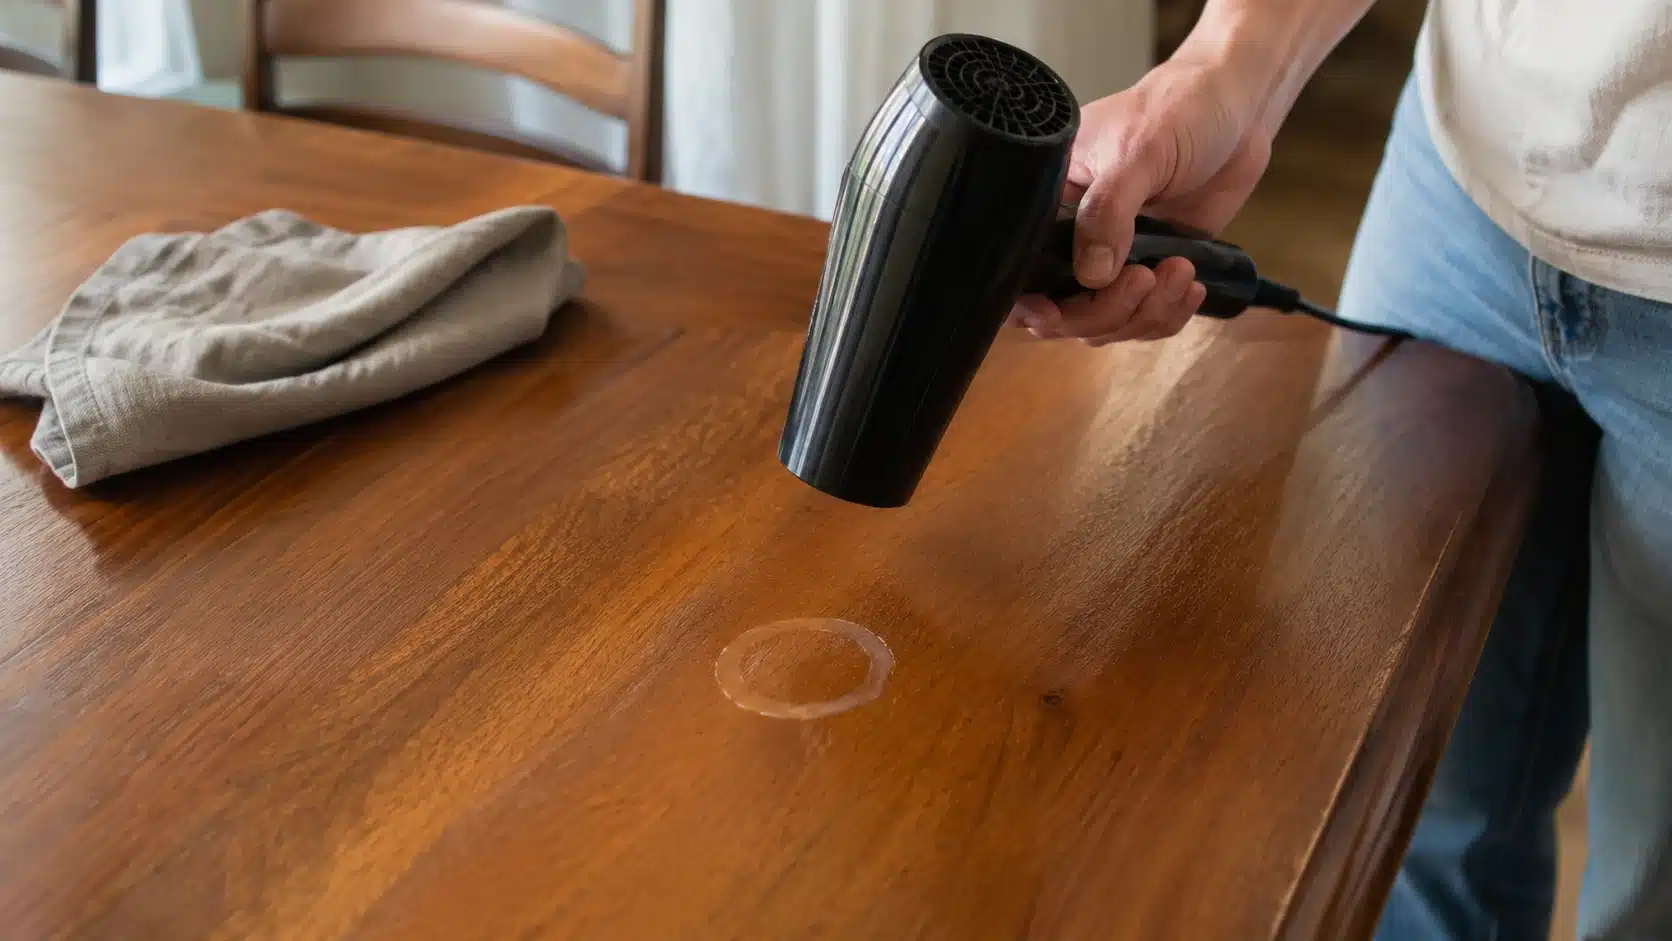
Start with a hair dryer when the ring is fresh, pale, and cloudy. Gentle warmth can help moisture leave the finish before you try rubbing, oil, or stronger care methods.
- Step 1: Set the hair dryer to warm, then hold it several inches above the ring.
- Step 2: Move the dryer back and forth so the heat does not stay in one spot.
- Step 3: Check the mark every minute and stop once the cloudy ring starts to fade.
- Step 4: Buff the cooled surface with a soft, dry cloth to bring back shine.
- Step 5: Add a little furniture oil only if the treated finish still looks dull.
Let the wood cool before placing anything on it again. Stop if the finish feels tacky, looks uneven, or changes color when you apply heat to the surface at home.
Method 2: Clothes Iron Over a Cotton Cloth
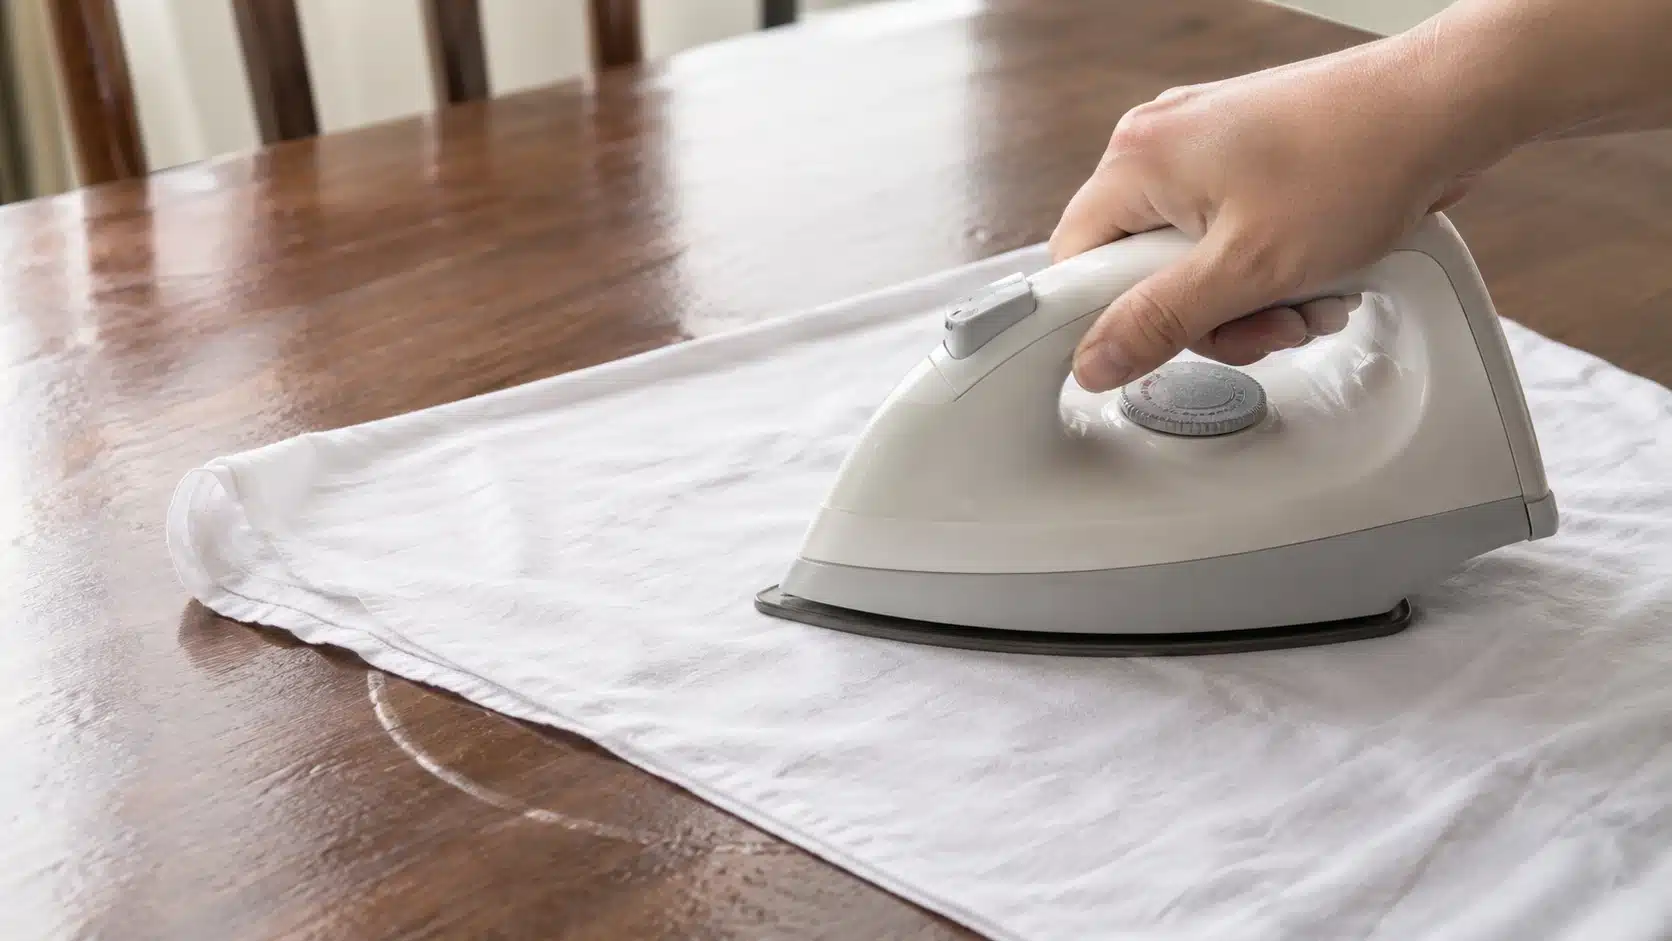
Use the iron only after the dryer fails. A dry cotton cloth creates a safe barrier, while short, low-heat presses help pull trapped moisture from the finish without direct contact.
- Step 1: Empty the iron, turn off the steam, and set it to low heat.
- Step 2: Lay a clean, dry cotton cloth flat over the white ring area.
- Step 3: Press the iron on the cloth for a few seconds, then lift.
- Step 4: Check the mark before repeating, and use only short presses each time.
- Step 5: Stop right away if the finish feels soft, sticky, or changed at all.
Work slowly because too much heat can mark wood fast. Never use steam, and never place the iron directly on the surface, even for a single quick press in this method.
Method 3: White Toothpaste for Mild Surface Marks
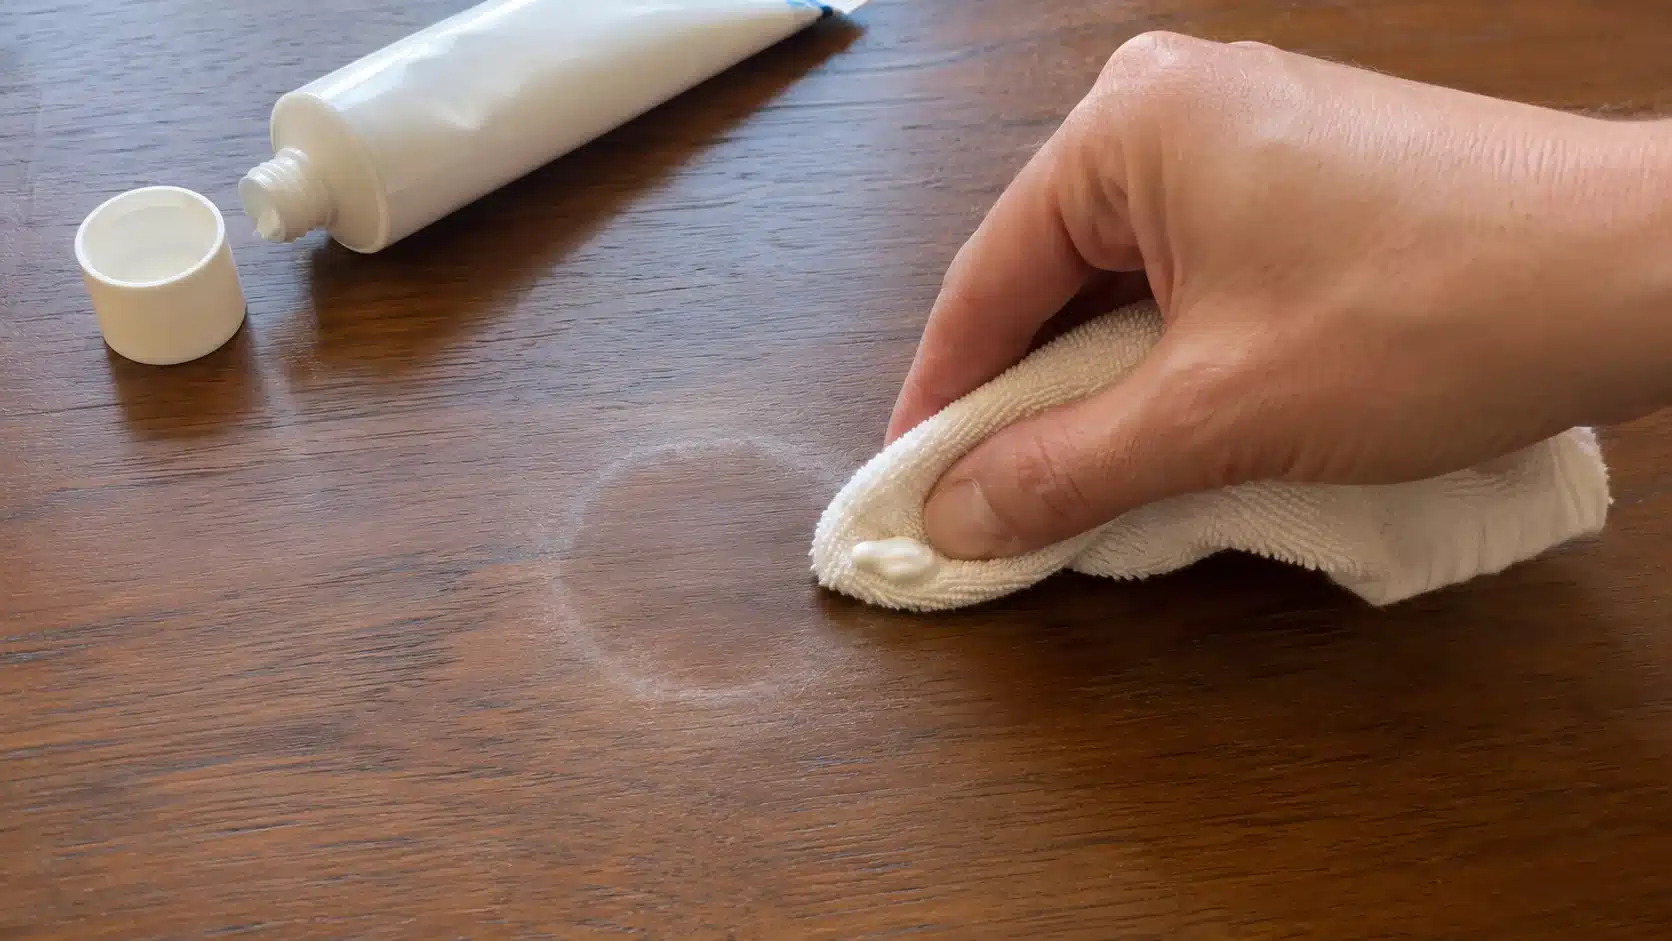
Toothpaste works best on light marks that sit near the surface. Use plain white paste only, as stronger formulas can dull the finish or leave faint scratches during rubbing.
- Step 1: Put a pea-sized amount of plain white toothpaste on a soft cloth.
- Step 2: Rub with the wood grain using light pressure for under one minute.
- Step 3: Keep the paste on the mark only, not across the whole surface.
- Step 4: Wipe the area with a barely damp cloth, then dry it fully.
- Step 5: Stop if the sheen turns dull, patchy, cloudy, or uneven while rubbing.
Use this method with patience, not pressure. If the ring remains after one short pass, choose a gentler oil treatment instead of rubbing the finish again longer or harder.
Method 4: Mayonnaise or Petroleum Jelly for Old White Rings
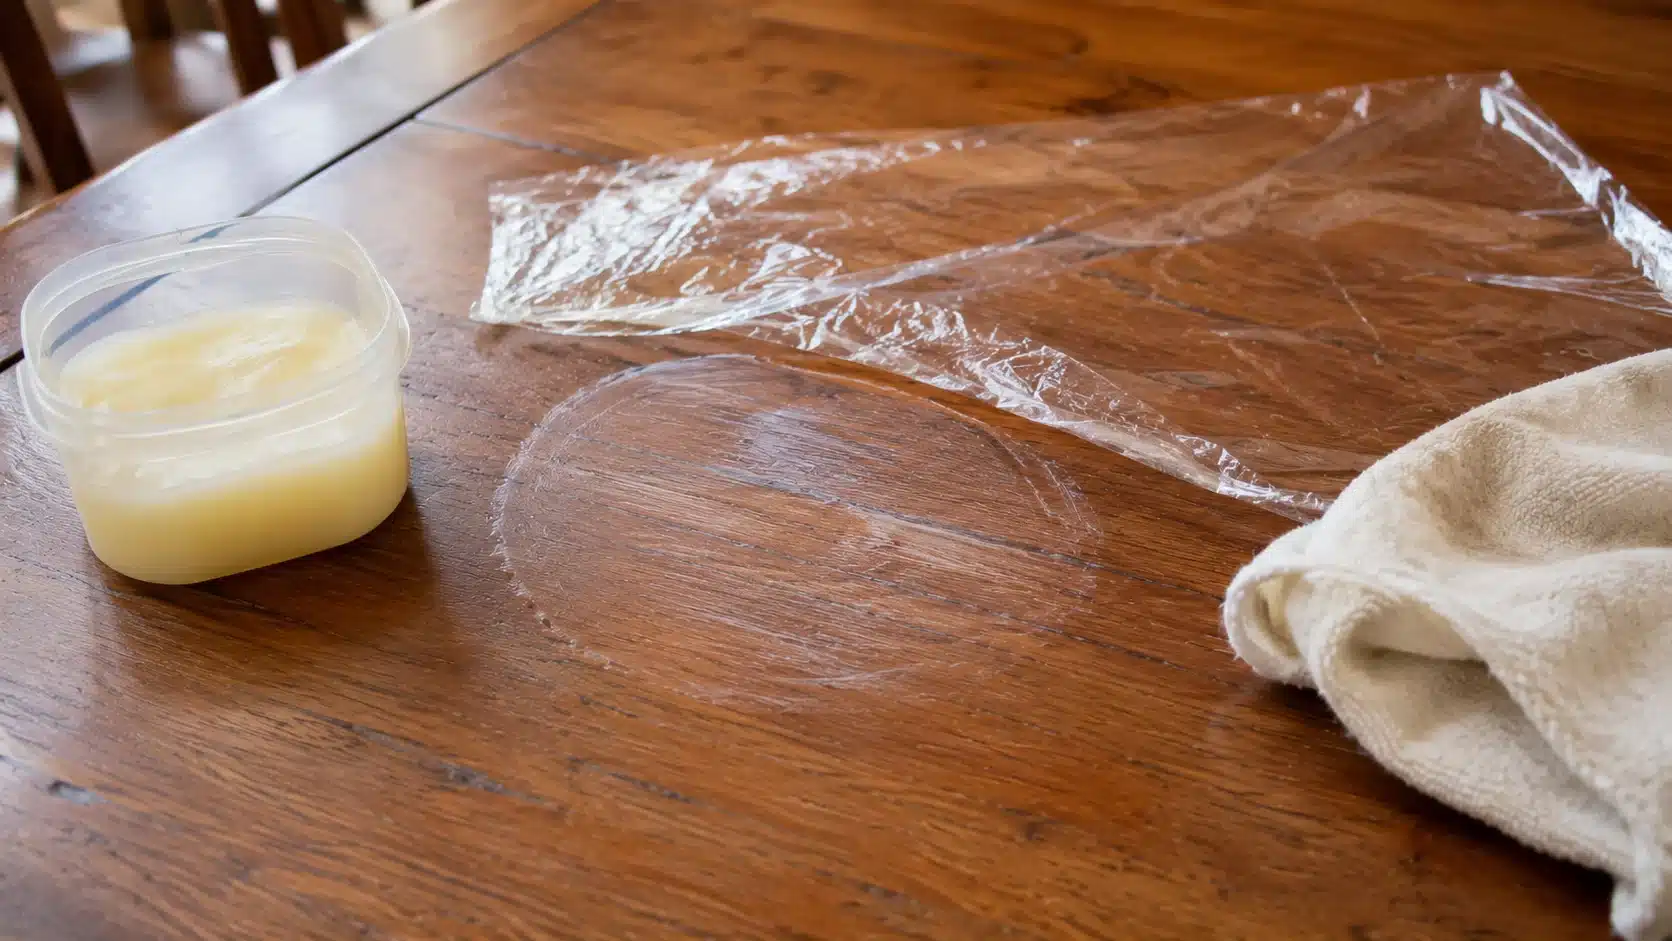
Older white rings often require slow oil treatment rather than heat or rubbing. Mayonnaise and petroleum jelly can soften cloudiness while you leave the finish mostly alone for several hours.
- Step 1: Spread a thin layer of mayonnaise or petroleum jelly over the ring.
- Step 2: Cover the treated spot loosely with plastic wrap to retain moisture.
- Step 3: Leave it for several hours or overnight once the ring looks settled.
- Step 4: Wipe away residue with a clean cloth, then buff the surface dry.
- Step 5: Repeat once if the mark fades, but do not apply thick layers.
Check the color before using this method again. Very dry or worn finishes may darken a little, so test petroleum jelly on a hidden spot before treating the ring.
Method 5: White Vinegar and Olive Oil
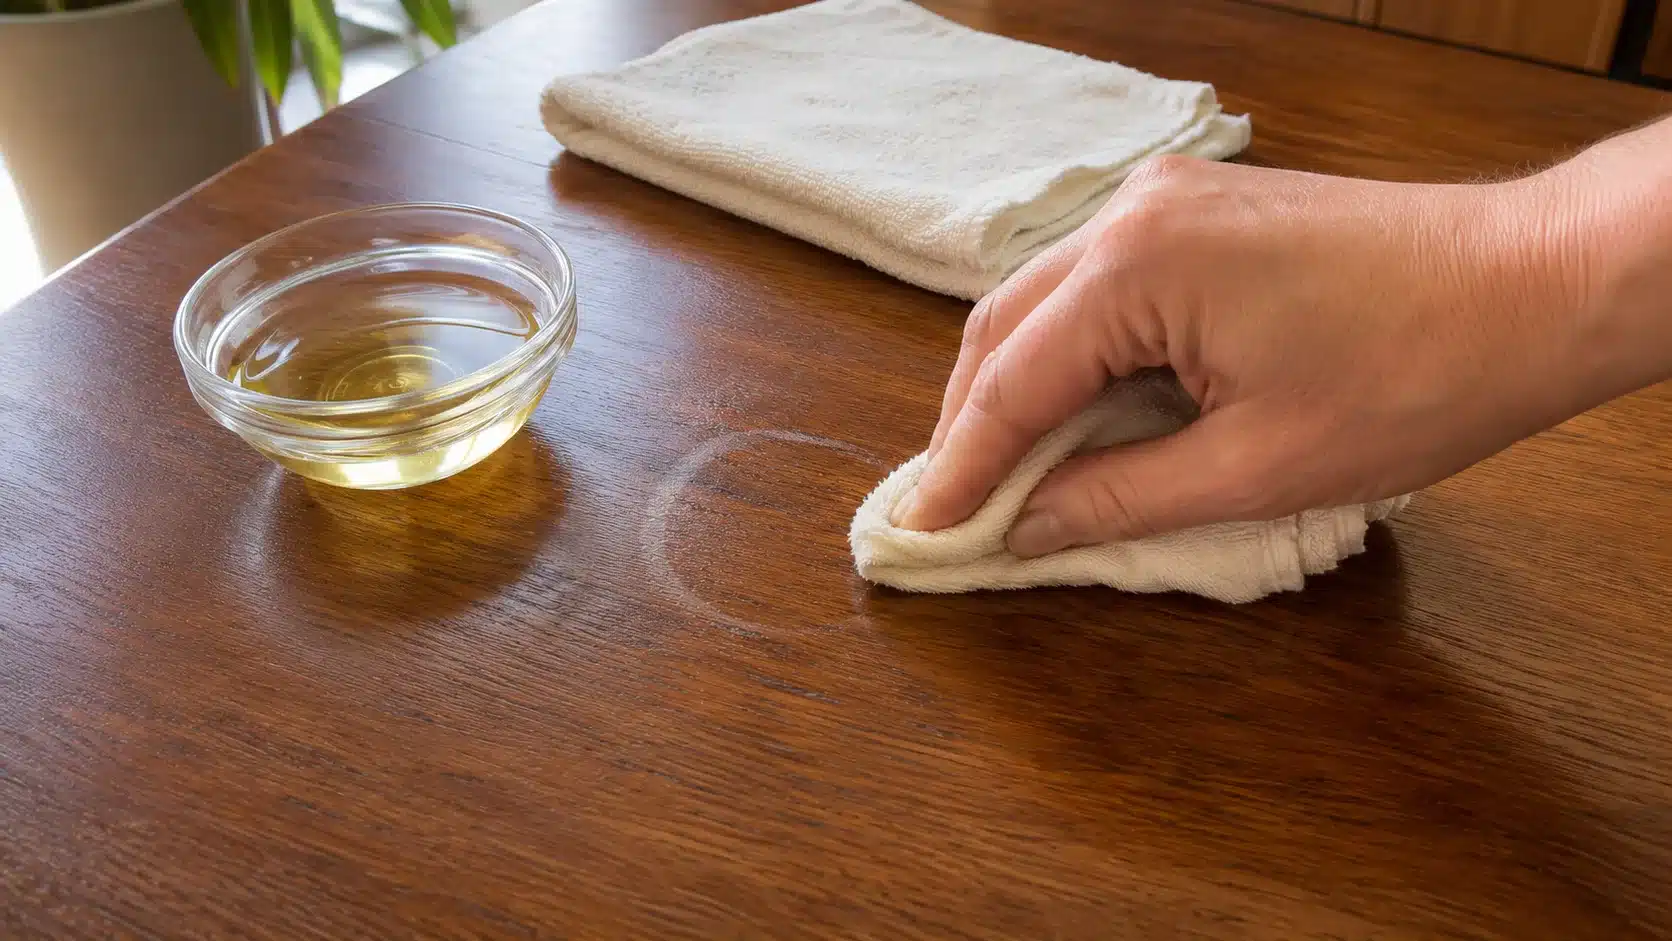
Use vinegar and olive oil for light rings that need mild cleaning and polishing. Keep the cloth lightly damp, since extra liquid can sit in seams or cracks too long.
- Step 1: Mix equal parts white vinegar and olive oil in a small bowl.
- Step 2: Dip a soft cloth into the mix, then squeeze out extra liquid.
- Step 3: Rub gently with the grain of the wood across the white ring area only.
- Step 4: Wipe away any excess oil before it sits on the finish for too long.
- Step 5: Buff with a dry cloth until the surface feels clean and smooth.
Skip this mix on delicate, cracked, dull, or antique finishes. If the surface reacts poorly, wipe it dry and stop before trying another cleaning step in the same area.
Tips for Removing Water Stains From Wood Veneer
Water stains on wood veneer can be tricky, but you can handle them safely by following these tips and avoiding risky methods:
| Tip / Action | Why / Warning |
|---|---|
| Use gentle heat from a hair dryer on warm, a few inches away, moving constantly | Helps remove light white rings without burning the veneer; never hold too close or use high heat |
| Apply a thin layer of mayonnaise or petroleum jelly, leave overnight, then wipe and buff | Softens and lifts minor stains safely; test a small area first and buff gently |
| Avoid soaking, stiff brushes, gritty cleaners, or sanding | These can damage the thin veneer layer; even light sanding may cut through and leave permanent marks |
| Stop immediately if the veneer feels soft, bubbles, lifts, or cracks | Continuing treatment can worsen damage |
| Get professional help for dark stains | DIY bleaching or sanding can ruin valuable pieces |
How to Remove Dark Water Stains From Wood
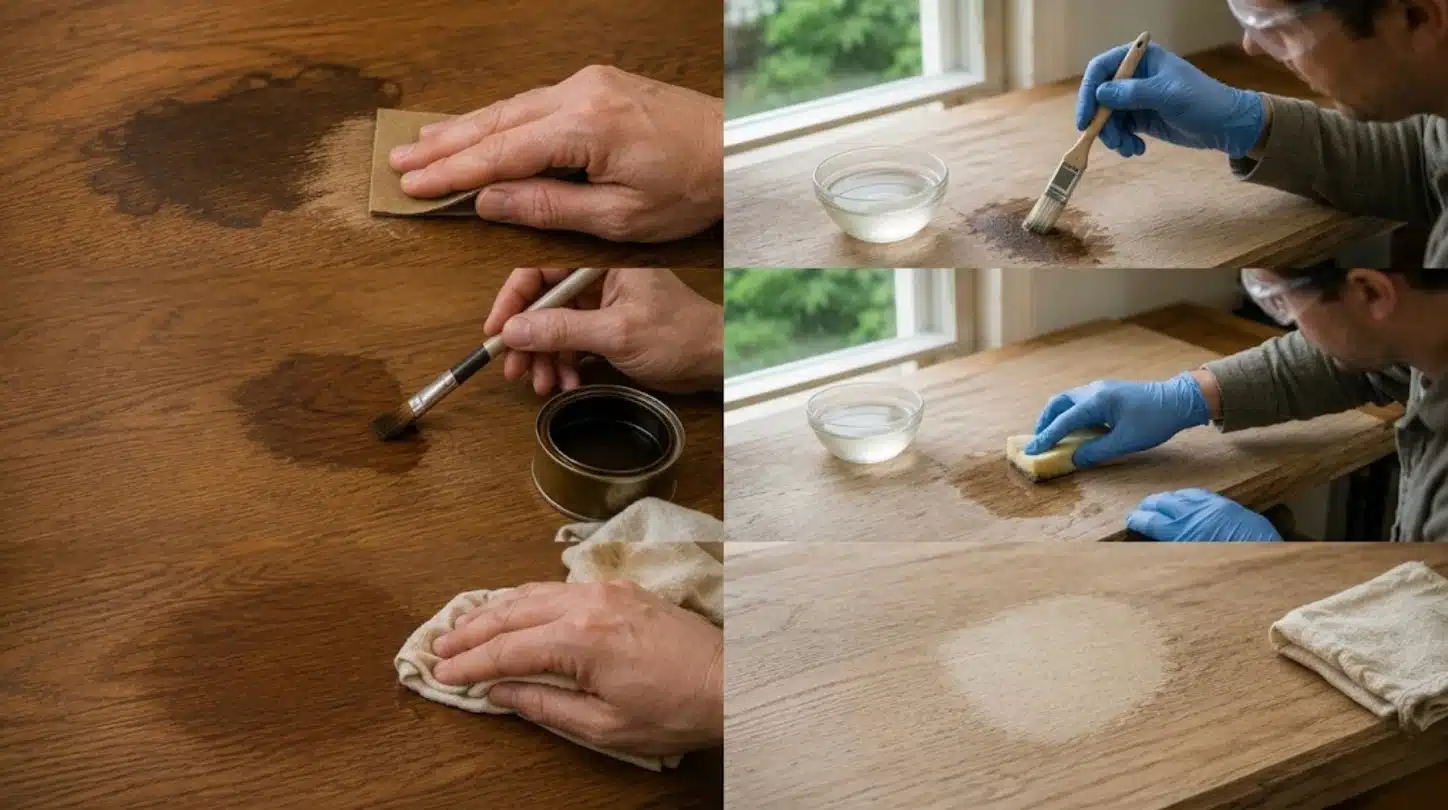
Dark or black water stains are a different problem from white rings. They mean the moisture moved past the finish and reached the wood fibers, where it may have caused oxidation, mold, or tannin reactions.
Household scrubbing methods will not fix these. The two options that actually work are light sanding with refinishing or oxalic acid wood bleach.
Option 1: Light Sanding and Refinishing
This works on solid wood surfaces that can tolerate sanding. Remove the finish around the stain area using a stripper or by sanding carefully. Sand lightly with the grain and feather the edges of the repair area so the transition is gradual rather than abrupt.
Restain the bare area to match the surrounding wood, let it dry fully, and apply a matching topcoat or sealant. This method requires patience and color-matching, but it fully addresses the stain rather than masking it.
Option 2: Oxalic Acid Wood Bleach
Oxalic acid is the most effective product for deep dark water marks, black stains, iron stains, and tannin stains in bare wood. Strip the finish from the stained area first so the product reaches bare wood. Wear gloves and eye protection throughout.
Mix and apply the product according to the label, leave it to work, then rinse or neutralize as directed. Let the wood dry fully, sand lightly if the grain has raised, restain to match, and reseal. Work in a ventilated area and do not mix this product with other chemicals.
| Note: If the stain is on a valuable antique, a large floor area, or a piece with veneer that is already lifting, call a professional before attempting any sanding or bleaching. The cost of a professional repair is almost always lower than the cost of replacing a piece damaged by a failed DIY attempt. |
What Not to Use on Water-Stained Wood
Some quick fixes can push moisture deeper, dull the finish, or leave scratches. Use the list below to avoid common mistakes when treating white rings, dark marks, or veneers:
- Do not soak wood in water, liquid cleaner, or wet cloths during stain removal.
- Do not spray cleaners directly on wood; always apply the product to a cloth first instead.
- Do not use steam from an iron because it can drive moisture deeper into the wood.
- Do not scrub finishes with rough pads, stiff brushes, gritty pastes, or coarse cloths.
- Do not sand veneer, mix cleaners, or continue if the finish softens or dulls.
A cautious approach protects the finish and saves repair costs. When the surface reacts badly, stop working, dry the area, and choose a safer method or professional help.
Frequently Asked Questions
Can I use a hair dryer on antique wood finishes?
Gentle warmth from a hair dryer may help remove fresh white rings, but antique finishes are fragile. Keep the dryer moving on low heat, and test on a hidden spot to avoid softening, discoloration, or damage to the surface.
How do I protect wood after fixing a water stain?
Once a stain is removed, apply a protective finish, wax, or oil. This seals the surface and reduces future moisture damage. Regular use of coasters and avoiding prolonged wet contact helps keep the wood looking clean and prevents repeated marks.
Are DIY bleaching methods safe for large or valuable pieces?
Using oxalic acid or sanding on large or valuable wood can be risky. Mistakes can permanently damage the finish. For expensive, antique, or wide surfaces, it’s safer to hire a professional for refinishing or bleaching.
Can vinegar and oil treatments harm delicate finishes?
Yes. Vinegar and oil can clean and polish light stains, but on old, cracked, or antique finishes, they may darken the wood or leave residue. Always test on a hidden area and use a soft cloth to minimize risk.
Final Word
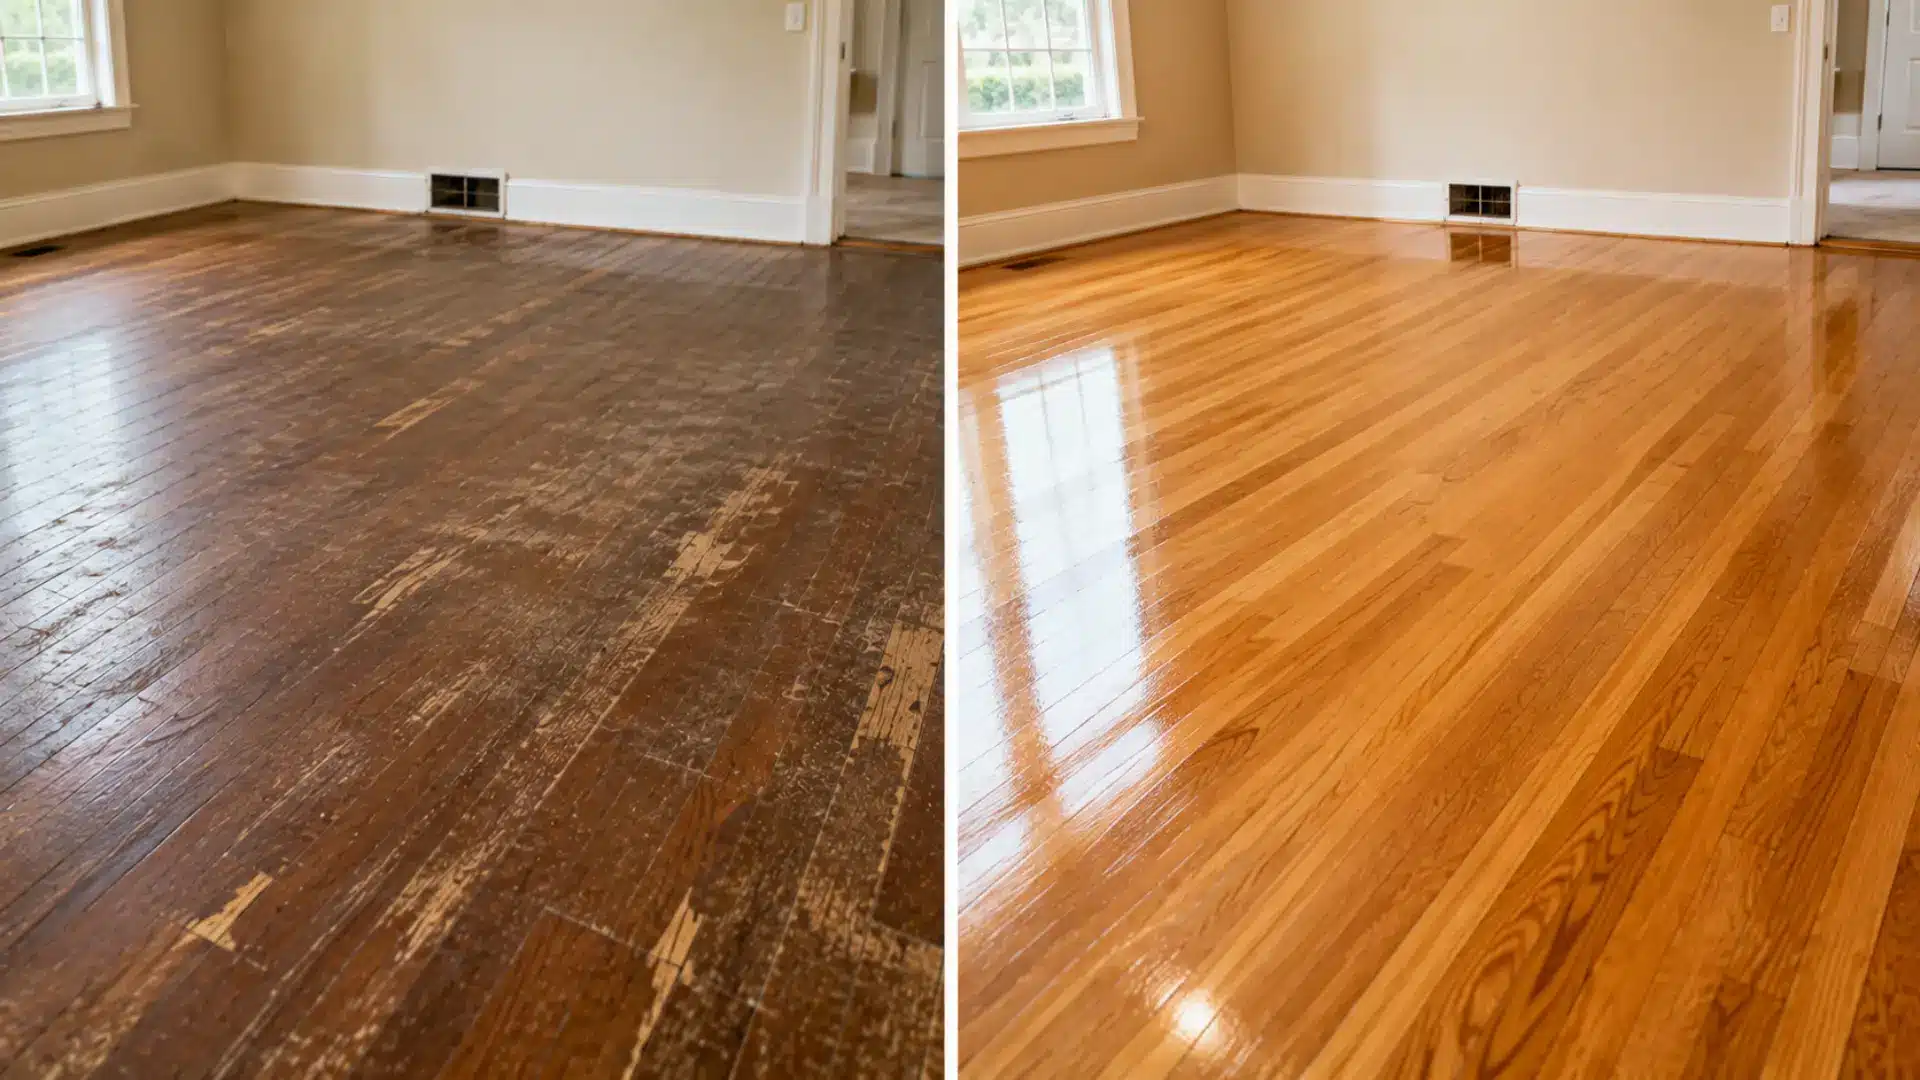
Most white water stains on wood are fixable at home with products already in the kitchen or bathroom. The key is matching the method to the stain: gentle heat for fresh rings, oil-based treatments for older ones, and proper stripping and bleaching for dark marks that have gone into the wood.
In my experience, the biggest mistake is skipping the assessment step and reaching straight for the most aggressive method available. Start gently, test in a hidden spot first, and work through options in order of intensity.
Once the stain is gone, a good protective finish and consistent use of coasters mean the problem is unlikely to return to the same spot. Protecting the surface after the fix is as important as the fix itself. Drop a comment below and let me know if you fixed it up.