Want to create something magical in a small space? Learning how to make a fairy garden is easier than you think. You can build a tiny world right in one planter.
This guide shows you how to set up a miniature scene that looks charming and works as a real container garden. Kids love it. Beginners find it simple.
It fits perfectly on patios, outdoor tables, or any small corner. You will learn which plants work best, what materials you need, and how to arrange everything in four clear steps.
Plus, we will cover DIY accessories that look expensive but cost almost nothing. By the end, you will have a complete fairy garden that tells a story and brings a smile every time you see it.
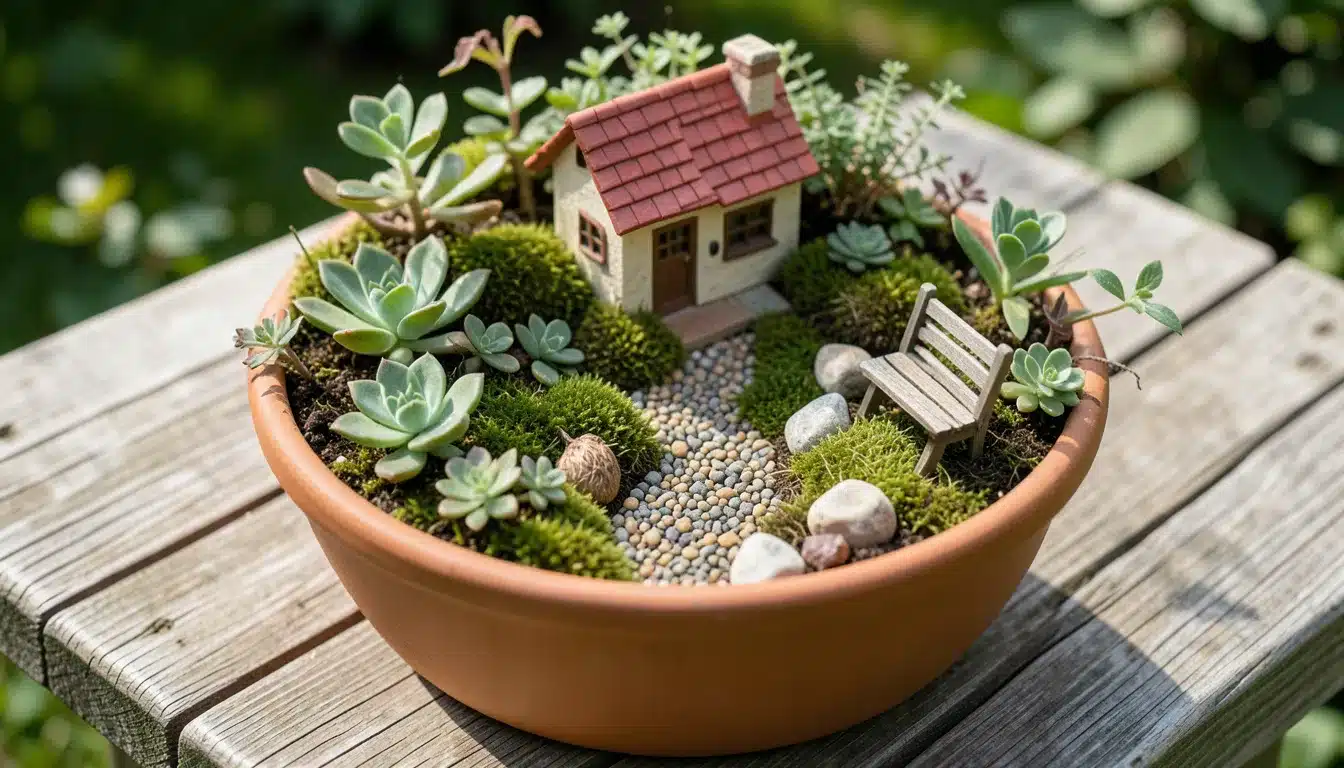
What a Fairy Garden Is
A fairy garden is a miniature garden scene built in a container or small outdoor spot. It combines live plants with a focal feature, such as a tiny house or tree, along with small details like paths and props.
People make them for decoration, storytelling, fun DIY projects, or seasonal centerpieces that add charm to any space. You can set one up on a patio table, balcony, or tucked into a garden bed.
Anyone can create one, from kids working on their first project to adults looking for a creative hobby. The best part is you control the theme, size, and style to match your taste and space.
Best Plants for Fairy Gardens
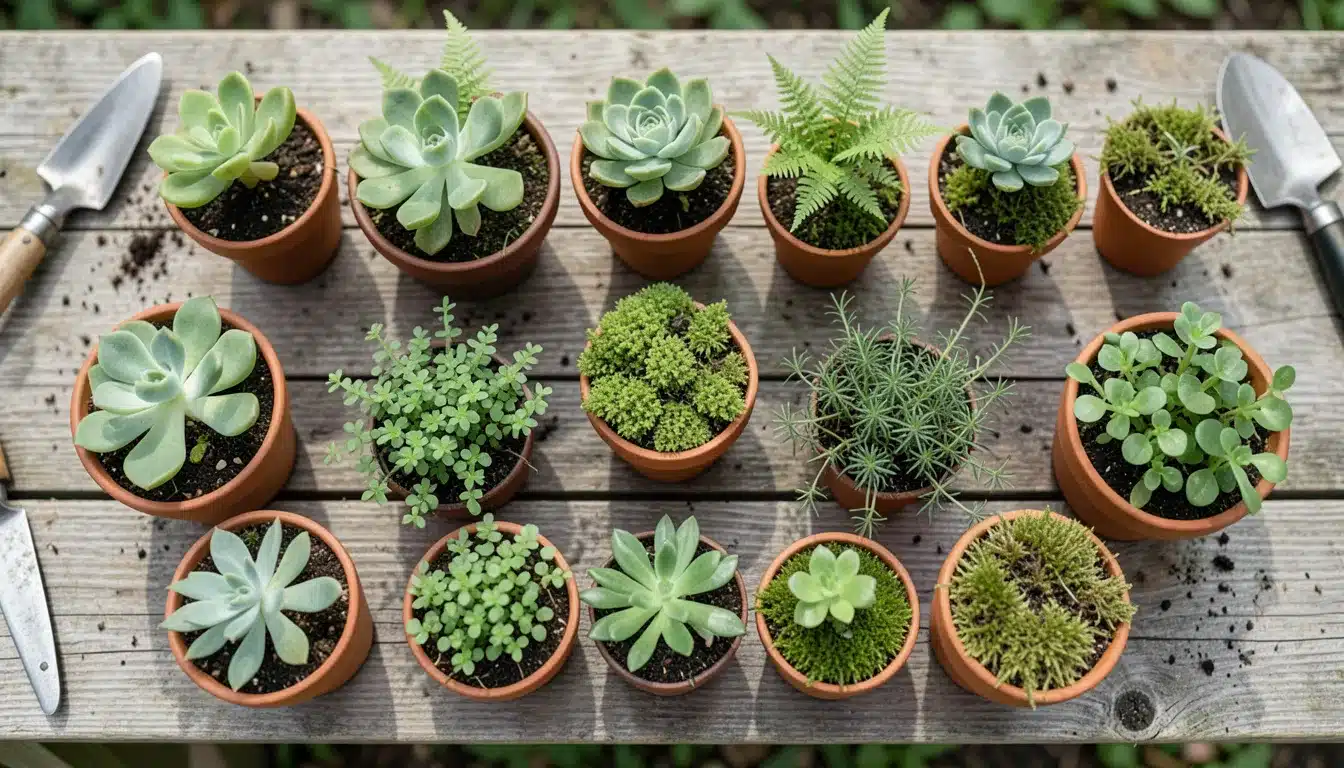
Choosing the right plants helps keep your fairy garden healthy and well-scaled. Look for slow growers with small leaves that will not take over the container.
- Succulents: Easy to care for, grow slowly, and fit well in small planters without constant watering.
- Small Ground Covers: Fill empty spaces quickly and soften the edges around your fairy house and paths.
- Mini Ferns: Work best in shaded areas and create a woodland theme with their delicate fronds.
- Compact Herbs: Offer tiny leaf textures and gentle scents that make your garden feel fresh and alive.
- Moss: Covers bare soil beautifully and creates a bushy, natural look when given the right moisture levels.
- Sunny Spots: Use succulents, thyme, and sedum that handle direct light without wilting or burning.
- Shaded Areas: Choose ferns, baby tears, and moss that thrive in shade.
What to Avoid: Skip fast spreaders like creeping Jenny in small containers. Avoid tall growers that will outgrow the miniature scale quickly and ruin the proportions.
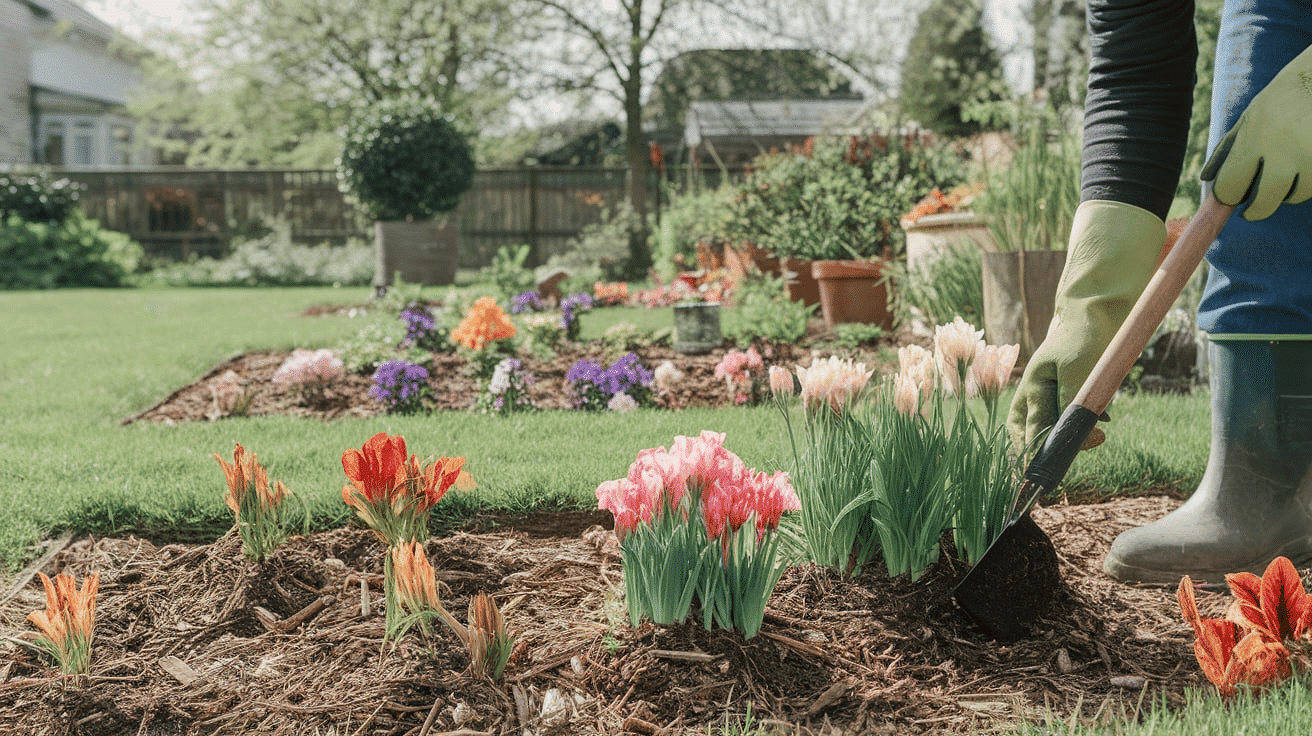
Step-by-Step: Creating Your Fairy Garden
Follow these four steps to build your fairy garden from start to finish. Each step builds on the last one to create a balanced and charming miniature scene.
Tools and Materials
| Item | Purpose |
|---|---|
| Large planter | Holds soil and provides the base for your scene |
| Potting soil | Gives plants nutrients and proper drainage |
| Small plants or succulents | Adds greenery and keeps the garden alive |
| Rocks and pebbles (different sizes) | Creates paths, borders, and texture |
| Moss and twigs | Covers soil and builds natural details |
| Sand (regular and colored) | Adds texture and can create water effects |
| Mini house or tiny structure | Serves as the main focal point |
| One large focal item | Tree, branch piece, or mini arch for backdrop |
| Small props | Stepping stones, mini duck, tiny signs, gems |
| Optional supplies | String, toy car tire, glue for DIY accessories |
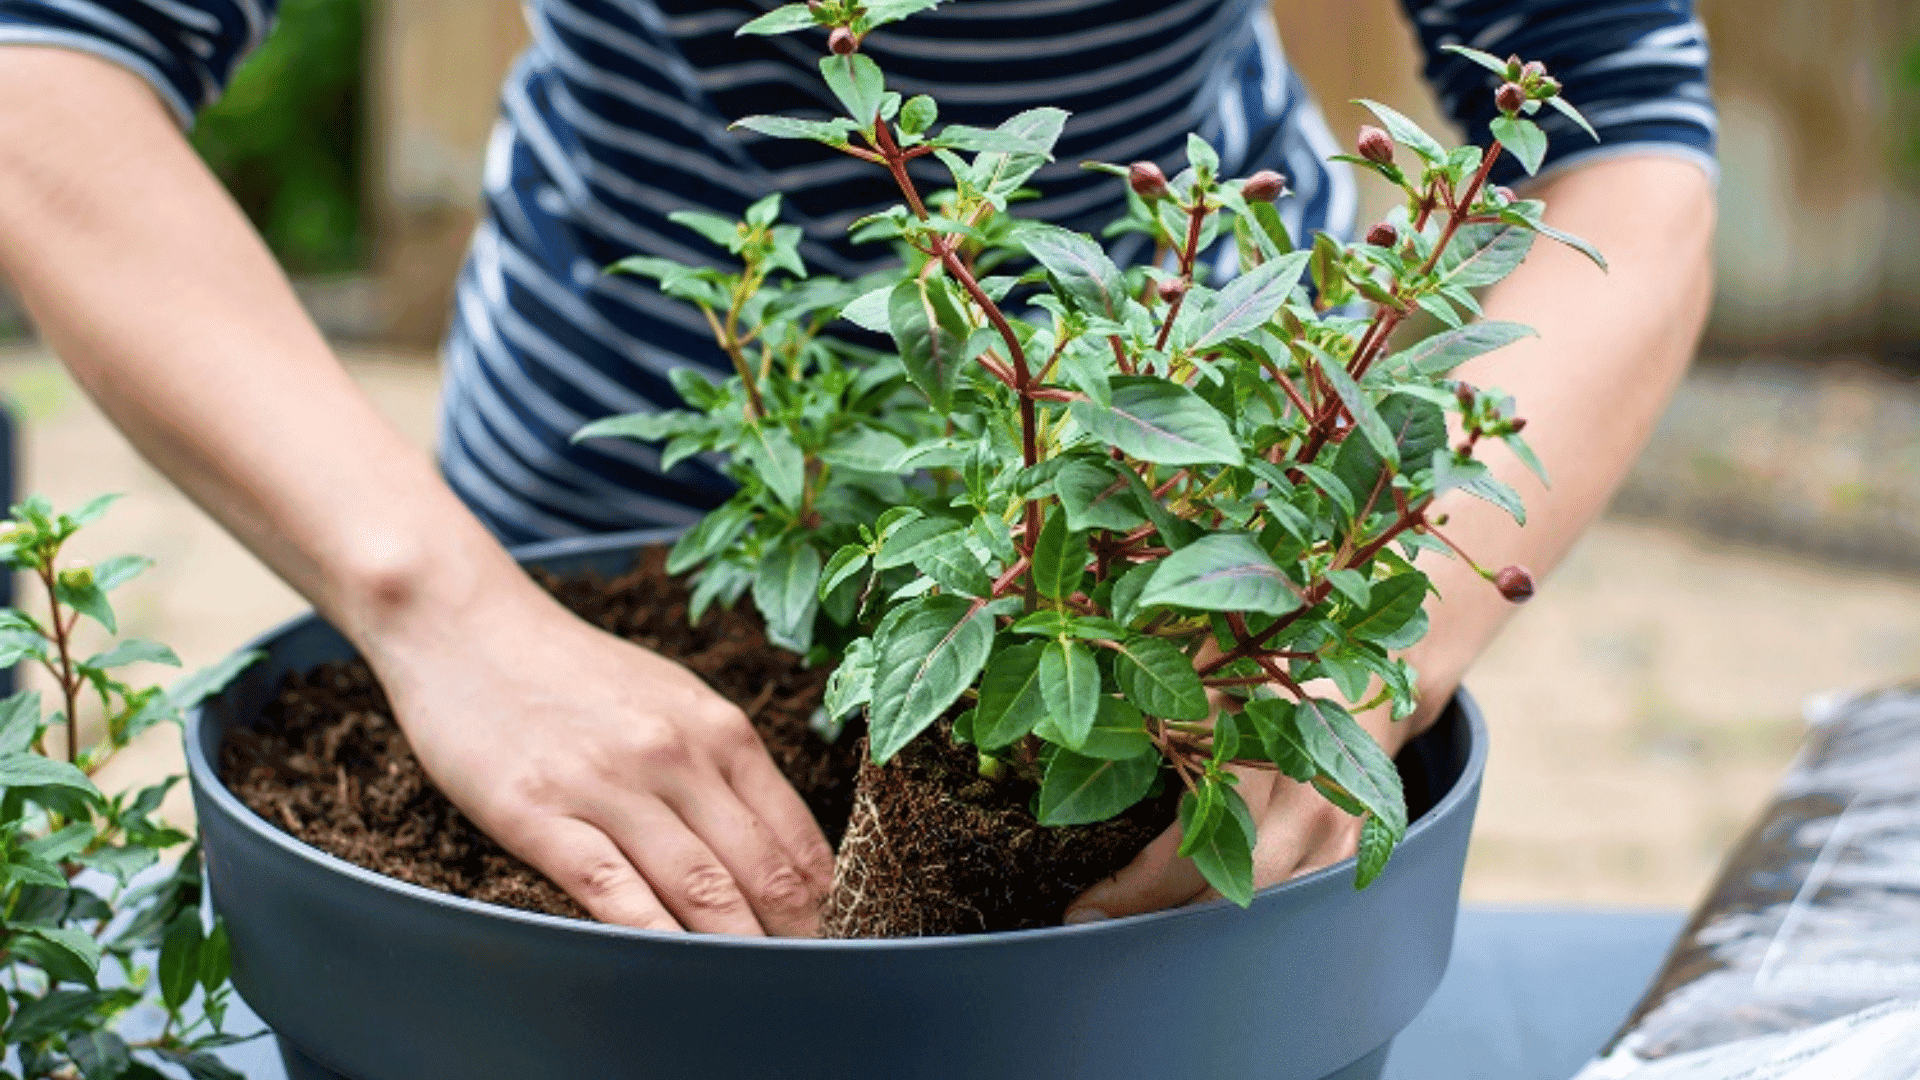
Step 1: Set Up the Planter and Anchor the Scene
Fill your large planter with fresh potting soil. Place the largest item first, like a decorative tree or tall structure. Press it firmly into the soil so it stays stable and creates a strong backdrop for everything else you will add.
Step 2: Add the House and Plant the Greenery
Pick a good spot for your fairy house near the front or side. Add your small plants or succulents around it, placing bigger plants toward the back. Keep smaller ones near the front to create depth and make the scene look more realistic.
Step 3: Finish the Landscaping with Rocks, Sand, and Moss
Use rocks and pebbles to shape paths or create borders around plant areas. Add sand for extra texture and to build specific scene elements. Cover bare soil with moss to hide empty spots and create natural looking bushes or ground cover.
Step 4: Add the Magical Details and DIY Touches
Make stepping stones by placing small gems or polished pebbles in a line. Create a pond effect by spreading blue sand in a low spot to mimic water. Add small props, such as a miniature duck or a bench.
Build one standout DIY piece, such as a tire swing made from twigs, string, and a small toy tire. Step back and reposition pieces until everything looks balanced instead of crowded.
Video Tutorial
Special thanks to WhatsUpMoms for providing valuable insights in their video, which I referenced while creating this guide.
DIY Mini Accessories That Look High End
Handmade details save money and give your fairy garden a custom feel. These simple projects use natural materials and repurposed items you probably have at home.
- Stepping Stones – Glue small gems or polished pebbles together to create a realistic pathway through your garden.
- Pond Illusion – Spread blue sand or arrange flat glass gems in a circle to mimic a tiny water feature.
- Twig Furniture – Bind small twigs together with string or glue to make benches, stools, or a tiny ladder.
- Tire Swing – Attach a toy car tire to twigs using a string to create a charming swing hanging from a branch.
- Mini Signs – Write on popsicle sticks or bark scraps with paint or markers to label areas or add a touch of whimsy.
- Stone Path Border – Mix different pebble sizes along pathways to add realism and define separate garden zones.
Fairy Garden Ideas by Style
Different styles let you match your fairy garden to your taste or location. Each theme uses specific plants, colors, and props to create a unique mood.
1. Woodland Cottage
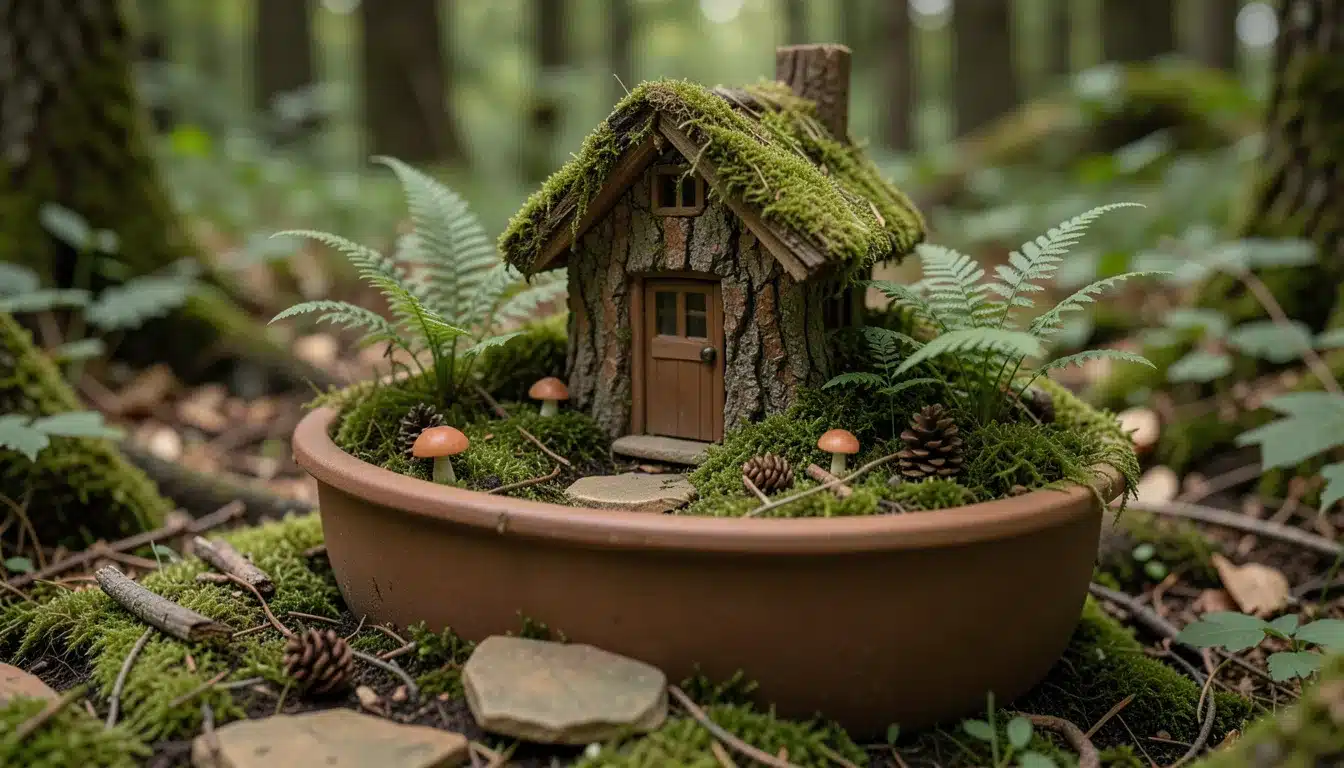
This style gives your container a forest feel with earthy tones and natural textures. It works perfectly for shaded spots and uses materials you can gather from nature walks. Ferns, moss, and bark pieces make it feel authentic.
- Step 1 – Start with moss as your base layer covering most of the soil, then add mini ferns in clusters for height and greenery.
- Step 2 – Place a rustic cottage or a bark-covered house slightly off-center, with small twigs leaning against it.
- Step 3 – Create winding paths using small flat stones, and scatter tiny bark pieces around the base to create a forest-floor effect.
2. Beach Fairy Garden
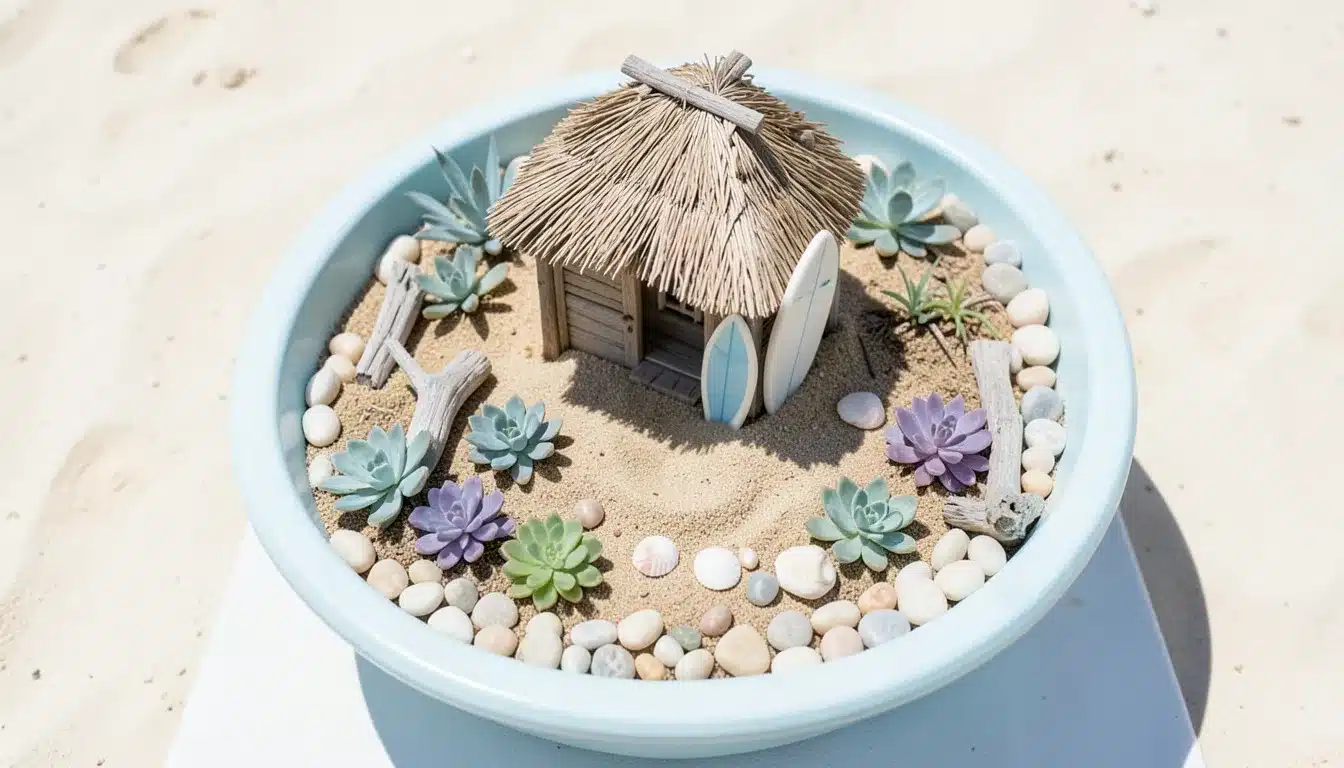
Bring coastal vibes to your space with sandy textures and ocean-inspired details. This theme works great in sunny locations and uses light colors that reflect beach vacations. Succulents handle the dry sandy conditions perfectly.
- Step 1 – Use regular sand as your main base layer instead of heavy soil, creating pockets for planting drought-tolerant succulents.
- Step 2 – Scatter shells of different sizes, small driftwood pieces, and light colored pebbles around the edges to frame your beach scene.
- Step 3 – Place a beach hut-style house or add fun props like a tiny surfboard near succulents that handle dry sunny conditions.
3. Enchanted Tree Shade Theme
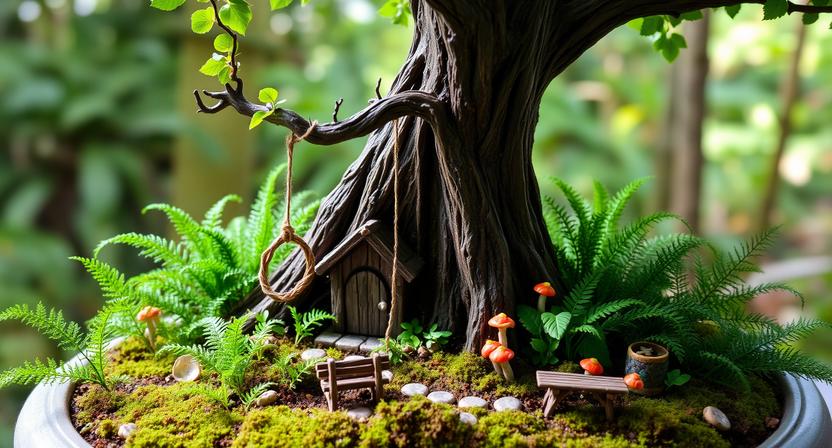
A large decorative tree takes center stage in this magical woodland design built for shaded garden spots. This theme tells a story of fairies living under a grand old tree. The tree becomes the anchor around which everything else revolves.
- Step 1 – Position a tall decorative tree or a large branch in the back corner as your main focal point to create vertical interest.
- Step 2 – Plant shade-loving ferns, baby tears, and moss thickly around the tree base to fill empty spaces and create a lush look.
- Step 3 – Add a tire swing hanging from a branch, place a small twig bench under the tree, or position woodland animal figures.
4. Pondside Fairy Garden
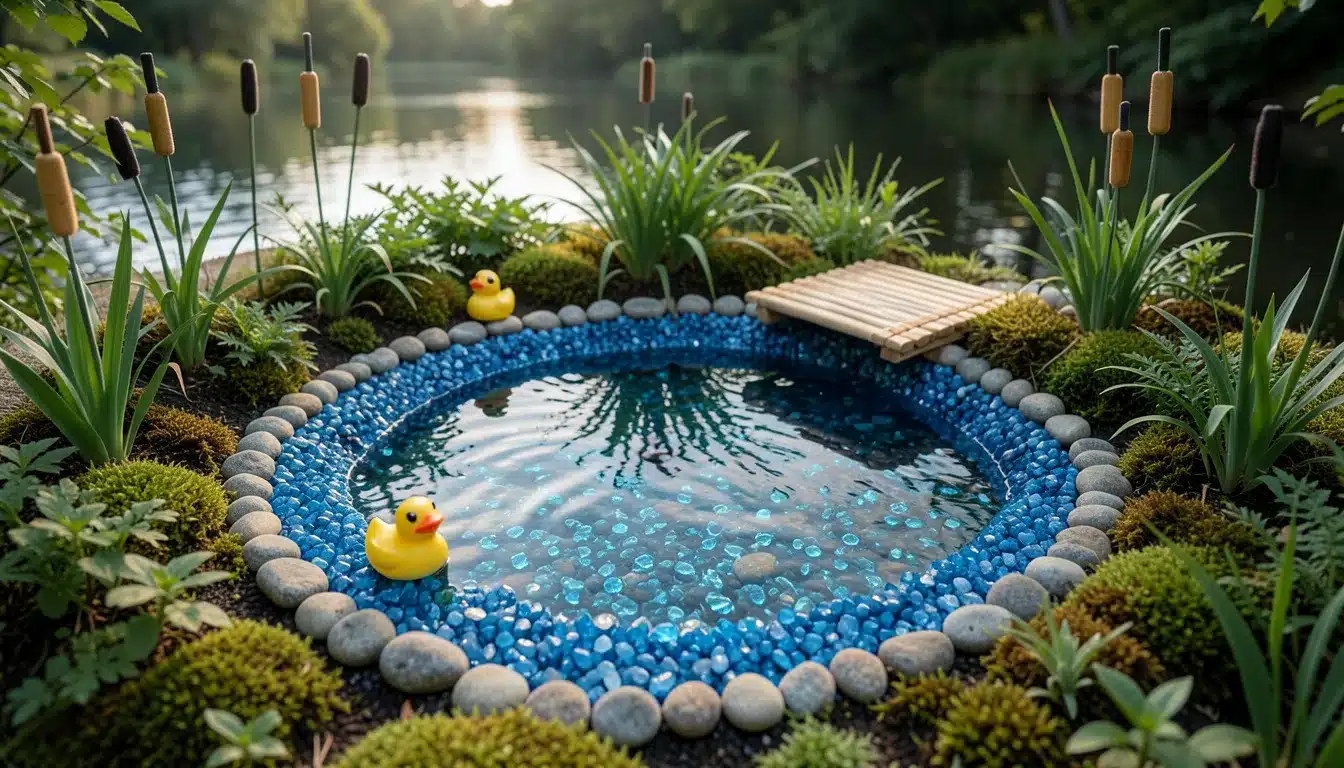
This water-themed design centers on a miniature pond, the first feature everyone notices. The pond creates a focal point with calming blue tones. You can make the water look surprisingly realistic using simple materials.
- Step 1 – Create your pond by carving a shallow depression in the soil, then fill it with blue sand or arrange blue glass gems to mimic water.
- Step 2 – Border the water feature with small, rounded stones pressed into the soil, then place a mini duck, tiny frog, or fish figure at the edge.
- Step 3 – Build a tiny bridge using popsicle sticks or thin twigs, bound together with string, and position it to cross one edge of your pond.
5. Table Centerpiece Fairy Garden
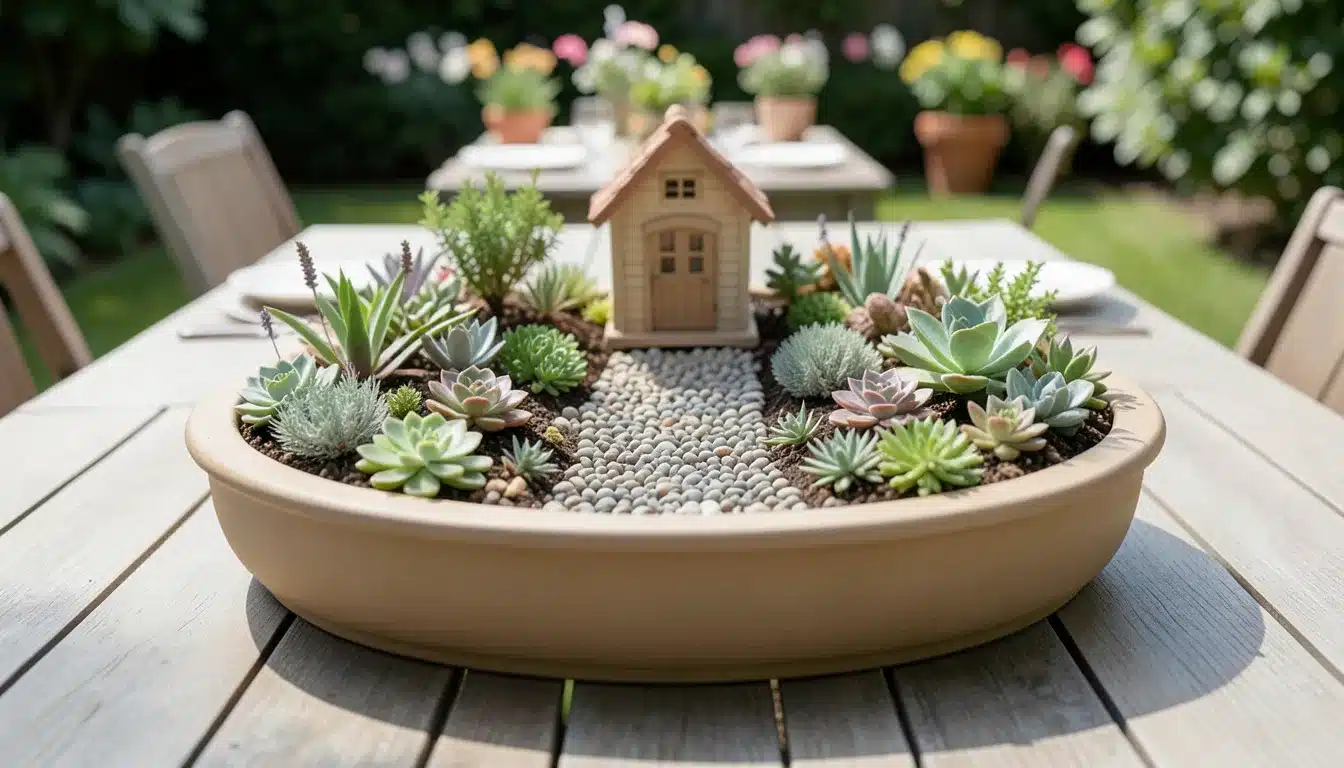
Built specifically for outdoor tables, this style keeps neat edges and balanced arrangements that look good from every angle. It serves as both a living garden and a conversation starter during outdoor meals. The design stays compact and secure, so wind will not knock things over.
- Step 1 – Select a wide, shallow planter with good drainage that sits completely flat and stable on outdoor table surfaces without wobbling.
- Step 2 – Arrange your plants and props in a symmetrical or balanced layout so the garden looks attractive from all viewing angles around the table.
- Step 3 – Keep decorative details minimal and glue loose pieces down if needed, so wind during meals will not scatter your props.
6. Hidden Garden Corner Style
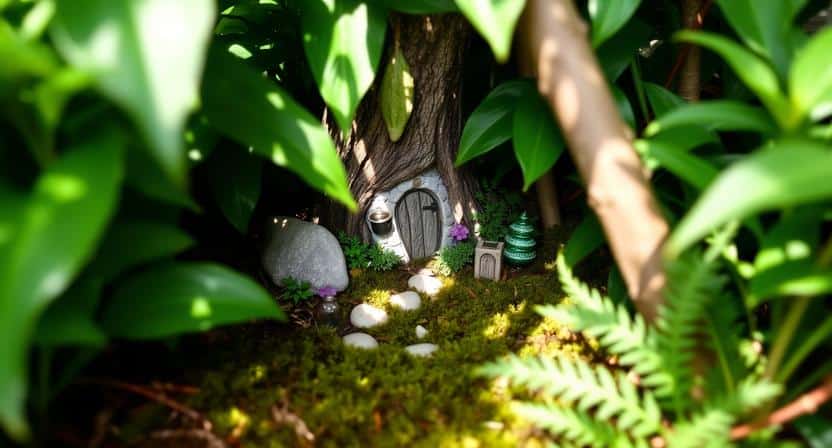
Tuck this style into existing outdoor plants so it feels like a secret discovery spot that surprises visitors. The hidden garden blends into your regular landscaping rather than standing alone. When someone finally spots it, they feel as if they have found something special.
- Step 1 – Select a small protected corner in your existing flower bed or under a bush where the fairy garden will be partially hidden by surrounding plants.
- Step 2 – Use plant varieties that match or complement your existing garden greenery so the fairy garden blends in rather than standing out.
- Step 3 – Add subtle props, such as a tiny door against a tree trunk or a small house tucked behind leaves, to surprise viewers when they spot them.
How to Care for Your Fairy Garden?
Keeping your fairy garden healthy takes just a few minutes each week. Simple habits protect both plants and decorative pieces from damage.
- Watering: Water gently using a small can or spray bottle so sand and tiny props do not shift or wash away.
- Soil Checks: Check moisture levels based on your plant types, especially succulents, which need dry periods between waterings.
- Plant Trimming: Trim plants regularly to maintain the miniature scale and prevent overgrowth that ruins proportions.
- Moss Refresh: Replace or mist moss when it flattens or fades to keep the garden looking lush and full.
- Weather Protection: Move containers indoors or under cover during heavy rain or strong wind to protect delicate pieces.
Avoid These Fairy Garden Errors
Learning from common mistakes saves you time and keeps your fairy garden looking great. Here are the most common errors beginners make and how to fix them quickly.
| Mistake | Why It Happens | How to Fix It |
|---|---|---|
| Overcrowding with too many items | Wanting to use every cute prop available | Remove half the props and space the remaining ones out |
| Using fast-growing plants | Not researching growth habits before planting | Replace with slow-growing varieties like succulents |
| Skipping drainage basics | Assuming any container will work fine | Drill holes in the bottom or add a gravel layer first |
| Adding loose sand too early | Wanting to see the final look immediately | Plant everything first, then add sand as a final touch |
| Wrong light placement | Guessing instead of checking plant tags | Move the container to match plant’s light requirements |
| Oversized props | Not comparing prop size to house scale | Swap large items for smaller versions that fit better |
Basic Rules for Building a Fairy Garden
Following a few basic rules helps your fairy garden look professional and stay healthy. Start by placing a large anchor piece, such as a tree or house, to build around.
Keep everything in one consistent scale so the scene looks believable rather than random. Use odd numbers when grouping rocks or props because threes and fives feel more natural than even numbers.
Leave some open space between elements so the scene can breathe rather than feel cramped. Apply topsoil and mulch, such as moss or sand, to hide the soil and create a finished appearance.
Match your plant choices to the location’s actual light and water conditions for long-term success. Save the smallest details for last so they do not get buried or moved during the main planting work.
Final Thoughts
Now you know how to make a fairy garden using four simple steps. Start by anchoring your scene with a large focal piece. Add your fairy house and plant the greenery around it.
Layer in rocks, sand, and moss to finish the landscaping. Complete everything with fun details and DIY touches that make it personal. You do not need to buy everything at once.
Start with a basic planter and a few props, then add more pieces over time as you find them. The best part about creating a fairy garden is mixing gardening skills with storytelling.
Each tiny detail you add brings more personality to your miniature world. Make it yours, keep it simple, and enjoy the process.