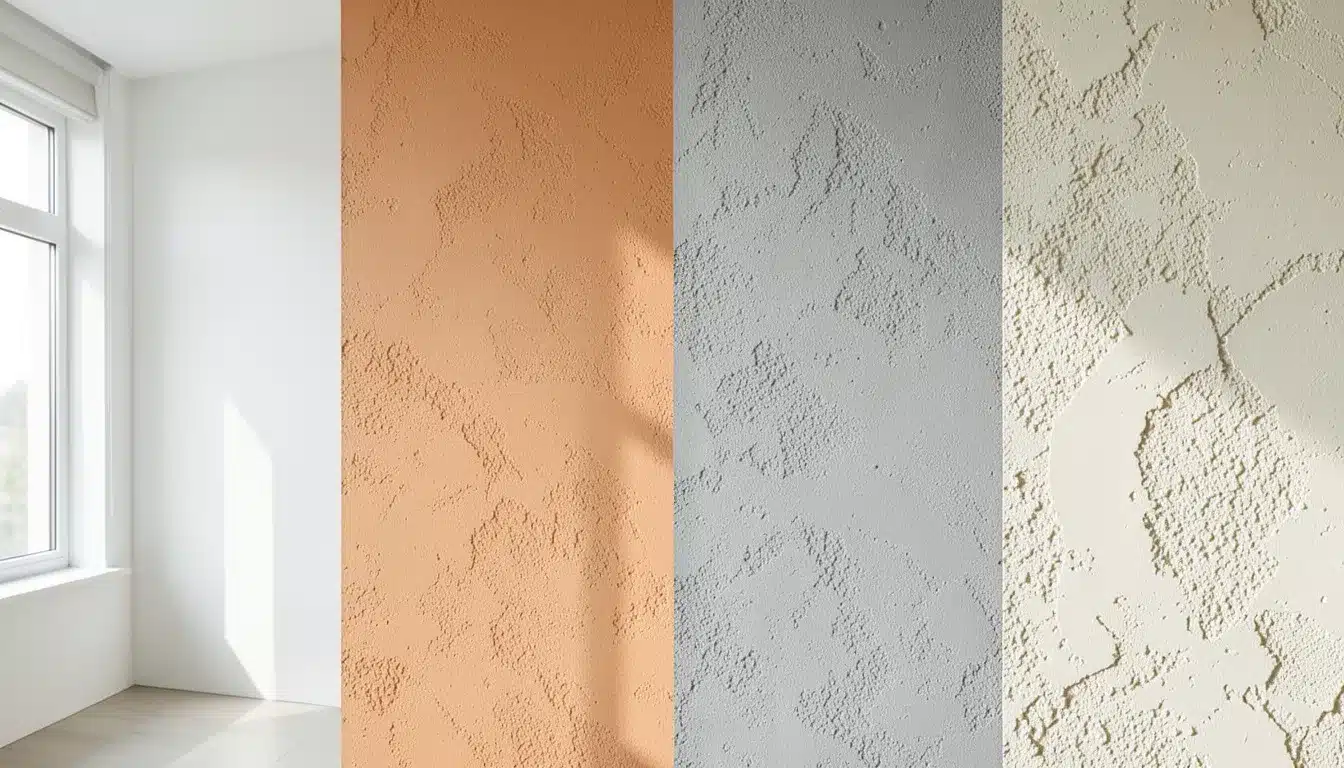
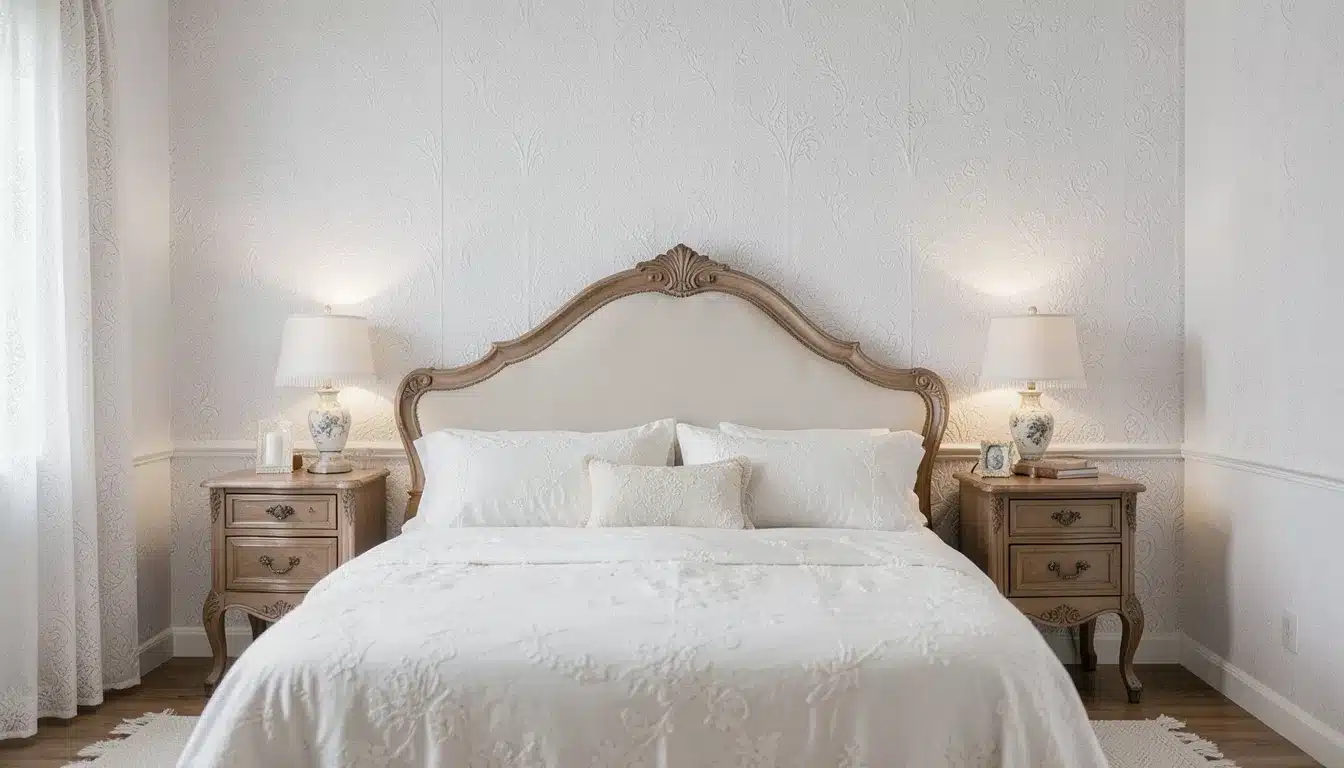
Staring at flat, boring walls? Want to add some character without spending a fortune on fancy wallpaper or complicated renovations? Wall textures might be your answer.
They hide imperfections, add visual depth, and can completely change how a room feels. Some are super simple to apply yourself. Others need a pro’s touch. The trick is knowing which texture fits your space and your skill level.
In this guide, we’ll walk through different types of wall texture, from smooth modern finishes to bold rustic designs.
You’ll learn what each texture looks like, where it works best, and whether you can tackle it as a weekend project or should call in help.
What Are Wall Textures?
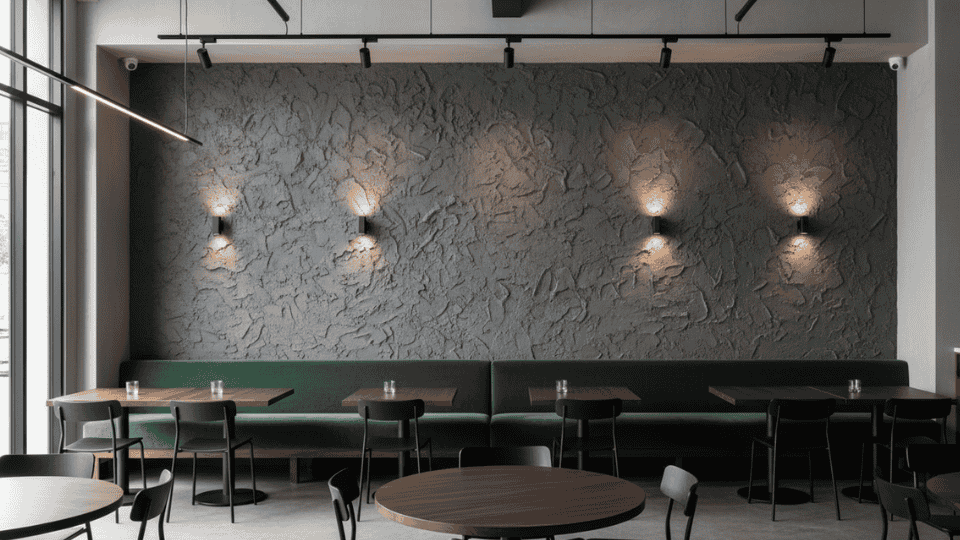
Wall textures are patterns or finishes applied to walls to add depth and visual interest. They can be created using various techniques, such as troweling, spraying, or brushing.
These textures hide minor wall imperfections and make rooms look more finished. You can find them in homes, offices, and commercial spaces.
Some textures are smooth and subtle, while others are bold and raised. The right texture can completely change how a room feels and looks.
12 Types of Wall Texture for Every Style
Now that you know what wall textures are, let’s look at the different options available. Each type of wall texture brings its own character and works well in specific spaces.
1. Smooth Finish
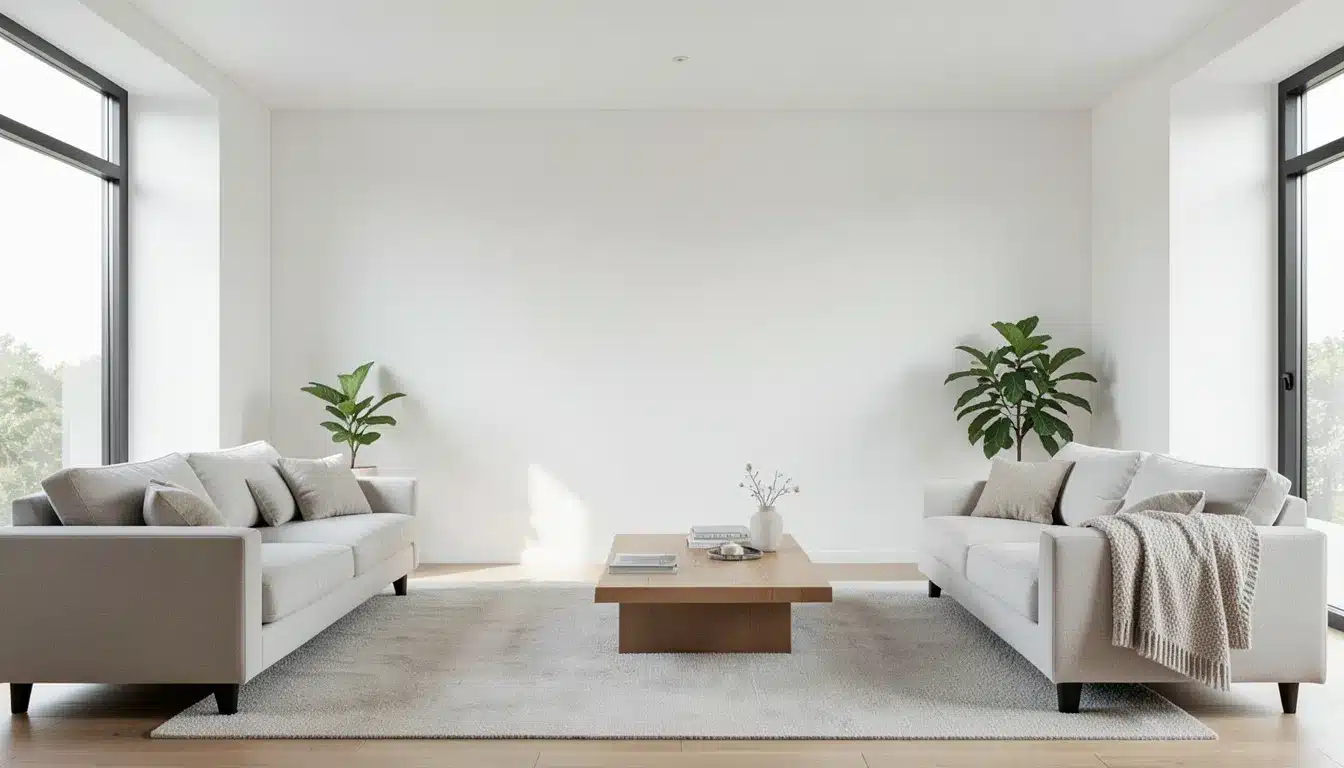
Smooth finish walls have no texture at all. They create a clean, flat surface that looks contemporary. This finish requires careful preparation and multiple coats of joint compound to get it right.
- Best for: Modern minimalist homes, rooms highlighting furniture and artwork, spaces needing easy cleaning
- Application difficulty: High (requires skilled application)
- Maintenance level: Low (easy to clean and repaint)
2. Orange Peel Texture
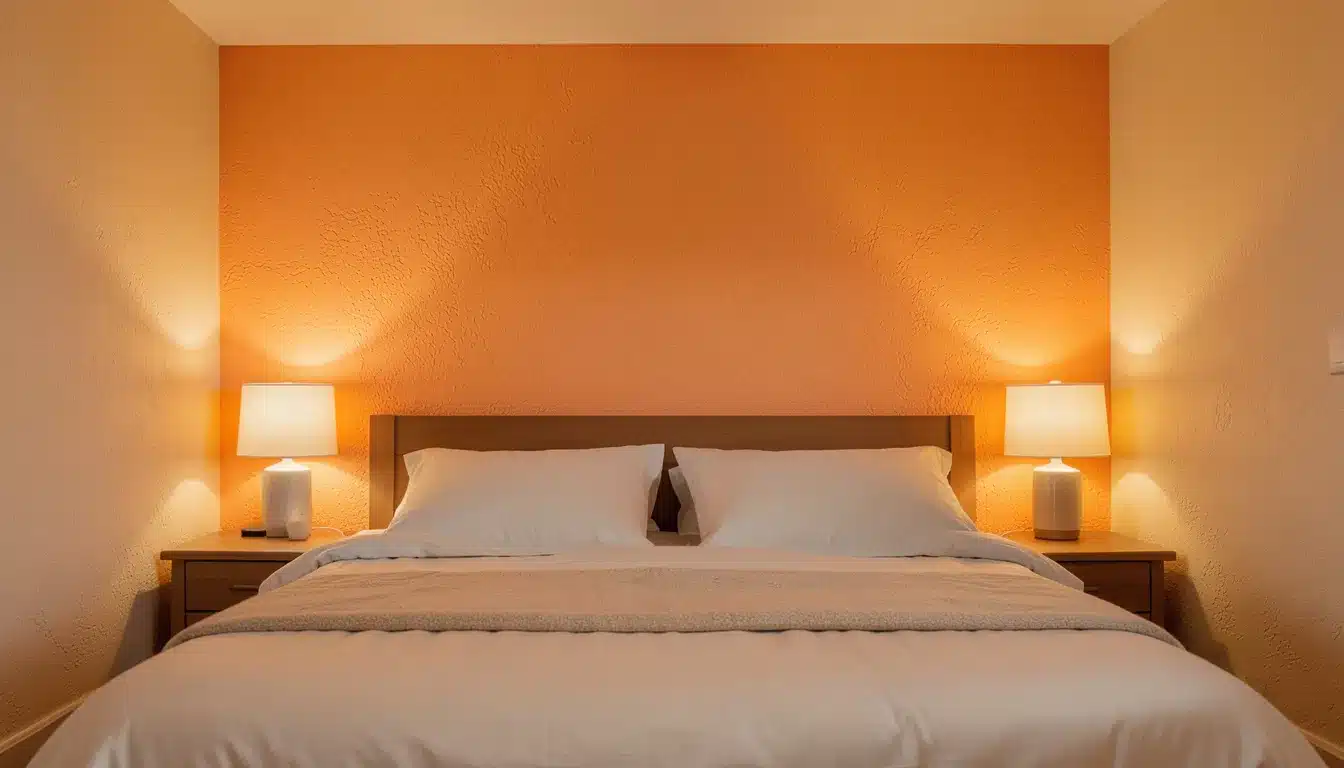
Orange peel texture gets its name from its bumpy, citrus-skin-like appearance. It’s sprayed onto walls using a hopper gun. This is one of the most common wall textures in residential homes.
- Best for: Living rooms and bedrooms, hiding minor wall imperfections, new construction projects with tight budgets
- Application difficulty: Medium (requires spray equipment)
- Maintenance level: Medium (can be cleaned but harder than smooth walls)
3. Knockdown Texture
Knockdown texture starts like orange peel but gets partially flattened with a trowel. The result is a more subtle, mottled appearance. It adds dimension without being too busy.
- Best for: Large open spaces like great rooms, Southwestern or casual style homes, areas needing good wall flaw coverage
- Application difficulty: Medium to High (timing is critical)
- Maintenance level: Medium (texture can chip if bumped)
4. Popcorn Texture
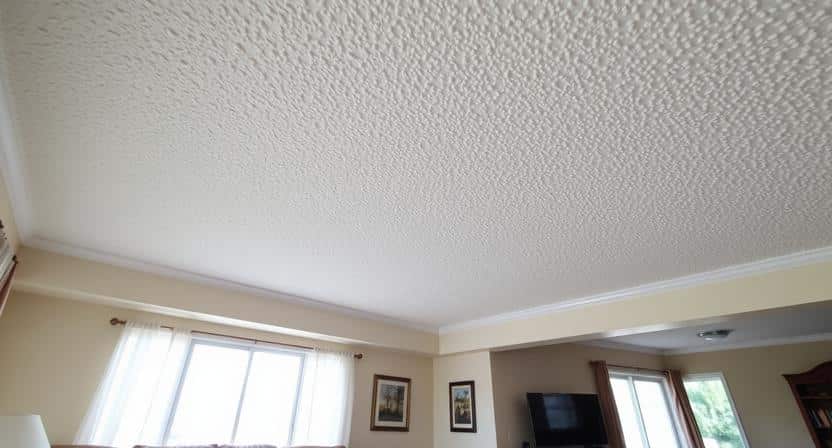
Popcorn texture has a bumpy, three-dimensional surface that was very popular in the past decades. It’s mostly used on ceilings rather than walls. Many homeowners now remove it for an updated look.
- Best for: Older homes keeping original character, covering ceiling imperfections, sound absorption in noisy rooms
- Application difficulty: Medium (spray application)
- Maintenance level: High (collects dust and is difficult to clean)
5. Sand Swirl Texture
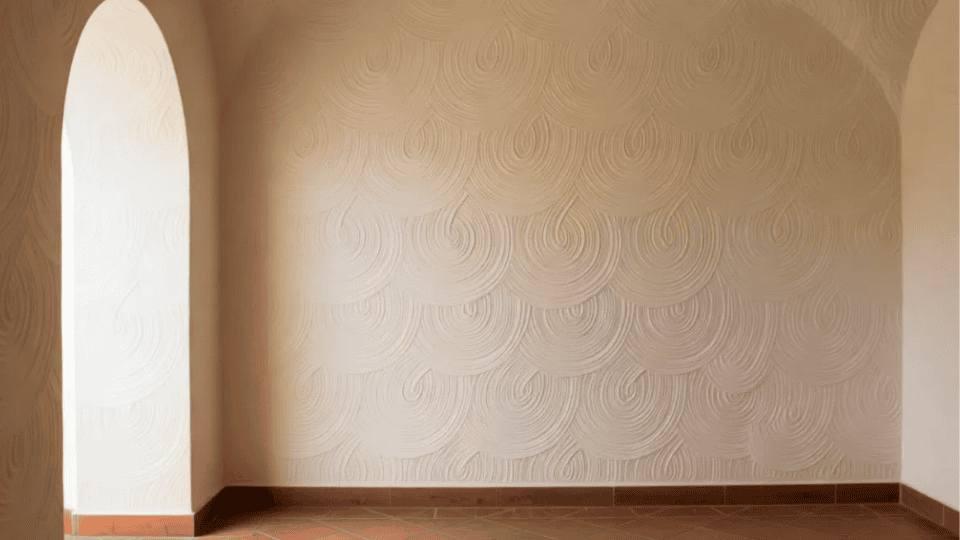
Sand swirl texture features circular patterns created with a brush or tool. Fine sand is mixed into the compound for added grip. The swirls can go in different directions for variety.
- Best for: Entryways and hallways, adding movement to plain walls, traditional or Spanish-style homes
- Application difficulty: Medium (requires steady hand and technique)
- Maintenance level: Medium (grooves can collect dust)
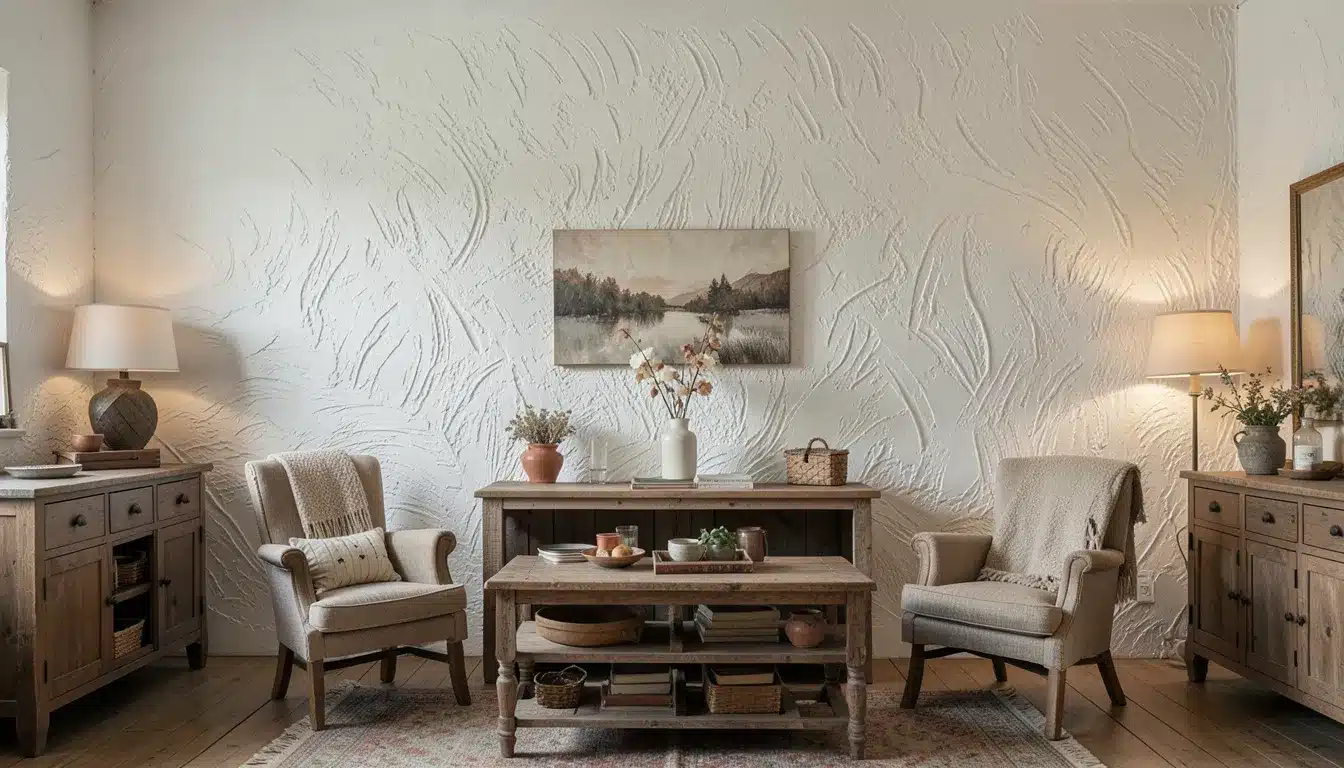
6. Skip Trowel Texture
Skip trowel texture is applied by lightly dragging a trowel across the wall in overlapping strokes. It creates an irregular, hand-crafted look. This type of wall texture adds old-world charm to any space.
- Best for: Mediterranean or Tuscan-style homes, accent walls in dining rooms, spaces needing handmade character
- Application difficulty: High (requires skilled hand application)
- Maintenance level: Medium (textured areas need careful cleaning)
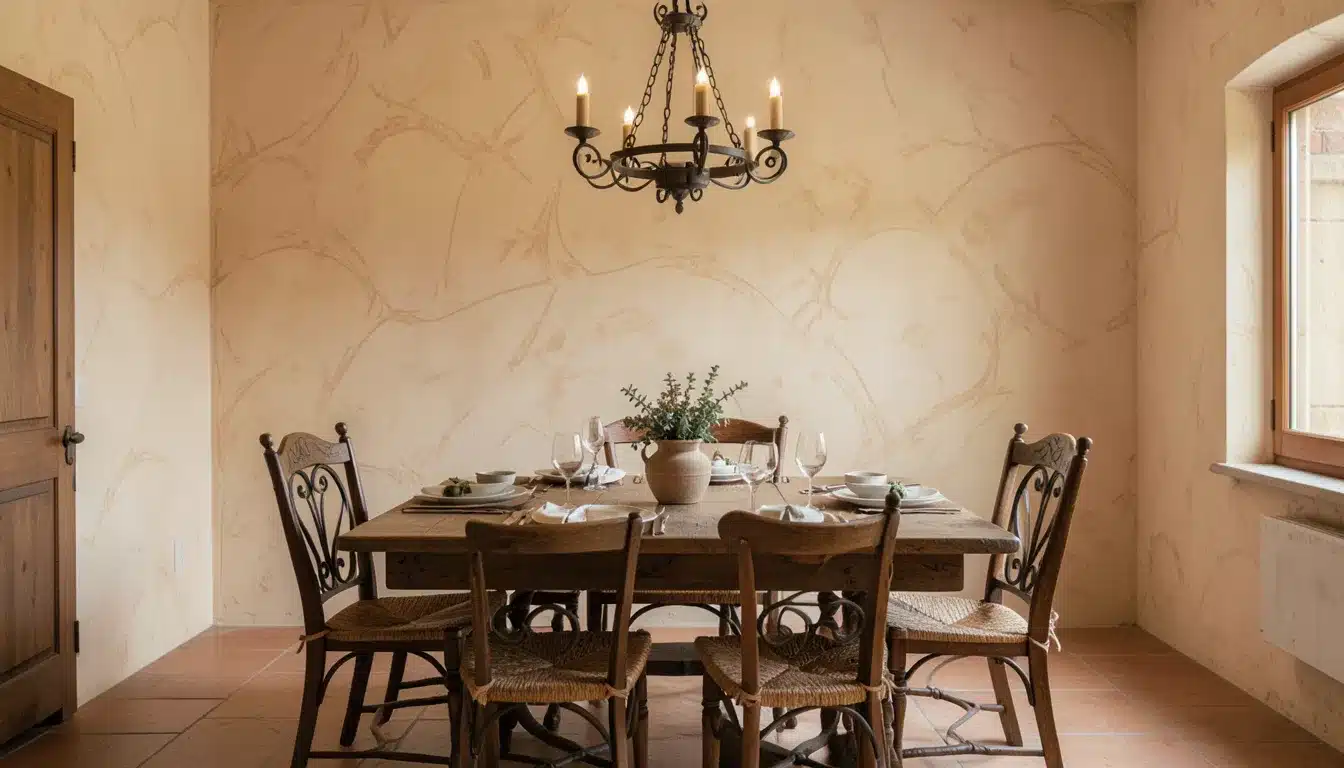
7. Venetian Plaster
Venetian plaster creates a smooth, polished surface with subtle variations in color and depth. It’s applied in multiple thin layers and then burnished. This technique originated in Italy and looks expensive.
- Best for: High-end bathrooms and powder rooms, feature walls in master bedrooms, formal living and dining spaces
- Application difficulty: Very High (professional application recommended)
- Maintenance level: Low (durable and easy to wipe clean)
8. Slap Brush Texture
The slap brush texture is created by pressing a thick brush into a wet compound and pulling it away. This creates raised peaks and valleys. It adds a lot of visual depth and works well in casual settings.
- Best for: Rustic or farmhouse-style homes, family rooms and casual dining areas, spaces wanting bold wall interest
- Application difficulty: Medium (requires special brush and technique)
- Maintenance level: High (raised peaks collect dust easily)
9. Crows Foot Texture
Crows’ foot texture resembles bird tracks across your wall. It’s created using a special brush that stamps the surface. This type of wall texture adds whimsy and personality.
- Best for: Creative spaces like art studios or playrooms, accent walls needing something different, eclectic or bohemian style homes
- Application difficulty: Medium (needs specific tool and practice)
- Maintenance level: Medium (texture grooves need regular dusting)
10. Stomp Knockdown Texture
Stomp knockdown combines the stomping technique with flattening. A brush or roller creates initial texture, then it’s lightly knocked down. The result is bolder than regular knockdown but still controlled.
- Best for: Statement walls in modern homes, commercial spaces like restaurants, and rooms needing a strong visual impact
- Application difficulty: High (two-step process needs good timing)
- Maintenance level: Medium (deep grooves require careful cleaning)
11. Spanish Lace
Spanish lace texture creates delicate, lace-like patterns on walls. It’s made using a special roller with a design. This type of wall texture adds a sense of femininity and detail to spaces.
- Best for: Bedrooms with romantic or vintage style, boutique retail spaces, formal powder rooms
- Application difficulty: Medium (needs special roller and even pressure)
- Maintenance level: High (intricate pattern collects dust)
12. Spray Sand Texture
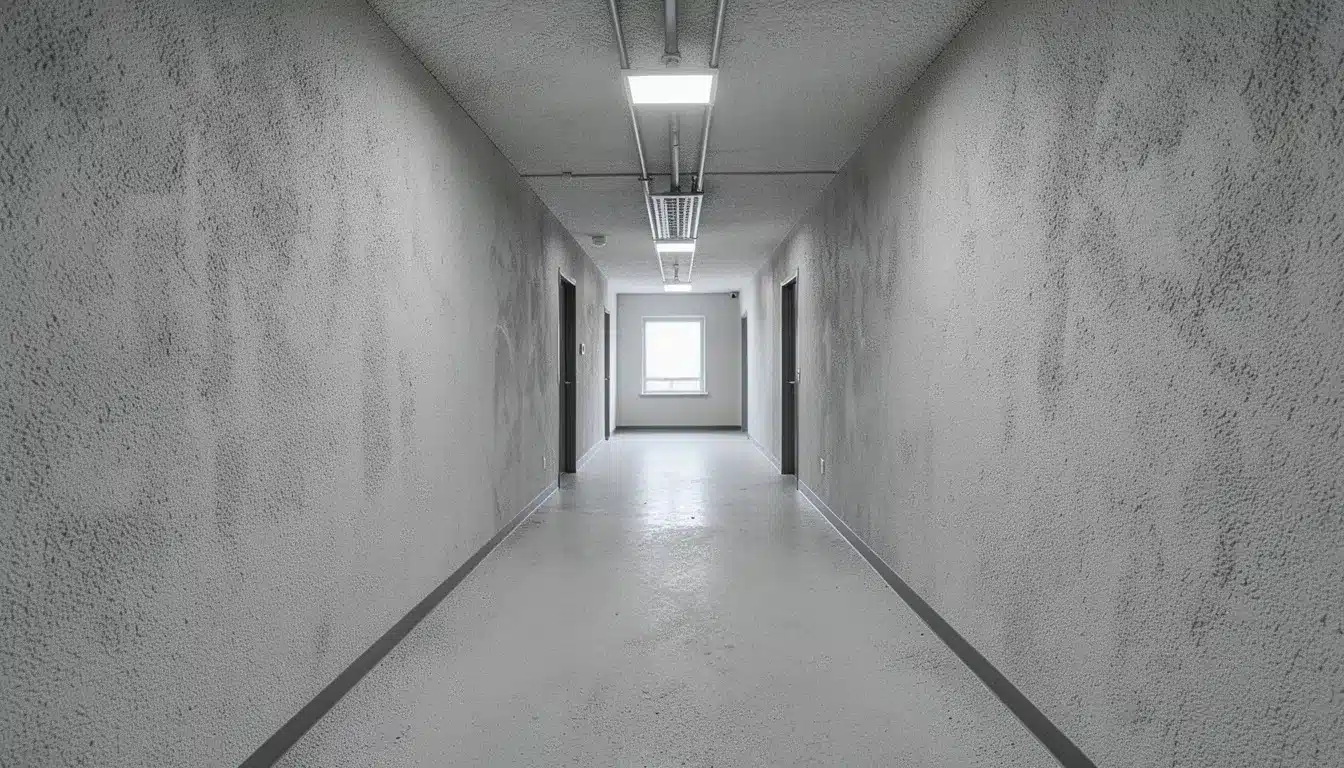
Spray sand texture has a gritty, rough surface created by spraying sand-mixed compound. It’s very durable and hides imperfections well. This finish works great in high-traffic areas.
- Best for: Commercial buildings and offices, garage walls and utility rooms, areas taking lots of wear and tear
- Application difficulty: Low to Medium (spray application)
- Maintenance level: Low (very durable but can be rough to touch)
Application Methods: DIY vs Professional Services
Some wall textures are easier to apply yourself, while others require a trained hand. Here’s a quick comparison to help you decide which route works best for your project.
| Factor | DIY Application | Professional Services |
|---|---|---|
| Cost | Lower upfront cost, only materials needed | Higher cost but includes labor and expertise |
| Time Required | Can take several days to complete | Completed in 1-2 days typically |
| Skill Level Needed | Basic to intermediate skills work for simple textures | Handles complex textures requiring advanced techniques |
| Best Texture Types | Orange peel, basic knockdown, spray sand | Venetian plaster, skip trowel, Spanish lace |
| Tools Required | Need to buy or rent special equipment | All professional tools included |
| Quality of Finish | May have some inconsistencies | Smooth, even, professional appearance |
| Repairs and Fixes | You handle any mistakes or touch-ups | Often includes a warranty or guarantee |
| Learning Curve | Practice needed, may waste materials | No learning required from the homeowner |
How to Manage the Costs and Care of Wall Textures?
Before you commit to a wall texture, you need to know what you’ll spend upfront and over time. Here’s what impacts your budget and how much work each texture needs.
- Material Costs: Simple textures, such as orange peel, cost $0.50-$1 per square foot, while premium options, such as Venetian plaster, cost $8-$15 per square foot.
- Labor Costs: DIY projects save money, but professional installation ranges from $1-$3 per square foot for basic textures and $5-$10 for complex ones.
- Tools and Equipment: Spray textures require hoppers and compressors that cost $100-$300 to rent, while hand-applied textures only need basic trowels under $50.
- Repair Difficulty: Smooth walls are easiest to patch and repaint, while heavily textured walls require matching the pattern, which can be tricky.
- Cleaning Requirements: Flat or low-texture finishes wipe clean easily, but deep textures, such as popcorn or slap brush, collect dust and require regular vacuuming.
- Longevity: Most wall textures last 10-20 years with proper care, though high-traffic areas may need touch-ups every 5-7 years.
- Repainting Ease: Smooth, light textures take paint well with a roller, but heavy textures require more paint and may require spraying for even coverage.
Choosing the Right Wall Texture for Your Home
Choosing the right wall texture depends on your home’s style, your budget, and how much maintenance you want to handle. Think about the room’s purpose and how much traffic it gets.
Modern homes often look better with smooth or subtle textures, such as orange peel. Traditional spaces can handle bolder options like skip trowel or sand swirl.
Consider your skill level, too, since some textures need professional help while others work for DIY projects. Test a small area first before committing to an entire room.
Final Thoughts
Choosing the right type of wall texture can transform any room from plain to impressive. We’ve covered 12 popular options, from sleek, smooth finishes to bold stomp-knockdown designs.
Each texture brings its own style and works for different spaces and budgets. Some are perfect for DIY projects, while others need professional expertise.
The key is to match the texture to your home’s style and maintenance preferences. Start small with one accent wall before committing to an entire room. Test your chosen texture in an inconspicuous spot first.
Ready to give your walls a makeover? Pick a texture from this list and start planning your project today. Have questions or want to share your wall texture experience? Drop a comment below and let’s chat!