Mulch is one of those garden things that sounds more complicated than it is. A lot of people think it requires special tools, store-bought bags, or expert timing. That confusion stops them before they start.
The truth is simpler. Mulch is just material placed on soil for a reason, and most of what you need is already around you.
In this guide, I’ll explain how it actually works, why it works, and how to do it without stress.
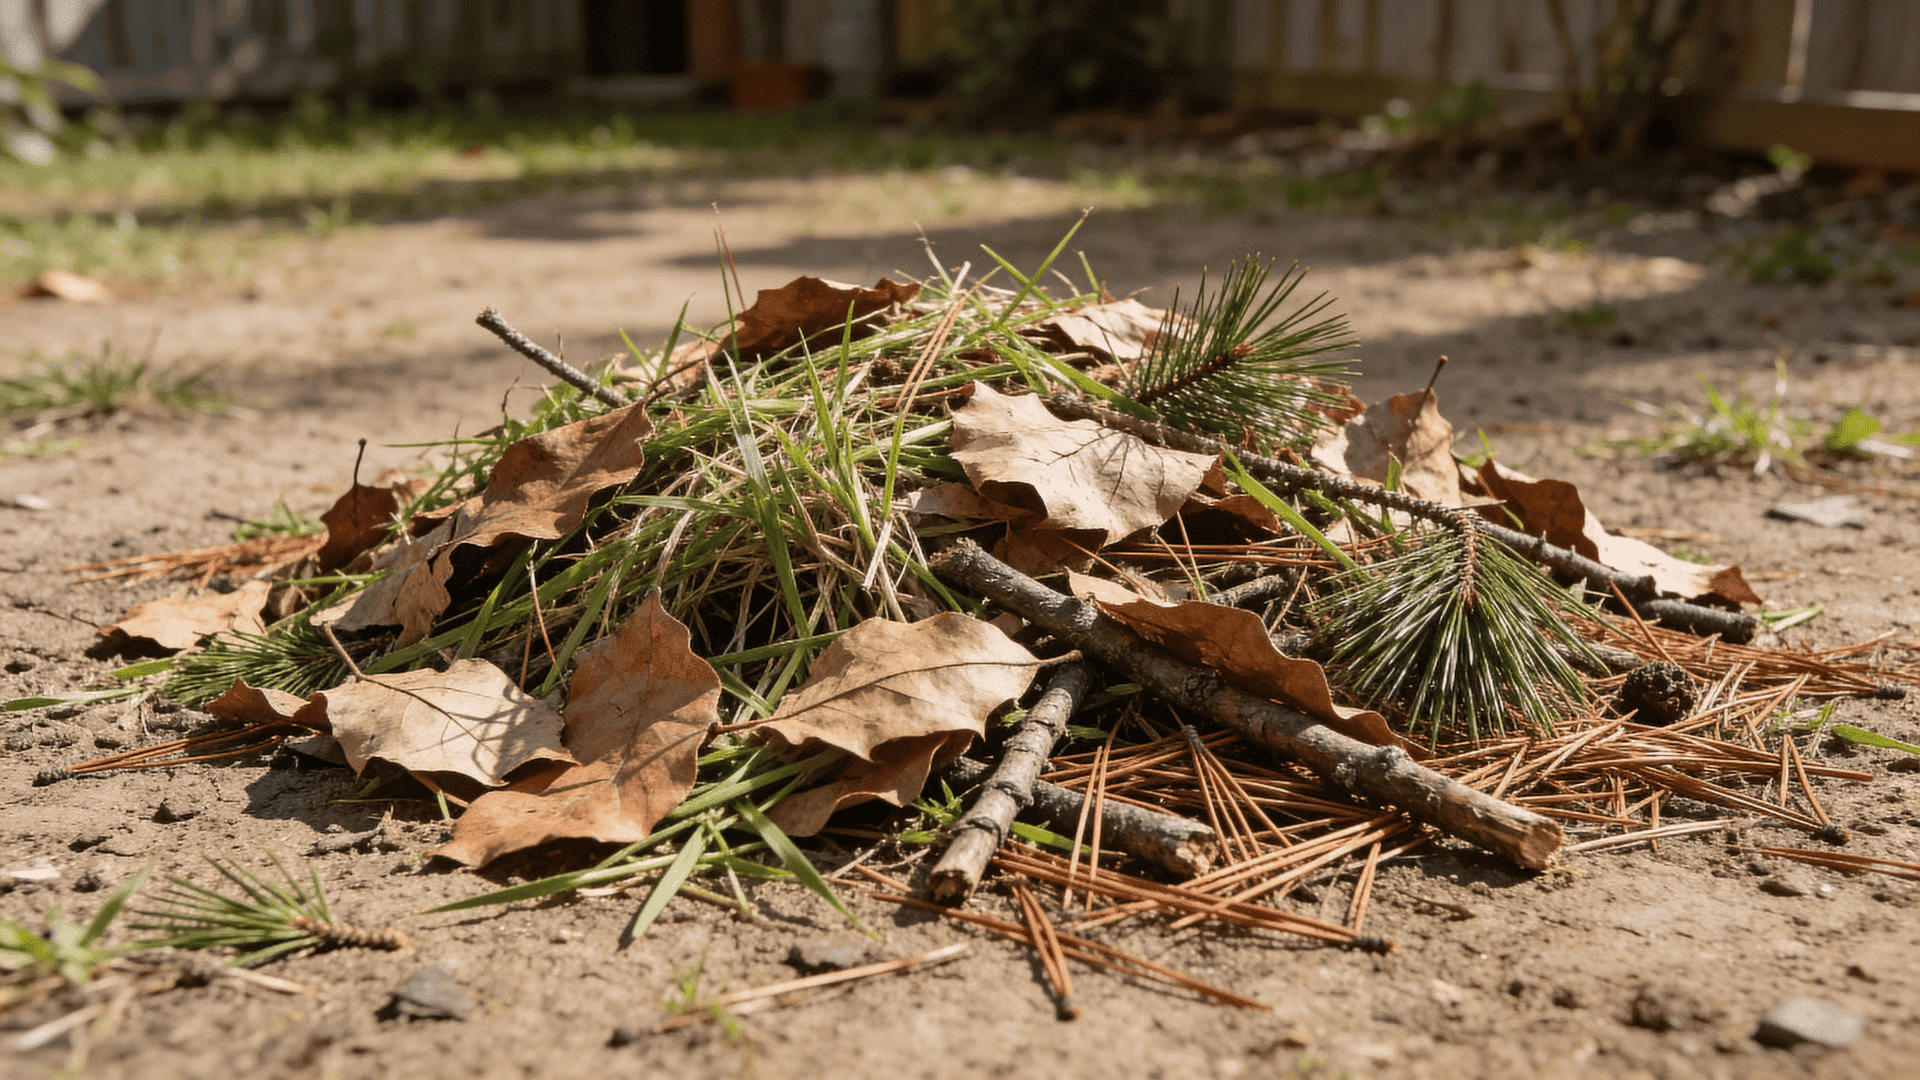
Mulch is any organic material placed on top of soil to reduce moisture loss, regulate temperature, and block weeds. Homemade mulch works by creating a protective layer that slows evaporation and shields soil from exposure. Leaves, grass clippings, cardboard, and small wood pieces all serve this function without needing store-bought products.
What Mulch Is and Why It Works
Mulch works because it changes the conditions at the soil surface. Bare soil is exposed to sun, wind, and rain all at once. That exposure causes moisture to evaporate quickly, breaks down soil structure, and creates ideal conditions for weeds to sprout.
When mulch covers the soil, it slows those forces down. Moisture stays in place longer. Temperature swings become less extreme. The soil surface stays more stable instead of cycling between dry, hot, cold, and compacted.
Roots respond to that stability. They grow in an environment that holds moisture longer and doesn’t overheat or dry out as fast. That reduces stress on plants and supports more consistent growth.
Organic mulch, which comes from plant material like leaves or wood, gradually breaks down on the surface. As it does, it contributes organic matter back to the soil. That’s why homemade mulch performs just as well as store-bought options, even if it looks less uniform.
Materials You Can Use to Make Mulch
What you choose matters because each material behaves differently once it’s on the soil. Some break down fast. Others last longer. Knowing the difference helps you avoid problems later.
Yard Waste
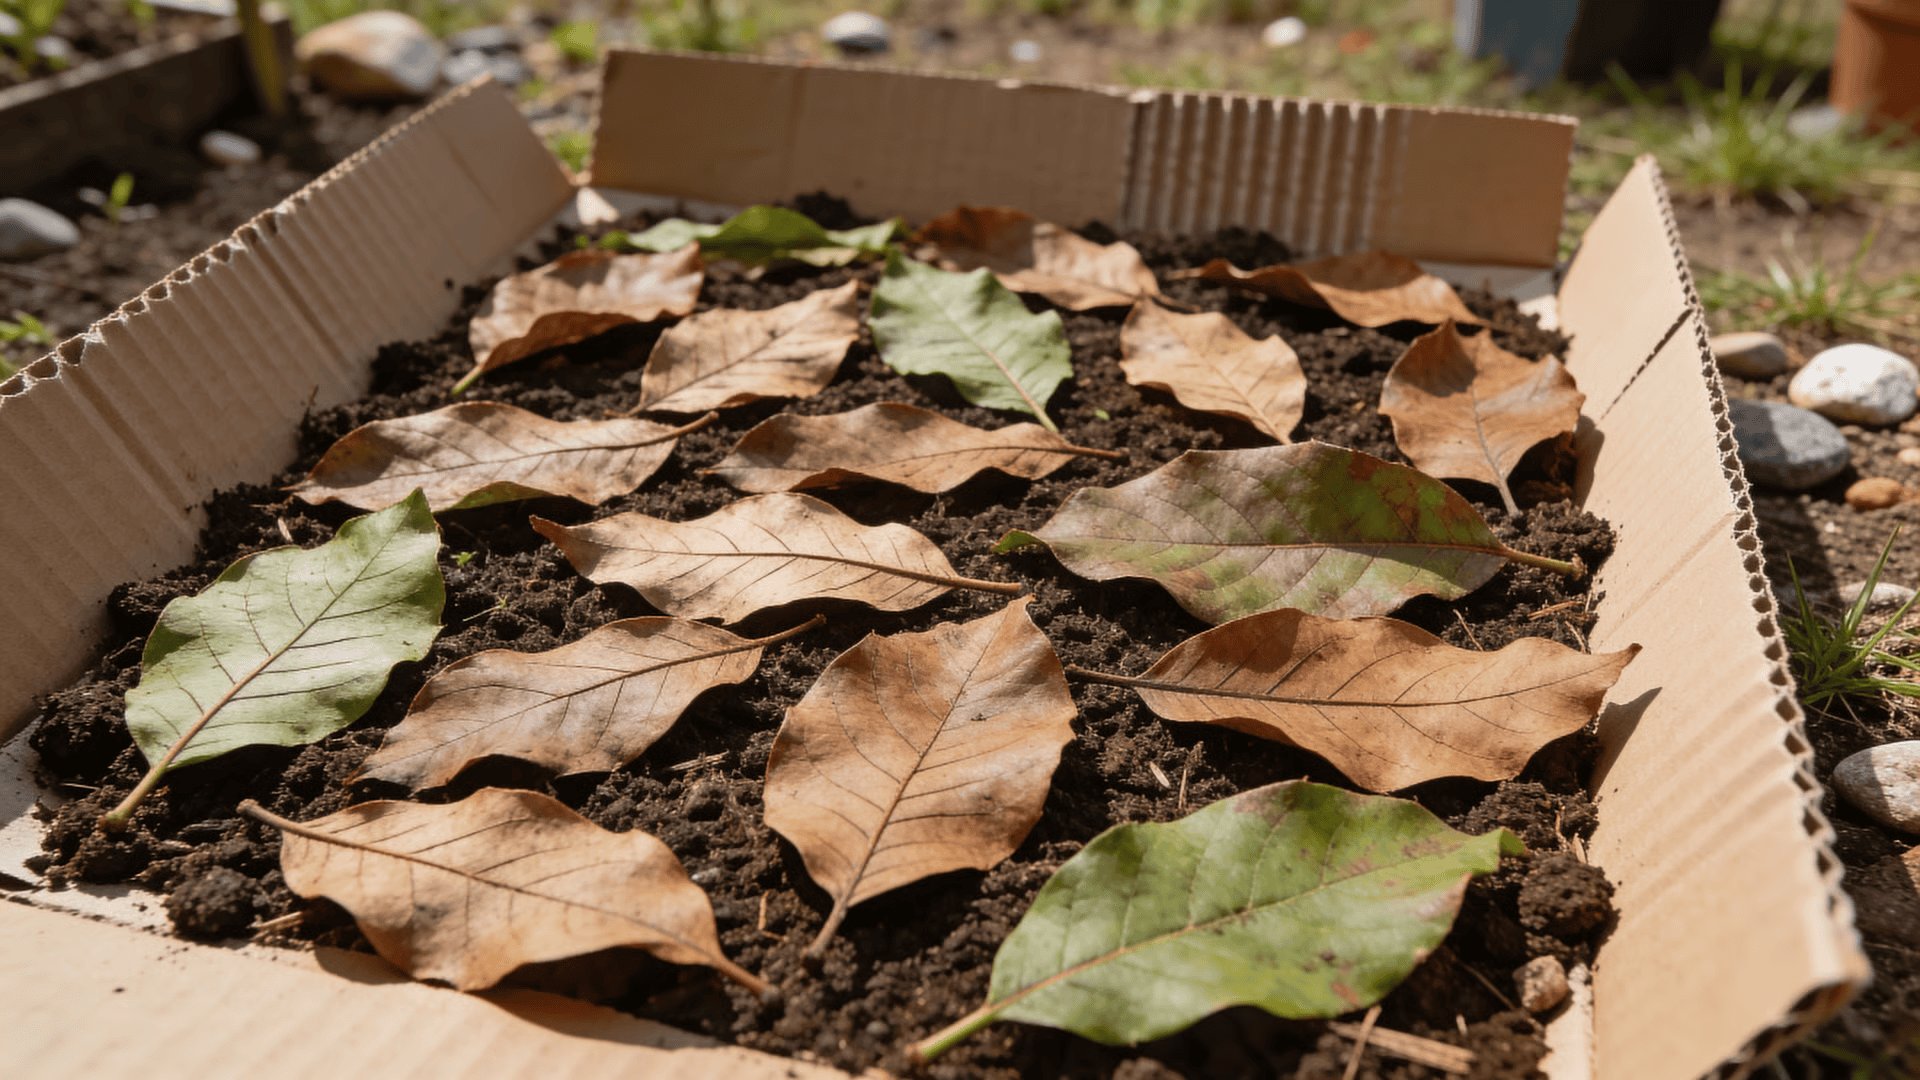
- Leaves are one of the easiest and most reliable mulch materials. When shredded or spread in thin layers, they settle quickly and stay in place. Whole leaves can work too, but they tend to mat if piled too thick.
- Grass clippings work well only when they are dry. They should always be applied in thin layers. Thick clumps hold moisture, heat up, and turn slimy, which can smother soil instead of protecting it.
- Small branches can be chipped or broken down into smaller pieces. They decompose slowly, which makes them useful when you want mulch that lasts longer without frequent reapplication.
- Pine needles form a loose, airy layer that allows water to pass through easily. They are especially useful around plants that prefer well-drained soil and don’t compact the way leaves can.
Household Materials
- Cardboard works well when torn into manageable pieces. It blocks light, slows weed growth, and breaks down gradually over time. Removing tape and labels helps it decompose more evenly.
- Newspaper can be layered directly on soil and lightly dampened so it doesn’t blow away. Plain black ink is safe, but pages should be kept thin to avoid matting.
- Paper bags can be torn up and used like cardboard. They are thinner, break down faster, and work best when covered lightly to keep them in place.
Materials to Avoid
Some materials cause more problems than they solve.
- Treated wood contains chemicals that can leach into soil
- Glossy paper breaks down poorly and may contain coatings
- Diseased plants can spread issues through the garden
- Thick grass mats block air and water instead of protecting soil
How Do You Make Mulch Step by Step
There isn’t one correct method. The right approach depends on what tools you have and how much material you’re working with. Each method does the same basic job, just in a different way.
1. Use a Lawn Mower
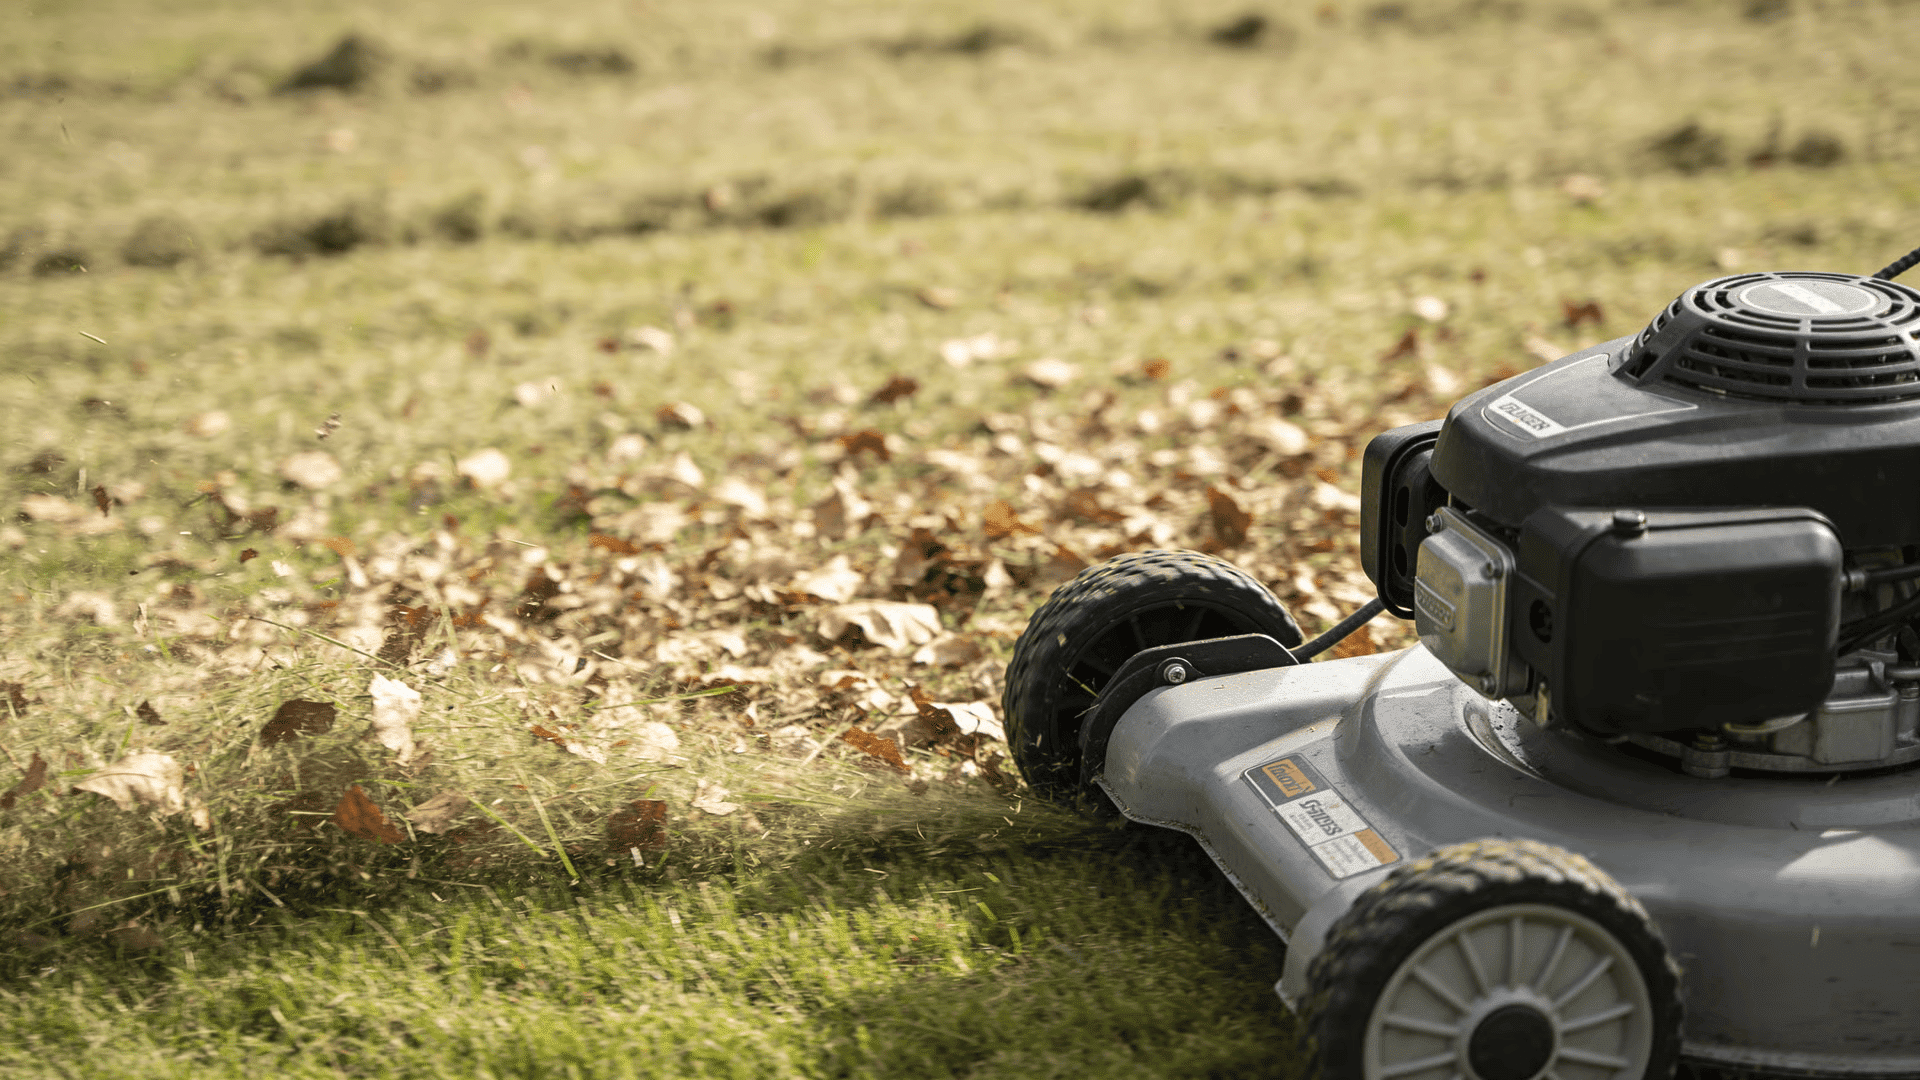
A lawn mower works well if your material is dry. That part matters more than people expect. Wet leaves and clippings don’t really cut. They mash. That’s when you get clumps and mess instead of mulch.
If your mower has a mulching setting, use it. It keeps the material under the blade longer so it gets chopped instead of spit out right away.
You’ll know it’s fine enough when it spreads easily and falls apart when you toss it. If it looks like green sludge or sticks together in mats, it’s either too wet or too thick. You want coverage, not something that smothers everything underneath.
2. Use a Wood Chipper
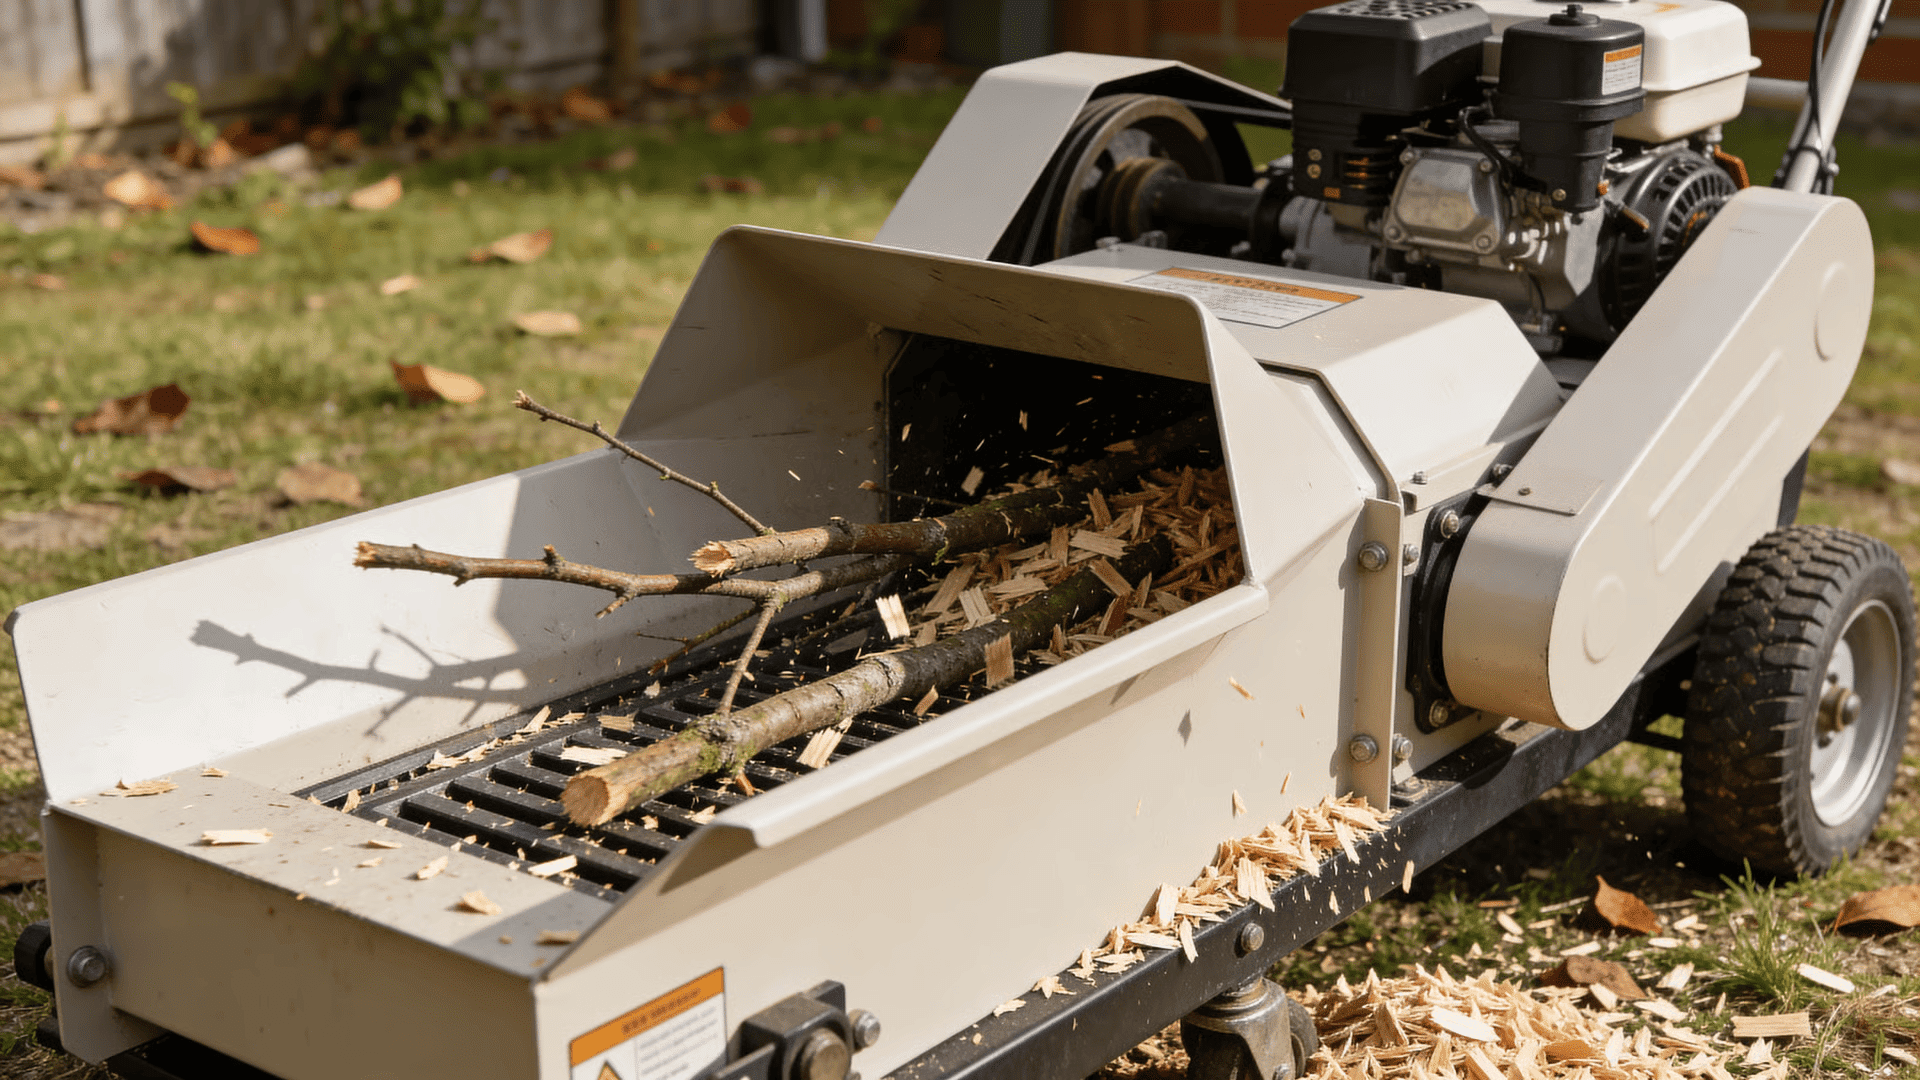
A wood chipper is really for branches and woody stuff, not leaves or soft material. Stick to what the machine is meant to handle. Forcing larger pieces through doesn’t help anything.
Fresh wood chips always take longer to break down than dry ones. That’s normal. It doesn’t mean you did something wrong. It just means they’ll sit there doing their job for longer before disappearing.
This is also where basic safety actually matters. Eye protection isn’t optional, and hands stay well away from the feed opening. Chippers don’t give second chances.
3. Make the Mulch by Hand
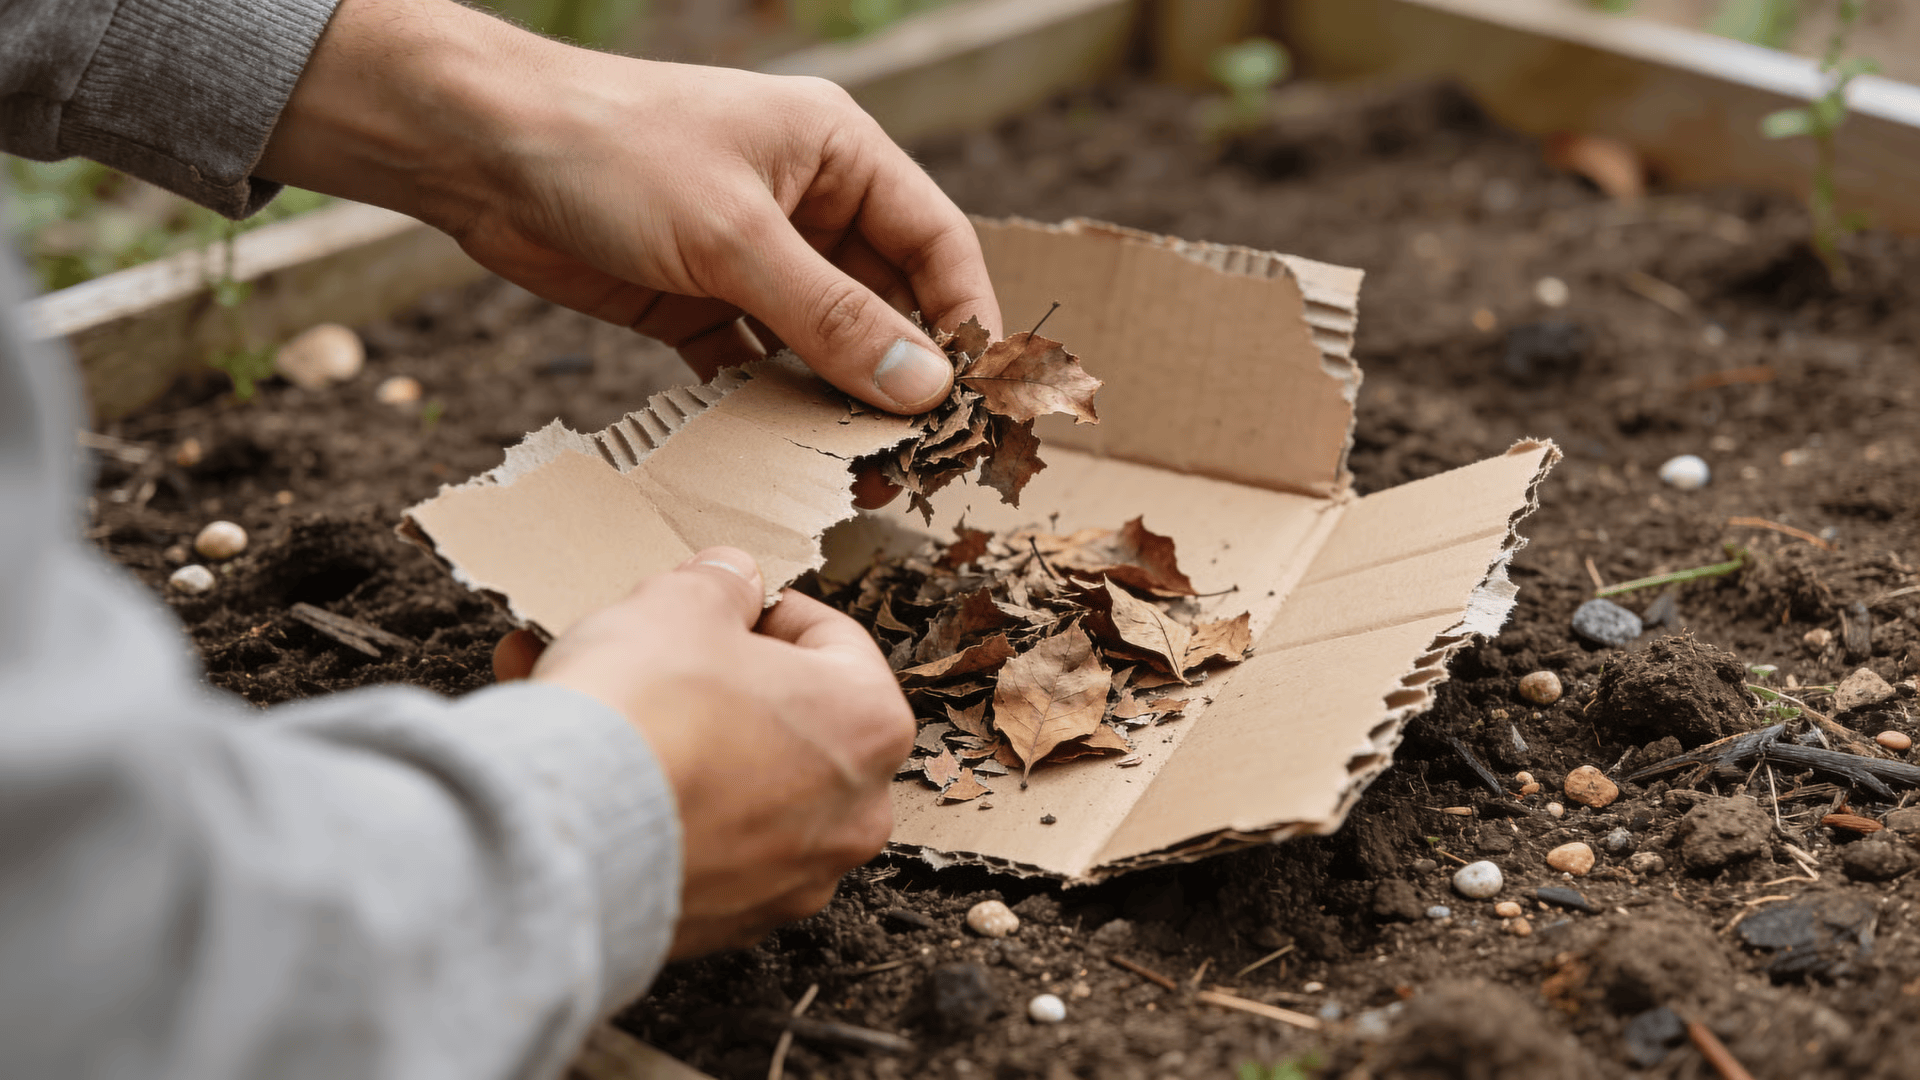
If you’re working small, hand methods are fine. Cardboard tears easily once you get started. Smaller pieces lay flatter and stay put better once they’re wet.
Dry leaves can be crushed or cut by hand. You’re not trying to make them tiny. You’re just breaking them up enough so they don’t form a solid mat.
This approach makes sense for beds, edges, or small patches. It’s not efficient for large areas, and that’s okay. Not everything needs to scale.
4. Make Mulch without Any Tools
This is the most overlooked option. Leaves can be spread directly onto soil as they fall. The key is keeping layers thin. People get into trouble when they dump everything in one pile and walk away.
Sheet mulching is even simpler. Cardboard goes flat on the soil. A light covering on top keeps it from blowing around. Water helps it settle and conform to the ground.
This method works best when your goal is weed control and soil coverage, not appearance. There’s no shredding, no cutting, and no extra steps. You’re letting time do the work.
How to Apply Mulch the Right Way
Most mulch problems don’t come from what people use. They come from how it’s placed. The material usually isn’t the issue. The setup is.
Start with depth. For most organic mulch, aim for about two to four inches. That’s enough to block light and slow weeds. Less than that doesn’t do much. More than that can hold too much moisture and cut off airflow.
Next, look at where it touches plants. Mulch should never be pressed up against stems, trunks, or plant crowns. Leave a small open space around them. Plants need air at the base, and constant moisture there leads to rot.
Spread mulch evenly instead of piling it up. Flat coverage works better than mounds. If you see mulch climbing up bark or forming little volcanoes, pull it back.
Reapply only when it’s needed. As mulch breaks down, it thins out and blends into the soil. There’s no fixed schedule. If you can see bare soil again, it’s time to add more. Watch the ground. It tells you when to act.
Common Mistakes to Avoid
- Mulch touching stems or trunks: Constant moisture builds up at the base of plants, restricting airflow and leading to rot, disease, and weakened growth over time.
- Applying mulch too thick: Heavy layers block air and water movement, create soggy soil conditions, and prevent roots from breathing the way they need to.
- Using wet grass clippings: Damp clippings clump together, heat up as they break down, and form slimy mats that smother soil instead of protecting it.
- Mixing fresh wood into soil: New wood material pulls nitrogen from the surrounding soil as it decomposes, leaving nearby plants short on nutrients.
- Mulching frozen or saturated ground: Covering soil in poor conditions traps cold or excess moisture, slowing warming, drainage, and early root activity.
Most of these issues happen when mulch is treated like a fix instead of a layer. Slower, lighter application almost always works better than piling it on all at once.
Best Mulch Types for Different Uses
Not all mulch works the same everywhere. Plants have different root habits and moisture needs, so matching the material to the use makes the job easier and avoids problems.
| Use case | Best mulch materials | What to watch for |
|---|---|---|
| Vegetable gardens | Shredded leaves, dry grass clippings, light compost blends | Avoid thick wood chips near annual crops; fresh wood can reduce available nitrogen if mixed into soil |
| Trees and shrubs | Wood chips, chipped branches, coarse organic mulch | Spread in a loose ring and keep mulch away from the trunk to prevent moisture buildup |
| Flower beds | Leaf mulch, fine compost blends | Apply evenly in thin layers so plants aren’t buried or smothered |
Cost Comparison: Homemade vs. Store-Bought Mulch
In the U.S., bulk mulch usually costs $30–$75 per cubic yard, with $50–$150 added for delivery. Installed mulch often lands around $70–$150 per cubic yard. Bagged mulch runs $2–$8 per bag, and it takes 13–14 bags to equal one yard, which adds up fast.
Homemade mulch skips those material costs entirely. Leaves, grass clippings, small branches, and cardboard come from your own yard so they’re technically free.
The only real cost is time and effort spent collecting, breaking down, and spreading the material. For small to medium garden areas, that effort often replaces hundreds of dollars in purchased mulch.
Tradeoff is simple. Store-bought mulch saves time but costs money. Homemade mulch saves money but takes work. If you already generate yard waste and don’t mind handling it, homemade mulch can cover large areas at near-zero material cost while still doing the same job in the soil.
Wrapping Up
Making mulch doesn’t require special skills or perfect conditions. It’s really about understanding how simple materials behave once they’re on the soil and using them with intention.
When you slow down and match the method to what you already have, the process becomes straightforward instead of overwhelming.
The biggest shift is realizing that mulch is a tool, not a product, and that small choices in placement and thickness make a real difference. Once that clicks, how to make mulch stops feeling like a project and starts feeling like a normal part of caring for soil.
If you’re ready to start, pick one small area, use what’s nearby, and put it down thoughtfully. That first step is all it takes.
Frequently Asked Questions
Can you mulch with cardboard?
Yes. Cardboard blocks light and suppresses weeds when laid flat. Remove tape and labels, and cover lightly so it stays in place as it breaks down.
Does mulch improve soil over time?
Organic mulch slowly breaks down and adds organic matter to soil. This improves structure, moisture retention, and surface life without needing to be mixed in.
Can mulch attract pests?
Mulch itself doesn’t attract pests, but thick, wet layers near stems can create hiding spots. Proper depth and spacing greatly reduce this risk.
Should old mulch be removed before adding more?
Usually no. As long as the old mulch isn’t compacted or moldy, new mulch can be added on top once the layer has thinned.
Is colored or dyed mulch different from natural mulch?
Dyed mulch works the same structurally, but natural mulch breaks down more predictably and avoids added colorants, making it a safer choice for food gardens.