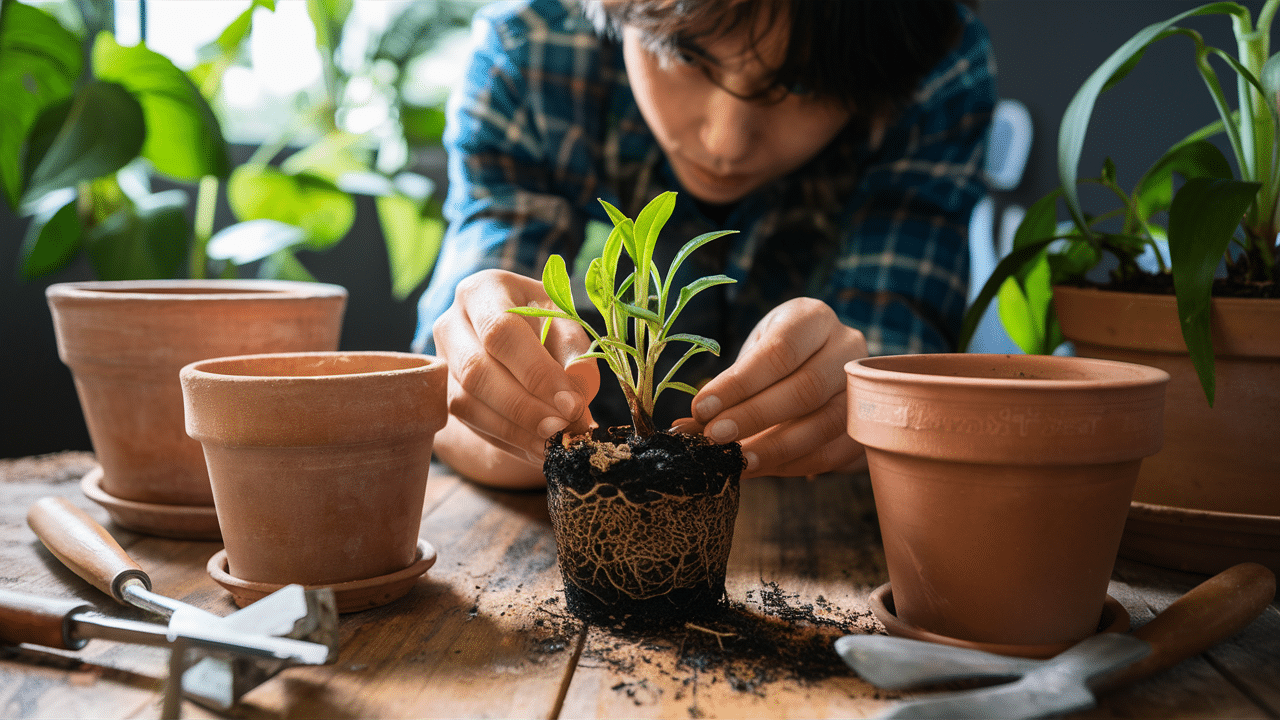
You know that moment when your tiny seedlings are thriving indoors, and you’re itching to move them outside? That’s where hardening off comes in.
It’s basically teaching your pampered baby plants to handle the real world: sun, wind, and temperature swings they have never experienced under your grow lights.
Skip this step, and you will watch them wilt faster than your motivation on a Monday morning.
But let’s be honest, the traditional hardening off process feels like a part-time job. Shuttling trays in and out for weeks? Not everyone has that kind of patience or schedule.
That’s exactly why we are covering both the tried-and-true methods and some brilliantly lazy shortcuts that actually work.
Why Hardening-Off Matters, Even If You Want an Easy Way?
Your indoor seedlings have been living their best life under controlled conditions: steady temperatures, filtered light, and zero wind.
Step outside, and it’s a totally different story. Without a proper transition, those pampered leaves get sunburned, dehydrated, or shocked by temperature drops.
Hardening off builds plant resilience at the cellular level. It thickens their leaves, strengthens their stems, and preps their roots for actual soil conditions.
Even the laziest methods give your plants a fighting chance to survive and actually produce instead of becoming expensive compost.
Traditional Hardening-Off Basics
Think of traditional hardening off like easing into a cold pool instead of cannonballing in. The standard approach spans about 1 to 2 weeks, gradually exposing seedlings to outdoor realities they’ve never faced indoors.
Here’s how most gardeners do it:
| Timeline | What to Do | Conditions |
|---|---|---|
| Day 1–2 | Place seedlings in a shaded, protected spot for 1–2 hours | No direct sun, minimal wind, mild temperatures |
| Day 3–5 | Increase outdoor time to 3–5 hours, and introduce partial sunlight | Dappled shade or morning sun only, still sheltered from strong wind |
| Day 6–10 | Extend to full days outside, gradually move into more direct sun | Increasing sun exposure, light breezes, bring in if temps drop below 45°F |
| Day 10–14 | Leave out overnight when temps stay above 50°F, full sun exposure | Real-world conditions only bring in frost warnings |
| Day 14+ | Transplant into the garden | Fully acclimated and ready |
The goal? Let plants adjust their leaf thickness, stem strength, and water usage without going into shock.
Easier & Unconventional Methods for Hardening-Off
Not everyone has time to babysit seedlings for two weeks straight.
Good news: there are shortcuts that still work. These methods trade precision for practicality, and honestly, your plants will probably be just fine.
1. The “Lazy Gardener” Method
Wait until nighttime temperatures stay consistently above 10–15°C, then move your seedlings outside and just leave them there for a week. Pick a spot with partial shade and some wind protection.
- Pros: Zero daily shuffling, plants adapt on their own timeline
- Cons: Riskier if surprise cold snaps hit, not ideal for super tender plants like basil
2. Use Cloudy Days to Your Advantage
Overcast skies are nature’s grow lights. Cloud cover filters harsh rays and keeps temperatures stable, so seedlings can stay outside longer without stress.
Start your hardening-off process during a three-day stretch of cloudy weather, and you’ve already done half the work. Plants get real outdoor conditions without the risk of sunburn.
3. Single Move, Minimal Monitoring
Sometimes the best strategy is just parking your seedlings somewhere protected and forgetting about them (mostly).
Here’s how that looks:
| What You Do | Why It Works |
|---|---|
| Place seedlings in a covered porch, under a tree, or against a north-facing wall | Gets them outdoors permanently but shields them from intense sun and wind |
| Bring in only for frost warnings or severe storms | Avoids daily hassle while protecting from actual danger |
| Leave for 5–7 days before transplanting | Plants acclimate gradually without your constant attention |
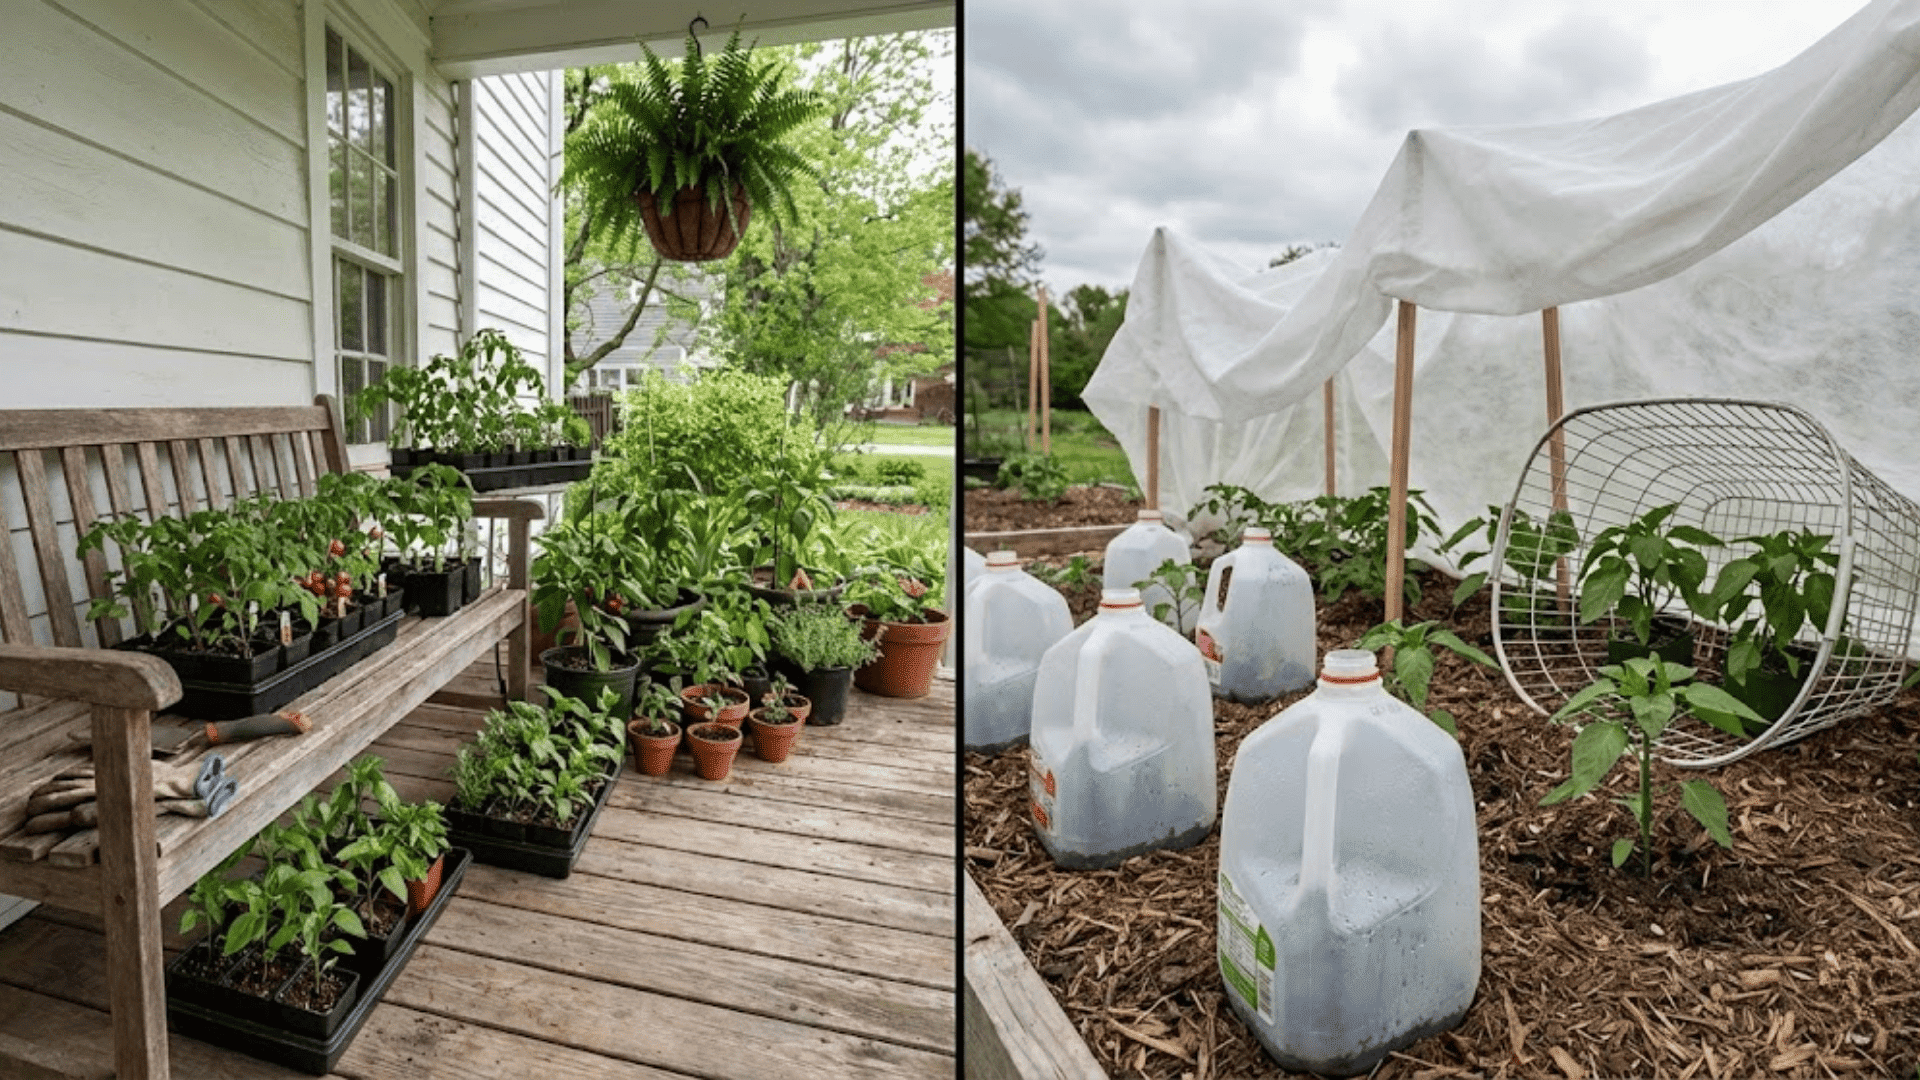
4. Faux Microclimates with Common Objects
You don’t need fancy gear to create little protective zones. Raid your recycling bin and garden shed instead:
- Cut-off milk jugs or soda bottles act as instant cloches, trapping warmth and blocking wind while still letting light through.
- Overturned buckets or large jars work the same way for bigger seedlings.
- Old laundry baskets flipped upside down give filtered light and airflow without full exposure.
- Shade cloth or row covers draped over stakes create a buffer zone that softens the sun and wind.
- Cardboard boxes with cutouts offer adjustable shade that you can move throughout the day.
These makeshift shields let you leave plants outside longer while they toughen up at their own pace.
Tools & DIY Aids to Make Hardening-Off Easier
Sometimes, a few smart tools can cut your hardening-off time in half or make the whole process hands-off.
Here’s what actually helps:
| Tool/Method | What It Does | Best For |
|---|---|---|
| Portable cold frames or mini greenhouses | Creates an adjustable transition space | Lots of seedlings, unpredictable weather |
| Indoor fans | Builds stem strength pre-hardening | Preventing transplant shock |
| Mulch or frost blankets | Buffers temperature and moisture | Newly transplanted seedlings |
| Shade cloth and row covers | Filters the sun, blocks the wind | Low-maintenance outdoor protection |
Creative, Low-Effort Hardening Hacks
Sometimes the smartest hardening off strategy is just letting your environment do the heavy lifting.
Here are 4 genuinely lazy hacks that work:
- Park trays near walls or fences where they catch natural breezes but stay shielded from harsh gusts.
- Tuck seedlings under tree canopies or porch eaves for automatic filtered light and rain protection.
- Use mild weather stretches to leave plants outside for days at a time without constantly checking on them.
- Find a semi-protected corner of your yard where conditions naturally ease plants into outdoor life while you go about your day.
The goal isn’t perfection. It’s getting your seedlings tough enough to survive without turning hardening off into a second job.
When & How to Skip Traditional Hardening-Off?

If you’re in a mild climate with no temperature extremes, you can sometimes plant directly outside during cloudy or early morning conditions.
This only works if your seedlings have already seen some natural light through windows or spent time in a greenhouse.
Before skipping hardening off, do a quick check:
- Are the stems thick and sturdy, not spindly?
- Do leaves feel firm and slightly waxy, not paper-thin?
If yes, they might handle a direct move. Start them in a shaded spot for two days before full sun exposure. Still risky for tender plants like tomatoes and peppers, but totally doable for hardier greens and herbs.
Quick Troubleshooting Tips for Hardening-Off Problems
Even with the best intentions, seedlings sometimes freak out. Here’s how to save them when things go sideways.
Issue 1: Leaves Turn White or Brown
The Fix: Move plants back to shade immediately, trim damaged leaves, and slow down your exposure schedule by half.
Issue 2: Seedlings Wilt Despite Watering
The Fix: Increase humidity with a makeshift cover, water in the evening, and reduce outdoor time until they perk up.
Issue 3: Plants Look Stunned or Droopy
The Fix: Keep them in consistent conditions for a few days, avoid fertilizing, and give roots time to recover before pushing them further.
Best Practices for Different Plant Types
Not all seedlings toughen up at the same speed. Some can handle a rough transition, while others need a gentler touch. Here’s how to adjust your approach:
- Cool-season crops (lettuce, kale, broccoli) handle temperatures down to 4°C and actually perform better with cold exposure. Perfect for lazy methods.
- Warm-season crops (tomatoes, peppers, squash) can stall growth for weeks after cold exposure. One gardener’s peppers stopped setting fruit after a single 7°C night.
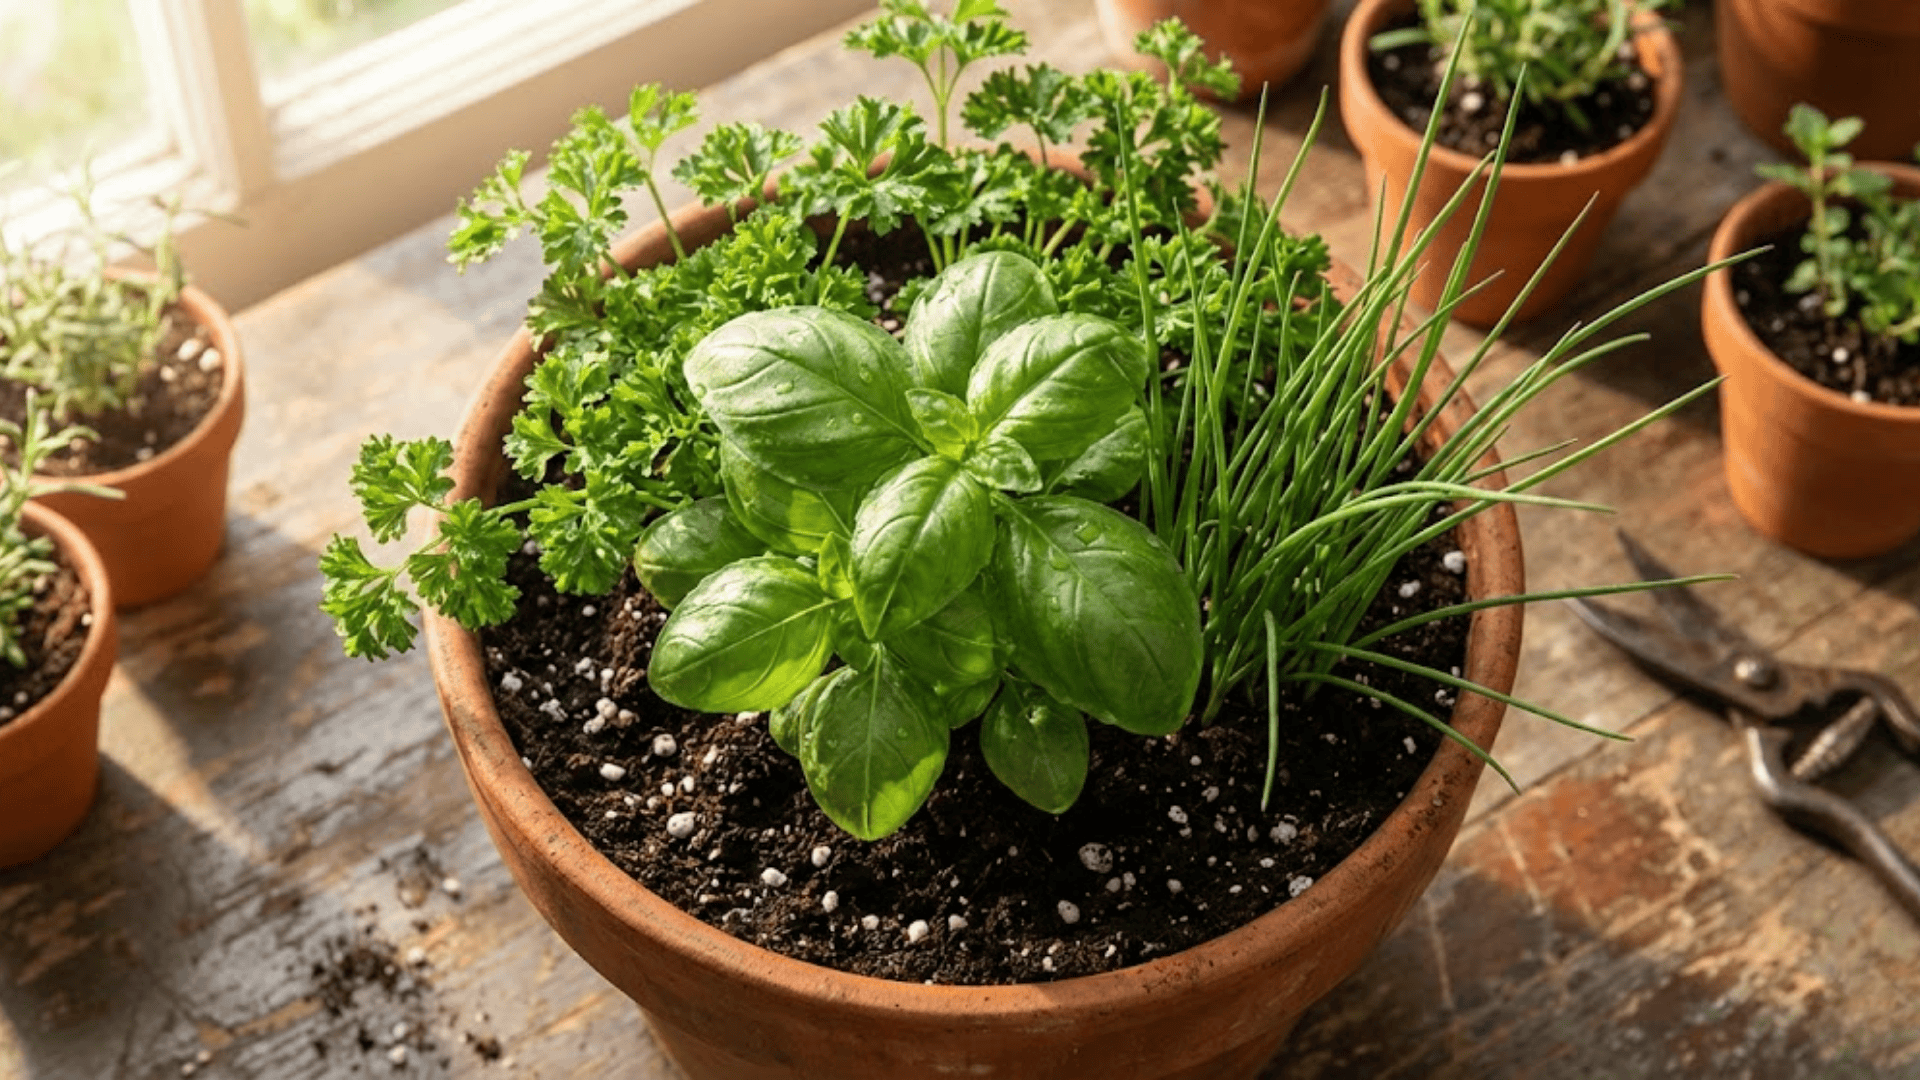
- Basil is notoriously touchy. Temperatures below 10°C cause leaf blackening. Many growers skip outdoor hardening and acclimate it under shade cloth in the final spot.
- Leaf texture beats plant type. Waxy, stiff leaves tolerate shortcuts better than soft foliage. Weekend gardeners on Reddit match methods to their schedules this way.
The real hack? Match your laziness level to leaf texture and temperature tolerance, not just what the seed packet says.
Final Thoughts
Hardening-off seedlings does not have to mean two weeks of plant shuffling if that’s not your style.
The plants that make it to harvest are the ones that actually get transplanted, not the ones stuck in perfect indoor conditions forever.
Pick a method that fits your life, watch for the basics like leaf texture and temperature tolerance, and trust that your seedlings are tougher than you think.
What’s your go-to shortcut for getting plants garden-ready? Drop your laziest (but effective) hardening-off trick in the comments below.