Transplanting grass might sound like a tough job, but I’ve done it myself, and it’s honestly easier than you’d think.
If you’ve got bare spots in your yard, thinning patches, or you’re just looking to shift some healthy grass to a new place, I’m here to help you do it right.
I’ll walk you through each step I’ve learned along the way, from prepping the area to watering it just right afterward. You don’t need fancy tools or expert-level skills, just a bit of time, care, and the right method.
With the tips I’ll share, your lawn will look fuller, greener, and healthier in no time.
Ready to get your hands a little dirty and your lawn looking great?
Let’s jump in and give your grass a fresh new start!
Why is Transplanting Grass Necessary?
Transplanting grass is a smart way to repair bare patches, improve lawn density, or move healthy sod to a more visible area. It’s especially helpful after landscape changes, damage from foot traffic, pets, or drought.
Instead of reseeding and waiting weeks for growth, transplanting offers an instant green fix using grass you already have. It’s commonly done with sod or plugs and works well for both cool- and warm-season grasses.
When done correctly, transplanted grass adapts quickly and blends in with the existing lawn. This method is not only cost-effective but also environmentally friendly, as it repurposes existing growth.
Whether you’re reshaping a flower bed or fixing uneven patches, transplanting grass can help restore a seamless, lush look across your yard.
Step-by-Step Guide: How to Transplant Grass
Want to fill in patchy spots or upgrade your lawn? This simple, step-by-step guide shows you exactly how I transplant grass using tools like the ProPlugger.
Each step is easy to follow and helps you get a greener, healthier yard without a lot of guesswork.
Materials You’ll Need
Gathering the right tools makes transplanting easier, quicker, and cleaner. These simple materials help you get professional-looking results fast.
- ProPlugger Tool: A foot-press tool that neatly pulls and plants grass plugs with uniform depth and spacing.
- Healthy Zoysia Grass for Plugs: Use thick, healthy Zoysia patches to create plugs that spread and effectively replace weaker grass.
- Garden Hose or Watering Can: Helps lightly water plugs if dry. Supports healthy rooting without overwatering or flooding the area.
- Sand (Optional for Leveling): Fills low spots after transplanting. Use sparingly to level plugs without stressing the grass.
- Gardening Gloves (Optional): Keep hands clean and protected. Helpful for grip and comfort during long planting sessions.
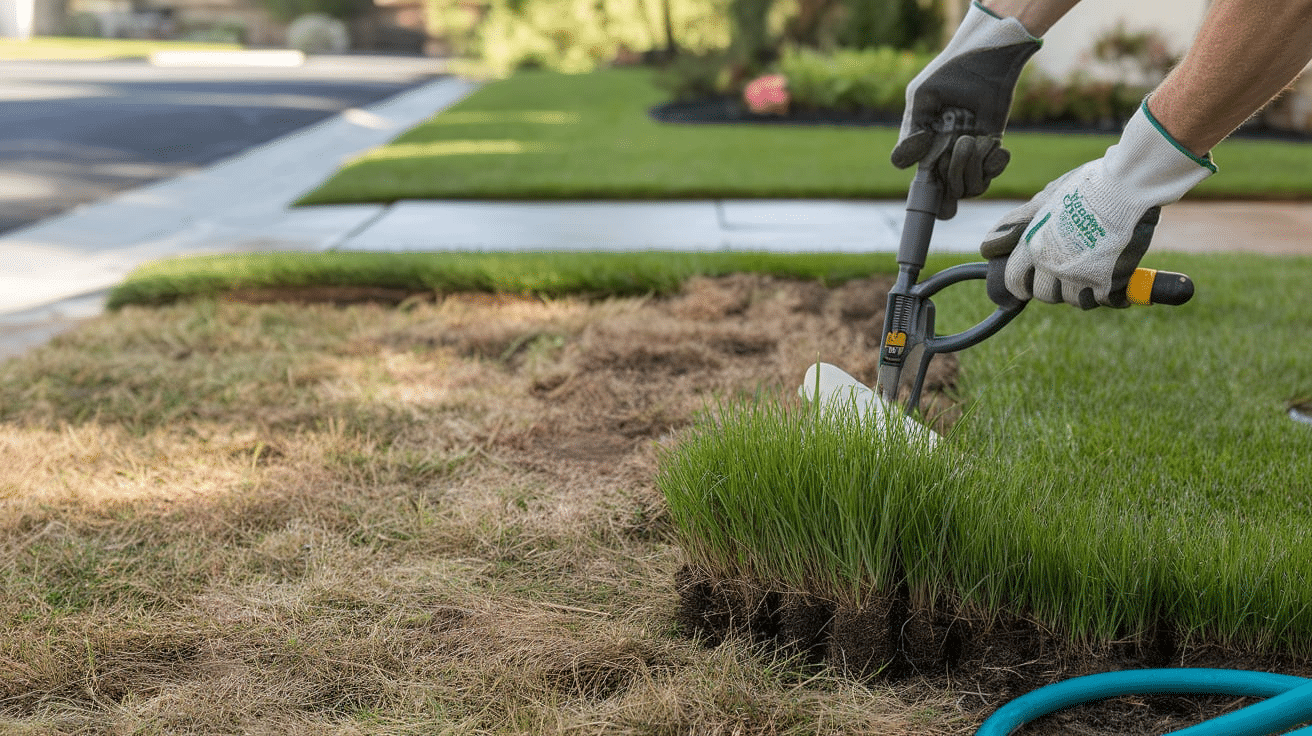
Step 1: Harvest Plugs Using the ProPlugger
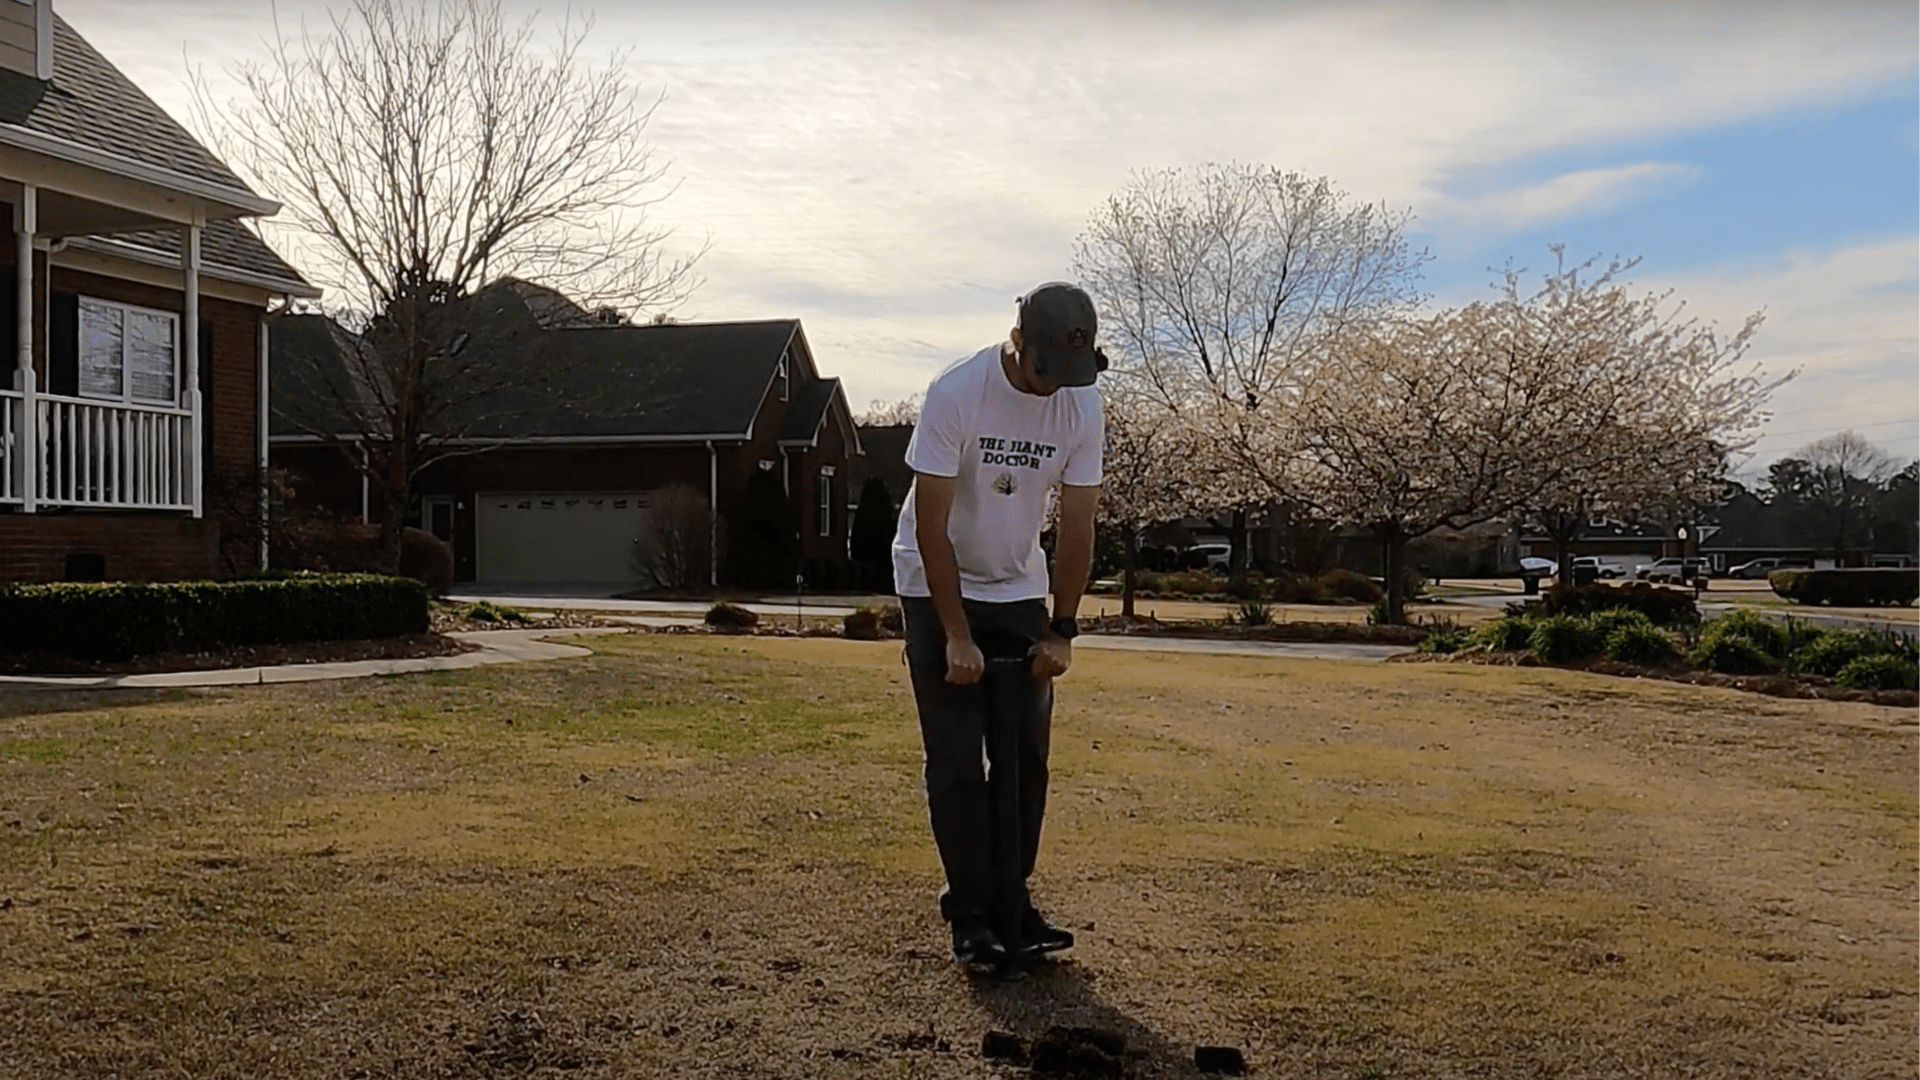
Use a ProPlugger to remove small cylindrical plugs of Zoysia from healthy areas. It’s a hollow tube tool that lets you collect plugs easily by stepping down on it.
Dr. Warren gathers 8–9 plugs per round from a thick patch of Zoysia along the side of his house. These plugs will serve as the starting points for transplanting into weaker areas of your lawn.
Step 2: Plan and Prepare the Planting Area
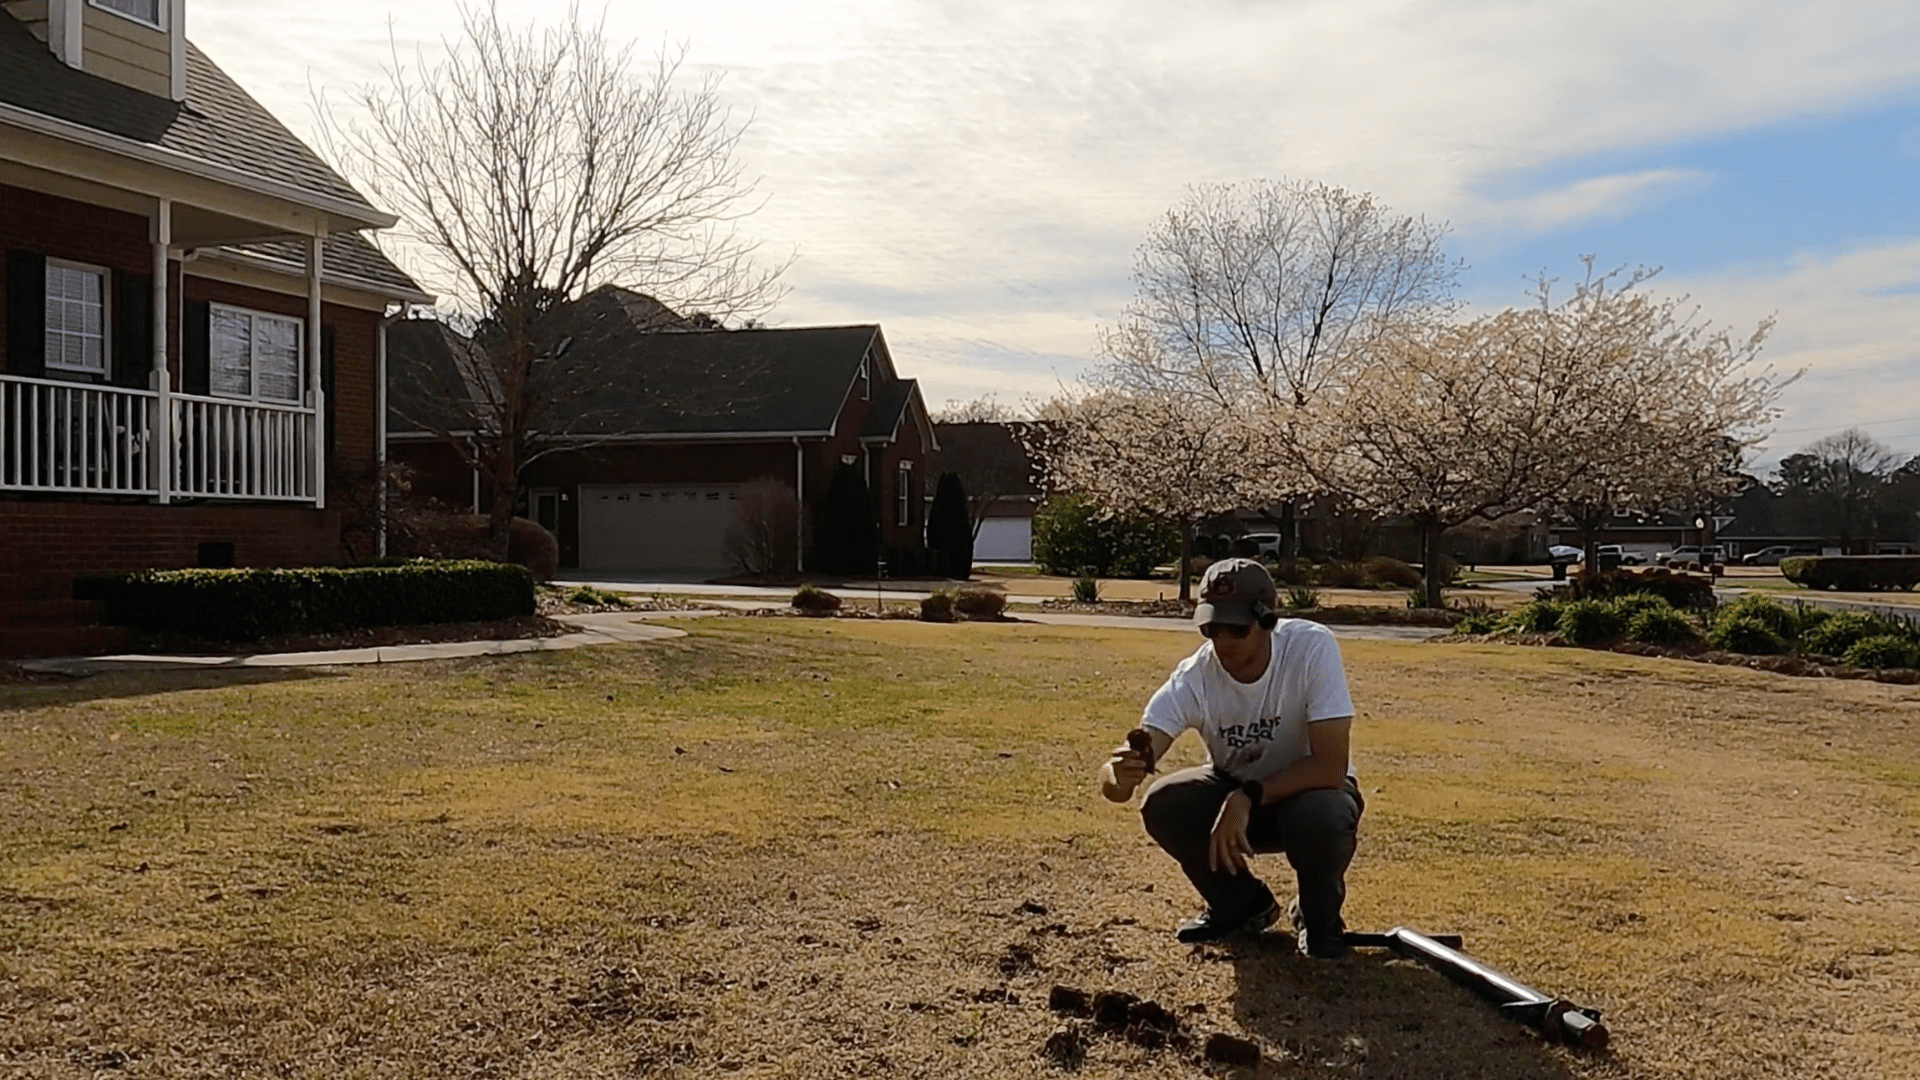
Choose areas where the grass is thin or uneven, like Dr. Warren’s front yard, which had a rough mix of Bermuda and Zoysia.
Space the holes about one foot apart for consistent growth. Use the ProPlugger again to make holes in these areas. Try to maintain even depth and spacing, so the new plugs sit at the same level as the surrounding ground.
Step 3: Insert the Zoysia Plugs
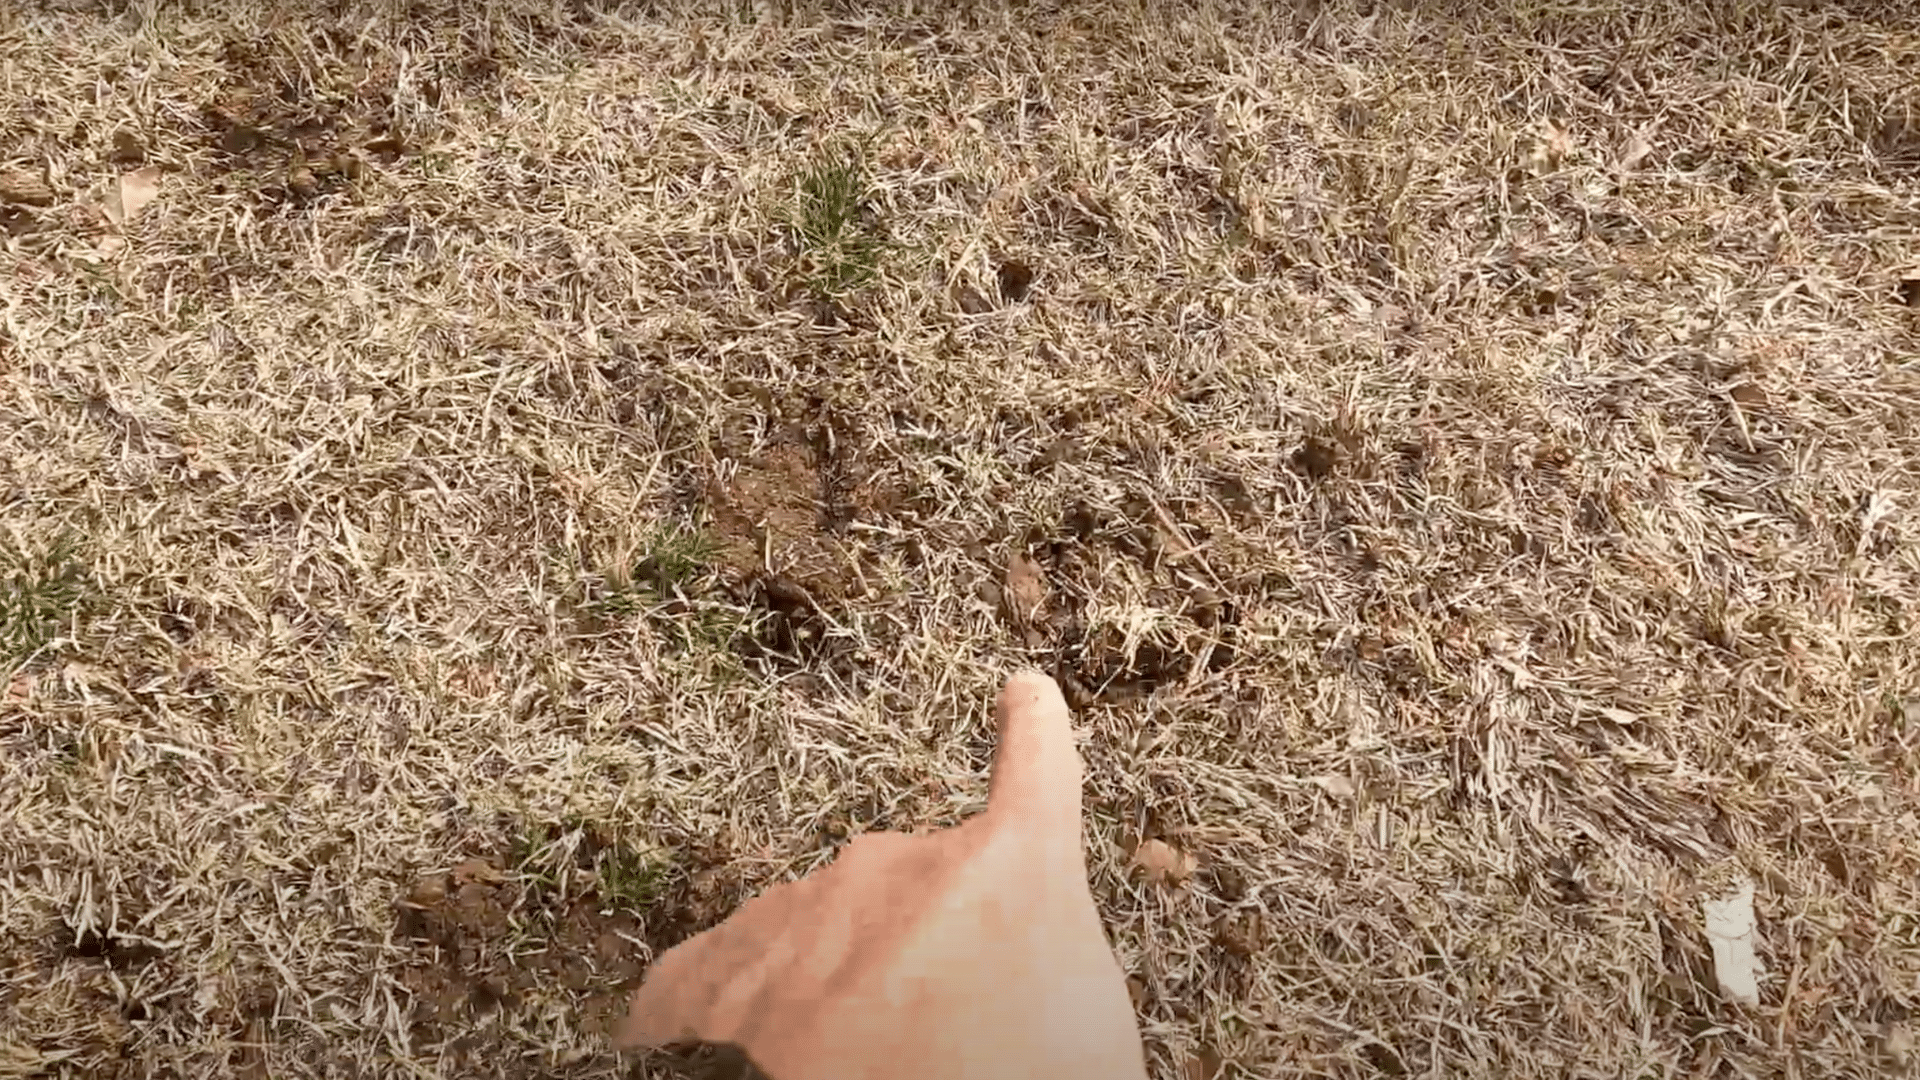
Drop each Zoysia plug directly into the new hole. Push it down gently until it sits flush with the soil line.
If the plug loses some soil during removal, you can use any loose soil nearby to level it out.
Dr. Warren demonstrates how quickly this can be done, just a few minutes to install several plugs across the lawn with minimal effort.
Step 4: Refill Donor Holes with Bermuda
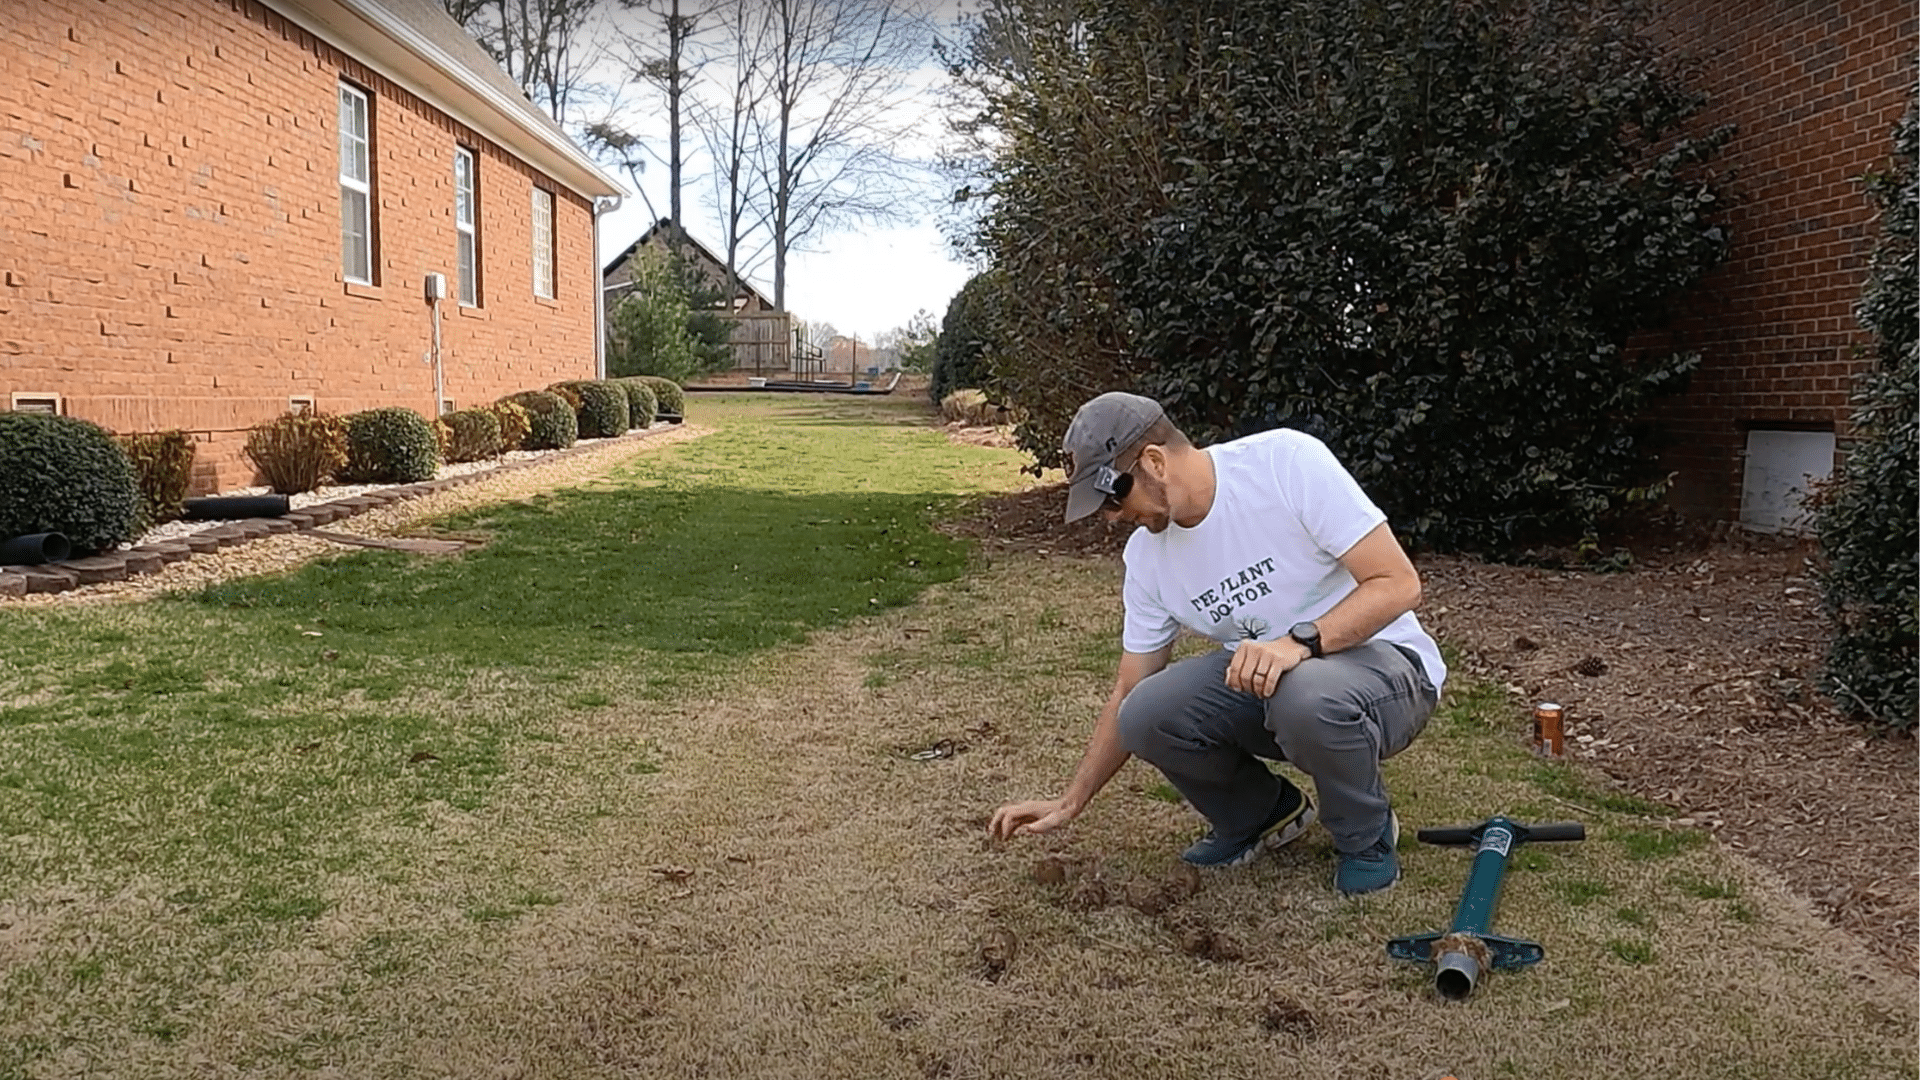
Dr. Warren reuses the Bermuda grass plugs he removed by flipping them upside down and pressing them back into the donor holes.
This helps fill the gaps and prevents Bermuda from quickly regrowing in the Zoysia donor area. It’s not essential, but it keeps the yard tidy and may slow down the unwanted regrowth of the weaker grass.
Recommended: Check out this step-by-step video on transplanting grass using a ProPlugger! Watch how @Dr.Warren does it in real time and get extra tips along the way.
Choosing the Right Grass Type
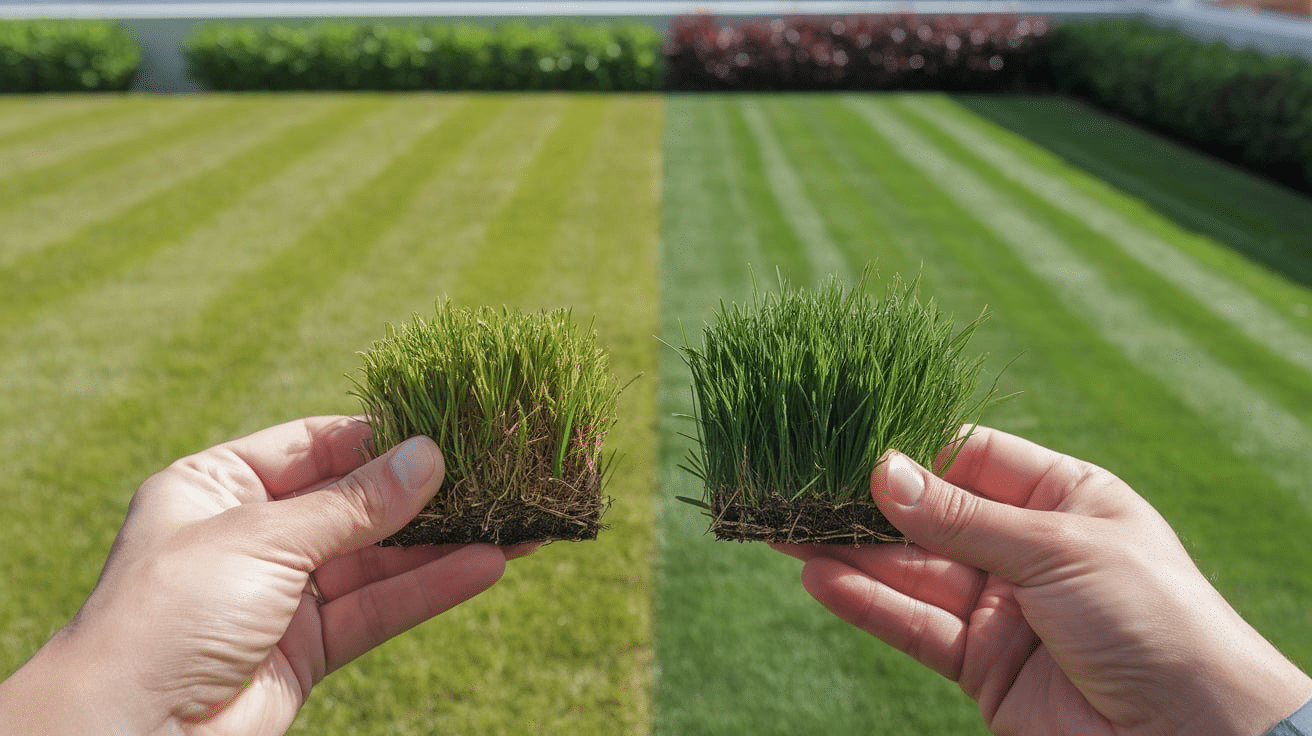
Choosing the right grass is crucial, especially when transplanting.Choosing the right grass ensures your plugs grow evenly and match your lawn’s texture, color, and seasonal growth patterns.
1. Warm vs. Cool Season Grasses
Knowing which you have helps you transplant at the right time and care for it properly.
| Grass Type | Best for | Growth Peak | Dormant During | Examples |
|---|---|---|---|---|
| Warm-Season Grasses | Hot, southern climates | Late spring to summer | Fall and winter | Bermuda, Zoysia, St. Augustine |
| Cool-Season Grasses | Cooler, northern regions | Spring and fall | Summer (heat stress) | Kentucky Bluegrass, Fescue, Ryegrass |
2. Matching with Your Existing Lawn
Don’t mix grass types unless you’re okay with a patchy lawn. Matching the transplanted grass to what’s already growing helps keep your yard looking even, both in color and texture.
If you’re unsure about your current grass type, take a small piece to a local garden center or check with a lawn care expert for the best match.
Watering Schedule After Transplant
Overwatering or underwatering can ruin all your hard work, and I’ve learned that the balance really matters. Right after transplanting, give the grass a deep watering to help the roots settle into the new soil.
For the first week, water lightly once or twice a day, keeping the grass moist but not soggy. In week two, reduce watering to once a day or every other day, depending on rainfall and temperature.
By the third week, your grass should start establishing roots. At that point, water two to three times a week with longer, deeper soakings.
Always water in the early morning to avoid evaporation and reduce the risk of disease. Stick to this schedule, and your transplanted grass should take off beautifully.
Tips for Transplanting Grass
Want your grass plugs to thrive? From timing and watering to spacing and soil contact, each tip helps make the transplant process easier and more successful.
Follow these steps, and you’ll give your lawn the best chance to grow in thick, green, and healthy.
1. Pick the Right Time of Year
Transplant during the growing season for your grass type. Cool-season grasses thrive in early spring or fall, while warm-season grasses like Zoysia do best in late spring to early summer.
Choosing the right season gives your plugs the best chance to establish roots and start spreading quickly.
2. Select Healthy Donor Grass
Use only thick, green, and disease-free grass for transplanting. Weak or stressed grass won’t recover well after being moved.
The stronger your donor plugs are, the easier they’ll take root and grow. Look for dense patches in your yard or a neighbor’s with permission to collect your plugs.
3. Water Before Plugging
Water the donor area about an hour before taking plugs. Moist soil makes it easier to pull clean plugs without tearing the roots.
It also reduces transplant shock and keeps the grass healthier. Don’t overdo it—just enough to soften the soil and keep the roots hydrated during the process.
4. Use the Right Spacing
Space your plugs about one foot apart for even coverage. If you place them too far apart, it’ll take longer for them to fill in.
Closer spacing speeds up results but requires more plugs. Choose spacing based on how quickly you want full coverage and how many plugs you have.
5. Keep Plugs Moist Until Planted
Don’t let plugs sit out in the sun. If they dry out, they may die before they can root. Keep them in a shaded bucket or lightly mist them if you’re working slowly.
Moist roots are essential for a successful transplant and fast establishment in the new location.
6. Plant at the Same Depth
Each plug should sit flush with the ground, not too high, not sunken. If it’s too high, it may dry out quickly.
Too low, and it can rot or fail to root properly. Level planting helps the grass integrate seamlessly into your lawn and ensures smoother mowing later on.
7. Press Plugs Firmly into Place
Once you drop a plug into its hole, press it down firmly so it makes full contact with the soil.
Loose plugs can shift, dry out, or fail to establish roots. A snug fit keeps moisture close to the roots and helps them anchor quickly for faster growth.
8. Water Lightly but Consistently
Water the plugs lightly every day for the first week to keep them moist. Start cutting back in week two.
Avoid flooding the area with too much water, as it can cause rot. Once the plug roots, switch to deeper watering a few times a week to encourage healthy root development.
9. Monitor and Fill Low Spots
After a few weeks, check for sunken areas where plugs may have settled. Fill these spots with a bit of sand to level the surface.
This prevents water pooling and makes mowing easier. Spot-leveling with sand is safe for small areas, especially when working with Zoysia or Bermuda grass.
Common Mistakes to Avoid
Avoiding common mistakes can save you time and frustration. These are the slip-ups I’ve learned from, so you can get better results with your transplanting.
- Transplanting in extreme heat or cold: Grass struggles to take root outside its growing season.
- Letting the roots dry out: Always keep the grass moist during the move.
- Skipping soil prep: Loose, fertile soil gives roots the best chance to establish.
- Over or under-watering after transplant: Too much causes rot, too little leads to wilt.
- Mismatching grass types: Leads to uneven growth and clashing textures.
Conclusion
Transplanting grass truly gave my yard a fresh start, and I believe it can do the same for yours.
It might feel like a lot at first, but once you get going, you’ll see how simple and satisfying it really is. I’ve walked you through everything I’ve learned from choosing the right grass to knowing when it’s ready to thrive.
Now it’s your turn to try it out. Don’t let those patchy spots or bare areas drag down your lawn’s look.
With a little time and care, you can transform your outdoor space. Grab your tools, follow the steps, and see the difference for yourself.
If you run into any trouble or want to share how it went, drop a comment—I’d love to hear about your grass success story!