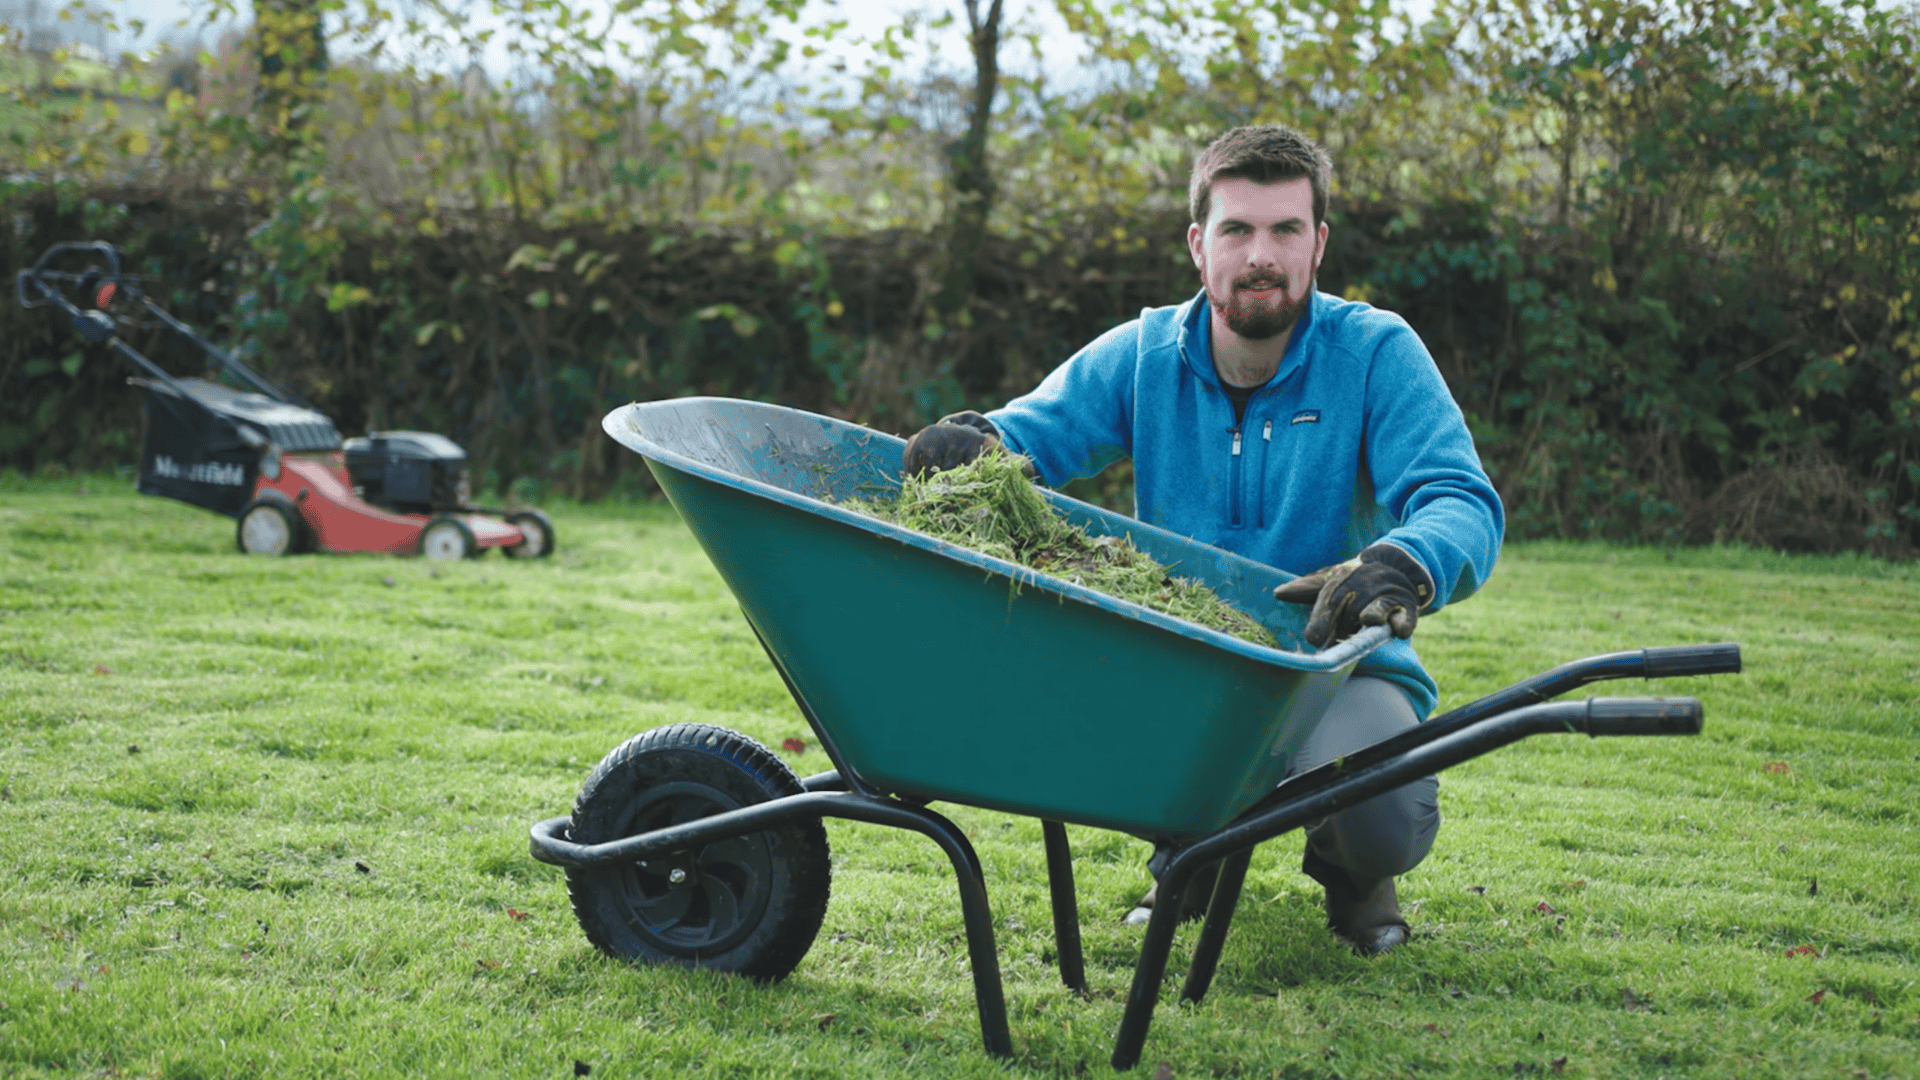
Composting feels big from the outside, but once you see how it works, it’s honestly pretty simple. You’re turning scraps into something useful, and you don’t need special gear or skills to pull it off.
If you’ve been trying to figure out how to start a compost bin, this guide breaks it all down in a way that feels real and doable.
I’ll walk you through the setup, the materials, the process, and the small habits that keep everything running steady. By the time you’re done, you’ll know exactly what to expect and how to get started without overthinking it.
Choosing the Right Compost Setup
People worry composting is complicated, but it’s mostly just picking a setup that fits your space and letting the process do its thing. You add scraps, mix now and then, and keep the balance right so it stays clean and smell-free.
Once you understand the basics, choosing how you want to compost becomes a lot easier because every style works if you keep it simple.
Compost Bin vs. Pile vs. Tumbler
Each of these setups works well, and the best choice depends on your space, your pace, and how much you want to manage the pile.
Compost Bin
A bin keeps everything contained. It looks neat, holds heat well, and keeps scraps from blowing around. You just drop material in and mix it once in a while.
- Pros: clean setup, fewer pests, steady breakdown
- Cons: fills up fast if you make a lot of scraps
- Best for: people who want something tidy and low effort
Compost Pile
A pile is the simplest version. No lid, no walls, just a spot in the yard. Nature handles the rest.
- Pros: cheap, easy, great for big yards or lots of leaves
- Cons: looks messy, loses heat fast, more open to animals
- Best for: people with plenty of space who don’t care about looks
Compost Tumbler
A tumbler is a sealed barrel you spin to mix the scraps. It breaks things down fast when it stays balanced.
- Pros: quick results, clean, easy to turn
- Cons: smaller capacity, dries out faster than people expect
- Best for: people who want a clean, fast setup without a lot of hands-on work
Indoor vs. Outdoor Composting
You’ve got two main ways to compost, and the best choice comes down to your space and how hands-on you want to be.
Indoor composting works when you don’t have a yard or you want something you can manage year-round. It’s clean if you keep the mix right, and most setups stay smell-free. Apartments, condos, and cold-weather spots all fit this style.
Outdoor composting gives you more room and more flexibility. You can use a bin, a pile, or a tumbler, and you don’t have to worry as much about airflow or space. This works well for yards, patios, gardens, or any spot where you can set a bin down and leave it alone.
Simple Indoor Options
You’ve got a few easy ways to compost inside:
- Countertop bin with a filter: This holds your scraps for a few days without smell. It’s not the composting part, but it’s part of the system.
- Bokashi bucket: A sealed bucket that breaks food down fast using a special bran. Great for small spaces.
- Worm bin: A small box with worms that quietly turn your scraps into compost. No smell, no noise, fits under a sink.
Simple Outdoor Options
- Compost bin: Keeps things contained and neat. Good for most yards.
- Compost pile: Easy and cheap. Just pick a corner and start stacking.
- Compost tumbler: Sealed, clean, and easy to spin. Breaks things down fast if you keep it balanced.
Where to Place Your Compost Bin
You don’t need the perfect spot, just a spot that helps the pile work the way it should. A good location makes the whole process smoother and cuts down on issues before they even show up.
Sun vs. shade: Compost breaks down faster with some warmth, so a spot with light sun works well. Full shade still works, just slower. Full sun can dry things out, so you’ll need to check moisture more often.
Drainage: Pick a spot where water doesn’t pool. Compost needs to stay damp, not soaked, and soggy piles slow everything down. A patch of soil or grass keeps things draining the right way.
Distance from house: Keep it close enough that you’ll actually use it, but not right up against the door. A short walk is fine. You want easy access without having scraps right under your window.
Common placement mistakes: People run into trouble when they set bins on uneven ground, tuck them in dark corners they forget about, or place them where rain turns everything into mud.
Putting a bin too far away also makes it easy to stop using it. A good spot is level, reachable, and has steady airflow.
What to Put in a Compost Bin (And What to Avoid)
The mix you use is what makes compost work. When you keep the balance right, the pile breaks down fast, stays clean, and never smells like anything other than fresh soil.
Browns (Carbon Materials)
Browns keep the pile steady. They soak up moisture, add structure, and help everything break down at a healthy pace.
- Examples: dry leaves, cardboard, paper, wood chips, shredded paper bags, straw
- Why they matter: they keep the pile from getting too wet and stop odors before they start
Greens (Nitrogen Materials)
Greens bring the energy that gets the pile heating up. They break down fast and keep the microbes fed.
- Examples: fruit scraps, veggie scraps, coffee grounds, tea bags, grass clippings
- Why they matter: they help the pile heat up and break down quicker
What Not to Compost
Some stuff breaks down too slow, attracts pests, or throws off the balance.
- Avoid: meat, dairy, oily food, cooked food, glossy paper, pet waste, diseased plants
- Why: these can smell, bring in animals, or add things you don’t want in your soil
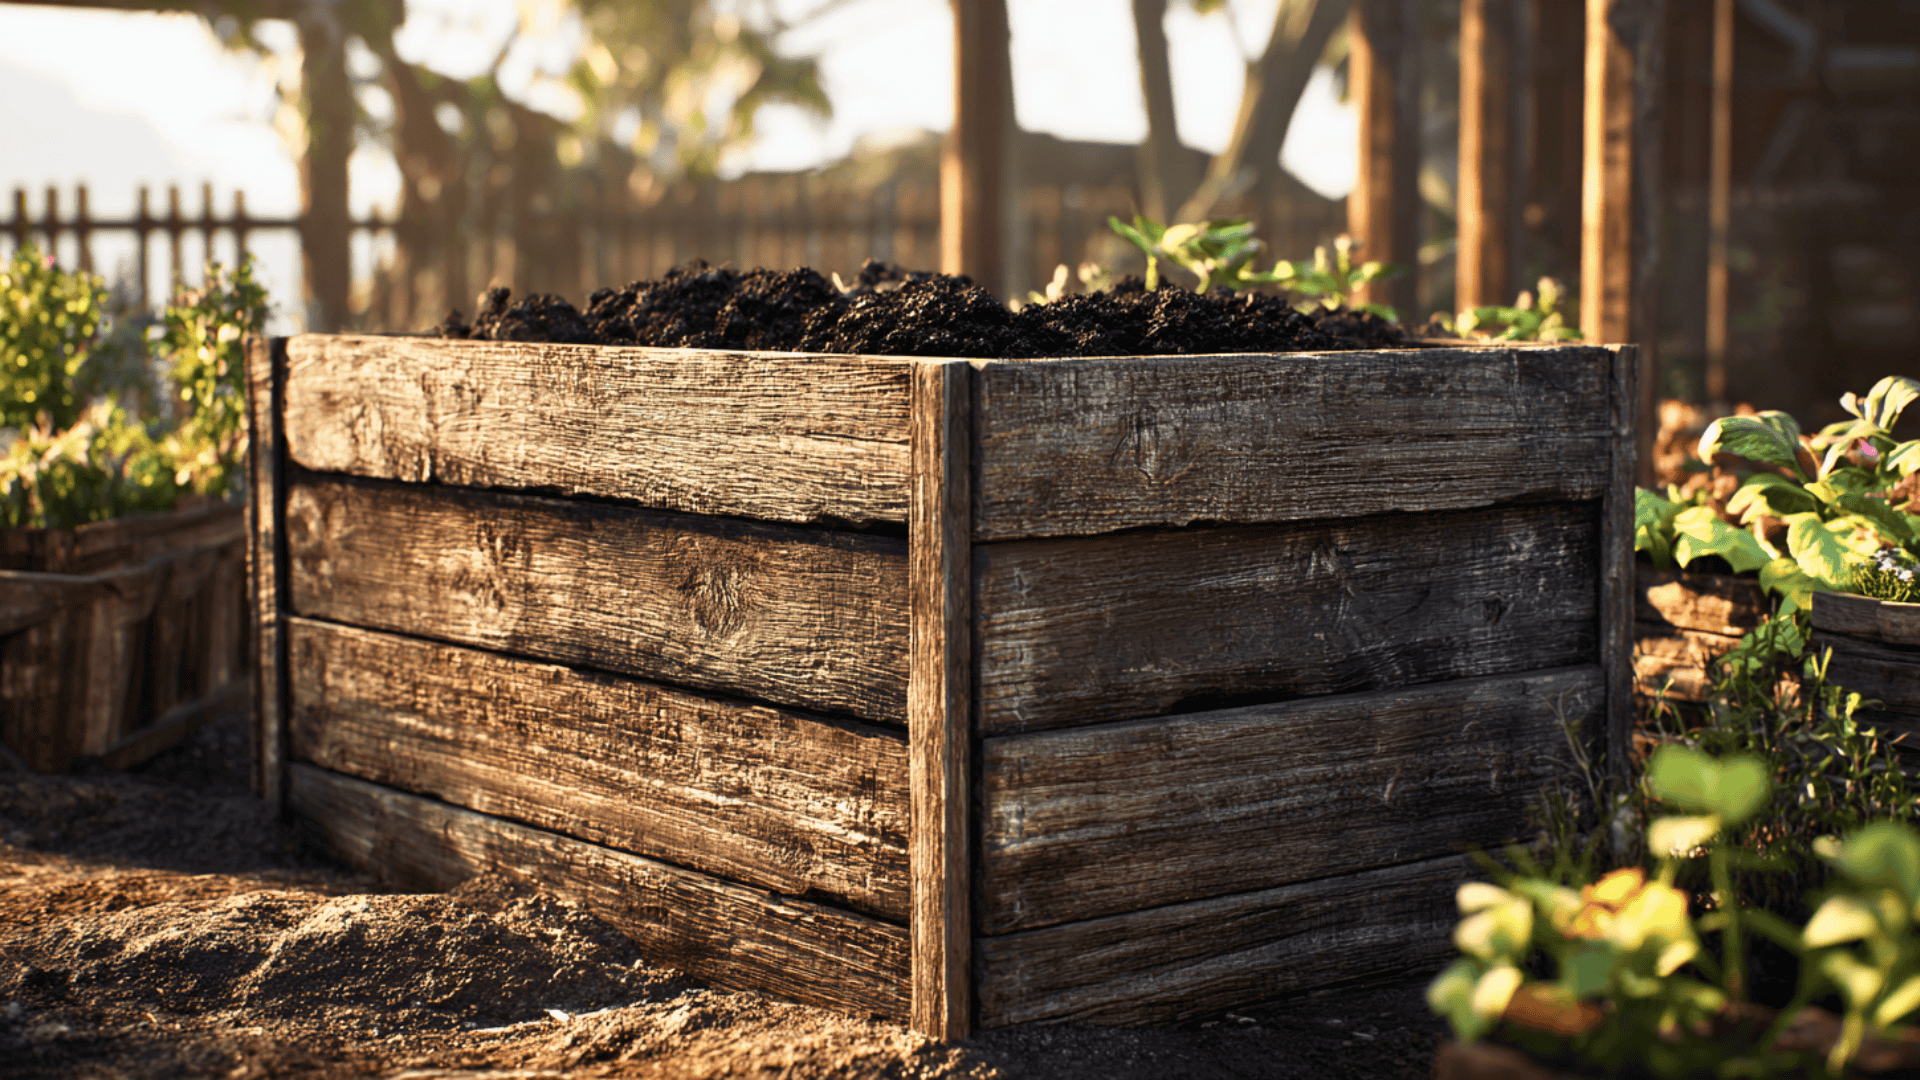
How to Start Your Compost Bin: Step-by-Step DIY Guide
Once you know your setup and your materials, starting the bin is pretty straightforward. The goal here isn’t perfection. You just follow the steps and give the pile what it needs so it can heat up and break down on its own.
Step 1: Set up Your Bin in A Good Spot
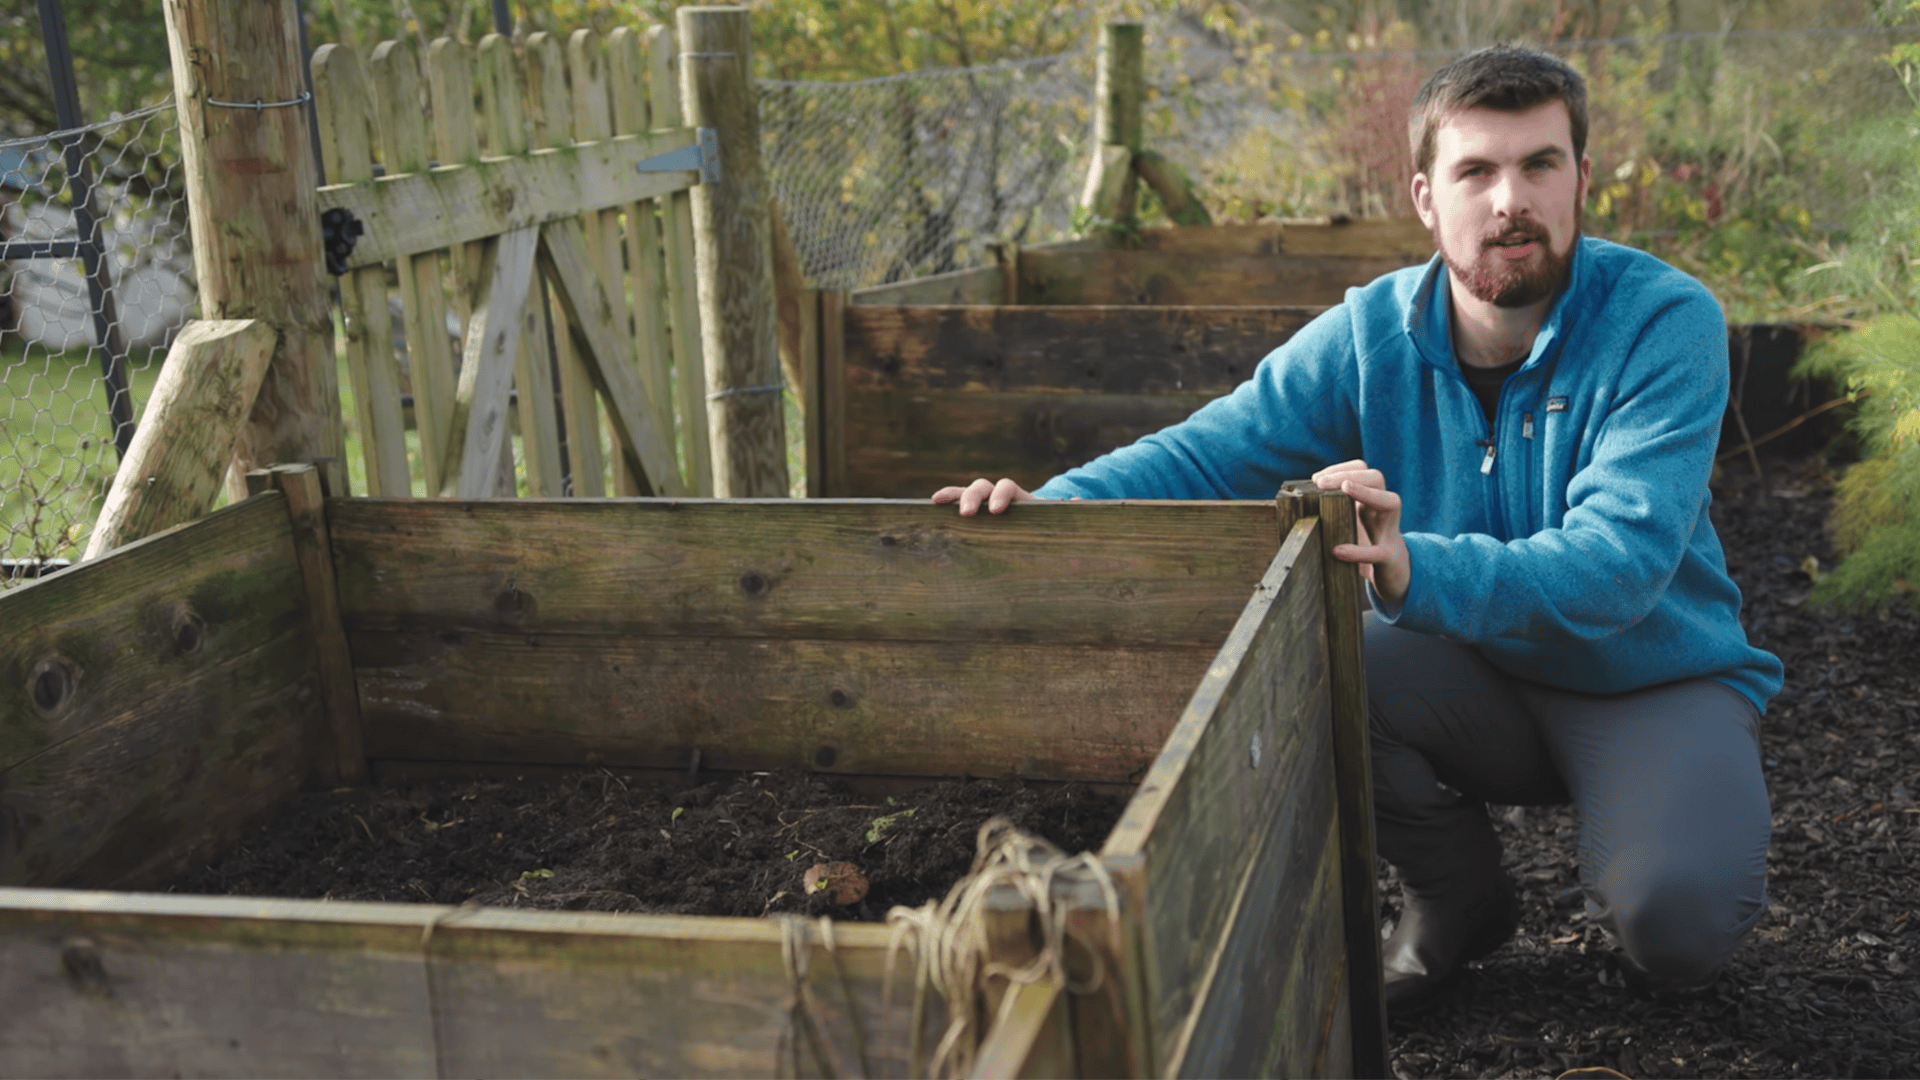
Place the bin on bare soil so worms and helpful bugs can get inside. A bin that’s around three feet wide works well because it holds heat, but any steady outdoor bin will do as long as it has airflow. Keep it close enough that you’ll use it all year.
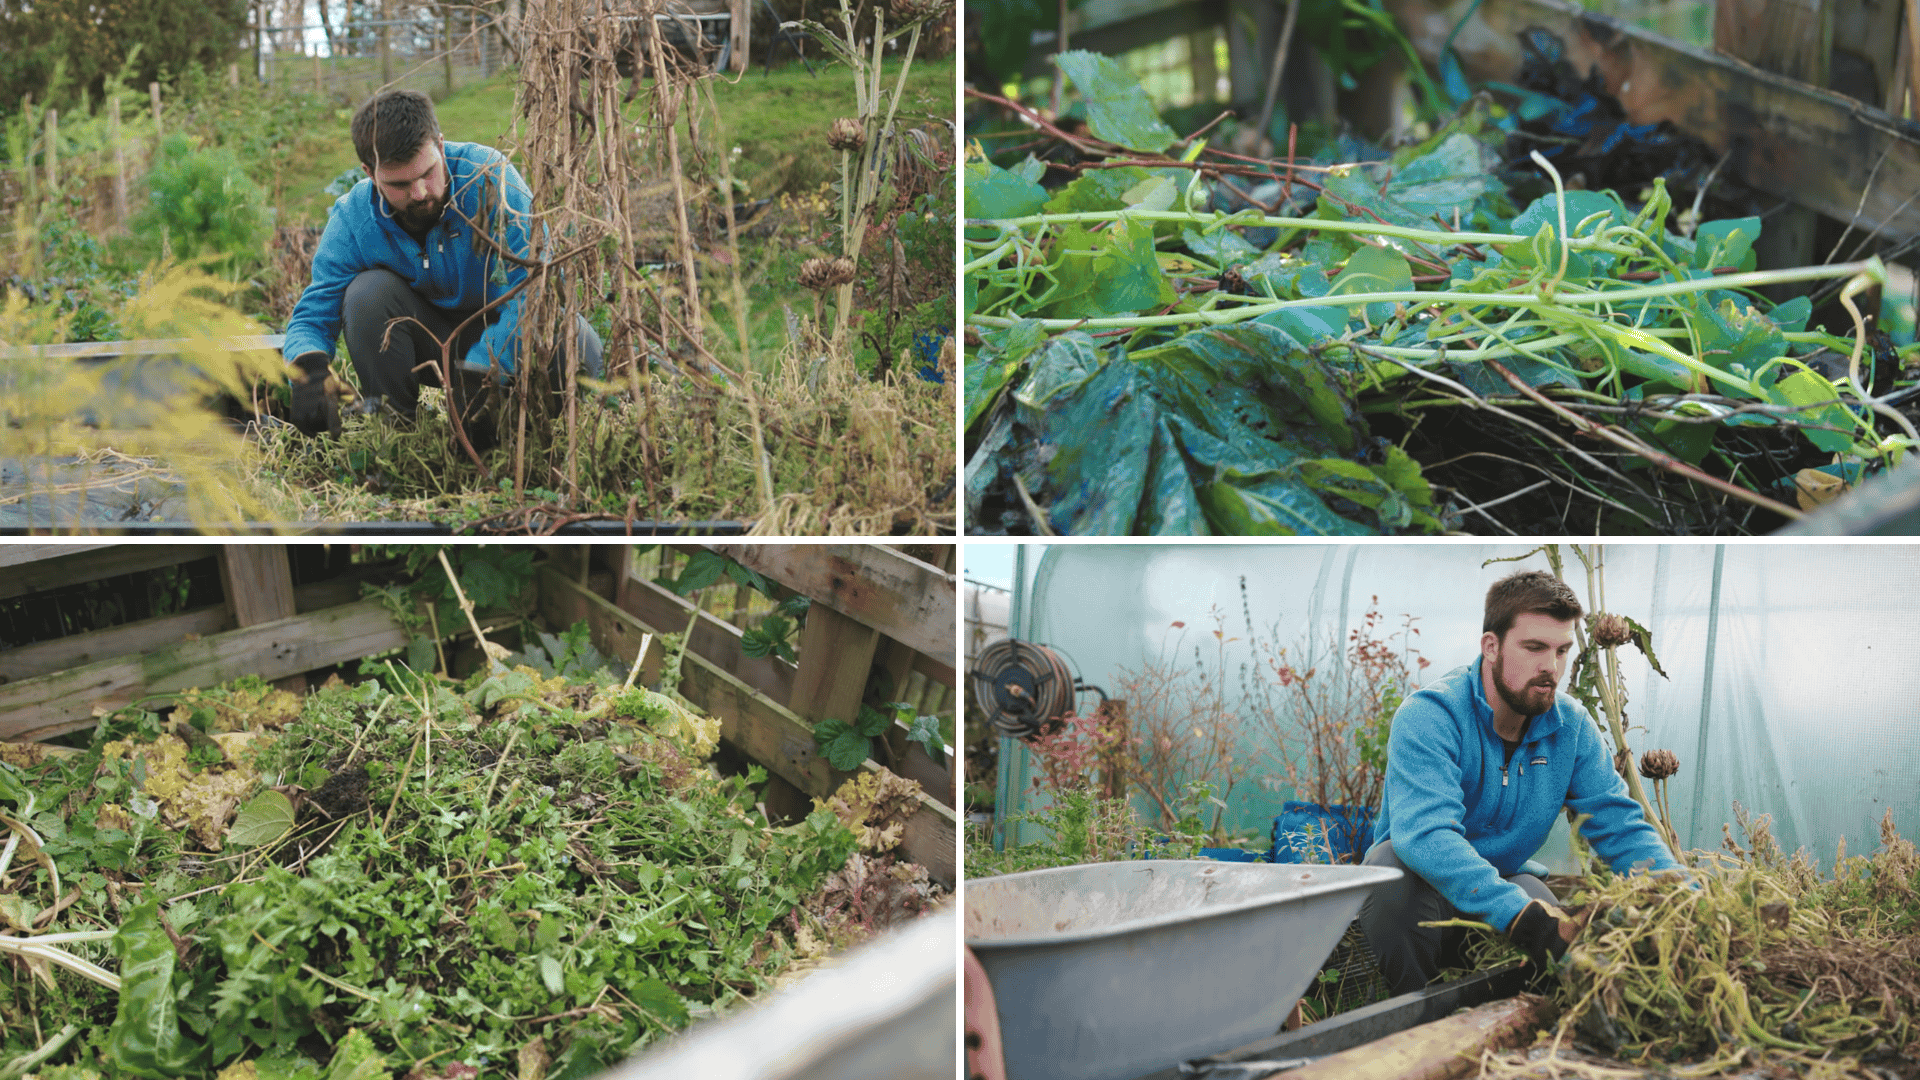
Step 2: Gather Your Browns and Greens
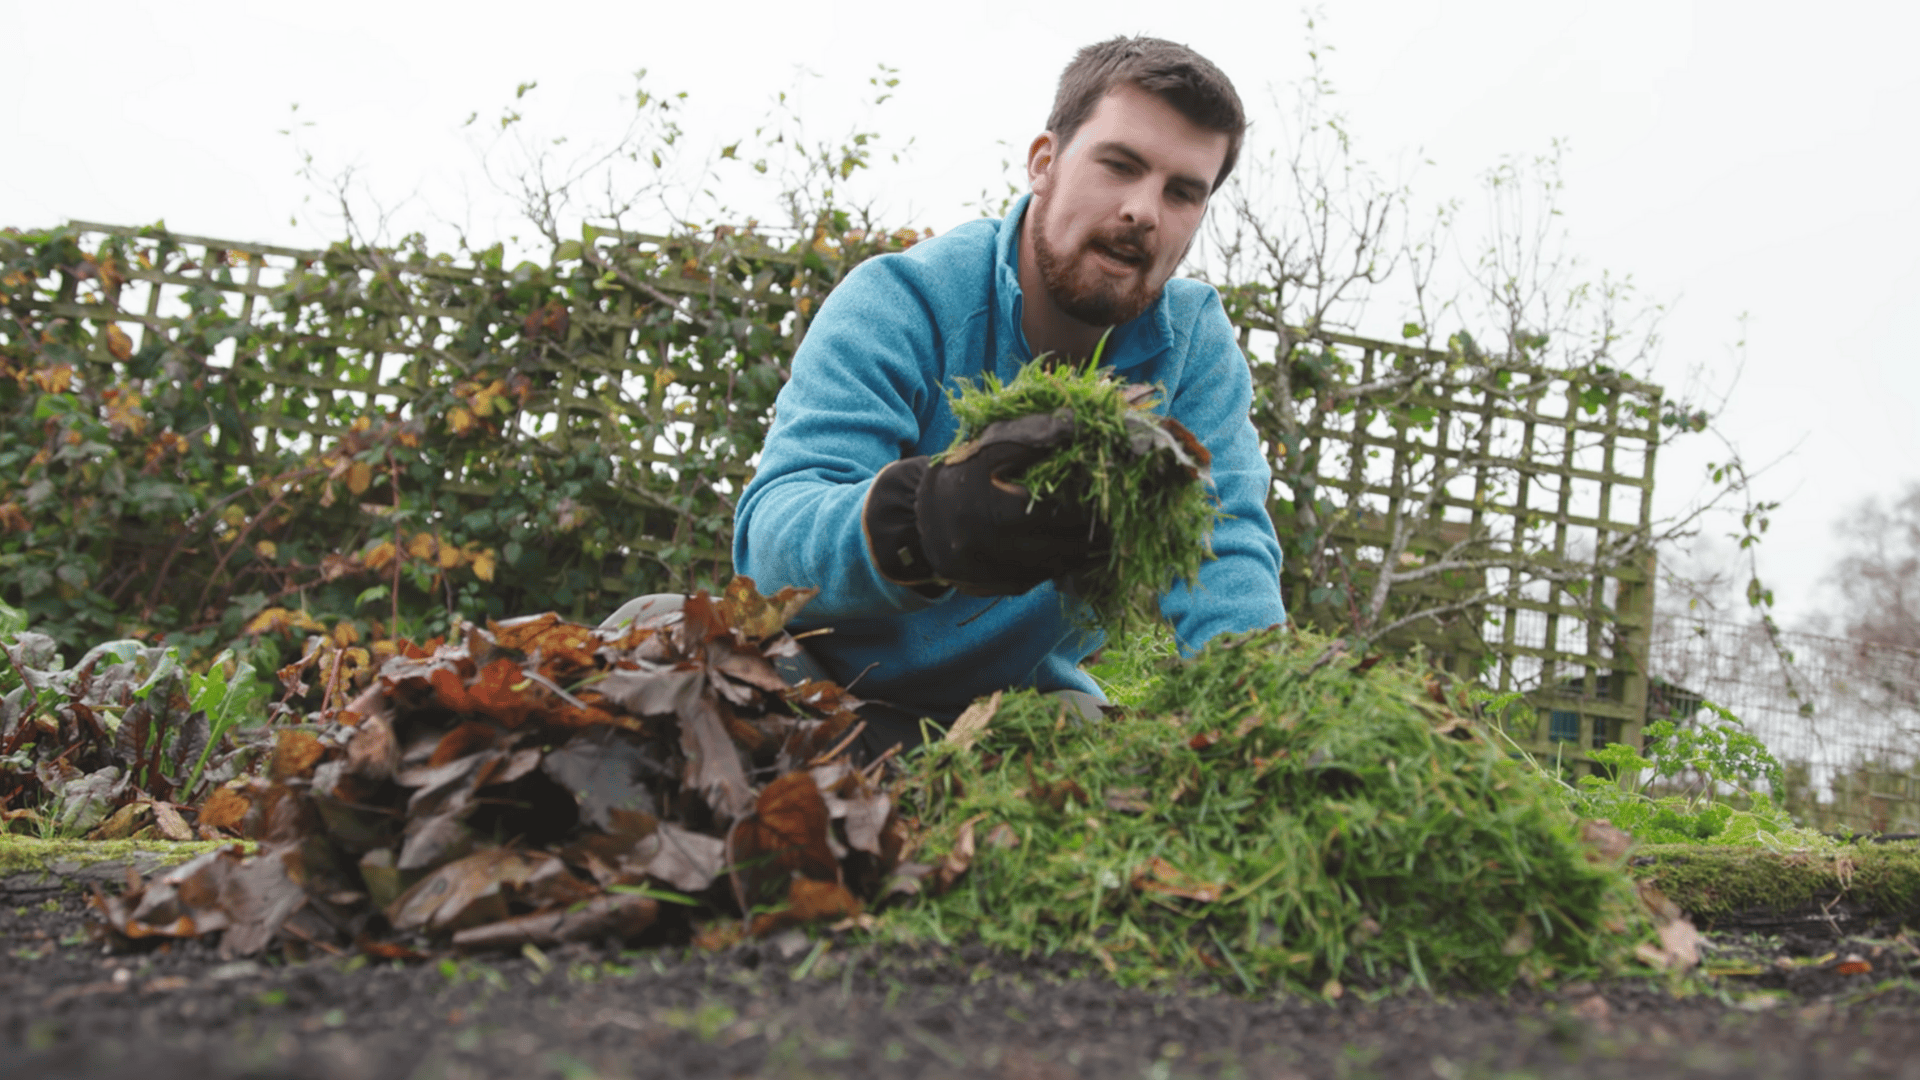
You only need plant-based scraps. Browns are things like dry leaves, cardboard, and paper. Greens are your fruit and veggie scraps, coffee grounds, and fresh yard waste. Skip cooked food, dairy, and oily stuff so the pile stays balanced and clean.
Step 3: Add Scraps as You Get Them
You don’t have to layer everything perfectly. Just drop scraps in when you have them and keep the pile loose so air can move through. Spread grass clippings in thin layers so they don’t clump.
Step 4: Mix in Plenty of Variety
Different textures help the pile break down. Small amounts of many materials work better than big amounts of one thing. Variety keeps the moisture steady and helps the pile stay active without a lot of effort.
Step 5: Press the Pile Down Once It Fills Up
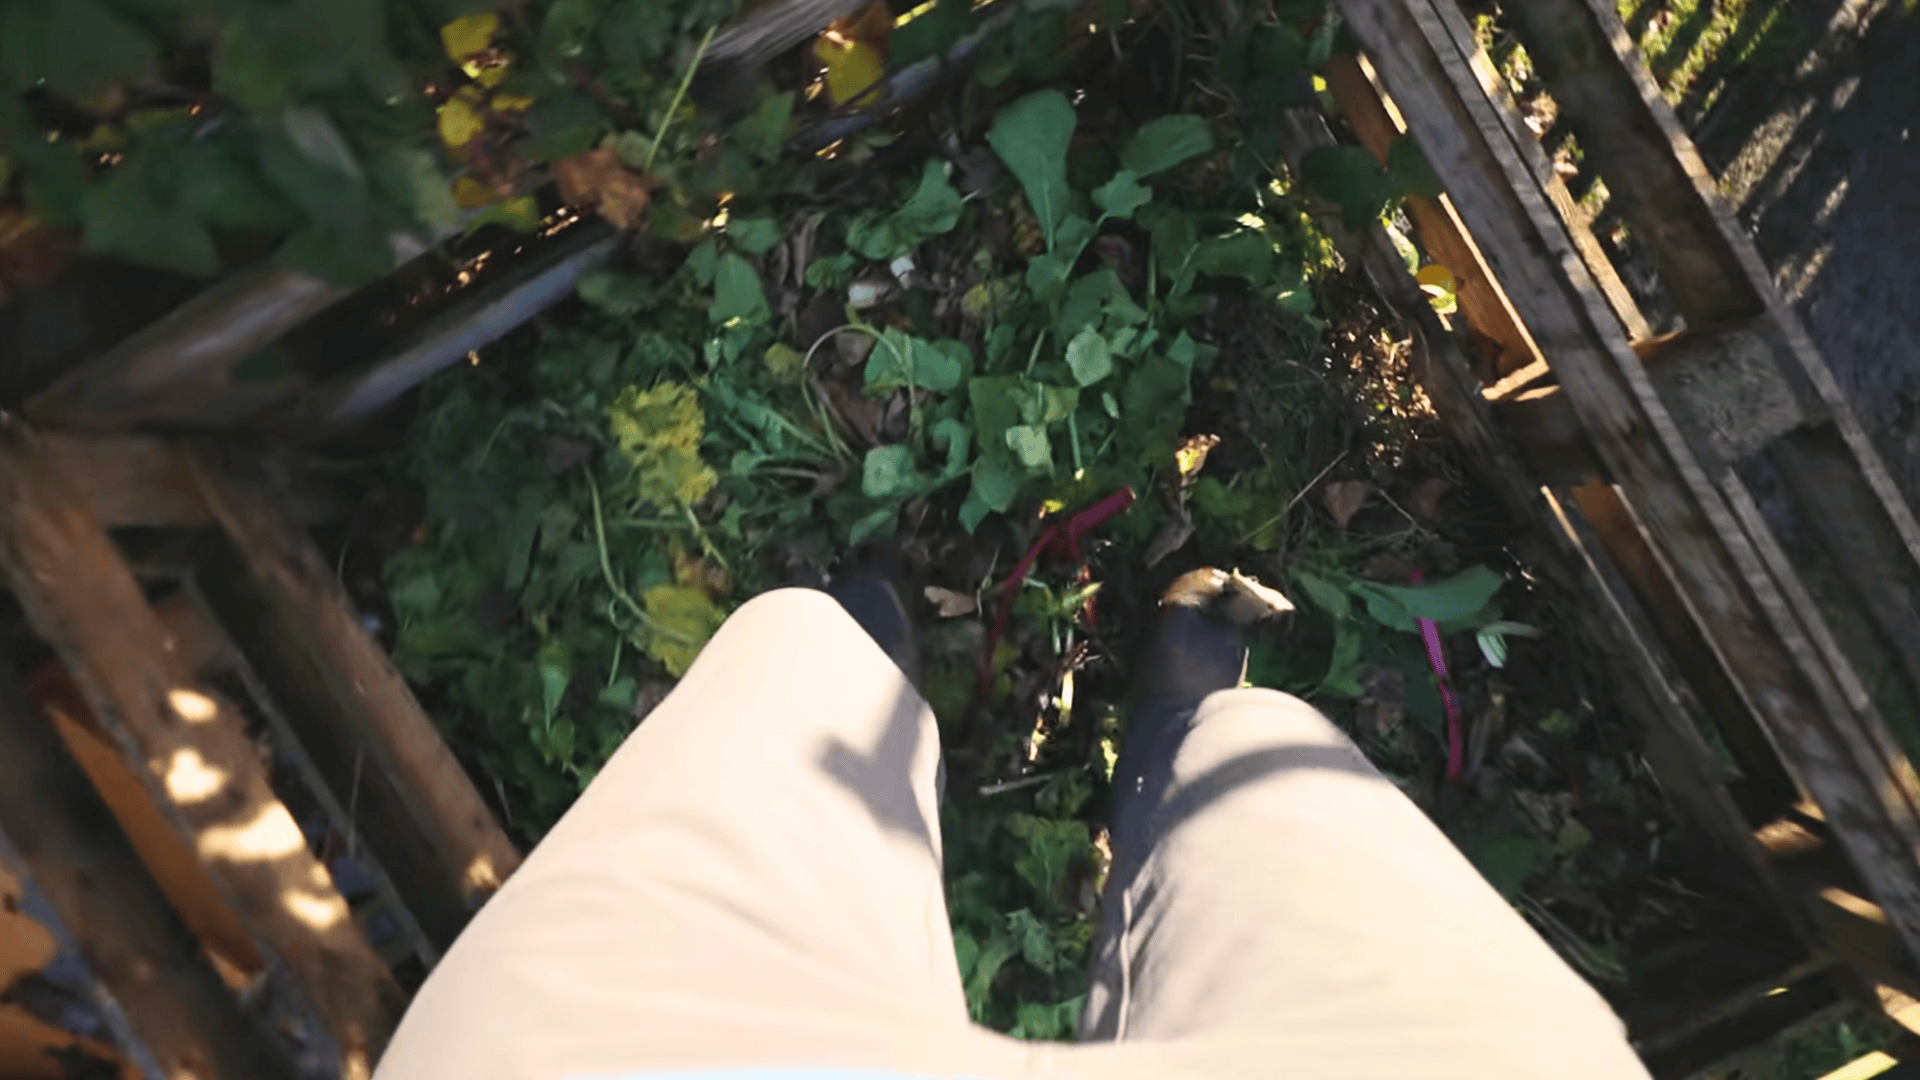
When your bin is close to full, press the top down gently with your hands or feet to settle it.
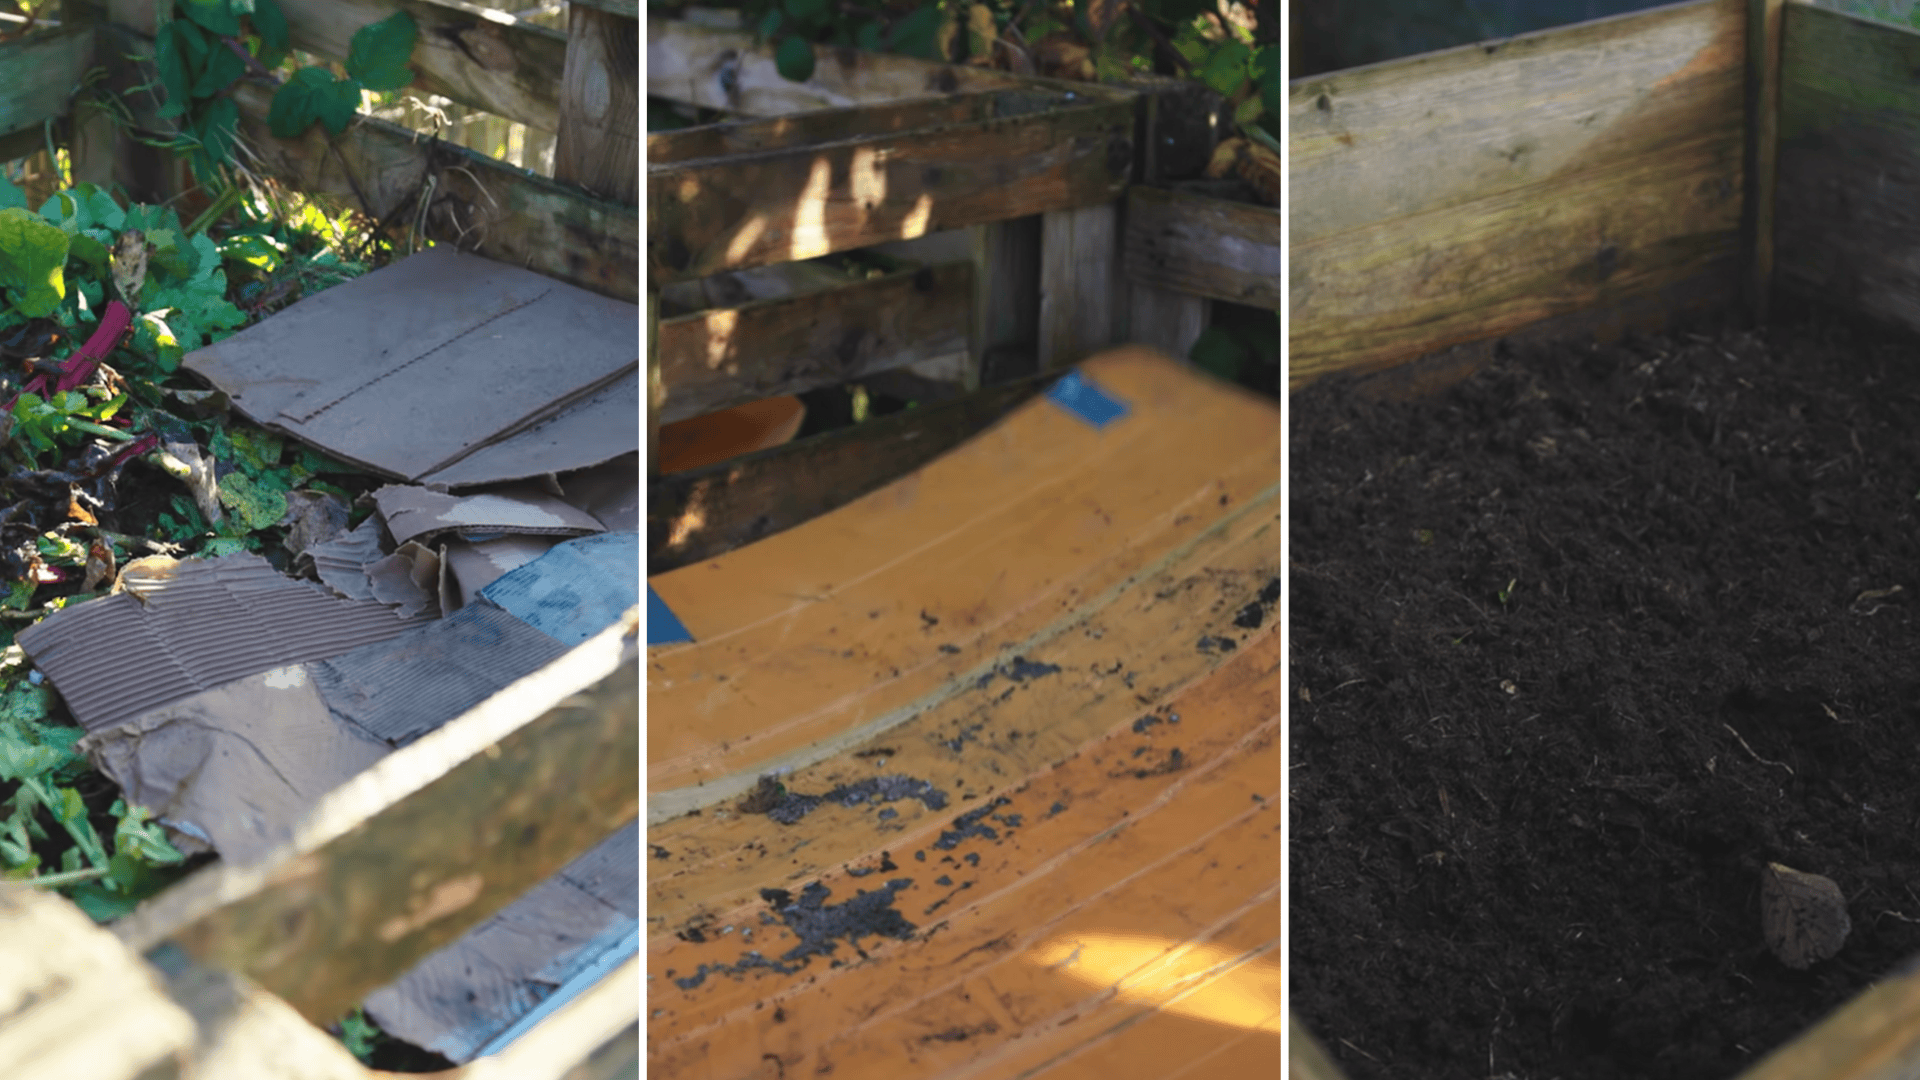
Cover the pile with cardboard or paper to help hold moisture. If the mix feels dry, add a little water until it feels like a wrung-out sponge.
Step 6: Let It Rest and Check It Later
Once the bin is full and covered, leave it alone for several months. Most piles need around six to eight months to finish.
When it looks dark, crumbly, and smells like fresh soil, it’s ready to use. A few small sticks or pieces that didn’t break down yet are fine.
If you learn better by watching it done, this video breaks the steps down in a clear, easy way:
How to Maintain Your Compost
Once your pile is set up, the goal is to keep it steady. You don’t need to babysit it. You just check a few basics so the breakdown stays smooth and clean.
- How often to turn: Most piles work well with a light mix every week or two. Tumblers just need a few spins. You’re giving the microbes some air, not doing a workout.
- How wet is “right”: The pile should feel like a wrung-out sponge. Damp, not dripping. If it’s too dry, add a little water or more greens. If it’s too wet, toss in more browns.
- What smells mean: Good compost smells like dirt. If you catch a sour or rotten smell, the pile’s either too wet or has too many greens sitting uncovered. Add browns and mix it in. Smell gone.
- What bugs are normal: A healthy pile has life in it. Worms, beetles, pill bugs, and tiny insects are all part of the breakdown. The only time it’s a problem is when you see flies buzzing around exposed scraps. Cover greens with browns, and it settles down fast.
How Long Compost Takes and How to Tell It’s Ready
Compost doesn’t follow a perfect timer. It moves at its own pace, and the speed depends on how often you mix it, how balanced the pile is, and the weather.
Most piles take anywhere from two to six months. Tumblers can be faster, and big outdoor piles can take longer if they stay cool. Cold weather slows everything down, so winter batches just take more time.
Finished compost looks like dark, crumbly soil. You shouldn’t be able to recognize the original scraps. It should break apart easily in your hand and feel soft, never slimy or sticky.
People often think the pile isn’t working because they still see fresh scraps on top. That just means it needs a mix. Others expect fast results even when they barely touch the pile. Slow spots usually fix themselves with more browns, a little water, or one good turn.
Common Composting Problems and Fixes
Here’s a quick table you can scan fast whenever something feels off:
| Problem | What It Means | How to Fix It |
|---|---|---|
| Smells bad | Too many greens or the pile is too wet | Add more browns, mix the pile, and let it air out a bit |
| Too dry | Not enough moisture or too many browns | Add a splash of water or more greens until it feels like a wrung-out sponge |
| Not breaking down | Low airflow, dry mix, or not enough greens | Turn the pile, add greens for heat, and check moisture |
| Too many flies | Food scraps are exposed at the surface | Cover all greens with browns and give the pile a quick mix |
Using Your Finished Compost
When your compost turns dark and crumbly, you can start putting it to work in your garden. It’s one of the easiest ways to boost your soil and help plants grow stronger with less effort from you.
You can mix compost into garden beds, spread it around trees and shrubs, or blend it into potting soil for container plants. It helps the soil hold moisture, improves texture, and gives roots the kind of environment they can move through easily.
You don’t need a lot. A thin layer on top of the soil or a light mix into the top few inches is usually enough. In bigger beds, a couple of inches works well, and in pots you can mix it into your regular potting soil without overdoing it.
Skip using compost that isn’t fully broken down. If you can still see pieces of food or the texture feels slimy, let it sit longer. It also shouldn’t go on very young seedlings, since they need gentler soil until their roots get established.
Wrapping Up
Getting started with composting doesn’t need to feel complicated. Once you understand your setup and pay attention to how the pile behaves, everything becomes easier.
Good composting is really about noticing small things, like how the mix feels or how the pile reacts after you add new material. With a little patience, those small habits turn into steady progress.
If you ever feel unsure, you can always revisit the basics and keep it simple. Now that you know how to start a compost bin, take the next step and set yours up today.
Explore other beginner-friendly gardening guides on the website to learn more and keep growing your skills step by step.