That old stained wood? I used to think I was stuck with it. The dark color, the shine, the way it clashed with everything else; I was over it.
One day, I grabbed a brush and asked myself: can you paint over stained wood? Turns out, you can. But not without knowing a few key steps that make all the difference.
If you’re standing there, paint can in hand, wondering what comes next, you’re in the right place.
This blog is going to walk you through how to prep, prime, and paint stained wood the right way. You’ll learn what works, what doesn’t, and how to make your finish last.
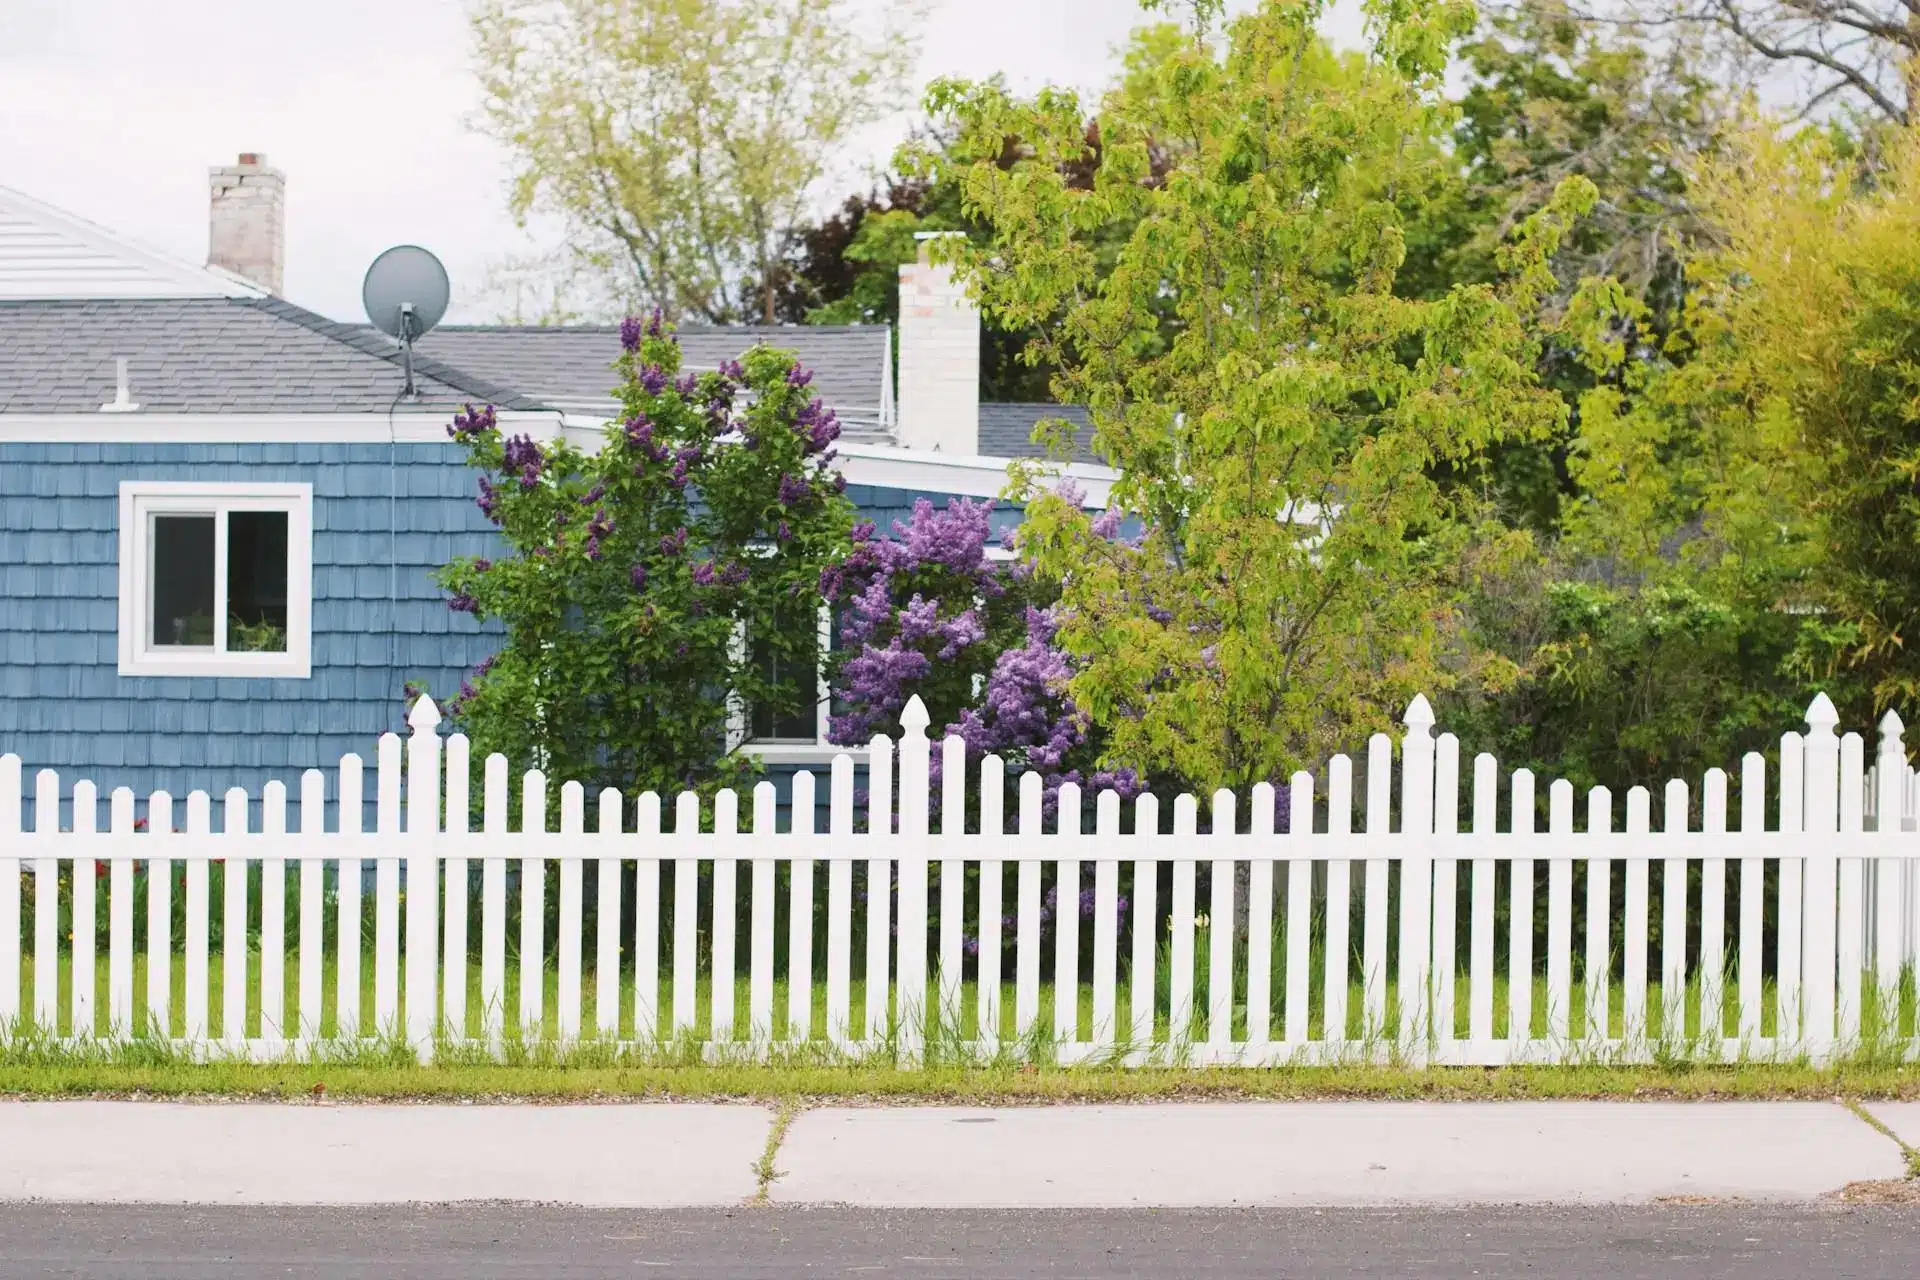
Why Homeowners Choose to Paint Over Stained Wood
Sometimes, stained wood just doesn’t match the rest of the room anymore. Maybe it feels too dark, too shiny, or just plain old.
That’s one of the biggest reasons people decide to paint over it: it’s a simple way to freshen things up without having to replace the wood.
Painting also gives you more color choices. Instead of being stuck with the same brown shade, you can go light, bold, or anywhere in between. It helps things look cleaner and more up-to-date.
Another reason? Cost. Replacing wood trim, cabinets, or doors can get expensive. But with the right prep, paint can make everything look new again for way less money.
Some homeowners just want a change. And painting stained wood is one of the easiest ways to do it. It’s a practical fix that also makes a big visual difference.
Can You Paint Over Stained Wood?
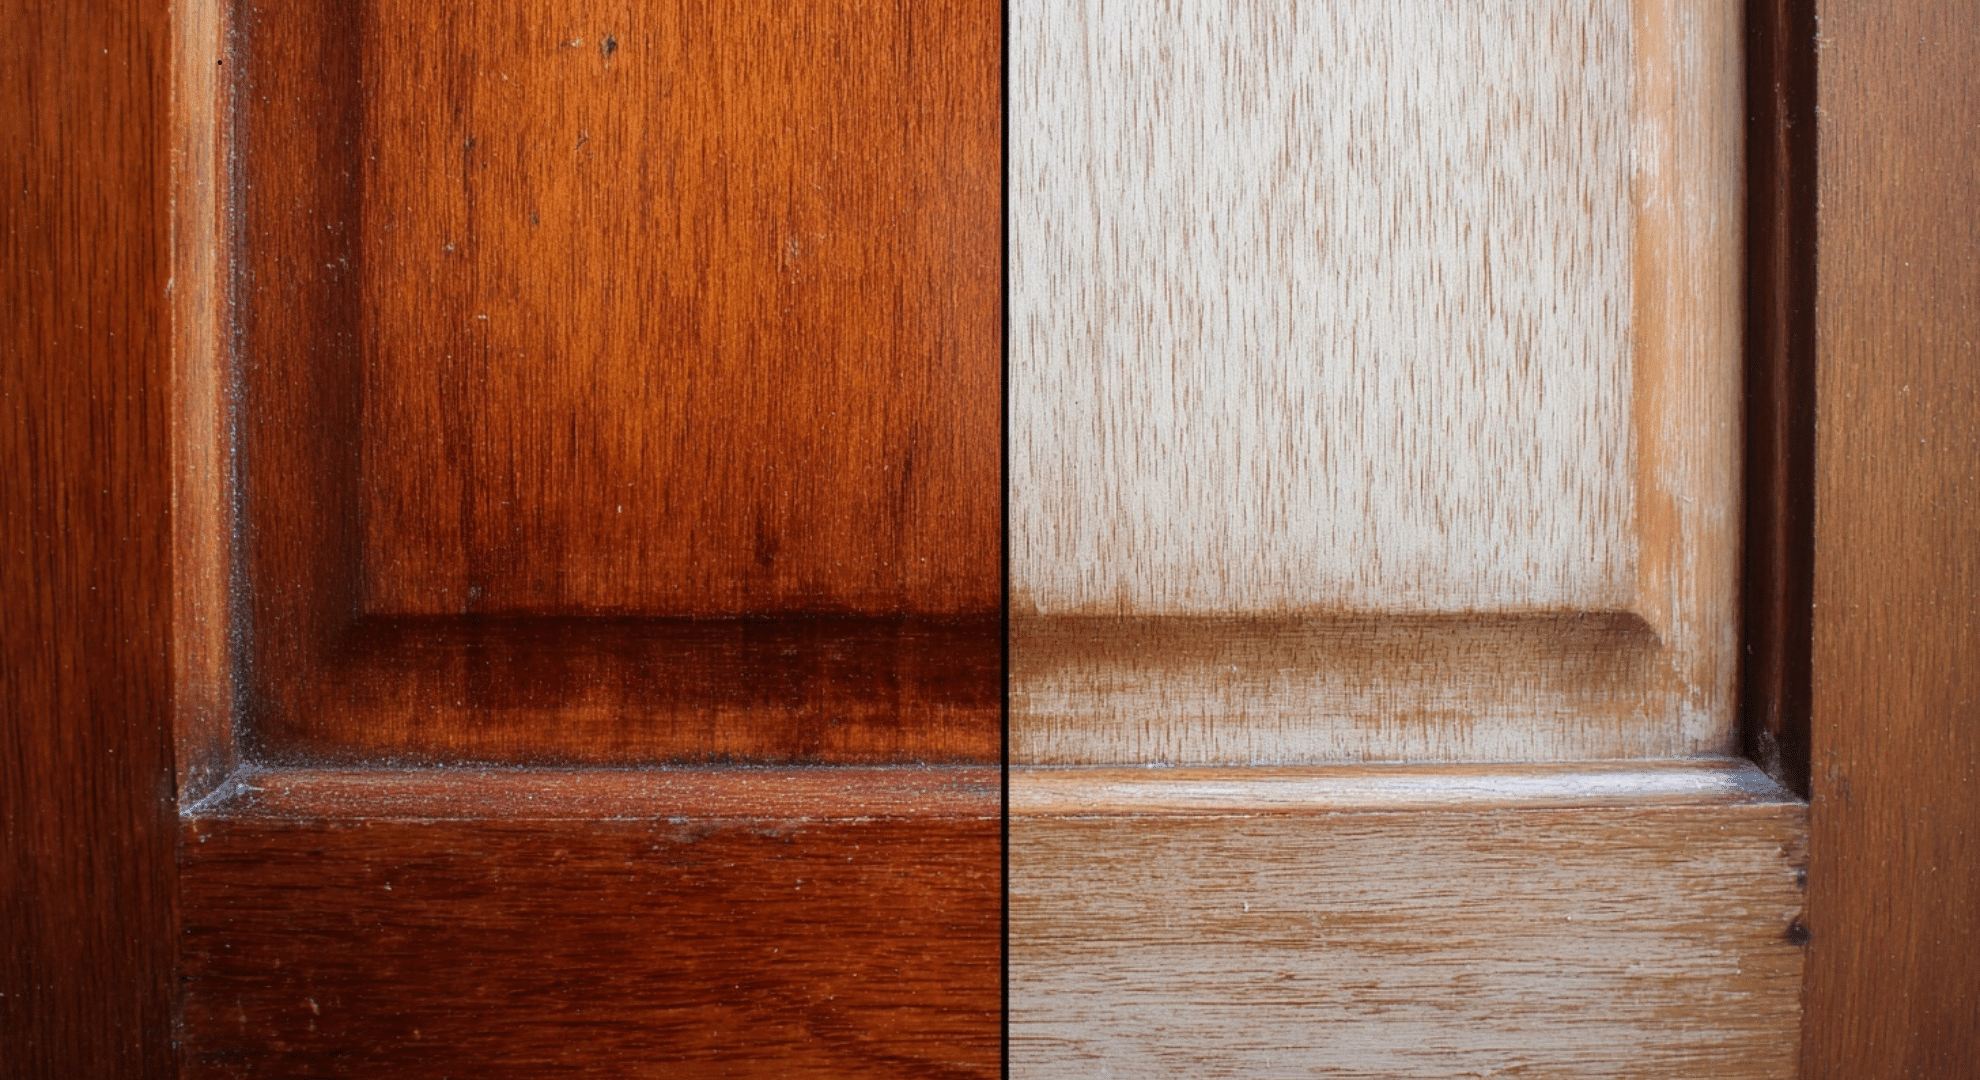
Yes, you can paint over stained wood without removing the stain as long as you prep it the right way.
In most cases, stripping the stain isn’t needed. That’s good news because stain removal is messy, time-consuming, and often not worth the trouble. With proper prep, the paint can stick just fine right over the stain.
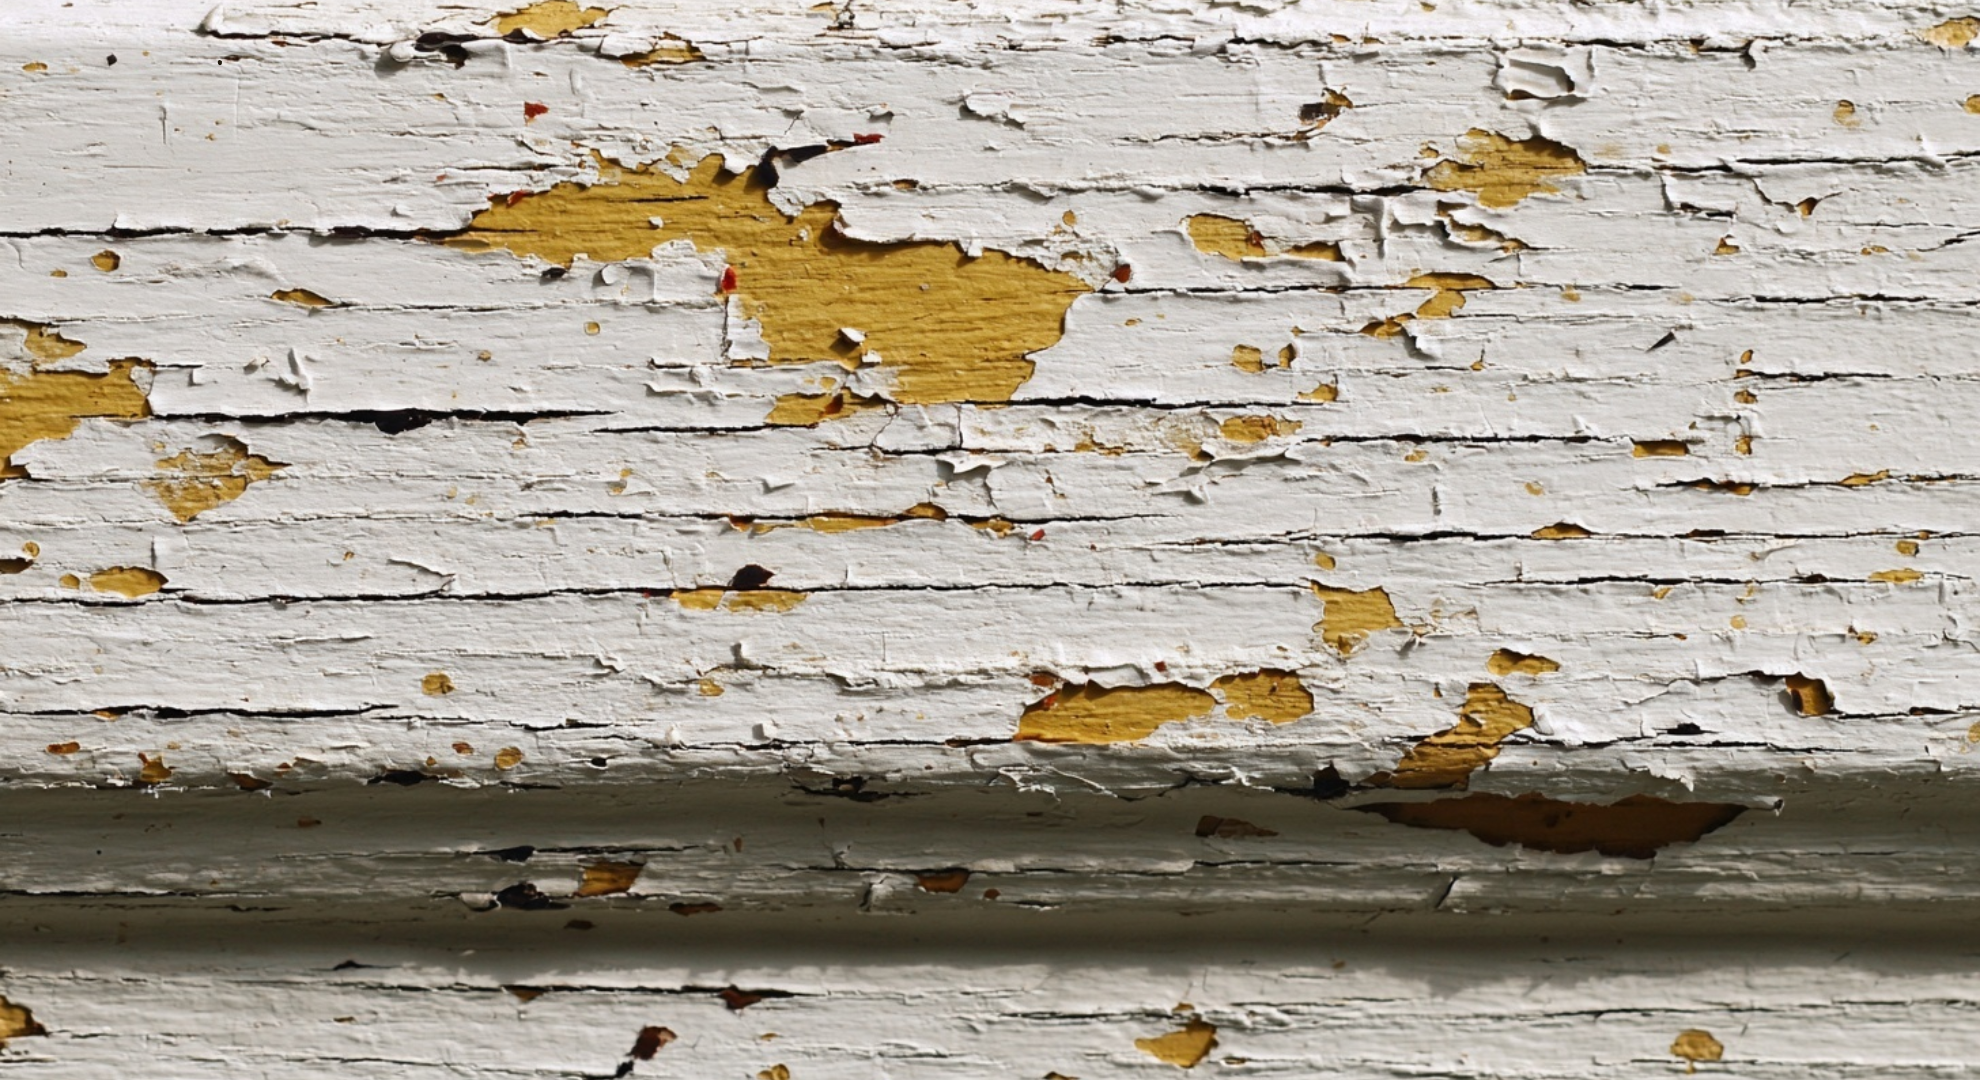
The only time you might want to remove the stain is if the wood is damaged, peeling, or coated with a thick glossy finish that won’t sand down easily.
If the surface is too slick or uneven, paint might not stick well.
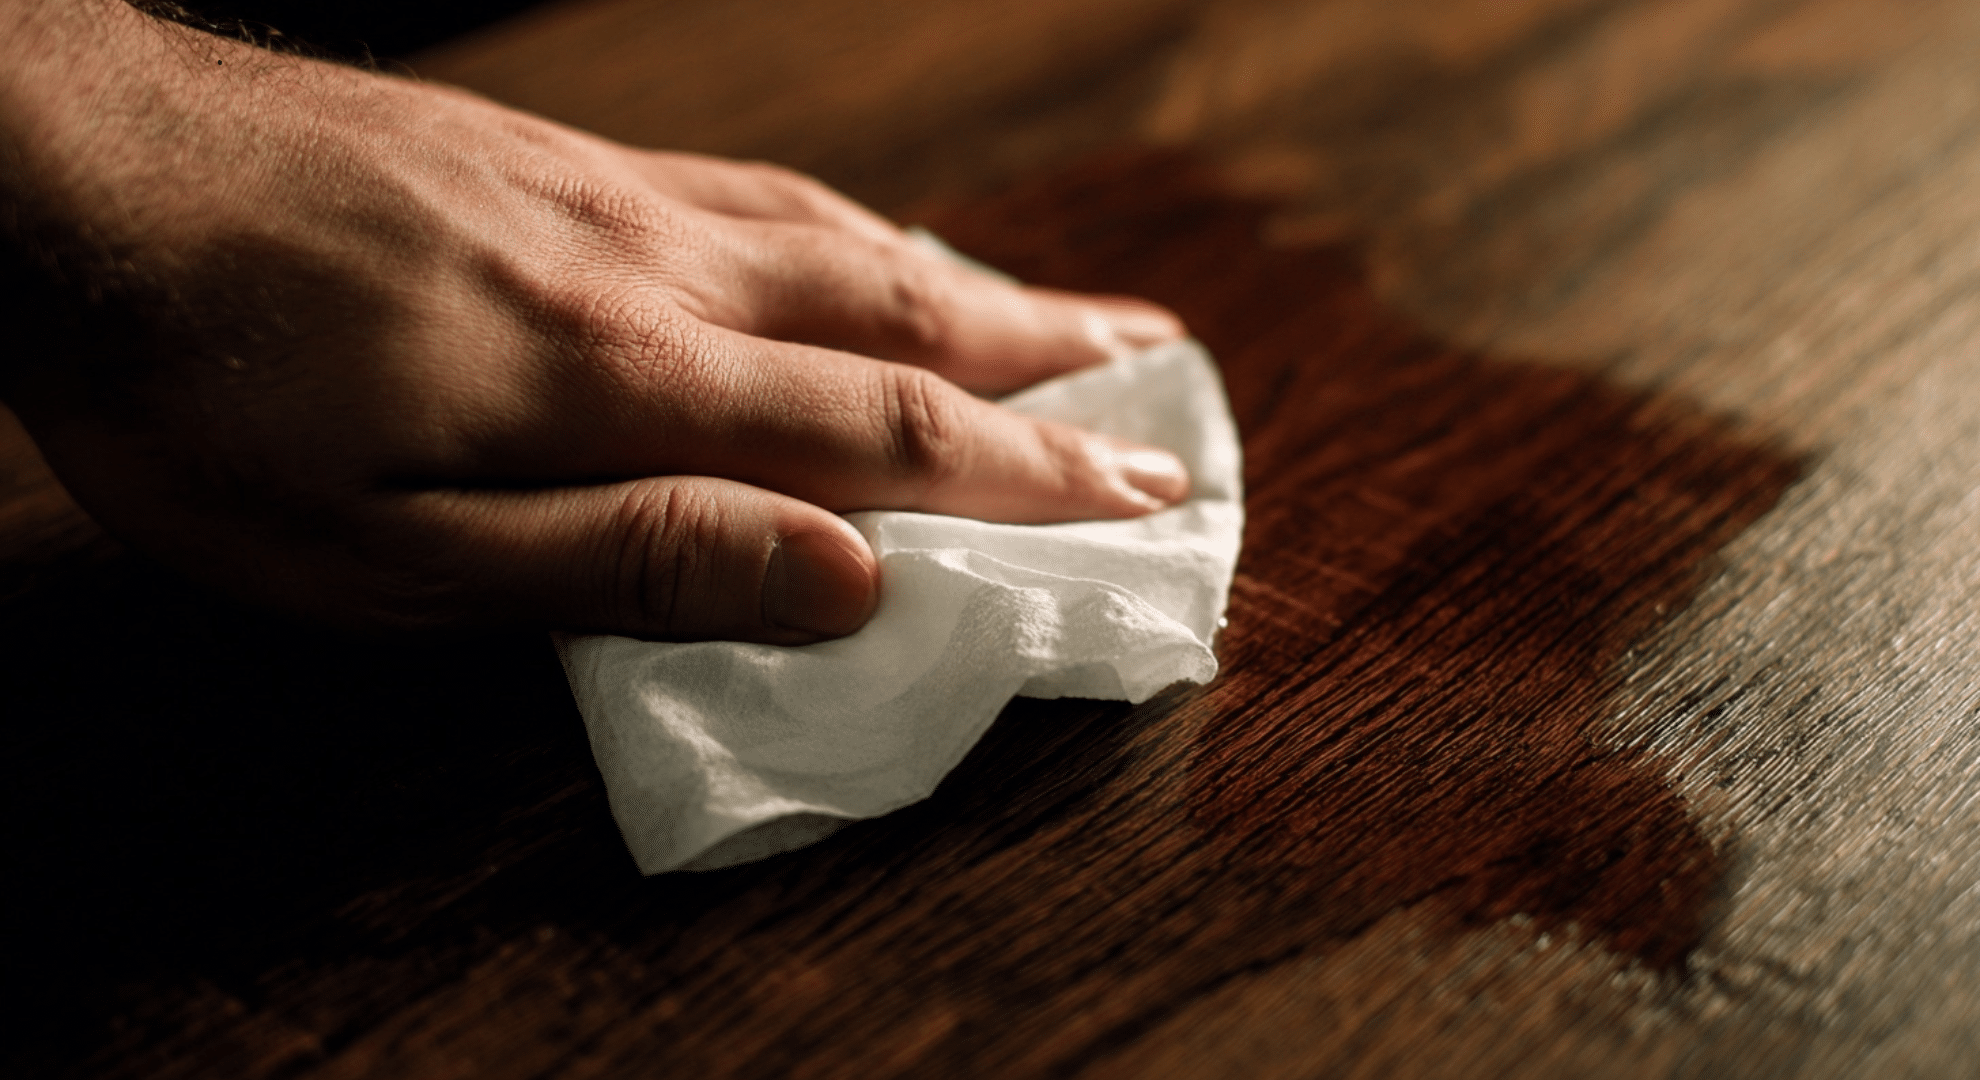
But usually, a good cleaning, light sanding, and quality primer do the job. These steps help the paint grip the stained wood, even if the stain is still there.
So yes, no need to fully strip it if you prepare it properly.
Why Painting Over Stained Wood Sometimes Fails
Painting over stained wood sounds easy, but it can go wrong fast if you miss key steps.
One common issue is stain bleed-through. That’s when the color from the stain seeps through the paint, leaving behind brown or yellow blotches. This usually happens when you don’t use the right primer, or skip primer completely.
Glossy finishes and sealers are another problem. They block the paint from sticking properly.
Skipping prep is one of the biggest reasons paint jobs fail. Without cleaning, sanding, and priming, paint won’t bond well.
Water-based paints and primers also cause trouble if used alone on stained wood. They don’t block stains as well as oil-based or shellac primers, so bleed-through is more likely.
These problems are easy to avoid with the prep. A little extra time upfront saves a lot of frustration later.
Primer Matters More Than Paint

When painting over stained wood, primer isn’t optional, it’s the part that makes everything else work. Paint alone can’t stop bleed-through or stick well to slick stained surfaces.
Primer seals in the stain, helps the paint bond, and creates a smooth, even base.
Shellac-based primers are the strongest at blocking dark stains and tannins. They dry fast and stop even the toughest bleed-through, but they smell strong and need good ventilation.
Oil-based primers also block stains well and give solid adhesion, making them a good all-around choice. Water-based primers are easier to use and clean, but they don’t always block heavy stains.
If the stain is dark or glossy, one coat of primer usually isn’t enough. A good primer gives your paint the best shot at lasting and looking good.
What Happens If You Skip Prep Steps
Skipping prep might save time now, but it almost always leads to trouble later. Stain bleed-through can start showing within days, especially with lighter paints.
Brown or yellow spots begin to bleed through, ruining the finish. Peeling and chipping usually show up a bit later, often when the surface gets bumped, cleaned, or exposed to heat and moisture.
What makes it tricky is that everything can look fine at first. Paint may dry smoothly and seem solid, but without proper prep, it won’t last.
Problems often build slowly, showing up weeks or even months later.
How to Tell What Type of Stain is on Your Wood
Before you paint anything, you need to know what kind of stain is already on the wood. This step matters more than most people think.
The stain type affects what primer you use, how much sanding you need, and if bleed-through will be a problem later.
Most wood stains fall into two groups: oil-based or water-based. They look similar once dry, but they behave very differently under paint.
Here’s a simple way to break it down:
| Test or Clue | What You Do | What It Means |
|---|---|---|
| Alcohol test | Rub a hidden spot with rubbing alcohol | Color comes off = water-based stain |
| Alcohol test | Rub but no color transfers | Likely oil-based stain |
| Surface look | Shiny or slick feel | Often oil-based or sealed |
| Surface look | Flat or dull finish | Often water-based |
| Age of wood | Older cabinets or trim | Usually oil-based |
This choice affects every next step. Oil-based stains almost always need a strong primer to block color bleed. Water-based stains are easier but still need prep.
If you guess wrong, paint can peel, stain can show through, or the finish can turn yellow. Taking five minutes to check now saves hours of fixing mistakes later.
Is Sanding Required When Painting Over Stained Wood?
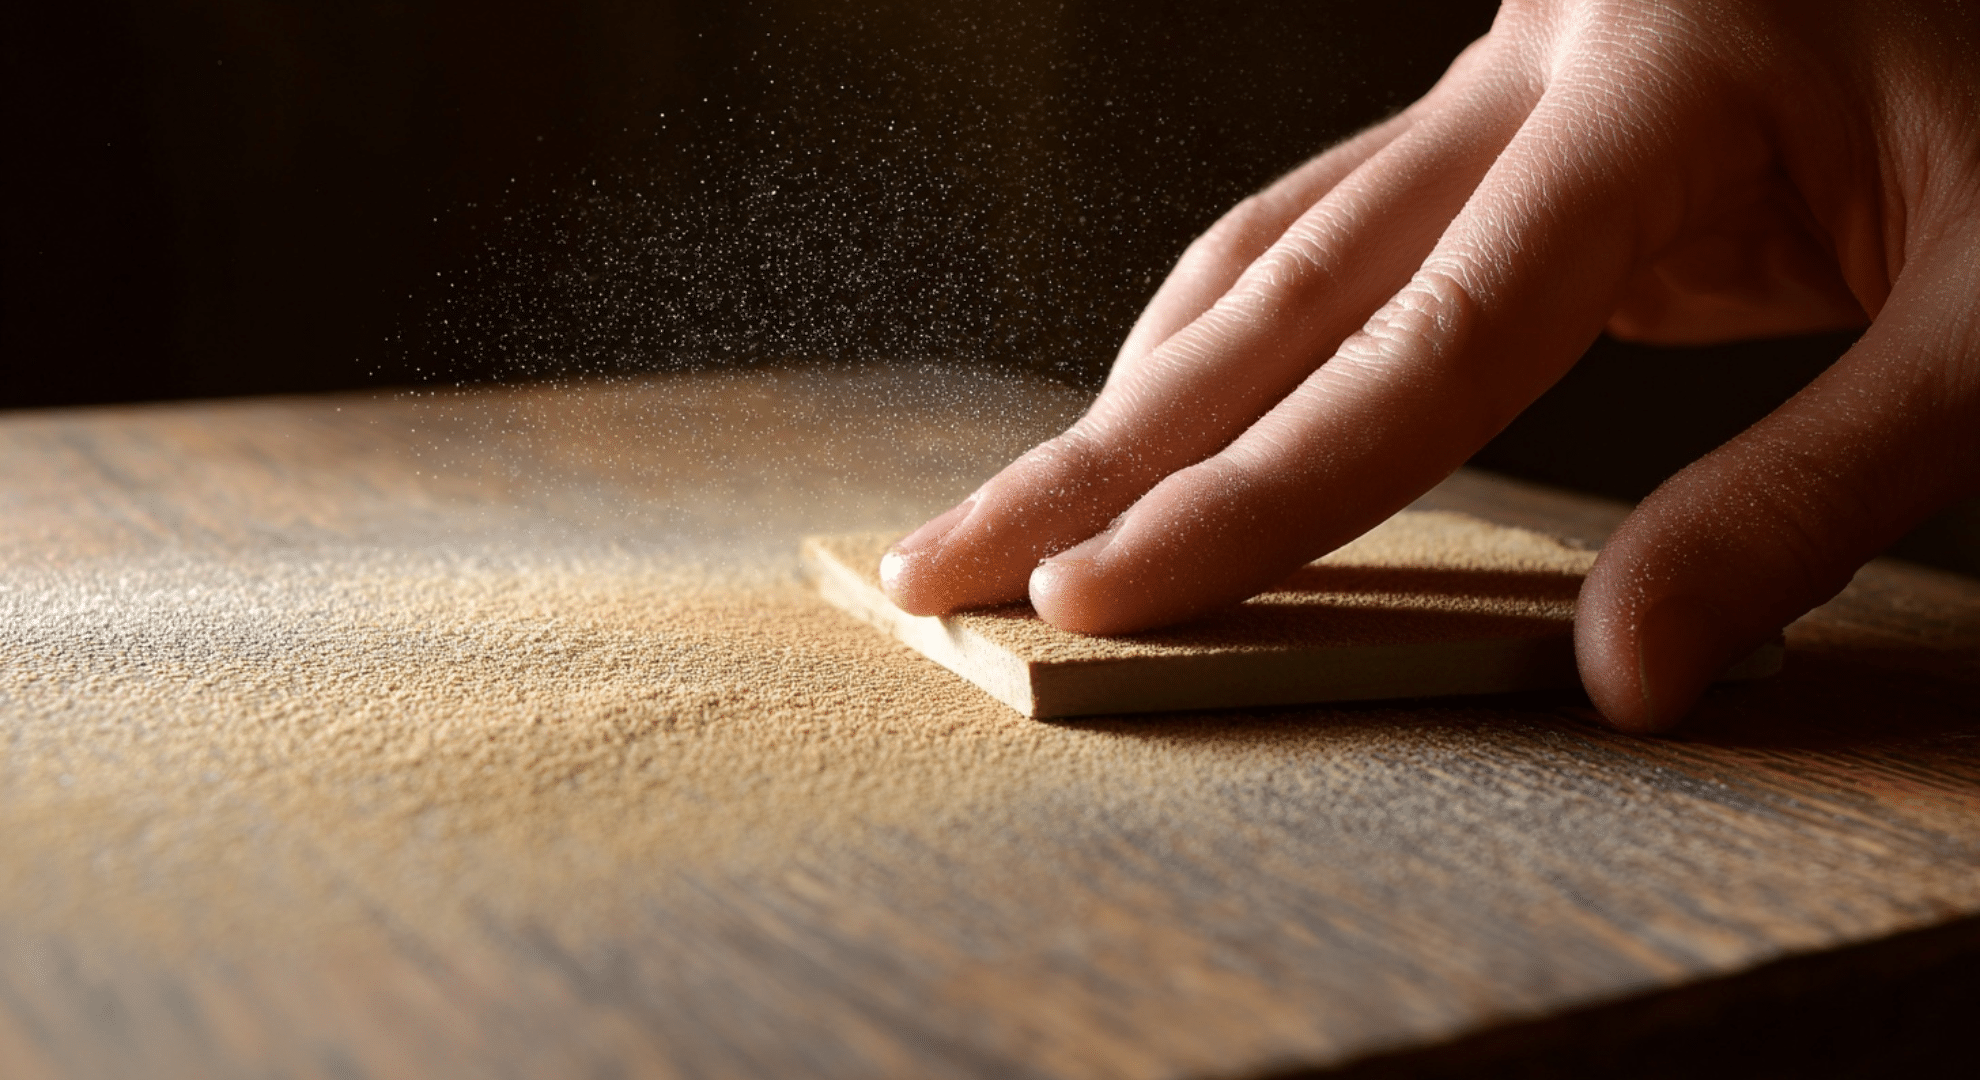
Sanding isn’t always a must, but in many cases, it makes a big difference.
If the stained wood has a glossy or sealed finish, sanding is usually needed. A light to medium sanding helps remove the shine and gives the primer something to stick to. Skipping this step can lead to peeling or uneven paint.
That said, you don’t always need to sand down to bare wood. Often, a light scuff with fine-grit sandpaper is enough to dull the surface.
This works well if the wood is in good shape and doesn’t have any peeling or flaking.
If you want to skip sanding altogether, a liquid deglosser might help. It’s a wipe-on product that softens the glossy finish so paint can stick better.
It’s fast and less messy but works best on smooth, flat surfaces. No matter the method, the goal is the same: make the surface ready for paint.
What Kind of Paint Works Best on Stained Wood
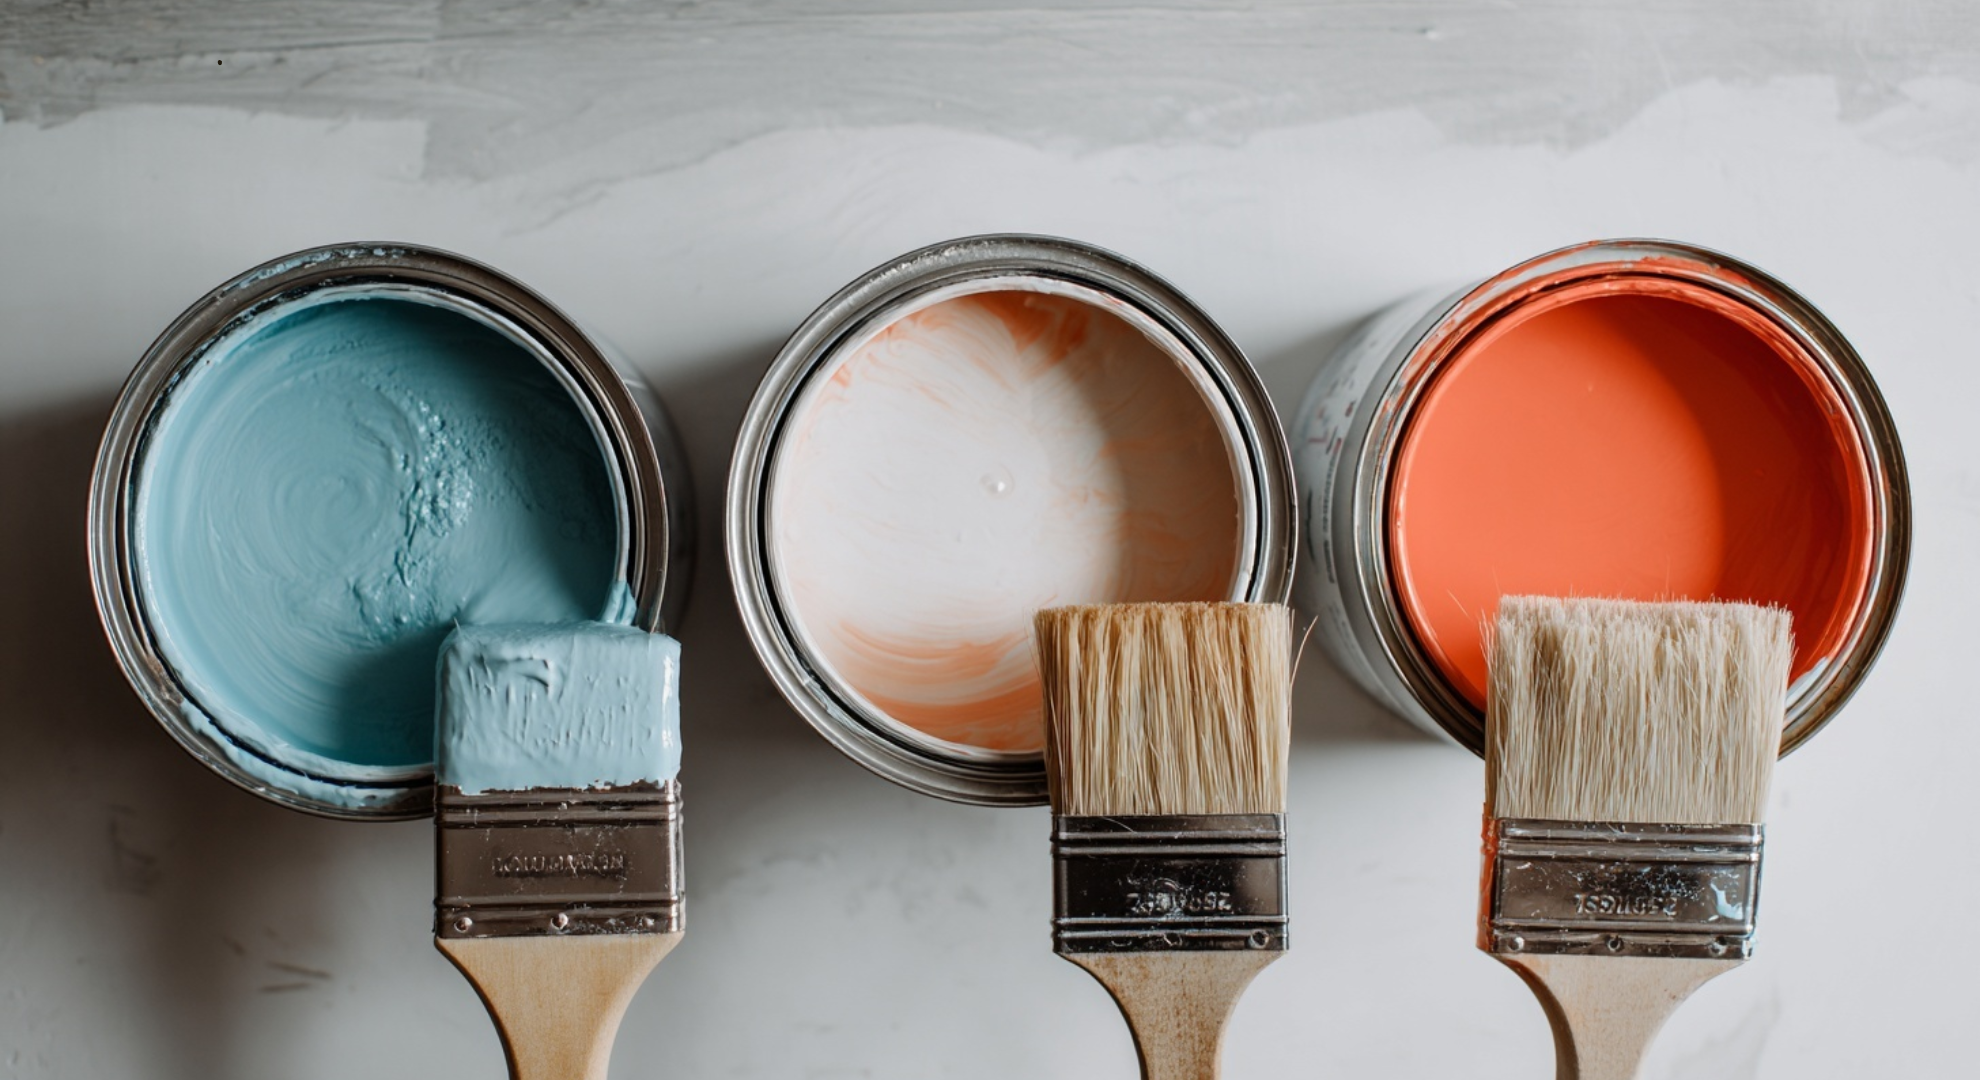
The type of paint you use plays a big role in how well the finish holds up.
Latex paint is a go-to for indoor walls and trim because it dries fast and has low odor. But it needs a solid primer underneath, especially over darker stains.
Oil-based paint takes longer to dry, but it sticks better to slick surfaces and gives a tougher finish. That’s why it’s often used on cabinets, doors, and baseboards.
Acrylic paint isn’t usually the best choice for wood that sees a lot of wear, it can chip or fade faster.
- Use latex for quick-dry, low-traffic areas
- Choose oil-based for smooth finishes and long-term durability
- Save acrylic for small, low-use projects
For anything outside, always go with exterior-rated paint. And if the surface gets touched or bumped a lot, a topcoat can help seal and protect the paint.
Surface-Specific Guidance
Not all stained wood is the same. What works on a cabinet might not hold up on a deck or a shiny piece of furniture. Each surface brings its own set of problems and knowing what to watch for helps avoid surprises.
| Surface Type | Unique Concern | What Helps |
|---|---|---|
| Furniture | Veneer may lift or bubble under moisture | Stick to light sanding and avoid soaking the surface |
| Heavy use can wear down corners and edges | Apply a protective topcoat only on high-touch areas | |
| Trim, Doors, and Cabinets | Paint can leave drag marks or streaks | Foam rollers give smoother results on flat or detailed areas |
| Handles and knobs often chip the paint | Spot-prime high-contact zones before the final coat | |
| Polyurethane-Coated Wood | Glossy layers trap dust and oils | Deglossers work better when followed by quick scuff sanding |
| Exterior Stained Wood | Moisture gets into cracks and seams easily | Caulk gaps before priming to keep water out |
| Wood expands and shrinks with seasons | Use flexible exterior paint that can shift without cracking |
Each surface needs small tweaks. These little steps make a big difference in how long your paint job holds up.
How to Fix Problems After Painting
Even with careful prep, problems can still happen. If you’re dealing with stains showing through, paint peeling, or a rough finish, don’t worry, it can be fixed.
Here’s how to handle the most common issues after painting over stained wood:
- Sand the area lightly to smooth out peeling or cracking paint
- Clean the surface with a damp cloth to remove dust and residue
- Apply a stain-blocking primer directly over any bleed-through spots
- Let the primer dry thoroughly before repainting
- For peeling areas, scrape off loose paint before priming
- Use oil-based or shellac primer if bleed-through keeps coming back
- Repaint using thin, even coats for better coverage
If you’re seeing widespread peeling or deep bleed-through that primer can’t stop, full repainting might be the only real fix.
It’s extra work, but starting fresh gives you a better, longer-lasting finish.
Conclusion
I used to think painting over stained wood would be more trouble than it was worth. But once I understood how much of it came down to prep and picking the right products, the whole process made sense.
It’s not about rushing, it’s about getting each step right.
Now that you’ve got the full picture, you can move forward with more confidence. You know what works, what to watch for, and how to handle each type of surface without second-guessing.
If this helped clear things up, there’s more where that came from. Keep reading through the blog for more real-world guides and practical how-tos.
And if you’re still wondering about the best tools, primers, or techniques, I’ve covered that too. Just take a look through the other posts. You’ll find what you need!