Growing strawberries from seeds is one of those deeply satisfying experiences that many plant lovers find themselves drawn to, mostly because starting from scratch just feels more yours.
Yes, it asks for a little patience, but watching something go from a tiny seed to a fruit-bearing plant?
Absolutely worth it.
We’ll walk you through everything: from seed preparation and germination to planting and everyday care tips.
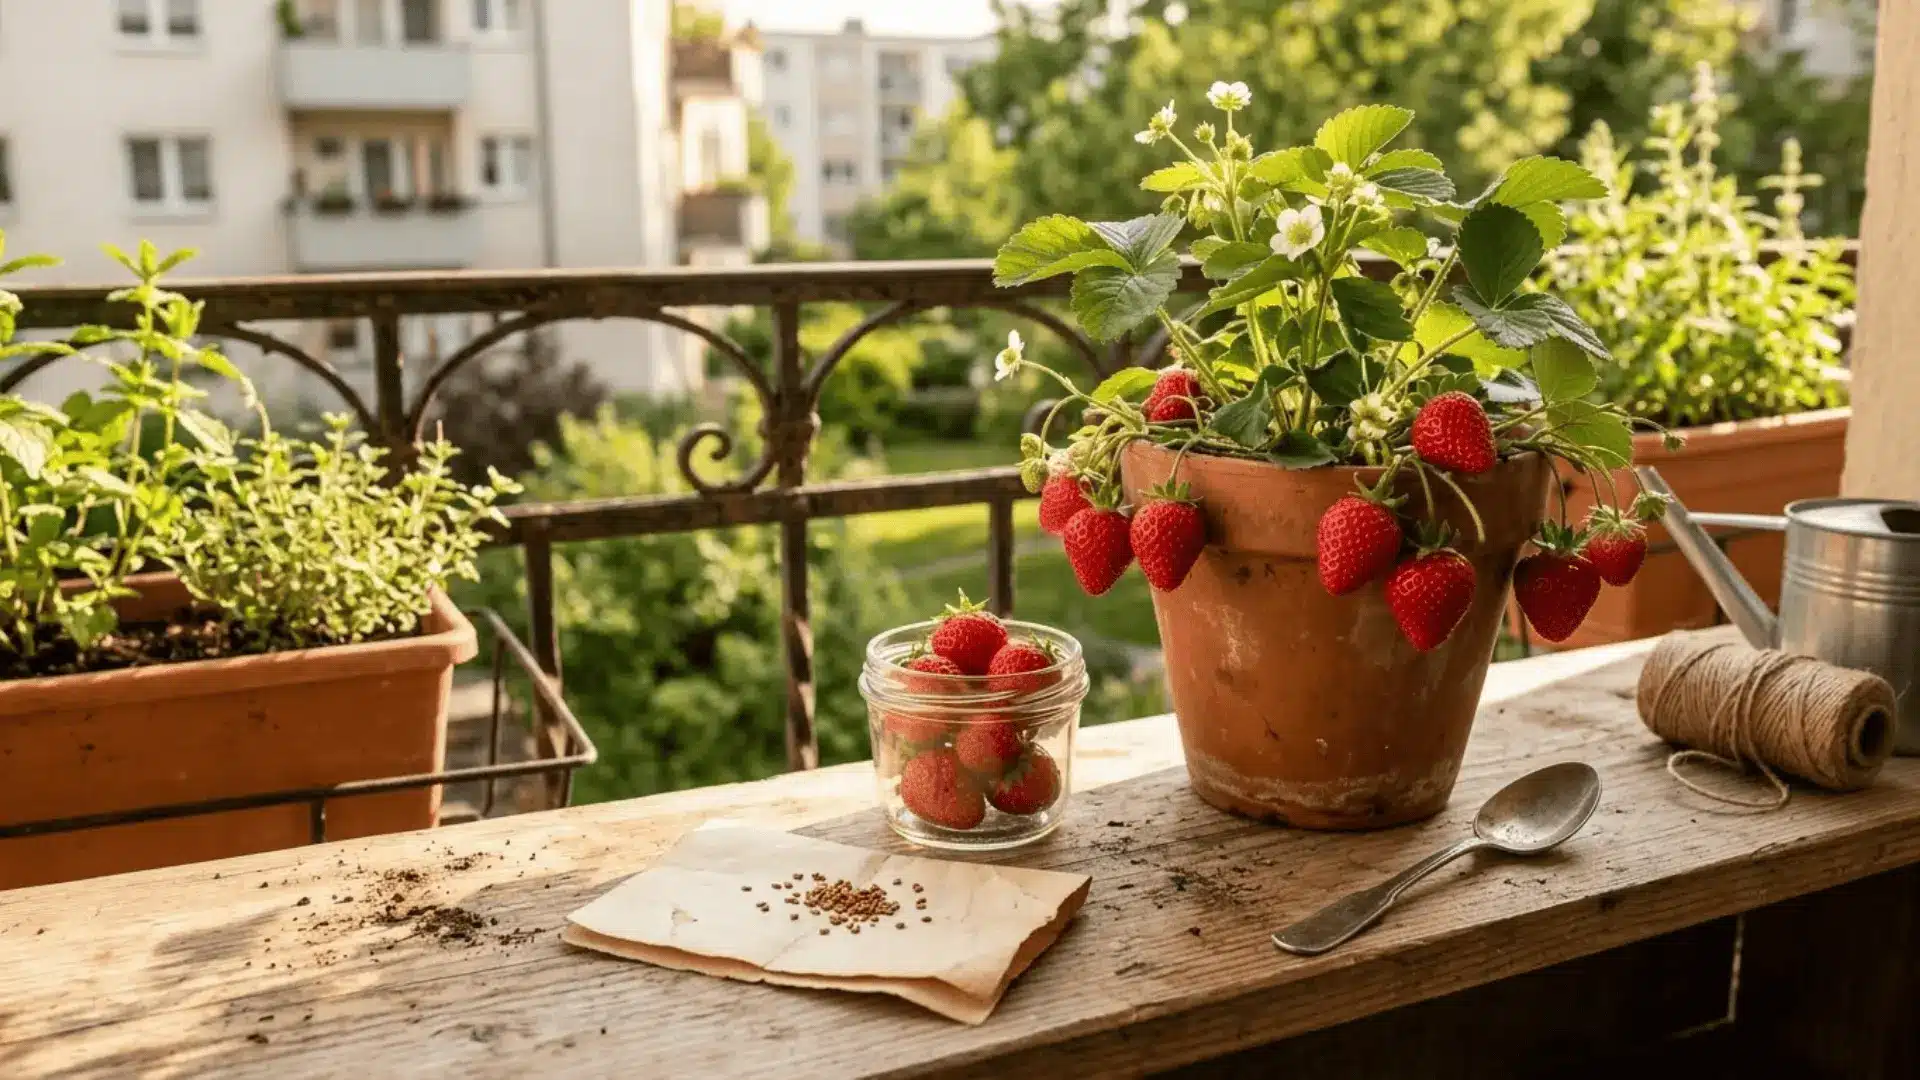
And yes, we’re talking about Fragaria × ananassa, the beloved garden strawberry that looks just as good in a pot on your balcony as it does in the ground.
Can You Grow Strawberries From Seeds?
Absolutely, and it’s more straightforward than most people expect.
Strawberry seeds need light and consistent moisture to sprout, so skipping the right conditions early on can slow everything down.
Germination typically takes anywhere from 2 to 6 weeks, with full plants developing over months, so understanding when strawberries grow and aligning your planting schedule accordingly makes the whole process feel smoother.
Compared to buying young plants, starting from seeds gives you a wider variety selection and a more hands-on experience, though transplants do save time.
Both paths work beautifully; it really just comes down to how involved you want to be.
Materials Needed to Grow Strawberries From Seeds
Before you get your hands dirty, having everything ready makes the whole process feel a lot more seamless.
Here’s what you’ll need:
- Strawberry seeds of your chosen variety
- Seed trays or small pots to start your seedlings in
- Seed-starting soil mix for the right texture and drainage
- A spray bottle for gentle, consistent watering
- Grow lights or a sunny windowsill to give your seeds the light they need to sprout
Simple, minimal, and easy to put together before you even begin.
Preparing Strawberry Seeds for Planting
Here’s something many first-time growers overlook: strawberry seeds often need a cold treatment before they’ll germinate willingly.
In nature, seeds go through winter before they sprout in spring, and replicating that process at home genuinely makes a difference in your germination success.
This is called cold stratification, and it’s simpler than it sounds.
Place your seeds in a slightly damp paper towel, seal them in a small bag, and refrigerate for 2 to 4 weeks. This mimics winter conditions, essentially signaling to the seed that spring has arrived and it’s safe to grow.
Once that period is up, your seeds are prepped and ready to go.
Step-by-Step: How to Grow Strawberries From Seeds?
Once your seeds are stratified and ready, the planting process is refreshingly simple. Take it one step at a time and let the process unfold naturally.
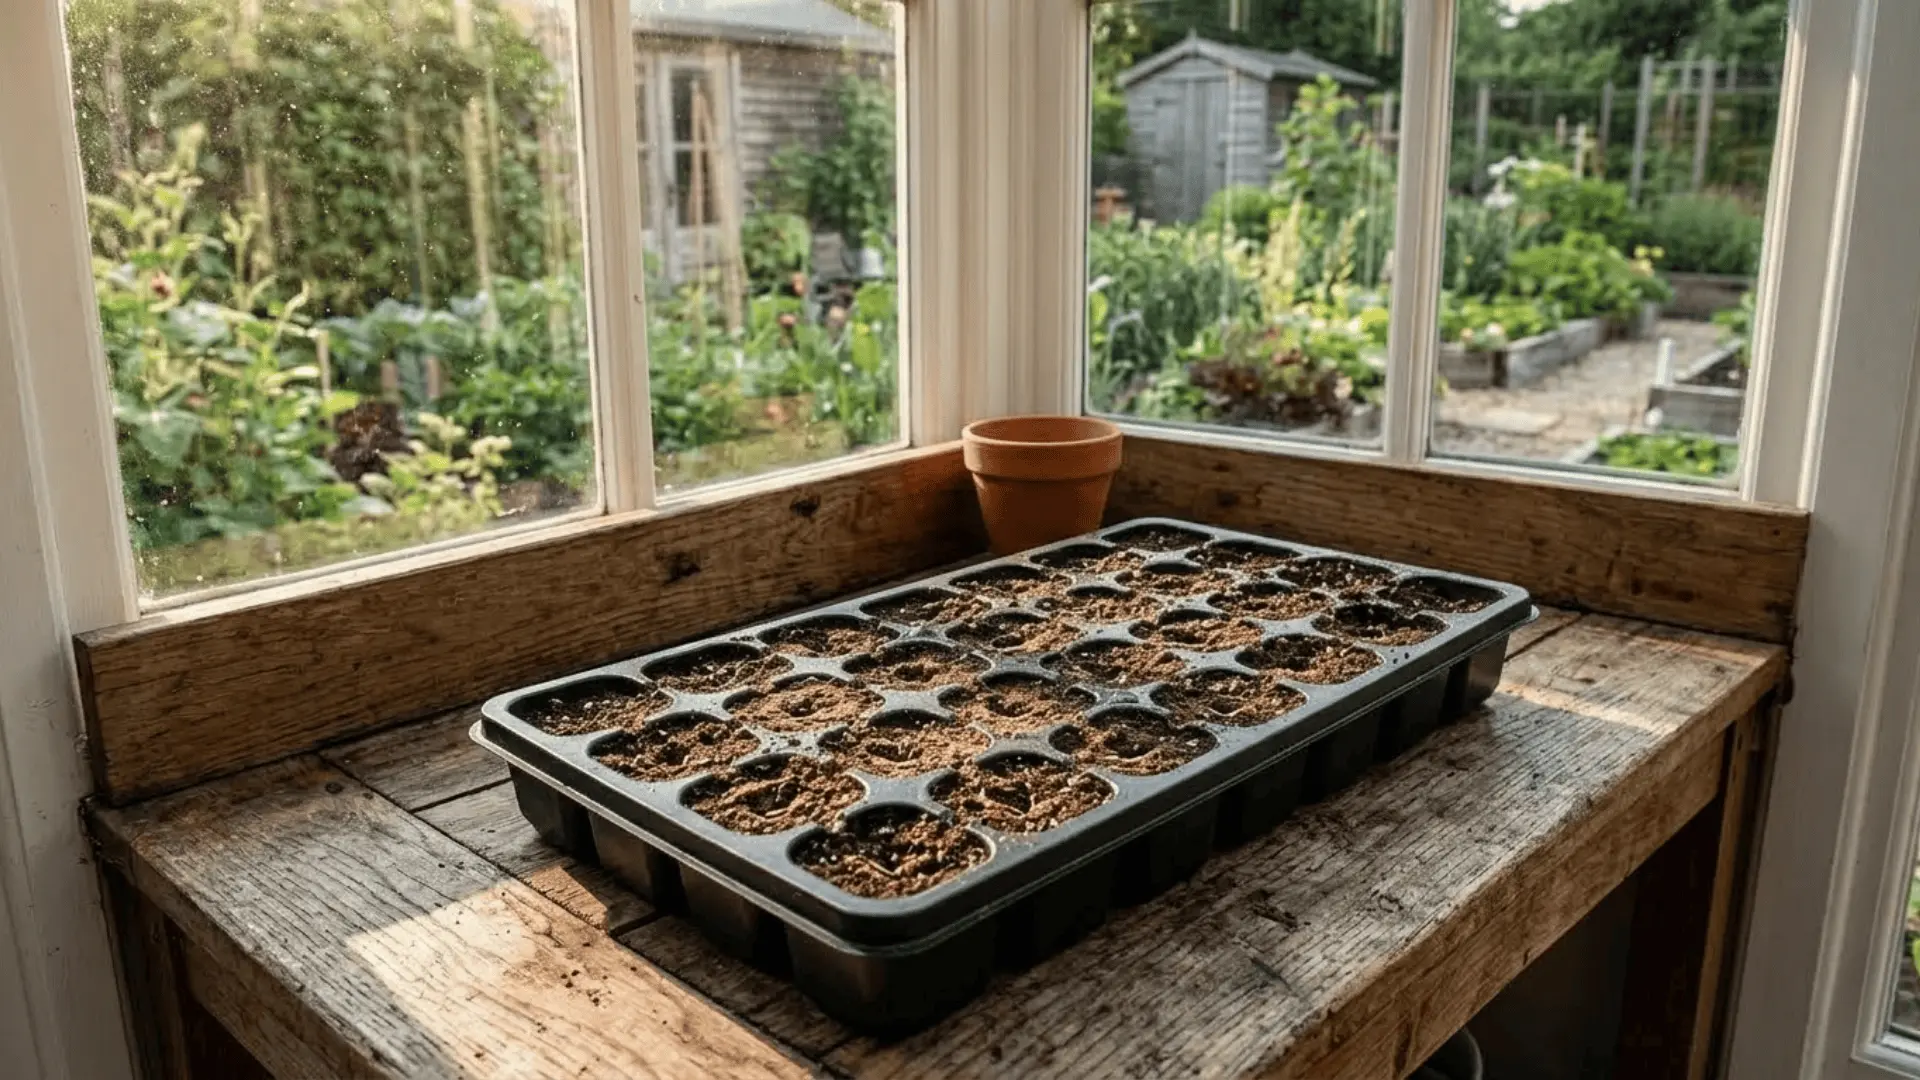
Step 1: Fill Seed Trays With Soil
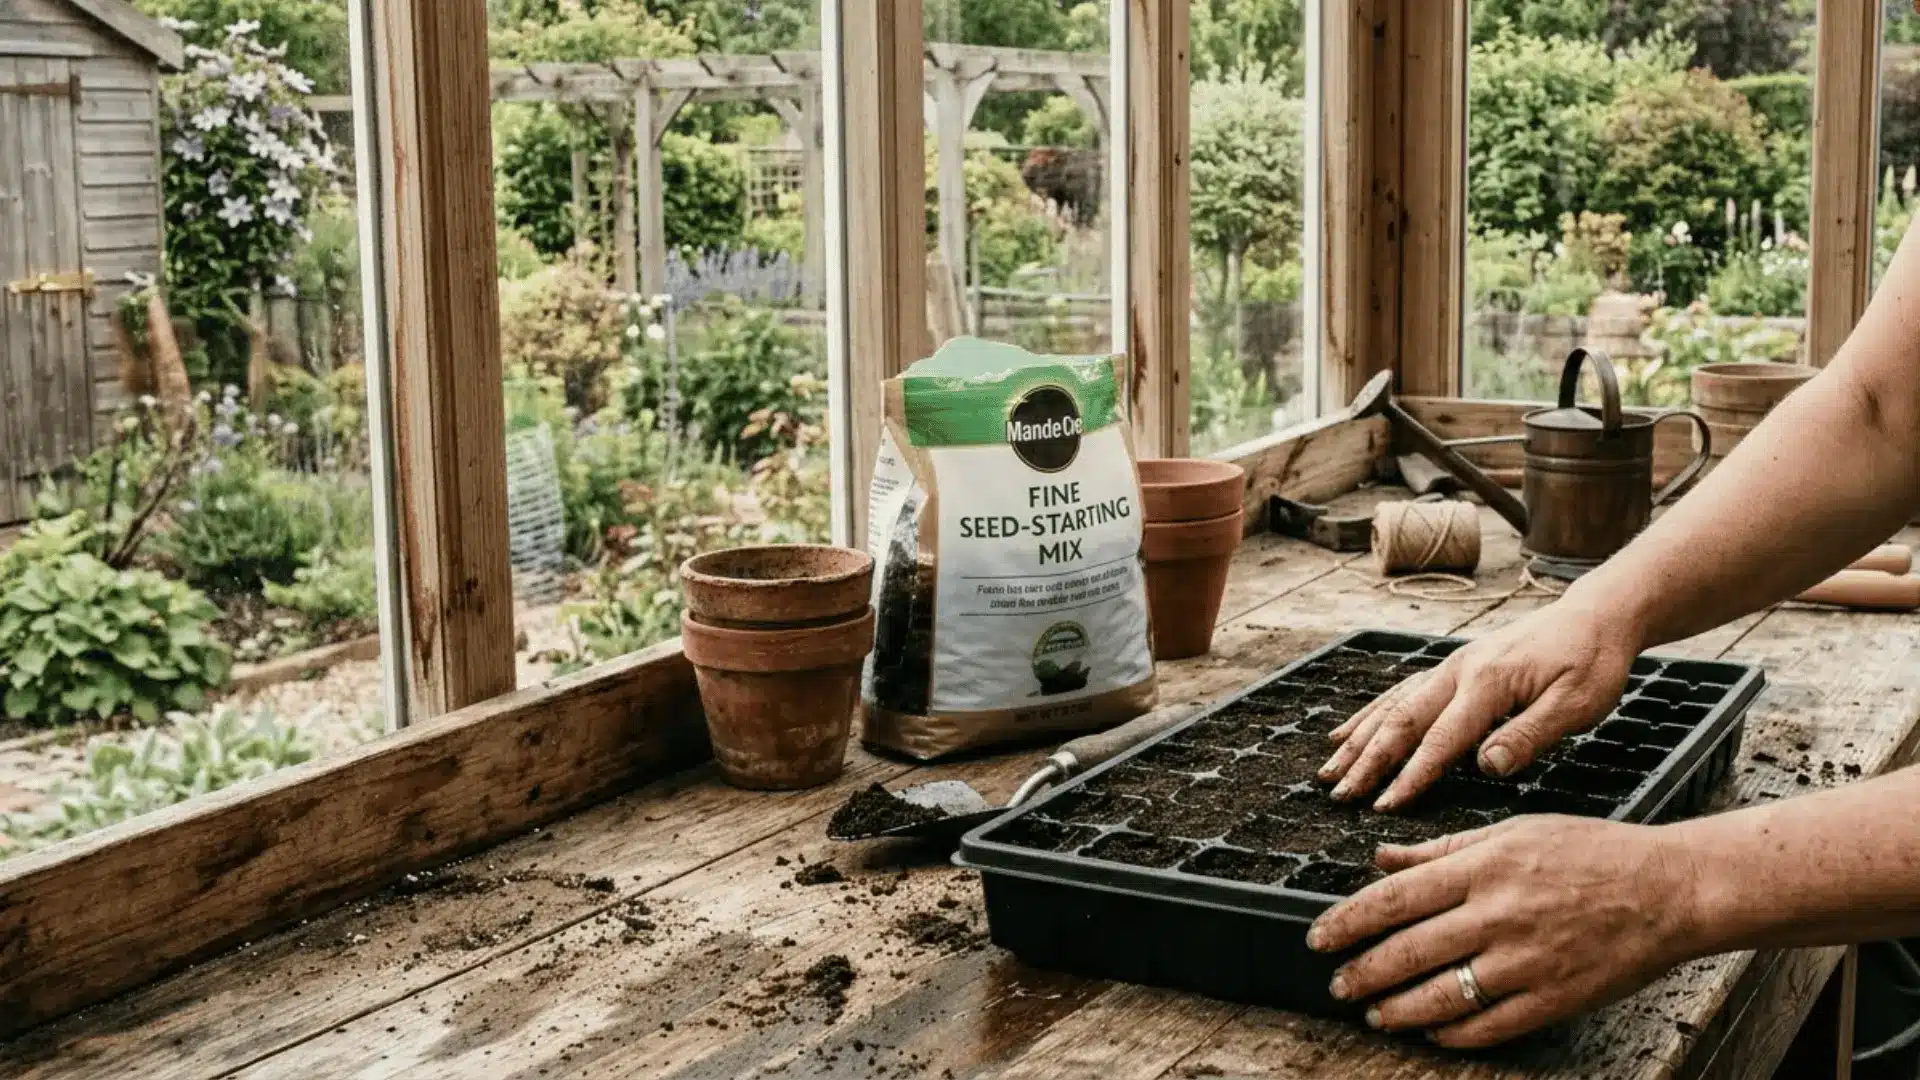
Start by filling your seed trays with a light, well-draining seed-starting mix. Avoid regular potting soil as it tends to be too dense for delicate seedlings.
Gently press the mix down to remove any air pockets, leaving a little space at the top. A smooth, even surface gives your seeds the best possible start.
Step 2: Sprinkle Seeds on the Soil Surface
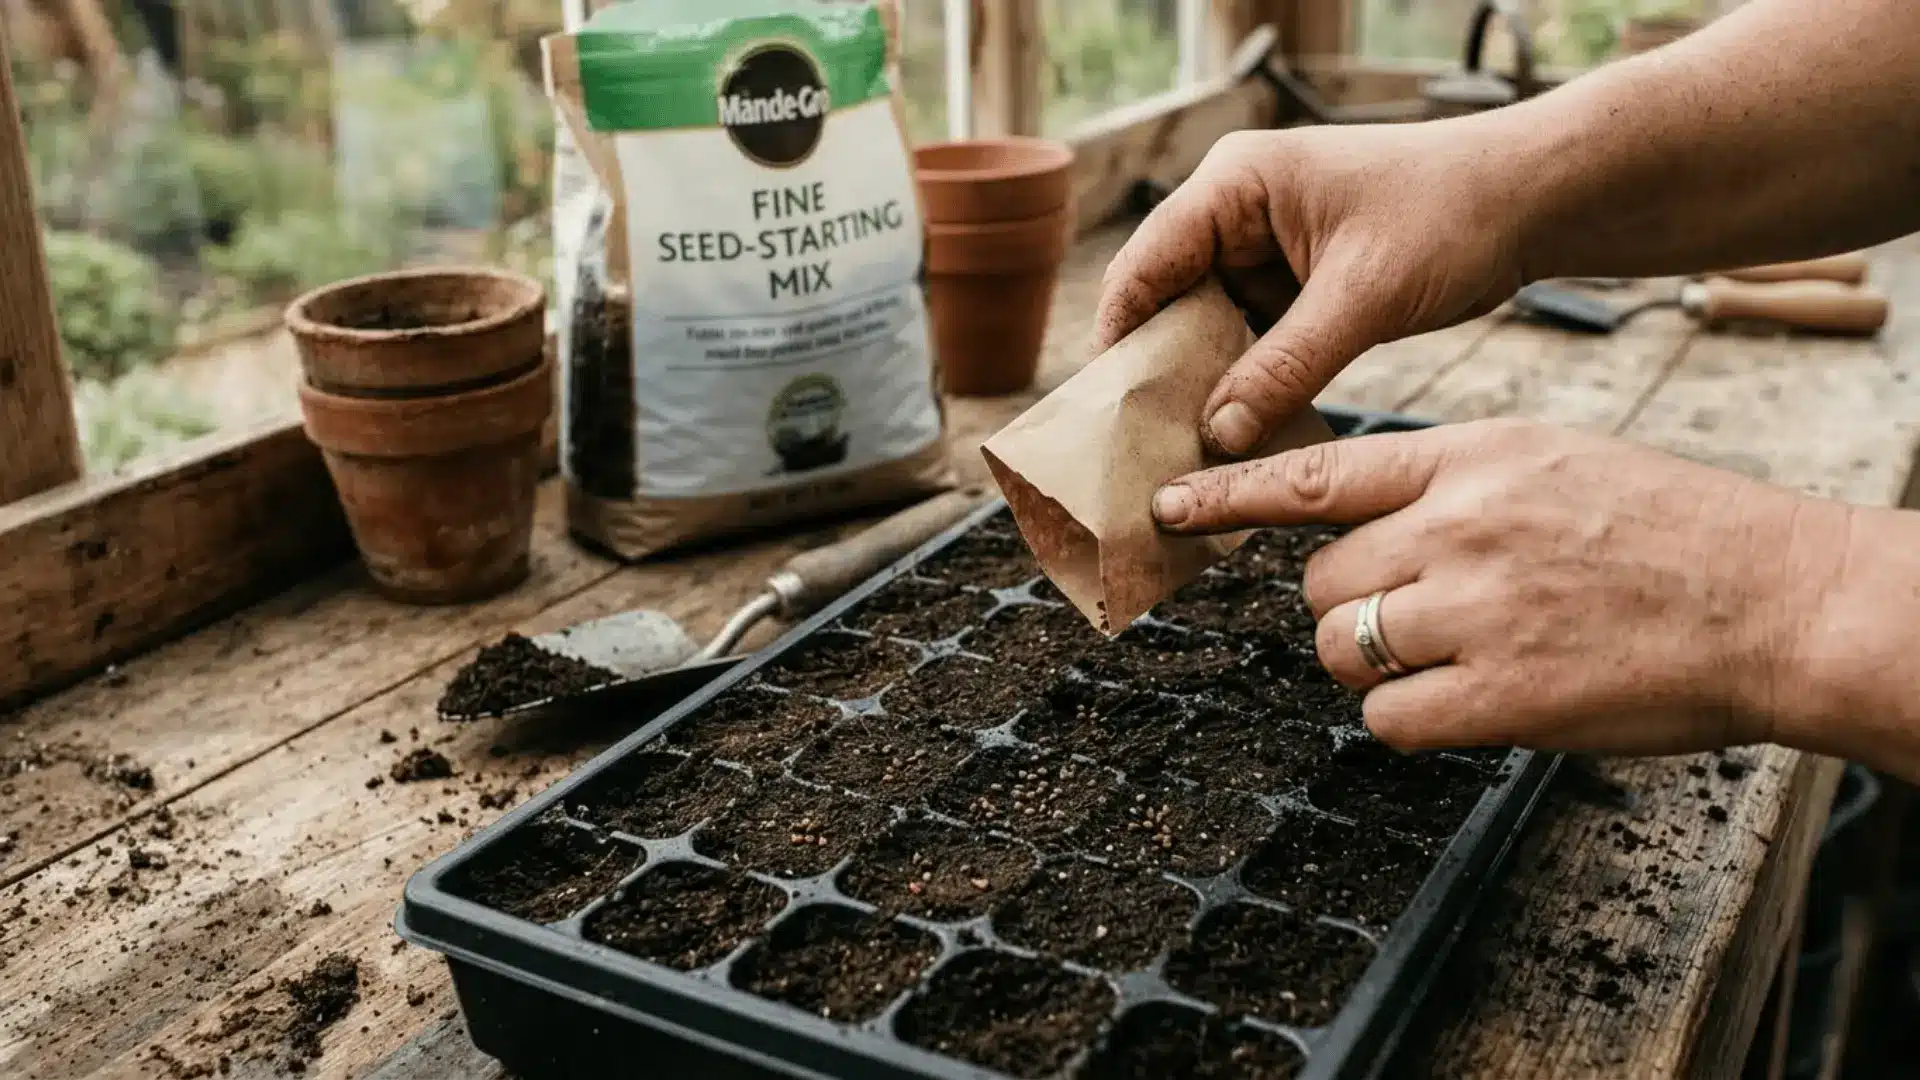
Scatter your strawberry seeds evenly across the surface of the soil, spacing them out as much as possible.
There’s no need to dig or create rows; simply let them settle naturally on top. Working with such tiny seeds can feel fiddly, so take your time and handle them with care.
Step 3: Lightly Press Seeds Into Soil
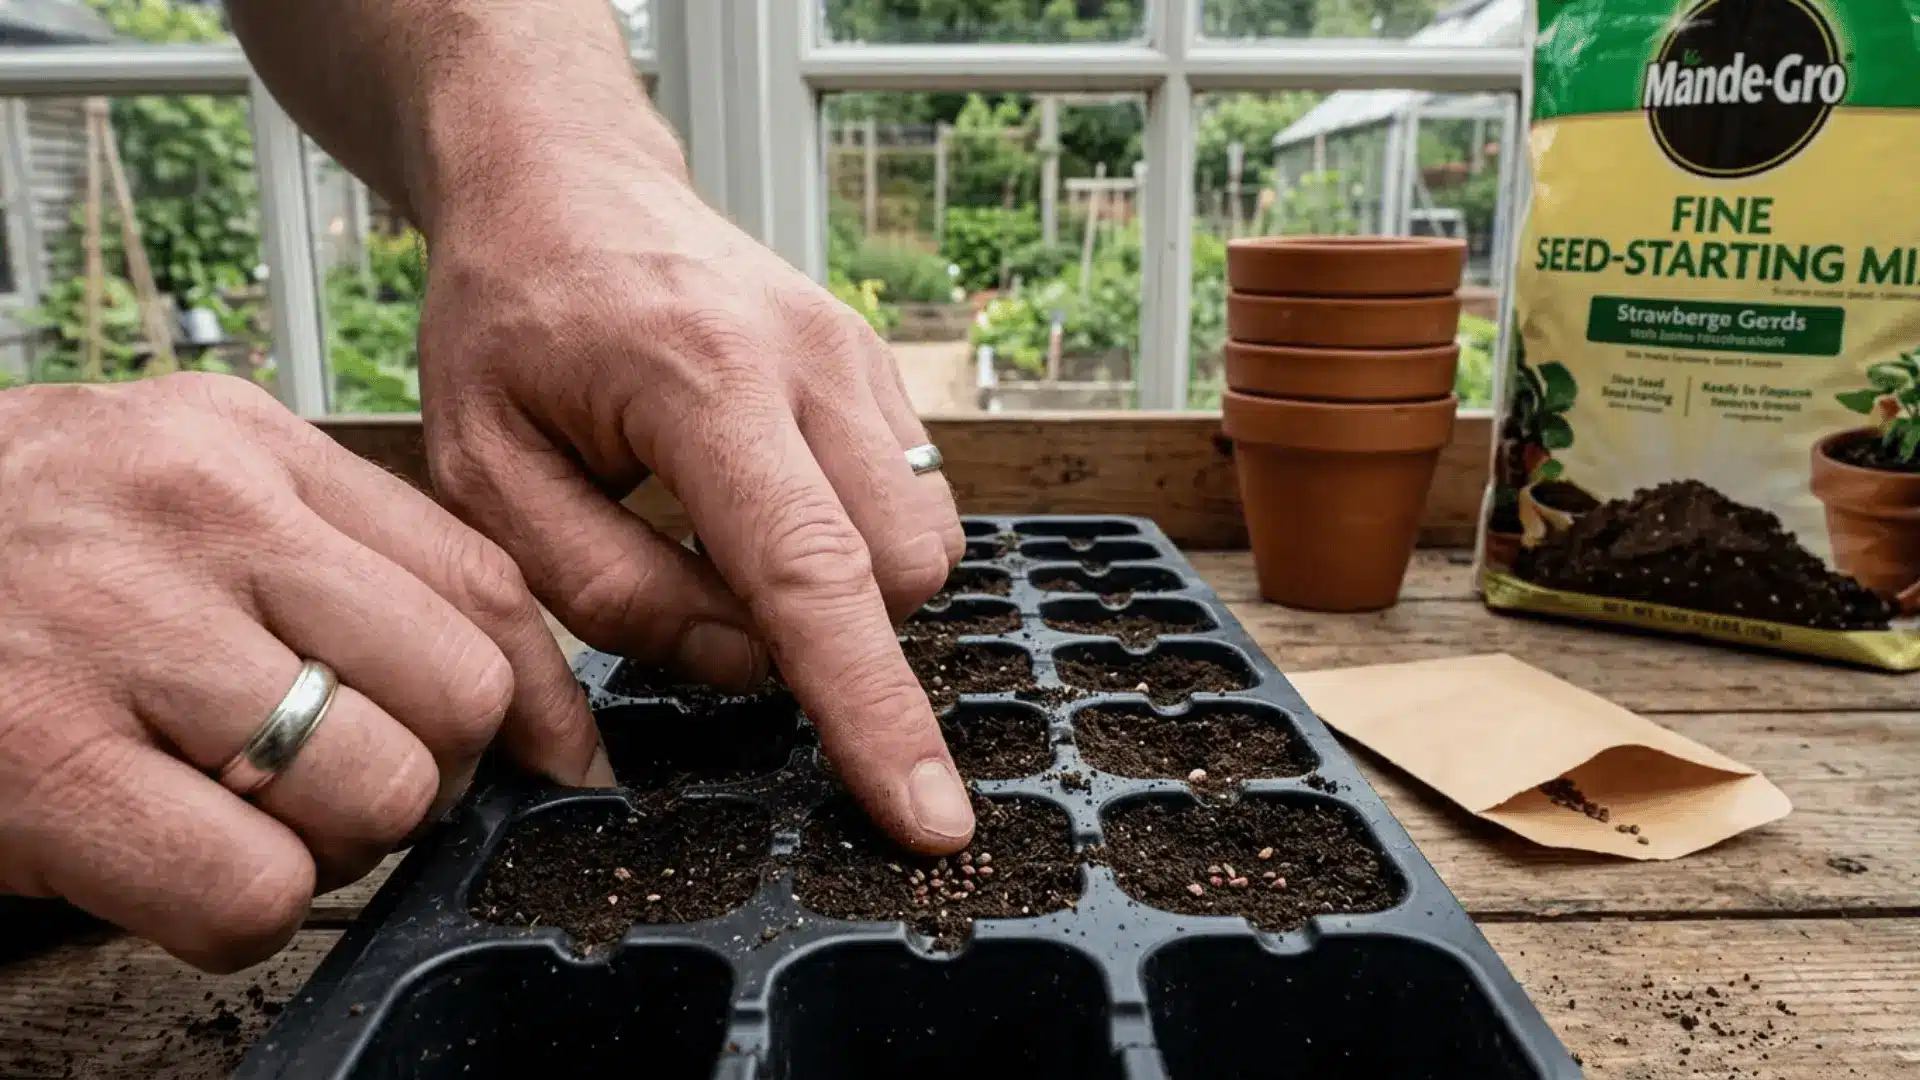
Once the seeds are spread out, use your fingertip or the back of a spoon to gently press them into the soil surface.
Strawberry seeds need light to germinate, so avoid burying them. That light contact with the soil is all they need to anchor themselves without losing access to the light above.
Step 4: Keep Soil Moist

Mist the soil gently with a spray bottle to keep it consistently moist without waterlogging it.
Overwatering at this stage can be just as harmful as letting the soil dry out. Check on the moisture levels daily and mist whenever the surface starts to look or feel dry.
Step 5: Provide Bright Light for Germination
Place your trays under grow lights or on a bright, sunny windowsill where they’ll receive plenty of indirect light throughout the day.
Warmth and light work together to trigger germination, so consistency here really matters. Within 2 to 6 weeks, you should start seeing those first tiny sprouts come through.
Caring for Strawberry Seedlings
Once those first sprouts appear, the real nurturing begins. Consistent care at this stage shapes how strong and healthy your plants grow to be.
Watering Your Seedlings
Overwatering is one of the most common mistakes at this stage, so keeping things balanced matters more than you’d think. Always aim for moist but never waterlogged soil, and let the surface guide you.
- Mist gently with a spray bottle rather than pouring directly.
- Water when the top layer of soil feels dry to the touch.
- Ensure your trays or pots have proper drainage to avoid root rot.
Getting the Light Right
Strawberry seedlings are surprisingly light-hungry, and insufficient light leads to weak, leggy growth that struggles later on. Position them somewhere they’ll get steady, bright light throughout the day.
- Place seedlings under grow lights for 12 to 16 hours daily.
- A south-facing windowsill works well if grow lights aren’t available.
- Rotate pots occasionally for even, balanced growth on all sides.
Thinning Seedlings
Once seedlings are established, crowding becomes a real concern. Too many plants competing for the same soil space and nutrients will hold all of them back.
When seedlings have developed their first true leaves, snip the weaker ones at the soil level rather than pulling them out, keeping only the strongest ones to grow on.
Transplanting Strawberry Seedlings
Knowing when and how to move your seedlings makes all the difference in how well they settle into their new home.
Your seedlings are ready to move once 3 to 4 true leaves have developed. These are the leaves that appear after the initial seed leaves and signal that the plant is strong enough to handle transplanting without too much stress.
Hardening-Off Seedlings
Before moving them outdoors fully, gradually introduce your seedlings to outside conditions over 7 to 10 days.
- Step 1: Place seedlings outside in a shaded spot for a few hours.
- Step 2: Gradually increase outdoor exposure each day.
- Step 3: Introduce them to direct sunlight slowly.
- Step 4: Leave them outside overnight once they seem settled.
Common Problems When Growing Strawberries From Seeds
Even the most attentive growers run into a few hiccups along the way.
Here’s what might be going wrong and how to fix it quickly.
Problem 1: “I followed all the steps, but my seeds just won’t sprout.”
Solution: Skip the cold stratification, and germination slows dramatically. Pop seeds back in the fridge for 2 to 4 weeks, then retry with consistently moist soil and adequate light.
Problem 2: “My seedlings are growing but they look really thin and stretched out.”
Solution: This almost always points to insufficient light. Move them closer to a grow light or brighter windowsill and ensure they’re getting at least 12 hours of light daily.
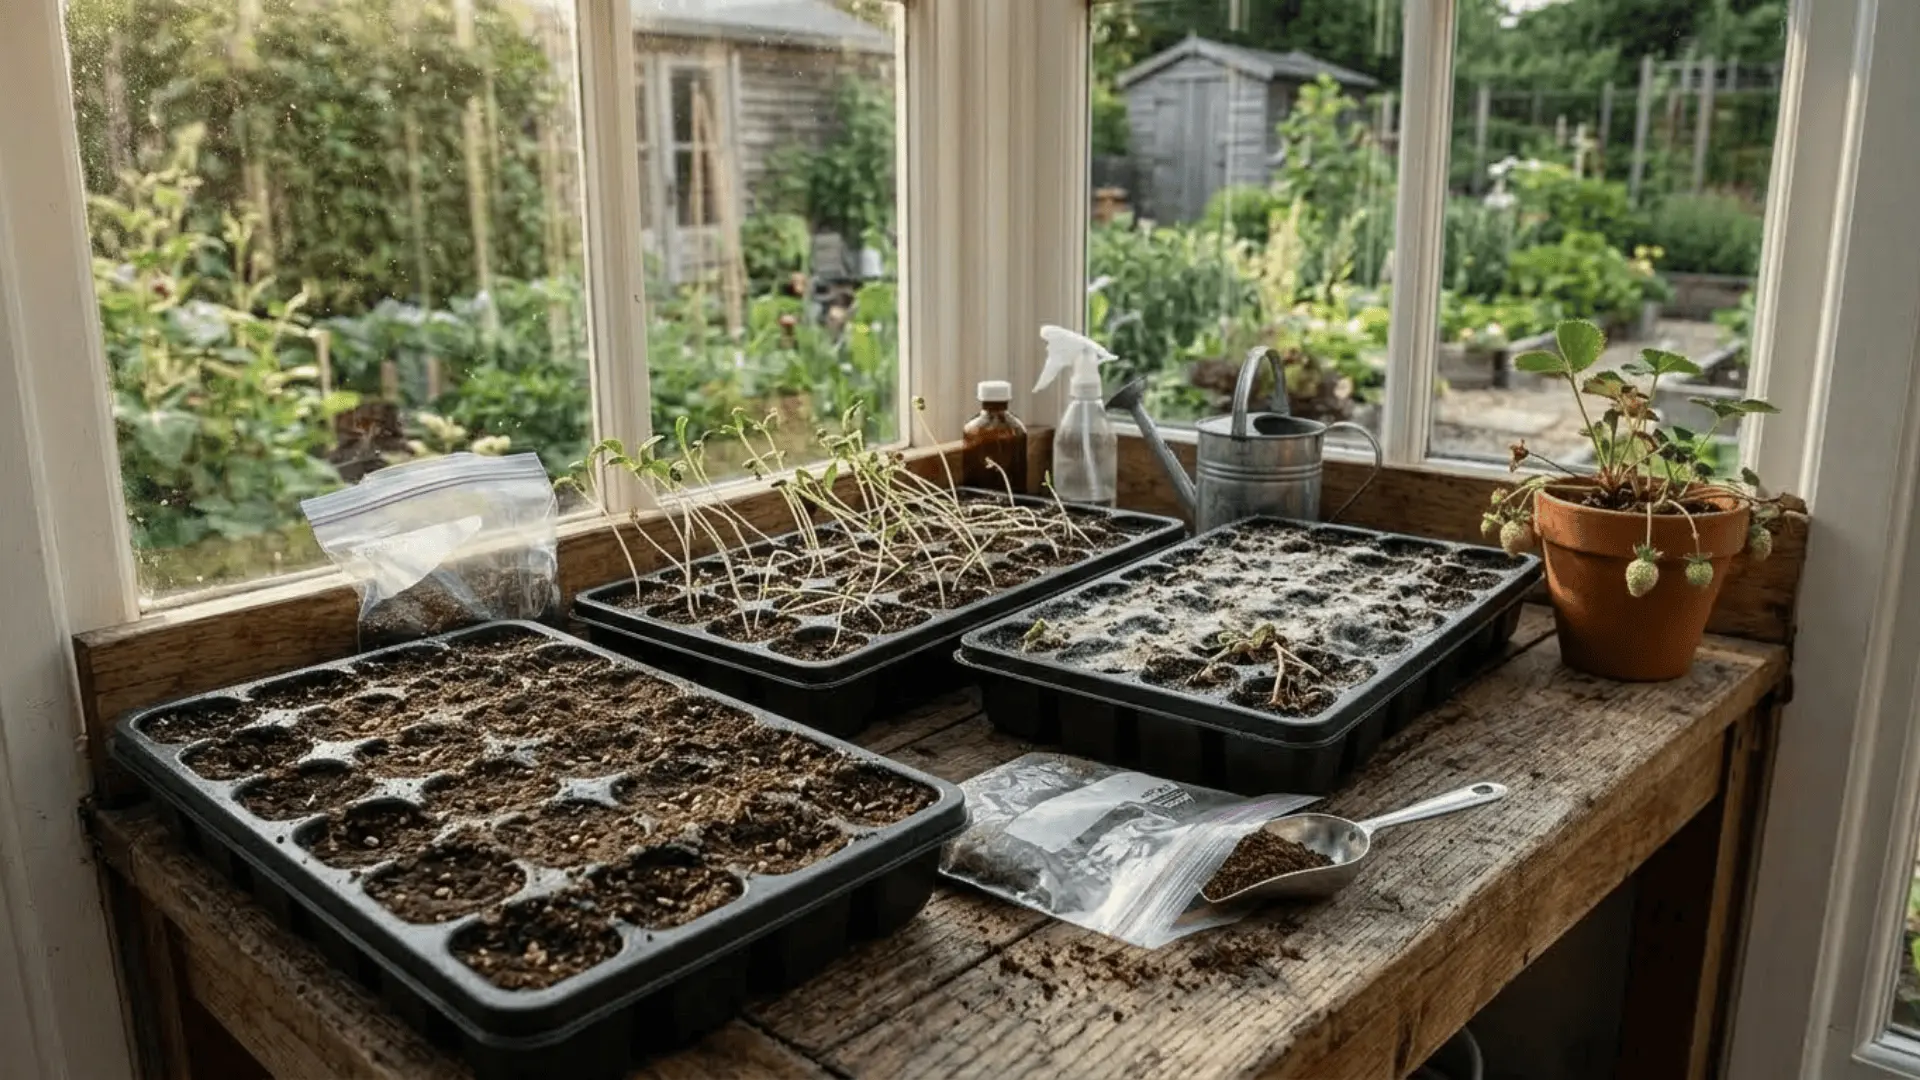
Problem 3: “A white fuzzy layer is forming on my soil, and my seedlings are falling over.”
Solution: Excess moisture and poor airflow are usually the culprits. Reduce watering frequency, remove the humidity cover if you’re using one, and treat with a diluted hydrogen peroxide solution to stop the spread.
Problem 4: “My plants look healthy but they’re barely producing any fruit.”
Solution: Inconsistent watering, low light, or overcrowding are likely holding your plants back. Reassess spacing, sunlight exposure, and feeding routine to give your plants the right conditions to fruit well.
Tips for Growing Healthy Strawberry Plants
Think of these as your non-negotiables once the plants start picking up pace:
- Mulch around the base of your plants with straw to retain moisture and keep weeds at bay.
- Feed every 2 weeks with a balanced, potassium-rich fertilizer once flowering begins.
- Cover plants with netting to protect ripening berries from birds and common pests.
- Remove runners regularly to keep the plant’s energy focused on fruit production.
- Check leaves frequently for early signs of pests or disease before they spread.
Your plants will tell you what they need; staying observant is half the work done.
When to Harvest Strawberries?
Timing your harvest right is what separates a good strawberry from a truly great one.
Your berries are ready to pick when they show these signs:
- A fully bright red color with no white or green patches remaining
- A sweet, fragrant aroma that’s noticeable even before you pick
- A texture that feels firm yet gives ever so slightly under gentle pressure
Once you spot all three, pick promptly. Leaving ripe berries on the plant too long attracts pests and signals the plant to slow down production.
Final Thoughts
Growing strawberries from seeds is genuinely one of the more fulfilling things you can do with a little soil and some patience.
It’s slow, yes, but every stage feels like a small win worth celebrating.
A sprawling garden bed or a single pot on your windowsill, the process of learning how to grow strawberries from seeds has a way of making you a more intuitive, attentive gardener overall.
Give it a try this season and see what unfolds.
Grown strawberries from seed before? Drop your experience in the comments below!
Frequently Asked Questions (FAQs)
Is It Difficult to Grow Strawberries From Seeds?
Not particularly, but it does require consistency and patience. With the right conditions, cold stratification, adequate light, and steady moisture, most beginners find the process very manageable.
How Long Do Strawberries Take to Grow From Seeds?
Germination alone can take anywhere from 2 to 6 weeks, with fruit-bearing plants typically developing over several months. Starting early in the season gives you the best chance of a good harvest.
Can Strawberries Grow in Pots?
Strawberries are actually well-suited to container growing, making them a great option for smaller spaces. As long as the pot has proper drainage and enough depth, they settle in and produce really well.