Growing onions seems simple from the outside, but once you dive in, you realize there’s a rhythm to it; a mix of timing, sunlight, and small daily choices that make the whole thing work.
Most people struggle not because it’s hard, but because the plant has its own pace, and you’ve got to meet it where it is.
In this guide, I’m breaking down how to grow onions in a way that actually makes sense: the prep, the planting, the care, the problem-solving, and the parts nobody tells you about until you’ve already messed up a season.
If you’ve ever wondered how growers end up with those big, clean bulbs, you’re in the right place. Let’s start with the basics and get you set up the right way.
What You Need to Know Before Planting Onions
Before you drop anything in the soil, you gotta get a handle on a few basics. This is the stuff people usually skip because they’re excited to plant, and that’s how they end up staring at tiny bulbs, wondering what went wrong.
Types of Onions You Can Grow
When you’re starting out, you should know what you’re even trying to grow. I’ve seen people grab whatever they find at the store, toss it in the dirt, and hope for the best. That’s how you get those sad little golf-ball onions that make you question your life choices.
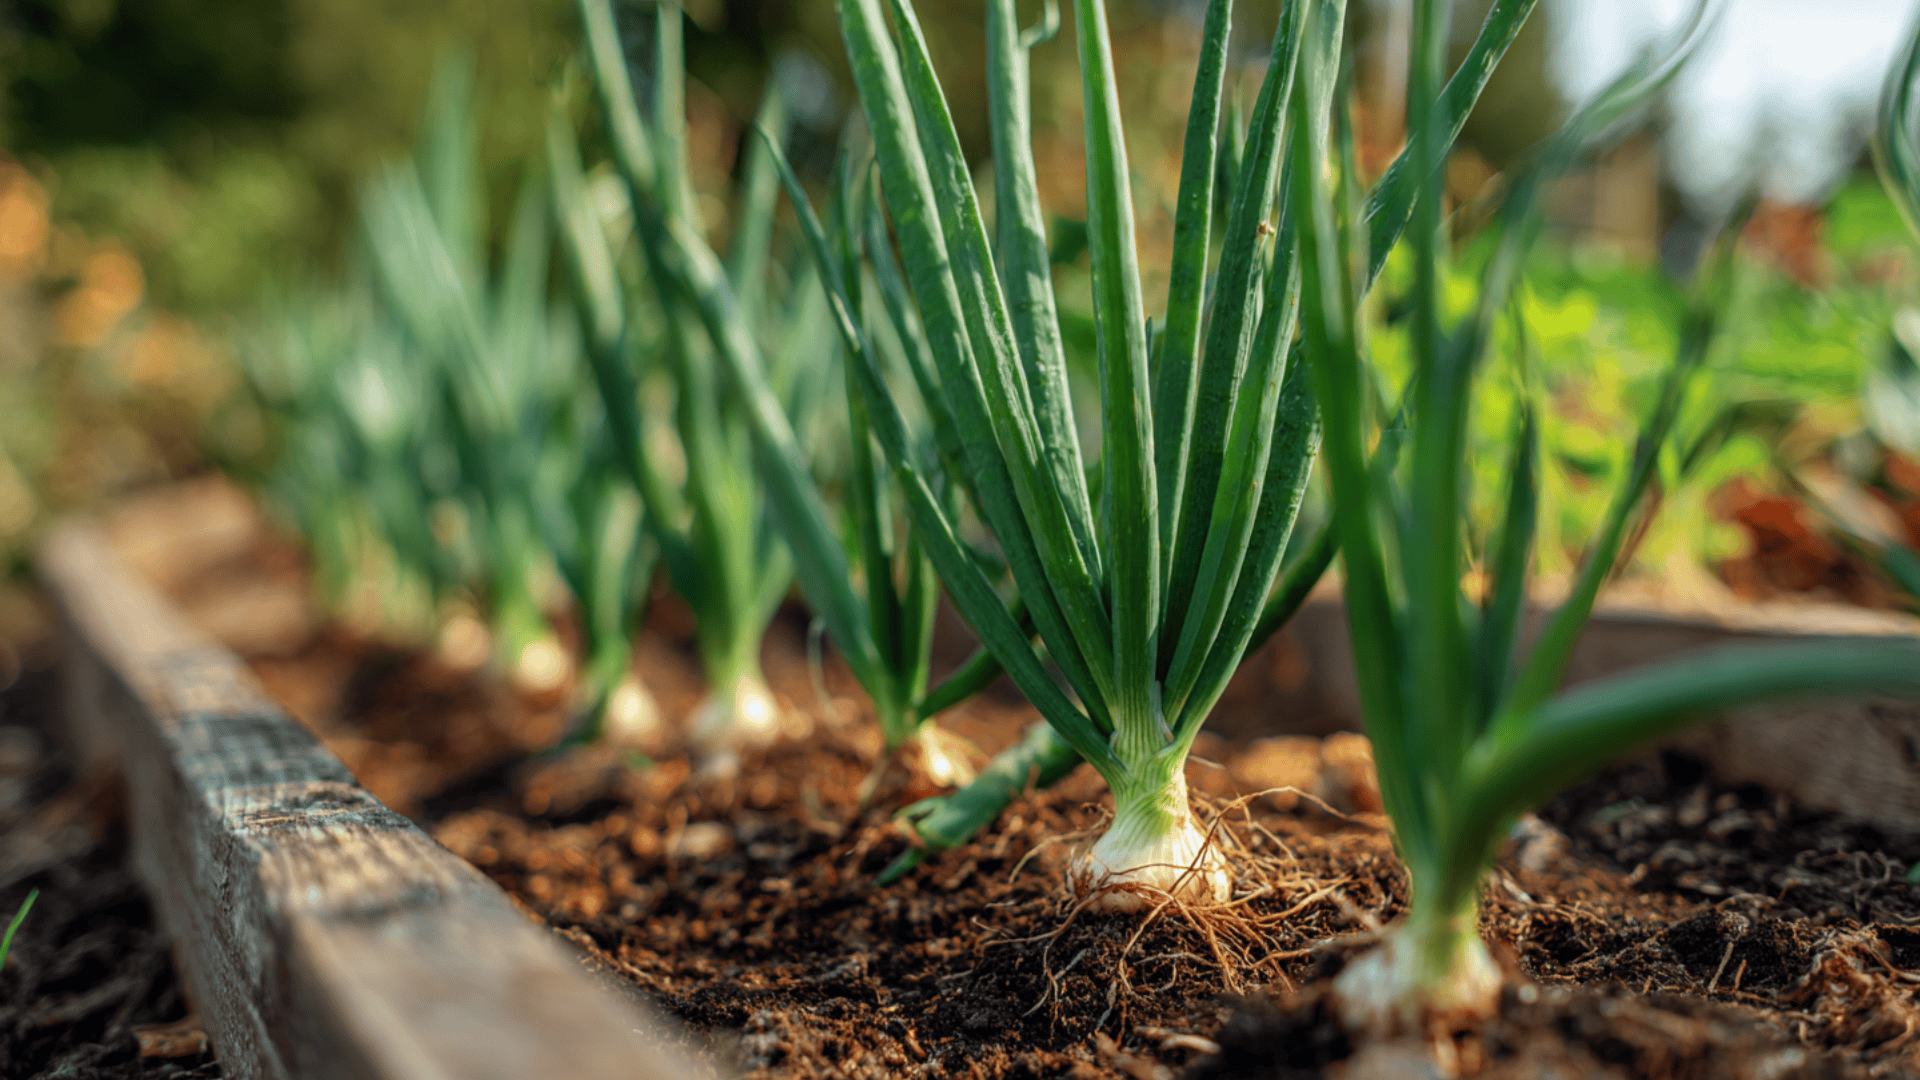
- Bulb onions: These develop full, round bulbs that store for months, offer tons of variety options, and only reach their real size when they get strong sunlight, loose soil, and proper spacing.
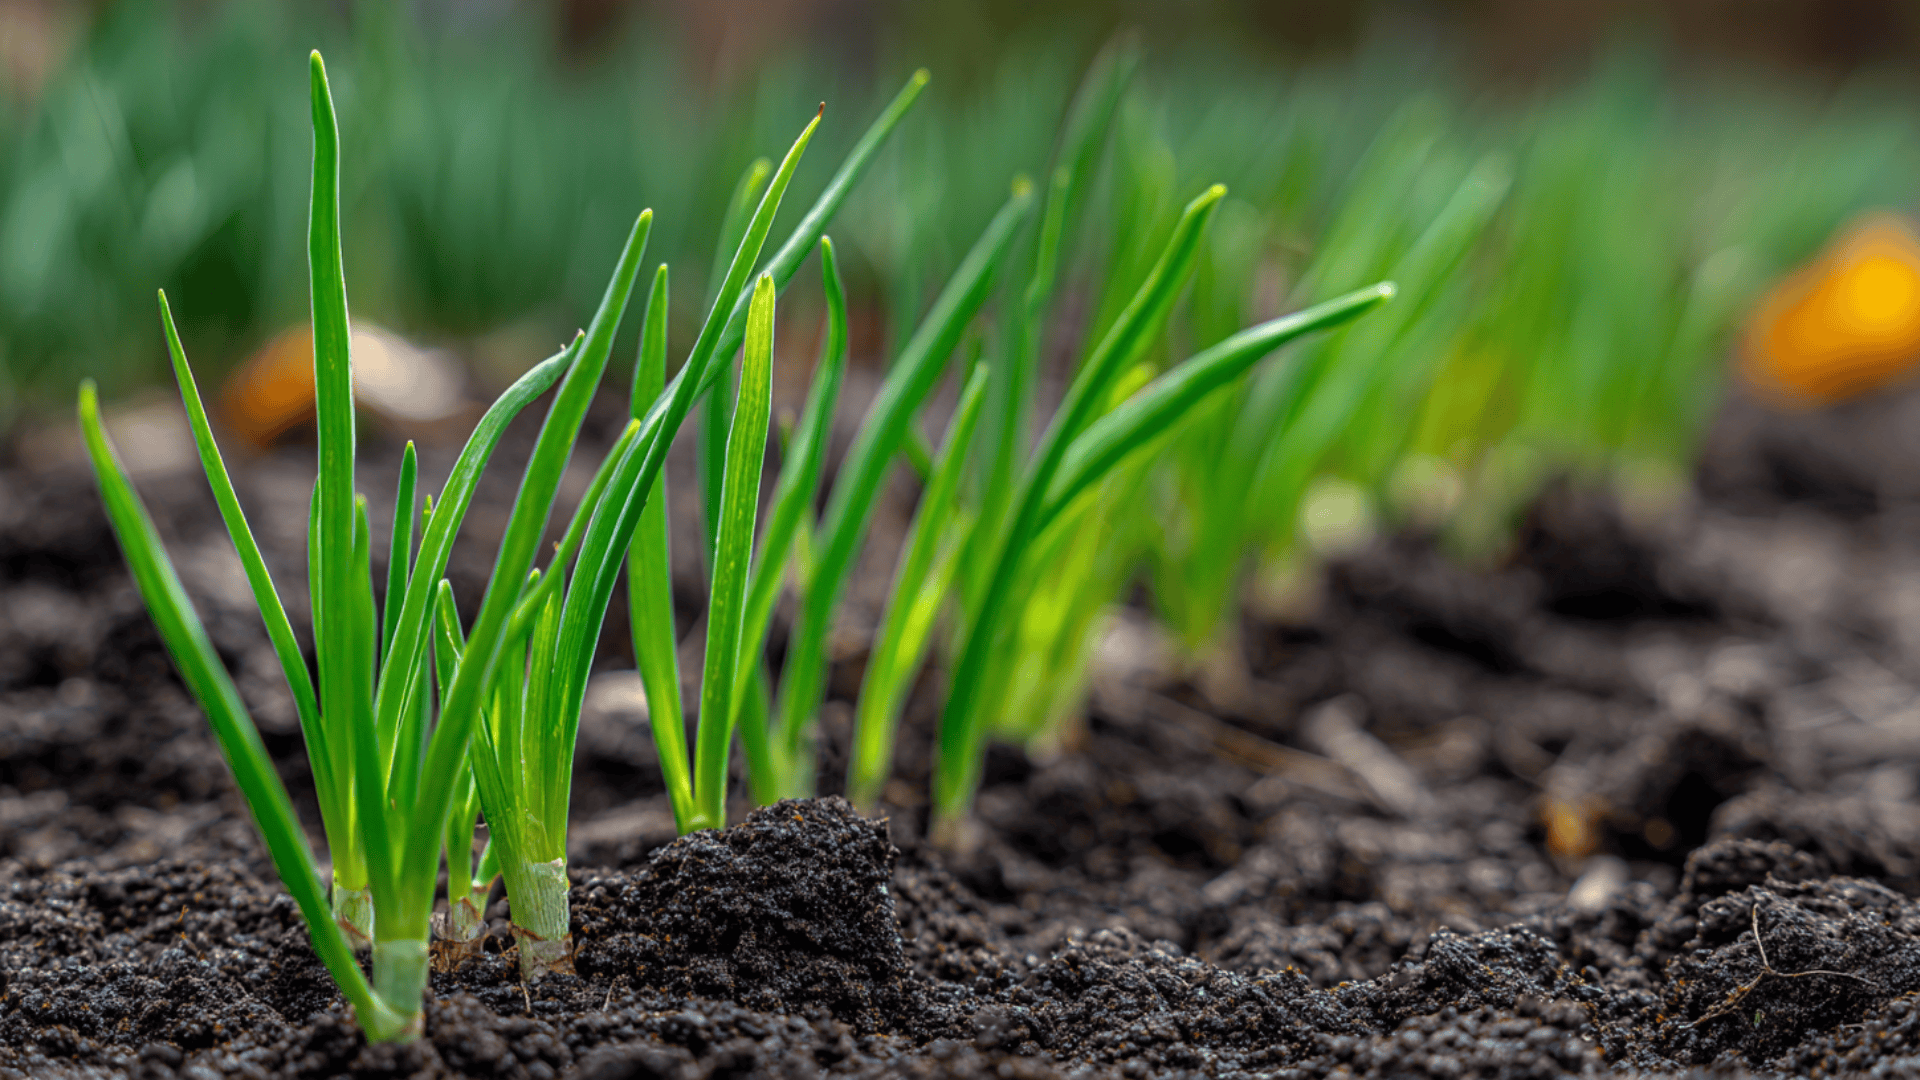
- Green onions: These grow quickly without much work, stay reliable for beginners, regrow easily from scraps, and thrive in tight spaces like pots or raised beds where bulb onions wouldn’t fit.
Onion Day-Length Explained
This is the part people mess up the most. Onions don’t just grow bulbs because you “take good care of them.” They bulk up when the daylight hours hit a certain point.
If you plant the wrong type for where you live, you can give them love, water, compost, motivational speeches… it won’t matter. They won’t bulb.
- Long-day onions: These only bulb when daylight hits roughly 14–16 hours, making them the best fit for northern states where summer days run long and give the plants enough time and light to size up properly.
- Short-day onions: These start bulbing earlier with just 10–12 hours of daylight, which makes them ideal for southern states where days don’t stretch as long but temperatures stay warm enough for steady growth.
- Intermediate-day onions: These sit comfortably between the two extremes, bulbing with moderate daylight and working well in most regions that aren’t far north or deep south, giving growers a flexible, reliable option.
How to choose:
- If your summers have really long days, go long-day.
- If your days aren’t that long, go short-day.
- If you’re somewhere in between or you’re not sure, intermediate is the safe bet.
Once you match the onion to the daylight in your area, you’re already ahead of most beginners.
Seeds, Sets, or Scraps?
Everybody wants to know what to plant. The truth is, all three can work; they just give you different experiences.
| Option | What It Is | Pros | Cons | Best For |
|---|---|---|---|---|
| Seeds | Tiny black seeds that take patience and a bit of setup. | Biggest variety, inexpensive, strong healthy plants. | Slower start, usually need indoor growing first. | Growers who want full control and don’t mind extra steps. |
| Sets | Small pre-started bulbs sold in bags. | Easy to use, fast growth, beginner-friendly. | Fewer varieties available, can bolt earlier. | Anyone wanting a simple, reliable way to grow bulbs. |
| Scraps | The base of an onion you forgot on the counter. | Free to use, fun for kids or new gardeners. | Mostly regrows greens, unreliable for real bulbs. | People who want steady green onions, not full bulb onions. |
Best choice for beginners:
If you want actual bulb onions and you’re new to this, go with sets. They’re simple, forgiving, and let you focus on watering, sunlight, and spacing; the stuff that actually teaches you how onions grow.
If you want the full experience or you’re serious about perfect results, start with seeds.
When to Plant Onions
Timing trips people up more than anything else with onions. You can do everything right, but if you plant at the wrong time, the bulbs never get a chance to form the way they should. So getting this part straight saves you a whole season of frustration.
Spring vs. Fall Planting
For cold climates: Spring is your window. You want to get onions in the ground as soon as the soil is workable after the last frost. They need a long, steady stretch of cool weather before summer hits, and planting too late means the heat shows up before the bulbs know what to do.
For mild climates: Fall planting works great here. You put them in the ground when temperatures drop, let them settle through winter, and they take off early in spring. This gives you bigger bulbs because the plants get more growing time before long, warm days kick in.
How Long Do Onions Take to Grow
Most onions need around 90 to 120 days from planting to harvest. Some varieties go longer, especially if you start from seed. Sets are the quickest, transplants fall in the middle, and seeds take the longest but give you the most control.
What affects speed:
Sunlight, temperature, variety, and planting method all change how fast they mature.
More sun means faster, stronger growth. Cooler weather slows things down early on, and the type of onion decides when the bulb actually forms.
And of course, starting from seed adds extra time upfront, while sets shave weeks off the process.
Best Places to Grow Onions
Onions don’t care how excited you are to grow them. They care about the spot you pick. The right location gives you big, solid bulbs. The wrong one gives you tiny little golf balls that make you question your life choices. So this is where smart planning starts.
1. Sunlight Requirements
Onions are sun addicts. They need real, direct light; not “kinda bright,” not “half the day behind the shed.” Around 10 hours of sun keeps them happy and building bulbs.
When they don’t get enough light, the plant shifts gears. Instead of putting energy into the bulb, it pours everything into growing long, leafy tops. Looks great above ground, disappointing below it.
Sunlight is the difference between dinner-sized onions and the embarrassing ones you hide at the bottom of the harvest basket.
2. Soil Requirements
Onions do their best in soil that lets them breathe and spread out. They want drainage, not puddles. Water needs to move through the soil instead of collecting, or the roots get stressed, and the bulbs stay small.
A loose, crumbly texture is the sweet spot. If your soil feels like a brick or holds a shape when you squeeze it, it’s too tight. Break it up, fluff it, let air in.
They also respond well to a pH around 6.0 to 6.8, which keeps nutrients available. Anything way outside that range slows everything down.
And yeah, a good dose of composthelps… not to bury them, but to enrich the soil so roots grow strong. Compost boosts nutrients and improves texture without turning the space into a swamp.
3. Growing Onions in Containers vs. Ground
Growing in the ground gives onions room to stretch, but containers can be a lifesaver when the soil or sunlight in your yard isn’t cooperating.
Pots need to be deep enough, around 10–12 inches, so the roots don’t hit a wall too early. Wider is even better if you want multiple bulbs without overcrowding.
Spacing shifts a bit in containers. You can tuck them in tighter if you’re only after greens, but bulb onions still need enough elbow room to expand without smashing into each other.
Containers really shine when you’re dealing with bad soil, clay, heavy shade, or pests. You can chase the sun, control the environment, and avoid all the stuff in the ground that slows onions down.
How to Grow Onions from Seed: What Actually Works
Here’s the thing about starting onions from seeds: it’s not hard, but it does take a little rhythm.
Once you get that rhythm down, the plants take off and you get strong, healthy bulbs instead of the weak, floppy seedlings most people end up with. Let’s walk through it clean and simple.
Step 1: Fill and Prep Your Seed Trays
Start with 72-cell trays or something close. Fill each cell with a light potting mix that stays loose and drains well. Pre-moisten the whole tray until the soil is evenly damp, not soaked.
If you’re growing more than one onion type, divide the tray into sections, so you know which group is which without having to label every single row.
Step 2: Plant the Seeds (Overseed Each Cell)
Onion seeds are tiny, so overseeding is part of the process. Drop four to six seeds into every cell. Spread them around lightly with your finger, then cover them with a very thin layer of soil or vermiculite.
Keep the coverage shallow; they sprout best when they’re just barely tucked in.
Step 3: Water and Set Indoors for Germination
Give the tray a gentle watering from above to settle everything in place. Set the tray indoors near a bright window where the seedlings get steady light.
Make sure the soil stays moist without turning muddy. Check it daily. Most seeds pop up somewhere between 7 and 14 days.
Step 4: Thin the Seedlings in Two Rounds
When the seedlings reach a couple inches tall, thin each cell down to the two or three strongest plants. Give them another week to grow, then thin again so you’re left with one solid seedling in every cell.
This two-step thinning keeps you from losing a whole cell if one young plant dies early.
Step 5: Transplant When Rooted and Strong
You’ll know they’re ready for the garden when the roots fill the cell and hold together as one firm plug when you lift the seedling out.
At that point, the plants are sturdy enough to handle transplanting and settle into the garden without falling apart.
Step 6: Harden Off Your Seedlings Before Moving Them Outside
Onions raised indoors need a few days to get used to the outside world. Start by setting the tray outside for an hour or two in light shade. Each day, give them a little more time and a little more sun.
After about a week, they’re tough enough to handle full light, wind, and cooler nights. Once they pass that test, they’re ready to live outside full-time and keep growing without setbacks.
For a clearer picture of how this looks in real time, check out the video guide right below and watch the setup from start to finish:
Caring for Onions as They Grow
Once your onions are in the ground, the whole job shifts to steady, consistent care. This isn’t a plant that needs constant babysitting, but it does need the basics delivered on time.
Watering Schedule
Onions like even moisture. A good routine is watering once or twice a week, depending on your weather. The soil should stay damp in the top couple of inches, not soaked and not bone-dry.
As the season warms up, you’ll need to increase the frequency a bit, especially during long hot stretches. In cooler, rainy periods, cut back so the roots don’t sit in heavy, wet soil.
Fertilizing for Bigger Bulbs
Onions respond really well to nitrogen early on. That’s what builds strong, leafy growth — and those leaves are what fuel bigger bulbs later. Feed with a nitrogen-rich fertilizer every couple of weeks during the first half of the growing season.
Once the bulbs start forming, stop feeding. Adding nitrogen too late slows bulb growth and keeps the plant stuck in leaf-making mode instead of sizing up underground.
Weeding and Mulching
Onions can’t compete with weeds at all. Their roots sit close to the surface, and any nearby plant steals water and nutrients fast. Keeping the bed weed-free makes a dramatic difference in bulb size.
A light layer of mulch helps a lot. Straw, shredded leaves, or even grass clippings work well. It holds moisture, keeps weeds down, and gives onions the space they need to grow without getting choked out.
Common Onion Growing Problems and Fixes
Onion problems show up fast, and most of them come from a few predictable issues. Here are the most common trouble spots and the fixes that actually work:
| Problem | Cause | Fix |
|---|---|---|
| Lots of leaves but no bulbs | Wrong day-length type for your region | Choose the right variety (long-day, short-day, intermediate) |
| Not enough sunlight | Move plants to the sunniest spot available | |
| Too much nitrogen late in the season | Stop feeding once bulbs begin forming | |
| Small or thin onions | Plants spaced too close together | Space each plant 4–6 inches apart |
| Less than eight hours of sunlight | Ensure full, direct sun daily | |
| Poor timing with nitrogen feeding | Feed with nitrogen early, avoid late-season feeding | |
| Bolting or early flowering | Sudden temperature swings | Remove the flower stalk and use that onion soon |
| Stressed or poorly stored sets | Don’t expect full bulbs from bolted plants | |
| Variety not suited to your climate | Pick climate-matched varieties and avoid oversized sets |
Once you know what’s causing the problem, onions become a lot easier to manage. Use this as a quick check-in anytime your plants start acting off.
When and How to Harvest Onions
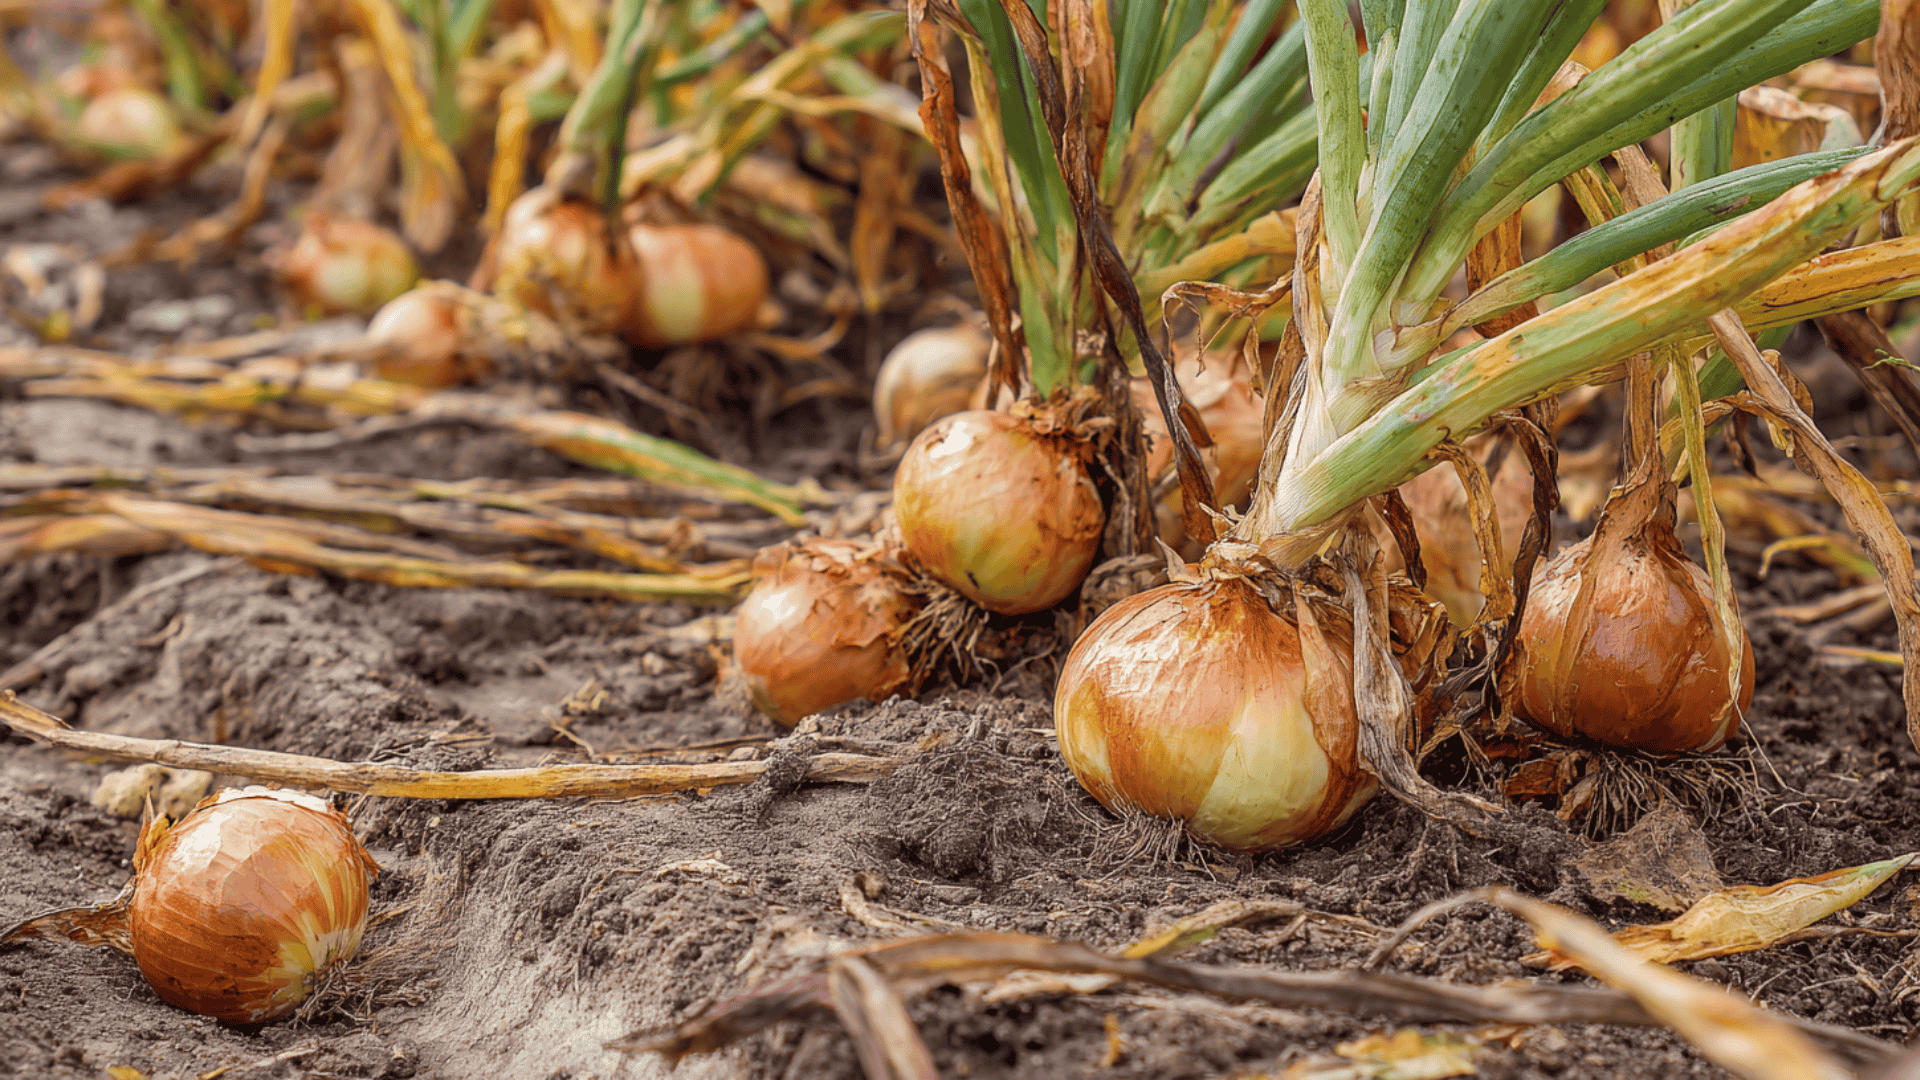
Harvesting onions is one of those moments where timing really matters. If you pick them too early, the bulbs stay small. Too late, and they start to split or rot. The plants give clear signals when they’re ready; you just have to know what to look for.
Signs that Onions are Ready for Harvesting
- Leaf color: As harvest gets close, the green tops start turning yellow and losing their strength. That fading color is your first big clue that the plant is finishing its job.
- Top fall-over timing: When the tops naturally bend and fall over, that’s the plant’s way of saying the bulb is done growing. Once most of the row has flopped, you’re good to start harvesting.
Harvesting Without Damage: Pulling vs. Digging
In loose soil, you can usually pull onions by hand, gripping low near the base so the neck doesn’t snap. If the soil is compacted or the bulbs are deep, use a garden fork to loosen the ground before lifting them out.
Take your time here. Bruising or cutting the bulbs shortens their storage life, and a gentle lift keeps them in good shape.
How to Cure and Store Onions
After harvest, onions need a little time to dry and toughen up before they’re ready for storage.
This curing step is what gives them that long shelf life, so don’t skip it. It’s the difference between onions that last weeks and onions that last months.
Curing Process
- Where: Spread the onions out in a warm, dry, shaded spot with plenty of airflow. A garage, covered porch, shed, or even a shaded patio works fine as long as it stays breezy and out of direct sun.
- How long: Most onions cure in about 2 to 3 weeks. You’ll know they’re done when the outer skins feel papery, the necks tighten up, and the tops are fully dry. If the neck still feels soft or moist, give them more time.
Storage Tips
- Temperature: Keep cured onions in a cool, dry spot: ideally 32–40°F for long storage. If you don’t have a space that cold, aim for the coolest room or pantry you’ve got.
- Ventilation: Good airflow keeps onions from molding. Mesh bags, crates, baskets, or any container that lets air move around them works great. Avoid sealed bins.
- What not to do: Don’t store onions in plastic bags, don’t keep them near potatoes, and don’t stash them in humid areas. Too much moisture, trapped air, or ethylene from potatoes will ruin them fast.
Wrapping Up
Growing onions gets a lot easier once you understand how much the plant depends on timing, sunlight, and steady care.
The real trick is paying attention to the signals your garden gives you; the way the leaves change, how the soil feels, and how each stage builds on the one before it.
Growers who slow down and watch their plants end up with the biggest bulbs and the longest storage life. If you keep things simple and consistent, growing onions becomes a process you can rely on year after year.
Ready to get started? Take what you’ve learned here and put your first batch in the ground.