I’ll be honest, I killed my first aloe vera plant within months.
Overwatered it, stuck it in a dark corner, and wondered why it turned mushy and brown. Learning how to care for an aloe vera plant completely changed that. Turns out, these succulents are pretty forgiving once you understand what they actually need.
You don’t need a green thumb or fancy equipment. Just a few simple habits around watering, light, and soil can keep your aloe thriving for years.
I’ve kept mine alive and healthy ever since I figured out the basics.
You’ll learn the exact steps to position, water, and maintain your plant so it stays thick, green, and ready to soothe your next sunburn or kitchen mishap.
Why Aloe Vera is a Great Plant for Beginners
I’ve recommended aloe vera to countless friends who swear they can’t keep plants alive. It’s honestly one of the most forgiving houseplants you can start with.
Aloe vera thrives on neglect. Forget to water it for a couple weeks? It’ll be fine. Most beginners kill plants by overwatering, but aloe actually prefers being left alone. The thick, fleshy leaves store water like tiny reservoirs, so the plant can handle dry spells without breaking a sweat.
You don’t need perfect conditions either. As long as your aloe gets decent light and isn’t sitting in soggy soil, it’ll grow steadily. I’ve seen them bounce back from all kinds of mistakes—too much shade, root rot, even physical damage. They’re resilient in ways that give you room to learn.
Beyond being low-maintenance, aloe vera is genuinely useful. You can snap off a leaf and squeeze out the gel for minor burns, cuts, or dry skin. I keep mine in the kitchen for exactly this reason. It’s like having a natural first-aid kit on your windowsill.
The care routine is simple and repetitive. Once you nail down the basics of watering, light, and soil, you’re set. There’s no guesswork or constant adjusting. That consistency makes aloe perfect for building your confidence before moving on to needier plants.
How to Grow Aloe Vera Plants: From Seedling to Full Growth
Growing aloe vera from scratch is easier than you’d think. You’ve got a few different starting points, and each one works depending on what you have access to.
Starting Your Aloe Vera Plant
Most people don’t grow aloe from seeds. It’s slow and unpredictable. Seeds can take weeks to germinate, and the seedlings grow at a crawl for months.
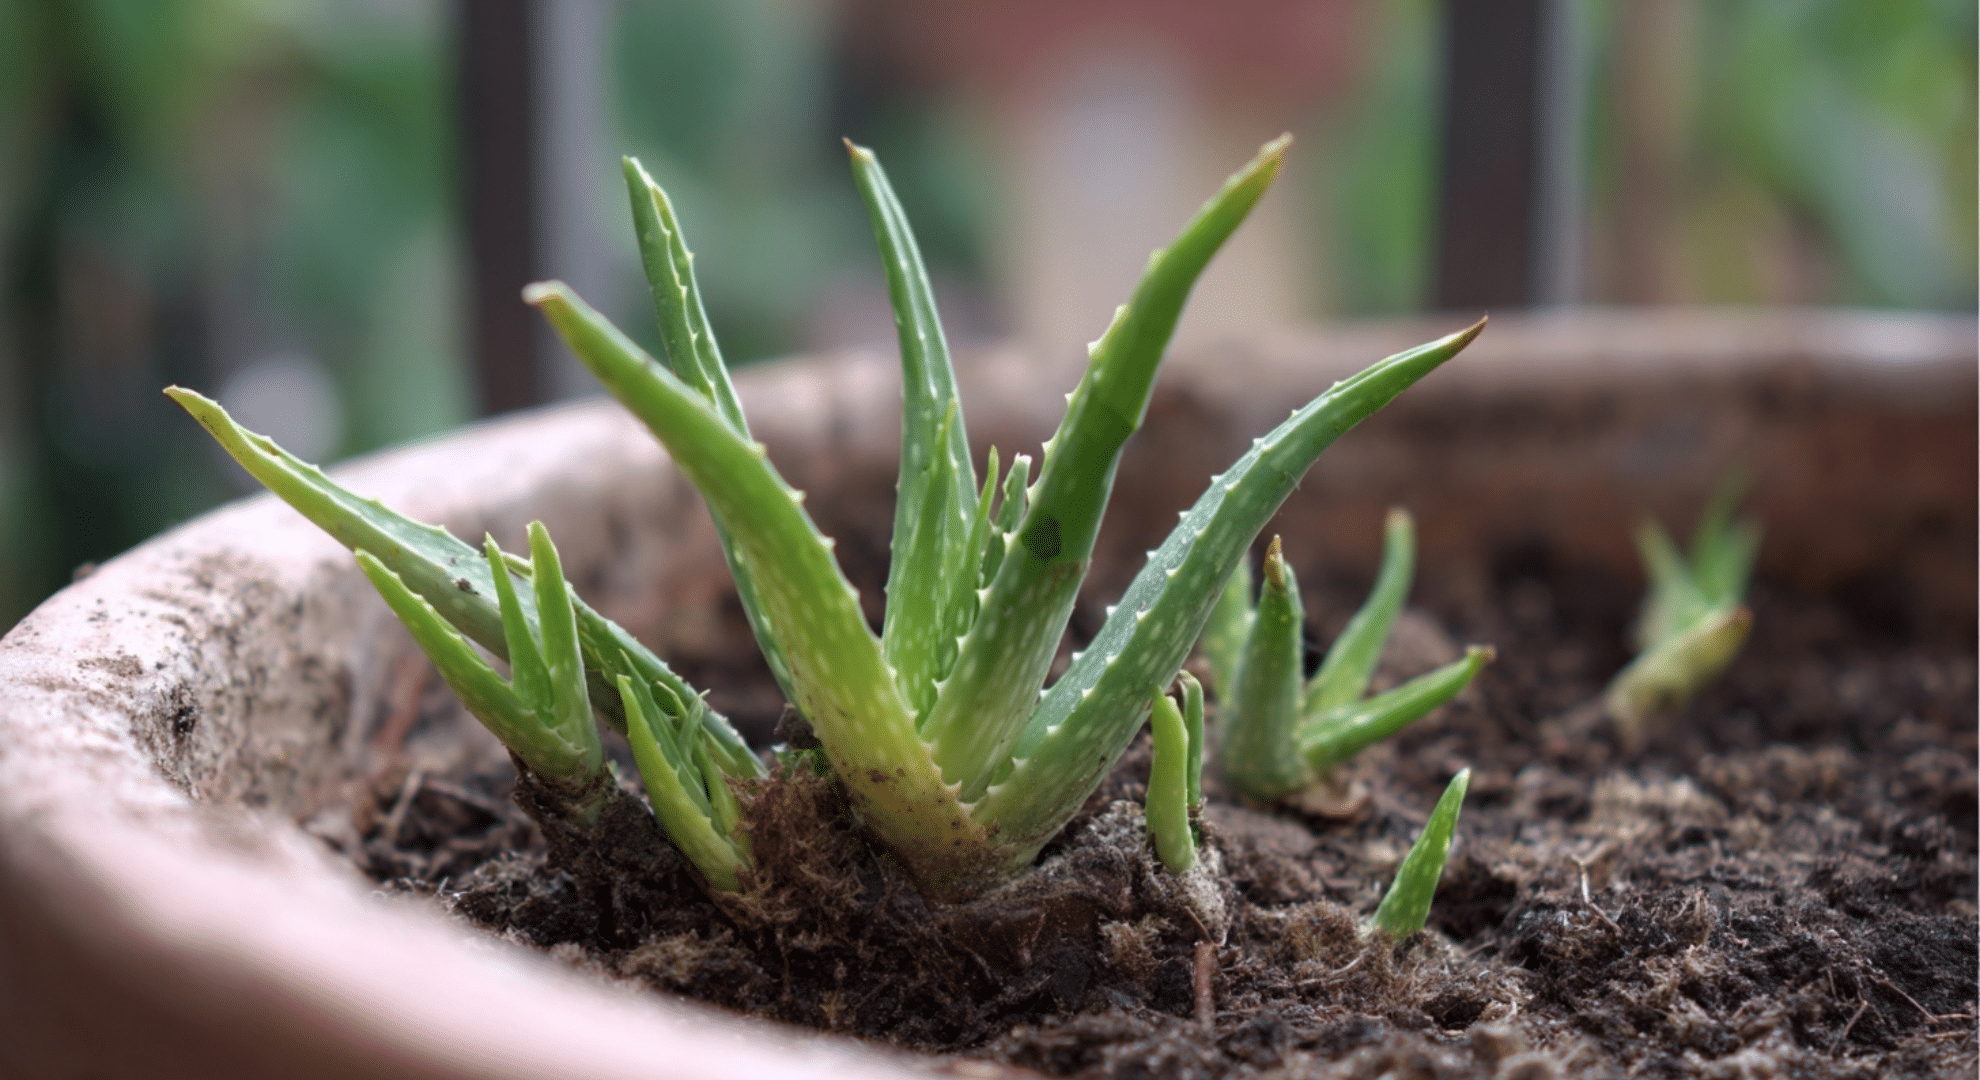
Pups are your best bet. These are the baby plants that sprout around the base of a mature aloe. If you know someone with an established plant, ask for a pup. They’re easy to separate and grow quickly once replanted.
Leaf cuttings sound promising, but they rarely work with aloe. The leaves usually rot before they root. I’ve tried it multiple times with zero success. Stick with pups or buy a small starter plant from a nursery.
How to Propagate Aloe Vera from Pups
Wait until the pups are about 3-4 inches tall. They need to be big enough to survive on their own.
Remove the mother plant from its pot and gently brush away the soil. You’ll see the pups attached to the main root system. Use a clean, sharp knife to cut the pup away, making sure it has some roots attached.
Let the pup sit out for a day or two. This allows the cut to callus over and reduces the risk of rot when you plant it.
Plant the pup in fresh soil and water lightly. Don’t soak it. Give it about a week before watering again.
Choosing the Right Soil Mix
Aloe vera hates sitting in wet soil. Regular potting soil holds too much moisture and leads to root rot.
Use a cactus or succulent mix. These are designed to drain quickly and mimic the dry conditions aloe naturally prefers. I’ve used brands like Miracle-Gro and Hoffman, and both work well.
You can make your own mix too. Combine regular potting soil with coarse sand or perlite in a 1:1 ratio. This improves drainage without any guesswork.
Selecting the Right Pot
Drainage holes are non-negotiable. Without them, water pools at the bottom and rots the roots. I’ve seen this kill more aloe plants than anything else.
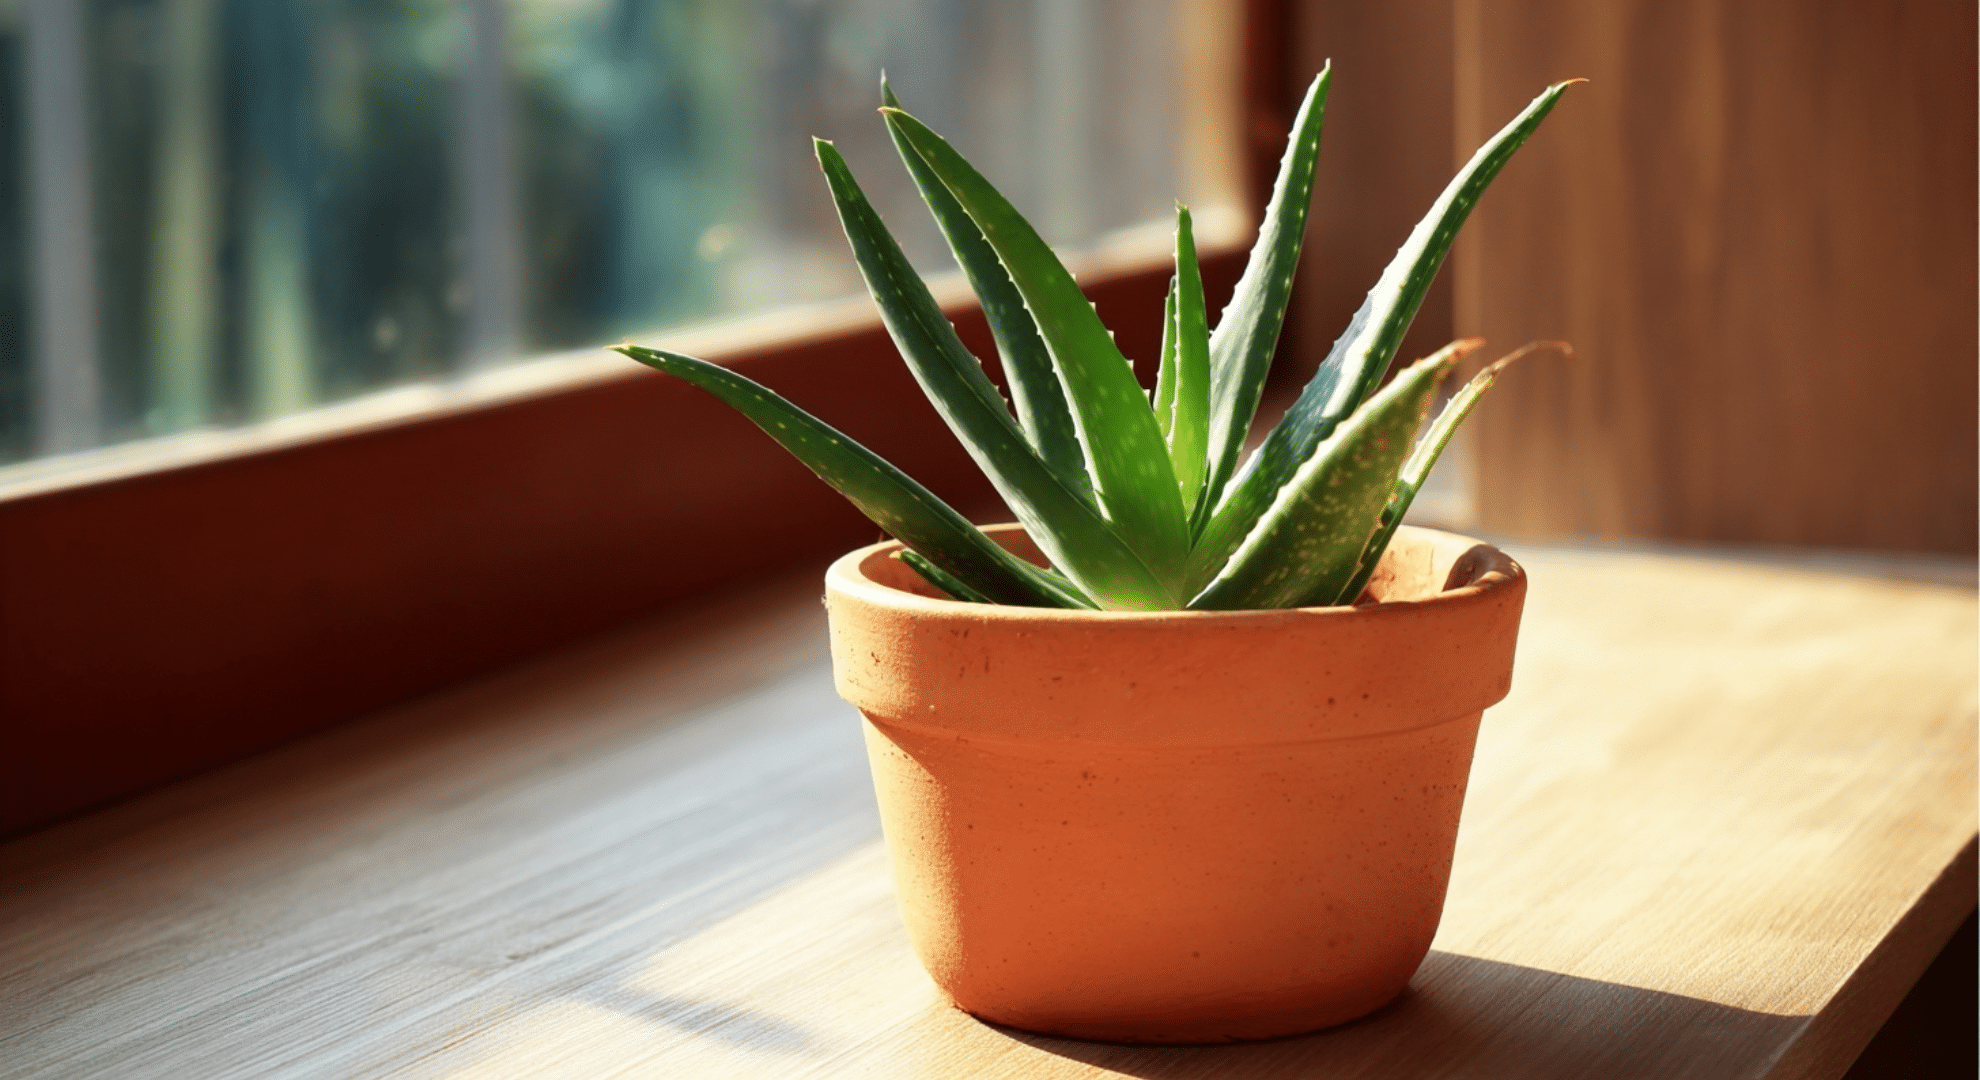
Terra cotta pots are ideal. They’re porous, so they let excess moisture evaporate through the sides. Plastic pots work too, but you’ll need to be more careful with watering.
Size matters. Choose a pot that’s just slightly larger than the root ball. Too much extra space means too much soil holding moisture the plant doesn’t need.
Shallow pots work better than deep ones. Aloe has a relatively shallow root system, so a wide, shallow pot gives the roots room to spread without unnecessary depth.
Understanding Aloe Vera’s Ideal Environment
I’ve moved my aloe plant around more times than I’d like to admit. Each spot taught me something about what these plants actually need to thrive.
Light Requirements
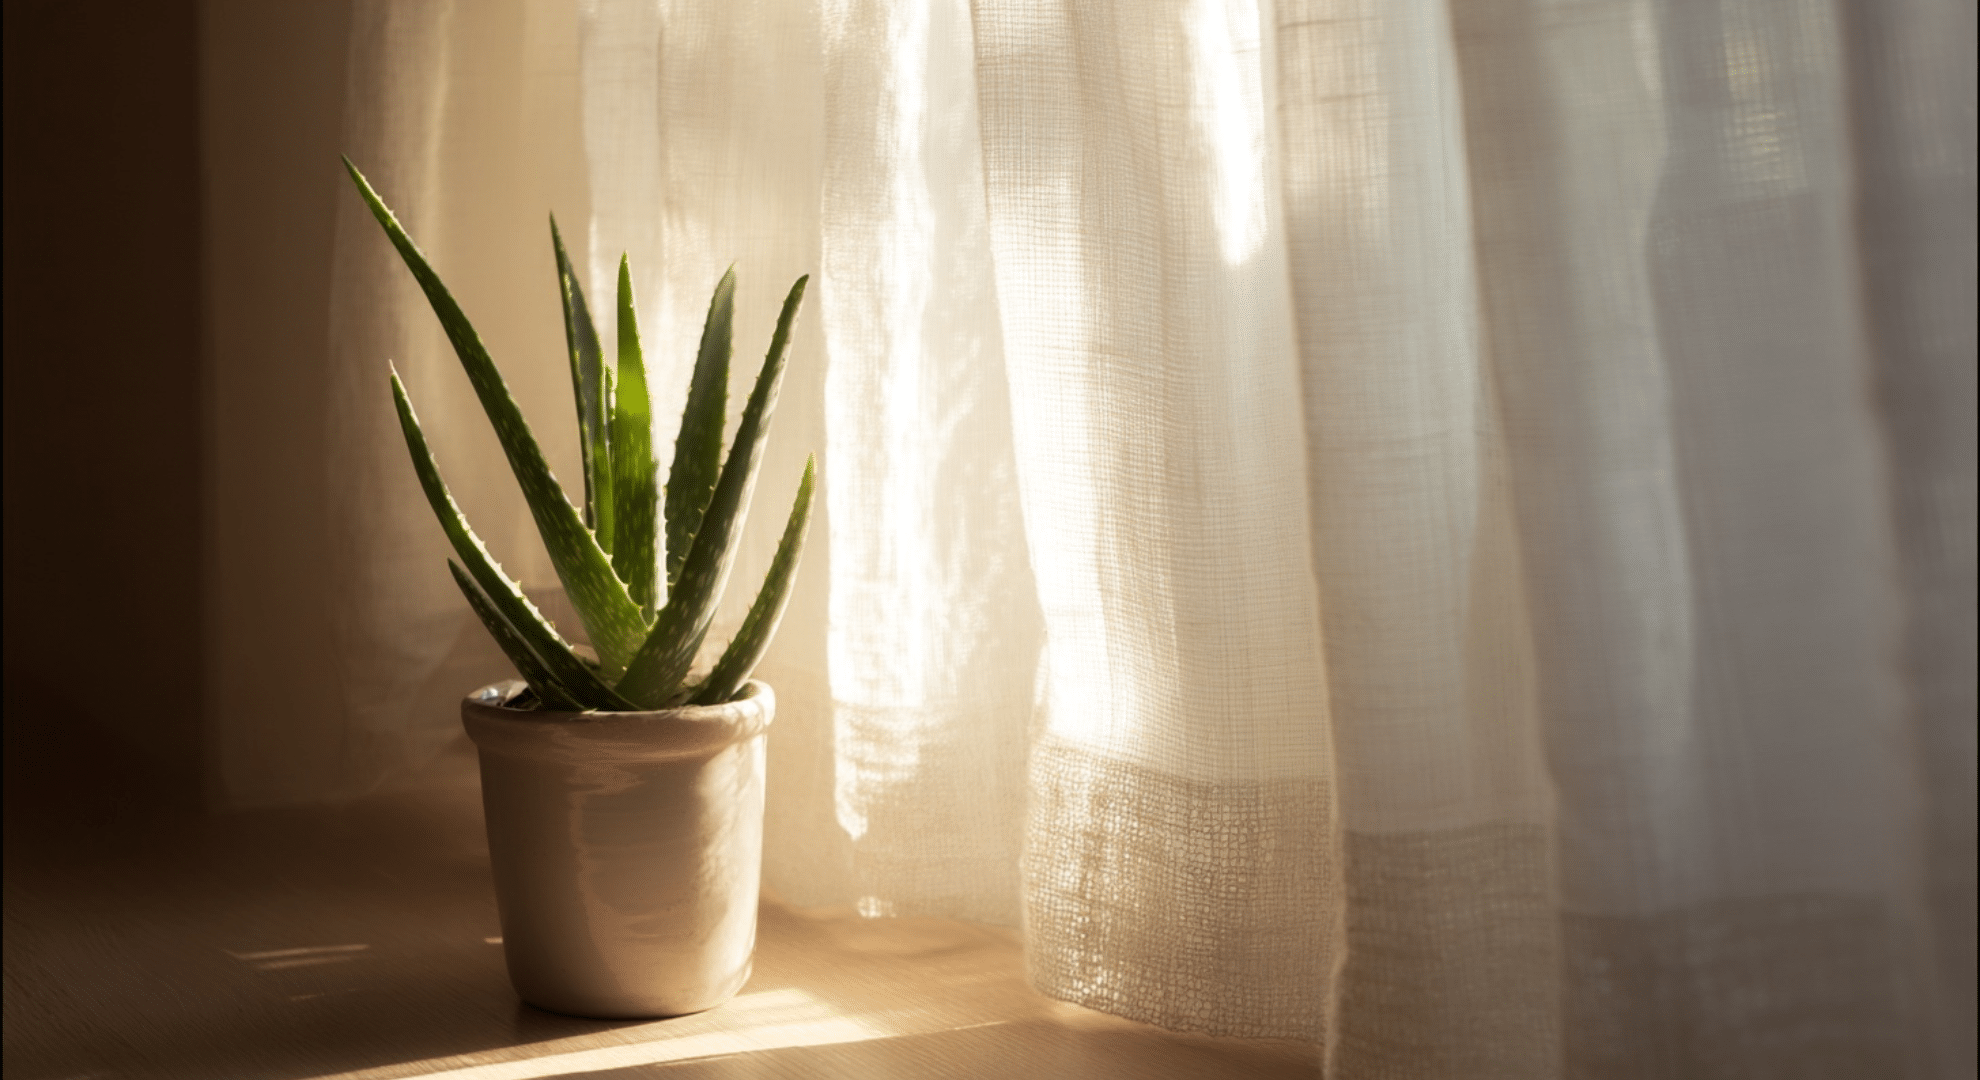
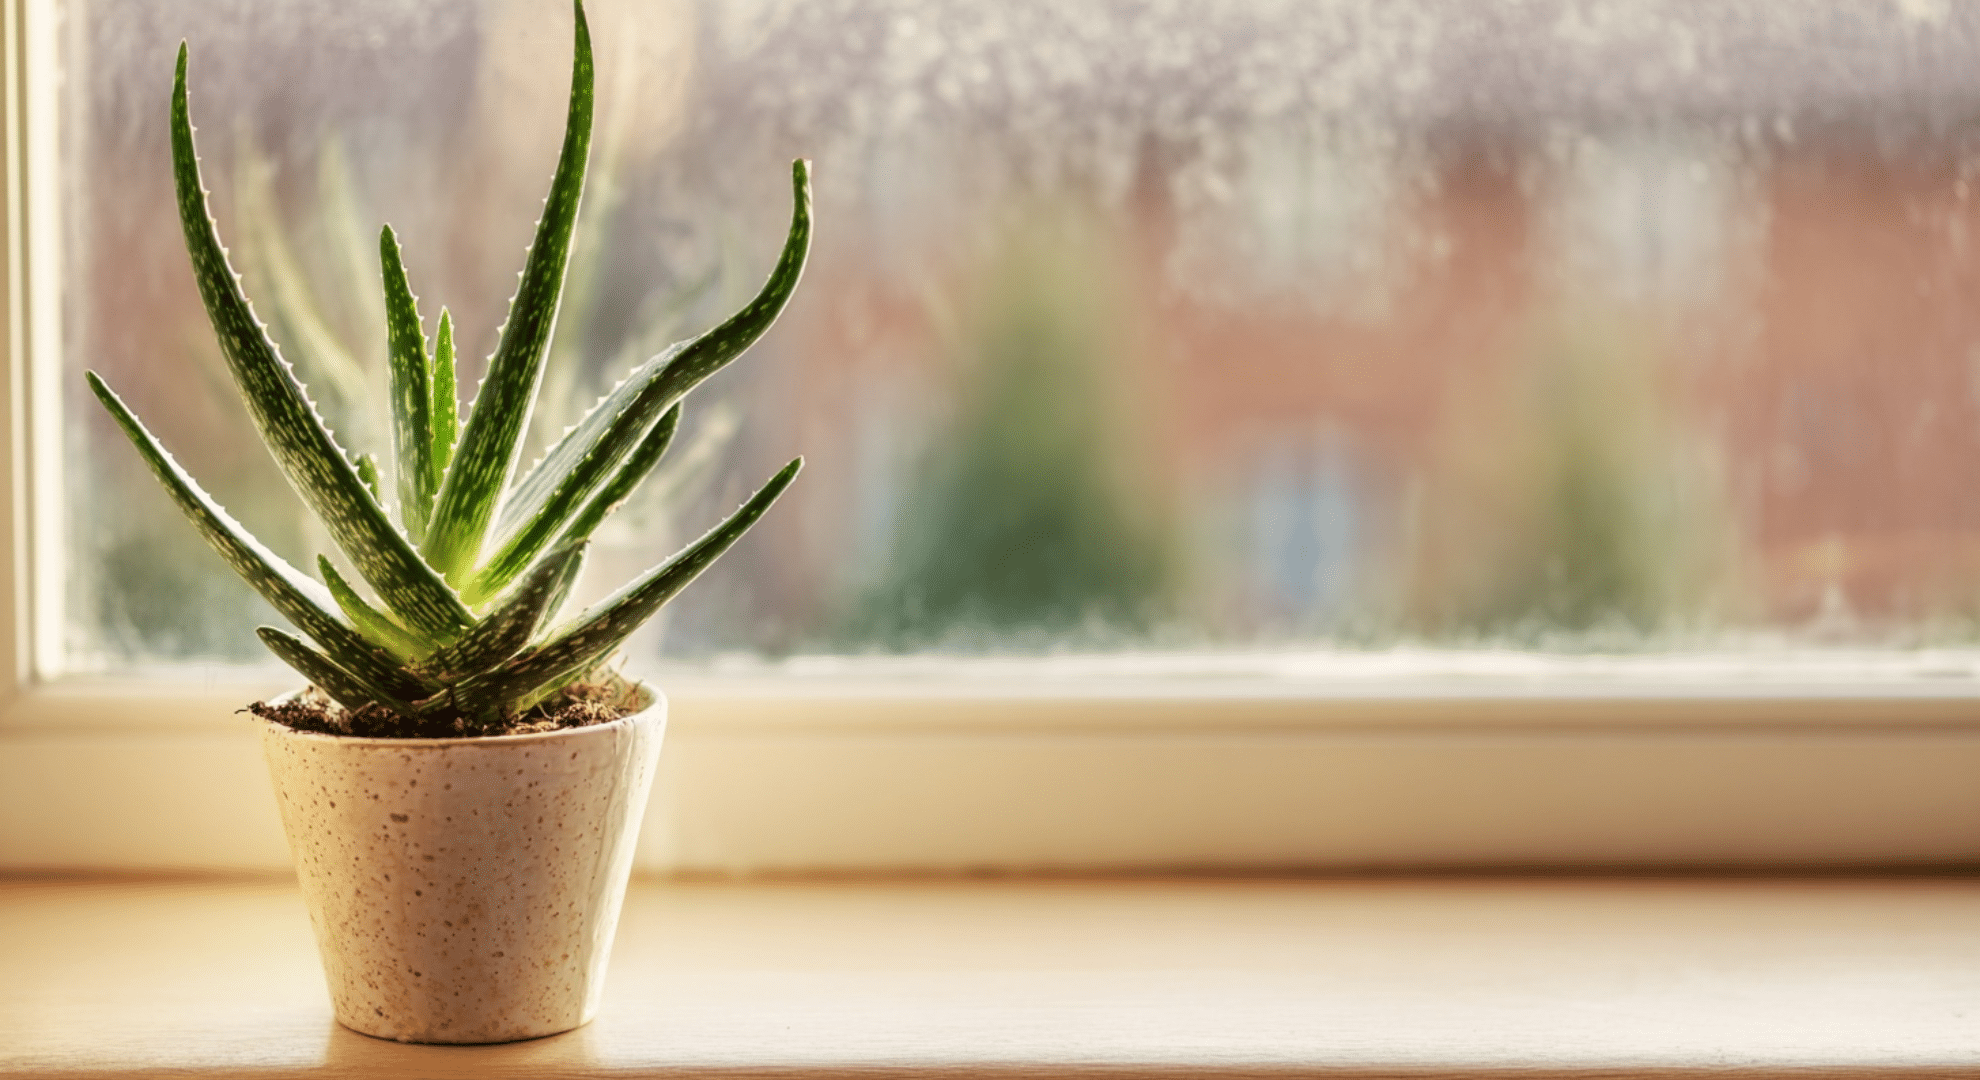
Aloe vera loves bright, indirect light. Think of a spot near a window where the plant gets plenty of brightness but isn’t baking in direct afternoon sun all day.
South-facing or west-facing windows work great indoors. I keep mine about 3-4 feet back from a south-facing window. It gets strong light without the leaves turning brown from too much intensity.
Direct sun can stress your aloe. You’ll notice the leaves turning orange, red, or brown at the tips. That’s sunburn. If you see this, move the plant back a bit or filter the light with a sheer curtain.
Too little light is just as bad. Your aloe will stretch toward the nearest light source and grow tall and leggy instead of compact and full. The leaves might also become pale green instead of the rich color you want.
If you only have low-light spaces, consider a grow light. I’ve used basic LED grow lights on timers for about 12 hours a day, and the results matched natural bright light.
Outdoor aloe needs some shade. Morning sun is perfect, but protect it from intense midday and afternoon rays. I’ve kept mine on a covered patio where it gets filtered light most of the day.
Temperature Needs
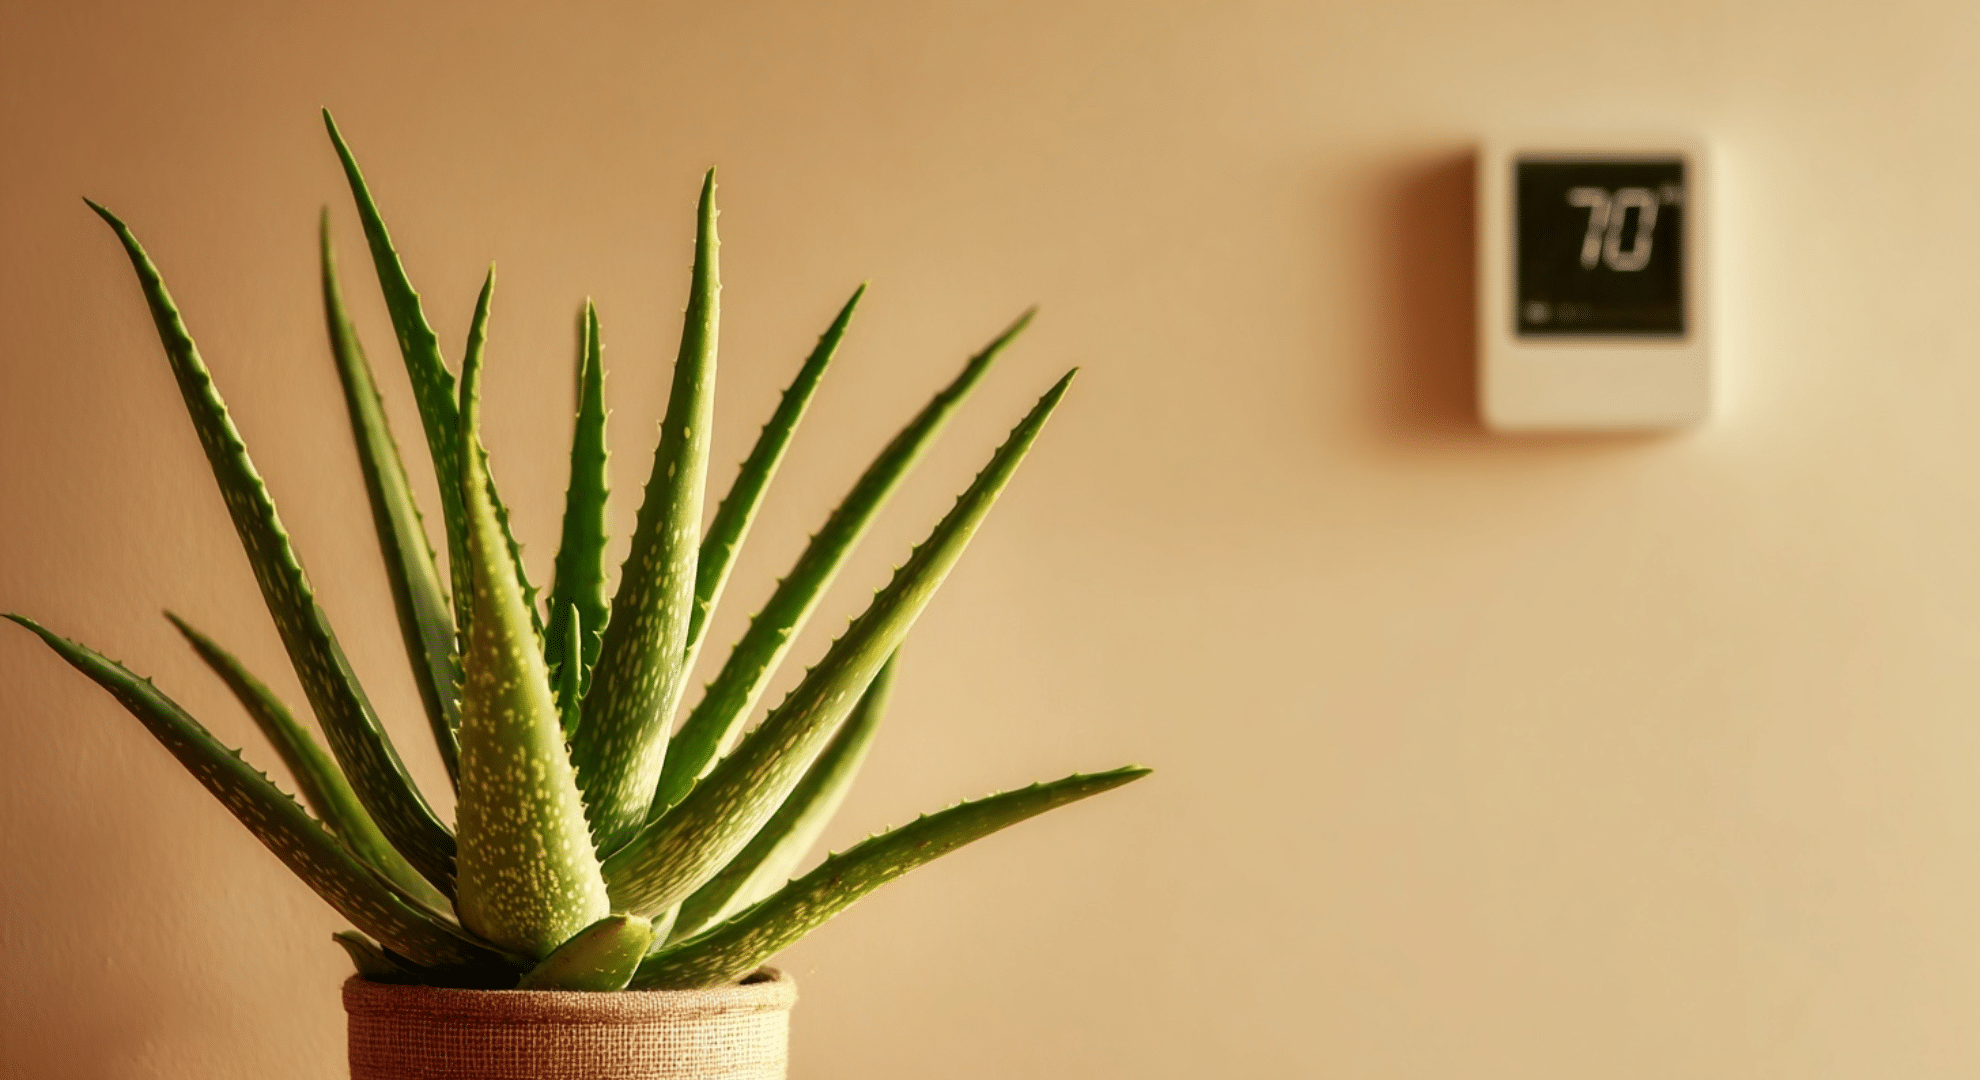
Aloe vera is comfortable in the same temperatures you are. Anywhere between 55°F and 80°F works well.
Room temperature is ideal year-round. Your plant will grow actively when it’s warm and slow down slightly when it’s cooler. That’s completely normal.
Cold kills aloe quickly. Anything below 50°F can damage the leaves and roots. If you keep your aloe outside during summer, bring it in before nighttime temps drop in fall.
I learned this the hard way one October. Left my plant outside too long, and one cold night turned the outer leaves to mush. The plant survived, but it took months to recover.
Winter heating isn’t a problem. Aloe handles dry indoor heat better than most plants. Just keep it away from heating vents that blast hot air directly on the leaves.
Summer heat is fine as long as the plant isn’t in scorching direct sun. I’ve had mine survive 90°F+ days without issue when it’s properly watered and shaded.
Humidity Preferences
Aloe vera thrives in dry air. It’s a desert plant, so humidity isn’t something you need to worry about or create.
Average indoor humidity is perfect. You don’t need to mist the leaves or run a humidifier. In fact, too much moisture in the air can encourage fungal issues.
Bathrooms aren’t ideal unless they’re well-ventilated. The constant humidity from showers can make aloe more prone to rot, especially if the soil stays damp too.
Dry climates are actually easier. If you live somewhere arid, your aloe will be happier than in a humid region. I’ve found that plants in dry environments grow more compact and vibrant.
Humid climates require extra caution. Water less frequently and make sure air circulates around the plant. A small fan nearby can help if you’re dealing with consistently high humidity.
You’ll never need to spray your aloe with water. The leaves are designed to retain moisture, and adding extra just sits on the surface where it can cause problems.
Essential Aloe Vera Plant Care
Getting the basics right makes all the difference. I’ve watched my aloe go from struggling to thriving just by adjusting a few simple care habits.
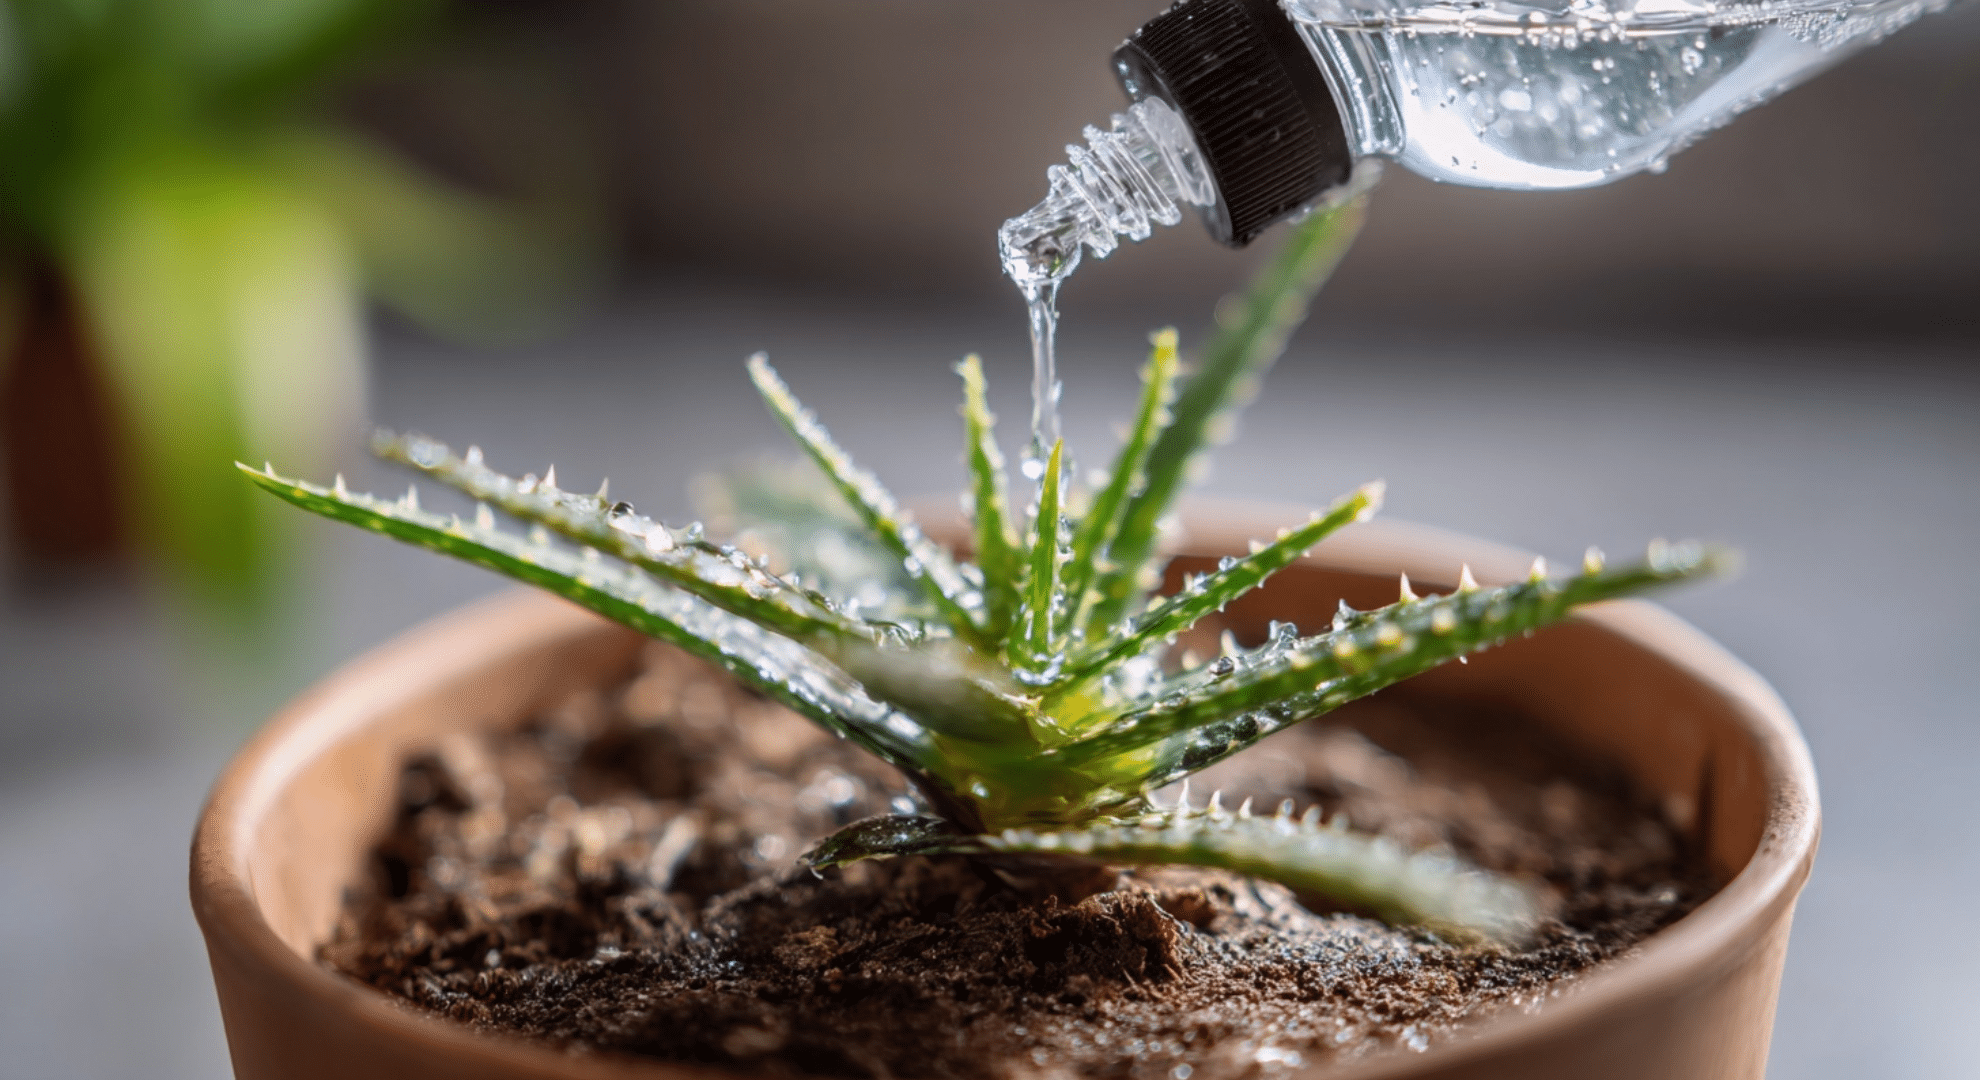
Watering Your Aloe Vera
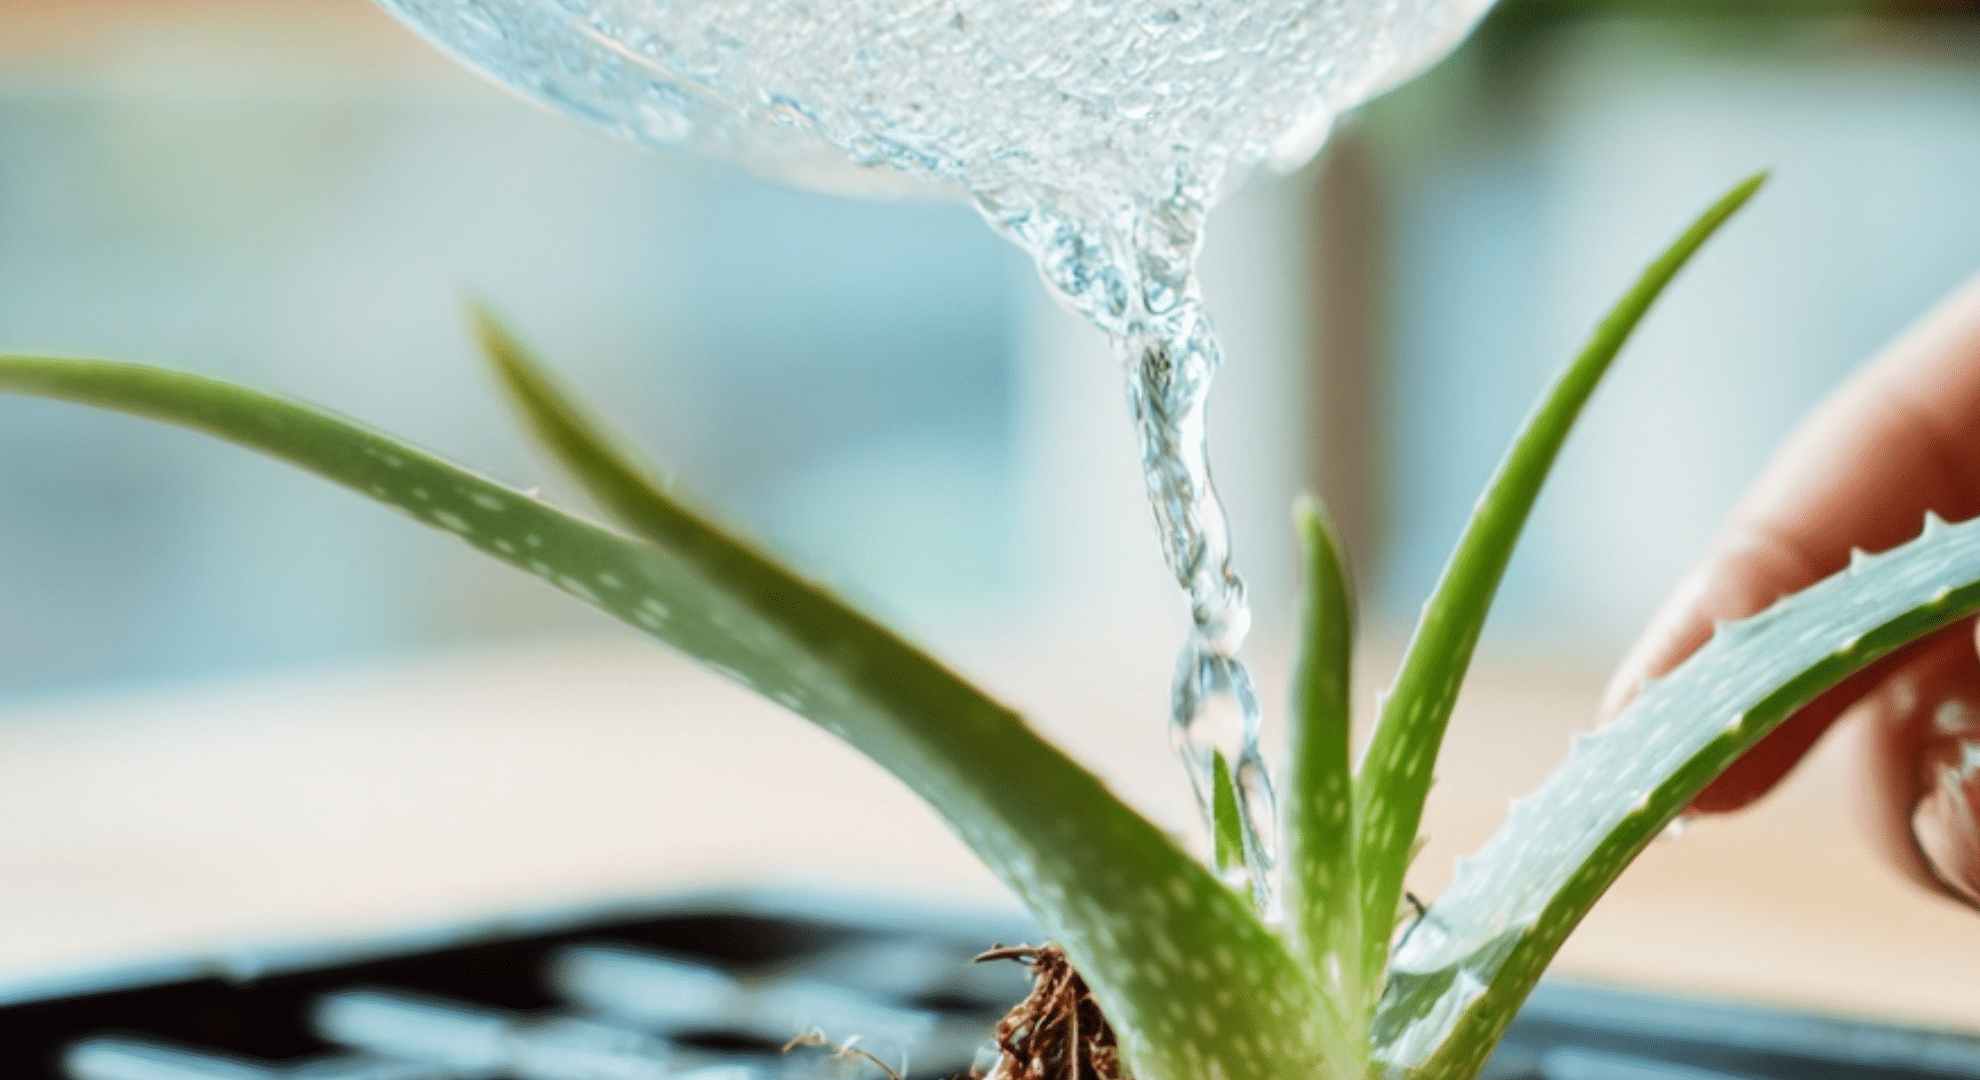
Less is more with aloe. I water mine every 2-3 weeks during warmer months and stretch it to once a month in winter.
Check the soil first. Stick your finger about 2 inches down into the soil. If it feels even slightly damp, wait. Only water when it’s completely dry.
Soak the soil thoroughly when you do water. Let water run through until it drains out the bottom holes. This encourages deep root growth and flushes out any built-up salts.
Empty the drainage tray after watering. Don’t let your aloe sit in standing water. That’s the fastest way to rot the roots.
Wrinkled or thin leaves mean your plant needs water. The leaves should feel firm and plump. If they’re soft or folding inward, you’ve waited too long.
Mushy, translucent leaves mean overwatering. This is more common than underwatering. If you catch it early, let the soil dry out completely and reduce your watering frequency going forward.
Fertilizing Requirements
Aloe vera doesn’t need much fertilizer. I feed mine 2-3 times per year at most, and it grows perfectly fine.
Use a balanced, water-soluble fertilizer diluted to half strength. Something like a 10-10-10 formula works well. Full strength can burn the roots.
Spring and summer are the best feeding times. That’s when your aloe is actively growing. Skip fertilizer completely in fall and winter when growth slows down.
I’ve gone entire years without fertilizing and the plant stayed healthy. If your aloe is growing steadily and the leaves look vibrant, you don’t need to add anything.
Overfertilizing causes more problems than underfertilizing. You’ll see brown leaf tips or stunted growth if you’re feeding too much or too often.
Pruning and Maintenance
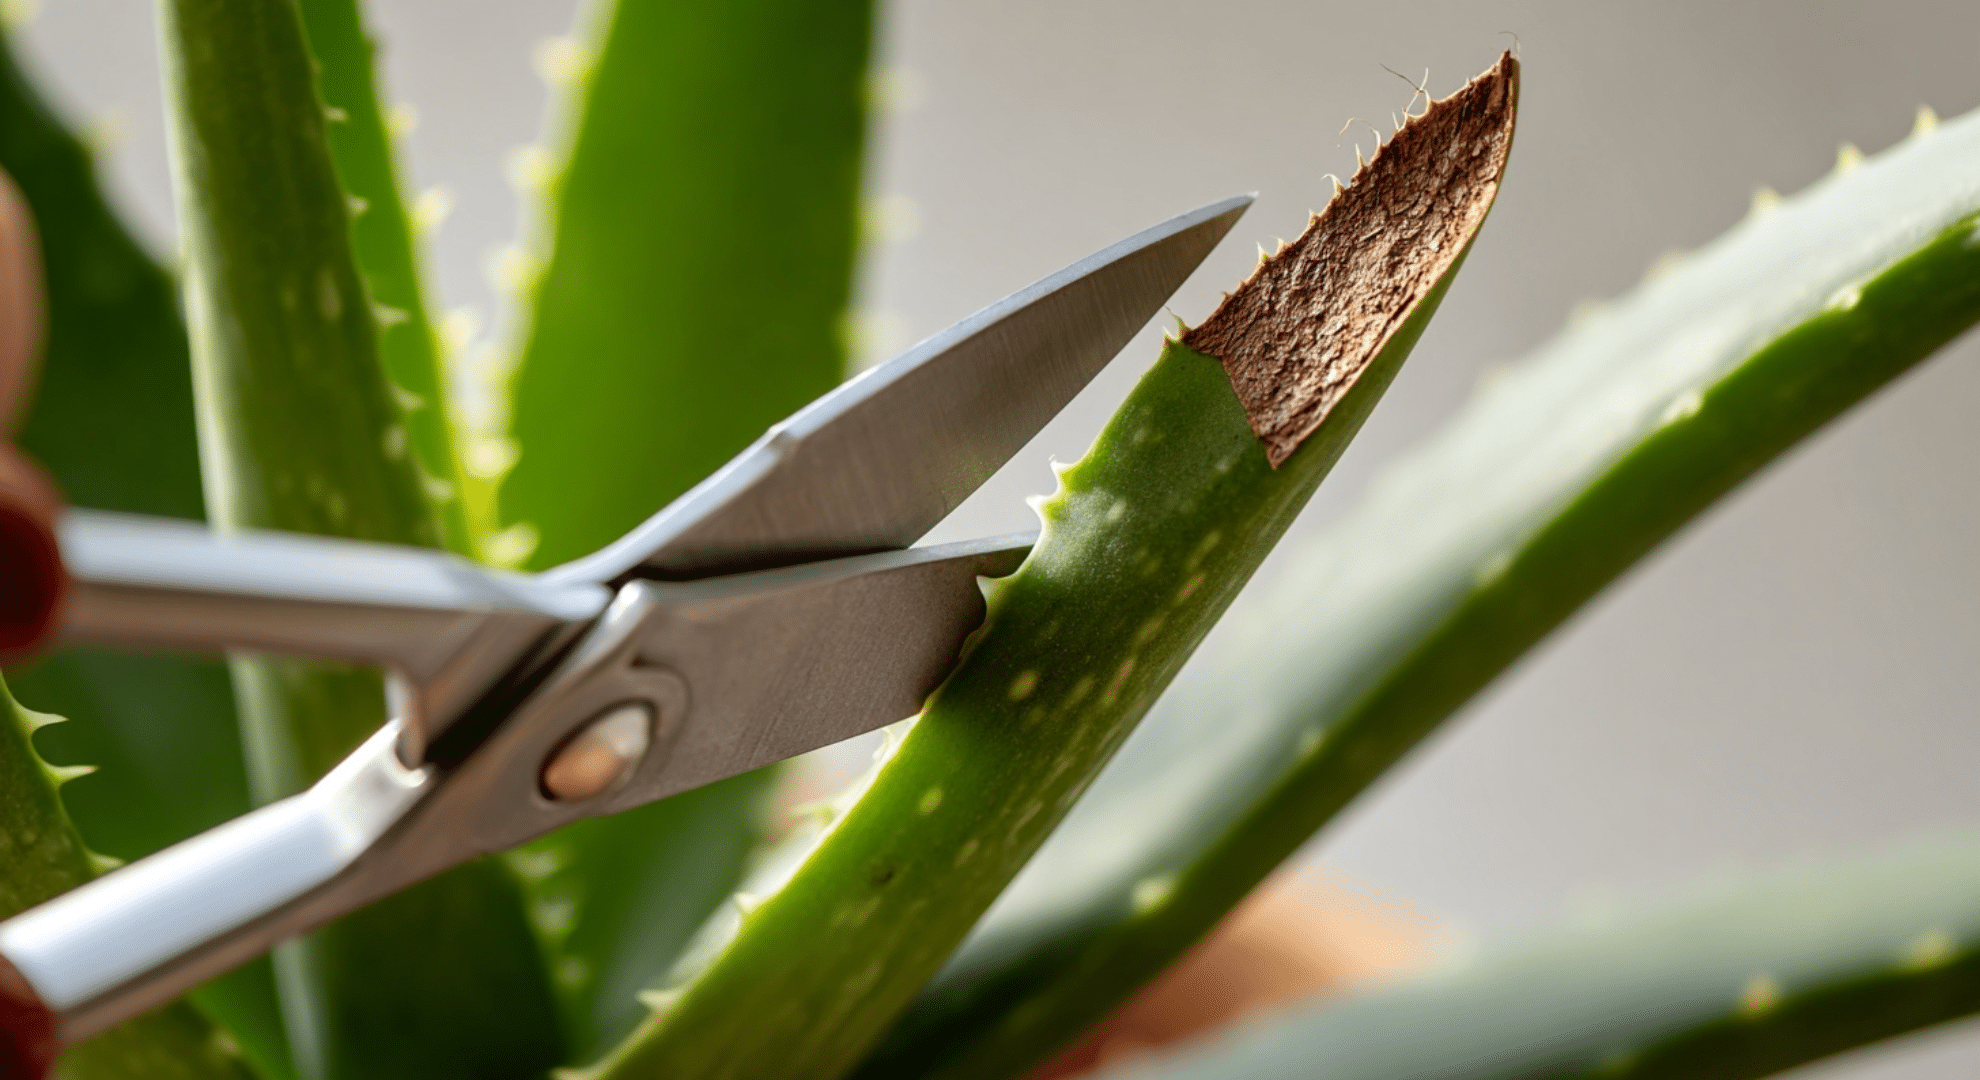
Remove dead or damaged leaves as you spot them. Use clean scissors or a sharp knife and cut close to the base. This keeps the plant looking tidy and prevents rot from spreading.
Brown leaf tips can be trimmed off. Just cut the brown part away with scissors. It won’t hurt the plant, and it looks better.
Harvest mature outer leaves for gel. Choose thick, healthy leaves from the outside of the plant. Cut at an angle near the base and let the wound dry before you use the gel.
Wipe dust off the leaves every few weeks. A damp cloth works fine. Dusty leaves can’t photosynthesize as efficiently, so this simple step helps your plant stay strong.
Remove pups when they crowd the pot. Too many babies competing for space and nutrients will slow everyone’s growth. Separate them and repot individually.
Check for pests occasionally. Mealybugs and scale insects sometimes show up on aloe. If you see white cottony spots or brown bumps, wipe them off with rubbing alcohol on a cotton swab.
Rotate your plant every month or so. This ensures all sides get equal light and the plant grows evenly instead of leaning heavily toward the light source.
Keeping Your Aloe Vera Healthy
Regular upkeep keeps your aloe looking sharp and growing strong. I spend maybe 10 minutes a month on maintenance, and it makes a huge difference.
When and How to Prune
Prune damaged leaves as soon as you notice them. Brown, mushy, or dried-out leaves won’t recover. They just drain energy from the rest of the plant.
Cut at the base with clean, sharp scissors or a knife. Get as close to the stem as possible without damaging nearby leaves. A clean cut heals faster and reduces infection risk.
I wipe my cutting tool with rubbing alcohol before each cut. It takes two seconds and prevents spreading any potential disease or pests between leaves.
Remove lower leaves that touch the soil. These are prone to rot, especially after watering. Keeping them trimmed away improves air circulation around the base.
Dealing with Brown or Damaged Leaves
Brown tips usually mean too much sun or inconsistent watering. You can trim just the brown part if the rest of the leaf looks healthy. Cut at an angle so it looks natural.
Entire brown leaves need to come off completely. There’s no saving them, and leaving them on invites pests and disease.
Yellow leaves often signal overwatering. Check your watering schedule before you prune. If the soil is soggy, let it dry out completely and adjust how often you’re watering.
Bent or broken leaves can be removed or left alone. If more than half the leaf is damaged, I cut it off. If it’s just a small break, the plant will usually heal on its own.
Harvesting Aloe Gel Safely
Choose mature outer leaves that are thick and healthy. These contain the most gel and the plant can spare them without stress.
Cut the leaf at the base at a slight angle. Use a sharp knife so you get a clean slice. Let the yellow sap drain out for a few minutes before you extract the gel. That sap can be irritating to skin.
Don’t take more than 2-3 leaves at once. Your plant needs time to recover. I usually wait a month or two between harvests to keep the plant strong.
The cut will seal itself naturally. You don’t need to do anything special. Just make sure your plant isn’t sitting in wet soil while it heals.
Rotating Your Plant
Turn your aloe a quarter turn every few weeks. Plants naturally lean toward light, and rotating keeps growth even and centered.
I do this every time I water. It’s an easy habit to pair with another task, so I don’t forget.
If your aloe is already leaning heavily to one side, rotating it can help straighten it out over time. Just be patient. It takes a few months for the plant to correct itself.
Spring is pruning season for me. That’s when I remove any leaves that didn’t make it through winter and tidy up the plant before active growth kicks in.
Summer requires more frequent checks. Growth speeds up, so pups appear faster and leaves can get sunburned if conditions change. Stay on top of inspections.
Fall is prep time. I clean up the plant, remove any struggling leaves, and make sure it’s healthy before winter slows everything down.
Winter maintenance is minimal. Your aloe isn’t growing much, so there’s less to prune or check. I basically leave it alone except for the occasional dust wipe.
Aloe Vera Outdoors: How to Care for Your Plant in a Garden
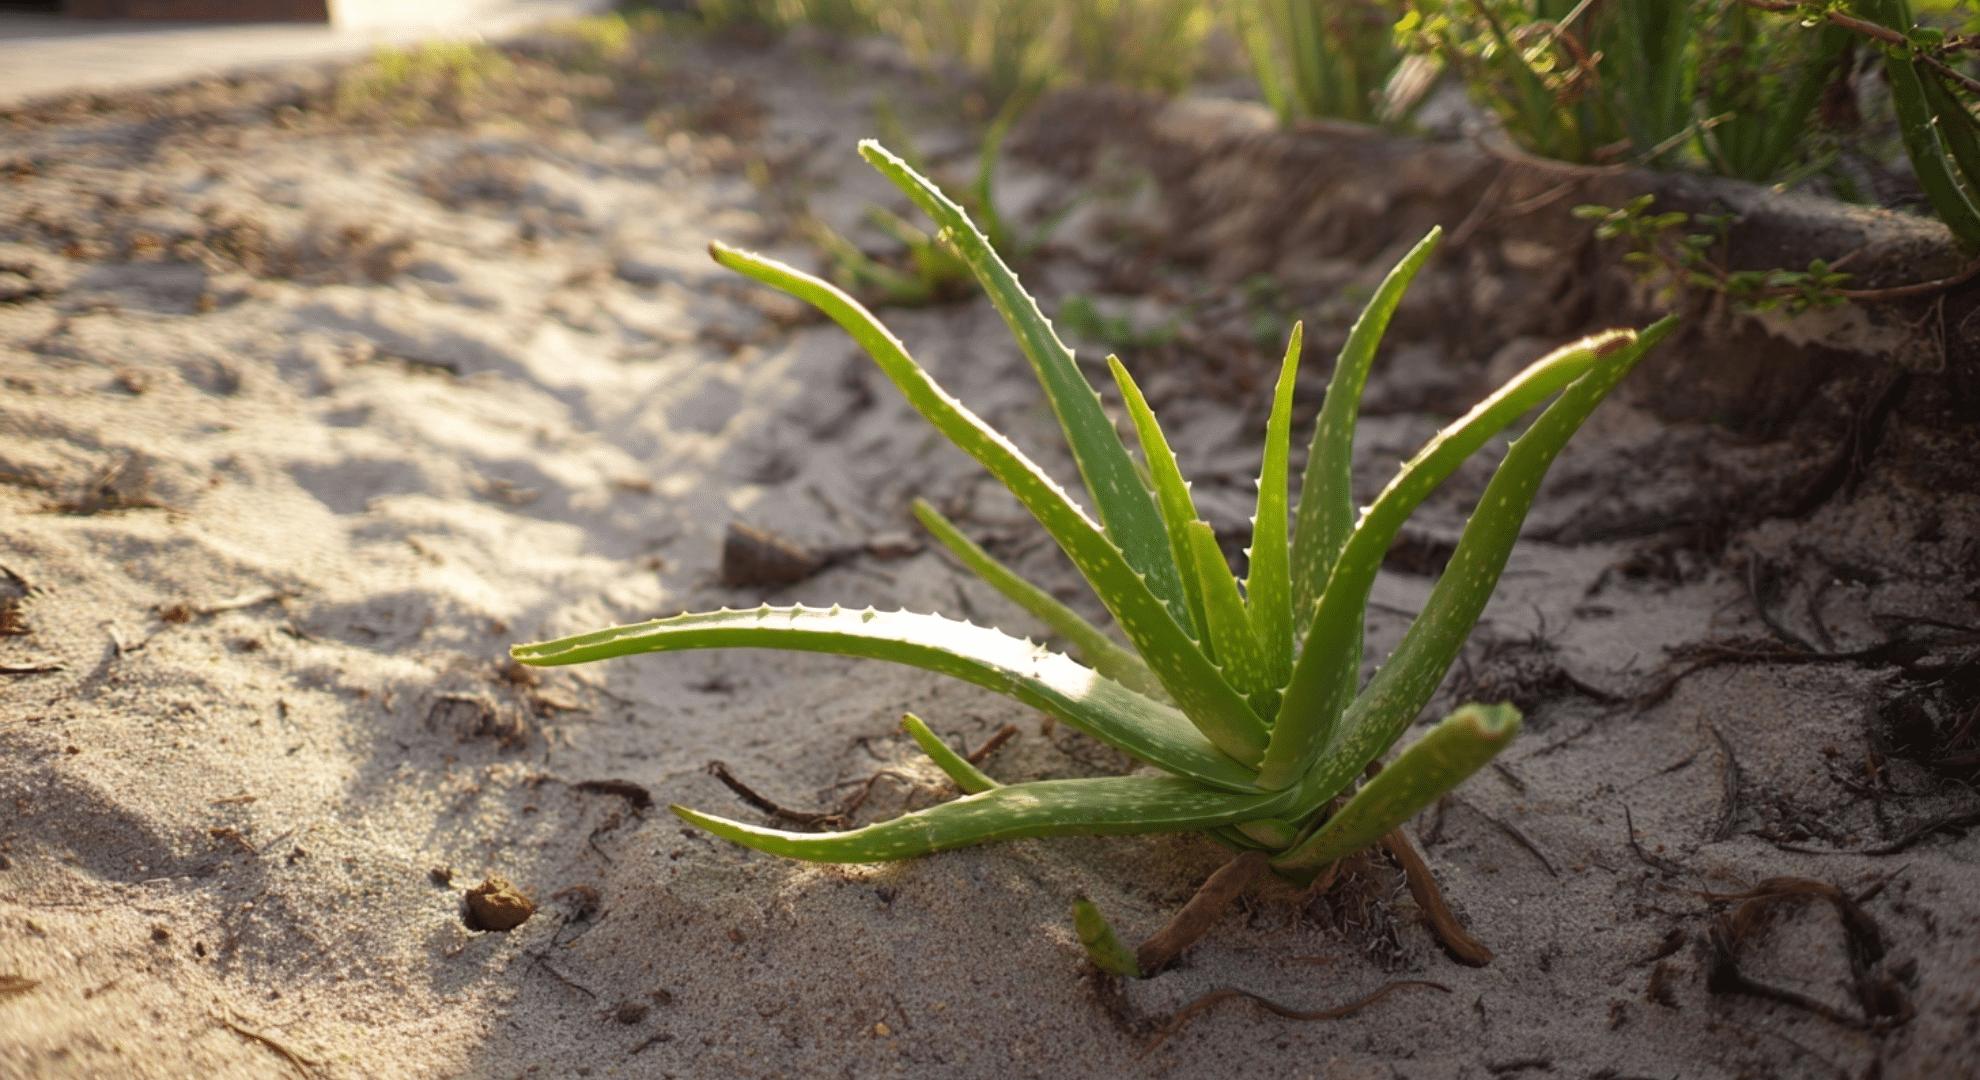
I’ve grown aloe both indoors and outside, and outdoor plants tend to grow bigger and faster when conditions are right. The key is matching your climate to what aloe naturally prefers.
Plant aloe in well-draining soil mixed with sand or gravel. Garden soil alone is usually too heavy and holds moisture too long. I’ve added perlite to native soil before planting, and it works great.
Choose a spot with morning sun and afternoon shade. Full sun all day can stress the plant, especially in hot climates. I keep mine under a tree that filters harsh midday rays.
Outdoor aloe needs protection below 50°F. If you live somewhere with cold winters, grow your aloe in a container you can bring inside. I’ve lost outdoor plants to unexpected freezes.
Water less frequently than indoor plants. Rain and natural moisture mean you’ll rarely need to water during cooler months. In summer, check soil weekly and water only when completely dry.
Taking Aloe Vera Care to the Next Level: Repotting, Propagation, and Optimization
Once you’ve mastered the basics, these advanced techniques help you expand your collection and keep mature plants thriving for years.
- Wait until pups have at least 4-5 leaves and their own root system before separating them, then let them callus for 2-3 days before planting in small pots with fresh cactus mix.
- Repot every 2-3 years in spring using a pot only 1-2 inches wider than the current one, and wait 5-7 days after repotting before watering to let roots heal.
- Remove the plant during repotting to inspect roots for rot or damage, trimming away any black or mushy sections and shaking off old soil before replanting at the same depth.
- Use grow lights on timers for 12-14 hours daily if natural light is limited, positioning them 6-12 inches above the plant for consistent growth year-round.
- Maintain temperatures between 65-75°F and add a small fan for air circulation in enclosed spaces to prevent fungal issues and strengthen the plant.
- Track watering and fertilizing on a calendar to establish consistent patterns, and consider adding crushed eggshells to soil for calcium that prevents leaf tip browning.
I’ve propagated dozens of pups and repotted countless plants using these methods, and the results are always stronger, healthier aloe with more vibrant growth.
Conclusion
I’ve kept aloe plants alive for years now, and honestly, it all comes down to these basics: water sparingly, give it bright light, and use well-draining soil.
Once you understand how to care for an aloe vera plant, you’ll realize it practically takes care of itself. You’re not dealing with something fragile or demanding. Just stick to the routine we covered, and your plant will thrive without constant attention.
The best part? You’ll have fresh gel on hand whenever you need it for burns or skincare.
If you found this helpful, check out other plant care guides on the website.
I’ve covered everything from propagation tricks to troubleshooting common issues. Your next green thumb success is just one blog away!