Are you looking for a cost-effective and eco-friendly way to grow your plants? Building a greenhouse from recycled windows might be the perfect solution.
Not only does it help reduce waste, but it also gives you a unique and charming garden space. However, many people struggle with knowing where to start or how to gather the right materials.
In this blog, we’ll explain everything you need to know to build your recycled window greenhouse.
This guide provides practical advice on making your greenhouse a success, from planning and design to maintenance tips and advanced features.
Ready to get started? Let’s get into it and create a greenhouse that’s good for your garden and the planet!
Why Choose a Recycled Window Greenhouse?
A recycled window greenhouse is great for several reasons. First, it’s eco-friendly. You’re reusing materials, which helps cut down on waste.
It’s also cost-effective since you can find windows for free or at a low price. This saves you money on building a greenhouse.
Plus, these greenhouses look unique and charming. The old windows give your garden a one-of-a-kind style that stands out. It’s a fun way to build something special and good for the planet.
Step-by-Step Guide: Recycled Window Greenhouse
You need to collect the materials beforehand to start building the window greenhouse. After gathering your materials then follow the steps one by one to see the results.
Materials You’ll Need
In this section, we will discuss the essential materials needed to build your recycled window greenhouse. From finding the right windows to gathering framing wood and tools, we’ll cover everything you need to get started.
Let’s read the list of materials you’ll require for your project.
- Old Windows
- Wood for Framing
- Roofing Material (Polycarbonate or Glass)
- Nails or Screws
- Foundation Material (Gravel, Wood, or Concrete)
- Tools (Hammer, Saw, Drill, Measuring Tape)
Let’s get started with the steps to build your recycled window greenhouse
Step 1: Plan and Design Your Greenhouse

The first step is to choose the perfect location for your greenhouse.
It should get plenty of sunlight throughout the day, especially if you live in a cooler climate. Consider access to water and the ease of moving around inside.
Consider the size of the greenhouse based on the number of windows you have and the space available.
Sketch a rough design to visualize the layout. A simple rectangular or square shape usually works best for beginners.
Step 2: Prepare the Foundation

Before you begin building, it’s crucial to create a stable foundation. Clear the area of debris and level the ground to ensure the structure’s security.
You can lay down a gravel base to provide drainage and prevent weeds.
If you prefer a more permanent foundation, consider building a wooden frame or using concrete blocks.
The foundation will keep your greenhouse sturdy and help prevent shifting or settling over time, so take your time to get it right.
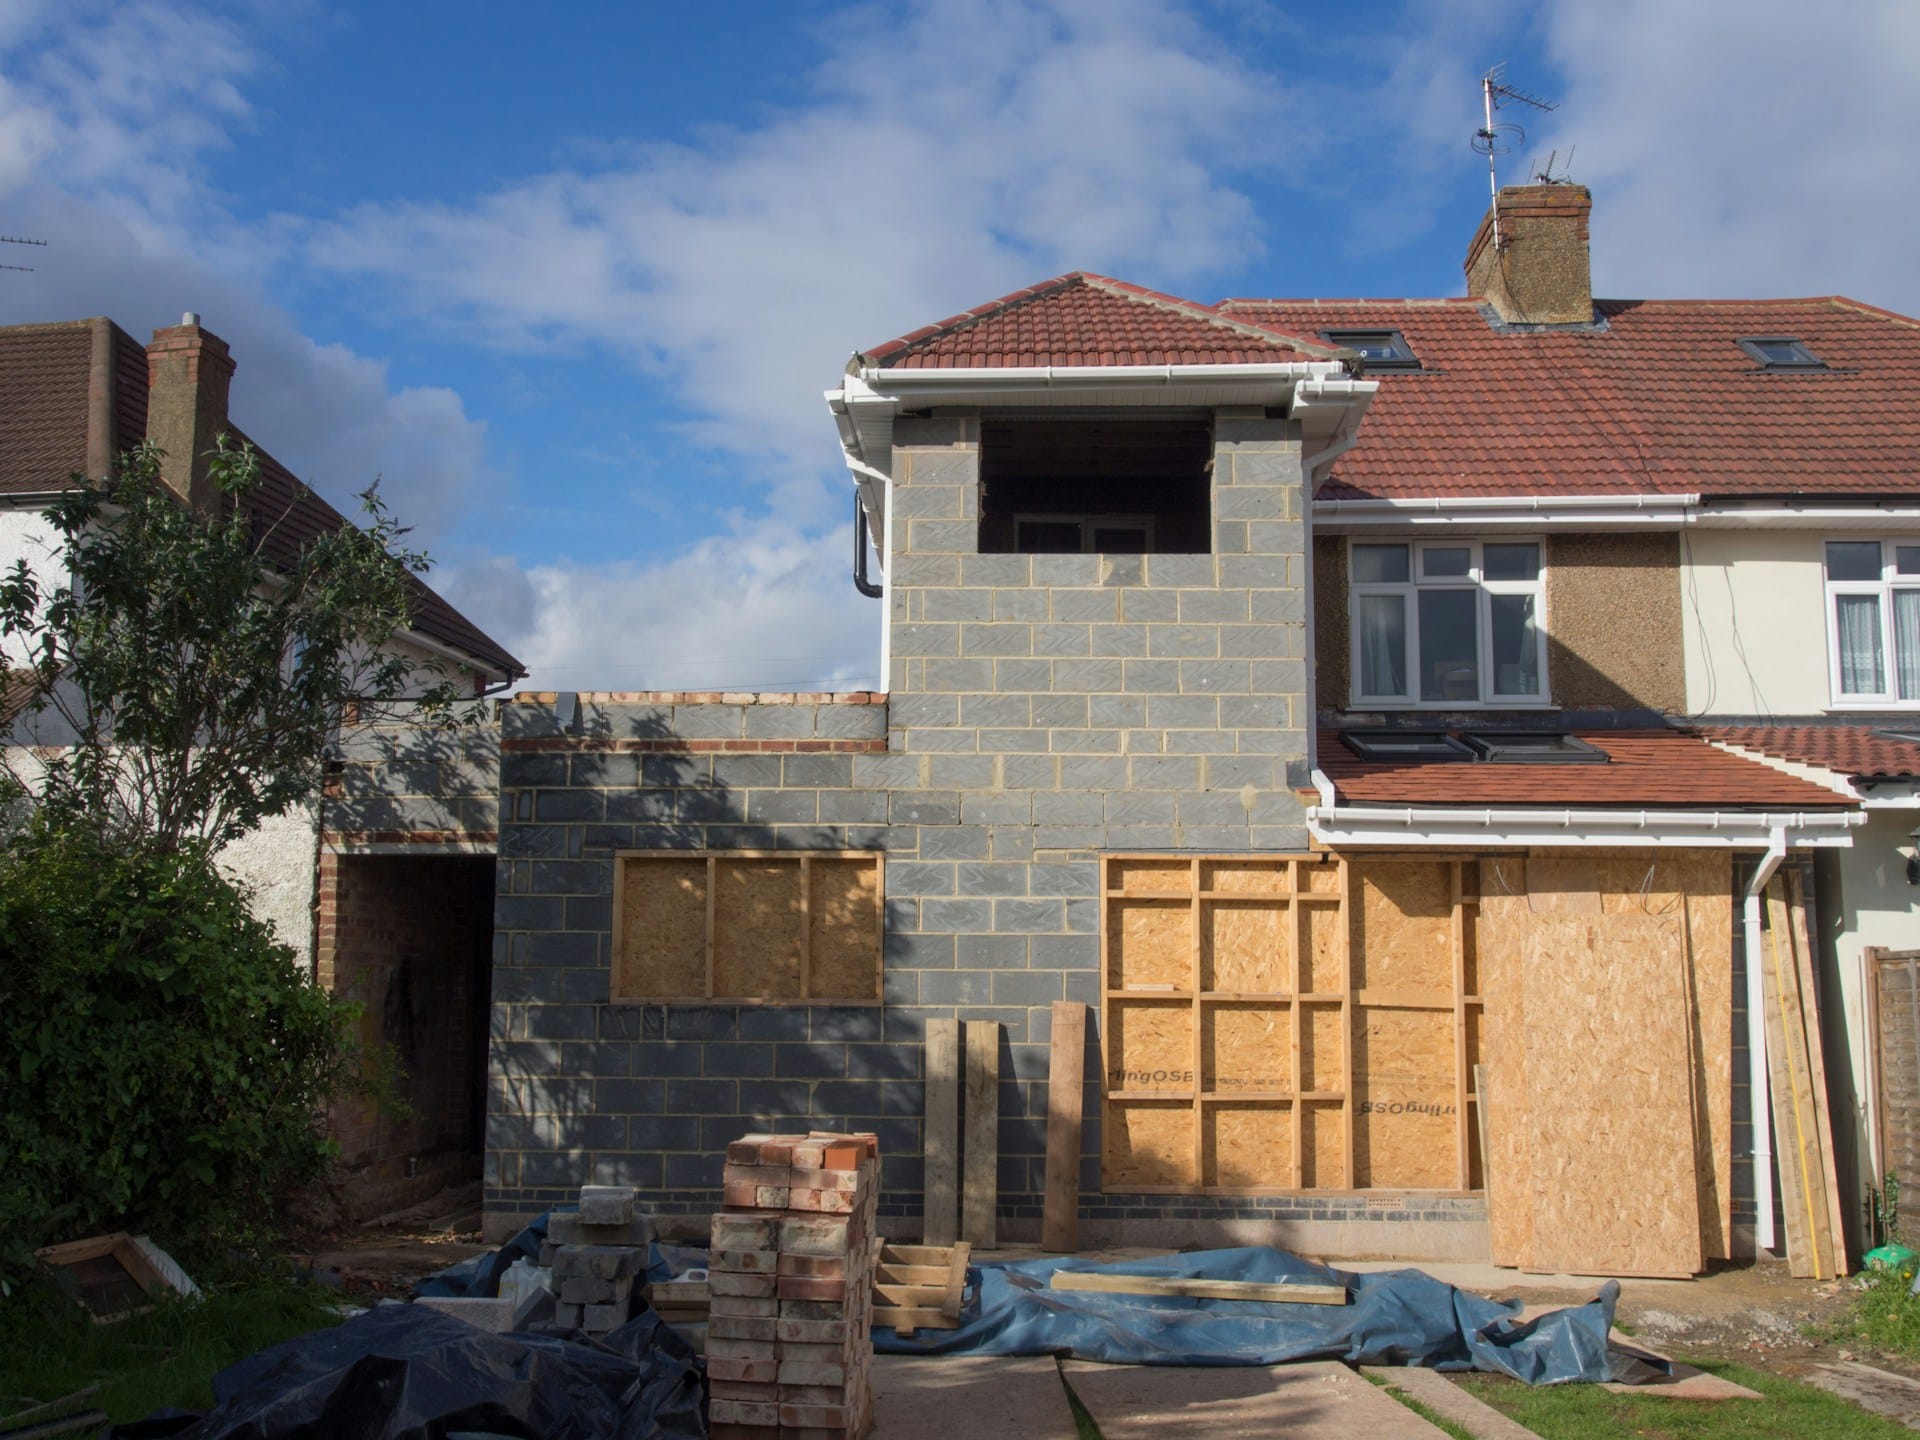
Step 3: Build the Frame

Now, it’s time to build the frame. Start by cutting your wood to the required lengths for the base and sides. Use nails or screws to attach the pieces and form a rectangle.
Make sure each corner is square by using a measuring tape and a level to check for accuracy.
The frame needs to be strong enough to hold the windows securely, so double-check that everything is tightly fastened.
If you want to add extra support, you can add diagonal braces at the corners.
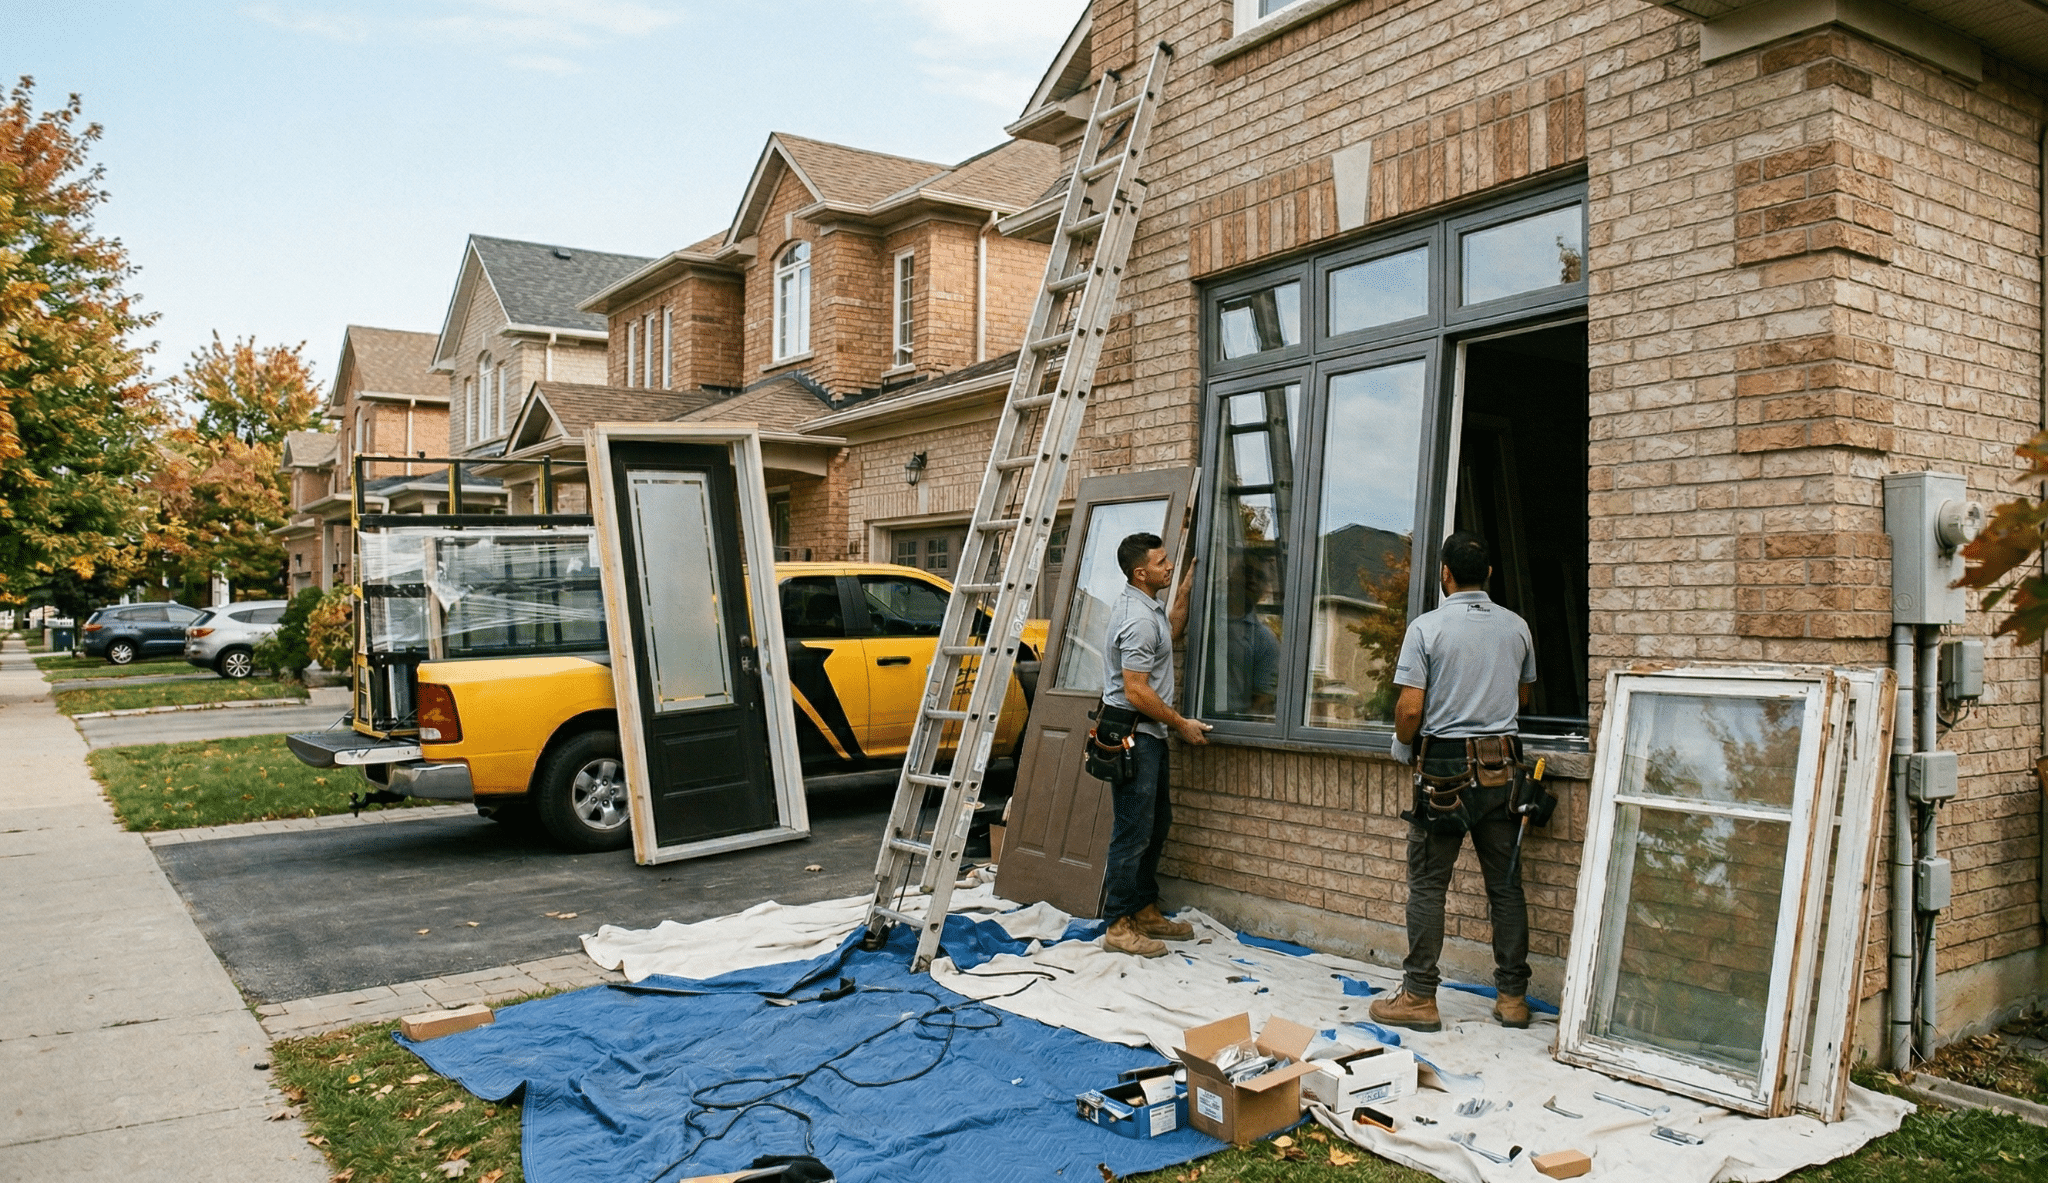
Step 4: Install the Windows

With your frame in place, you can start installing the recycled windows. Carefully position each window inside the frame, ensuring it fits snugly.
Make sure the windows are level and aligned to avoid any gaps.
If you have a mix of window sizes, plan the layout so that larger windows are at the bottom and smaller ones are at the top.
Secure the windows with screws or nails, making sure they are tightly fastened to prevent them from shifting. Consider using silicone caulk to seal any small gaps for added insulation.
Step 5: Add the Roof

The roof is one of the most important parts of your greenhouse. You can use polycarbonate sheets, old glass, or even clear plastic for the roofing material.
Start at one end of the frame and work your way across, securing the sheets or glass to the top of the frame.
Be sure to overlap the roofing materials to prevent leaks. You can use screws or nails with rubber washers to ensure a tight seal.
If you live in a windy area, consider adding extra support to the roof to keep it secure.
Step 6: Finishing Touches

Once the frame and roof are in place, it’s time to add the finishing touches.
Install a door, either by reusing an old window or building one from wood. Add shelves inside for storing plants and gardening tools.
Consider installing vents or windows to allow for air circulation, which will help regulate temperature and humidity.
Finally, inspect the greenhouse for any gaps or weak spots and seal them with caulk or weatherstripping. Once everything is secure, your greenhouse will be ready to use!
Maintenance Tips for Your Recycled Window Greenhouse
Maintaining your recycled window greenhouse is key to keeping it functional and lasting.
Regular care ensures that the plants grow well and the greenhouse remains secure and efficient. Here are some quick maintenance tips.
- Clean the Windows: Wipe the windows with a soft cloth to let in more light.
- Seal Leaks: Check for gaps and seal them with caulk or weatherstripping.
- Maintain the Roof: Clear debris and inspect the roof for damage.
- Monitor for Pests: Regularly check plants for pests and treat them early.
- Inspect the Foundation: Ensure the foundation stays level and fix any cracks.
Design Tips and Advanced Features
When building your recycled window greenhouse, there are some design features and improvements you can consider to make it even more efficient and comfortable for your plants.

Considerations for Ventilation
Good airflow is essential to keep the temperature and humidity balanced.
Add small windows or vents at the top and bottom of your greenhouse to allow hot air to escape and fresh air to flow in.
This will help prevent overheating and promote healthy plant growth.
Rainwater Collection
A rainwater collection system is a great way to make your greenhouse more sustainable. Install gutters along the roof to direct rainwater into barrels or a storage tank.
You can then use this water to irrigate your plants, reducing your water bill and reliance on municipal sources.
Heating Options
In colder months, your greenhouse may need some extra warmth. Consider installing solar heating panels or using small space heaters to regulate the temperature.
You can also take advantage of passive heating by placing thermal mass materials (like bricks or stones) inside to absorb heat during the day and release it at night.
Wrapping Up
Great job on learning how to build your very own recycled window greenhouse!
Now that you have the steps and tips, it’s time to bring your project to life and enjoy the satisfaction of growing plants in a sustainable space.
Remember, the possibilities for customization are endless – from adding rainwater collection systems to creating a cozy, plant-friendly environment.
Ready to improve your gardening skills? Our other blogs offer creative and practical ideas on building, designing, and maintaining your dream garden.
Start your next project today, and keep learning!