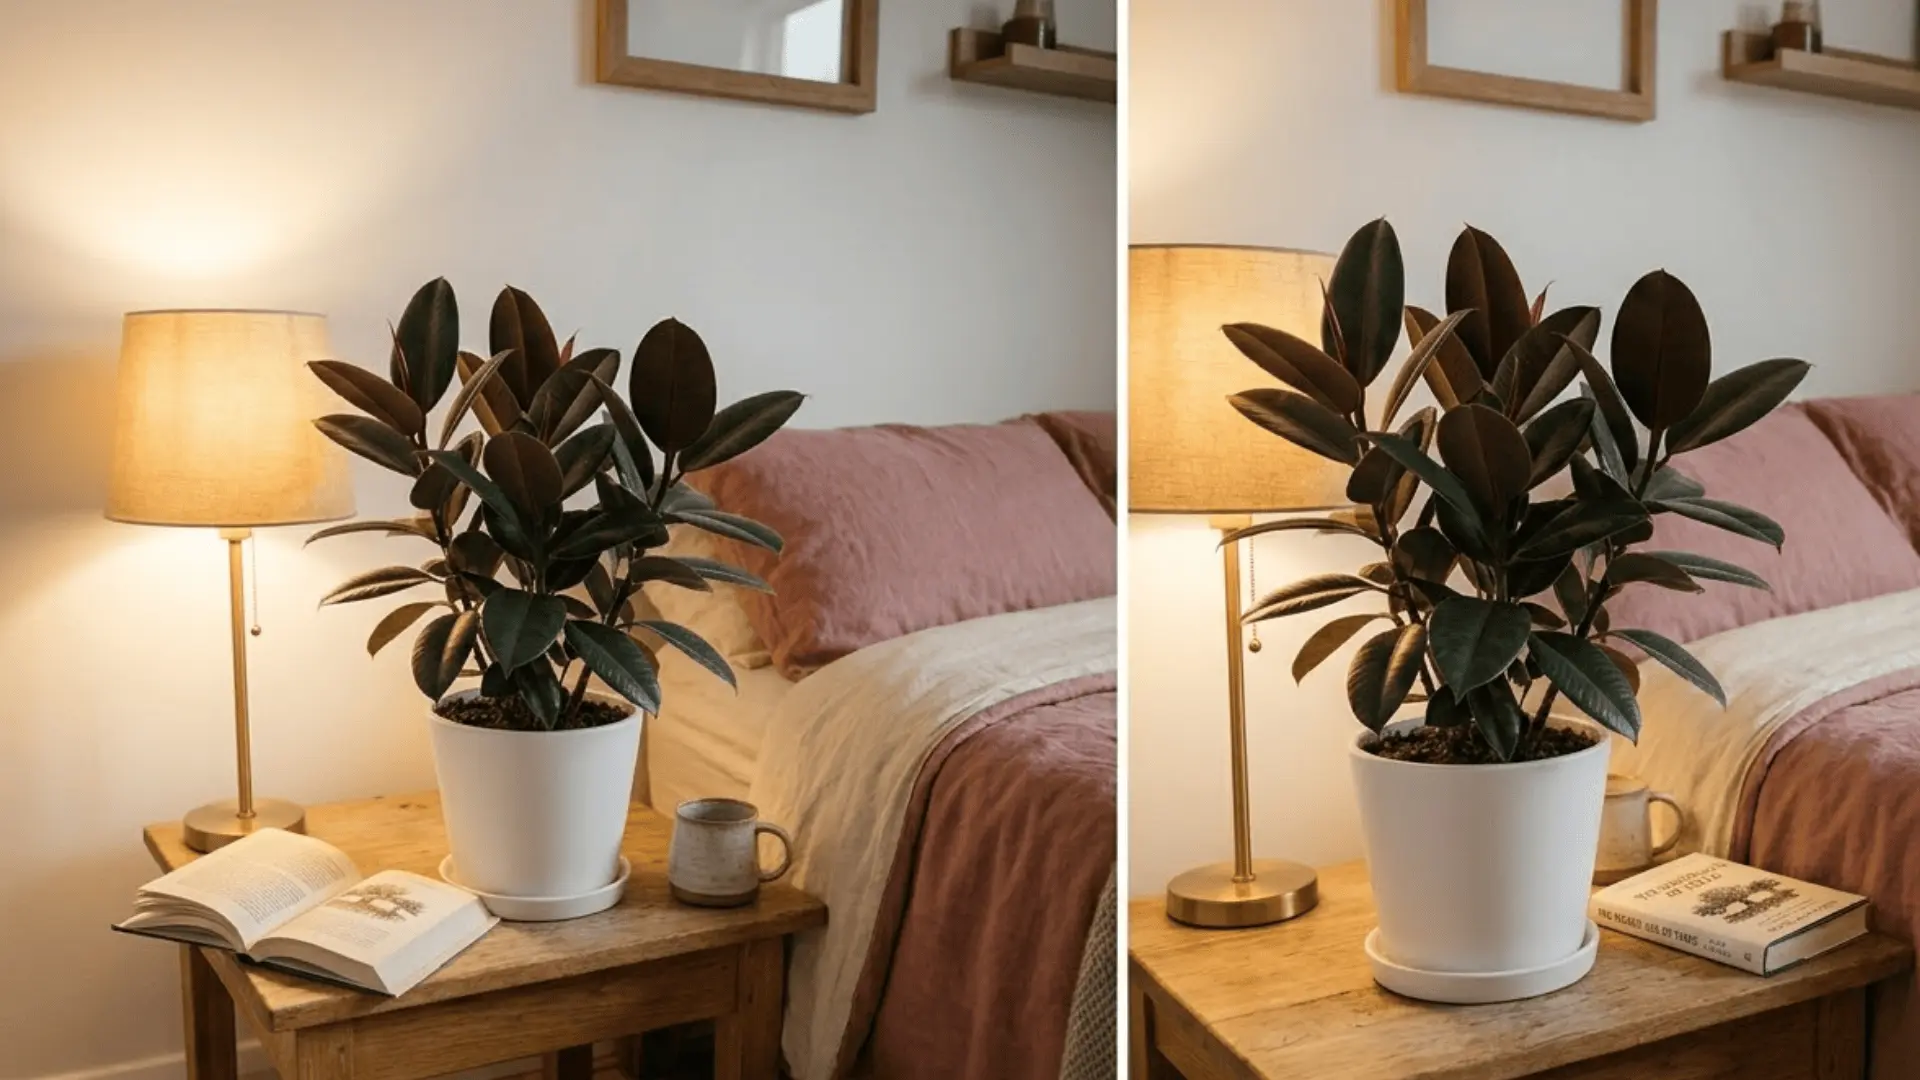
Is Fertilizer Burn Killing Your Plant? (Or Is It Just Being Dramatic?)
If your plant suddenly has crispy brown leaf edges, looks offended by life, and you swear you’ve been watering… it might not be “neglect.” It might be fertilizer burn.
And yes, I know. Fertilizer is supposed to be the helpful thing. Like vitamins. But too much fertilizer is basically the plant version of chugging a whole bottle of multivitamins and then wondering why you feel weird.
Here’s what’s happening: excess fertilizer leaves behind salts in the soil. Those salts pull moisture away from the roots (rude), so your plant can look thirsty even when the soil feels damp. The good news is: if you catch it early, you can usually fix it with a proper flush the right way, not the “dump water and hope” way.
Let’s get your plant back on speaking terms with you.
First: Is it actually fertilizer burn?
Before you start flooding anything, do a quick reality check:
Fertilizer burn usually looks like:
- Brown, crispy tips or edges (especially on newer damage)
- A white crust on the soil surface or pot rim (salty little warning sign)
- You recently fertilized, accidentally double dosed, or spilled granules/liquid
Also very common: the plant wilts like it’s thirsty… while sitting in damp soil. (Because salts are hogging the water.)
If that’s you, keep reading.
The “don’t flush it” situations (aka: when water will make it worse)
Flushing is great if your plant can actually drain. If it can’t, you’re basically making soup around stressed roots.
Skip flushing and repot instead if:
- Your pot has no drainage holes (I’m not judging… okay I’m judging a tiny bit)
- The soil stays soggy forever
- Roots smell sour or look black/brown/mushy (root rot vibes)
- You used slow release granules mixed through the soil (those keep dissolving as you water like the world’s worst tea bag)
- It’s a succulent, cactus, or orchid (they rot if you look at them funny)
If any of those are true, jump down to the repot section.
Step 1: Check drainage (do this before you play “plant lifeguard”)
For pots: water normally and see what happens. You should get runoff fairly soon.
If water doesn’t come out the bottom within a reasonable time (or the pot sits wet for hours and hours), flushing is not your friend today.
For in ground plants: dig a small test hole and fill it with water. If it sits there forever, you’ll need to go slower with watering (or fix drainage) instead of trying to blast salts out in one go.
The only flushing method I trust for houseplants (two stage, because plants are picky)
Here’s the mistake people make: they dump a ton of water quickly, it shoots down the sides of the pot, and the salty root zone just sits there like, “Cool story.”
Instead, do this:
The Two Stage Flush (for houseplants + patio pots)
- Stage one: Slowly water the entire soil surface for 30-60 seconds until it’s fully saturated and you see a little drip from the bottom.
- Wait 10 minutes. (Go stare at your plant apologetically. I do.)
- Stage two: Slowly water again until you get solid drainage.
Important: dump the saucer immediately. If the pot sits in the runoff, the salts can wick right back up. (It’s like mopping the floor and then pouring the dirty bucket back onto it.)
“Okay but how much water is ‘enough’?”
I use runoff as the guide: aim for roughly 15-20% of what you pour in to come out the bottom.
If you want ballpark numbers:
- 6 inch pot: ~3-4 liters
- 8 inch pot: ~5-7 liters
- Large floor pot: ~8-12+ liters
The exact amount varies with soil type and how dry it was, so don’t get stuck on math. Get stuck on good, steady runoff.
After flushing
Let the plant recover. Don’t flush again unless you’re seeing new damage continuing to spread over the next couple days. Roots need oxygen after all that water, so let the mix dry slightly between normal waterings.
For garden beds + in ground plants: slow soak, not a water park
For outdoor plants, you’re basically trying to dilute and move salts down past the root zone but without creating runoff rivers.
What to do:
- Put the hose at the base and run it at a slow trickle for 30 minutes or more.
- Water the whole root zone, not just the stem. A good rule: roots usually reach about as far as the plant’s canopy spreads.
Then give it a break. Wait 2-3 days before doing it again so the soil can drain and the roots can breathe.
A nerdy but useful reference point:
- ~6 inches of water over time can remove about half the soluble salts from the top foot of soil.
- ~12 inches can remove a lot more (around 80%).
Translation: this is a “slow and steady over several days” situation, not a one afternoon hero moment.
Lawn fertilizer burn: the “oh no” patch
If you’ve got a lawn spill, it’s a different beast and how quickly lawn damage appears because the fertilizer is often sitting right there like a crime scene.
Lawn recovery plan
- Remove visible granules first. Sweep them up. Shop vac if it’s a concentrated spill. If you leave them there, you’re just watering fertilizer deeper into the soil.
- Water daily for 1-2 weeks, but apply it at a pace your soil can absorb.
- Sandy soil can take water faster
- Clay needs slower, shorter sessions (if you see pooling, back off)
- Don’t mow during the worst of it. Taller blades help it recover.
- If some patches go fully dead (brown black, no green at the base), you’ll likely need to reseed after you’ve flushed the salts out.
What water should you use? (Tap is fine, promise)
Use room temp water. Not icy. Not hot. Plants are not into temperature shock.
And yes tap water works. The minerals in tap water are tiny compared to the fertilizer salts you’re trying to remove. If you’re using an EC/TDS meter and want cleaner numbers, rainwater/distilled gives you a clearer baseline, but it’s not required.
When repotting is the smarter rescue (and how to do it without making it worse)
If flushing is a no go (no drainage, root rot, slow release granules mixed in, etc.), repot.
How I do it:
- Slide the plant out and gently remove the worst of the old soil.
- Rinse the roots with lukewarm water (gently no root wrestling).
- Trim obviously dead/mushy roots with clean scissors.
- Repot into fresh, unfertilized potting mix.
- Keep it a bit on the dry side for the first week while it recovers.
This is especially true for succulents, cacti, and orchids. They don’t want repeated soakings. They want a fresh start and fewer apologies.
How to tell if you fixed it (aka: what “success” looks like)
The best sign is boring: no new damage.
- If the crispy edges stop spreading within a week, you’re on the right track.
- The brown parts won’t magically turn green again (sorry), but the plant should stabilize.
- You may see leaves firm up and new growth start within 1-2 weeks if roots weren’t too damaged.
If you’re a gadget person, you can measure runoff with an EC meter, but you don’t have to. Most of us are just out here squinting at leaves and whispering encouragement.
The recovery timeline (so you don’t panic water it to death)
Days 1-3:
Let it dry a bit. Roots need oxygen after all that flushing. Bright indirect light is your friend.
Weeks 1-2:
Watch for stabilizing and new growth. This is the “wait and see” phase where you practice patience (the hardest home skill, honestly).
Weeks 3-4:
If things look good, you can fertilize again but start at ¼ to ½ strength. No “make up for lost time” energy. That’s how we got here.
How to never deal with this again (because once is plenty)
A few habits and lawn overfeeding fixes that save you from round two:
- When you water houseplants, occasionally water enough to get a little runoff. It helps prevent salt buildup.
- Measure fertilizer instead of eyeballing it. (I know. I know. But the lawn doesn’t care about vibes.)
- If you’re nervous, under fertilize and do it more often not one mega dose.
And if you only take one thing from this post: fertilizer is not “more love.” It’s more like hot sauce amazing in the right amount, absolutely regrettable in the wrong one.
Now go check your drainage holes and give that plant a fighting chance.