Running out of room on the windowsill? Time to fix that.
A DIY window plant shelf gives you better light, more space, and a setup that actually works without trying to cram pots all over the house.
In this guide, I’ll walk you through the tools, materials, window choice, shelf types, and installation basics. Simple stuff. No fluff.
By the end, you’ll know exactly how to build a shelf that holds up and gives your plants the light they’ve been missing.
Want to know which setup works best if you can’t drill into the wall? Keep reading.
Pick the Right Window
Don’t just slap a shelf on any window and call it good. Get this wrong, and you’ll end up with burned leaves, leggy plants, or a setup you stop using altogether.
South-facing windows pull in the most light, that’s where I keep the sun-hungry stuff. North-facing works fine for low-light plants like pothos or ferns, but don’t expect much growth.
Make sure you can reach the shelf without dragging out a step stool every time. If watering becomes a hassle, you’ll stop doing it.
And for the love of your drywall, measure the window frame. Not all of them are wide enough for brackets or tension rods. I’ve learned that lesson the hard way. Don’t skip it.
Choose a Shelf Style That Fits
No setup is one-size-fits-all. Pick the type that fits your space, your plants, and how permanent you want the installation to be.
- Floating Shelves: Mounted directly to the wall or window frame using brackets. Solid, stable, and great for long-term use, but you’ll need to drill, so it’s not renter-friendly.
- Hanging Shelves: Shelves hang from ropes or chains attached to the top of the window frame. They’re easy to adjust and give your setup a nice visual punch without taking up floor space.
- Clear Acrylic Shelves: Let light pass through to the lower shelves and don’t block your view. These are perfect if you’re tight on natural light and want a clean, modern look.
- Tension-Rod Shelves (For Renters): No screws, no damage. Just wedge shelves between spring-loaded curtain rods. They’re easy to move, great for small plants, and perfect if you can’t drill holes.
- Corner or Multi-Tiered Shelves: Make the most of vertical space by stacking shelves up instead of out. Ideal for plant collectors or tight windows where floor space is limited or already packed
Pick one and move forward; they all work when built right.
DIY Window Plant Shelf: 6 Steps That Actually Work
You don’t need fancy tools or a full workshop to build a window shelf that holds up. Just follow these steps, stick to what works, and your plants will finally get the space and light they need.
Tools & Materials
Basic Tools:
- Drill
- Level
- Measuring tape
- Saw
- Pencil
Shelf Materials:
- Wood boards or acrylic panels
- Brackets (make sure they match your shelf type)
Optional Add-ons:
- Grow lights
- Chains or hooks (for hanging shelves)
- Adhesive pads or no-drill brackets (for renters)
Step 1: Pick Your Boards
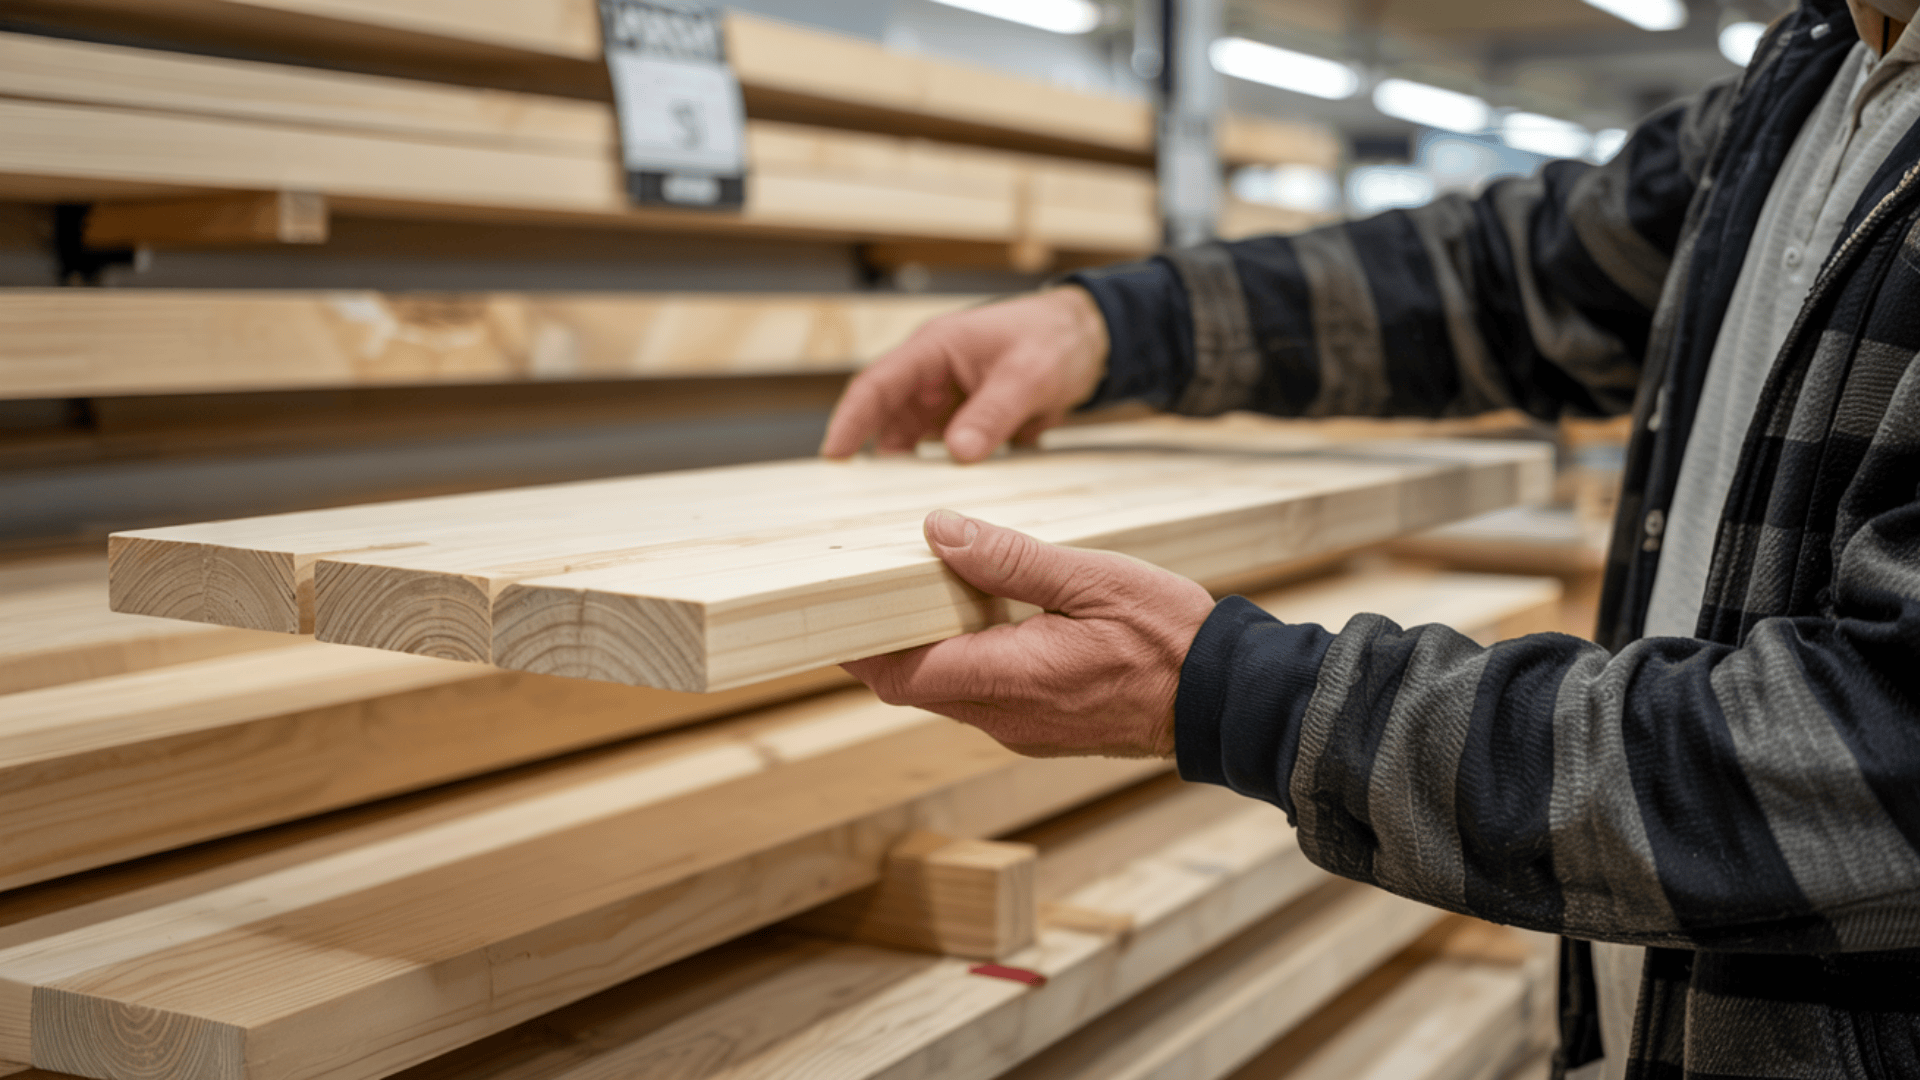
Start with non-pressure-treated pine. It’s safe for indoor use, cuts clean, and won’t give you a headache later.
Measure your window and decide how many shelves you want. Use boards that are wide enough to hold plant pots and long enough to fit your space without sagging.
Check for straight boards, skip anything with warps, deep stamps, or cracks. A twisted board means crooked shelves, and you don’t want to fix that mid-project.
Step 2: Sand and Stain
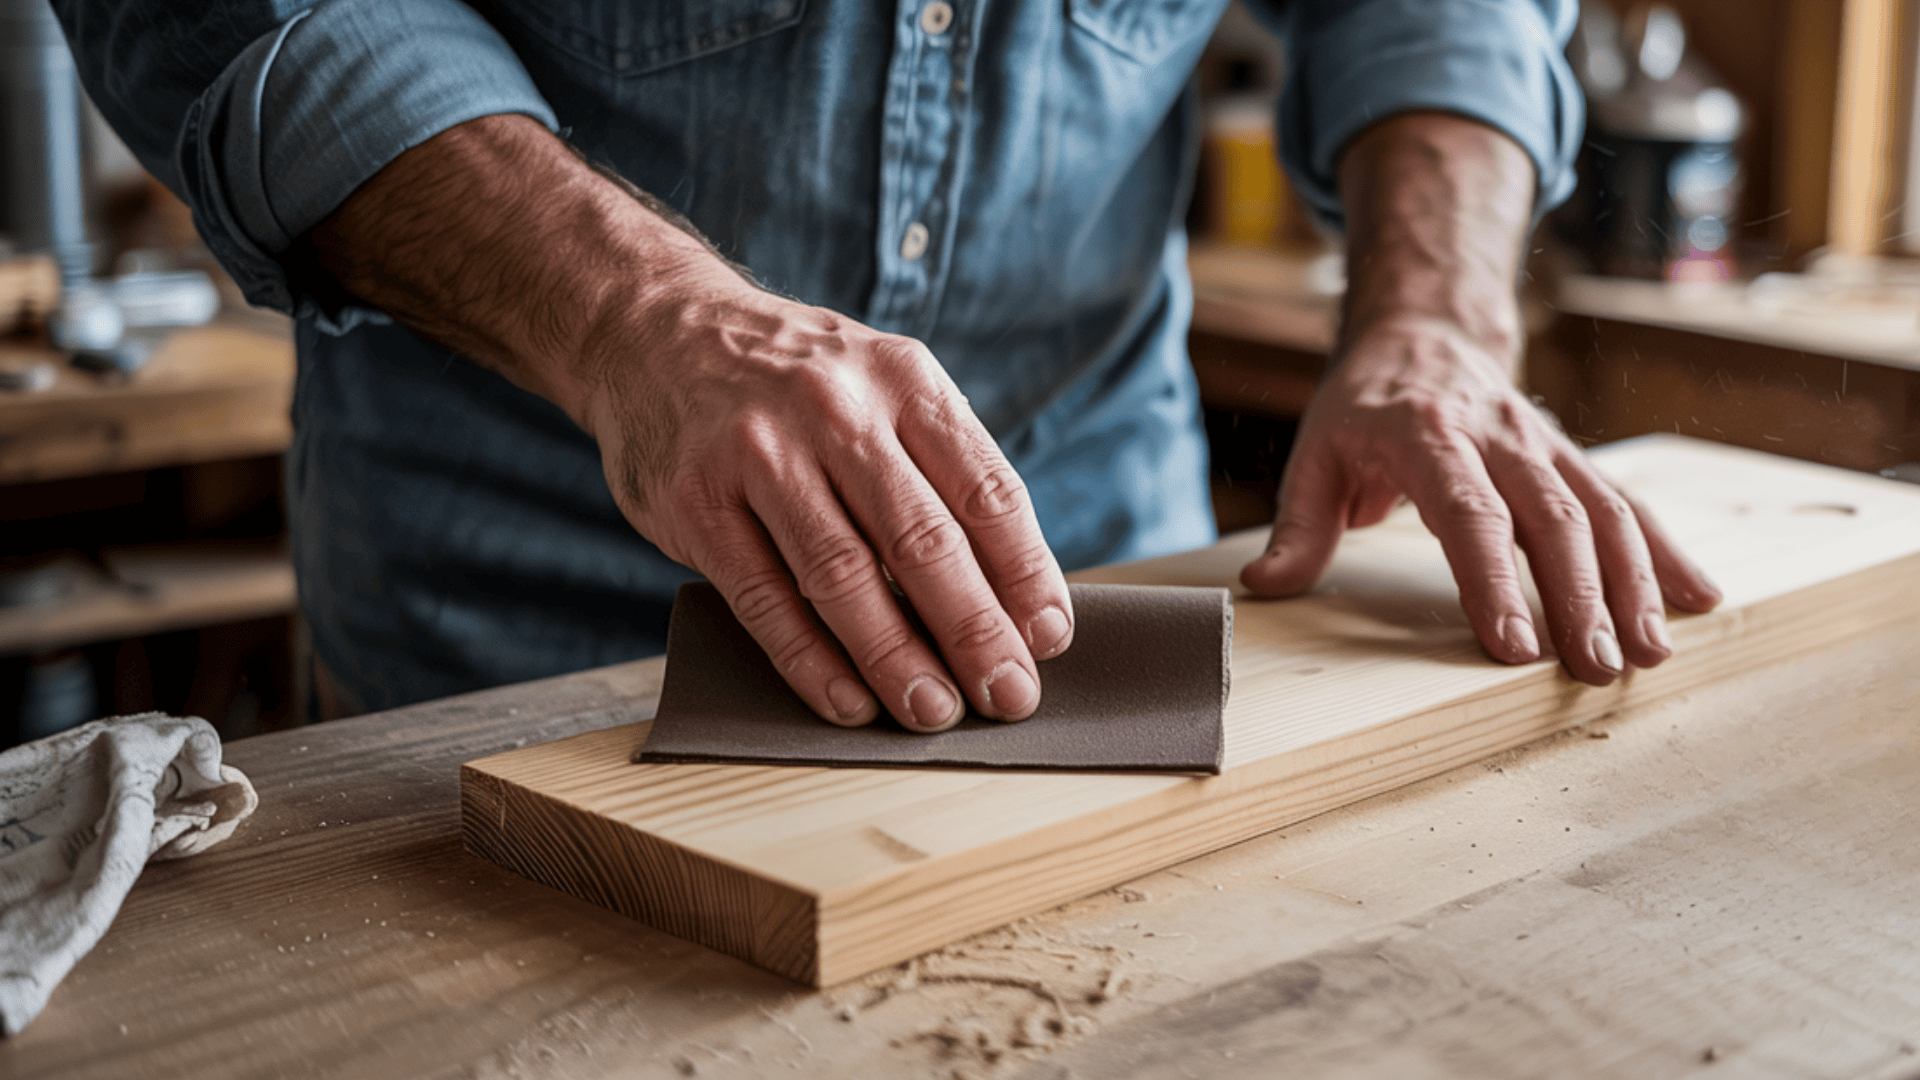
Use 100-grit sandpaper to smooth out rough spots and slightly round the corners. Then hit it with 220-grit for a clean finish that takes stain evenly.
Wipe the dust off with a damp cloth before staining. Any leftover sawdust will mess with how the stain sticks.
Pick a stain that fits your style. Apply it with a rag while wearing gloves. Let it dry completely, then decide if you want a second coat for a darker finish.
Step 3: Seal It with Polyurethane
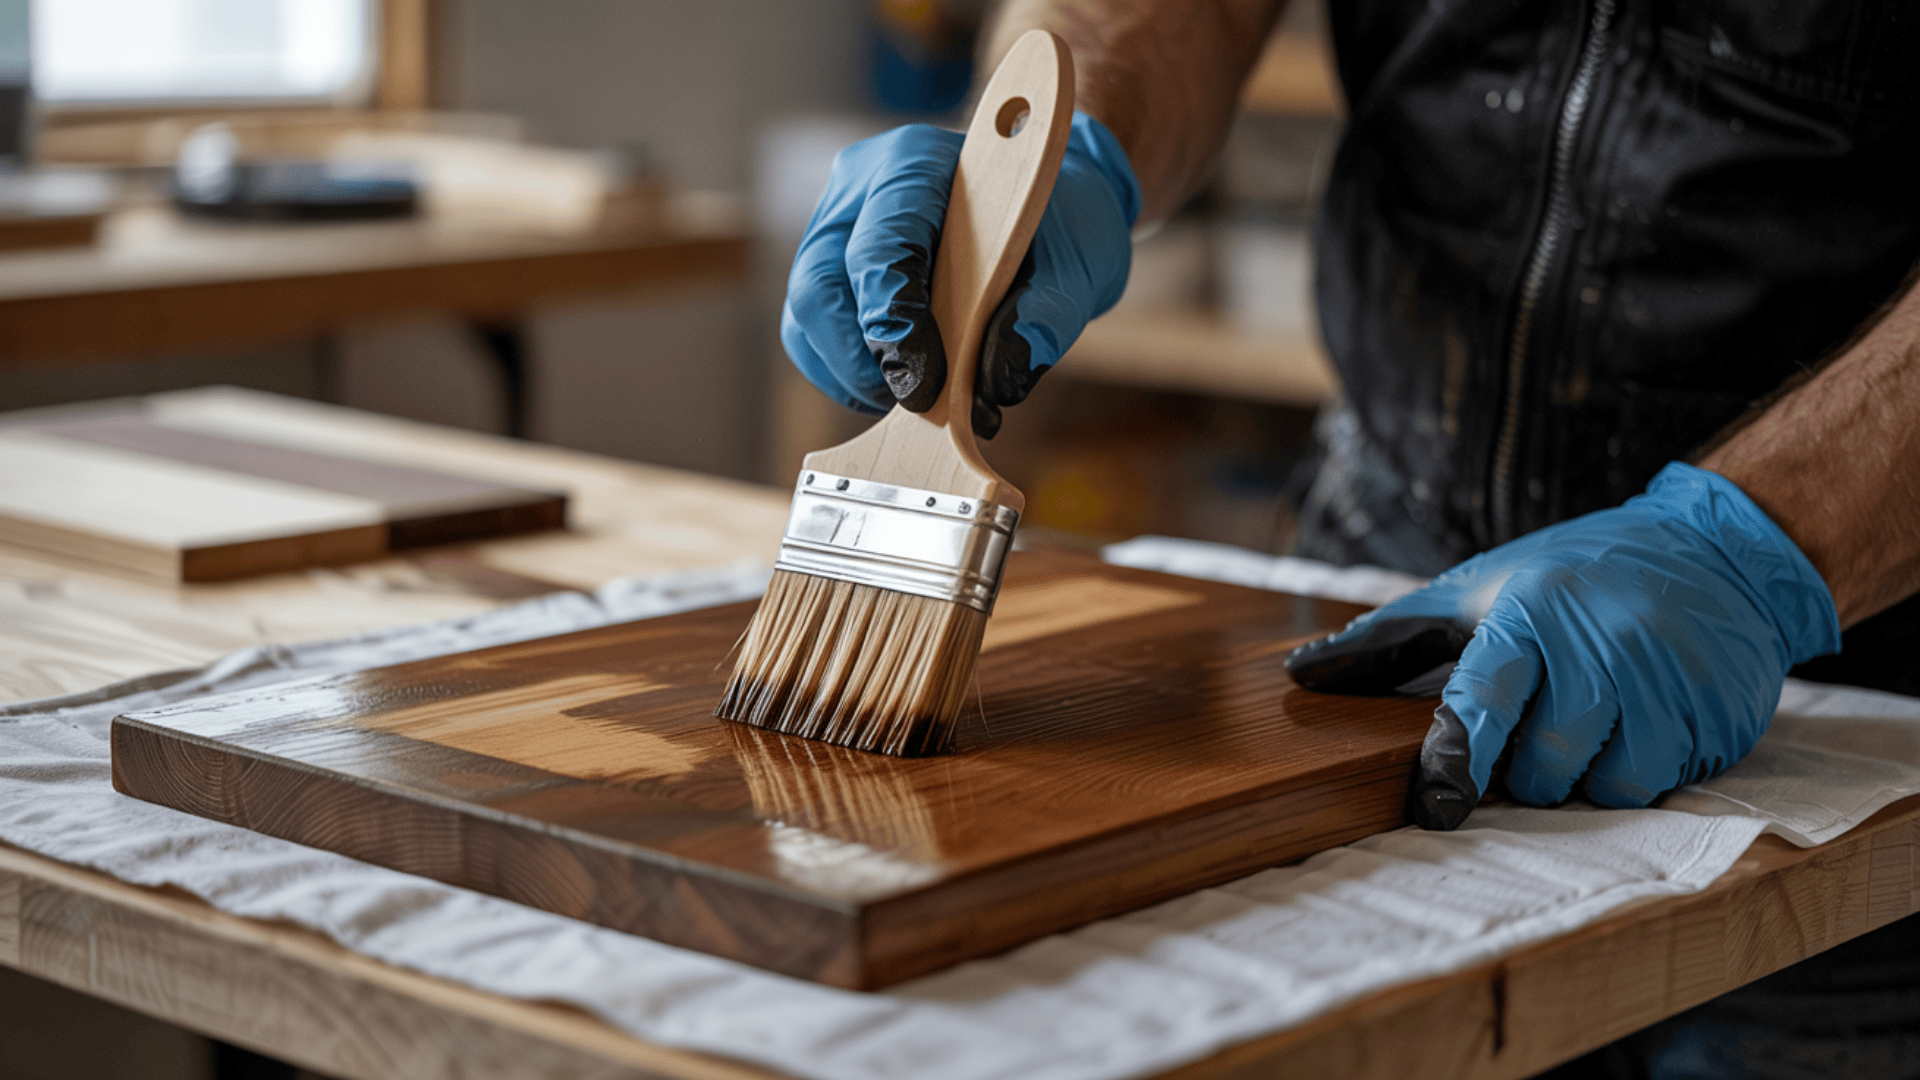
After staining, let the wood rest for at least 24 hours before sealing. Don’t rush; the stain needs time to set.
Apply two coats of polyurethane for protection against water and humidity. Matte finishes keep things subtle; satin gives a little extra shine.
Let each coat dry completely before adding the next. If you don’t, you’ll end up with a sticky surface that never fully cures.
Step 4: Brackets and Mounting
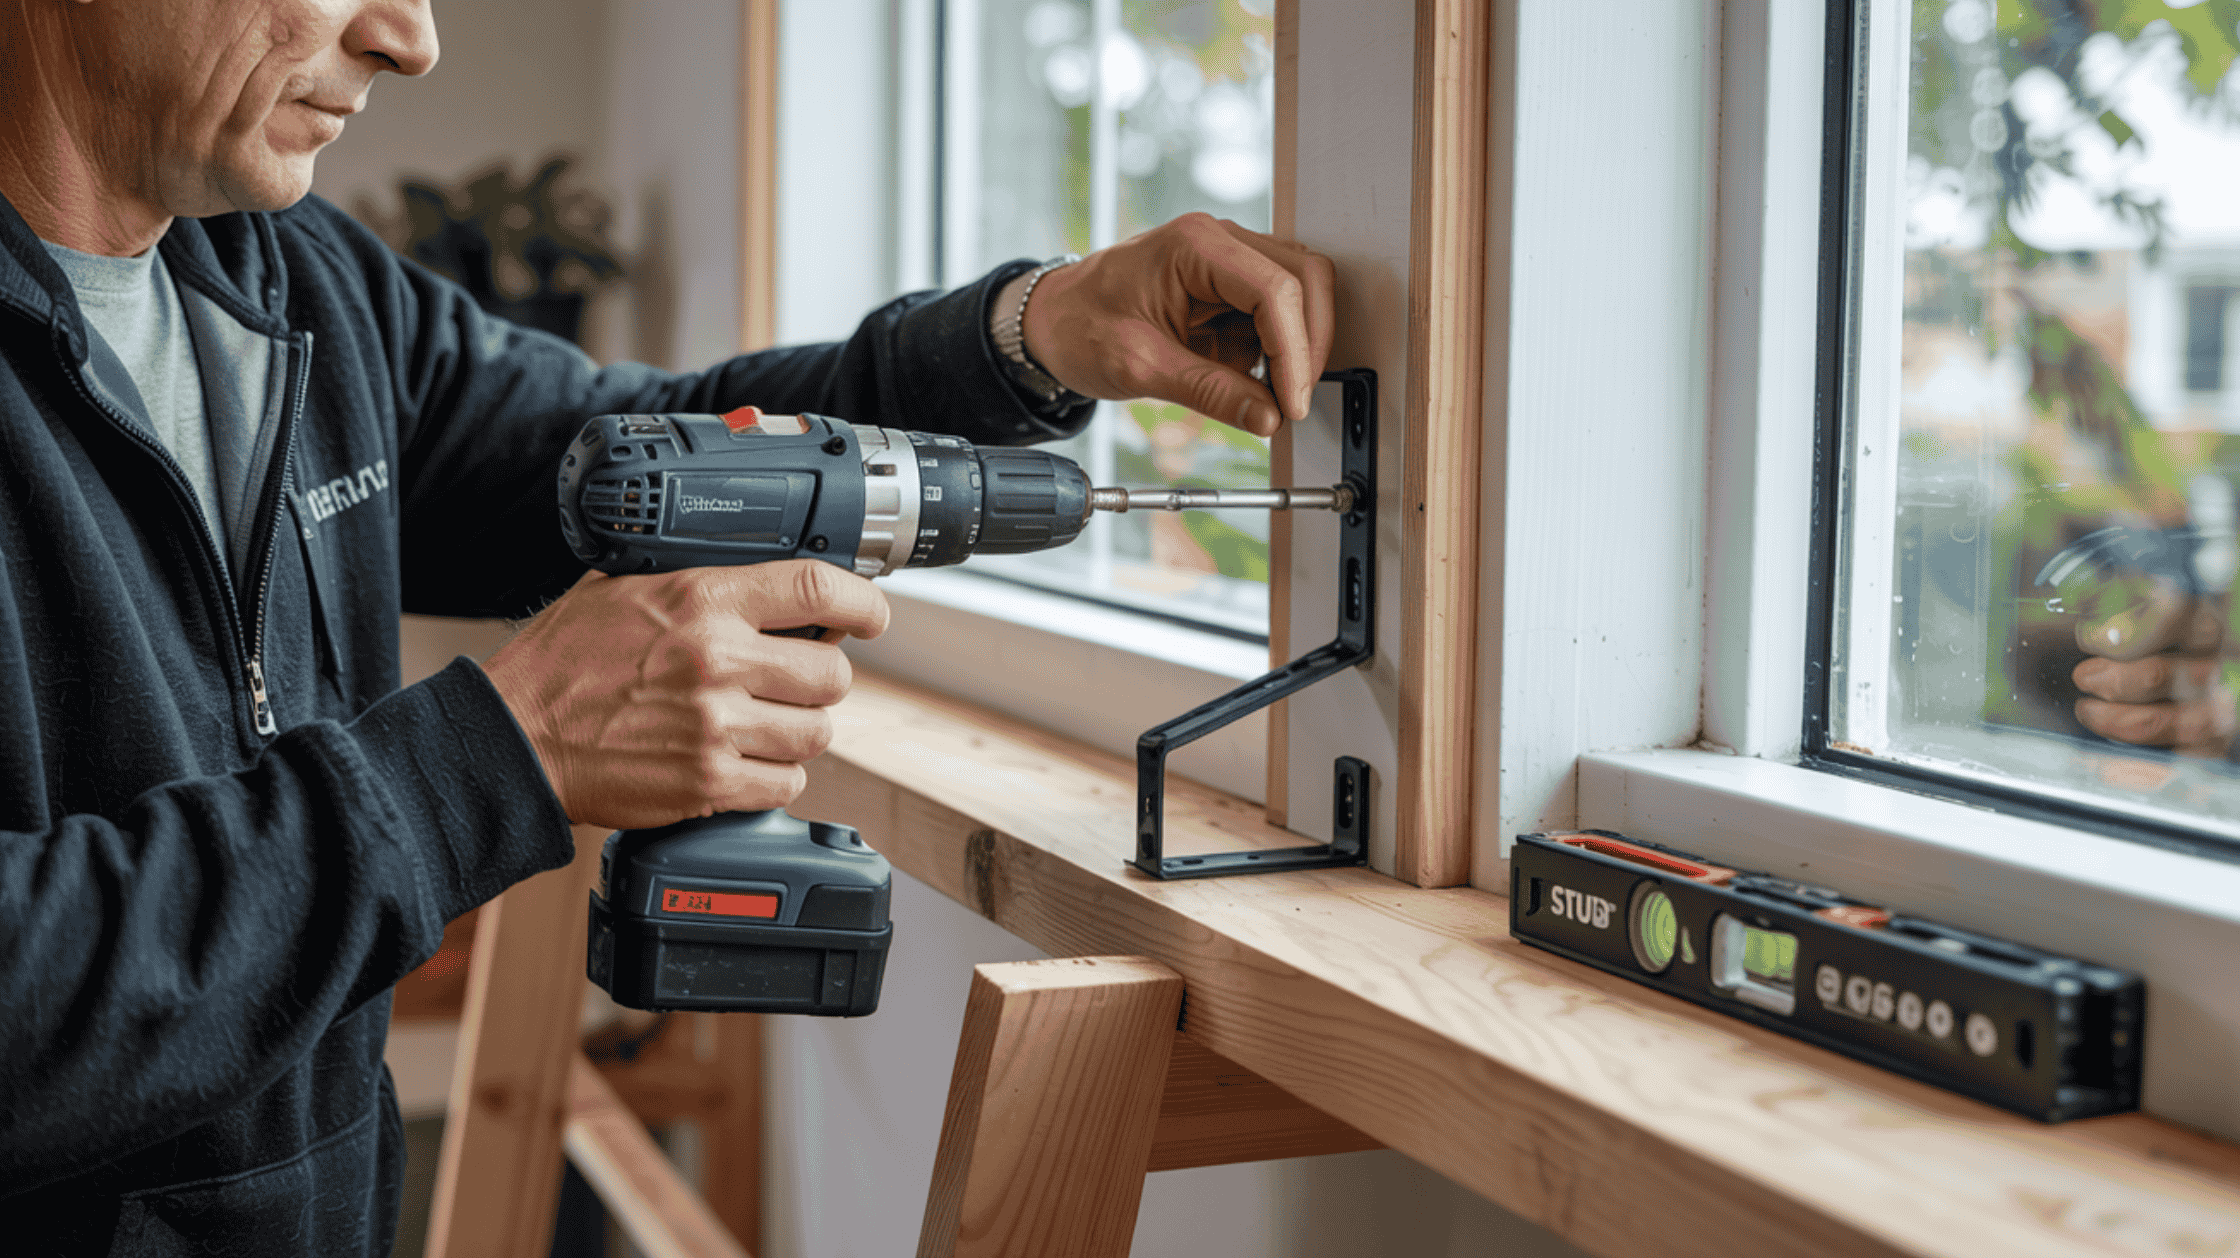
If you want the brackets to blend in, spray paint them before installation. Matte black or textured finishes work well.
Use a stud finder and level to line things up properly. If you’re not hitting studs, install heavy-duty wall anchors rated for 75 pounds or more.
Mark your holes, drill clean pilot holes, and screw the brackets in tight. Always double-check your spacing before locking everything down; misaligned hardware is a pain to fix after the fact.
Step 5: Mount the Shelves
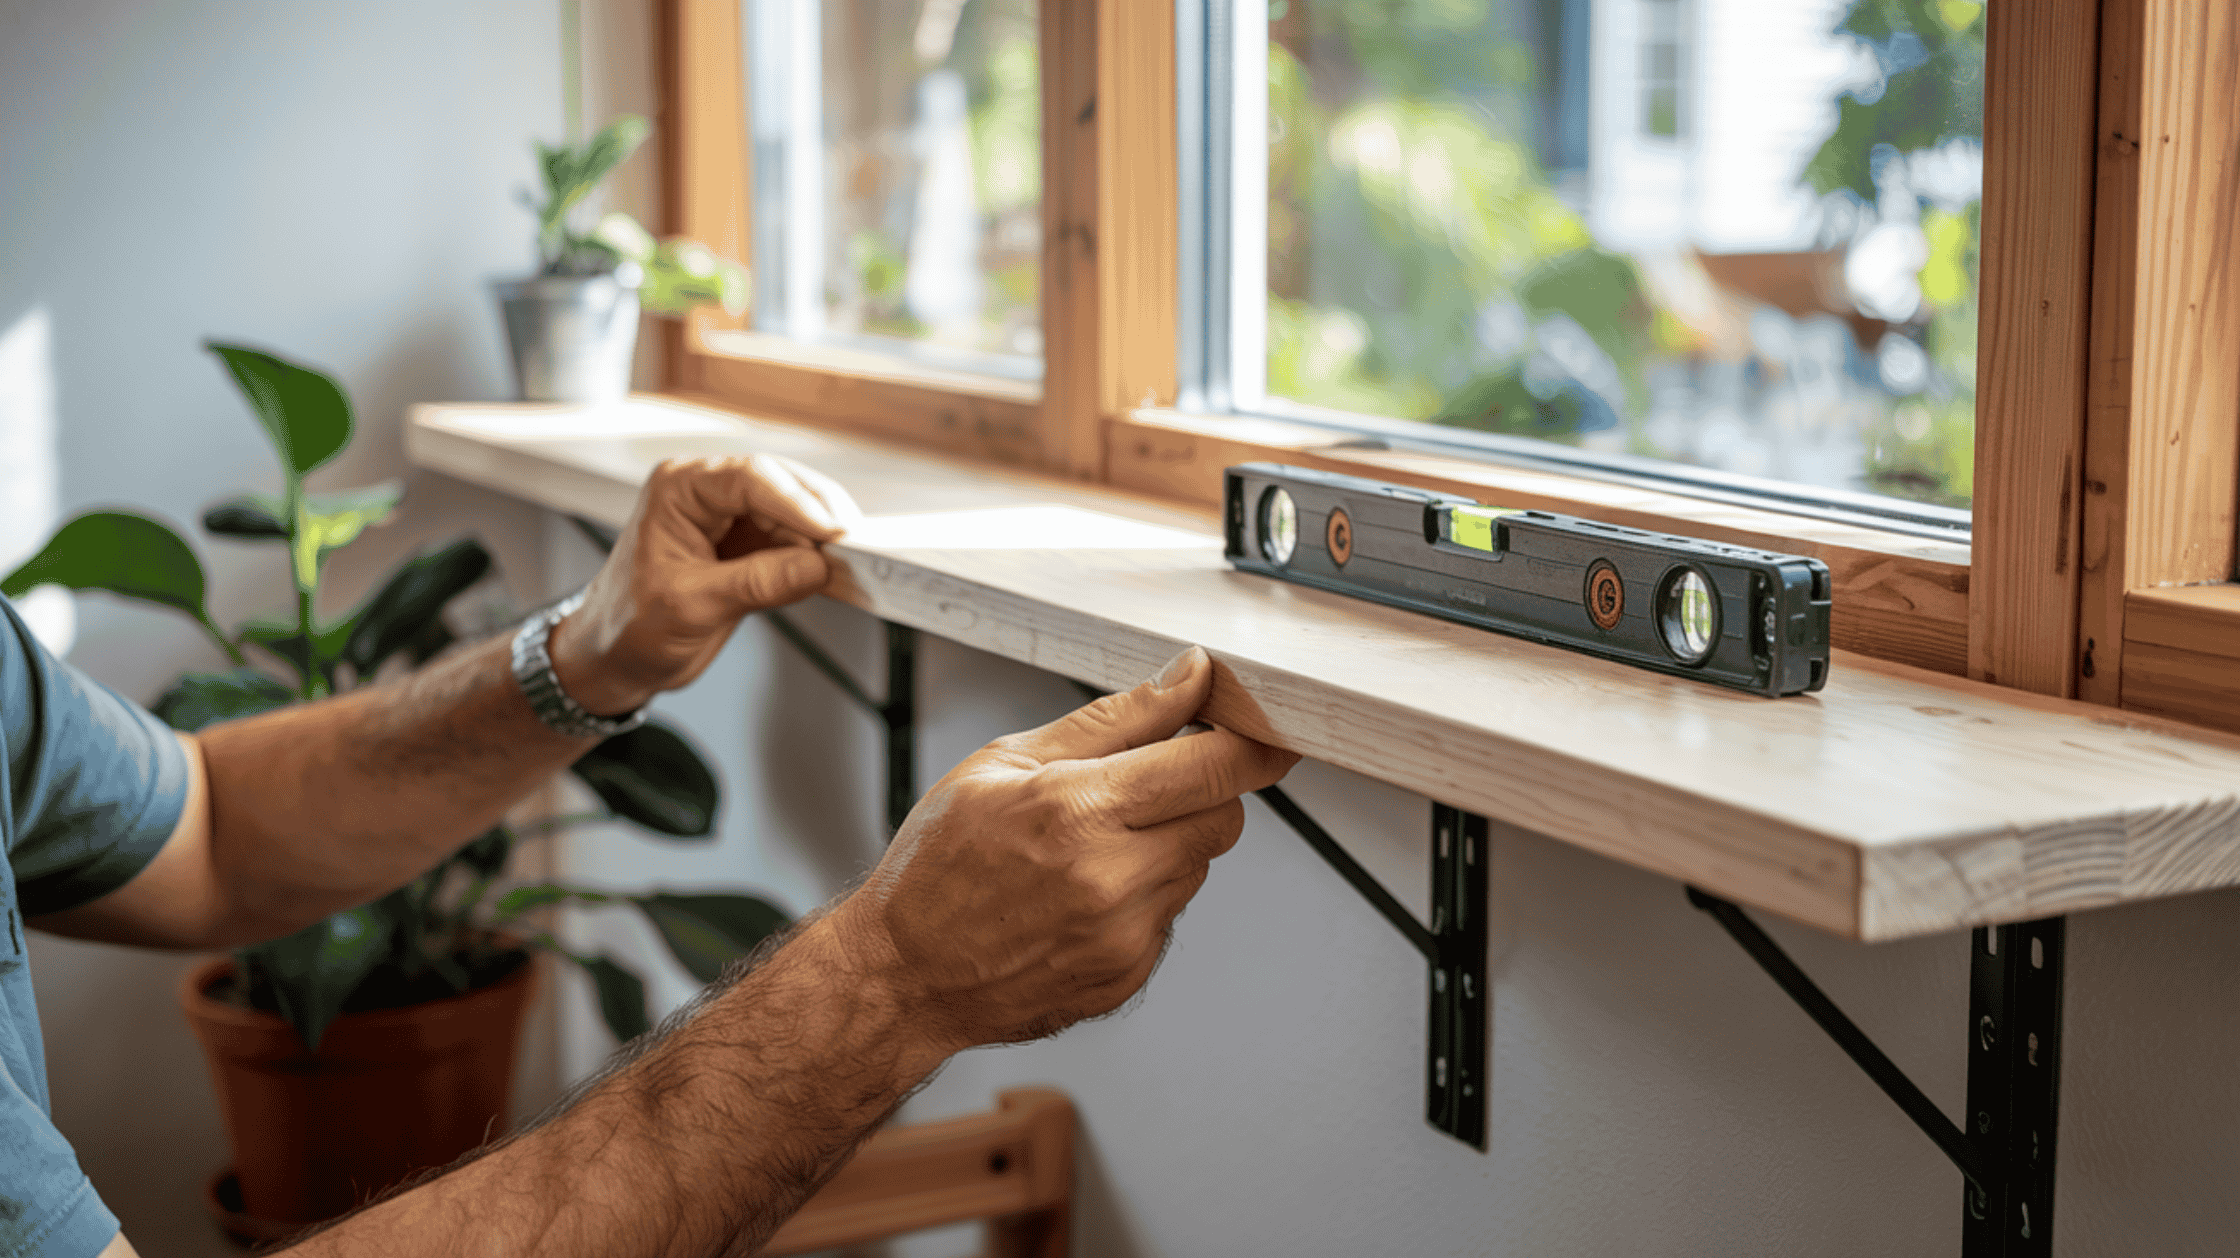
Set each board on the brackets and make sure it’s level from front to back and side to side.
If your shelf spans across multiple brackets, check alignment at every support point.
Once everything lines up, secure the shelf to the brackets using short screws. Test each one for sturdiness before loading it up with plants.
Step 6: Light It and Style It
If your window doesn’t get enough light year-round, add a grow bulb or battery-powered puck light. Use cord covers to keep things tidy.
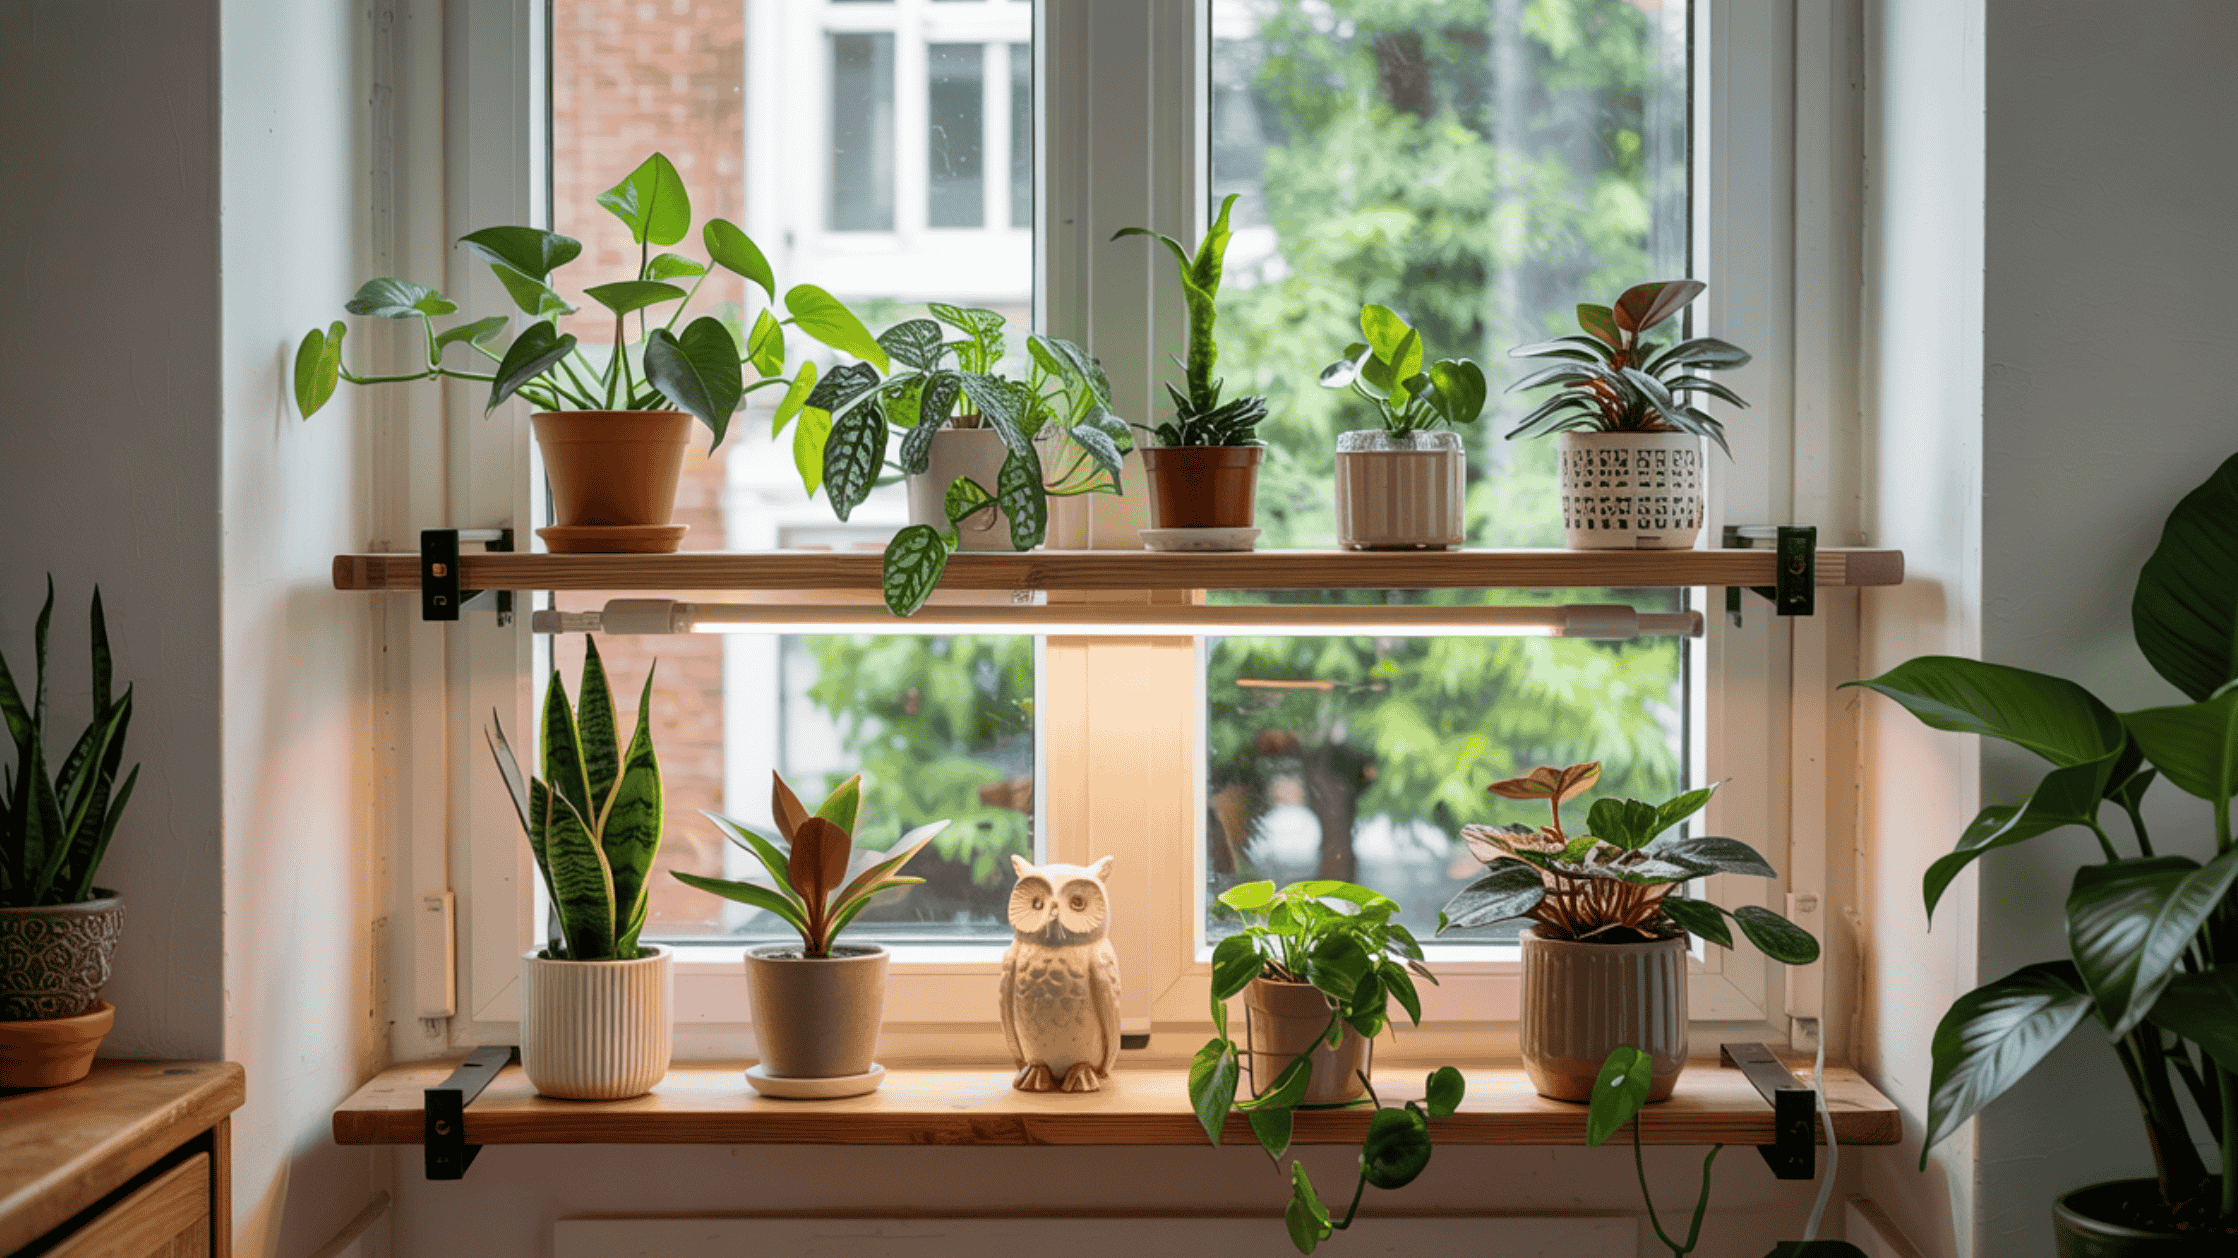
Style the shelves with a mix of upright and trailing plants. Use pots with some visual variety, but don’t overcrowd them. Add a few non-plant items if you want, but keep the focus on your plants.
Make adjustments as things grow. That’s how you keep the setup working, not just looking good.
Follow the steps, build it solid, and you’ll end up with a window shelf that actually does what it’s supposed to: hold plants, give them light, and make your space look better in the process.
How to Style the Shelf (So It Looks Good and Works)
This isn’t about cramming pots on a board and calling it done. Set it up right, and it’ll grow better and look like it belongs in the room.
- Start with sun-loving plants. I use small succulents, herbs, and compact tropicals that can handle direct or bright light. If your window gets good sun, don’t waste it on low-light plants.
- Mix heights for balance. Tall stuff goes in the back, short up front. That way, everything gets light and nothing’s hidden.
- Pick pots that work together. You don’t need fancy, just match by color, shape, or finish. Or go bold with a few standouts. Either way, keep it intentional so it doesn’t look like a yard sale.
- Break it up with non-plant pieces. Drop in a few stones, a lantern, maybe a small decorative piece. It gives the shelf some texture without turning it into clutter.
I’ve found that a little planning here saves a lot of second-guessing later. Do it once, do it right, and the whole thing holds up.
Make Your Shelf Easier to Maintain
Want to make plant care less of a chore? Set it up right the first time.
I like to add grow lights under each shelf so even the low-light spots get covered. That way, no plant gets left behind, top to bottom.
Use drip trays or plastic liners to catch runoff and keep your floors dry. It’s one of those things you only forget once.
And for those top shelves you don’t check every day, go with self-watering pots. They’ll hold steady while you deal with everything else. Trust me, it’s worth it.
Troubleshooting Common Issues
Even a simple setup can hit a few snags. Here’s how to fix the common ones fast:
Shelf tilting or not level?
Check your brackets with a level. If you’re using tension rods, make sure they’re tight and the shelf isn’t sagging in the middle.
Window too narrow?
Try spring-loaded rods or corner brackets to work around tight spaces. You don’t need a wide frame—you just need smart support.
Not enough sun?
Add a clip-on grow light or shift your plants around every few days. Even a little extra light can make a big difference.
Fix the small stuff early, and you won’t end up redoing the whole shelf later.
Tips for Renters
If drilling into walls isn’t an option, there are still plenty of ways to get the job done without causing damage.
Here are a few setups that work without putting holes in the wall:
Spring rods + shelves: Wedge boards between tension rods. No screws, no damage—just pressure and balance.
Suction-cup shelves: Good for lightweight plants. Stick to smooth glass surfaces and check the weight limit.
Command strips + light brackets: Only works with small shelves and pots, but it’s renter-safe and easy to remove later.
Leaning or hanging shelf units: Place a freestanding shelf in front of the window or use one that hooks onto the frame. Move it anytime.
Plenty of ways to get the job done without losing your deposit.
Wrapping Up
A DIY window plant shelf gives you more space, better light, and a setup your plants will actually grow in, not just sit and struggle on a crowded sill.
Now that you’ve got the steps, tools, and ideas, there’s no excuse to keep putting it off. Measure your window, pick your shelf style, and get it done right the first time.
Remember to keep it simple, sturdy, and give your plants what they need. You’ll see the difference.
Want more straight-shooting tips like this? Check out the rest of my DIY plant care guides and get your whole setup working better, not harder.