When you start looking at ways to set up your plants outside, it becomes clear fast that building your own DIY plant stand outdoor setup gives you way more control than anything you’d buy off a shelf.
You get to shape the look, the size, and the strength around the plants you actually have, not the ones a store assumes you want.
Today, I’ll walk you through designs that fit small spaces, bigger patios, different climates, and different budgets.
You’ll also see how materials behave outdoors, how to build stands that stay steady, and how to keep everything looking good through the seasons. Let’s start with the basics.
Considerations Before Choosing an Outdoor Plant Stand
You’ve got a lot of options out there. Before you jump into building anything, slow down for a second and look at the basics.
Space, weather, weight, the size of your plants… all of that stuff shapes what’s going to work and what’s going to fall apart the first time the wind kicks up.
So, think it through. It’ll save you time and help your plants stay happy.
| Factor | Why It Matters | What to Go For |
|---|---|---|
| Small Balconies | Wide stands eat the whole area and block movement. | Tall, narrow builds. Ladder or vertical stands that stack plants without taking space. |
| Large Patios | Small stands look out of place and limit how many plants you can set out. | Wider, heavier builds. Multi-section layouts that anchor the space. |
| Rainy, Humid, or Hot Climates | Weather breaks down wood fast, and the wrong material won’t last outside. | Cedar or redwood for moisture. Sealed pine for budget builds. Pressure-treated lumber for long-term durability. |
| Weight & Stability | Wet soil and large pots get heavy, and any wobble gets worse outdoors. | Wide bases. Strong bracing. Sturdy legs that hold weight without tipping. |
Outdoor Plant Stand: DIY Step-by-Step Guide
This build works great if you want something sturdy without using power tools, nails, or screws. You’re stacking blocks, gluing them in place, and dropping timber planks on top.
It’s straightforward, and you can size it up or down depending on how many plants you want to hold.
Tools & Materials You Need
- Gravel for the foundation
- Exterior-grade construction glue
- Cinder blocks or besser blocks
- Thick timber planks for the shelves
- A shovel (or anything that lets you scrape soil)
That’s the whole list. Simple setup. Strong build.
Step 1: Clear Out the Ground

Start by removing the soft top layer of soil or mulch where the stand will sit. You want a firm base, because the blocks are going to carry a lot of weight once the plants are up there.
Dig out a space that’s a little wider and longer than the first row of blocks. Even if you’re building a small stand, give yourself enough room to adjust the layout.
Step 2: Add and Level Your Gravel Base
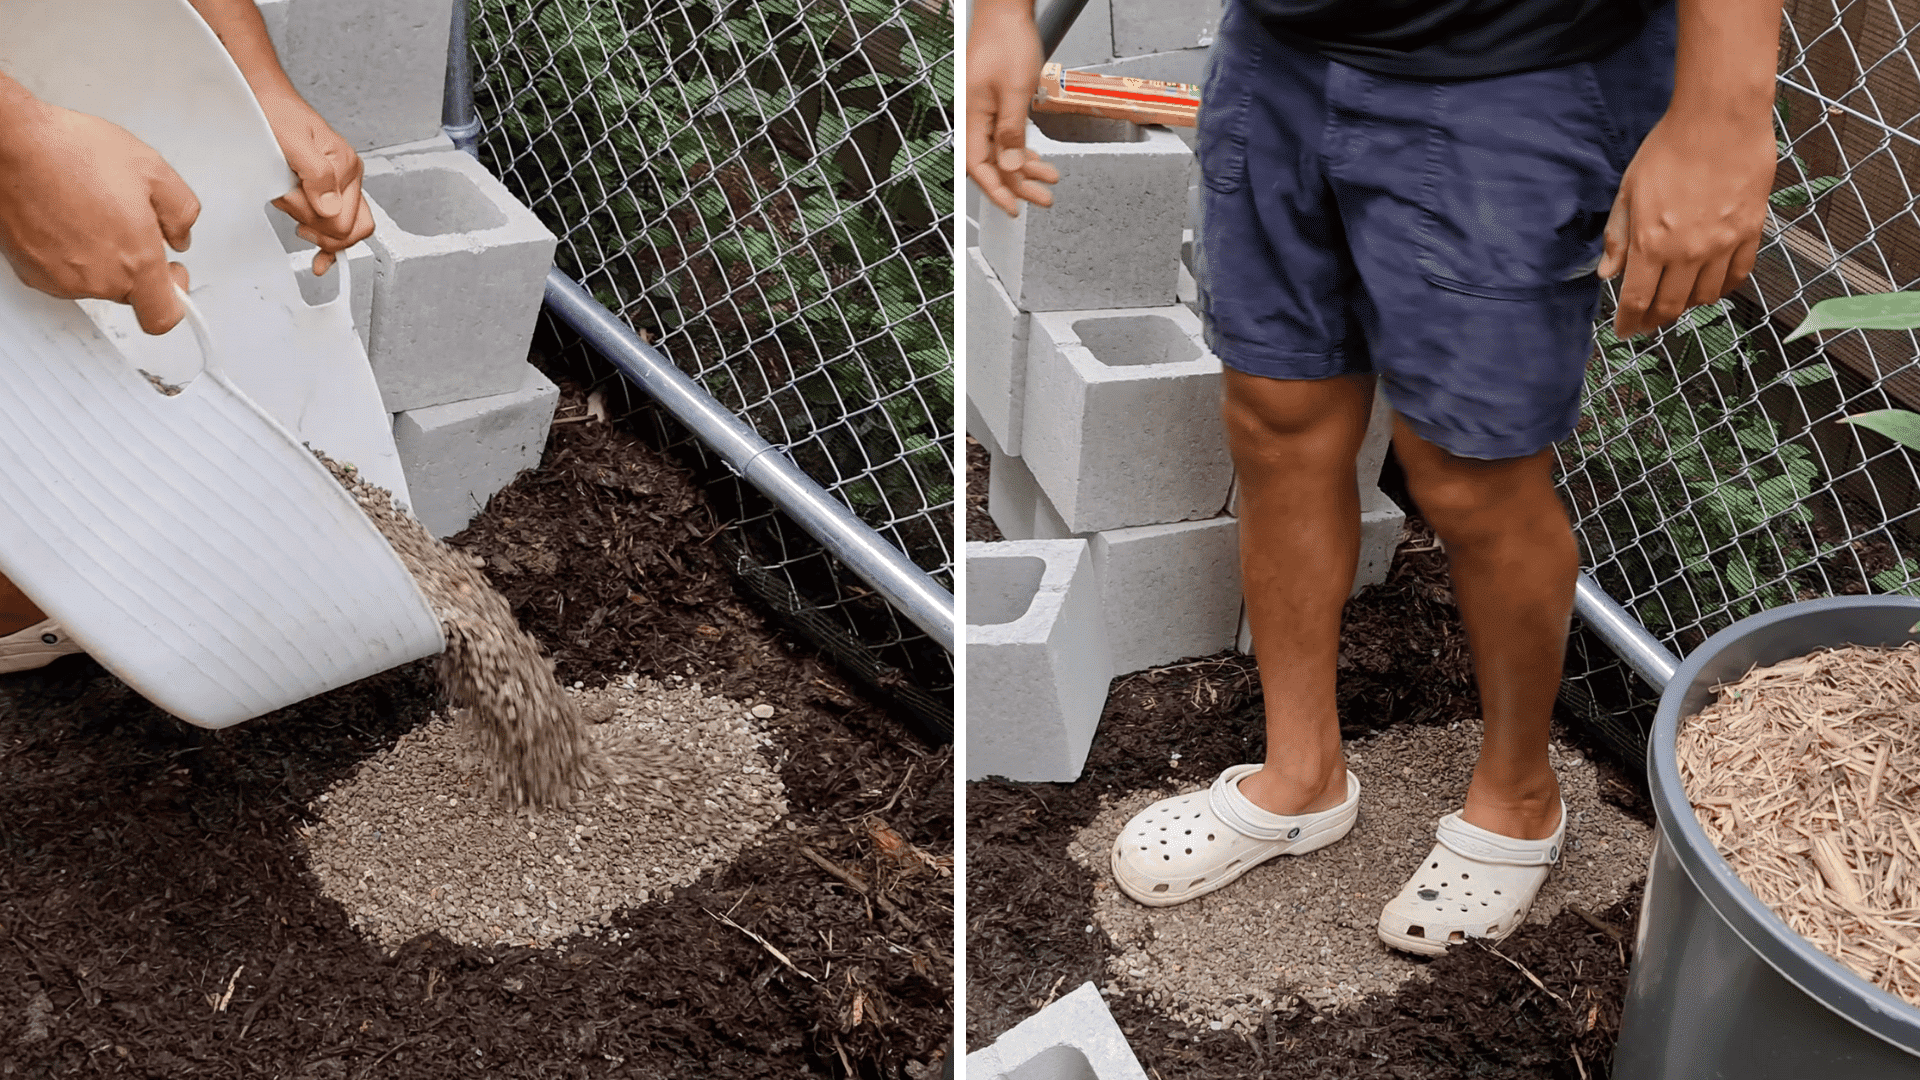
Pour in your gravel. Keep it flat. Keep it level. This matters because everything sits on this layer. If the bottom row tilts, every row above it gets more uneven.
Use your feet to compact it. If you’re building on a deck or concrete, you can skip the gravel completely.
A spirit level helps, but you can eyeball it if you don’t have one. Just aim for a surface that feels steady and even.
Step 3: Set the First Row of Blocks
Lay down your first set of blocks on the gravel. Use one double block in front and a single block behind it. Also, you can scale it based on the size you want.
Glue the blocks together where they touch. A few circles or lines of glue work fine. The point is to give the blocks a strong bond so the stand doesn’t shift over time.
Once that row is down, check that it sits solid and balanced. This is your foundation.
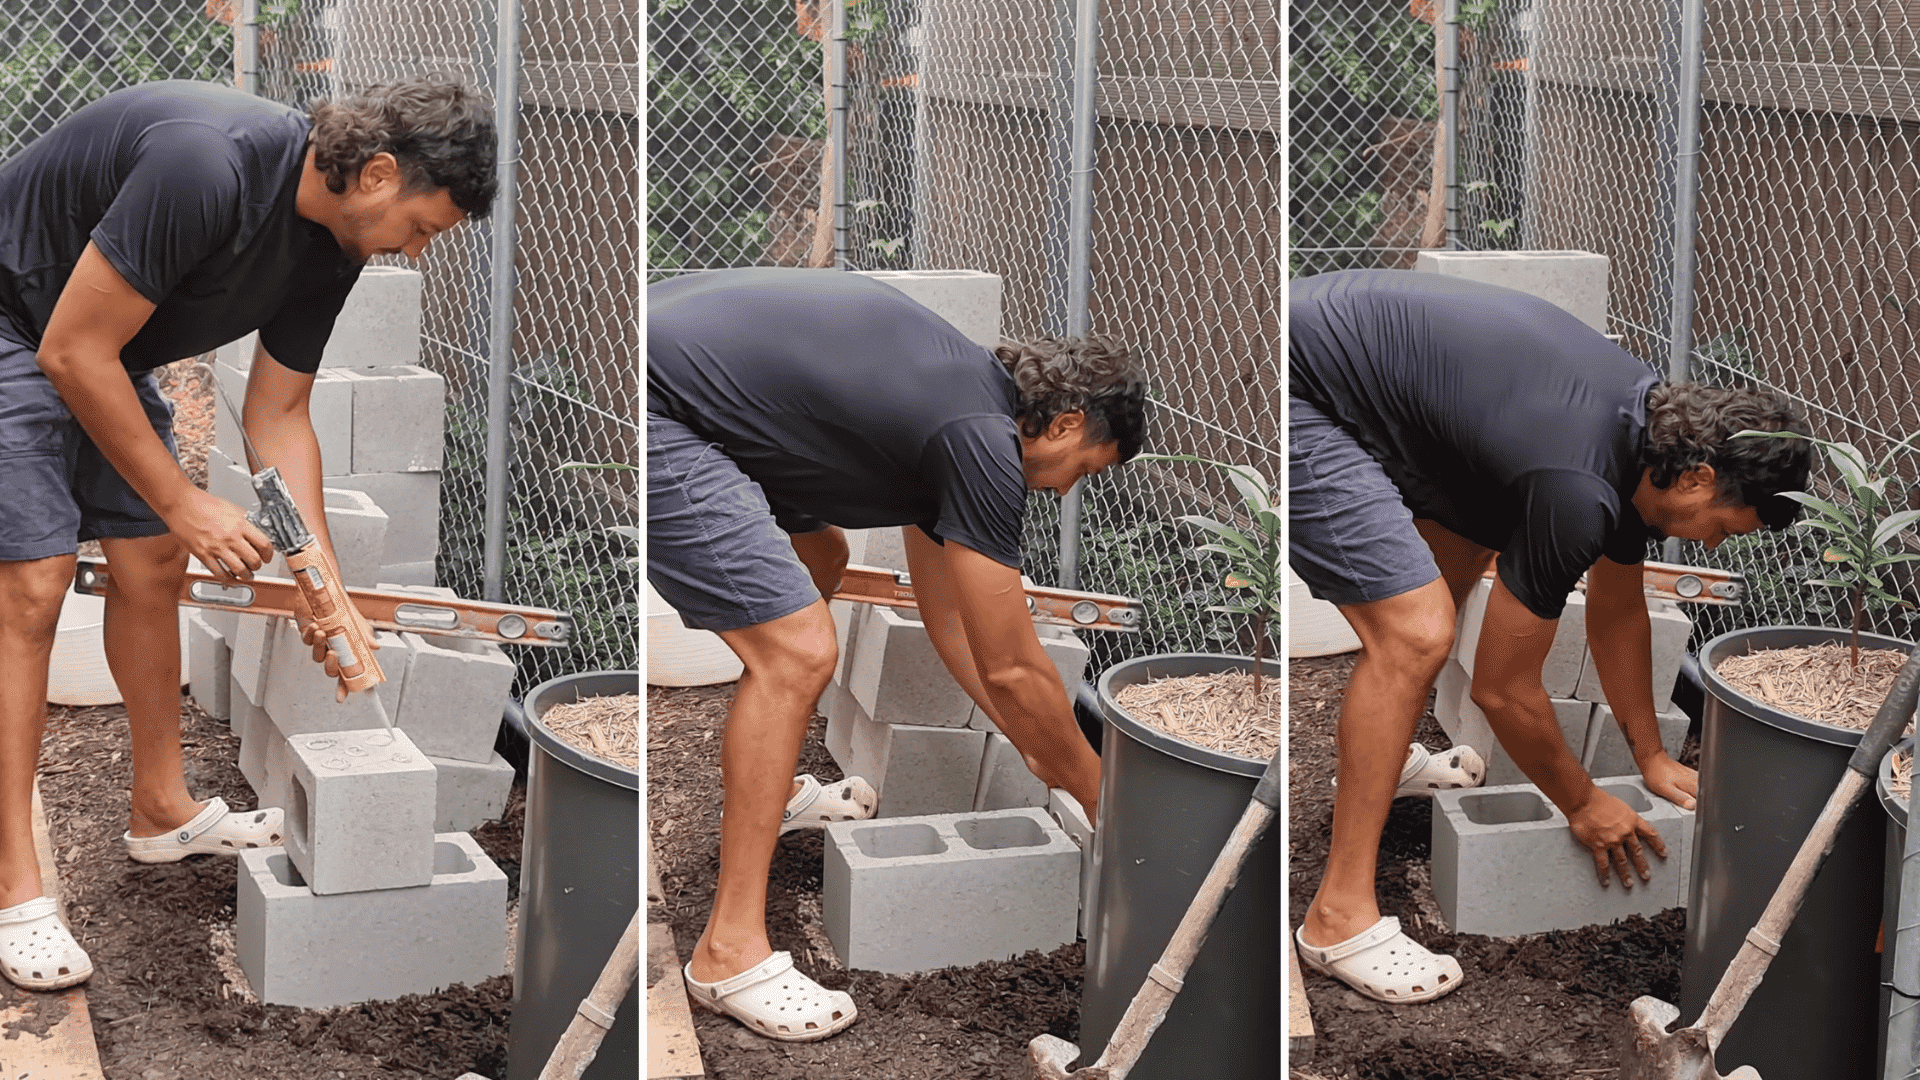
Step 4: Glue and Stack the Next Rows (Stagger Them for Strength)
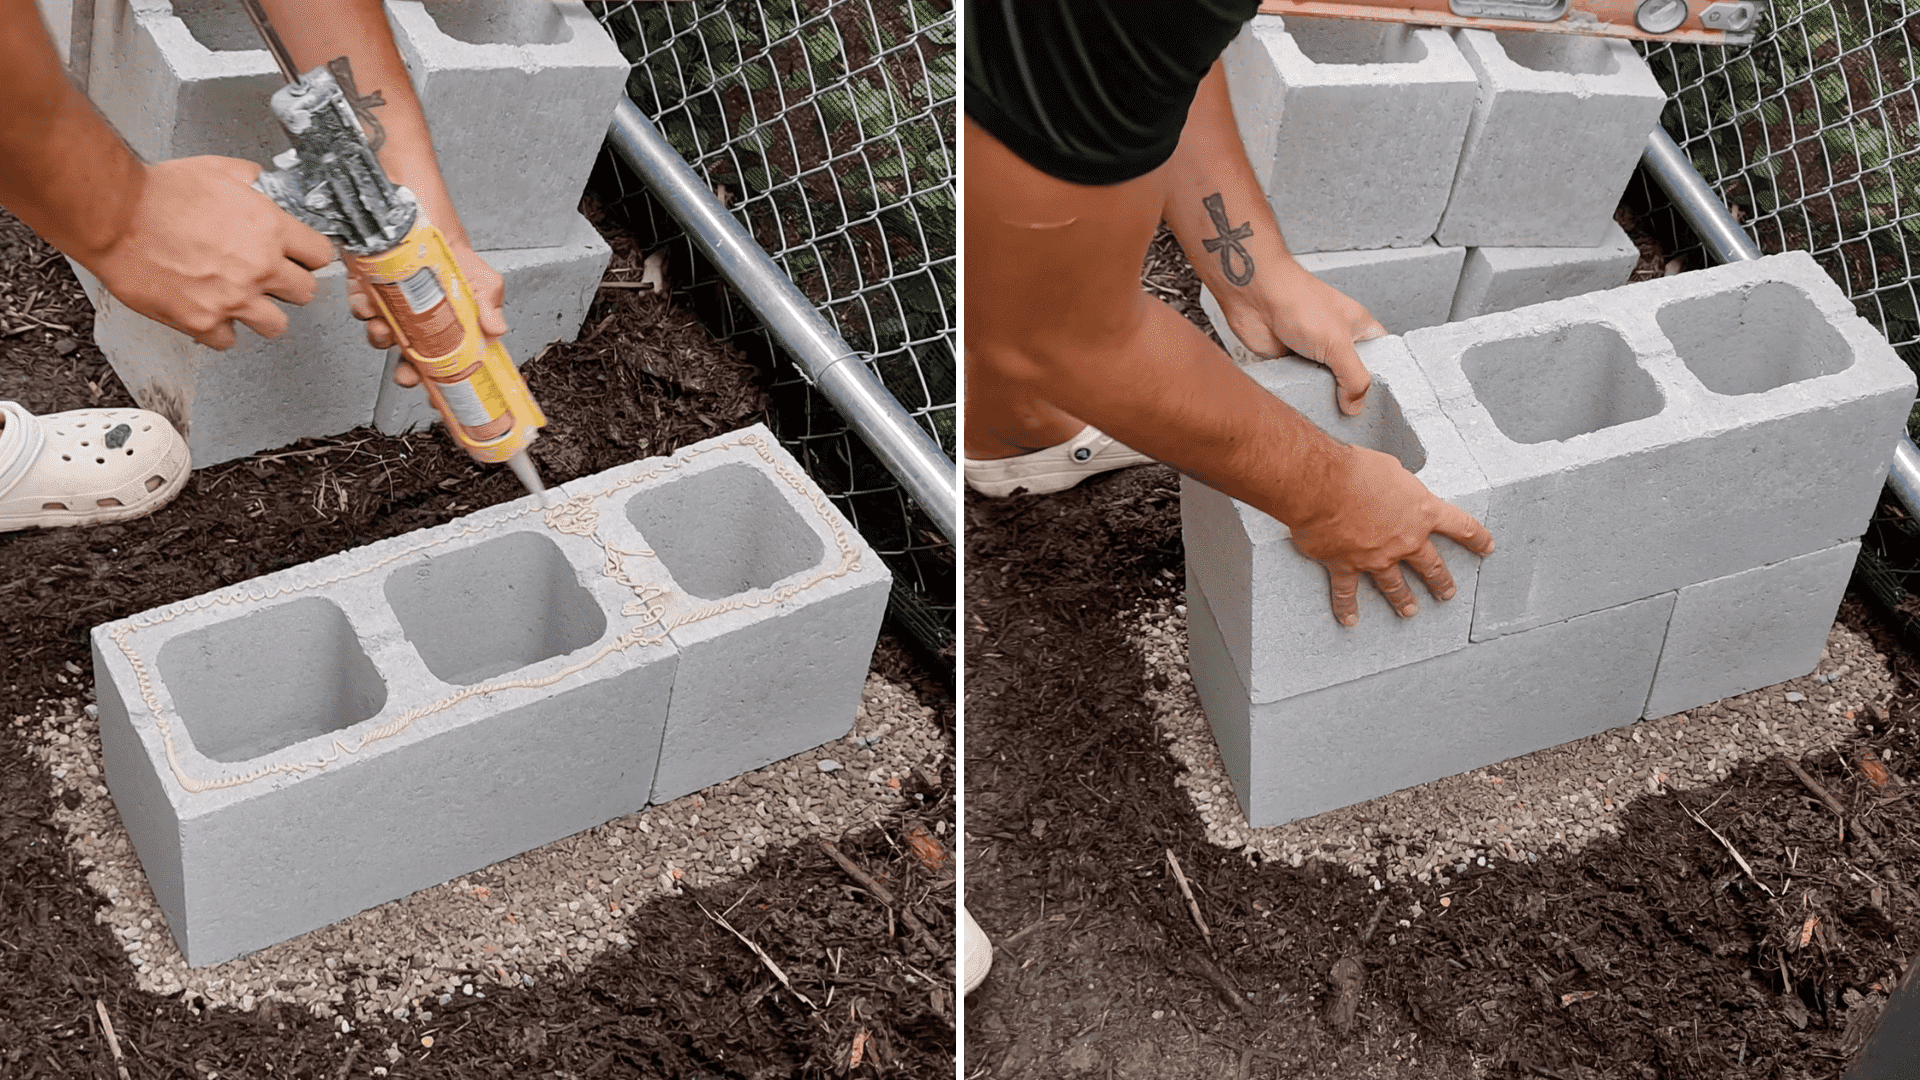
Now add glue around the top edge of the first row. Set your second row of blocks on top.
Here’s the key: stagger the blocks .
If the first row has the double block in front and the single in back, flip that for the second row. Then flip it again for the third. This pattern keeps the structure stable and helps spread the weight evenly.
Don’t forget to glue the sides where blocks meet. A little extra glue adds more strength.
Step 5: Build Up to the Height You Want
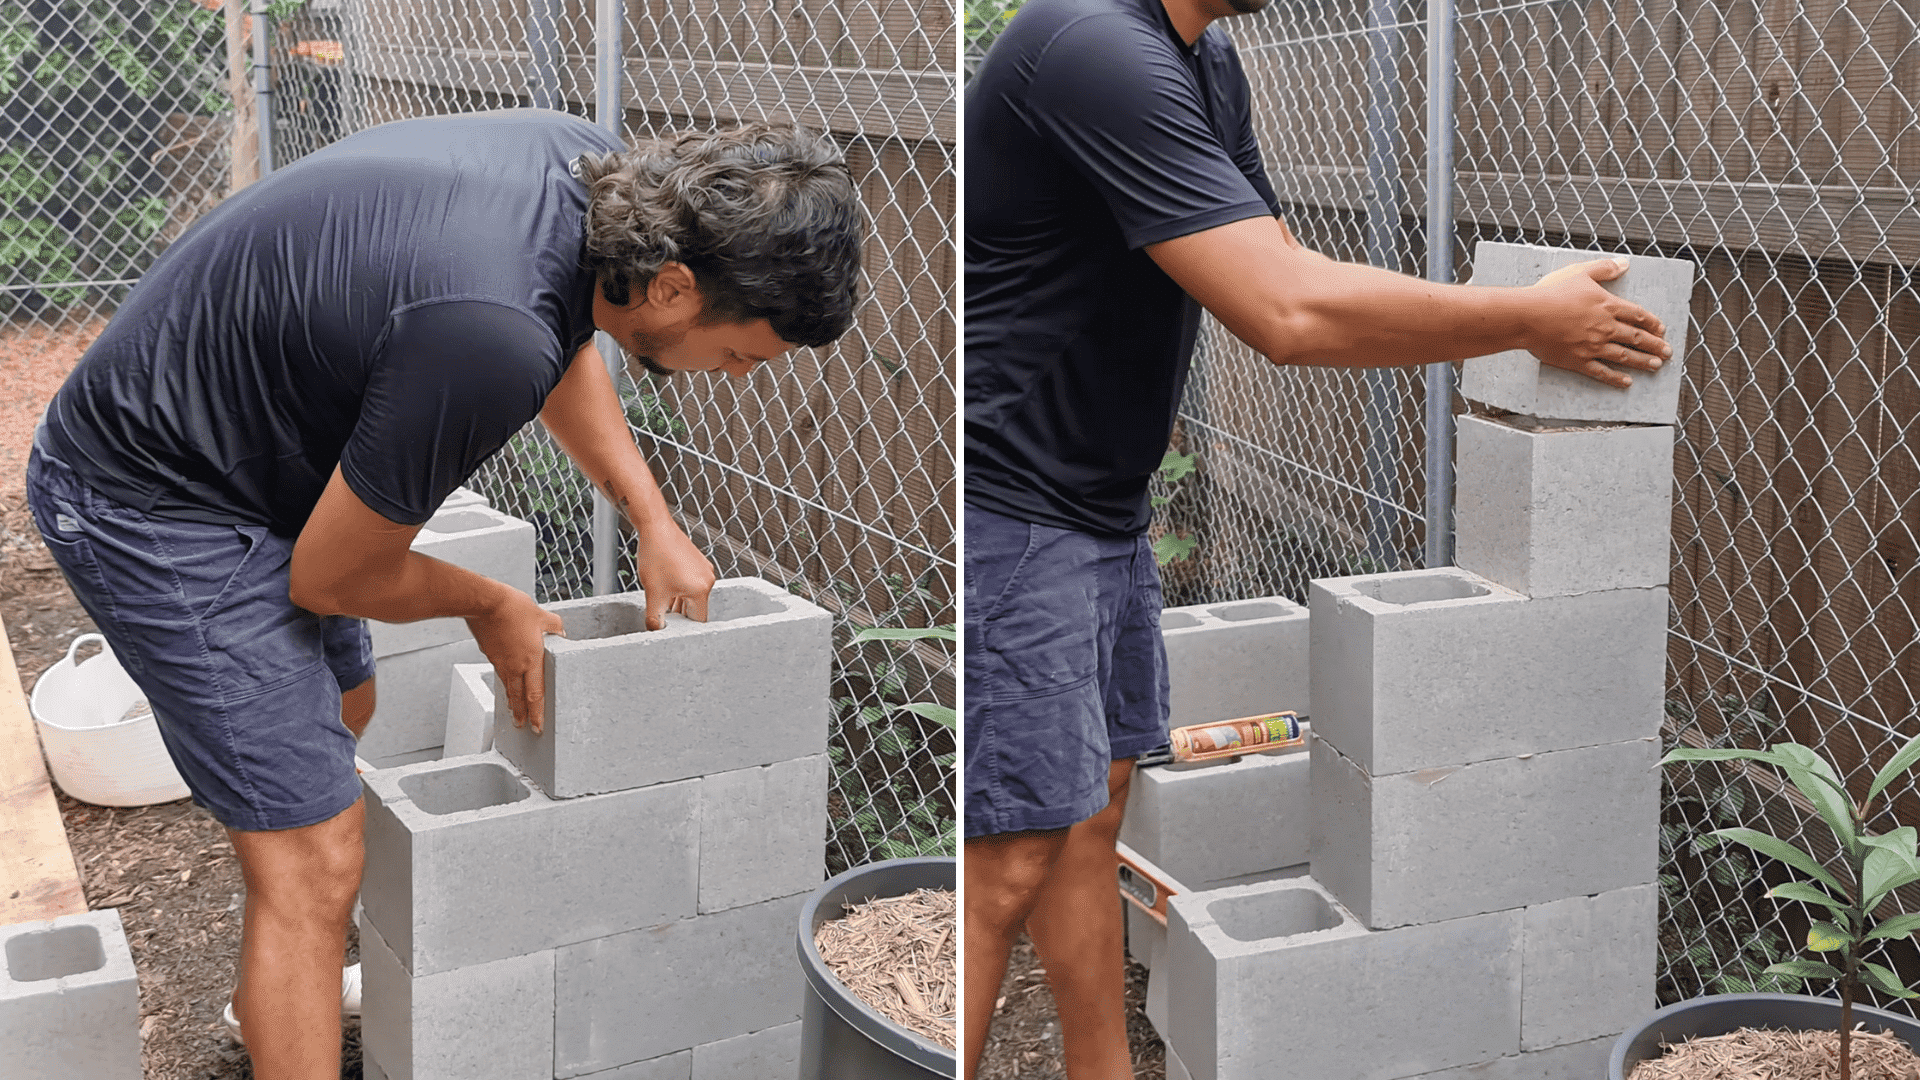
Decide how tall you want each tier to sit.
- First tier at knee height
- Second tier two blocks higher
- Third tier two more single blocks above that
Build your columns row by row until each side of the stand matches the height you want. Keep the stagger going. Keep the glue going.
If you’re taller or shorter, adjust the heights so the shelves sit comfortably for you.
Step 6: Place the Timber Planks on the Block Columns
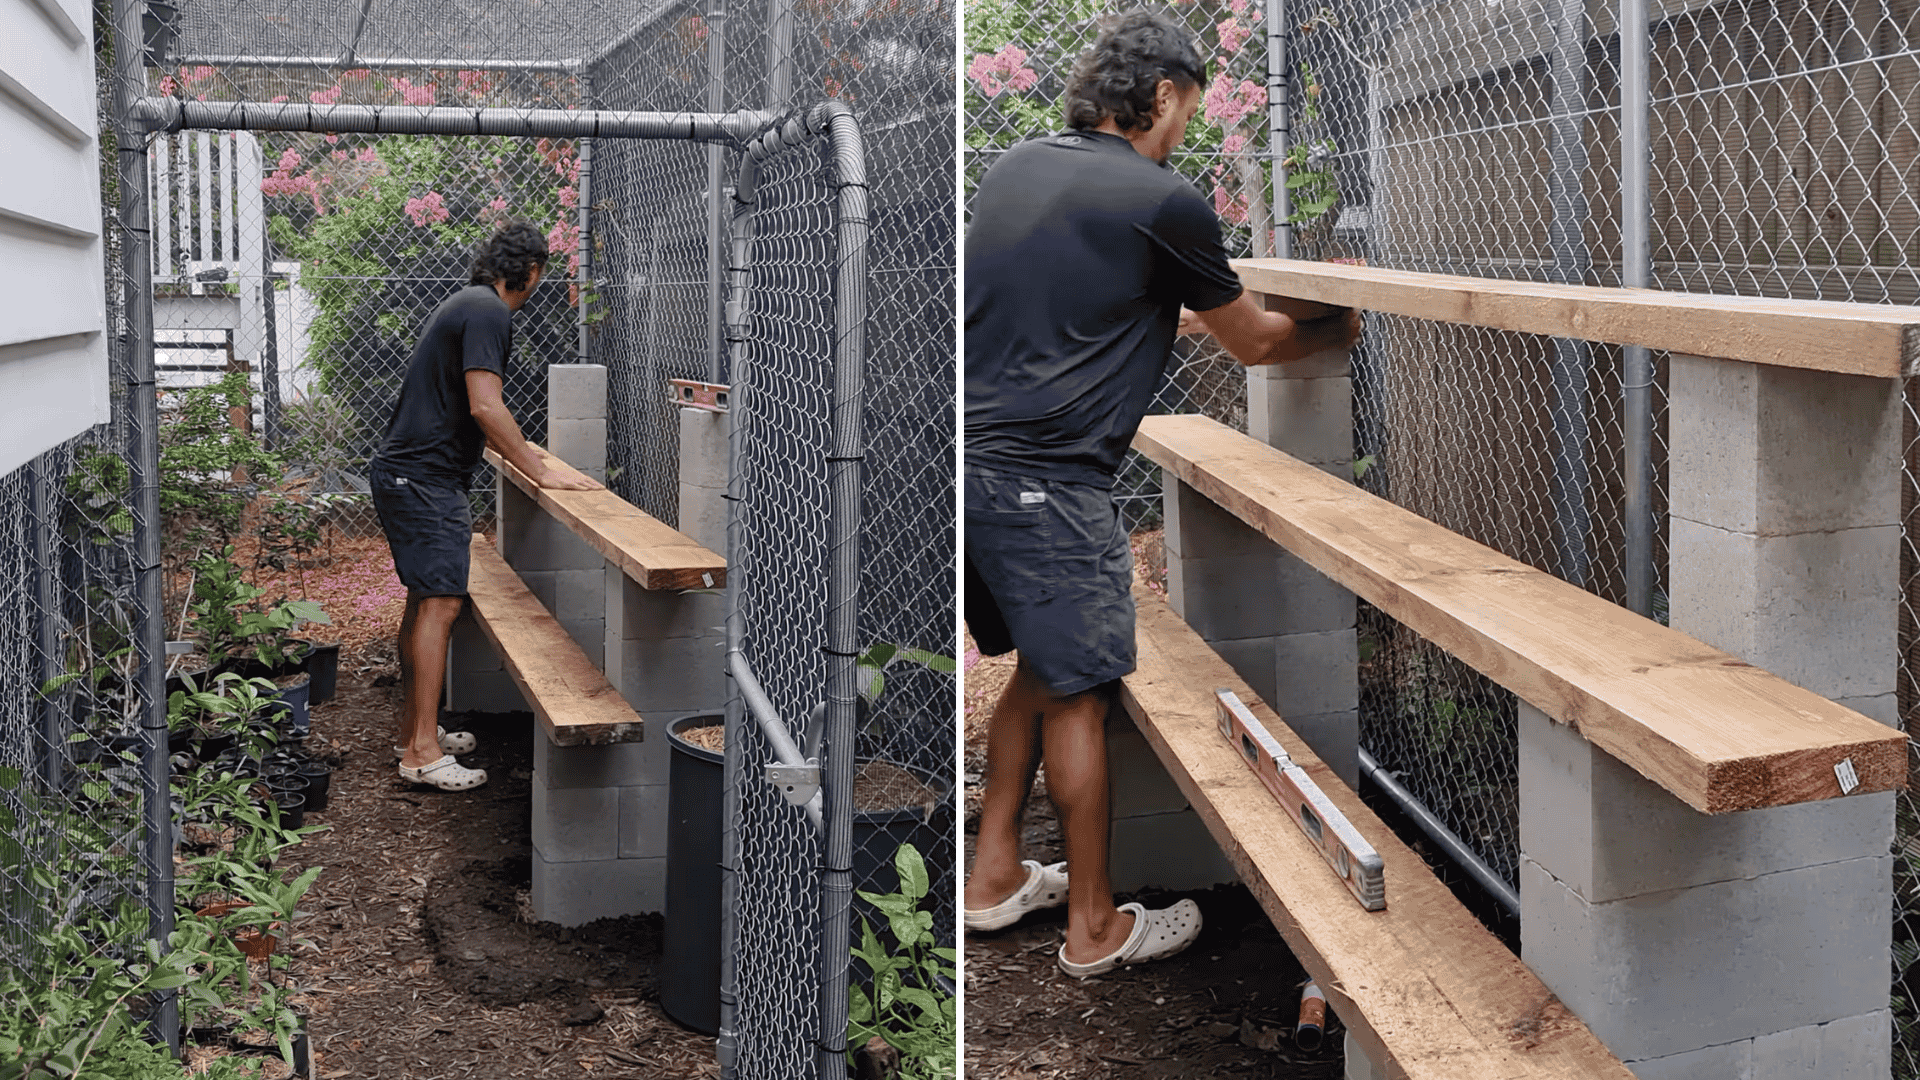
Once your block columns are finished and the glue has set, drop your timber planks across the rows.
The planks should be thick enough to handle the weight of fully watered pots. Test the balance. Sit on the boards if you want. If they can hold you, they can handle your plants.
You can leave the timber unglued if you want the ability to move or deconstruct the stand later. If the stand is staying put, glue the boards down to lock everything together and give it more wind resistance.
Step 7: Final Check
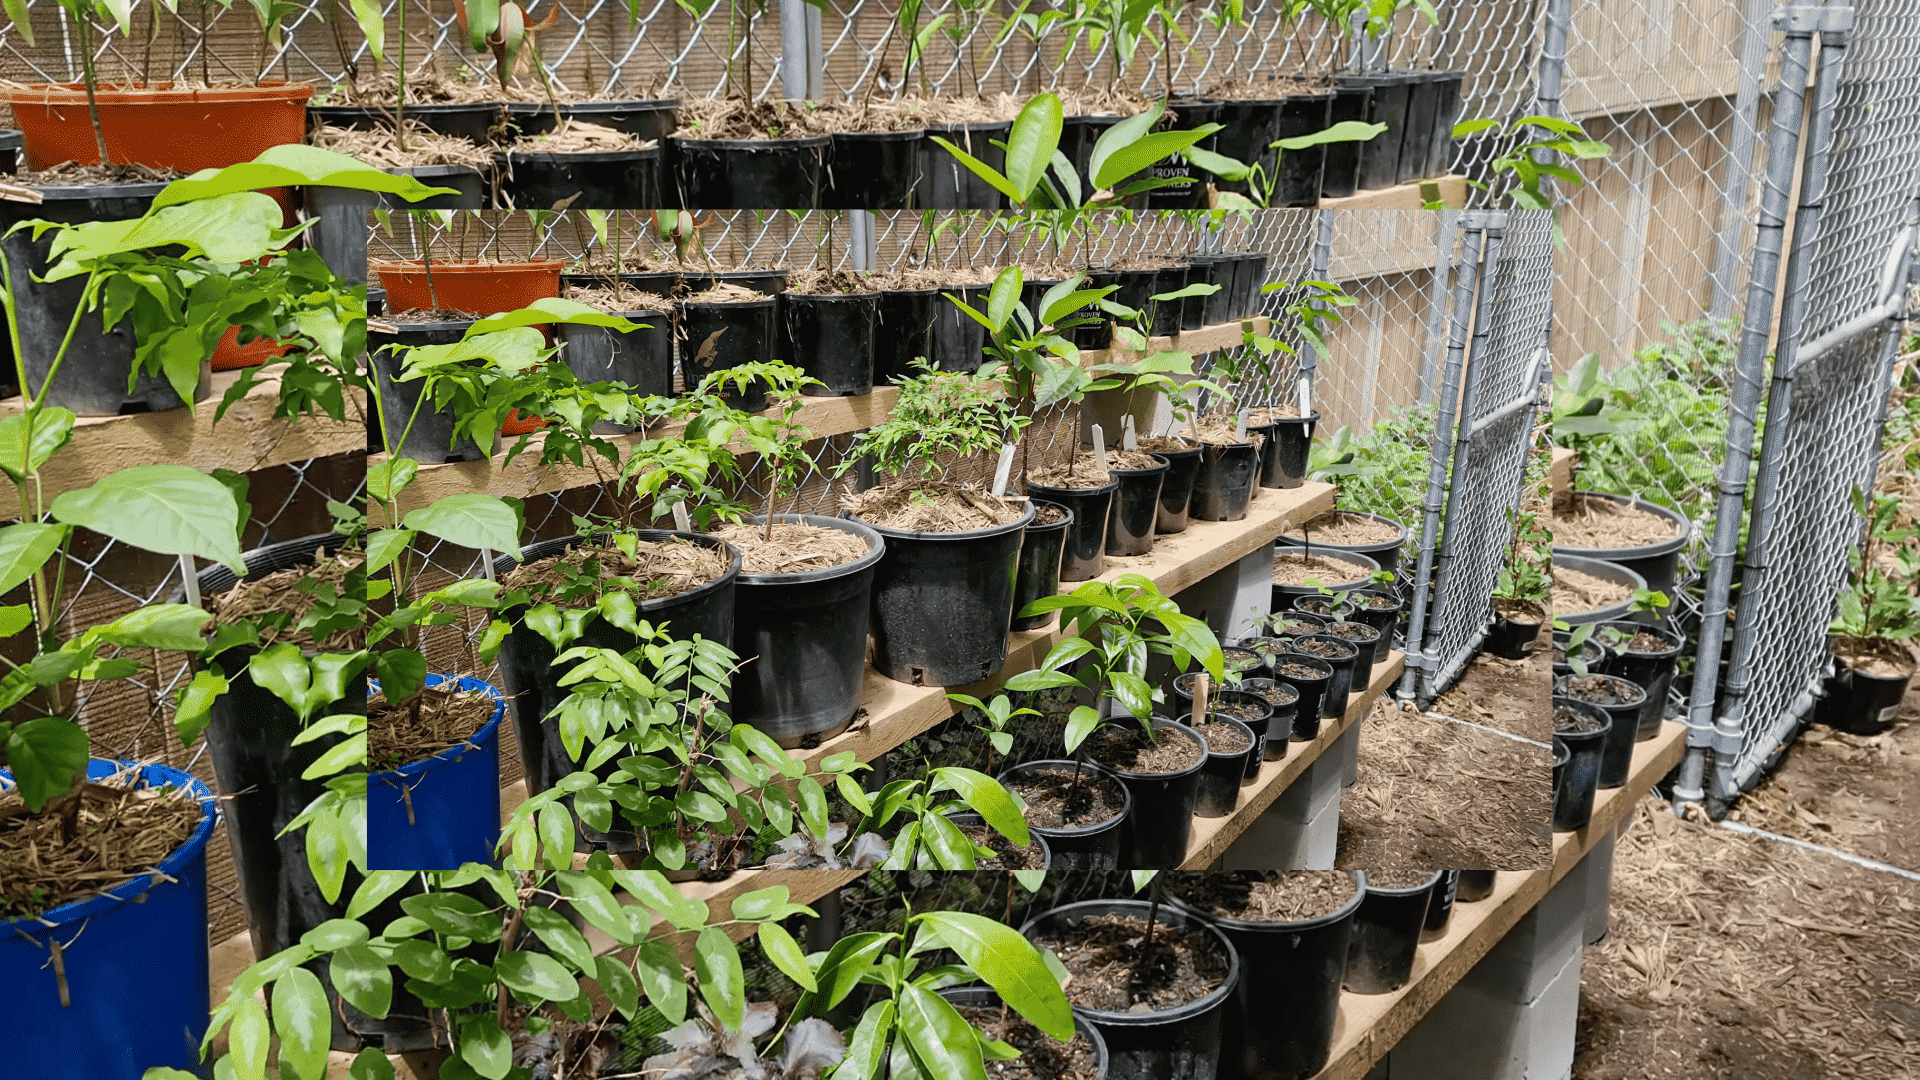
Look at the whole structure:
- Are the shelves level?
- Do the planks sit securely?
- Do the blocks feel tight with no wobble?
Once everything looks right, load up your plants. This build held 84 pots and didn’t budge.
If you want to see how this whole build comes together, here’s a walkthrough that shows every step in action:
Outdoor Durability: How To Weatherproof Your Plant Stand
The stand sits outside full-time, so you want it to handle rain, heat, and sun without falling apart. A few small steps keep the timber from rotting, stop mold from settling in, and protect the whole setup from UV fading.
Best Outdoor Finishes
This stand uses thick timber planks for the shelves, and they take the most weather damage. Sealing them early makes a big difference.
What works well:
- Exterior paint: Strong UV protection and easy to refresh, but it hides the wood grain.
- Exterior stain: Soaks into the wood and gives a natural look while fighting moisture.
- Outdoor oils: Good for deeper penetration into the wood, especially in hot or dry areas.
Whatever you choose, make sure it’s rated for outdoor use. Coat the tops, bottoms, and edges before setting the planks on the blocks.
How To Add Drainage for Outdoor Use
This stand doesn’t use screws or drilled boards, so drainage comes down to simple choices.
Here’s what to do:
- Leave a small gap between each plank so water can run through instead of pooling.
- If your planks are wide and sit tight together, tilt them slightly so water slides off.
- Make sure pots have drainage holes so the shelves don’t stay wet for long periods.
Good drainage keeps moisture from soaking into the timber and slows down rot.
How To Keep Plant Stands Stable in Wind
The block columns make this structure heavy, but strong winds can still shift loose pieces if the timber isn’t secured.
To keep it steady:
- Add construction glue between the timber and the top blocks if the stand will stay in one spot long-term.
- If you want the shelves removable, add grippy pads or weatherstripping between the timber and blocks to stop sliding.
- Make sure the gravel base is level and compacted so the blocks sit flat and don’t rock.
Once everything is bonded or weighted evenly, the stand handles wind without moving.
Troubleshooting & Common Beginner Mistakes
Even a simple block-and-timber stand can run into small problems if you rush the build. Here are some issues most beginners hit and the easiest way to fix each one:
| Issue | Why It Happens | How to Fix It |
|---|---|---|
| Gravel base not level | Gravel wasn’t flattened or compacted before the first row went down. | Remove blocks, re-level the gravel, compact it with your feet, and reset the bottom row until it sits flat with no rocking. |
| Blocks shifting or feeling loose | Not enough construction glue or glue only applied on the bottom, not the sides. | Use exterior-grade glue, add beads or circles on both bottom and side faces, press blocks together firmly. |
| Shelves sitting unevenly | Columns aren’t stacked to the same height or the stagger pattern was skipped. | Count rows on each side, follow the same block order, check height as you build. |
| Stand feels wobbly when loaded | Base isn’t compacted enough or the glue bond is weak. | Re-check the base row, add glue where needed, and glue the timber planks if you want full stability. |
| Timber warping or finish wearing down | Wood wasn’t sealed or the finish isn’t rated for outdoor use. | Use exterior-grade sealant or stain, apply before placing shelves, and recoat yearly if exposed to heavy weather. |
If you keep an eye on these spots while you build, the whole stand comes together smoother and holds steady once the plants go on. Just simple checks that save you a lot of hassle later.
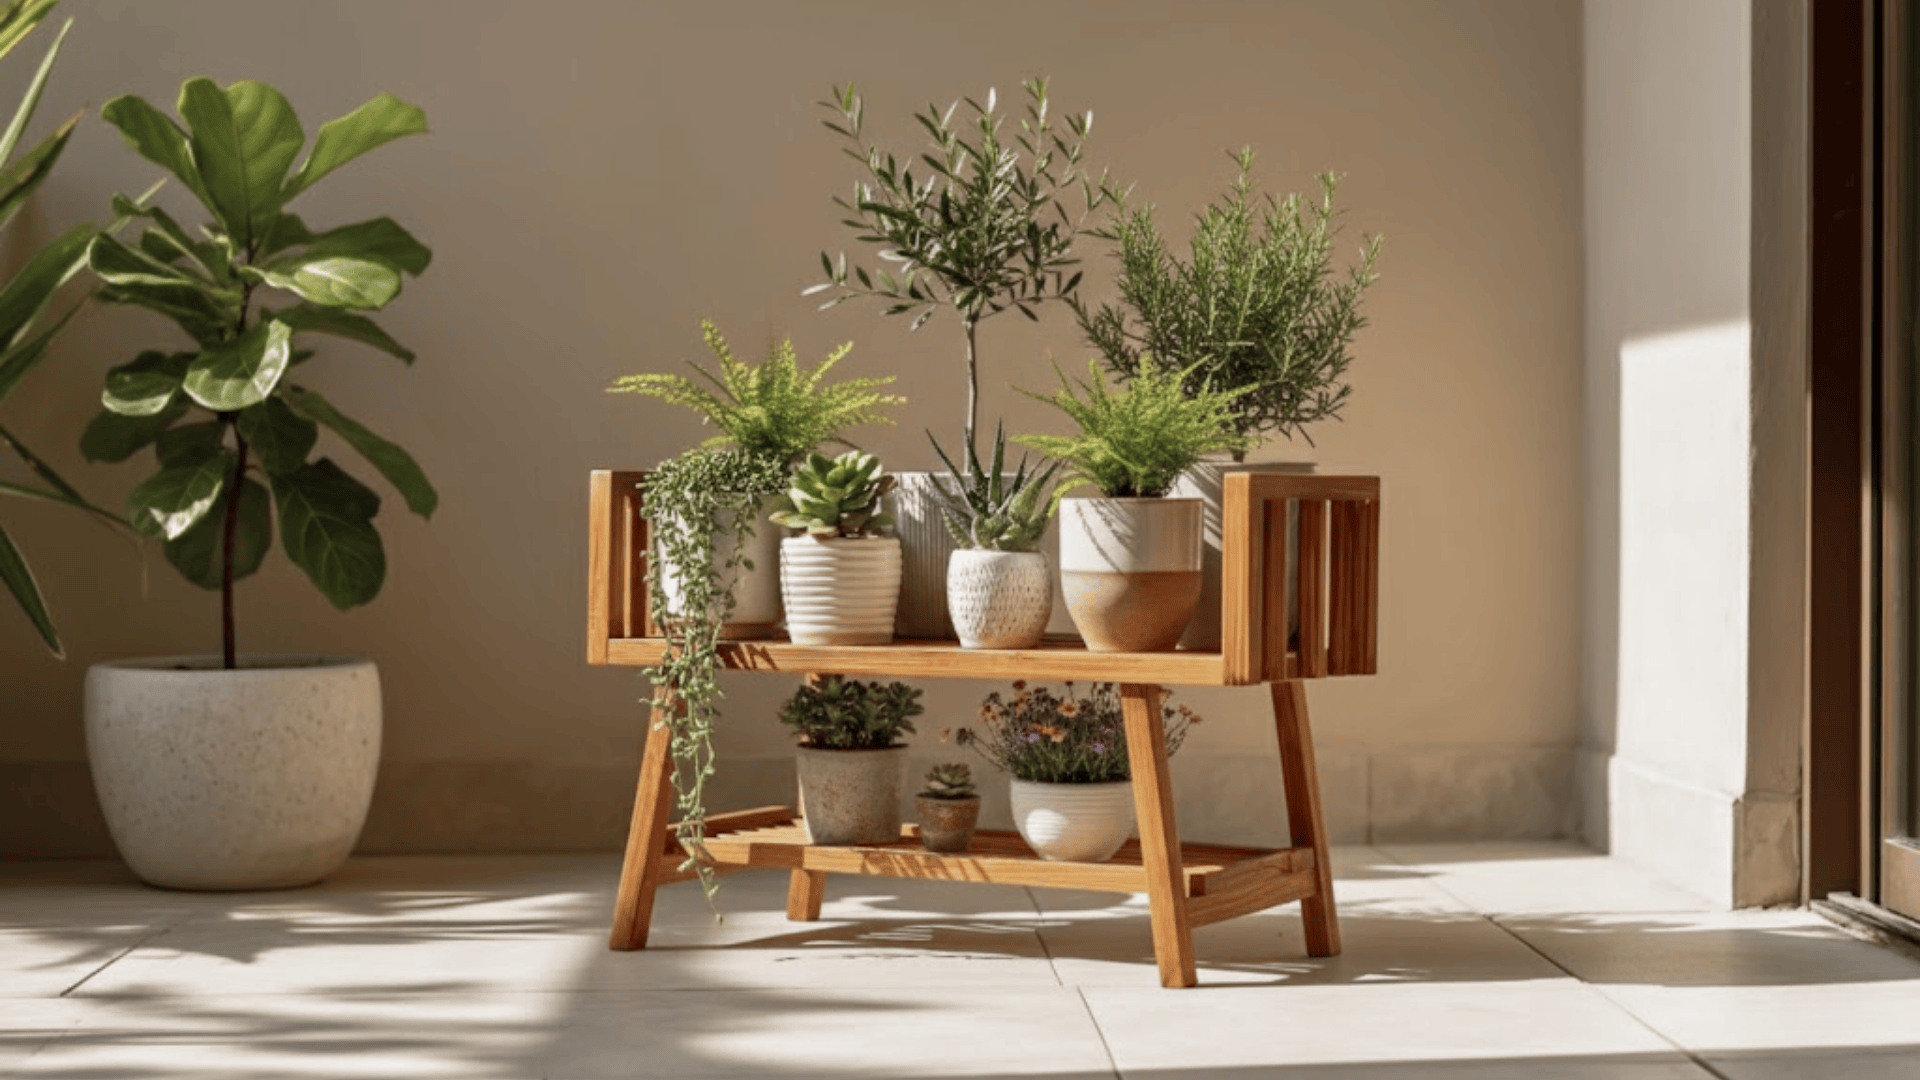
Popular Outdoor Plant Shelf Ideas
There are a lot of ways to build an outdoor plant stand, and each one fits a different situation. A good choice usually comes down to the space you have, the tools you’re comfortable with, the style you like, and the type of plants you’re planning to grow. Once you sort those pieces out, everything feels a lot easier.
1. Ladder Plant Stands
Ladder stands work well when you need height more than width. They give you multiple levels without taking over the whole area, which makes them great for small patios or balconies. You just have to measure carefully so the frame leans evenly and doesn’t rock.
- Pros: saves space, holds more plants than it looks like it should, easy to move.
- Cons: can feel unstable if the legs aren’t trimmed correctly.
- Difficulty: beginner to intermediate.
2. A-Frame Folding Stands
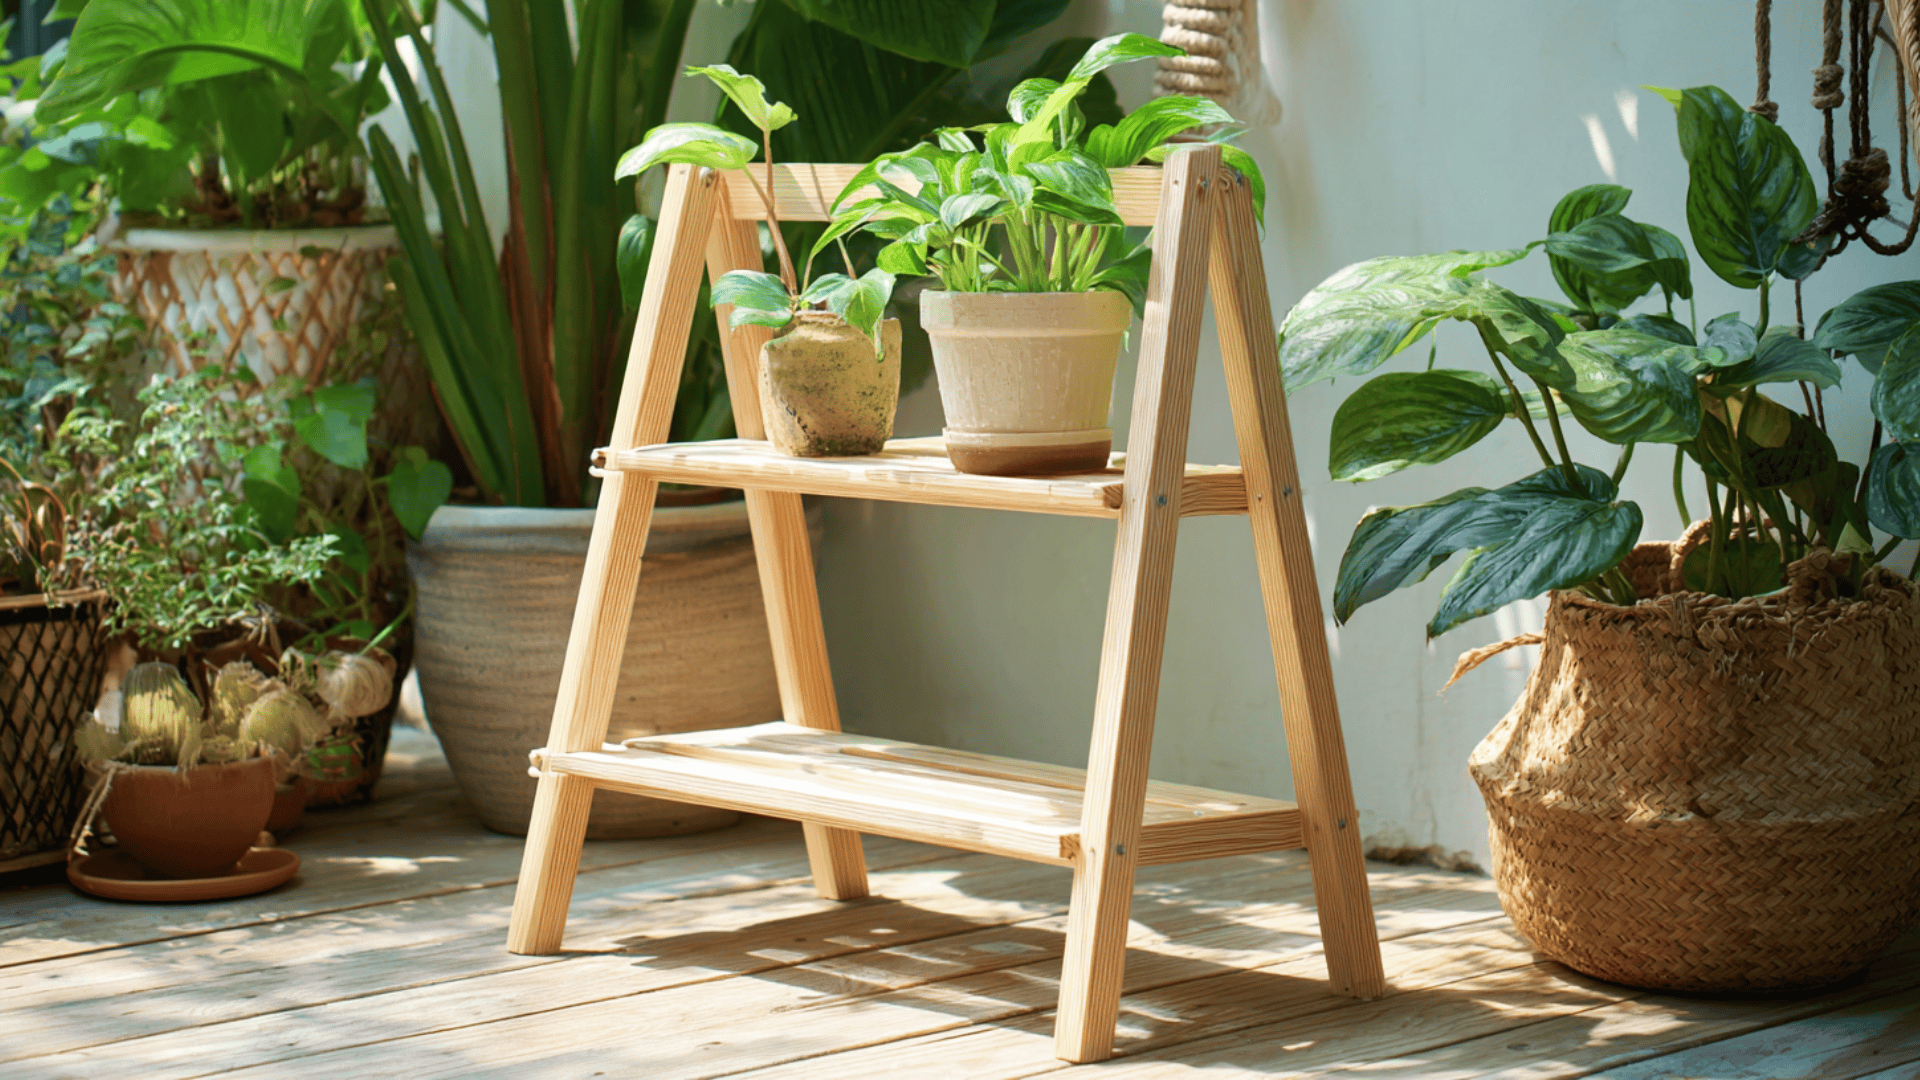
A-frame stands offer a mix of simplicity and convenience. They’re light enough to move around and easy to store when you’re not using them. This makes them useful for renters or anyone who likes to rearrange their outdoor setup from time to time.
- Pros: portable, compact, quick to build.
- Cons: not ideal for heavy ceramic pots or large containers.
- Difficulty: beginner-friendly.
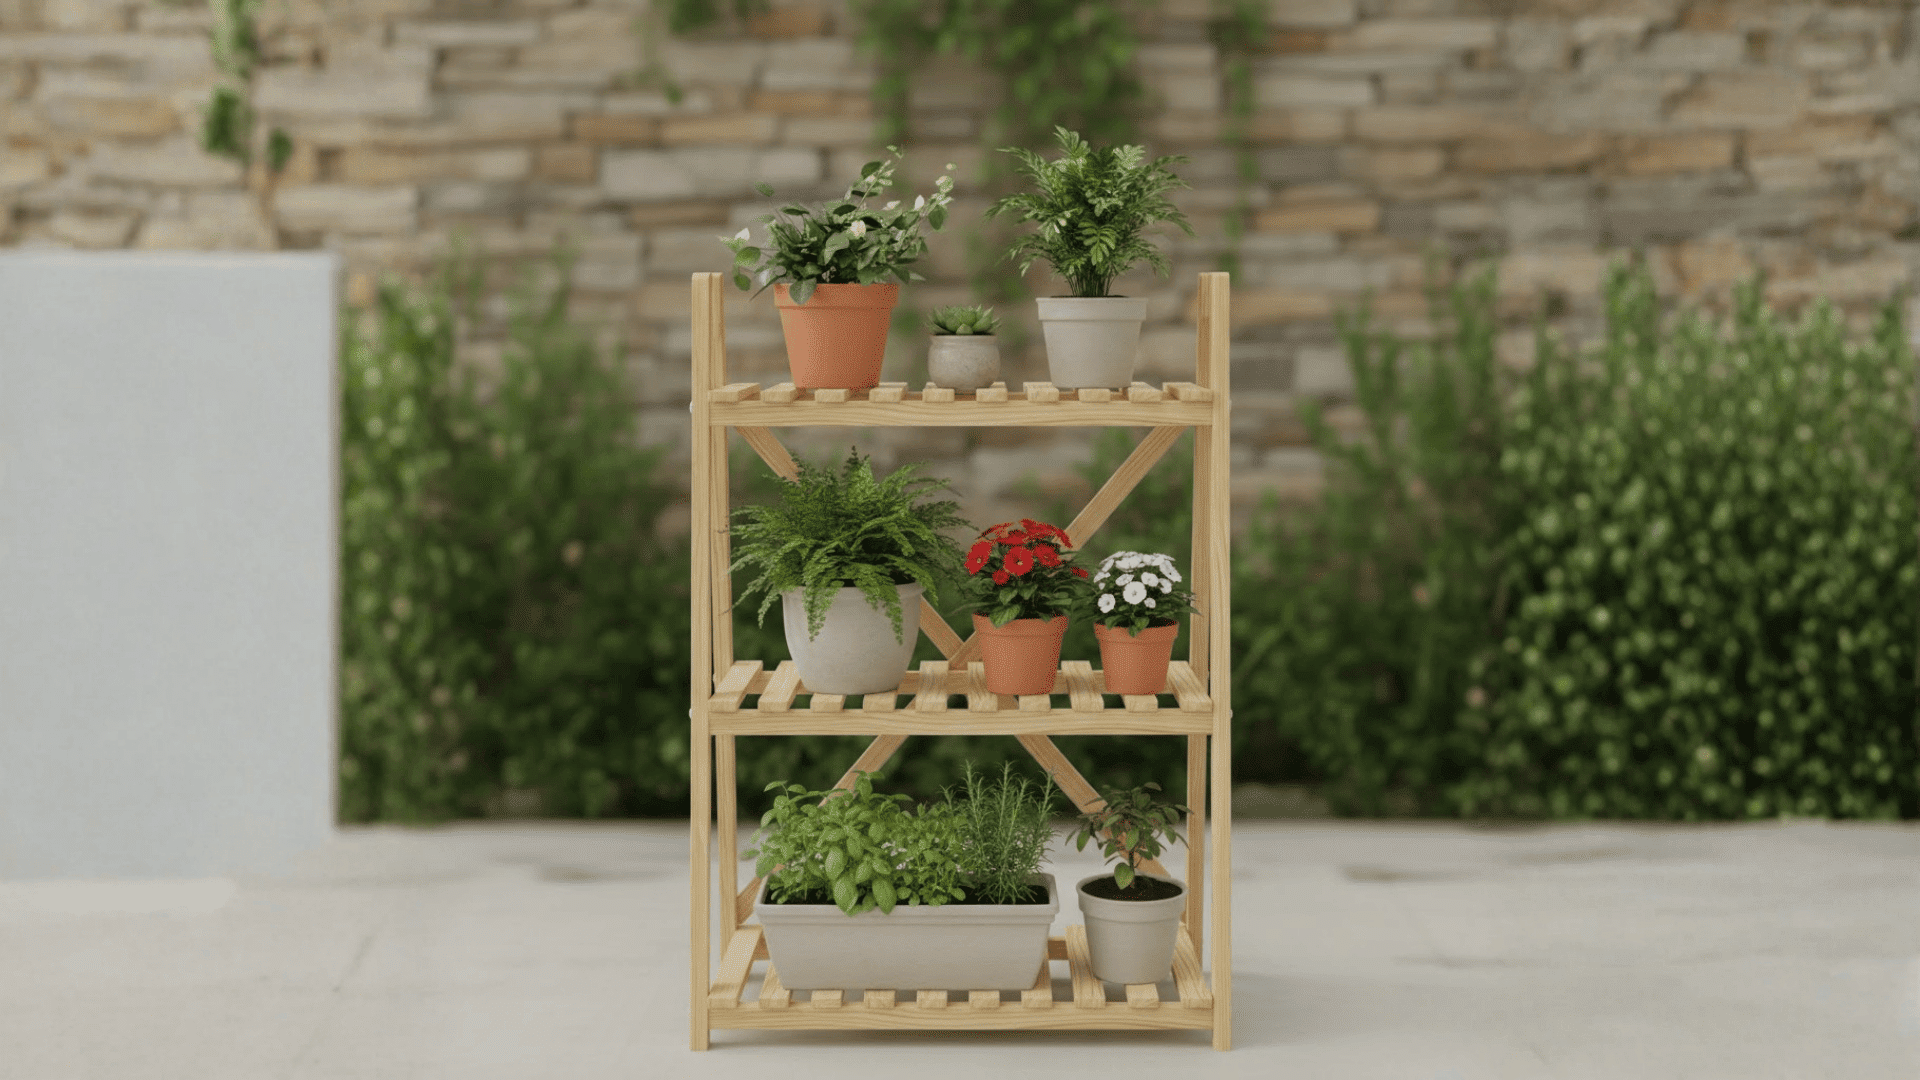
3. Tiered Wooden Stands
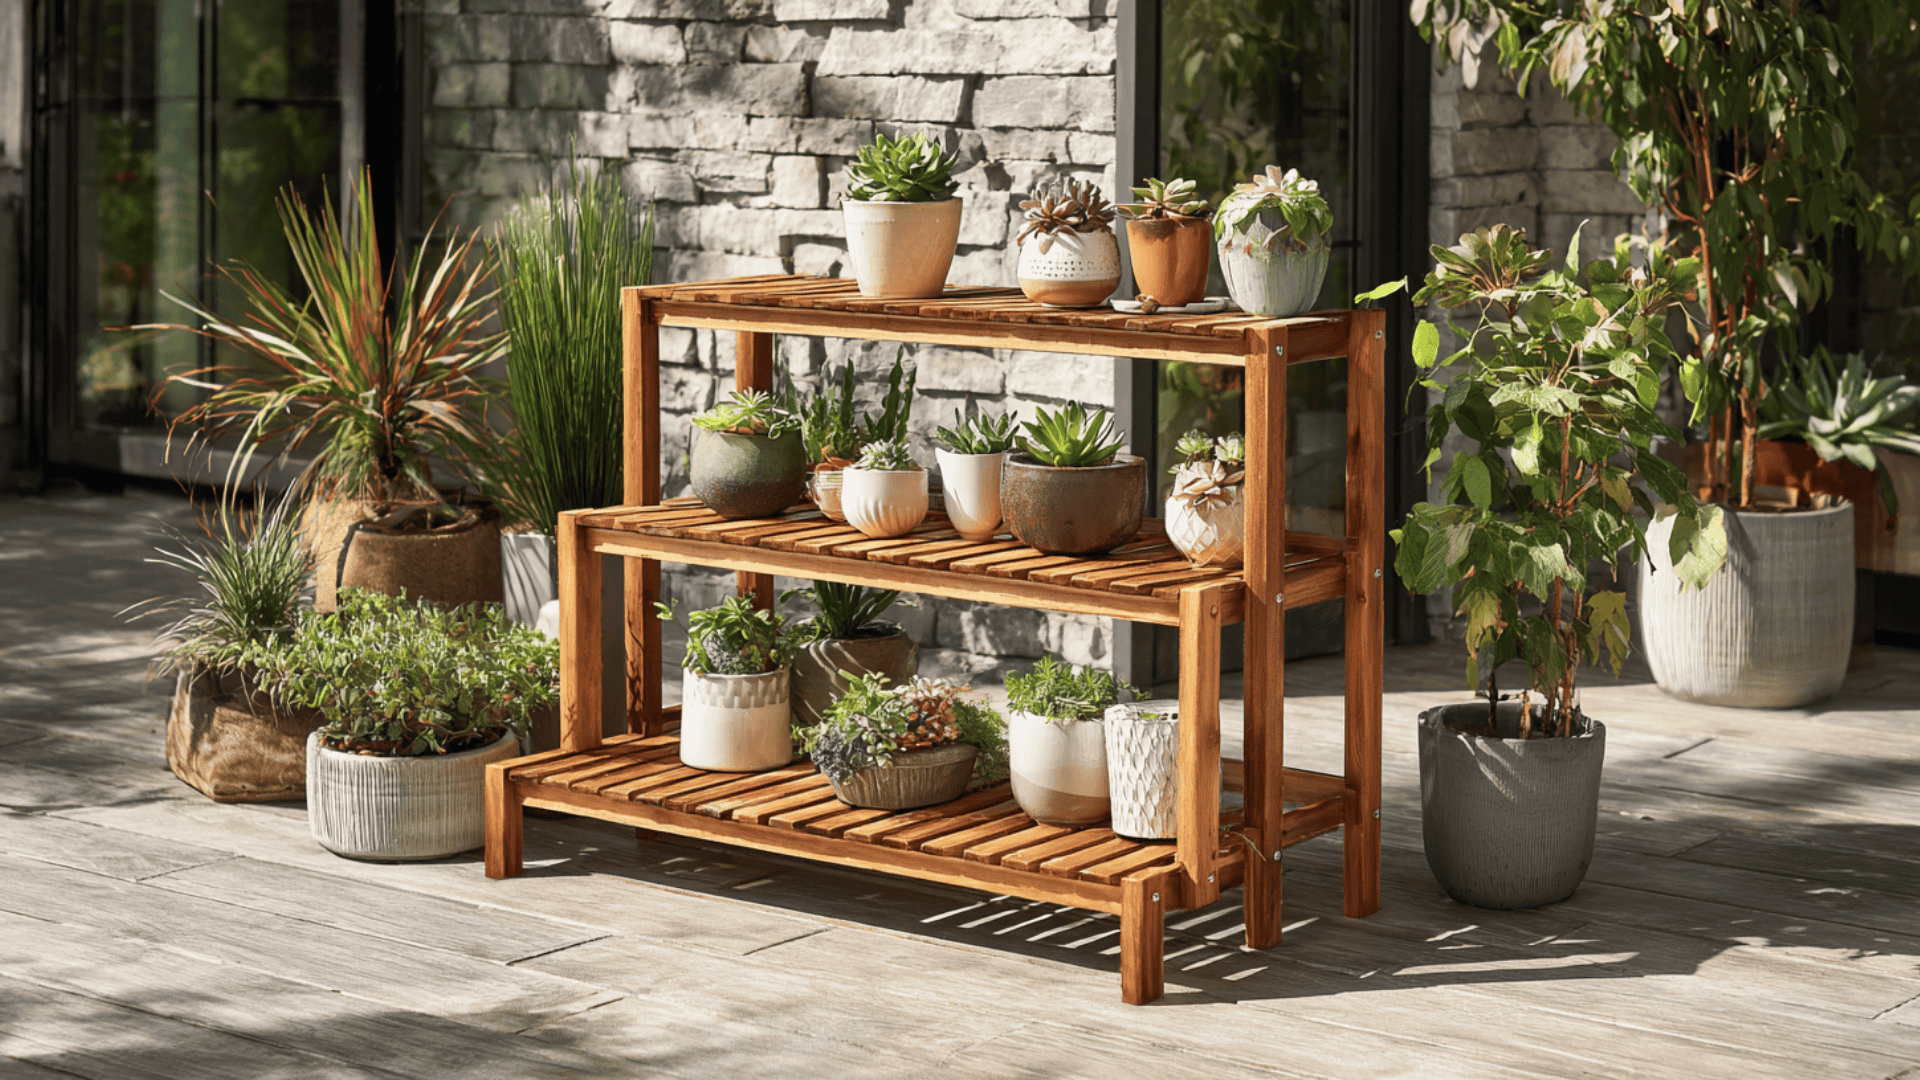
Tiered stands give you structured levels and a stable base. You can go with two tiers, three tiers, or build something that looks more like a staircase. These designs create a bigger display without spreading too far across the ground.
- Pros: solid, customizable, works well for a wide mix of plant sizes.
- Cons: needs more planning and cutting than smaller builds.
- Difficulty: beginner to intermediate.
4. Pallet Plant Stands
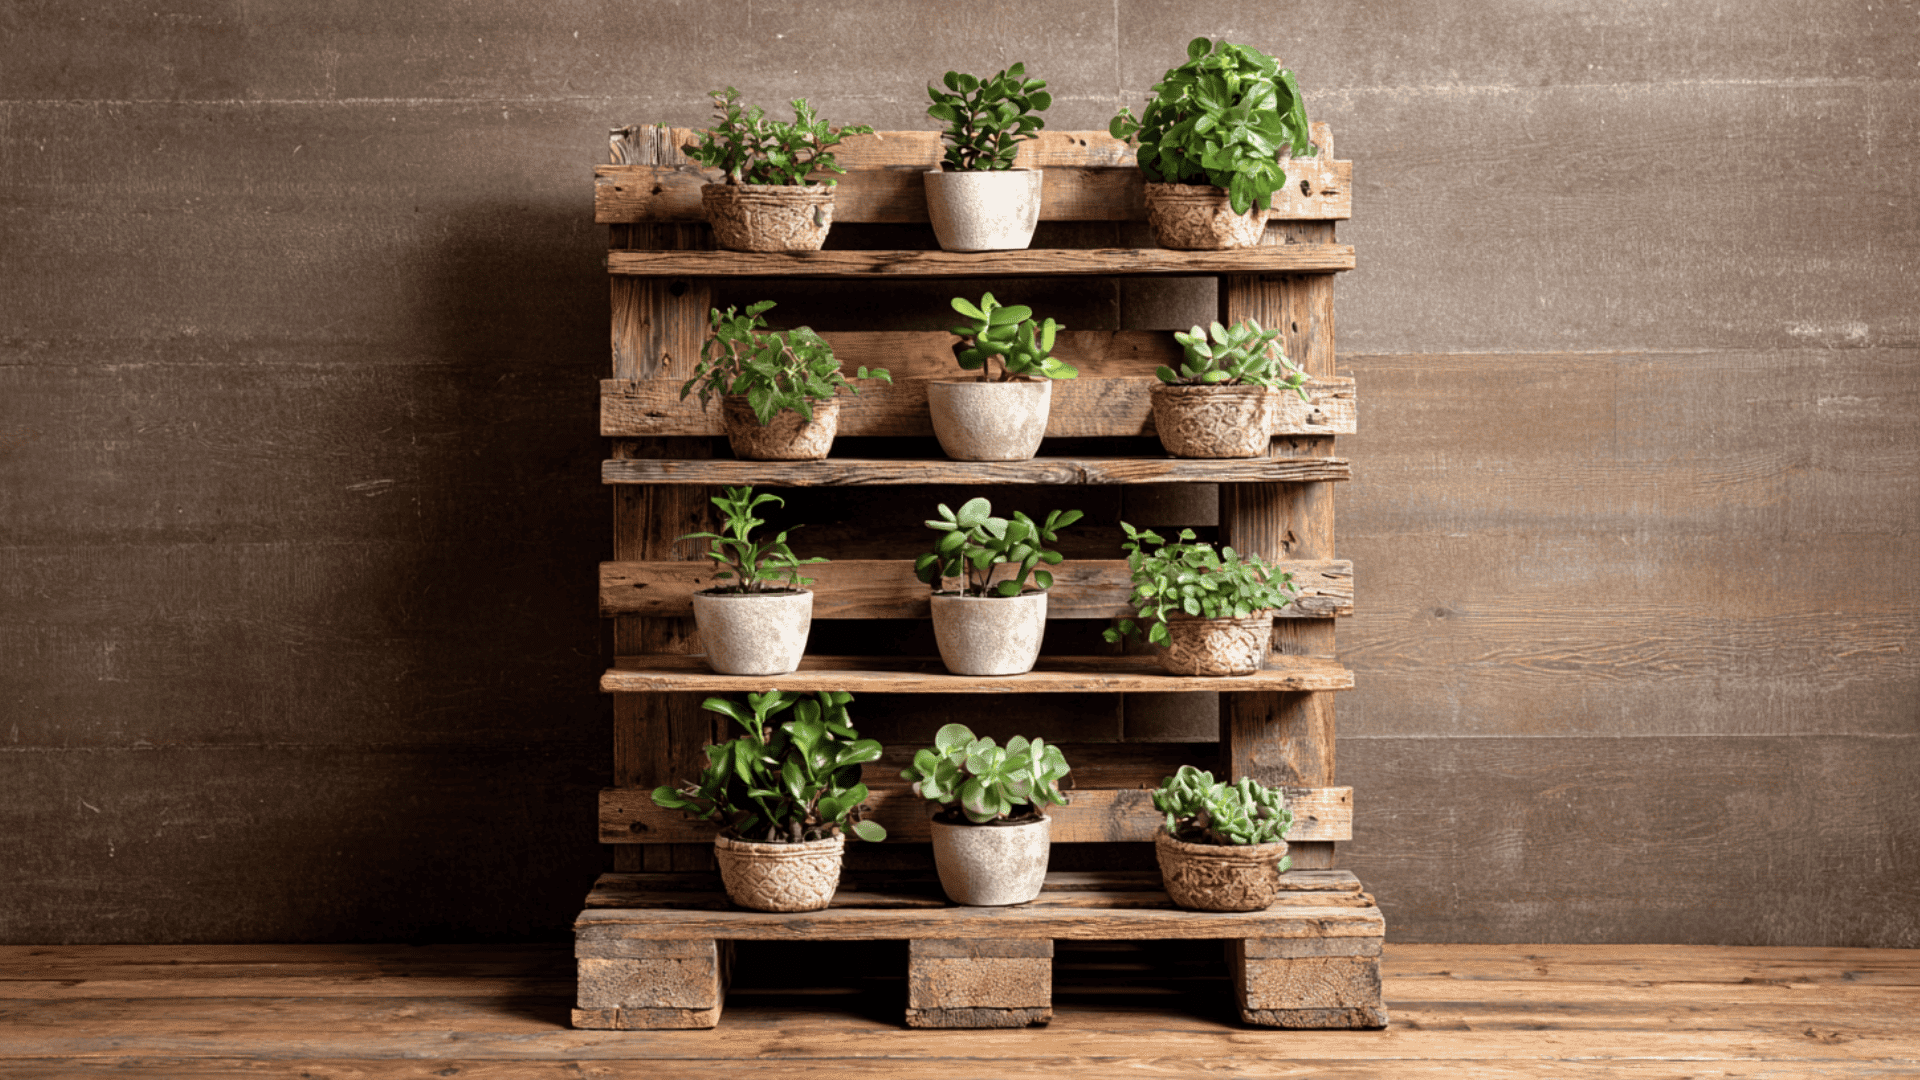
Pallet stands are popular because they’re cheap and surprisingly versatile. Most pallets need sanding, and some require repairs, but once you prep the wood, you get a rustic stand that fits almost any outdoor space.
- Pros: low cost, easy to find, natural weathered look.
- Cons: inconsistent wood quality, extra prep time for sanding and sealing.
- Difficulty: beginner-friendly.
5. Crate and Box Stands
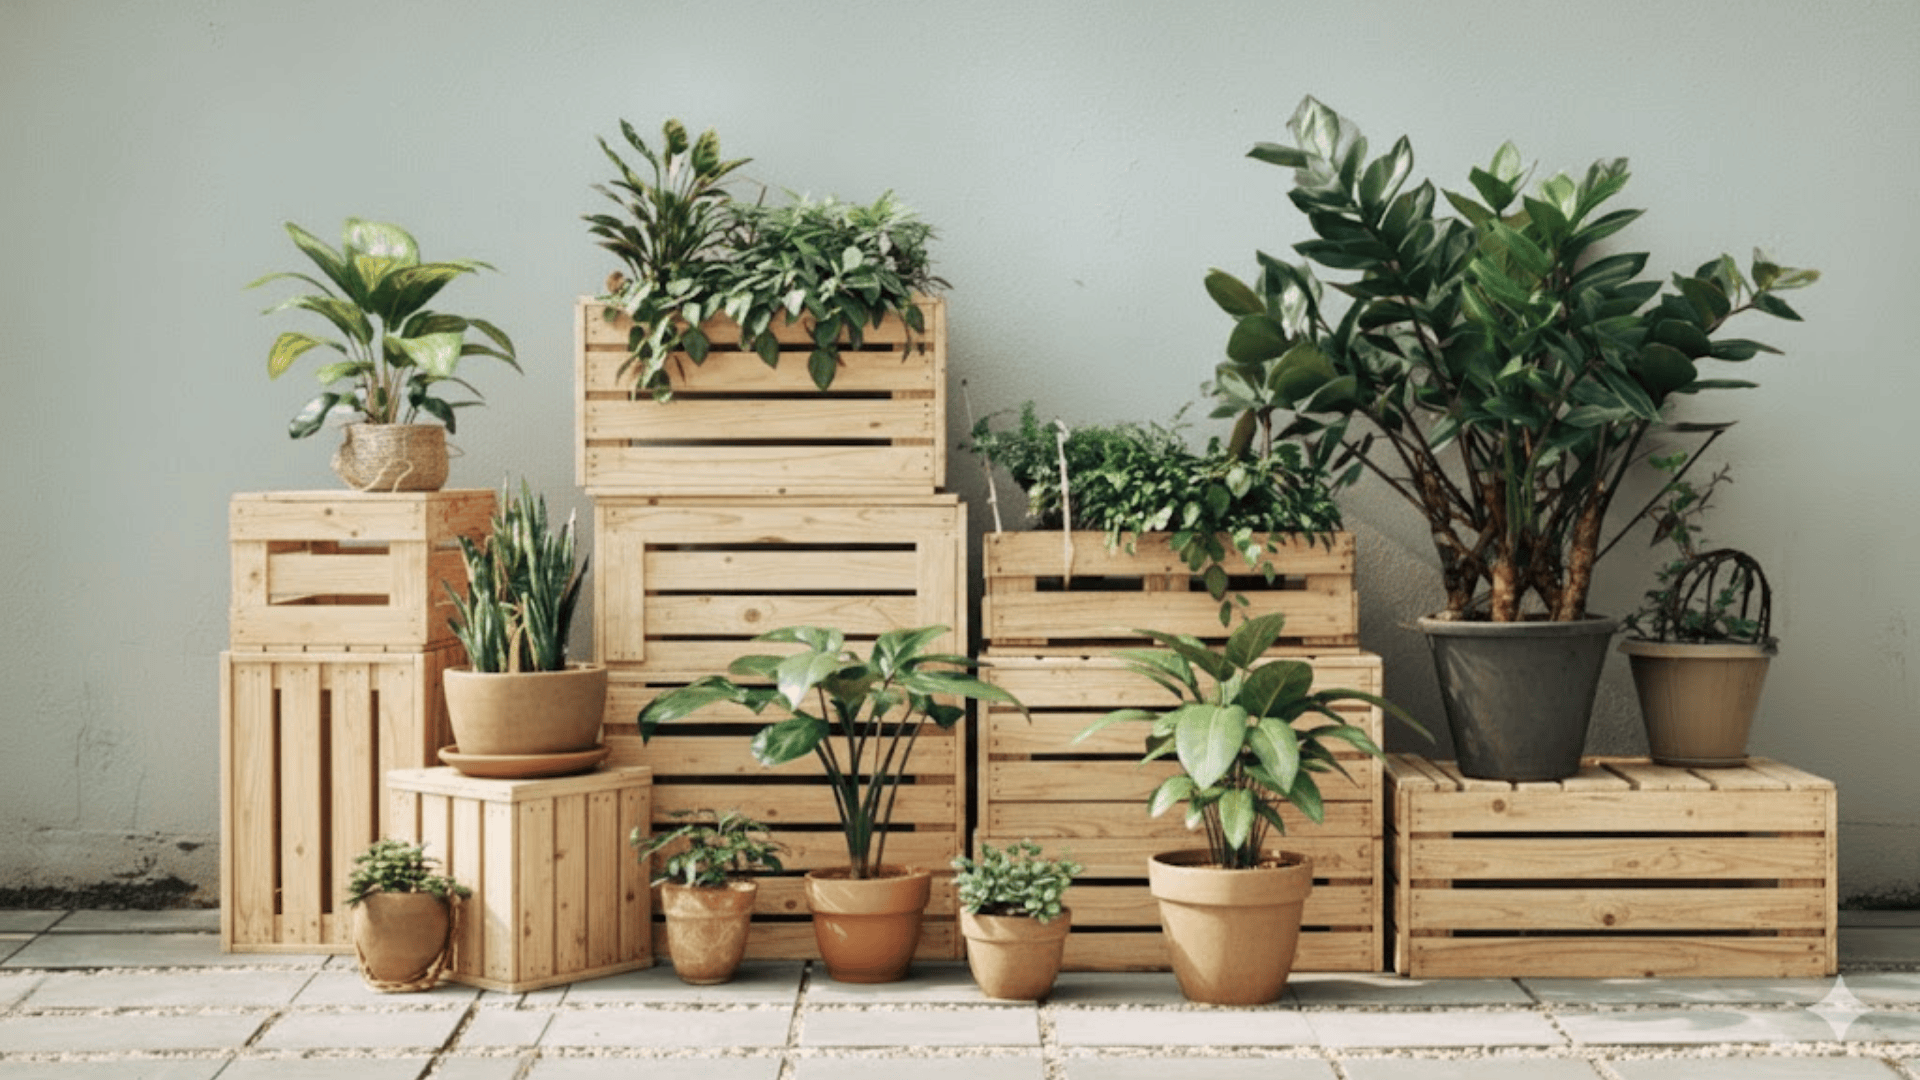
Crates are great when you want something modular without a lot of tool work. You can stack them, flip them in different directions, or screw them together for more stability. They bring a nice rustic feel without adding much weight.
- Pros: simple, affordable, flexible layouts.
- Cons: not the strongest choice for large or heavy plants.
- Difficulty: beginner.
6. Tire and Upcycled Material Stands
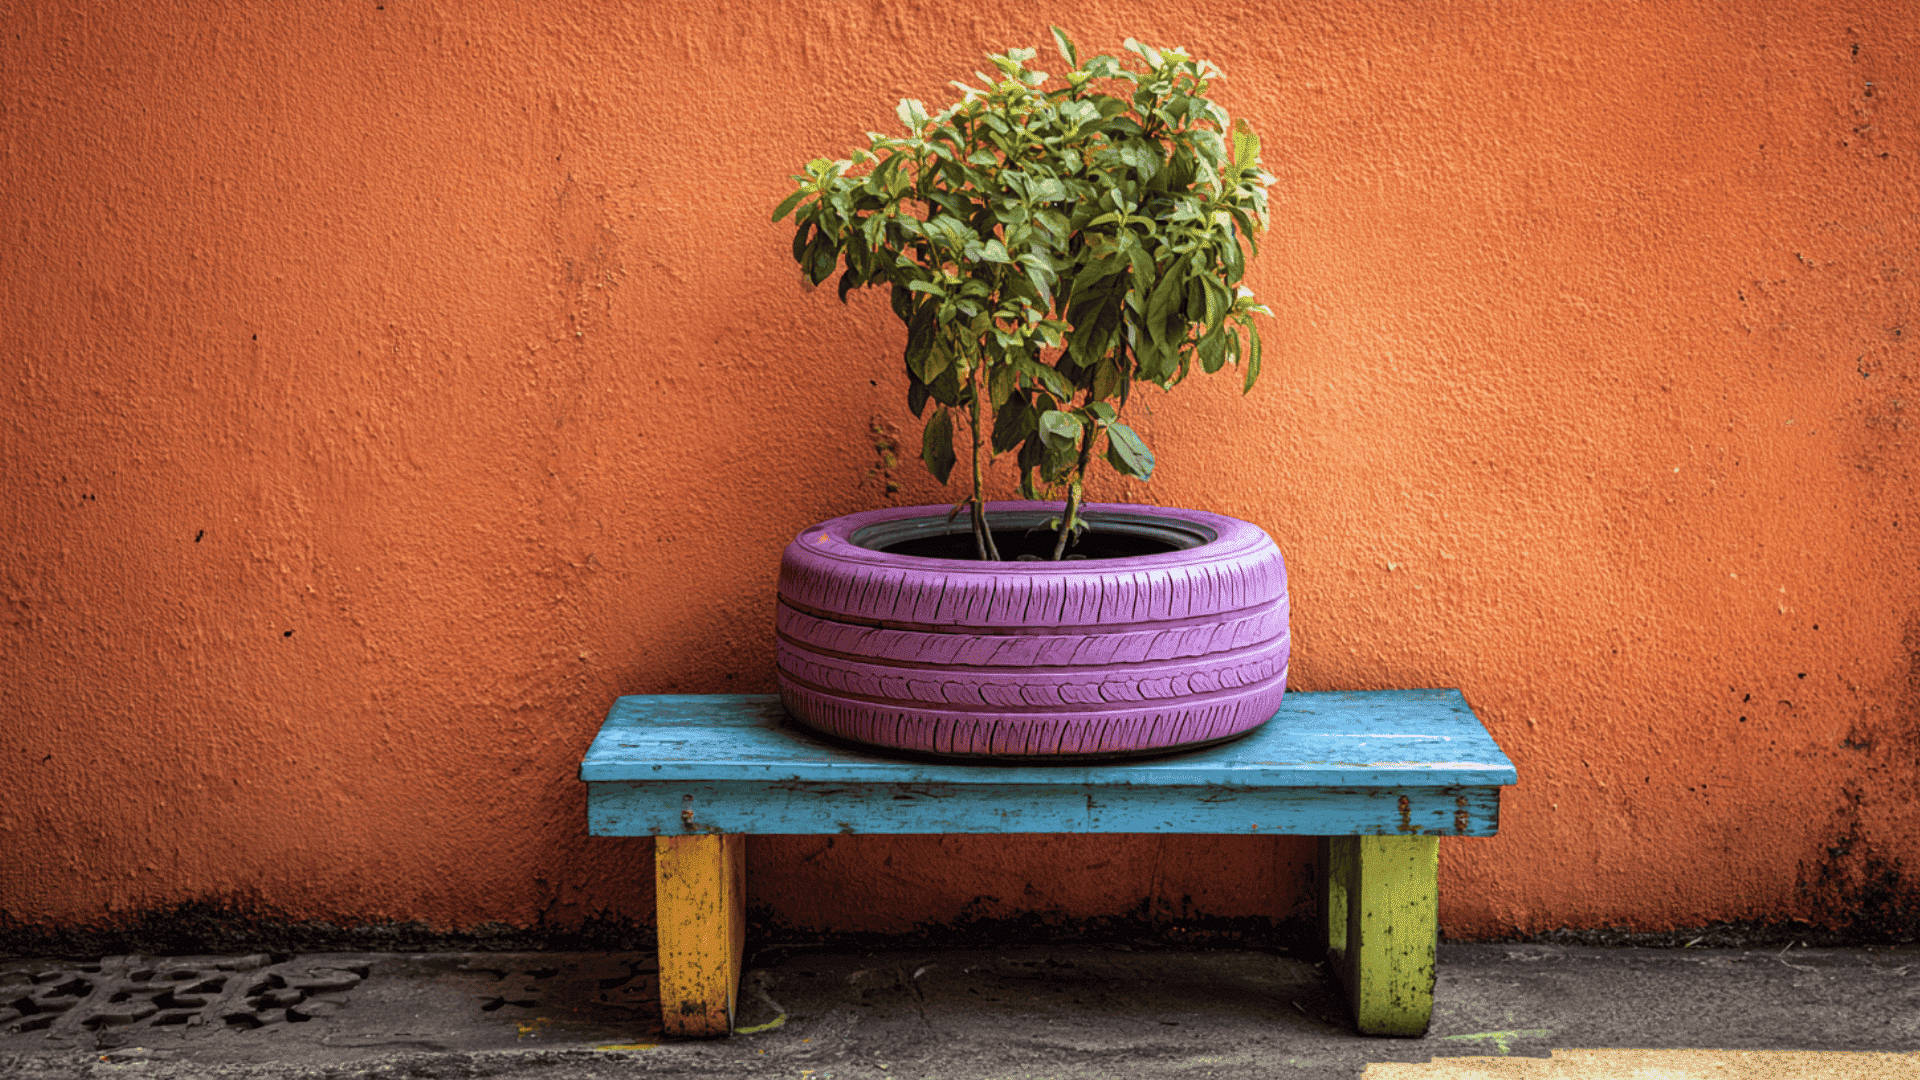
These builds lean into creativity and budget-friendly fun. Tires can be painted for bright outdoor color, and old stools or small tables can turn into stands with almost no modification. They’re a good option if you want something playful.
- Pros: inexpensive, unique, easy to customize.
- Cons: more decorative than precise, may not fit every style.
- Difficulty: beginner.
7. Concrete Block Stands
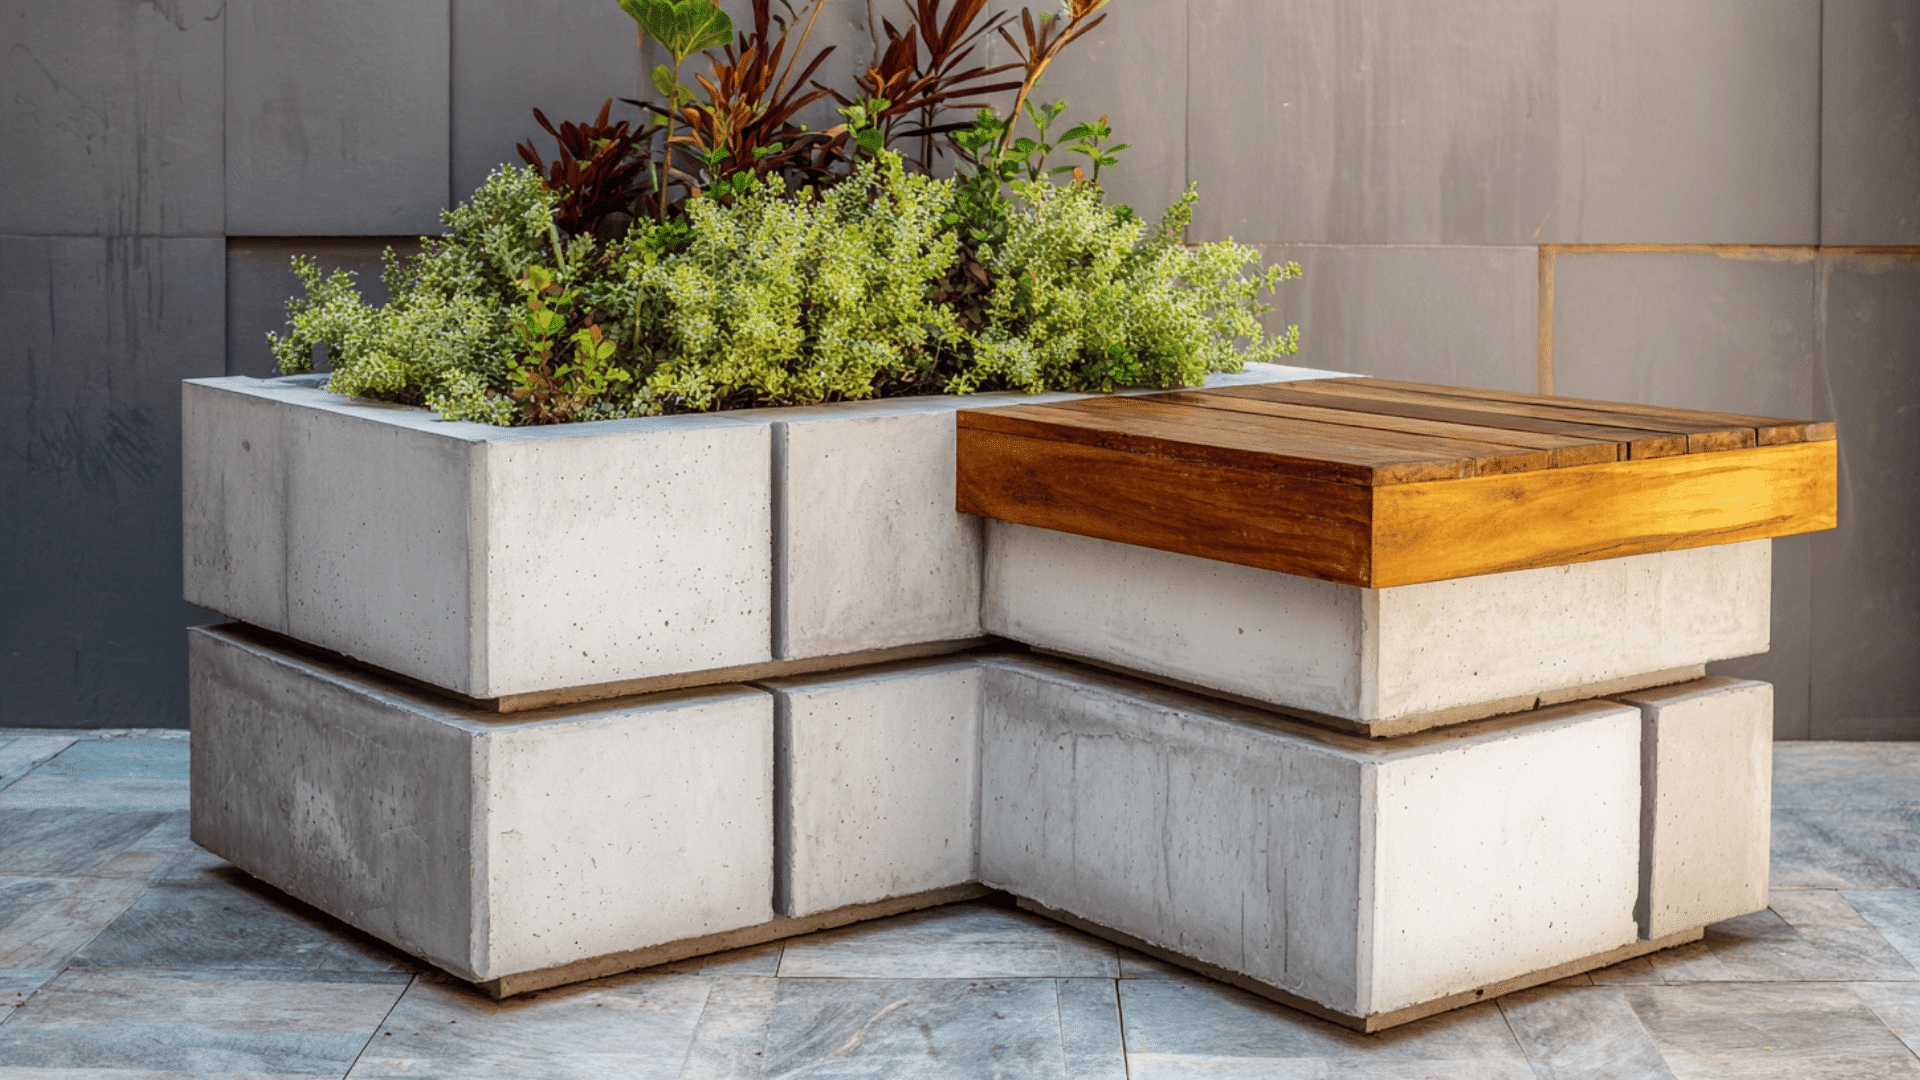
Concrete blocks are the reliable workhorses of outdoor setups. They don’t tip over easily, they handle any weather, and they can support heavy pots without bending or sagging. You can also rearrange them whenever you want without cutting anything.
- Pros: strong, weatherproof, very quick to assemble.
- Cons: heavy and not ideal if you move things often.
- Difficulty: beginner.
8. Modern Geometric Stands
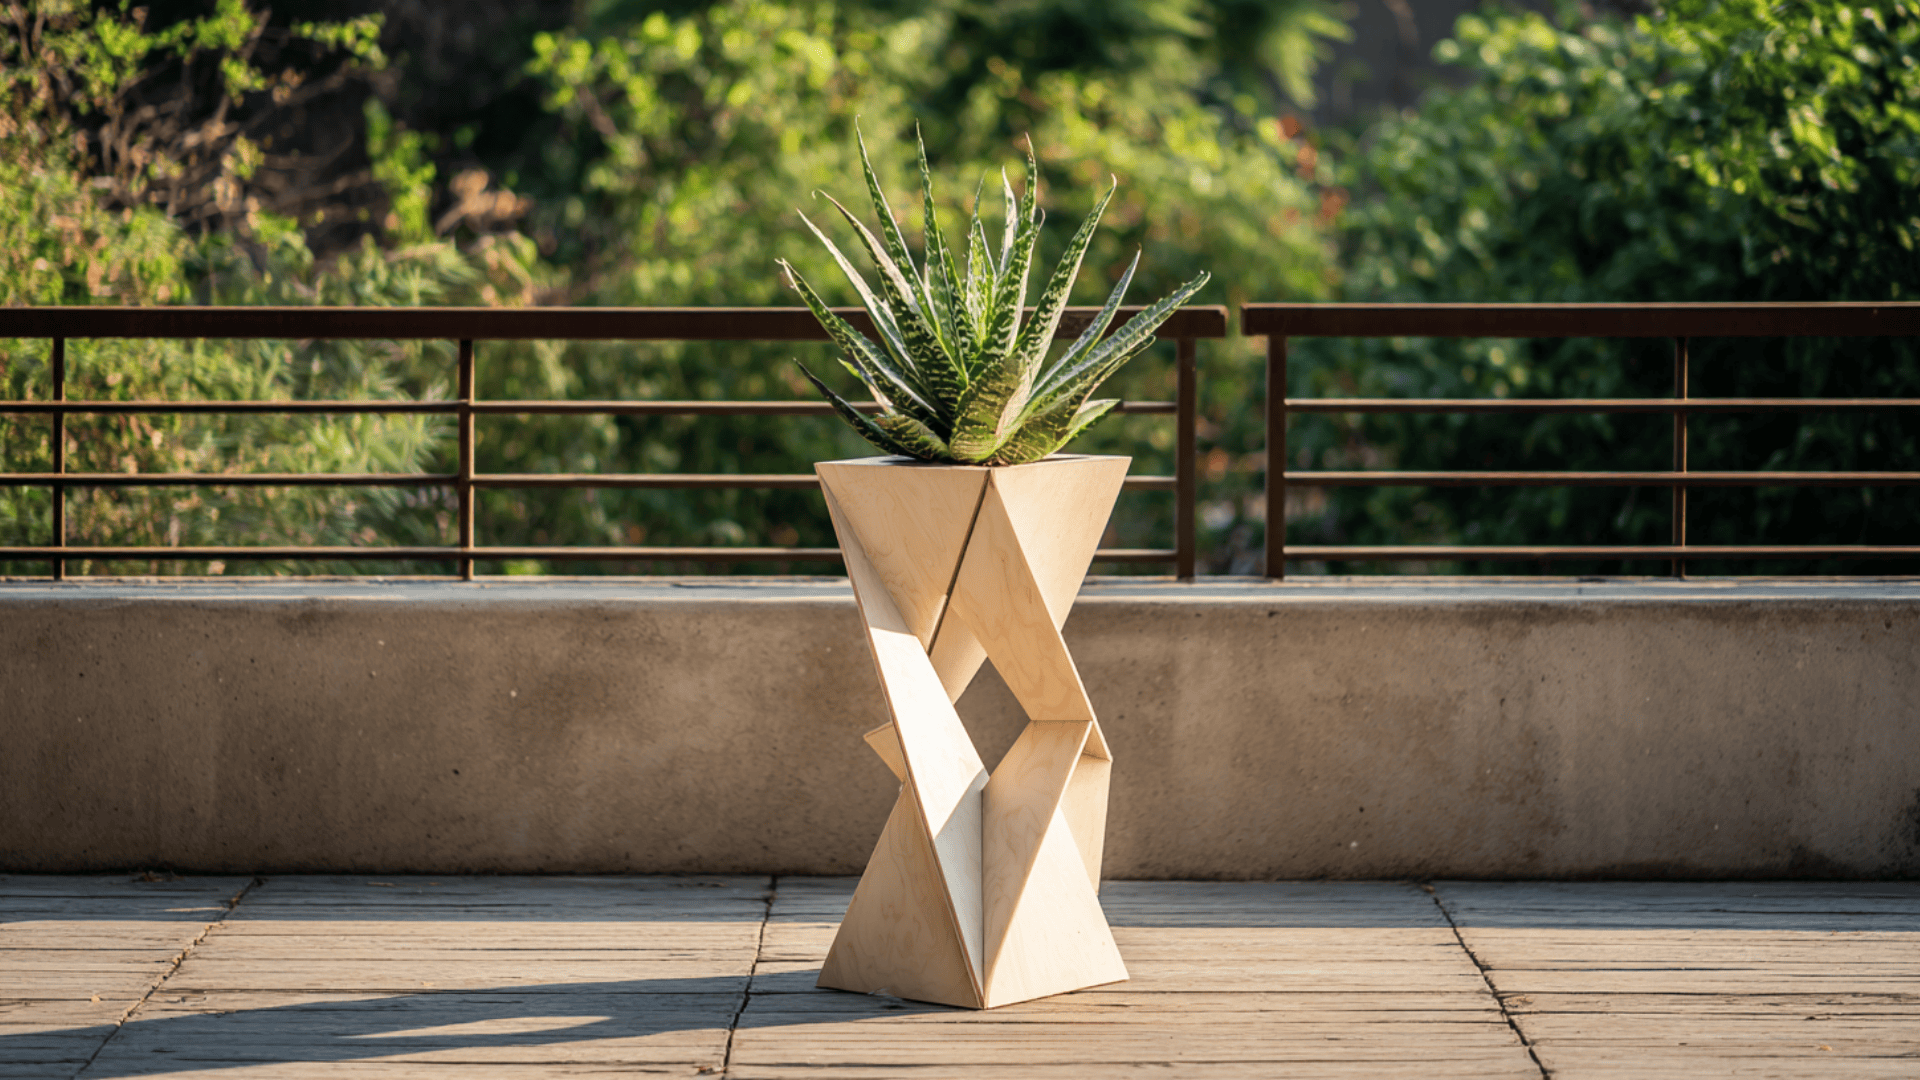
Geometric stands offer a clean, contemporary look. They usually rely on plywood or slim boards, and the design depends on good cuts and accurate angles. Templates help a lot, especially if it’s your first time working with these shapes.
- Pros: stylish, compact, easy to personalize.
- Cons: requires precise cutting to look balanced.
- Difficulty: intermediate.
Best Wood and Materials for Outdoor Stands
Here’s a quick look at the most common materials people use for outdoor plant stands and what you should know before choosing one:
| Material Type + Examples | Strengths | Weak Spots | Best Uses |
|---|---|---|---|
| Cedar, Redwood, Teak (Weather-Resistant Woods) | Naturally resists moisture, insects, and rot; long outdoor lifespan; low maintenance | Higher cost; can be harder to source | Long-term stands, heavy pots, humid or rainy climates |
| Pine, Fir, Spruce (Budget Woods, Needs Sealing) | Affordable; easy to cut; widely available; great for first builds | Absorbs moisture without sealing; can warp if left unfinished | Quick builds, lightweight stands, dry climates, painted projects |
| Wooden Crates (Upcycled) | Rustic look; simple to stack or connect; lightweight | Not strong; thin wood loosens under weight | Decorative stands, renters, light plants |
| Pallet Boards (Upcycled) | Cheap; great for vertical stands; naturally weathered look | Rough wood; needs sanding; some boards may be weak | Vertical gardens, rustic themes, low-budget builds |
| Tires (Upcycled) | Fun and colorful when painted; kid-friendly; no cutting | Mostly decorative; gets hot in direct sun | Single large plants, playful outdoor spaces |
| Cinder Blocks (Upcycled) | Extremely strong; weatherproof; stable in wind; no cutting needed | Heavy; industrial style may not fit every space | Heavy pots, large patios, windy areas, modern designs |
Once you match the material to your climate, your tools, and the weight of your plants, the build gets a lot easier. Pick the option that fits your space, seal it the right way, and it’ll stay solid through plenty of seasons.
Wrapping Up
A DIY plant stand outdoor project isn’t just a weekend craft. It ends up shaping how your plants grow, how your space feels, and how much work you put into maintaining it.
The real trick is matching the design, the materials, and the weather to the way you live. Once you lock that in, the whole thing becomes simple, and your setup stays solid long-term.
Use the guide and ideas here as a starting point and adjust them to your space, your tools, and your style. Your plants won’t wait, so this is a good time to get moving.
If you want more ways to level up your outdoor space, read other guides on the website. There’s plenty more you can use to keep your plants growing strong and your setup looking sharp.