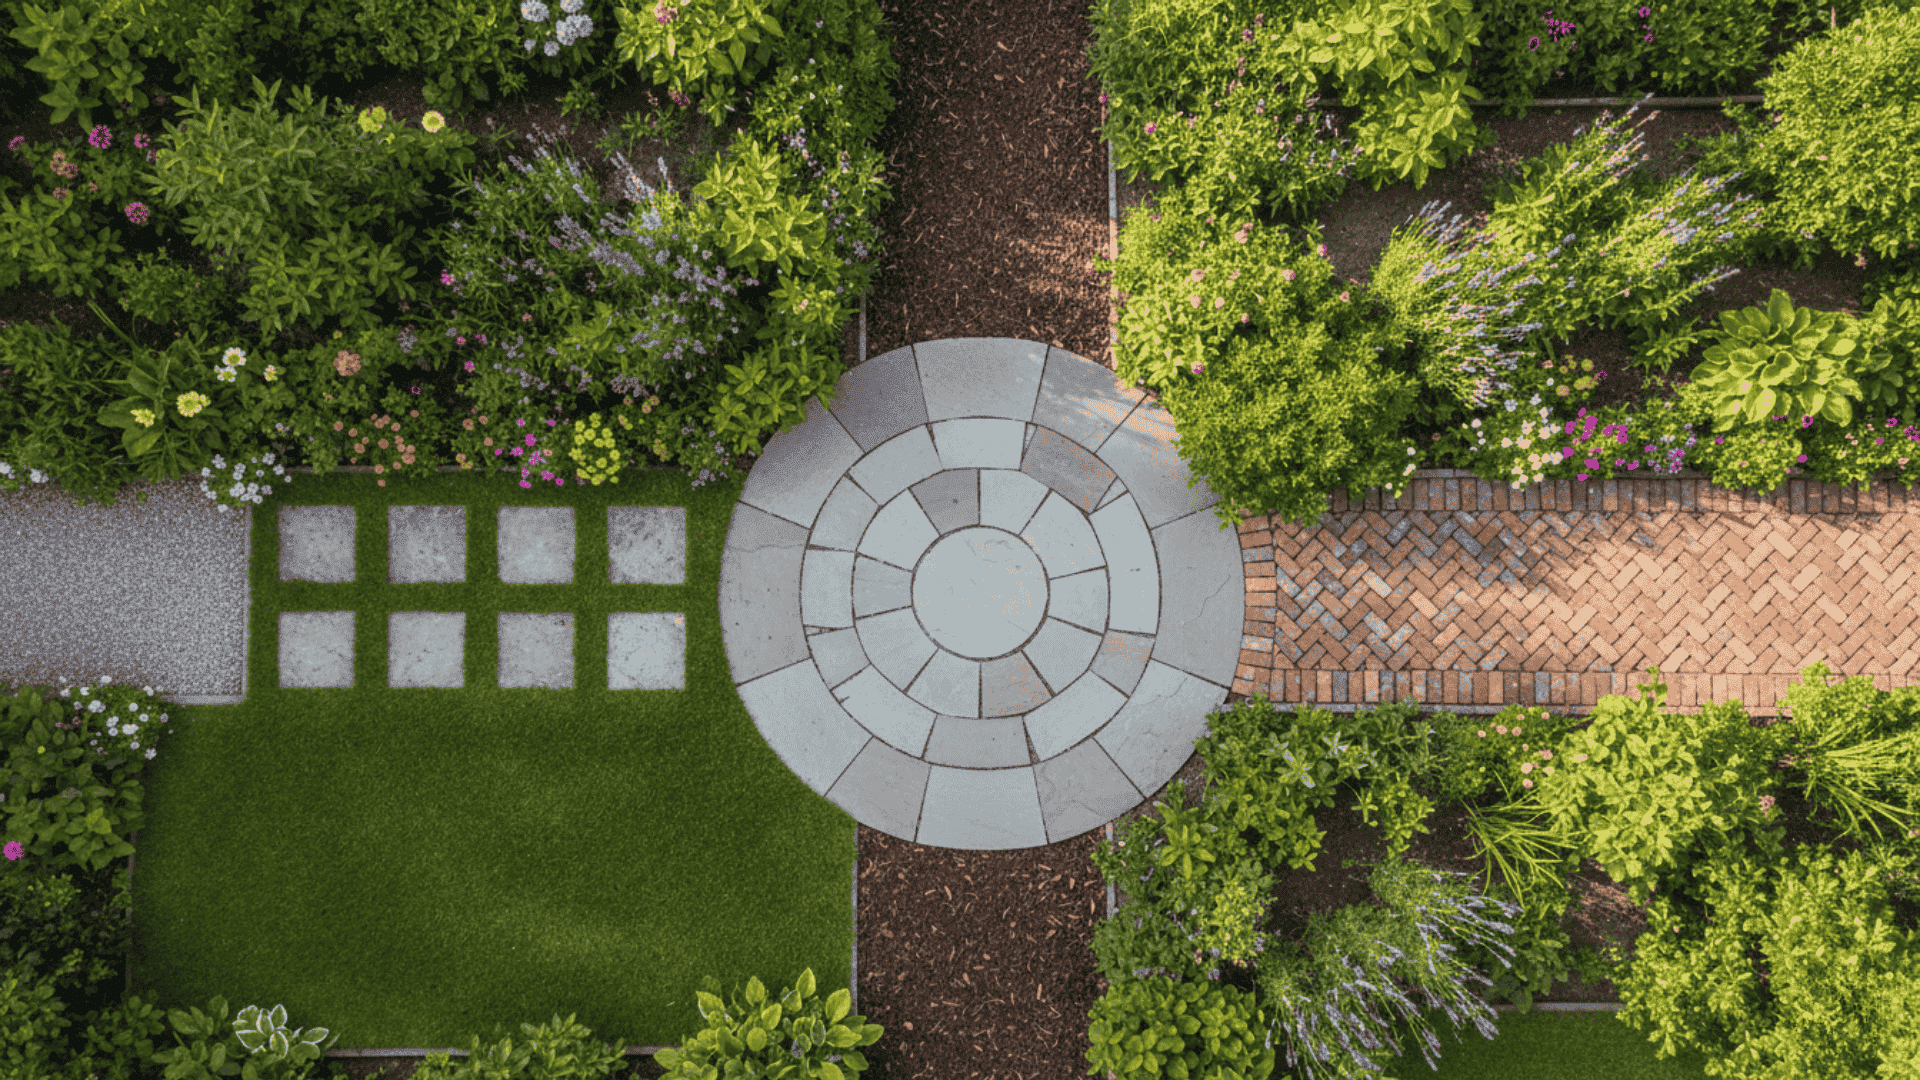
Garden paths don’t have to drain your wallet. A beautiful walkway can cost less than dinner out if you know which materials work and where to find them.
Some of the best-looking paths use free or nearly free materials, such as broken concrete, reclaimed bricks, or simple gravel. You just need the right approach.
This guide shows you cheap diy garden path ideas sorted by what you actually need. Quick weekend projects. Solutions for muddy spots. Recycled material options. Small space designs. Pet-friendly paths.
You’ll also learn which materials cost the least, how to maintain them, and what to consider before you start digging.
Things to Consider Before Building a Garden Path
Before you start working on diy garden path, take time to plan properly. A few smart decisions now will save you money and frustration later.
Think about how you’ll use the path, what your yard needs, and how much you can spend. These factors will guide you toward the right materials and design.
Key considerations for your garden path:
- Purpose matters – Will people walk on it daily or just occasionally? High traffic areas need stronger materials. Decorative paths can use lighter materials, such as gravel or mulch.
- Path width affects comfort – Main walkways should be 3 to 4 feet wide. Side paths can be 2 feet. This gives enough space to walk comfortably and push a wheelbarrow.
- Check your ground conditions – Look at your soil type and how water drains. Sloped areas need extra prep work. Muddy spots may need better drainage before you build.
- Plan your real budget – Calculate cost per foot for materials. Remember delivery fees, tools you might need to buy, and extra materials for mistakes. DIY hauling saves money but takes more time.
- Don’t skip safety – Pick materials that won’t get slippery when wet. Make sure stones or pavers sit level and stable. Keep spacing even to prevent trips and falls.
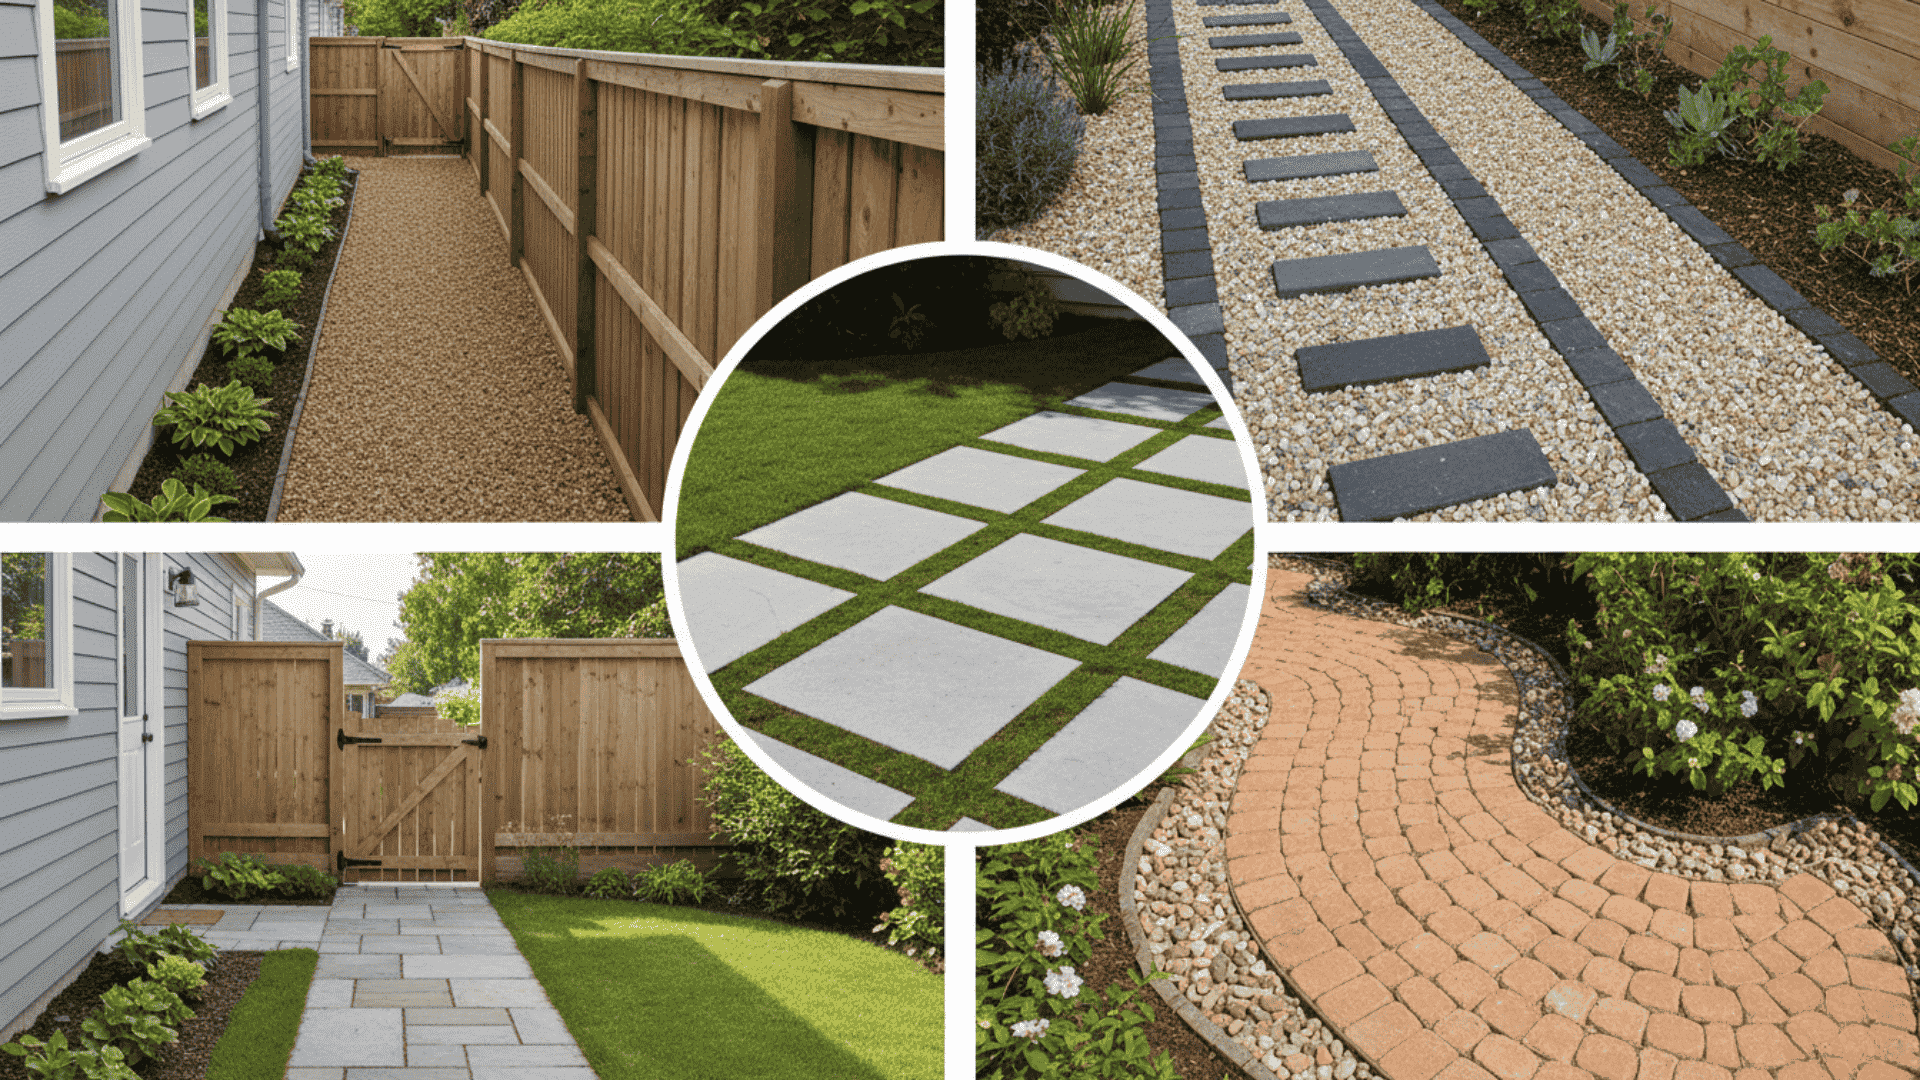
Affordable Garden Path Materials You Can Use
Choosing the right material can make or break your budget. Here’s a side-by-side look at the most affordable options for cheap diy garden path ideas.
| Material | Cost Range | Maintenance |
|---|---|---|
| Mulch & Wood Chips | $25-40/cubic yard | High (replace annually) |
| Pea Gravel | $30-55/ton | Low (occasional ranking) |
| Crushed Stone | $40-65/ton | Low (top up every 2-3 years) |
| Decomposed Granite | $35-50/ton | Medium (repack annually) |
| Concrete Pavers | $0.50-3/paver | Very low (sweep and hose) |
| Reclaimed Bricks | $0-50 total | Low (occasional weeding) |
| Broken Concrete | Free-$20 | Very low (stable once set) |
| Leftover Tiles | Free-$20 | Low (occasional cleaning) |
| Wood Slices | $2-8/slice or free | High (replace every 3-5 years) |
| Bark Nuggets | $30-45/cubic yard | High (refill yearly) |
| Compacted Soil | Free | High (regular smoothing) |
Pro tip: Mix materials to save money. Use crushed stone where you walk most and mulch for looks.
Quick and Easy Weekend Path Ideas
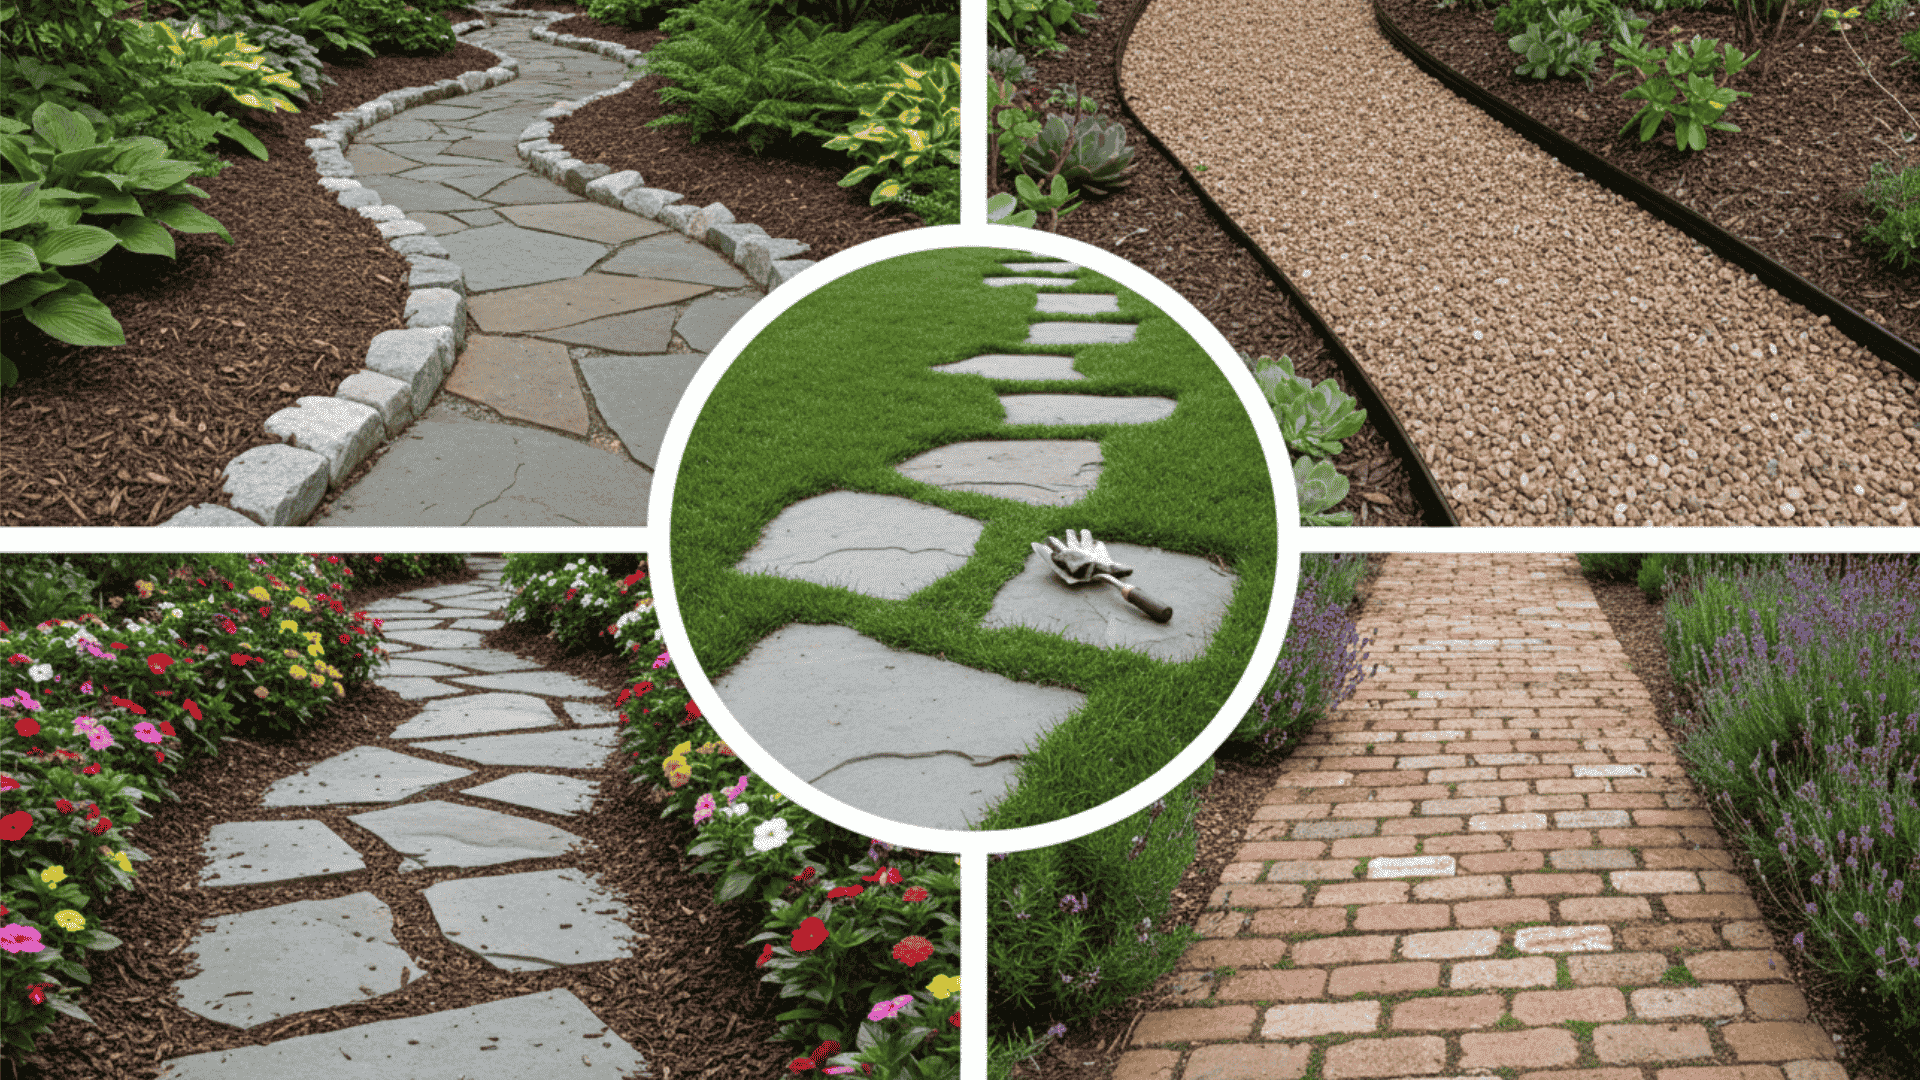
These paths take just one or two days to complete. You don’t need special skills or expensive tools. Perfect for beginners who want fast results without complicated construction.
1. Mulch Path with Simple Edging
Spread a layer of mulch between two rows of border stones or wood. This gives you an instant path that looks finished and stays contained.
Steps:
- Mark your path edges with spray paint or rope and dig out 2-3 inches of soil
- Lay landscape fabric to block weeds
- Place edging stones or lumber along both sides
- Fill with 3-4 inches of mulch and rake smooth
2. Pea Gravel Path with Border Restraint
Pour pea gravel inside plastic or metal edging strips. The restraint keeps stones from wandering into your lawn or garden beds.
Steps:
- Clear the path area and install flexible edge restraints
- Add 2 inches of sand as a base layer
- Pour pea gravel to about 2 inches deep
- Rake the level and spray lightly with water
3. Stepping Stones Set Directly into Grass
Place flat stones right on your lawn at walking intervals. Cut around each stone and sink it flush with the grass for a clean look.
Steps:
- Lay stones on grass at 18-24 inches apart and trace around each with a knife
- Remove the stone and cut out the grass in the shape
- Dig down 1-2 inches and add a sand base
- Set the stone in place and check that it sits level
4. Stone and Mulch Combination Paths
Use larger stones as borders and fill the center with mulch. This combines the structure of stone with the softness and low cost of mulch.
Steps:
- Outline your path and place large flat stones along both outer edges
- Clear the center area between stones
- Lay the weed barrier fabric in the middle section
- Fill with wood chips or shredded bark mulch
5. Brick Stepping Stones with Grass Gaps
Space bricks in a pattern with grass growing between them. This works well in light-traffic areas and looks charming in cottage-style gardens.
Steps:
- Arrange bricks in your preferred pattern and mark placement
- Cut and remove sod where each brick will sit
- Add a thin layer of sand in each spot
- Place bricks and tap level with a rubber mallet
Budget Garden Path Ideas for Wet or Muddy Areas
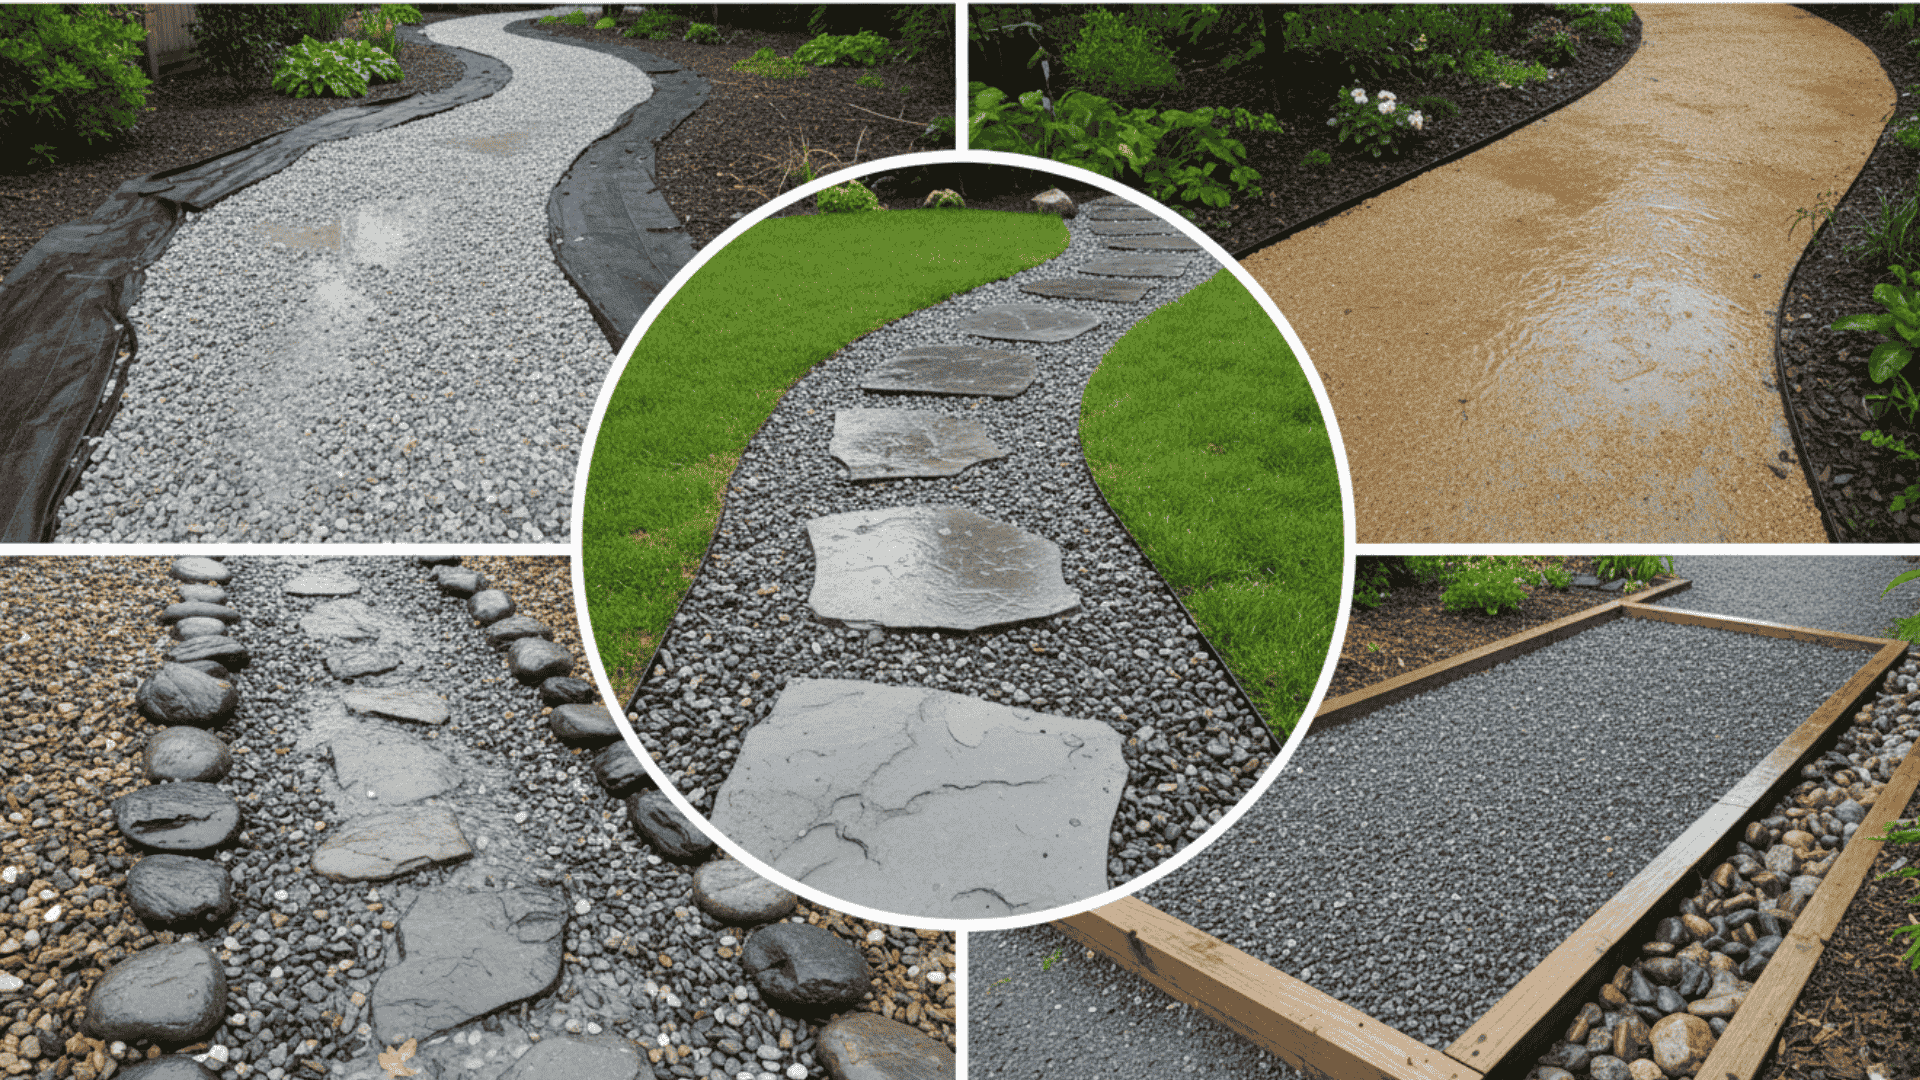
Soggy spots need materials that drain well. These options handle water without turning it into a mess. Say goodbye to puddles and slippery surfaces with these drainage-friendly designs.
6. Crushed Stone Path with Fabric Base
Layer crushed stone over landscape fabric for excellent drainage. The fabric stops weeds while allowing water to flow through easily.
Steps:
- Dig a path 4-5 inches deep and compact the bottom with a hand tamper
- Roll out landscape fabric across the entire path with 6-inch overlaps
- Add 3-4 inches of crushed stone
- Rake smooth and compact by walking or using a tamper
7. Decomposed Granite Walkway
This naturally draining material packs down hard when wet and dries quickly. It creates a firm surface even in damp conditions.
Steps:
- Remove 3-4 inches of muddy soil
- Add 2 inches of coarse gravel as a drainage base
- Spread 2 inches of decomposed granite and spray with water
- Compact with a tamper while still damp
8. Stepping Stones Over Gravel Base
Set flat stones on top of a gravel foundation. Water drains through the gravel, while stones provide dry spots to step.
Steps:
- Dig out 4 inches in muddy areas
- Fill with 2-3 inches of drainage gravel and rake level
- Place stepping stones on top of the gravel
- Press stones down firmly into the gravel
9. Gravel Paths with Raised Edging
Build up your path above ground level using landscape timbers or stone borders. This lifts the walking surface above standing water.
Steps:
- Set pressure-treated timbers or stones as borders and anchor firmly
- Fill the interior with layers, starting with coarse gravel
- Add finer gravel or crushed stone on top
- Build up 2-3 inches above the surrounding soil
10. Simple Drainage-Friendly Stone Layouts
Place flat stones with gaps between them over gravel. Rain flows through gaps instead of pooling on the path.
Steps:
- Clear muddy area and remove 2-3 inches of soil
- Spread landscape fabric and add 2 inches of gravel across the entire area
- Place flat stones with 1-2 inch gaps between
- Fill gaps with more gravel or leave them open
Recycled and Reclaimed Garden Path Ideas
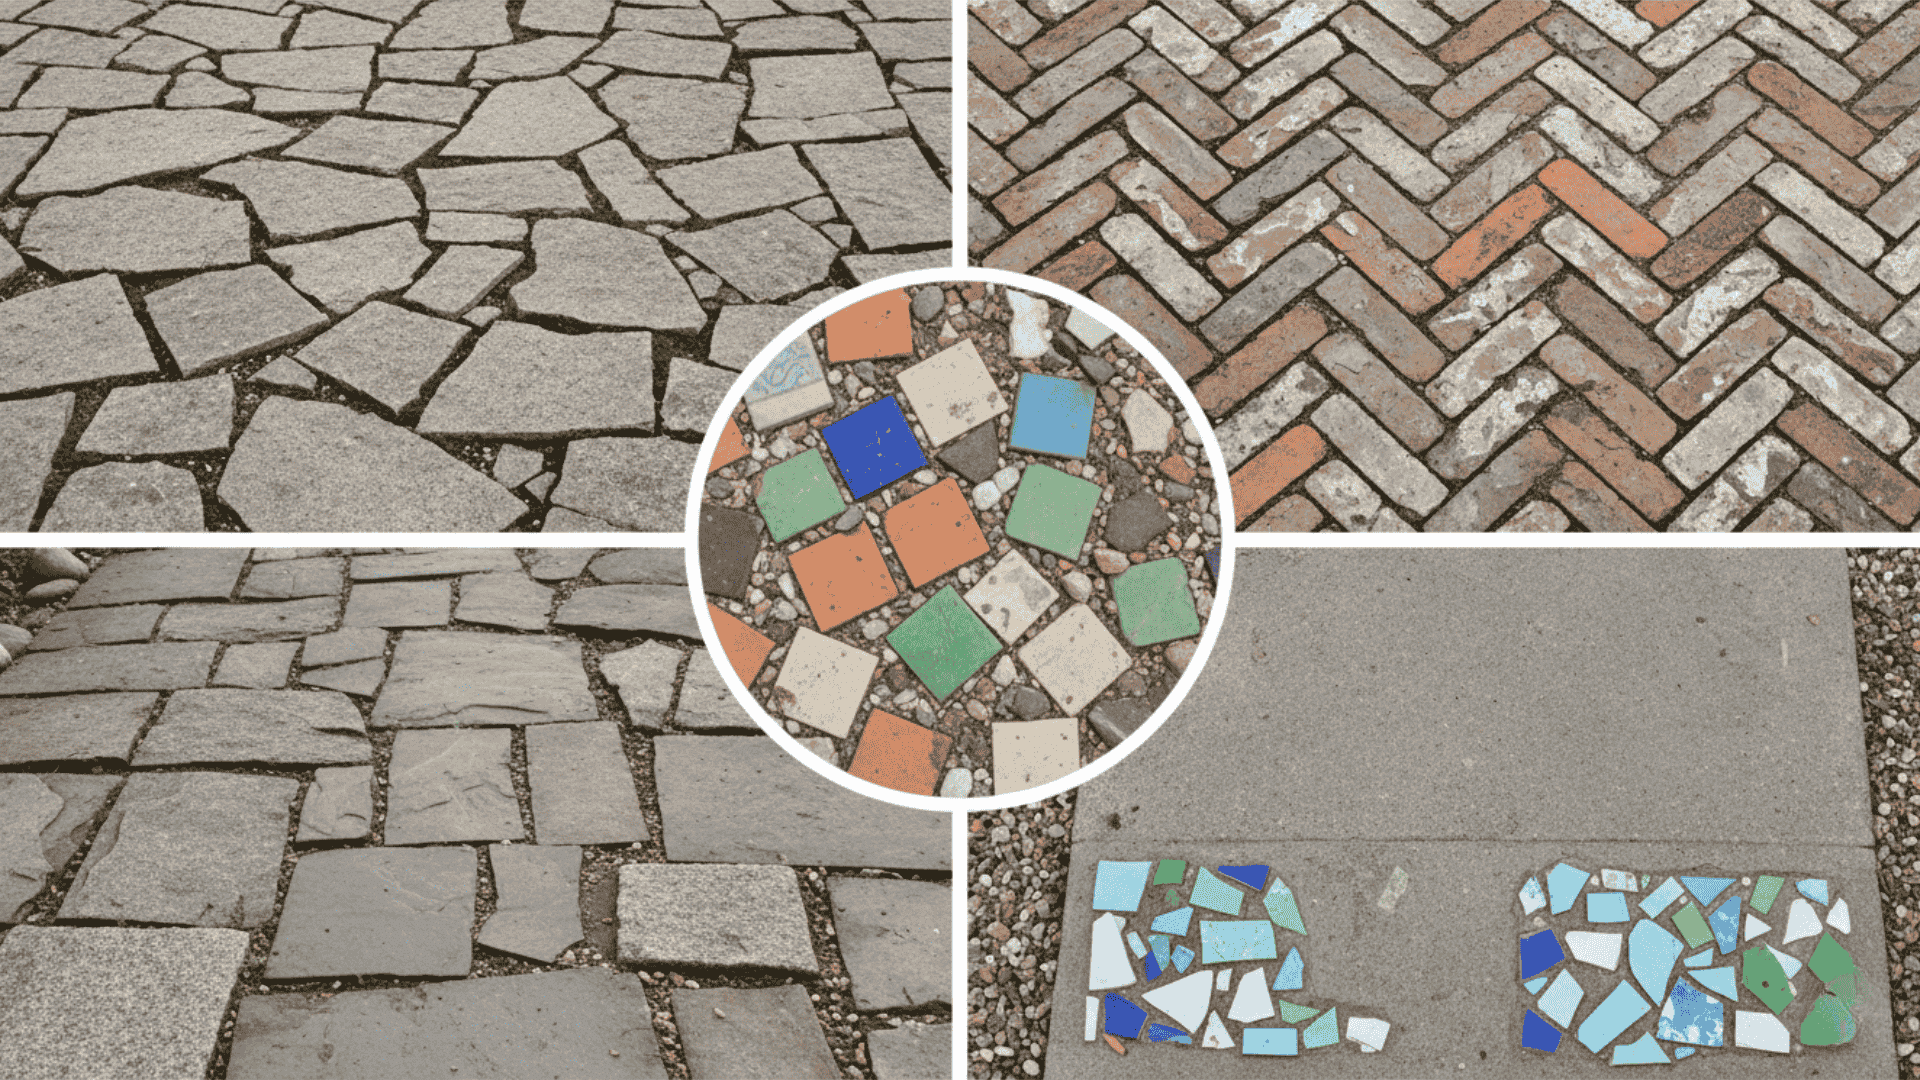
Save money and help the environment by reusing materials. Many of these cheap diy garden path ideas cost almost nothing. Turn construction waste and old materials into charming walkways.
11. Broken Concrete Paths (Urban Stone Look)
Free chunks from demolition sites fit together like puzzle pieces. This creates a strong path with an industrial or modern style.
Steps:
- Collect concrete pieces from construction sites with at least one smooth side
- Dig a path 2-3 inches deep and add 1 inch of sand base
- Arrange pieces, fitting them tightly together
- Fill cracks with sand or soil for plants
12. Reclaimed Brick Walkways
Old bricks from torn-down buildings make beautiful traditional paths. Look for free bricks on community sites or during neighborhood demolitions.
Steps:
- Gather enough bricks and clean off the mortar with a wire brush
- Dig a path 3-4 inches deep and add 2 inches of sand base
- Lay bricks in your chosen pattern (herringbone, running bond, or basketweave)
- Sweep sand into joints between bricks
13. Leftover Paver Mix and Match Paths
Combine different pavers from various home projects. The mismatched look adds character and uses up materials you already own.
Steps:
- Collect all leftover pavers and sort by size and thickness
- Prepare the path base with sand or gravel
- Start with the largest pavers as main stepping points
- Fill gaps with smaller or broken pieces
14. Old Tiles Used as Stepping Accents
Indoor tiles work well as decorative stepping stones outdoors. Use leftovers from bathroom or kitchen remodels.
Steps:
- Select tiles that aren’t too glossy and space 18-24 inches apart
- Dig shallow spots for each tile
- Set in sand or mortar for permanence
- Keep tiles slightly raised above the soil
15. Salvaged Stone Slabs from Local Sources
Check online marketplaces and construction sites for free or cheap stone. Many people give away extra landscaping materials.
Steps:
- Search local buy nothing groups and marketplace listings
- Measure your path before collecting
- Arrange stones starting with the largest pieces
- Fill small gaps with gravel or smaller stones
Small Garden and Side Yard Path Ideas
Tight spaces need smart solutions. These designs work perfectly where space is limited or awkward. Make the most of narrow areas between fences, gates, and garden beds.
16. Narrow Gravel Runners
Create thin paths, just 12-18 inches wide, using gravel between the borders. This fits easily in small side yards and tight garden spaces.
Steps:
- Mark a path as narrow as 12 inches and install thin-edge restraints
- Dig out 2 inches between edges and add landscape fabric
- Fill with pea gravel or small crushed stone
- Keep depth at 1-2 inches for easier walking
17. Two Track Stepping Stone Paths
Place two parallel lines of stones where your feet naturally fall. This uses fewer materials while still providing a solid footing.
Steps:
- Walk your desired path and mark two lines about 6-8 inches apart
- Place stones only at these foot positions
- Space stones 18-20 inches apart lengthwise
- Set each stone level with the ground
18. Minimalist Slab Layouts
Use just a few large flat stones spaced apart. This creates a path with minimal materials in confined areas.
Steps:
- Choose 3-5 large flat stones or pavers
- Position them at key points along your route based on natural stride
- Sink each slab just below ground level
- Backfill around edges with existing soil
19. Gate to Door Short Connector Paths
Build quick, direct routes with basic materials. These functional paths need to look good at close range.
Steps:
- Measure the short distance and choose a simple material
- Prepare a level base along the entire route
- Lay materials in a straight line or a gentle curve at 24-30 inches wide
- Edge with small plants or stones for a finished look
20. Compact Corner Paths for Tight Spaces
Turn tight corners with carefully arranged small pavers or bricks. This solves awkward layout problems without wasting space.
Steps:
- Measure your tightest corner dimensions
- Create a gentle curve rather than a sharp angle
- Place materials closer together for stability
- Test the turn by walking it before the final setting
Kid and Pet-Friendly Garden Paths
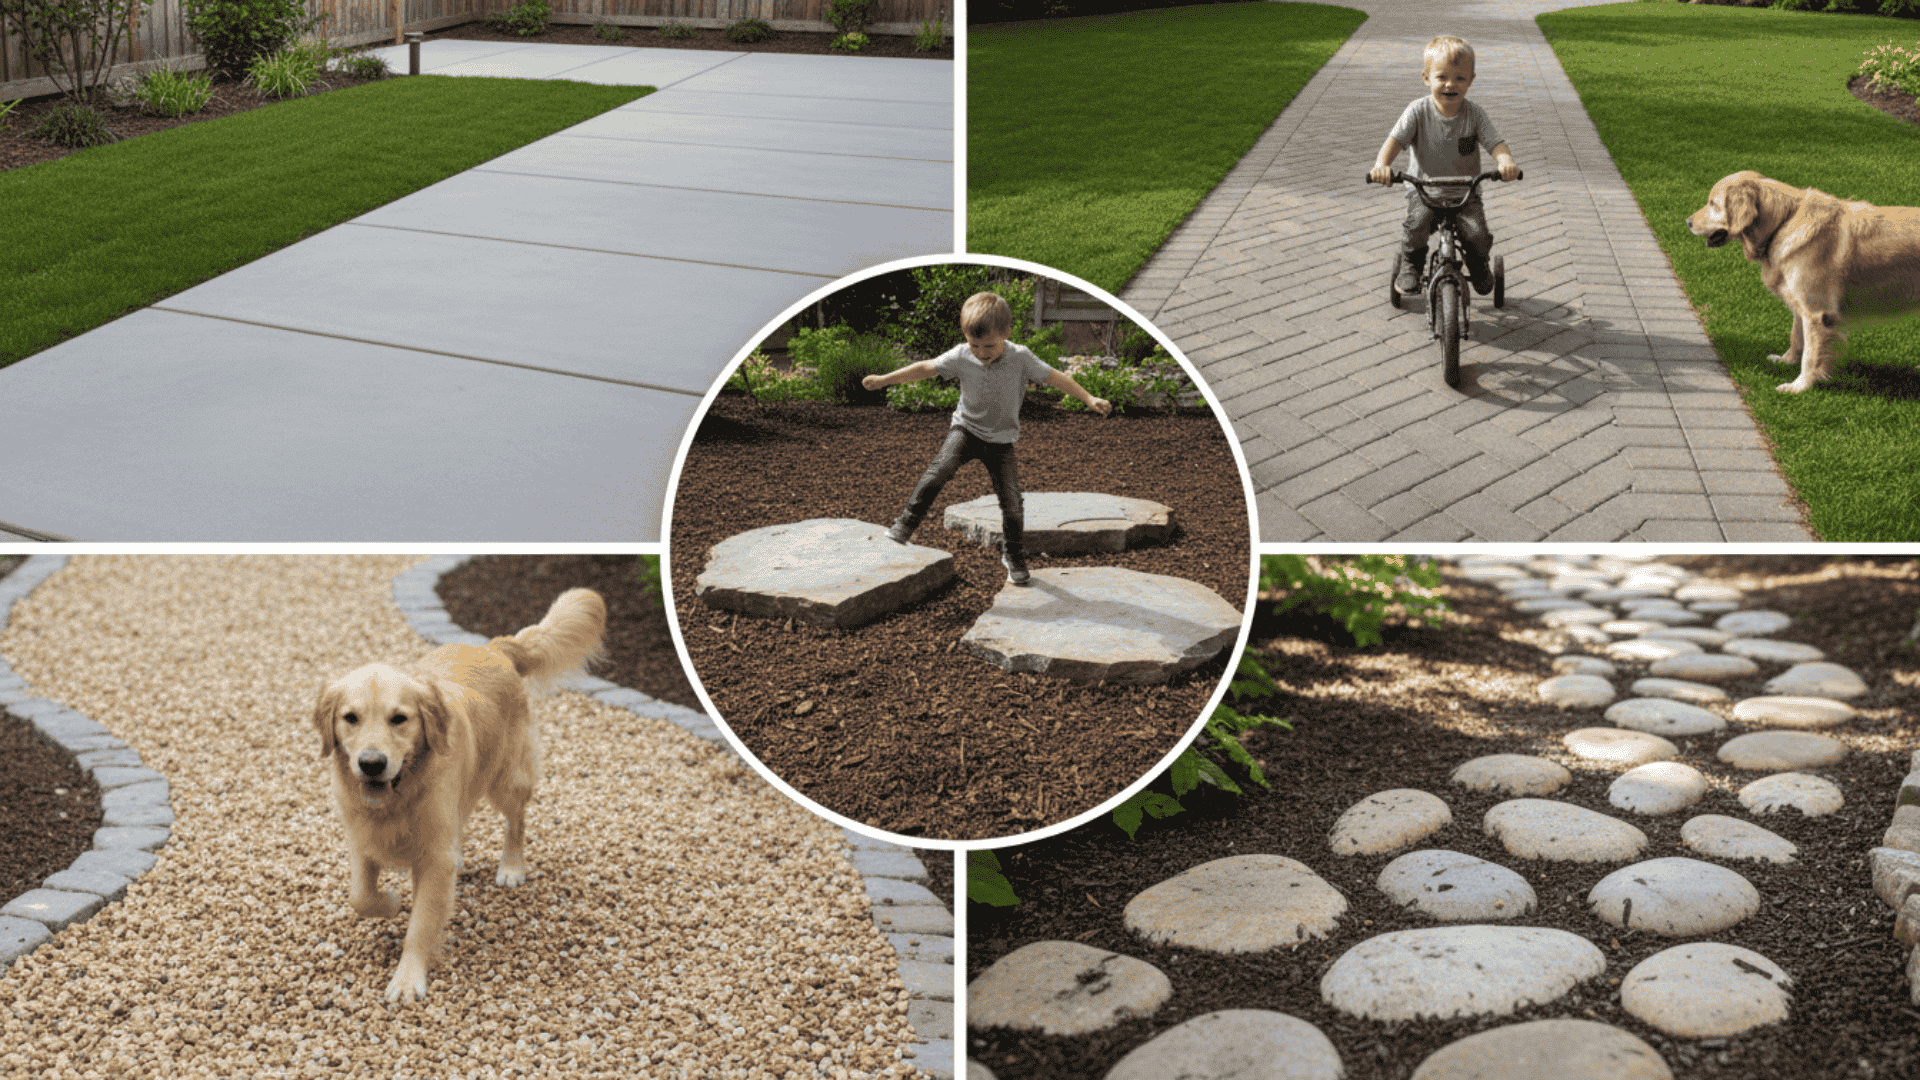
Safety matters when children and animals use your paths. Pick materials that won’t hurt paws or cause trips. These options offer smooth surfaces and stable footing for active families.
21. Flat Concrete Stepping Stones
Smooth concrete pavers provide stable surfaces without sharp edges. Kids can run safely, and pets won’t catch claws in gaps.
Steps:
- Buy smooth finished concrete pavers without rough or broken edges
- Set stones completely level with the surrounding ground
- Space them close together (no more than 2 inches apart)
- Fill gaps with sand to prevent toe catching
22. Smooth Paver Paths Set Flush
Install pavers even with the lawn so mowers pass over easily. This prevents tripping and makes the whole yard more usable.
Steps:
- Dig out the full path area to paver depth plus 2 inches
- Add and compact 2 inches of sand base
- Place pavers tightly together and tap level with the grass using a rubber mallet
- Sweep sand between pavers to lock them in
23. Mulch Paths with Stone Traction Points
Soft mulch feels good on bare feet and bare paws. Add flat stones every few feet so kids can hop and jump.
Steps:
- Lay down a thick layer of soft wood mulch (4-5 inches) without sharp splinters
- Place flat stones as “islands” through the mulch
- Space fun stones 2-3 feet apart for hopping
- Rake smooth monthly to maintain softness
24. Firm Compacted Gravel Paths
Smaller rounded gravel compacts into a firm surface. This works better for small feet and paws than large loose stones.
Steps:
- Use finely crushed gravel or small pea gravel
- Spread 2-3 inches thick and wet thoroughly with a hose
- Compact firmly using a tamper or a heavy roller
- Add a thin top layer and compact again
25. Rounded Edge Stones for Safety
Pick stones and pavers with smooth edges only. Check each piece before installing to avoid sharp corners that could cause cuts.
Steps:
- Inspect all stones before buying and reject any with sharp broken edges
- File or grind down rough spots if needed
- Arrange stones with the smoothest sides up
- Recheck the path monthly for any shifting or new sharp spots
Maintenance Tips for Long-Lasting Budget Paths
Even cheap diy garden path ideas need a little care to stay looking good. A few simple tasks will keep your path functional and attractive for years.
- Monthly Upkeep Tasks: Walk your path once a month to spot problems early. Rake gravel back into place, pull weeds from cracks, and check that stones haven’t shifted or become uneven.
- Seasonal Refresh Tips: Add fresh mulch or gravel each spring to replace what washed away. Clean pavers with a hose in summer, remove leaves in fall, and check for ice damage in winter.
- Fixing Low Spots Early: Fill sunken areas as soon as you notice them to prevent water pooling. Add more base material underneath if stones keep sinking in the same spot.
- When to Replace vs Top Up Materials: Top up gravel and mulch when they get thin, but still cover most of the base. Replace materials completely when you see more dirt than path material or when weeds take over.
The Bottom Line
Creating a cheap diy garden path doesn’t require a big budget or special skills. Whether you choose gravel, reclaimed bricks, or simple stepping stones, you now have practical options to work with.
The key is matching materials to your needs and properly maintaining them. Start small with a weekend project and expand as you learn what works in your yard.
Ready to build your path? Pick one idea from this guide and get started this weekend.
Have questions about materials or run into a problem during installation? Drop a comment below and share your experience. We’d love to hear which path you chose and how it turned out.