I still remember the first time I wanted to build a patio. I didn’t have fancy tools or a huge budget. Just a plan, some time on the weekend, and a spot in my backyard that needed a purpose.
I wasn’t trying to make something fancy, I just wanted a place to sit outside and relax. If you’re wondering how to build a patio, I’ve been in your shoes. You don’t need to be a pro.
You just need clear steps, a bit of prep, and the right mindset. In this blog, I’ll walk you through the process, share practical tips, and help you avoid common mistakes. It’s easier than you think.
Let’s break it down together, step by step.
Is Building a Patio the Right Project for You?
If you’re someone who enjoys working with your hands and has a weekend or two to spare, building a patio might be a great fit.
This is for homeowners, first-time DIYers, and weekend builders who want a simple, useful space outside without spending too much.
You don’t need expert skills. If you can follow directions, use basic tools like a shovel and a level, and handle some lifting, you’re already on the right track.
A DIY patio makes sense if your space is small to medium-sized, your ground is fairly level, and you’re willing to learn a bit as you go.
But this may not be the best idea if your yard has steep slopes, drainage issues, or you’re short on time and energy. In that case, calling a pro might save you stress and money in the long run. Think it through before starting.
Types of Patios You Can Build
There’s no one-size-fits-all patio. The best type for you depends on your budget, time, tools, and how much work you’re ready to take on.
Here’s a clear breakdown of the most common options so you can make a smart, simple choice:
Paver Patio
- Difficulty: Medium
- Cost Range: $$ (Moderate)
- Time Required: 2–3 weekends
- Pros: Durable, easy to fix if one paver cracks, clean look
- Cons: Needs a solid base and careful leveling
- Best For: Homeowners who want a polished patio without pouring concrete
Pavers are one of the most popular choices. You’ll dig, lay gravel and sand, and then place the pavers. It takes time, but the result is strong and long-lasting.
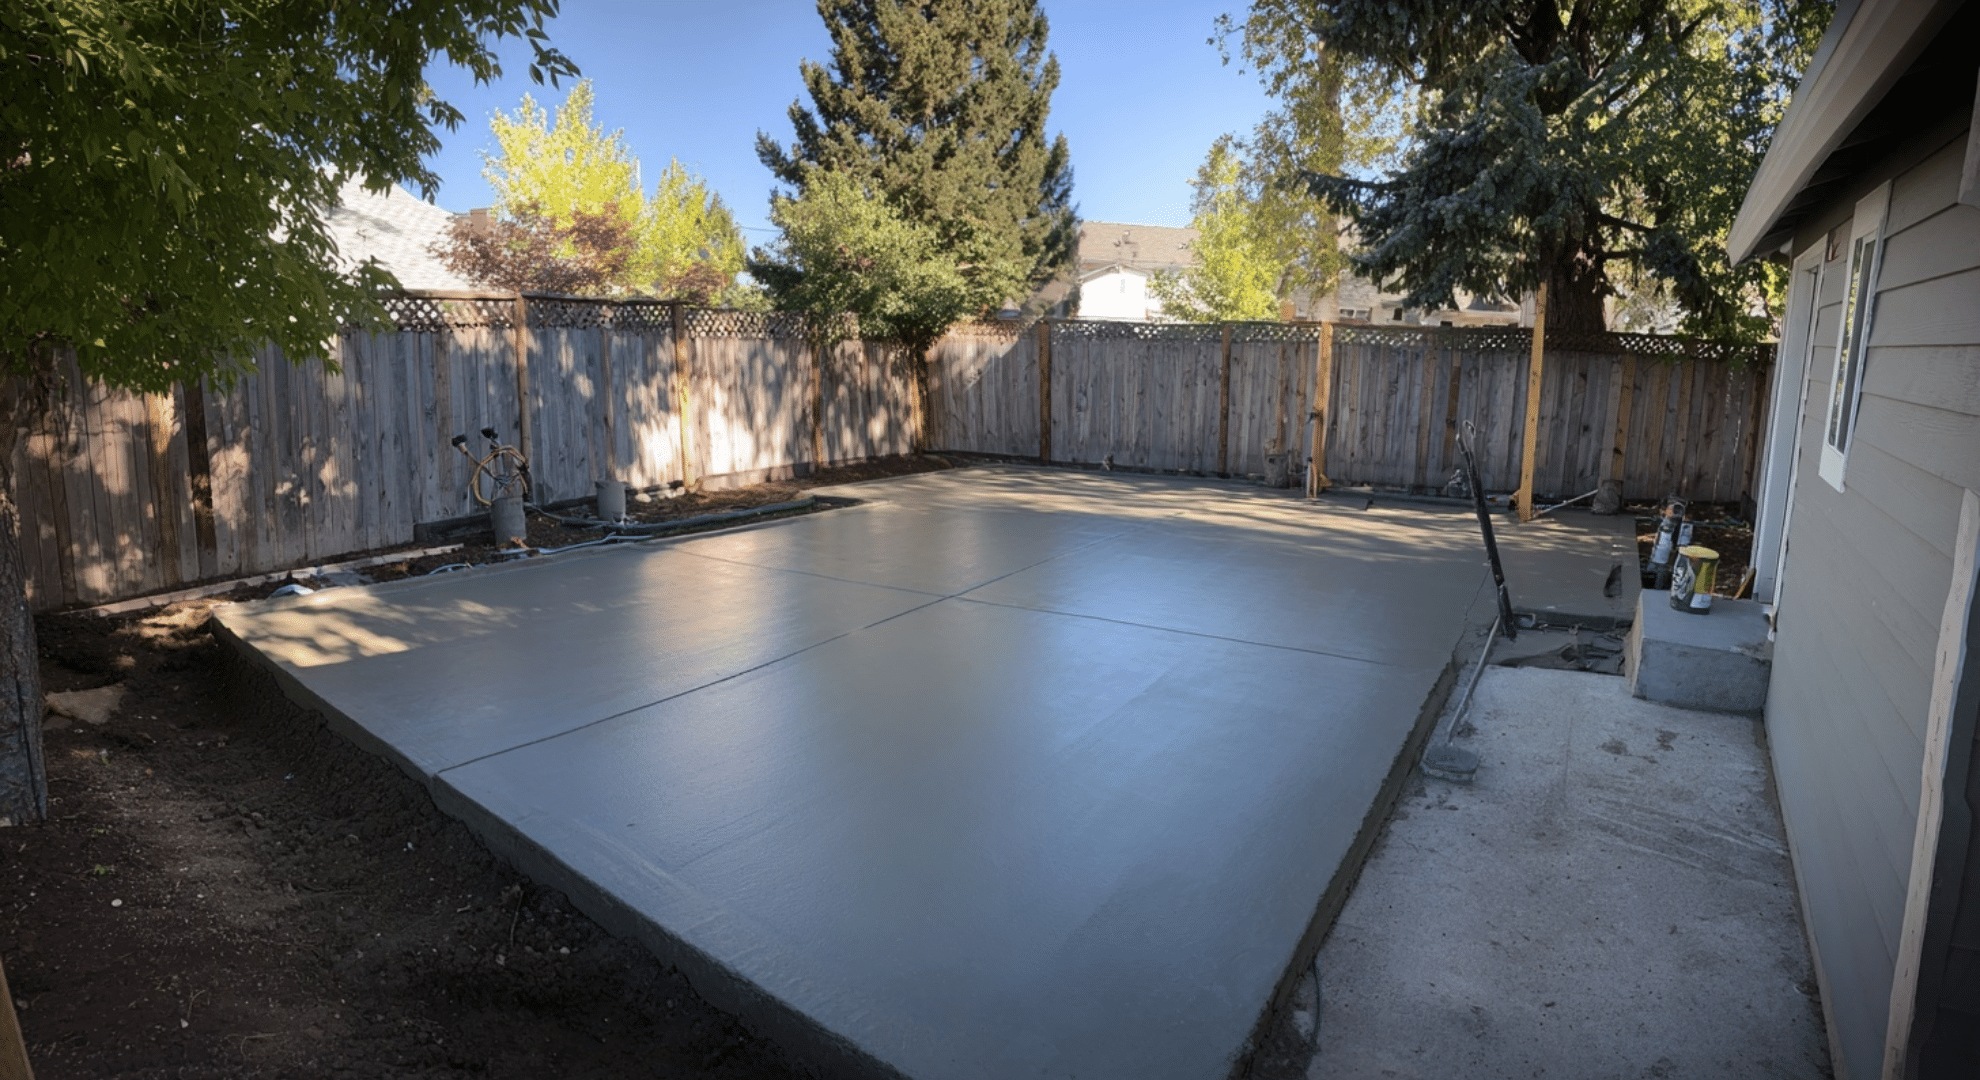
Concrete Patio
- Difficulty: Hard
- Cost Range: $$$ (High if hiring, lower if DIY)
- Time Required: 1 weekend for pouring, plus drying time
- Pros: Smooth, modern look, lasts decades
- Cons: Cracks over time, hard to fix, needs proper framing and mixing
- Best For: Long-term use with a big open space
Concrete works well for bigger patios or places with high foot traffic. It needs more prep and gear, and mistakes are harder to fix, so it’s better if you’ve done some projects before.
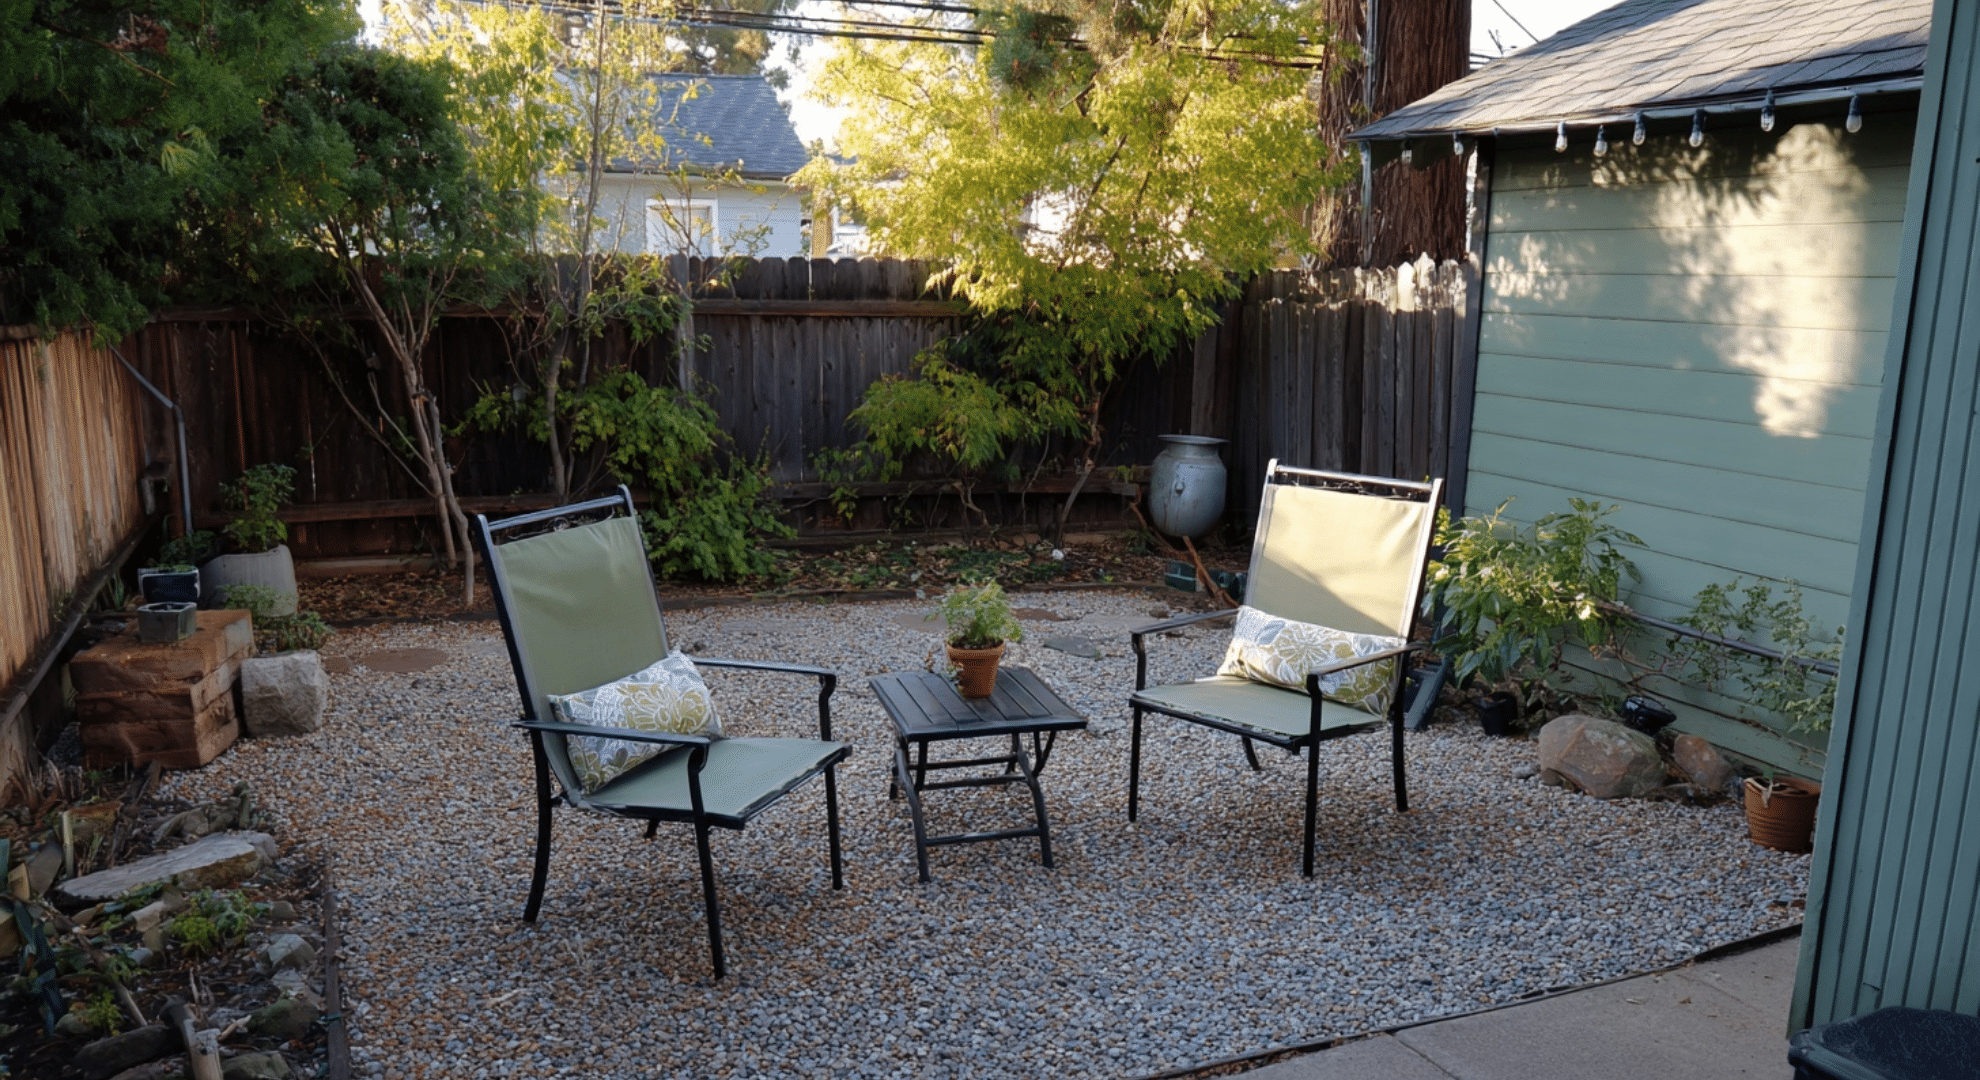
Gravel Patio
- Difficulty: Easy
- Cost Range: $ (Low)
- Time Required: 1 weekend or less
- Pros: Quick to build, great for draining water, low cost
- Cons: Weeds can pop up, gravel moves around, not ideal for furniture
- Best For: Casual spaces, renters, or quick fixes
A gravel patio is fast, simple, and budget-friendly. You can make it look neat with edging and some chairs. It’s not great if you want a firm surface, but it’s perfect for relaxed spots.
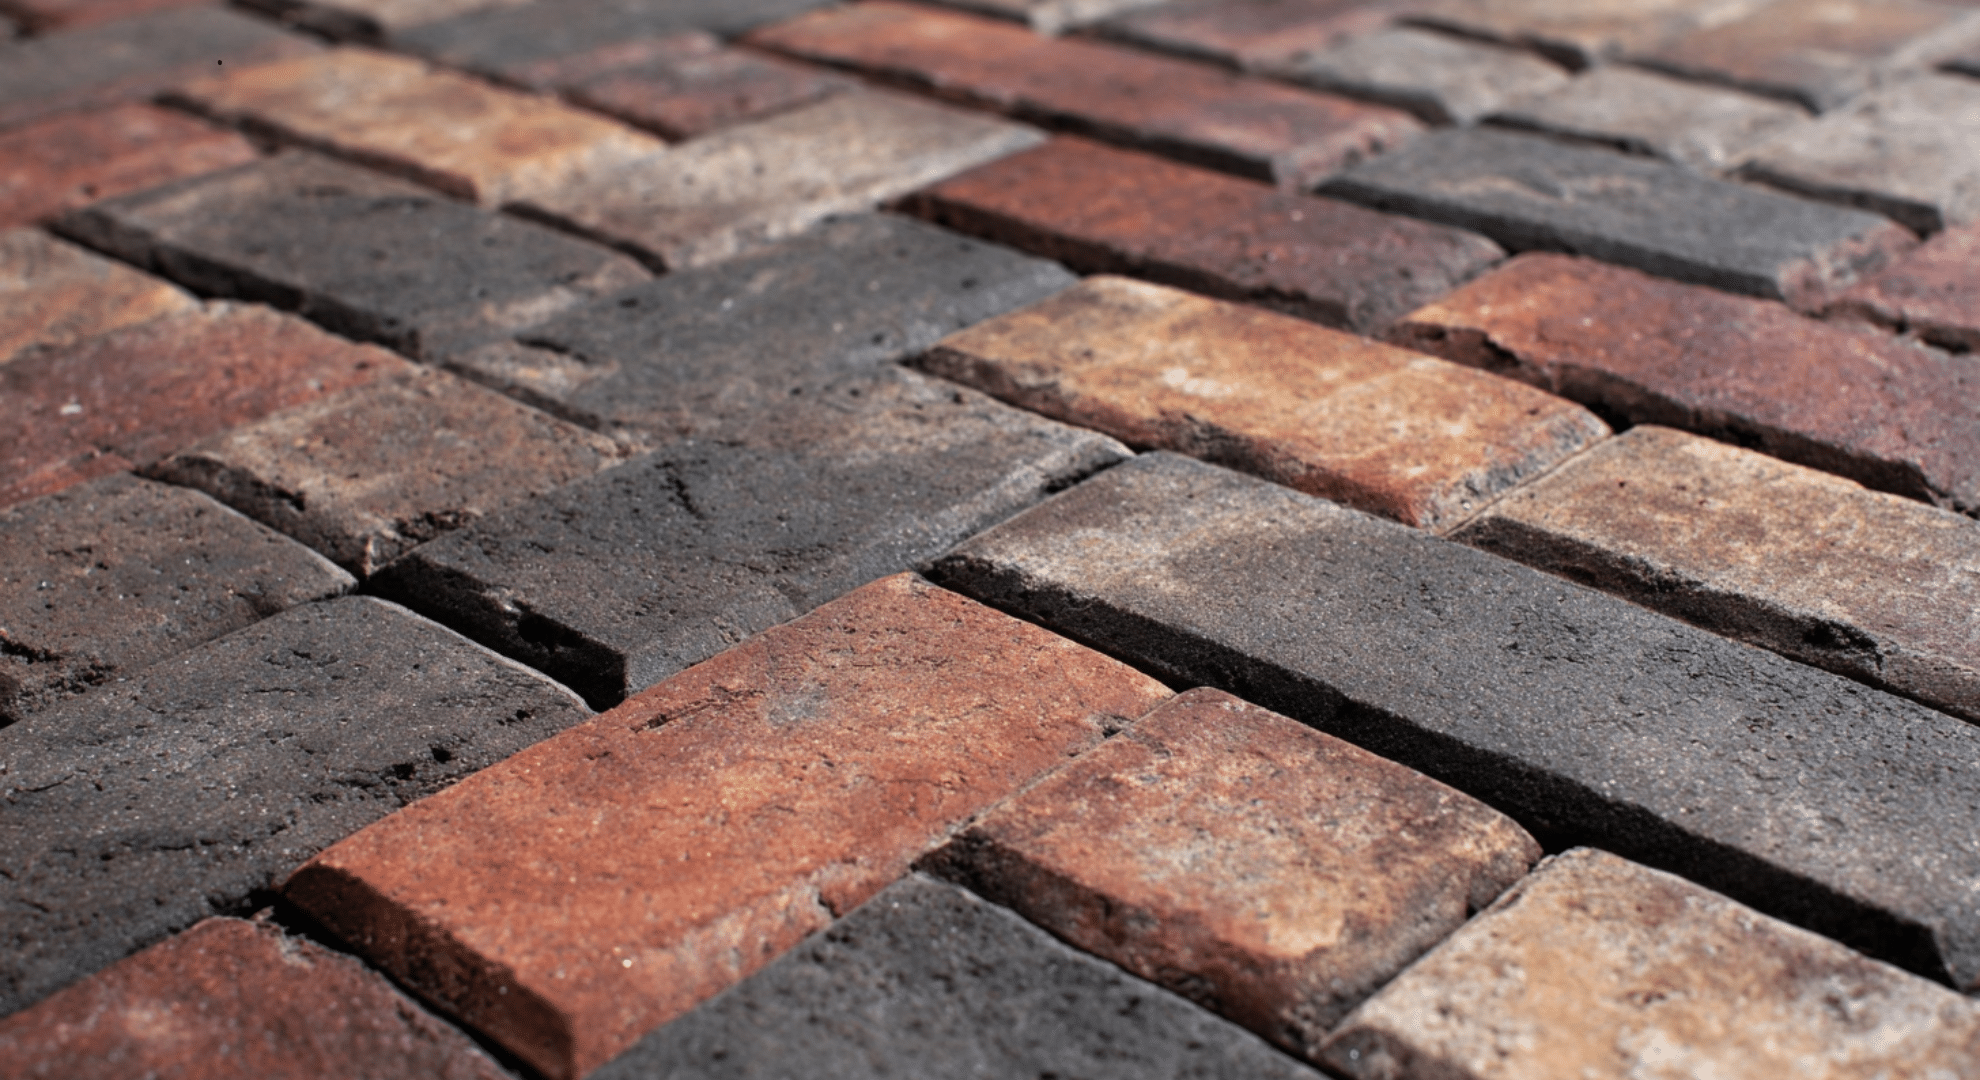
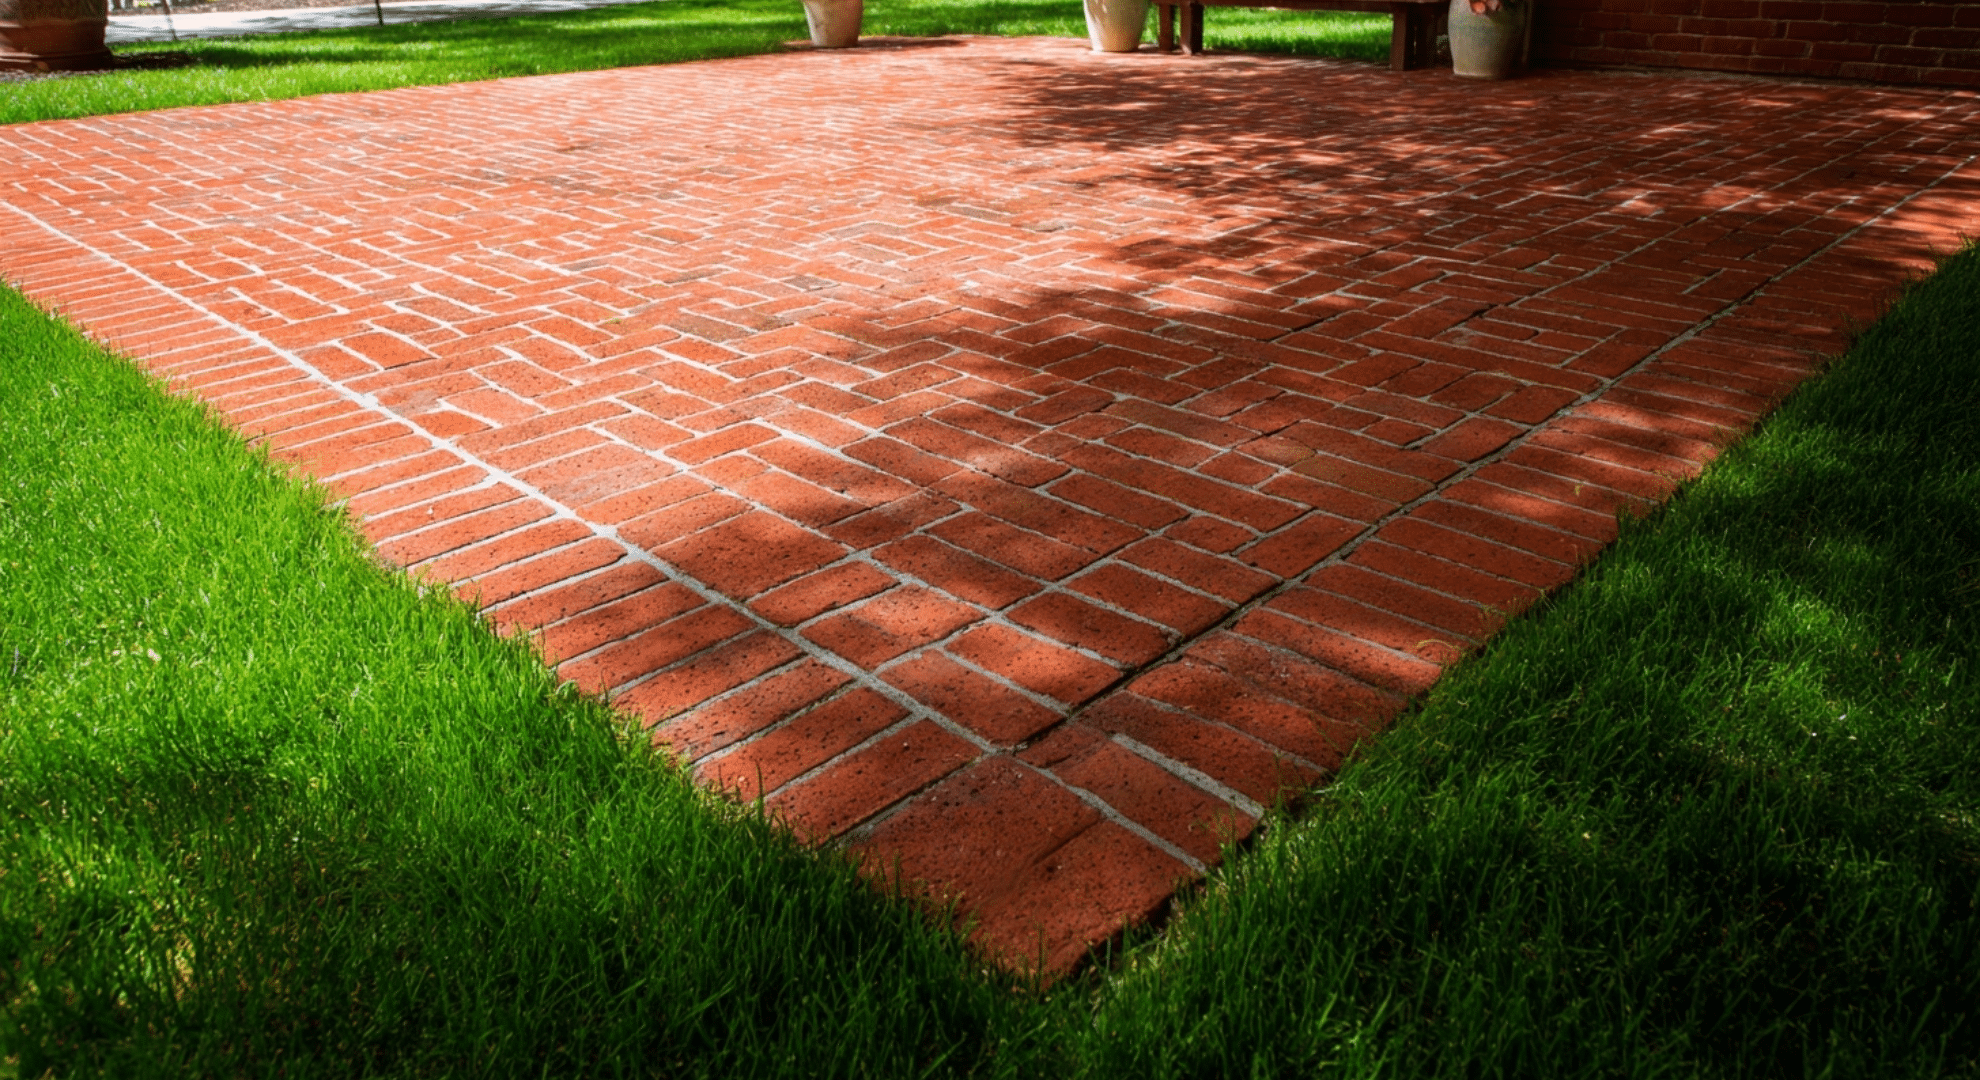
Brick Patio
- Difficulty: Medium
- Cost Range: $$ to $$$ (depending on the bricks)
- Time Required: 2–3 weekends
- Pros: Classic look, solid feel, long-lasting
- Cons: Can shift without a proper base, labor-heavy
- Best For: Older homes or people who like a traditional style
Brick patios feel timeless. You’ll follow a process similar to pavers. It’s a bit more work because bricks are smaller and need careful placement, but they hold up well when done right.
Dry-Pour Patio

- Difficulty: Medium
- Cost Range: $$
- Time Required: 1 weekend
- Pros: No forms needed, faster than wet concrete
- Cons: Surface may not be as smooth, needs good weather to set right
- Best For: DIYers who want a solid patio but don’t want to deal with pouring wet concrete
This method uses dry concrete mix straight on a leveled surface, then you add water over the top. It’s quicker and less messy, but you’ll need dry days for it to harden well.
How Much Does It Cost to Build a Patio?
Before you start digging, it helps to know what you’re getting into cost-wise. Prices can shift a lot based on size, material, and whether you’re doing the work yourself or calling a pro.
Here’s a quick look at common sizes, average material costs, tool rentals, and how DIY stacks up against hiring help:
| Patio Size | DIY Cost (Gravel/Pavers) | DIY Cost (Concrete) | Pro Install (Average) |
|---|---|---|---|
| 10×10 ft | $500 – $900 | $700 – $1,200 | $1,500 – $2,500 |
| 12×12 ft | $700 – $1,200 | $900 – $1,500 | $2,000 – $3,500 |
| 20×20 ft | $1,500 – $2,500 | $2,000 – $3,200 | $4,000 – $7,000+ |
Material costs:
- Gravel: $1–$2 per sq. ft.
- Pavers: $2–$6 per sq. ft.
- Bricks: $3–$8 per sq. ft.
- Concrete (dry mix): $3–$6 per sq. ft.
Tool rentals (per day):
- Plate compactor: $60–$90
- Concrete mixer: $50–$80
- Sod cutter (if removing grass): $75–$100
- Level, tamper, shovel: Usually cheap or already owned
DIY saves labor costs but adds time and sweat. Hiring a pro gives faster results but costs more.
Things that raise costs: tough soil, sloped land, thick base layers, special finishes, and delivery fees. You can save by doing prep work yourself or using simpler materials.
How to Build a Patio Step by Step
Here’s a simple 6-step breakdown of the full process explained above. Each step is short, clear, and to the point, just how you need it when you’re getting your hands dirty.
Step 1: Clear the Space and Prep the Ground
Start by digging out about 7 inches of soil and old materials. Remove old bricks or grass. Use a plate compactor to firmly pack the soil.
This gives you a stable subgrade, which is the foundation for everything else. Don’t skip this. If the base isn’t solid, the patio won’t stay level over time.
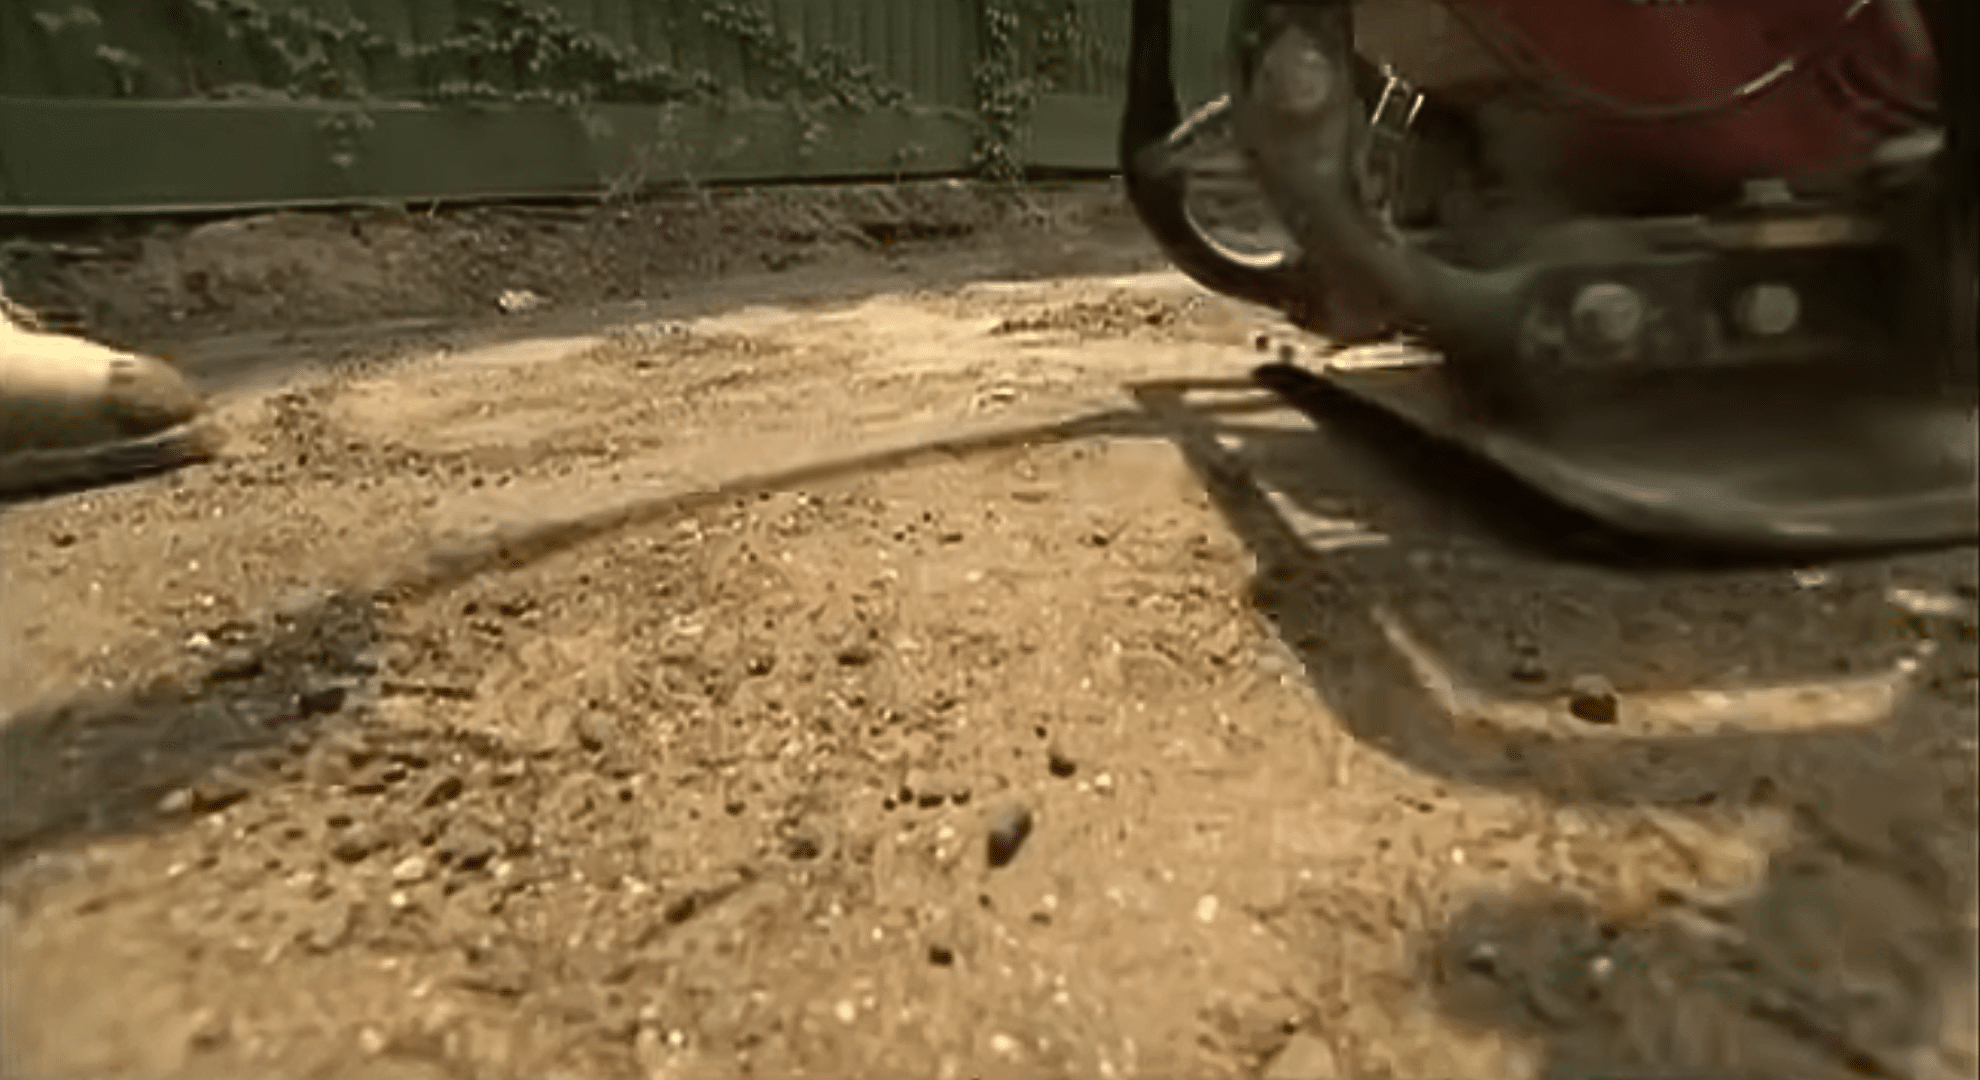
Step 2: Add and Compact the Base Material
Spread your base layer, called graded base, about 2 inches thick. It’s a mix of small stones and stone dust. Use the plate compactor again to press it down until it’s solid. This layer adds strength.
You may need to repeat this process in layers until you reach your needed height under the string line.
Step 3: Set Your Height with a String Line and Screed Rails
Run a string line from your starting point to the back edge, set 6¾ inches below your top step. This helps you keep your surface level. Then lay screed rails 2 inches below the line.
These sit in sand and guide your leveling tool. Your goal is to make the sand bed flat and even across the whole space.
Step 4: Level the Sand Bed Carefully
Pour sand across the area between the rails. Drag a screed board (a flat piece of wood or metal) over the rails to level the sand. Go slow. If you find any dips or holes, add more sand and re-screed.
This step is very important, an uneven base will cause your pavers to shift later.
Step 5: Lay the Pavers in Place
Start at a square corner. Set each paver by gently clicking it into the sand, not dragging it. Keep your joints tight and follow your pattern, like a running bond. Work in rows.
Don’t worry about edges now; you’ll cut and fill those later. Take your time so the layout stays neat and the pattern lines up.
Step 6: Lock It In and Finish Strong
Add plastic edging along the borders and pin it with long spikes. Then spread a thin layer of sand over the top of the pavers. Use a plate compactor again to shake the sand into the joints.
This locks everything in place. Sweep off the extra sand. That’s it, your patio is ready for use!
If you want to see a step-by-step video tutorial, you can find it here.
How Long Does It Take to Build a Patio?
The time it takes depends on how big your patio is, how many people are helping, and how familiar you are with basic tools.
A small 10×10 patio can usually be finished in a weekend if you work steadily and have one helper. A 12×12 or larger might take two or even three weekends if you’re working solo.
Here’s a rough idea:
- 10×10 ft (Solo): 2 days
- 10×10 ft (With Helper): 1 day
- 12×12 to 20×20 ft (Solo): 3–4 days
- 12×12 to 20×20 ft (With Helper): 2 days
Weather, breaks, and learning curves can add time. If it’s your first patio, give yourself extra space in the schedule. Don’t rush the base or leveling steps , those take the longest but matter most.
Take your time and get each part right before moving on.
Can You Build a Patio Without Digging?
Building a patio without digging sounds easier, but it’s rarely the best choice. It might work for small, light-use patios on flat, well-draining ground.
For example, if you’re using gravel or dry-laid pavers and just want a quick sitting area, you can build on top of the grass using a weed barrier and edge restraints.
But in most cases, it fails over time. Without digging, there’s no solid base. Rain, freezing temps, and foot traffic cause sinking, shifting, and uneven surfaces.
The patio may look okay at first but will likely break down within a year or two.
Pros: Fast setup, less labor, no digging tools
Risks: Poor drainage, trip hazards, short lifespan
Long-term, you can expect movement, weeds popping through, and needing to redo the whole thing. If you want a patio that lasts, digging, even just a few inches, is worth the extra effort.
Common Mistakes That Cause Patio Failure
A patio might look fine right after you build it, but the real test comes months or years later.
Skipping small steps or rushing the build often leads to big problems down the road. Here are the most common mistakes that can ruin your patio:
- Not digging deep enough for a strong base
- Skipping the compactor or not using it enough
- Using the wrong kind of base material
- Failing to slope the patio slightly for drainage
- Laying pavers directly on dirt or grass
- Not locking the edges with proper edging
- Forgetting to fill the joints with sand
Taking shortcuts can lead to cracked bricks, sinking spots, and water damage. If you want your patio to last, each step, especially the boring ones, needs attention. It’s the base work that keeps everything solid.
Conclusion
Building my own patio taught me that you don’t need to be a pro; you just need a clear plan and a little patience. I figured out what type of patio fit my space, took it step by step, and learned as I went.
Now you’ve got a full picture of how to build a patio, from picking the right kind to avoiding mistakes that could ruin it later. Take a minute to think about your space, your time, and your tools. Start with a simple plan and build from there.
Solid prep gives you solid results. Keep it level, don’t skip the base, and check the weather before you start.
Want more helpful tips like this? Keep learning and check out our other blog posts; they’re full of clear, no-fluff advice for getting hands-on with your home.