I’ve always been drawn to wood with a story, and oak staves are full of it. These curved wooden pieces once formed the sides of wine or whiskey barrels, aging drinks for years before being taken apart.
Now, they’re perfect for DIY projects that look rustic, charming, and one-of-a-kind. I started using staves for small projects around the house and quickly realized how special they are.
Each one is different, with its own marks, scents, and color. In this blog, I’ll walk you through what makes oak staves unique, the different types you can find, and how you can use them to create everything from headboards to coat racks.
No matter if you’re a beginner or just curious, I’ll share easy tips, real-life uses, and common mistakes to avoid. Let’s give these old barrel pieces a brand-new purpose together.
What Makes Oak Staves Special?
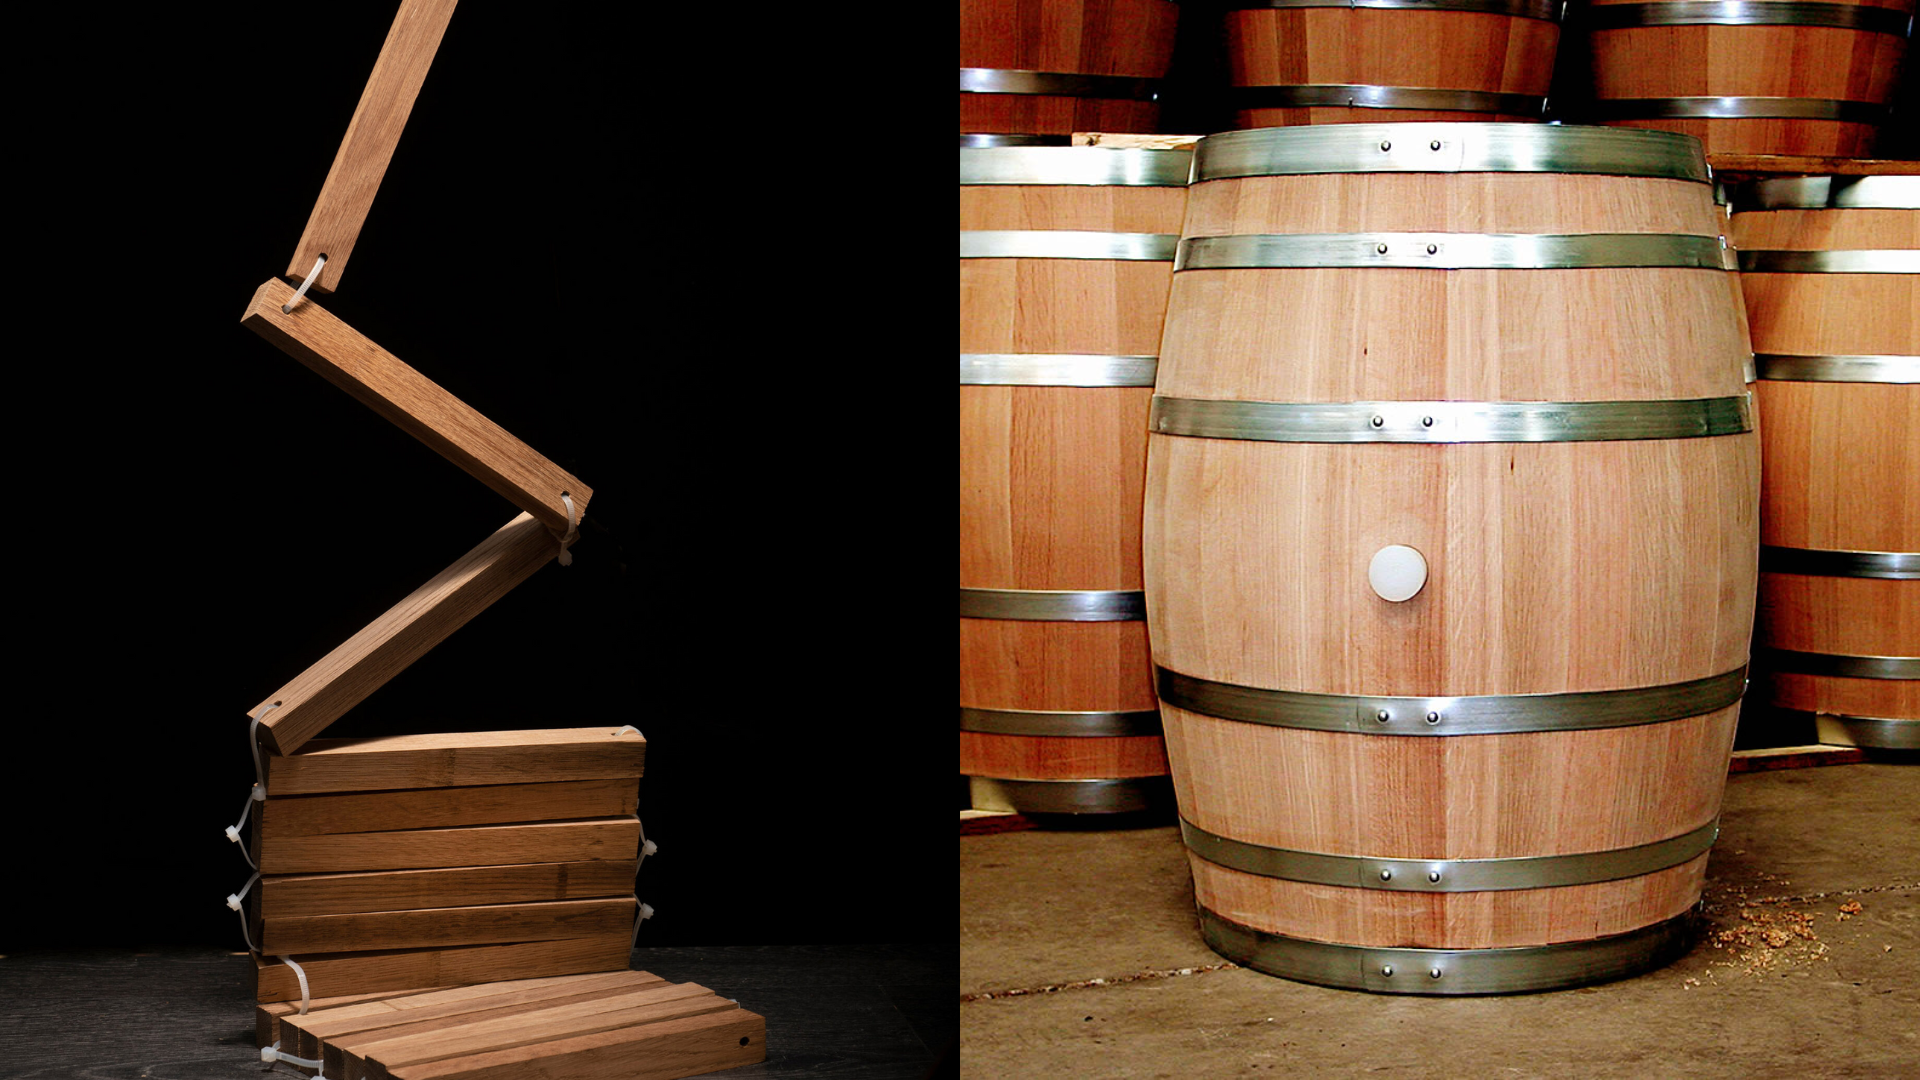
A stave is one of the curved wooden pieces that, when put together, form a barrel.
Think of them as the vertical slats that coopers (barrel makers) join with metal hoops to create wine or whiskey barrels. When barrels are taken apart, each stave becomes an individual piece of wood with a natural curve.
Oak staves have a magic that other woods don’t. They come from barrels that once held wine or whiskey for months or years. This aging process gives them a unique appearance, rich coloring, and sometimes a pleasant aroma as well.
What I like most about oak staves is that no two pieces are identical. Each one has its marks, grain patterns, and color variations.
Some even have the cooper’s marks or brand stamps from the drinks they once held. You might find dark stains from wine or whiskey, or the charred interior that gives whiskey its flavor.
Oak is also very strong and resistant to water damage. It can last for years without breaking down.
That’s why it was chosen for making barrels in the first place. When you use staves for your home projects, you achieve the same level of toughness.
Understanding the Different Types of Oak Staves
Not all oak staves are the same. The type you choose can completely change the look, scent, and style of your project. I’ve used both new and old staves in my own DIY work, and each kind brings something special.
| Type | Description | Best For |
|---|---|---|
| New Oak Staves | Clean, light-colored, unused staves without staining or scent. | Clean, polished designs |
| Reclaimed Oak Staves | Previously used in barrels; rich color, markings, and scent from aging liquids. | Rustic, character-filled projects |
| Wine Barrel Staves | Slightly curved; may have red/purple tint and soft wine scent. | Warm, wine-themed decor |
| Whiskey Barrel Staves | More curved; darker wood with black char layer and strong scent. | Bold contrast and rustic whiskey style |
| American Oak | Light tan, straight grain, vanilla/coconut scent; affordable and common. | Most US-based woodworking projects |
| French Oak | Grayish tone, tighter grain, smooth feel; often from wine barrels. | High-end or elegant finishes |
| Hungarian Oak | Reddish-brown with unique grain; similar to French oak but rarer. | Stylish, uncommon woodwork |
| Spanish Oak | Rich brown color with bold grain patterns; rustic and less common. | Distinct, rugged furniture or art |
| Toasted Staves | Heated to bring out natural tones and subtle aroma; light brown inside. | Wine barrel repurposing, soft tones |
| Charred Staves | Burned interior, black layer with texture and strong scent; common in whiskey. | Bold DIY contrast pieces |
Every oak stave has its own story and style. I often switch between types depending on whether I want a clean, modern feel or something more weathered and bold.
The good news is there’s no wrong choice – just the one that fits your vision best. Whether you’re building furniture, wall art, or decor, this guide should make picking the right oak stave easier and more fun.
Real-Life Uses for Oak Staves
Oak staves are perfect for DIY projects because they’re already a manageable size. Plus, their unique curve and character give your projects instant appeal.
Accent Walls and Headboards
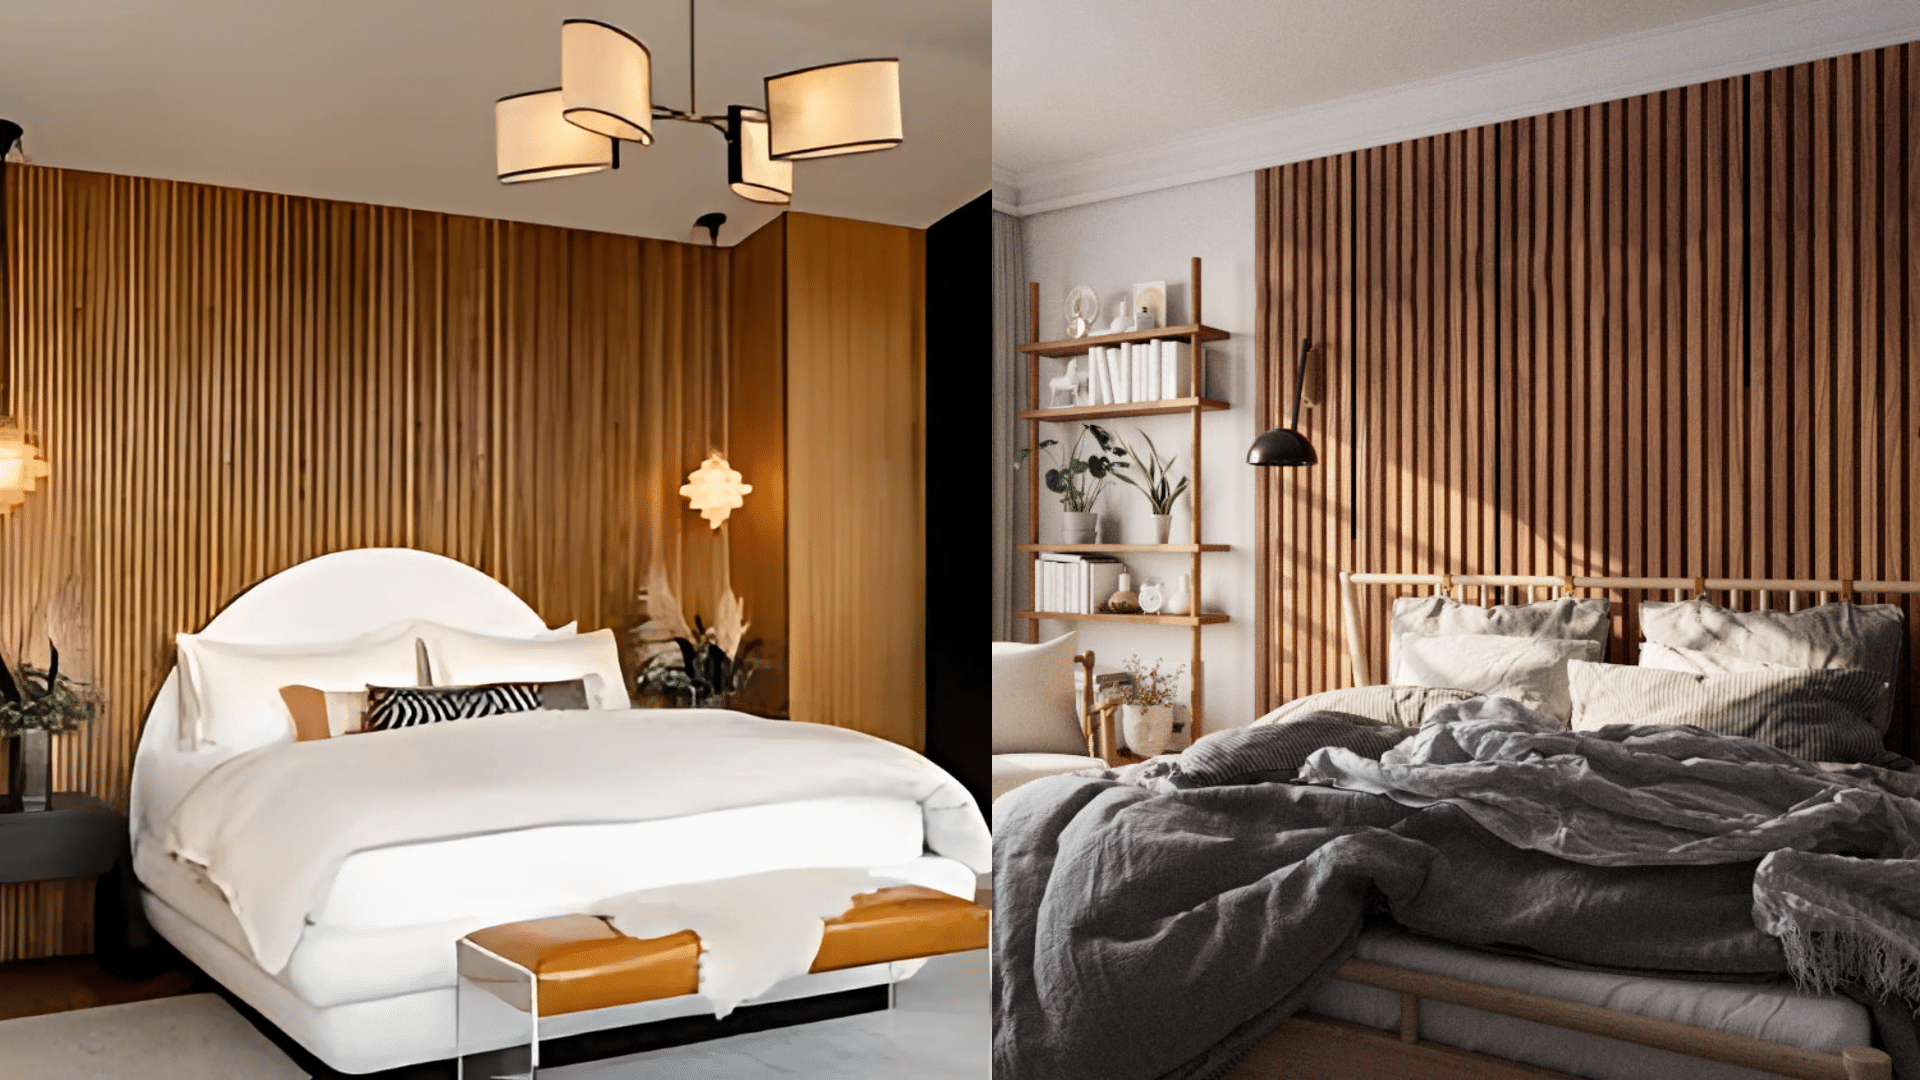
Bedroom headboards: I placed staves side by side, keeping their natural curve to create a warm, rustic focal point in my bedroom. The curved shape adds dimension and depth, making the headboard stand out without needing extra decorations.
Accent walls: Staves can be arranged in creative patterns—like herringbone, vertical stripes, or even a random layout—to craft a truly unique wall feature. Their varied tones and textures bring character and a handcrafted look to any room.
Wine or Whiskey-Themed Home Bars
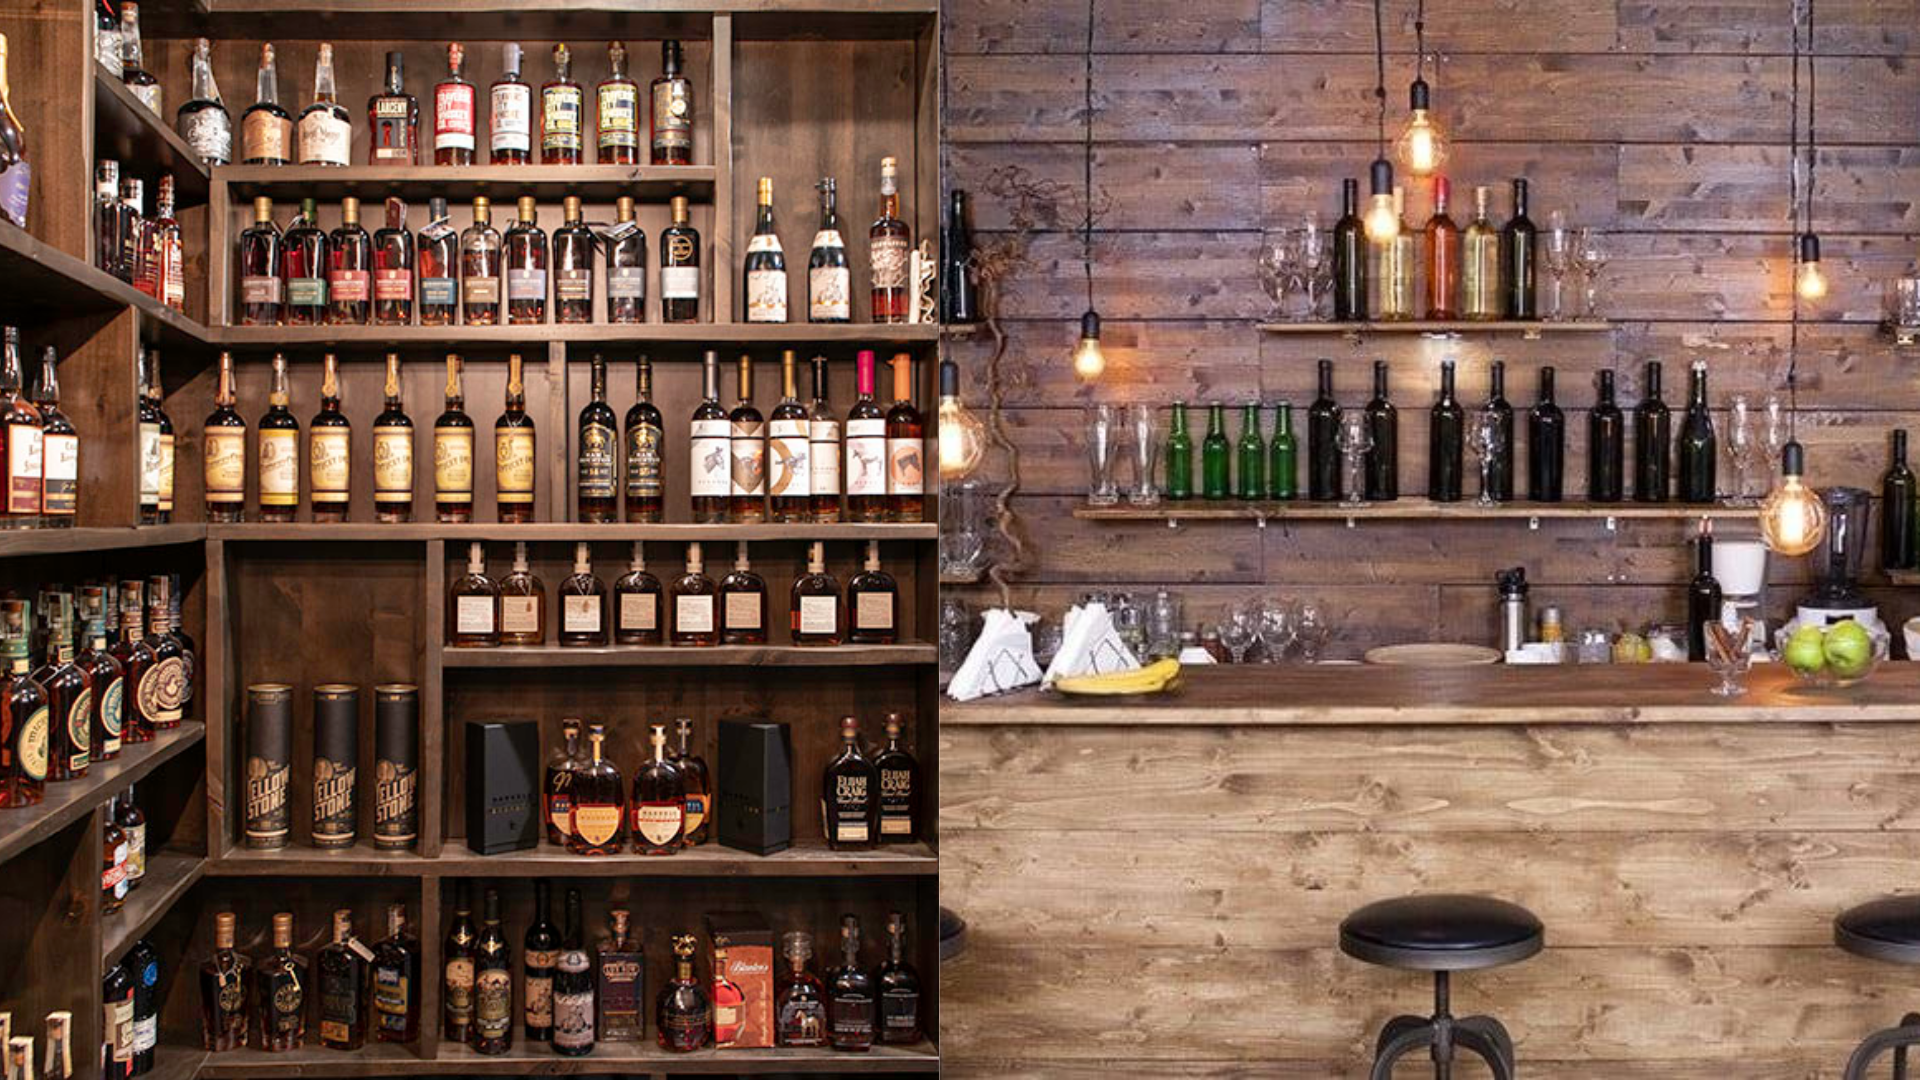
Bar fronts: Covering the front of a home bar with staves gives it an authentic, aged-barrel look that guests always notice. The texture and shape of the staves add warmth and a handcrafted charm that you just can’t get from flat panels.
Bottle display shelves: The natural curve of staves makes them perfect for holding wine bottles securely while showing them off. Whether mounted on a wall or set into a frame, they turn simple storage into a rustic conversation piece.
Rustic Hooks or Coat Racks
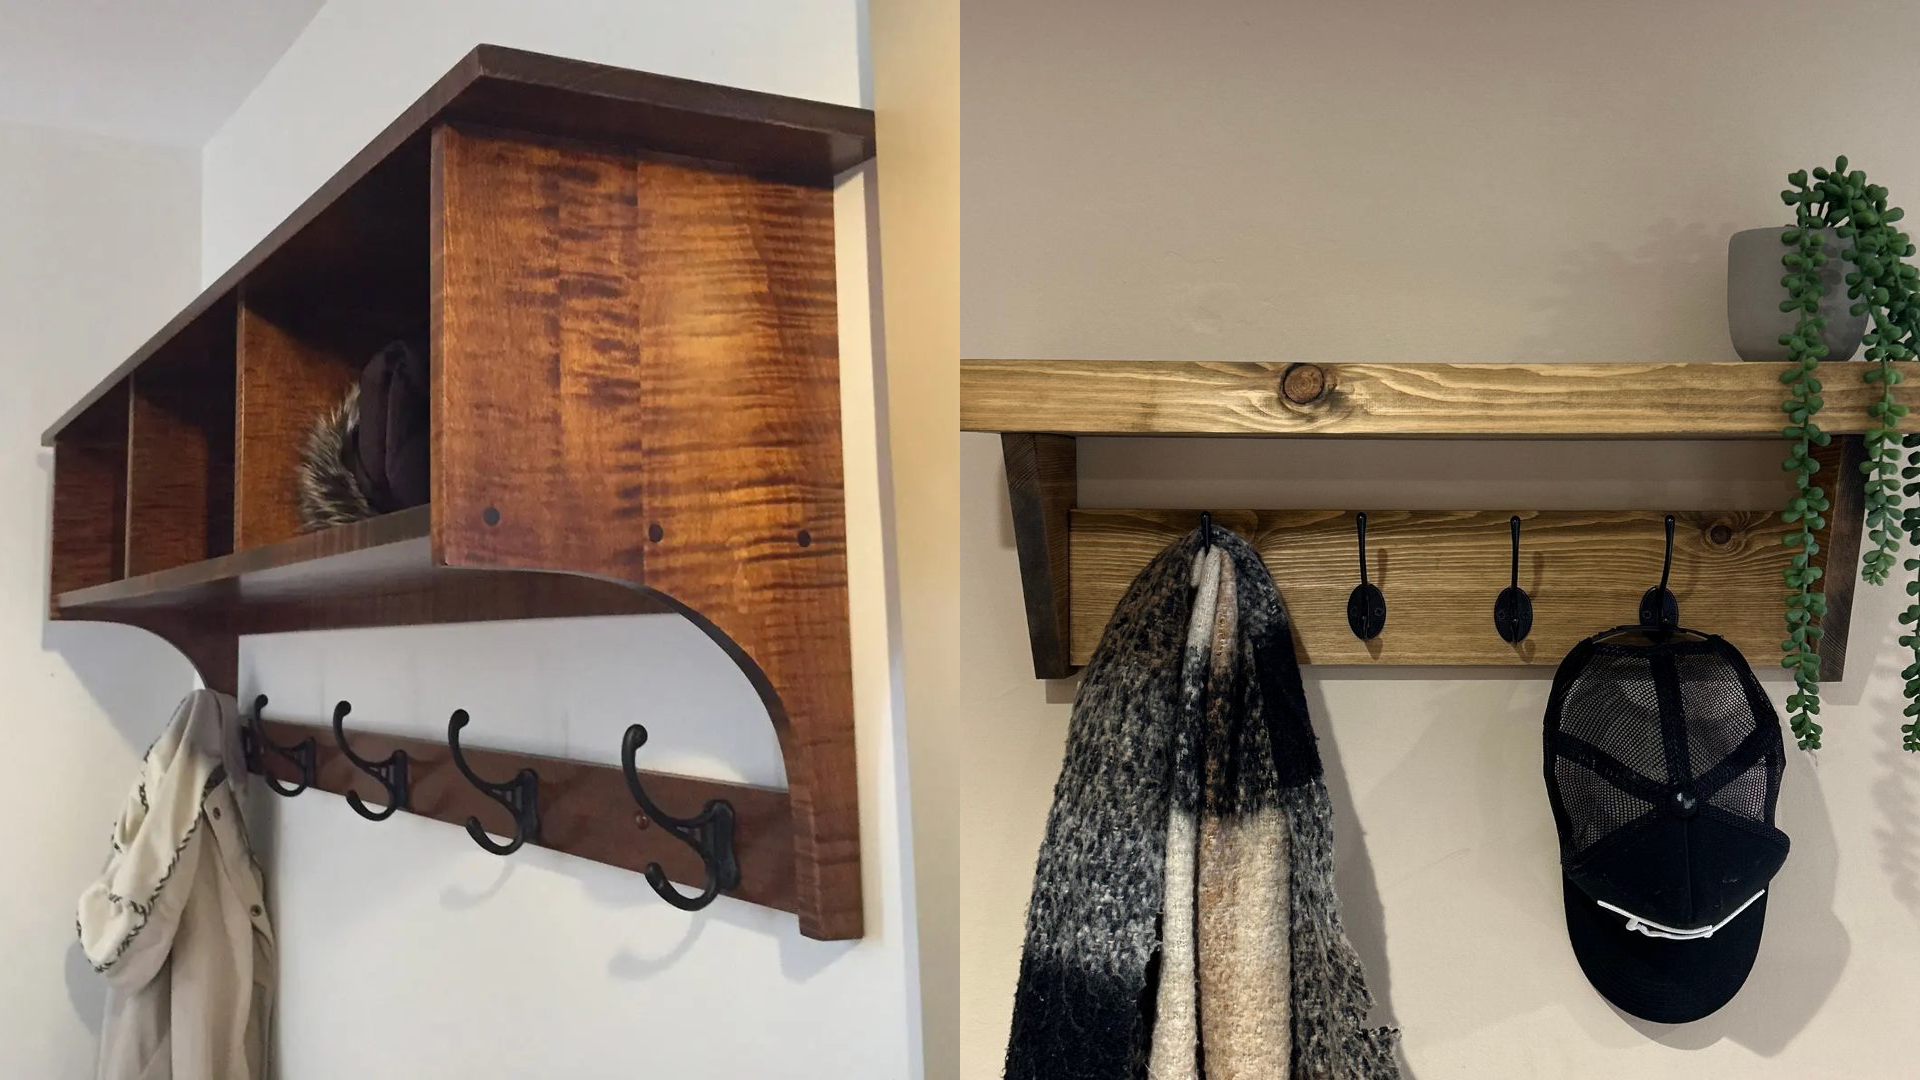
Entry hall organizers: Staves with mounted hooks are a stylish way to keep coats, hats, and bags organized in your entryway. Their natural curve and aged wood grain add a rustic touch that blends charm with everyday function.
Towel racks: Bathroom towel holders made from staves bring warmth and texture to modern spaces. The gentle curve of the wood adds a soft contrast to sleek tile and metal, turning a simple towel rack into a design feature.
Garden Edging and Planters
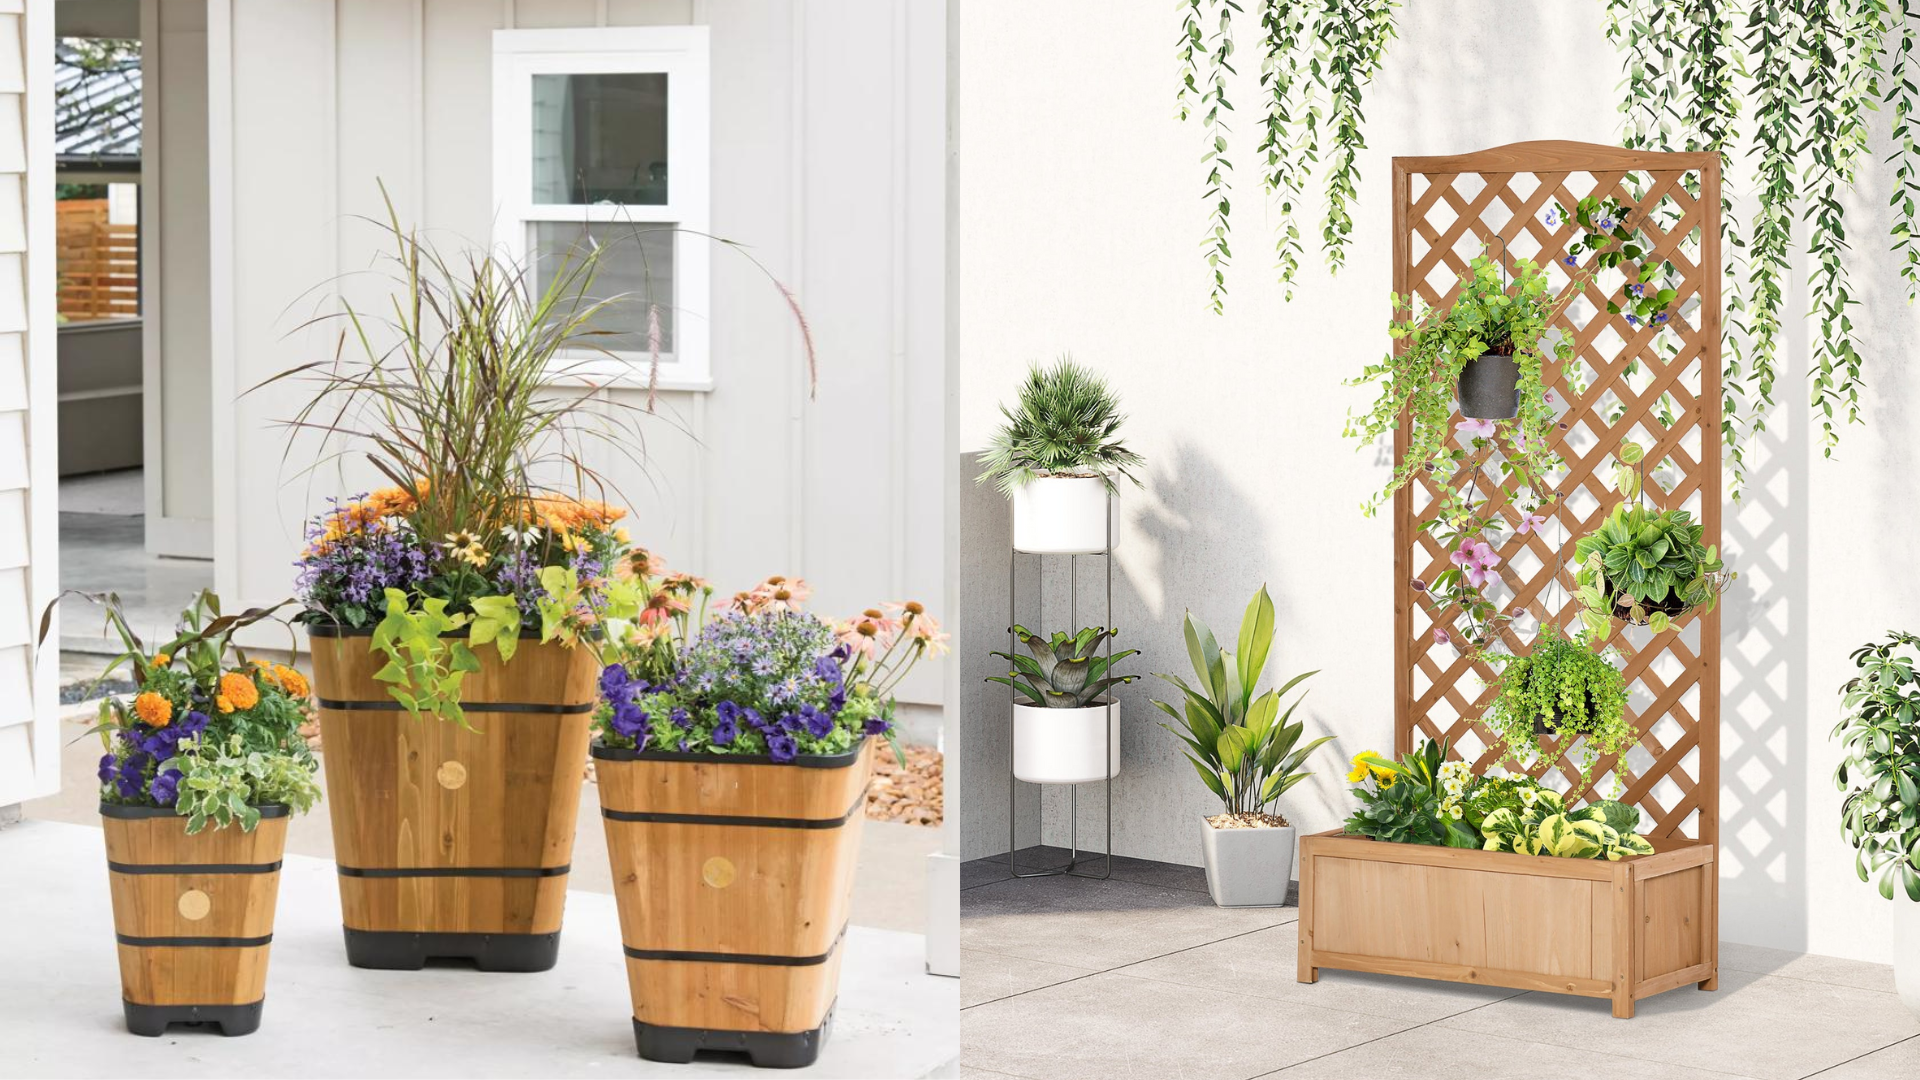
Small planters: Joining staves with waterproof glue creates one-of-a-kind vessels perfect for small plants or succulents. Their curved shape and aged wood tones give the planter a handcrafted look that stands out on shelves or patios.
Path edging: Partially burying staves along garden paths adds instant rustic charm and structure. I’ve used them to frame walkways, and they hold up well while blending naturally into the landscape.
Lighting Fixtures
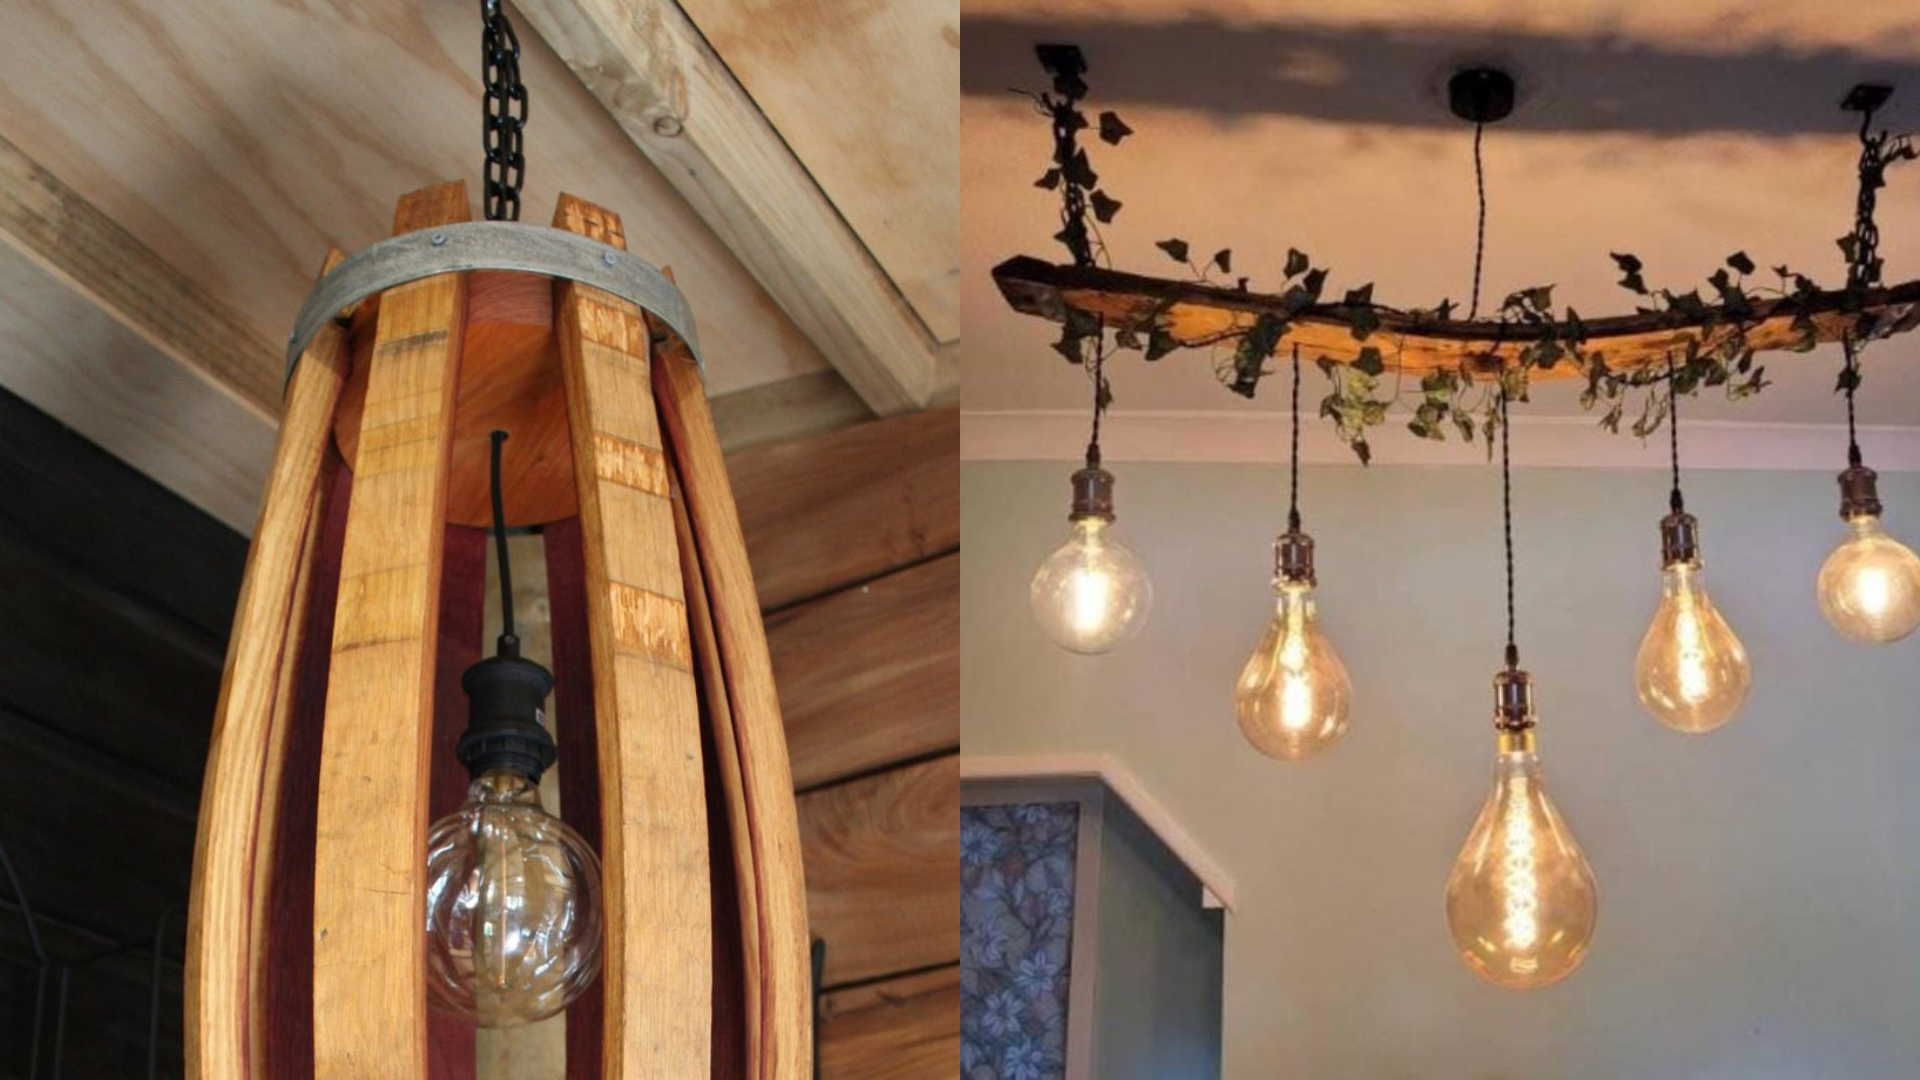
Pendant lights: Hollowing out sections of staves creates beautiful wooden light covers that hang with character. The natural curve casts soft shadows and adds warmth, making it perfect for kitchens, dining rooms, or cozy corners.
Sconces: Mounting staves on walls with attached light fixtures turns simple sconces into standout pieces. Their aged wood and curved shape give off a soft, inviting glow while adding rustic charm to hallways or bedrooms.
Decorative Accents
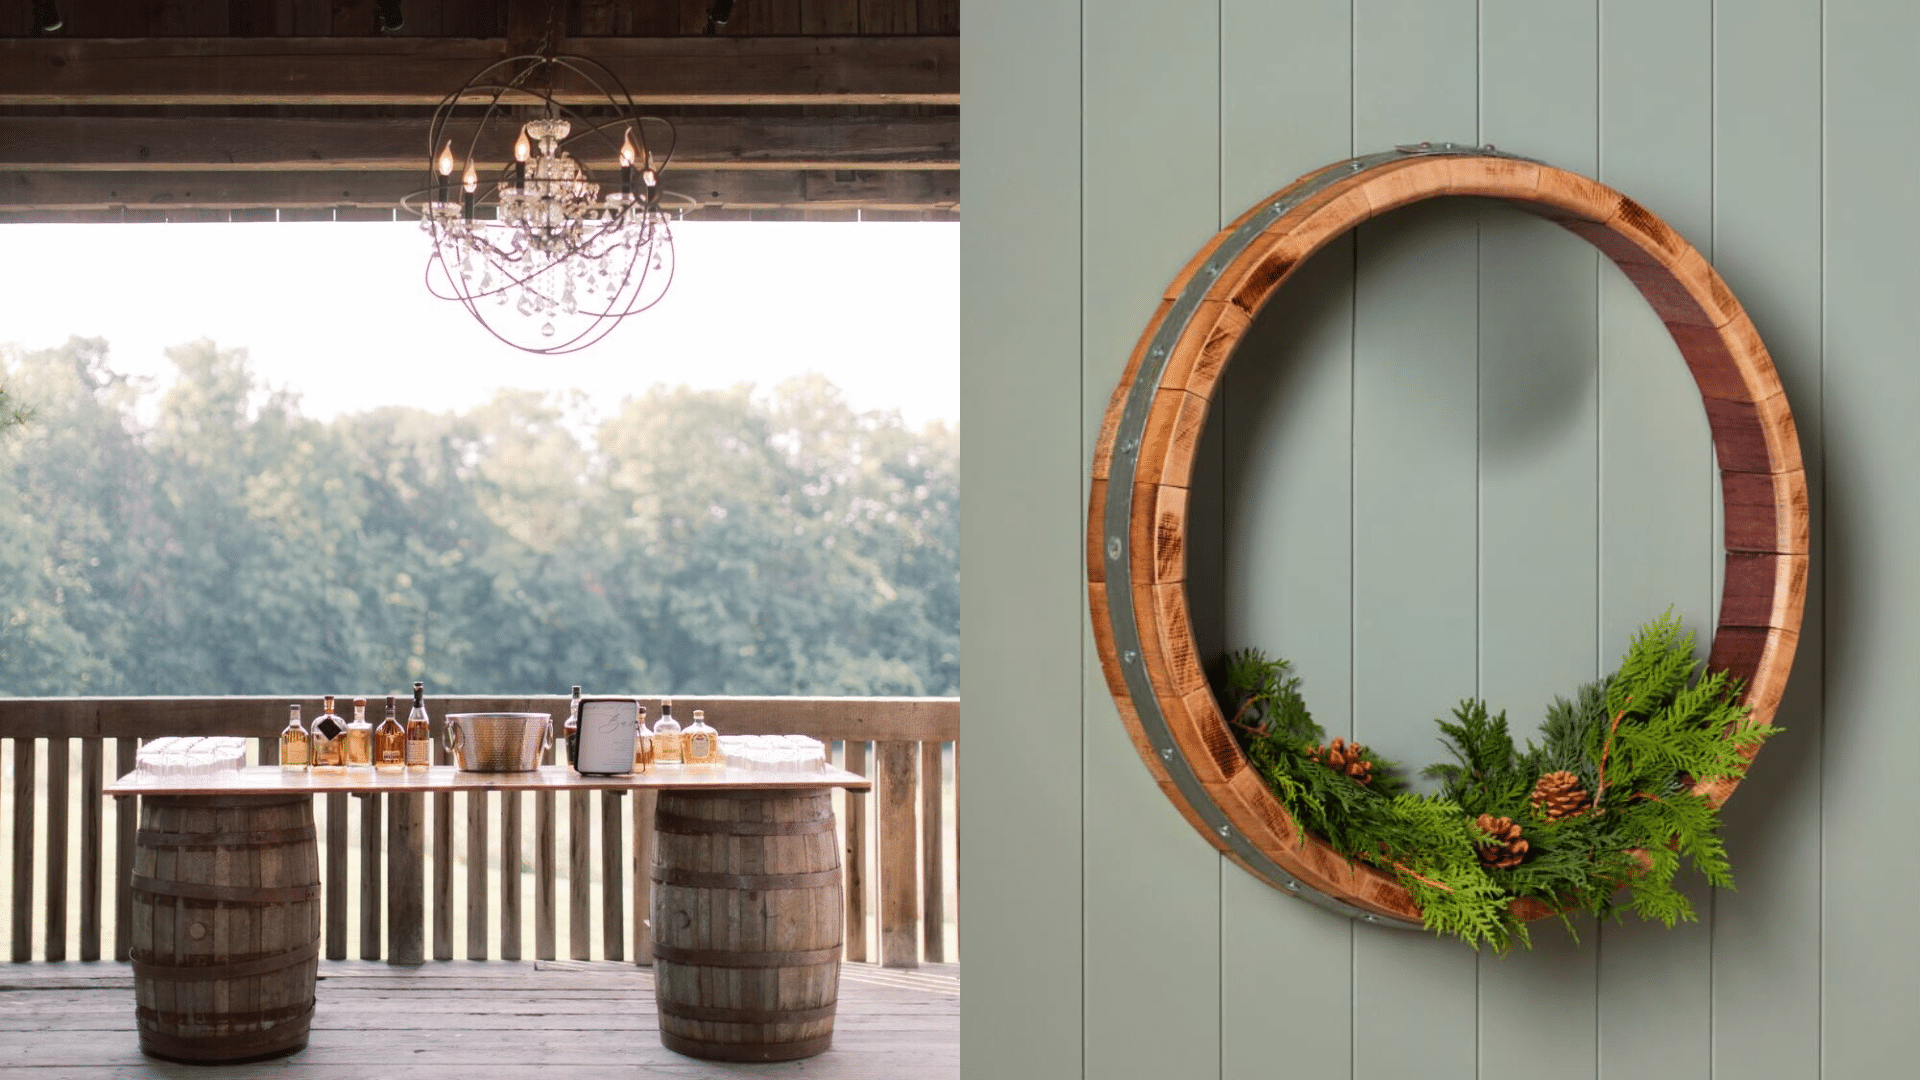
Clock faces: The curved surface of a stave creates an eye-catching and textured background for clock hands. I’ve found that the natural grain and aging marks add a lot of personality to a simple wall clock, making it both functional and decorative.
Door wreaths: Flexible staves can be gently bent into circles to form the base for unique door wreaths. Whether dressed up with greenery or left bare for a minimalist look, they offer a rustic twist on traditional seasonal decor.
Kitchen Implements
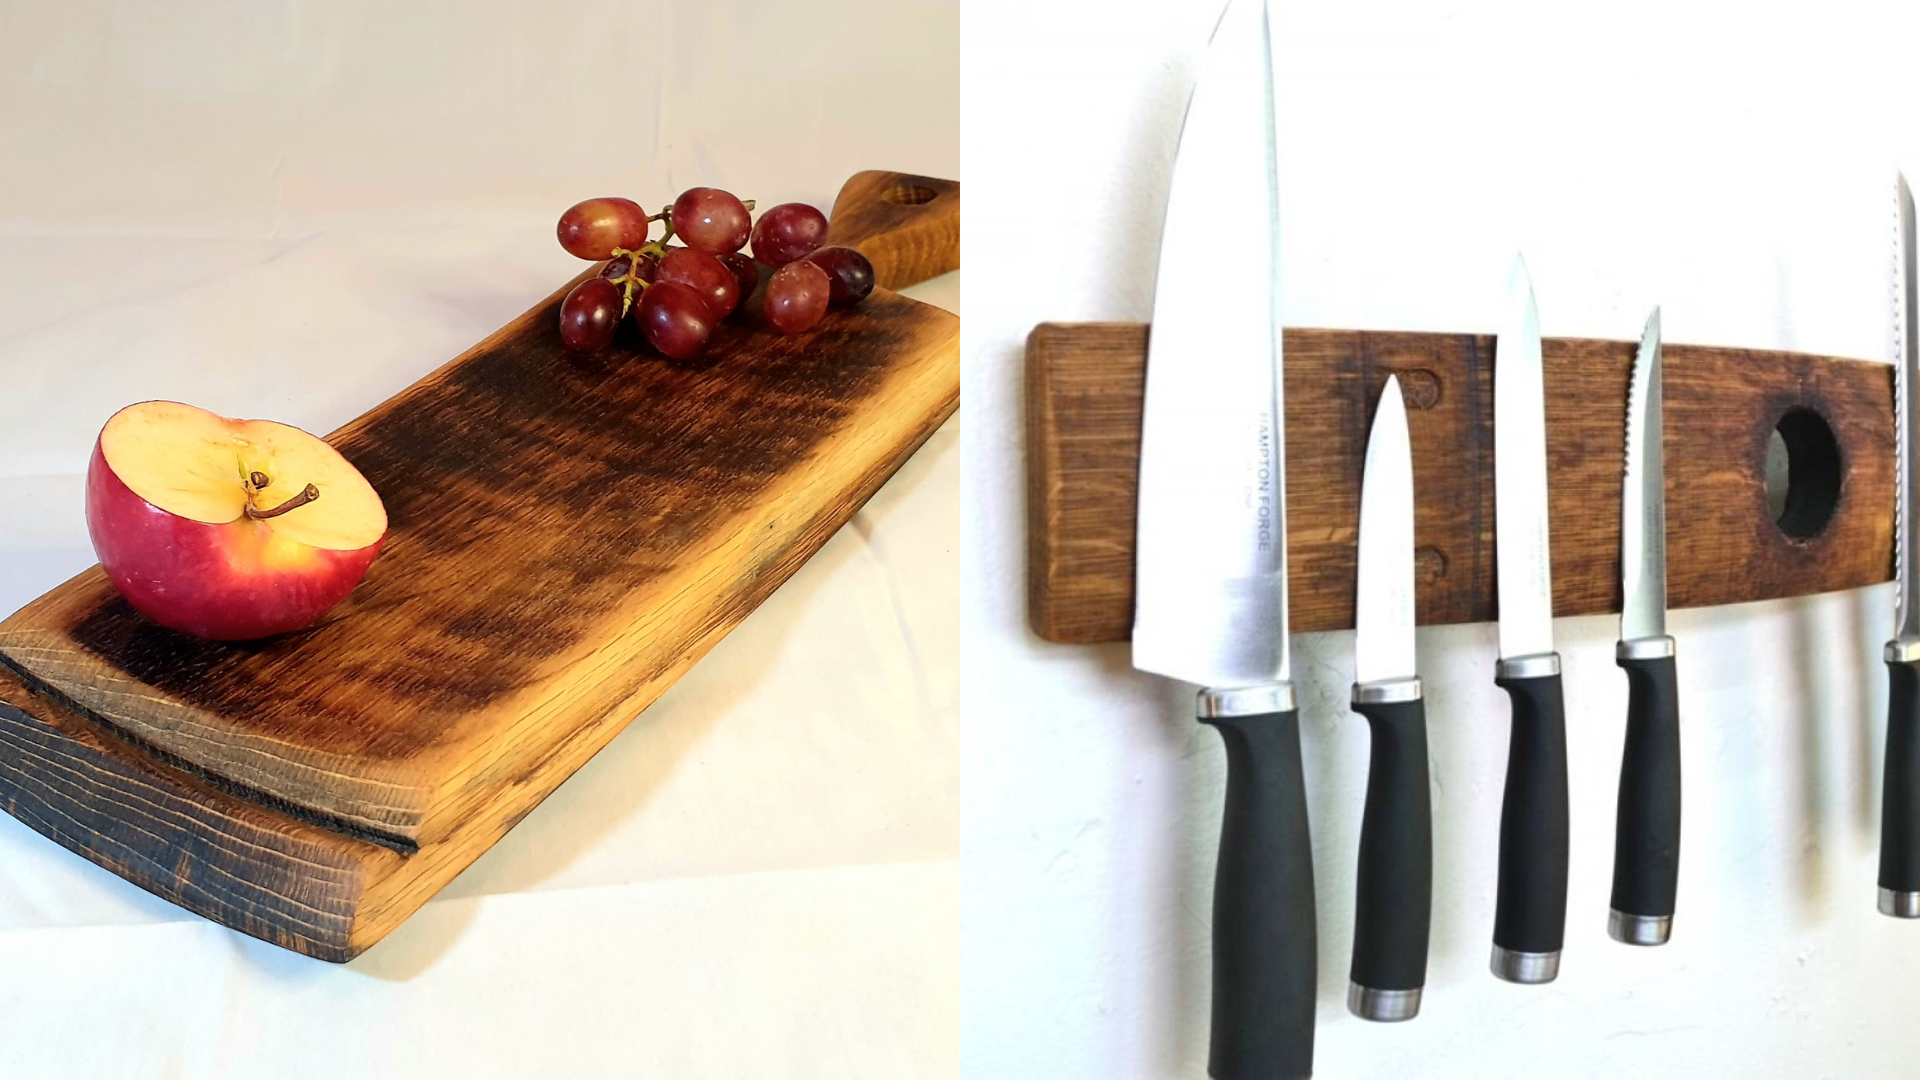
Cutting boards: Staves can be planed flat and tightly joined together to make durable and one-of-a-kind cutting boards. The mixed tones from wine or whiskey aging give the board a rich, natural look that stands out on any kitchen counter.
Knife blocks: Thick stave sections can be drilled to hold kitchen knives securely and stylishly. I’ve made one myself, and the curved wood adds a handcrafted feel while keeping the knives organized and within easy reach.
Step-by-Step Guide: Simple Oak Stave Coat Rack
Oak staves are perfect for DIY projects because they’re already a manageable size. Plus, their unique curve and character give your projects instant appeal.
Tools You’ll Need
- Sandpaper (various grits)
- Drill with bits
- Screwdriver
- Hooks
- Clear sealer or oil
- Hanging hardware
1. Select and Clean Your Stave

Look for a stake with a gentle curve that will sit flat against the wall. Avoid pieces with deep cracks or signs of rot. I prefer whiskey barrel staves for coat racks because they’re typically thicker and can hold more weight.
The length matters too. For a standard coat rack, I like staves around 30-36 inches long. This provides sufficient space for 4-5 hooks without overcrowding them.
Start by brushing off loose dirt with a dry brush. Years in a cellar or warehouse can leave dust in the wood’s crevices.
Next, wipe the entire stave with a damp cloth. For staves with wine stains or strong whiskey smells, use a 50/50 mix of water and white vinegar. This helps neutralize odors without damaging the wood.
2. Sand the Surfaces
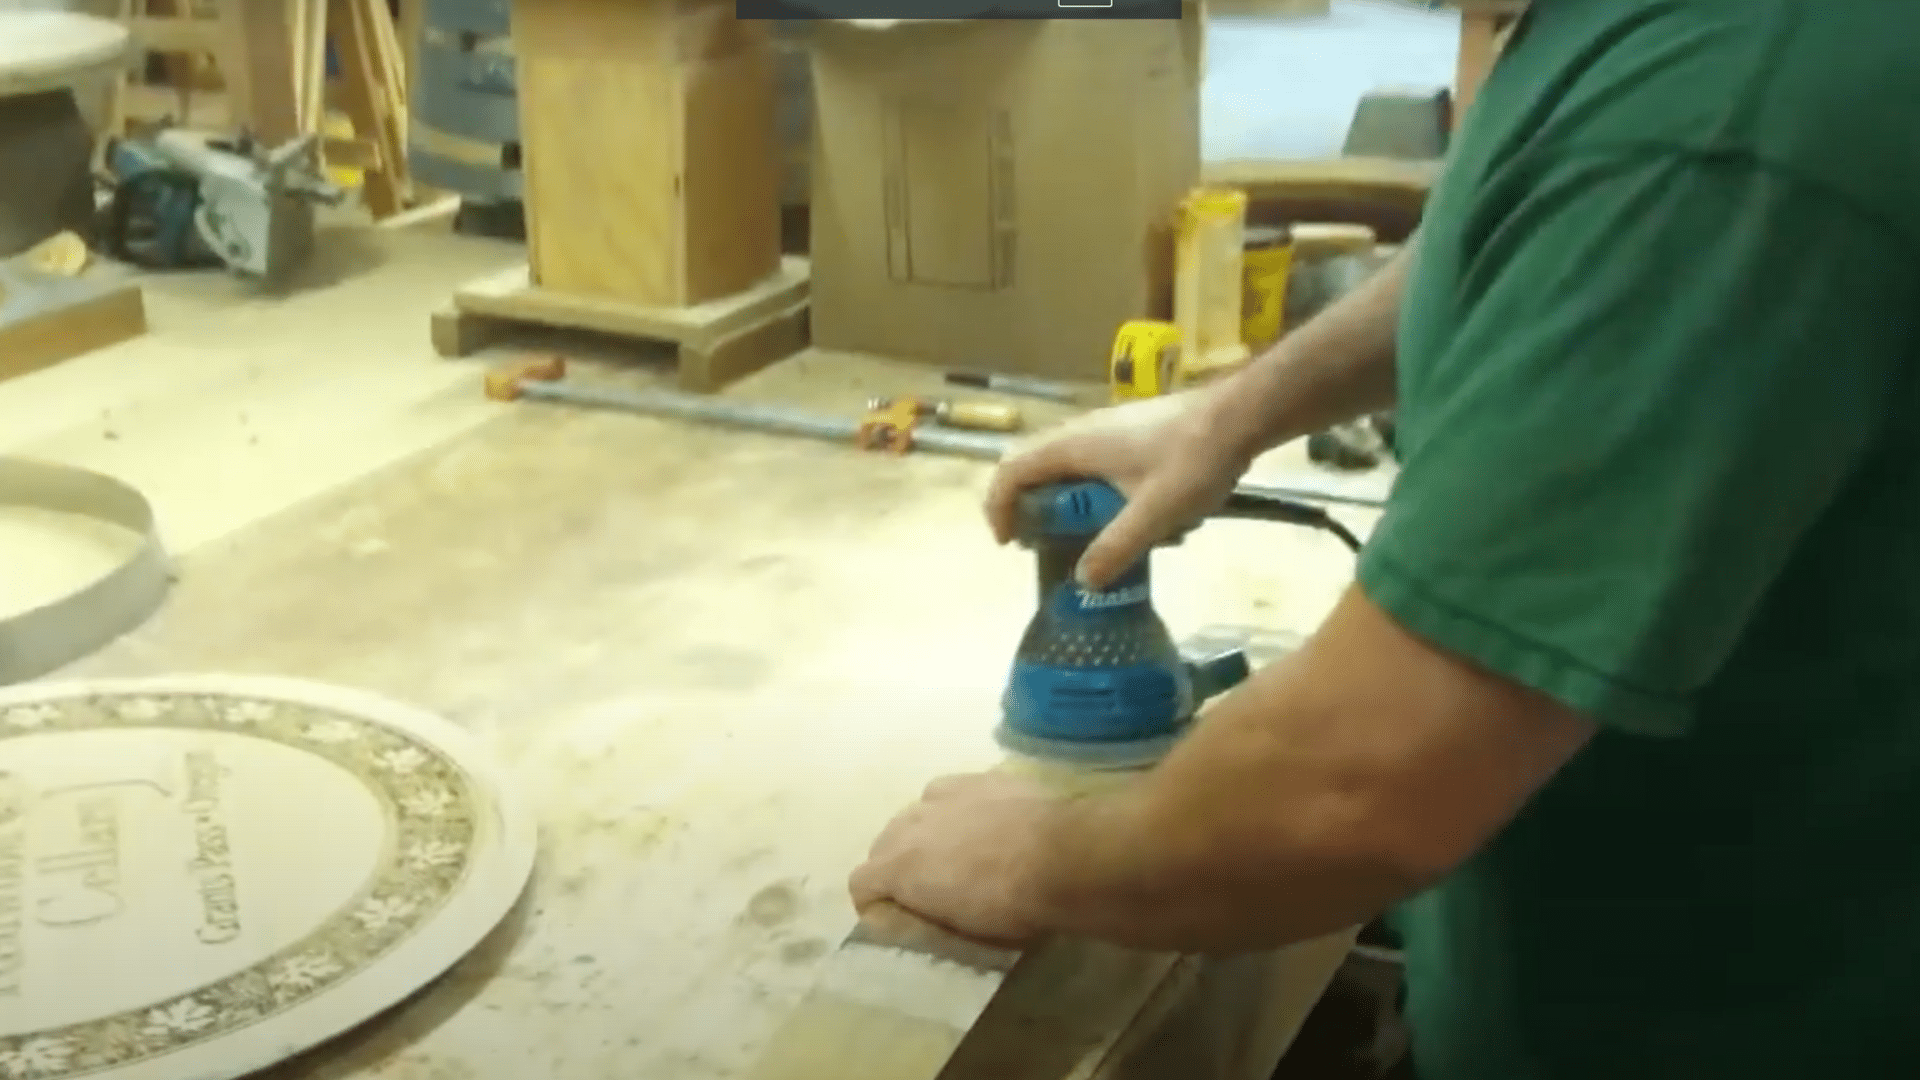
Begin with coarse sandpaper (80 grit) to remove any rough spots or splinters. Pay special attention to the edges, which can be quite sharp.
Move to medium sandpaper (120 grit) to smooth the surface. For a truly polished finish, use fine sandpaper (220 grit).
Don’t sand too aggressively on the inside curve of whiskey staves. The char layer is part of what makes them special. I often leave some char intact for character.
3. Mark and Drill Holes for Hooks
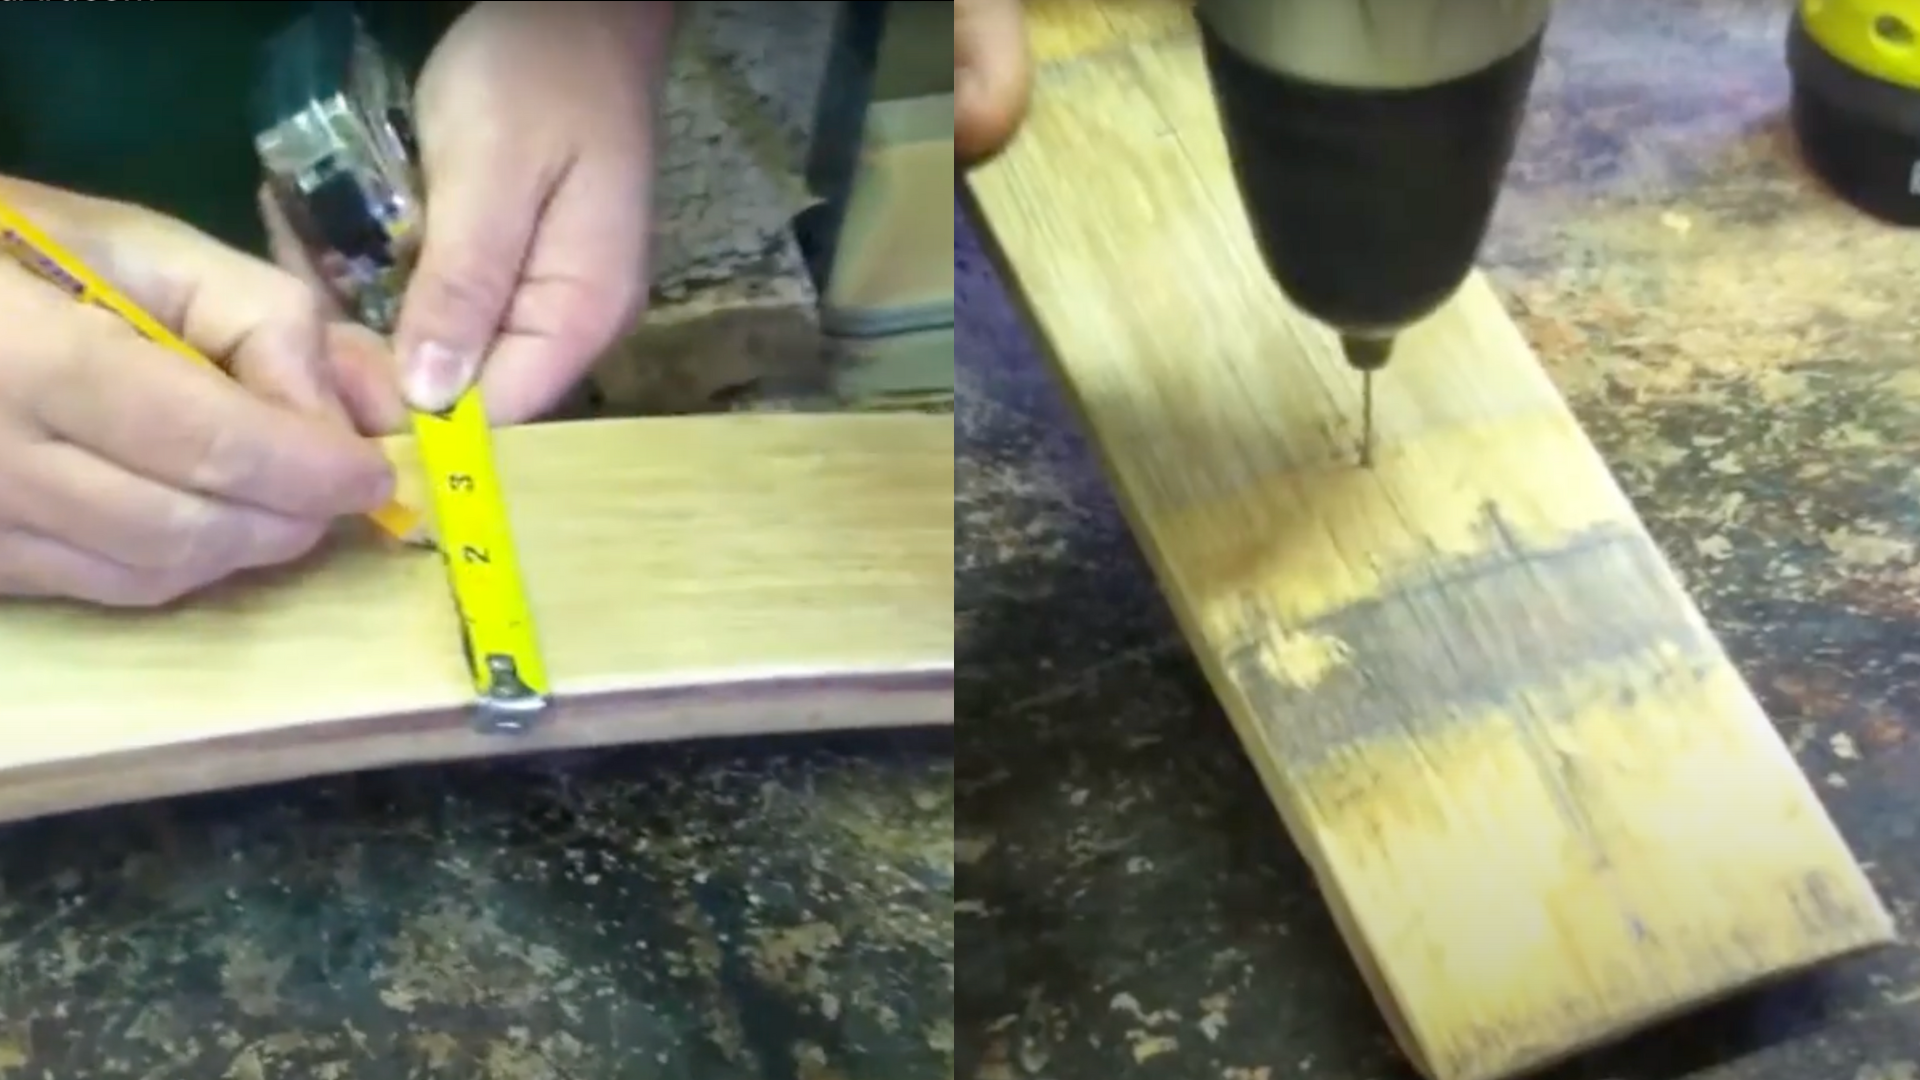
Measure and mark the location of each hook. I typically space hooks 6-8 inches apart, with the end hooks at least 3 inches from each edge.
Use a pencil to mark the exact spots. For extra precision, I use a small piece of painter’s tape on each mark – this prevents the drill bit from slipping on the curved surface.
Pre-drill holes sized for your hooks. If you’re using screw-in hooks, choose a drill bit slightly smaller than the screw threads. This creates a grip for the hooks.
4. Apply a Protective Finish
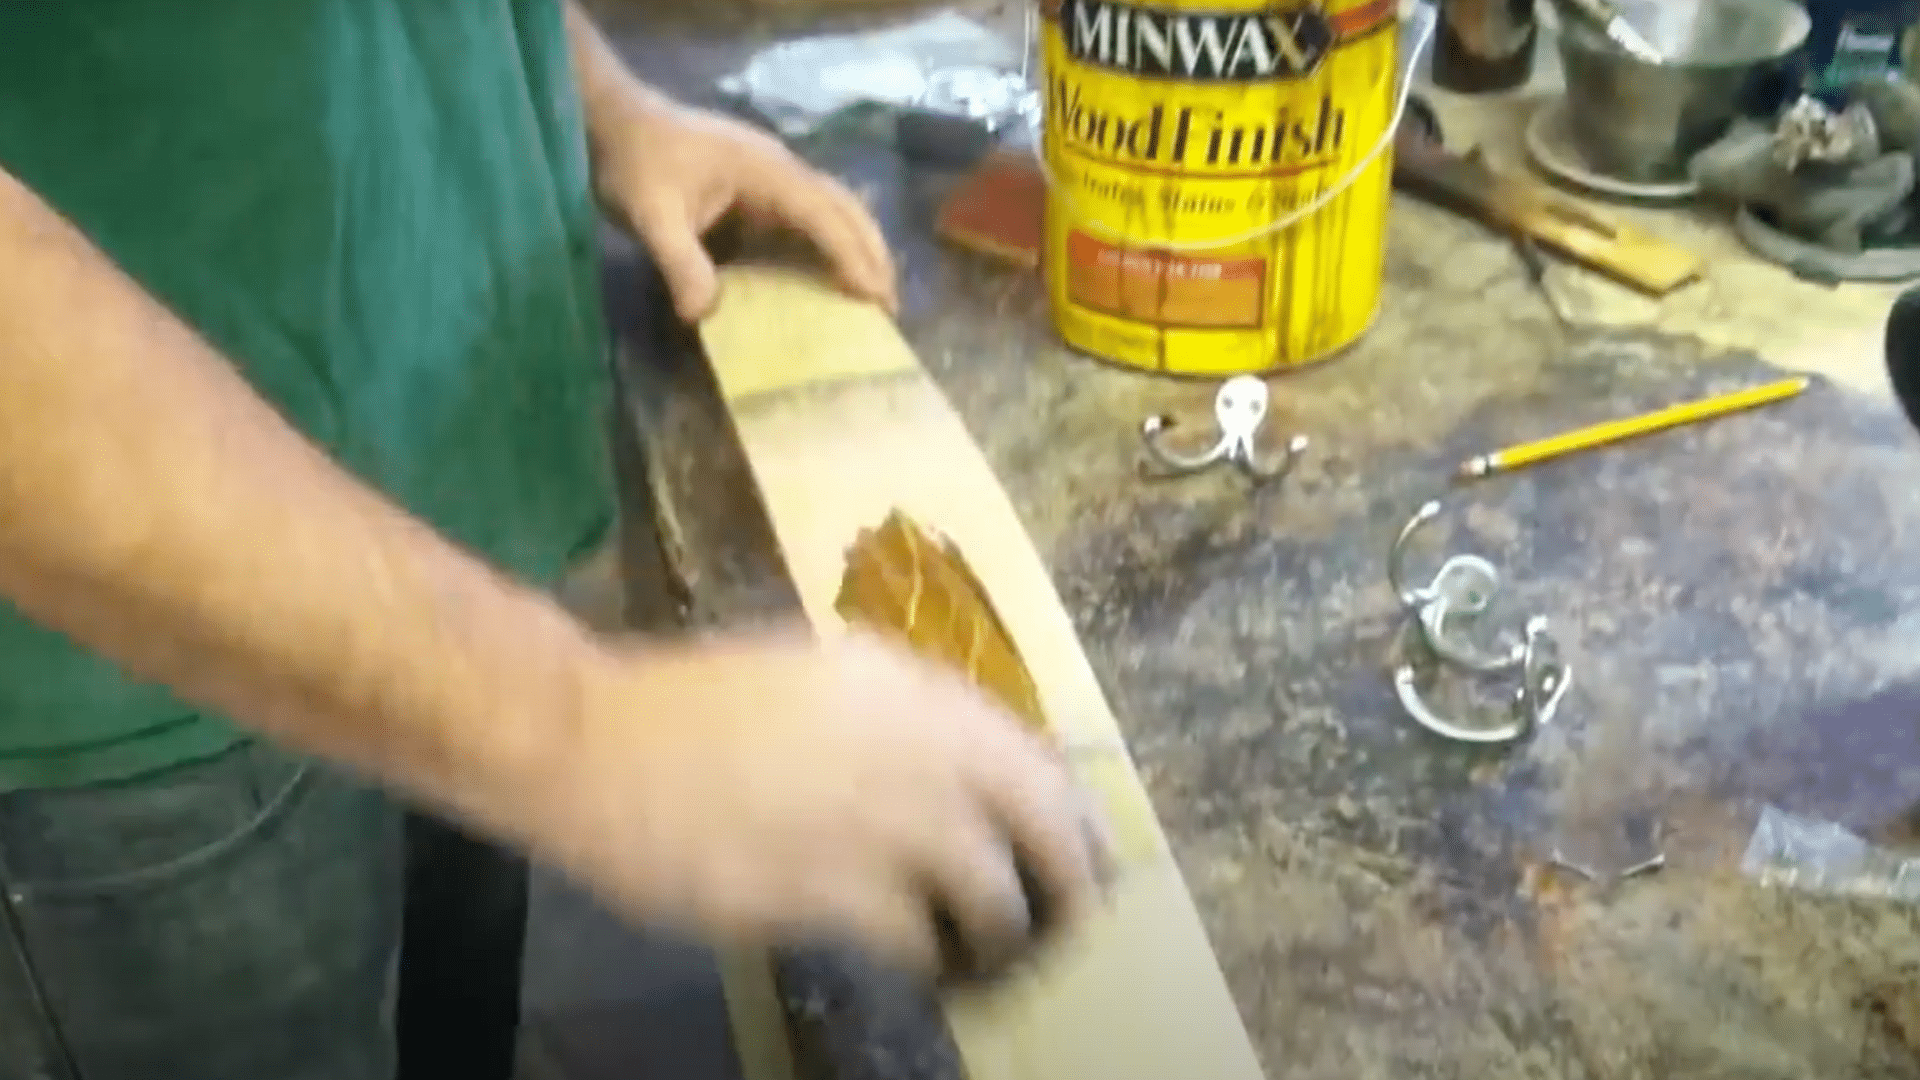
Choose a finish that matches your needs. For high-traffic areas, polyurethane offers the most protection. For a more natural look, Danish oil or beeswax is a suitable option.
Apply the finish with a soft cloth, working with the grain of the wood. Be sure to cover all surfaces, including the back and edges.
Allow the first coat to dry according to the product instructions. Most finishes benefit from 2-3 thin coats rather than one thick coat.
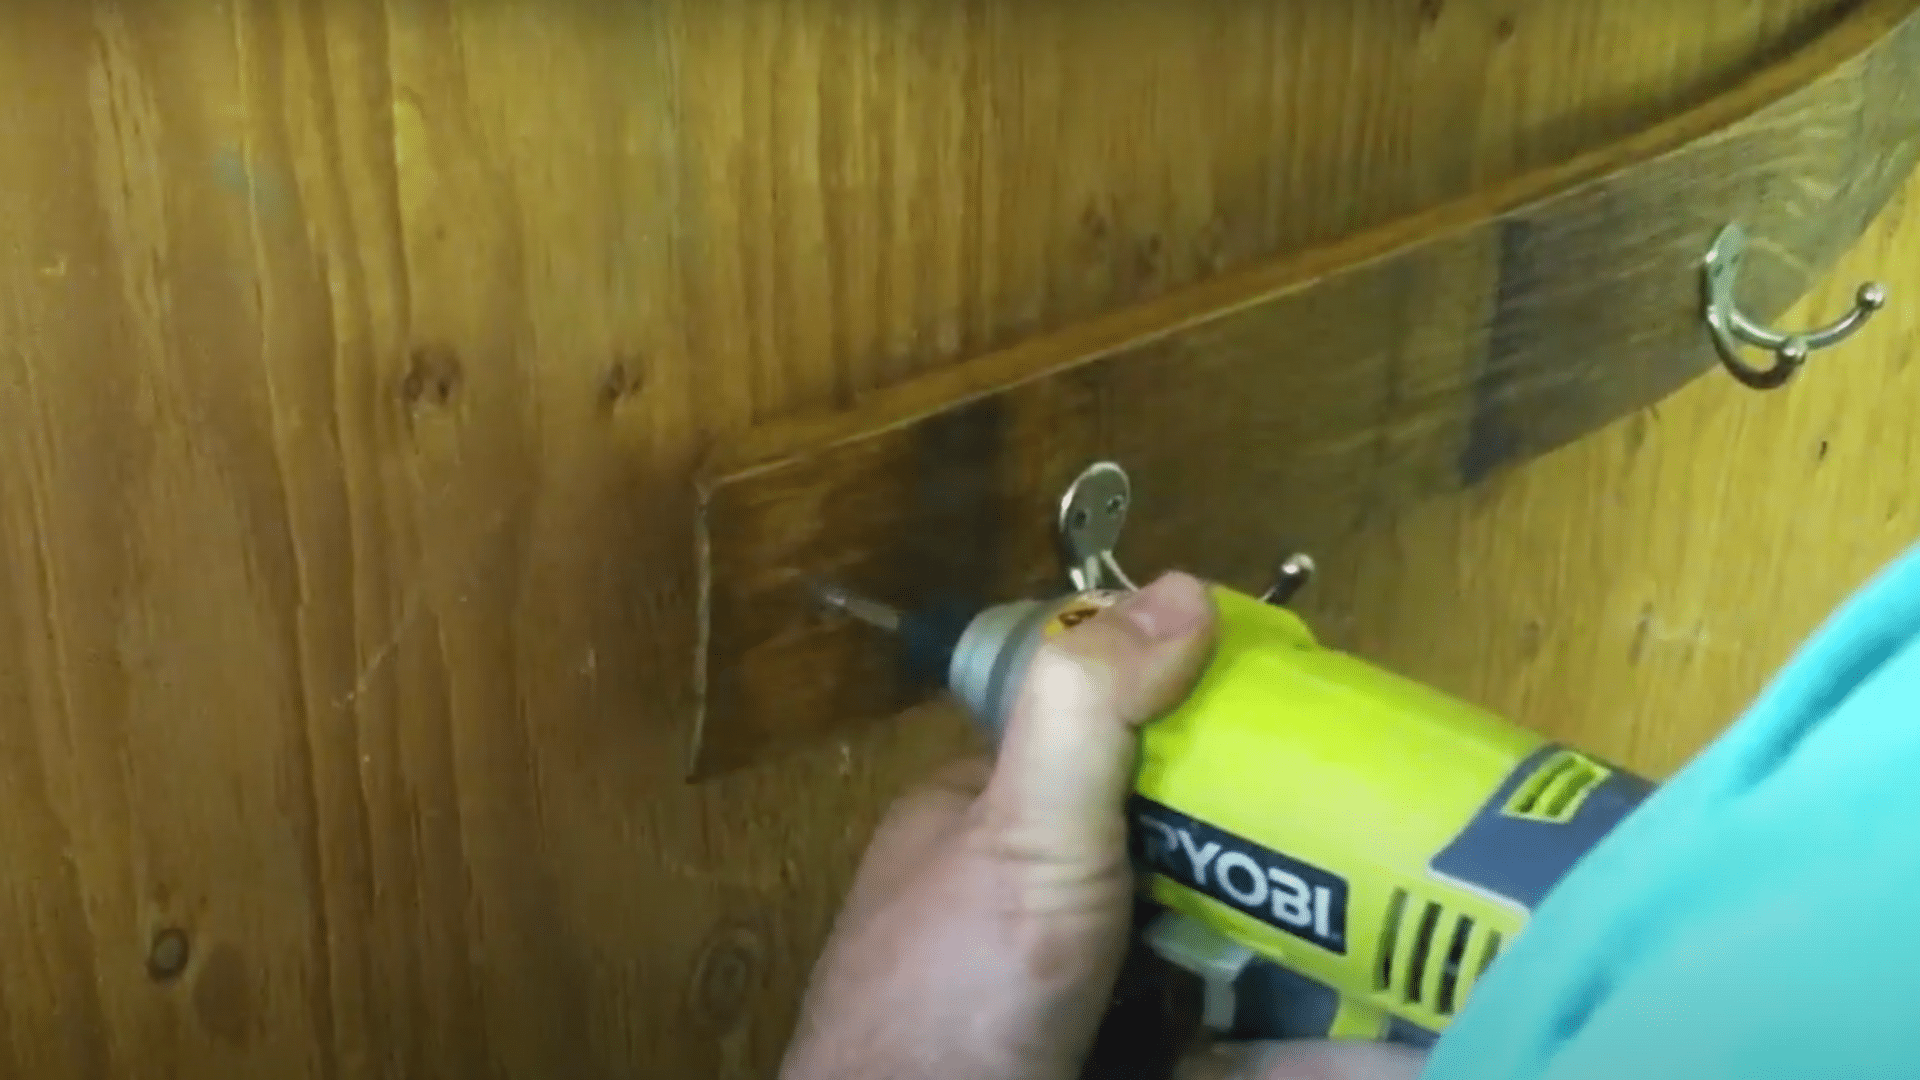
5. Install the Hooks
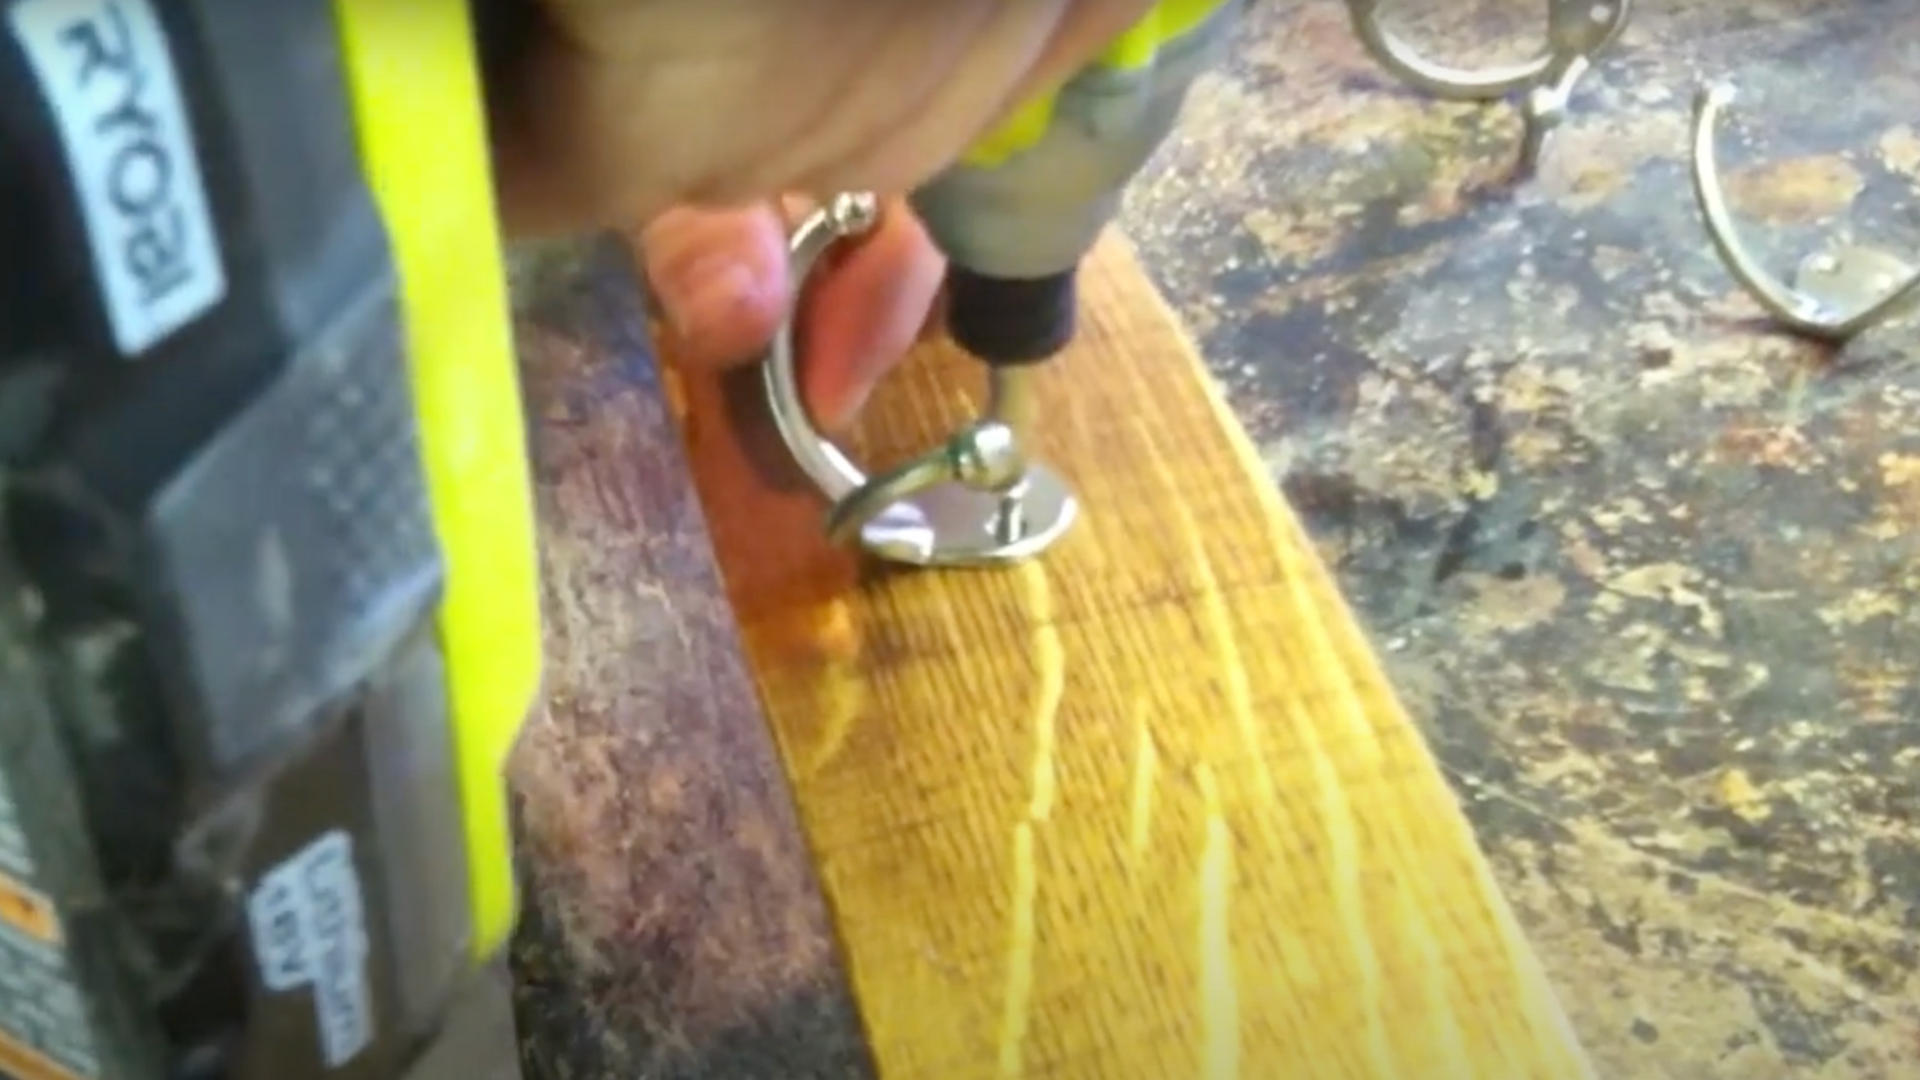
Screw in your hooks by hand. For stubborn hooks, use pliers to get them started, but finish by hand to avoid damaging the wood.
Ensure that all hooks point in the same direction and extend outward at the same angle. Small details like this make the finished piece look professional.
6. Add Hanging Hardware
Flip the stave over and attach picture hangers to the back. For a heavier coat rack, use two D-rings and picture wire for more support.
Place the hangers about 1/4 of the way in from each end. This distributes weight evenly and keeps the rack securely in place on the wall.
For extra security, I sometimes add small adhesive rubber bumpers near the bottom edges. These keep the rack from wobbling and protect your wall.
For detailed information on this, watch this video –
Sanding and Sealing Curved Wood
Sanding curved wood can be tricky, especially when you’re working with staves or rounded furniture parts.
To make it easier, I wrap sandpaper around a small paint roller, dowel, or even a section of PVC pipe – anything that closely matches the curve I’m sanding.
When it comes to sealing, I’ve found that wipe-on polyurethane works best for curved or uneven surfaces. It spreads smoothly without dripping or pooling in low spots, which is a common problem with brush-on finishes.
Use a clean, lint-free cloth to apply it, and let each coat dry fully before lightly sanding with fine-grit paper between coats. For lasting protection and a nice even sheen, I recommend applying at least three thin coats.
Care and Maintenance Tips
Oak staves need some care to look their best:
- Keep them dry – Oak can warp if it gets too wet.
- Dust often – The curved shape can trap dust.
- Re-oil yearly – I use food-safe mineral oil for staves in the kitchen.
- Watch for cracks – Wood can split as it ages. Fill small cracks with wood filler if needed.
Common Mistakes to Avoid
After working with staves for years, I’ve made plenty of mistakes. Here are some to avoid:
- Not drying staves fully – Even old staves may have moisture. Let them sit in your home for a week before using them.
- Forcing them flat – Staves are meant to be curved. If you try to flatten them too much, they’ll crack.
- Skipping the sealing step – Without a good seal, staves can stain your walls or clothes.
- Using the wrong fasteners is a mistake, as oak is a hardwood. Pre-drill holes and use screws made for hardwood.
- Ignoring the smell – Whiskey staves, especially, can retain a strong smell for months. This can be beneficial or detrimental, depending on your project.
Conclusion
Oak staves are more than just wood – they’re pieces of history waiting to be part of your home. I’ve seen how these simple barrel parts can transform a plain wall into a conversation piece or turn a basic shelf into something special.
The beauty of working with staves is their simplicity. You don’t need fancy tools or years of woodworking experience to create something amazing. Each project brings its challenges, but that’s part of the fun.
What starts as a simple weekend project often becomes a passion. There’s something satisfying about giving these staves a second life while adding unique character to your space.