Ever wonder what to do with all those leaves, grass clippings, and tree branches piling up in your yard? Instead of tossing them out, you can turn them into mulch—a natural layer that protects your soil and helps your garden grow better.
Mulch holds moisture in the ground, keeps weeds from growing, and slowly adds nutrients as it breaks down.
Making your own mulch isn’t hard, and it’s a smart way to reuse yard waste instead of sending it to the landfill.
In this guide, I’ll show you how to make mulch step by step. You’ll learn what types of materials work best, how to prepare them safely, and the right way to spread mulch in your garden.
By the time you finish, you’ll have everything you need to improve your soil, protect your plants, and keep your garden looking great—all while saving money and cutting down on waste.
Benefits of Making Your Own Mulch
Making your own mulch has a lot of benefits—for your garden, your budget, and the environment.
One big plus is saving money. Store-bought mulch can cost $3–$6 per bag, and for even a medium garden, that adds up quickly. Using yard waste means you don’t have to buy anything extra.
It’s also much better for the planet. Instead of throwing leaves, grass, and branches into bags for the landfill, you’re reusing them right in your yard. That cuts down on waste and saves fuel used for hauling.
Homemade mulch helps your plants, too. It usually has more types of nutrients than store mulch, so as it breaks down, it feeds your soil naturally over time.
It also stops weeds by blocking sunlight, so you spend less time pulling and more time enjoying your garden.
The best part? You know exactly what’s in your mulch—no chemicals, no dyes—just clean, natural material breaking down the way nature planned.
How Is Mulch Made?
Making mulch isn’t complicated. It’s mostly about collecting the right materials and preparing them properly. Let me show you the step-by-step process that turns yard waste into garden gold.
1. Know the Types of Mulch
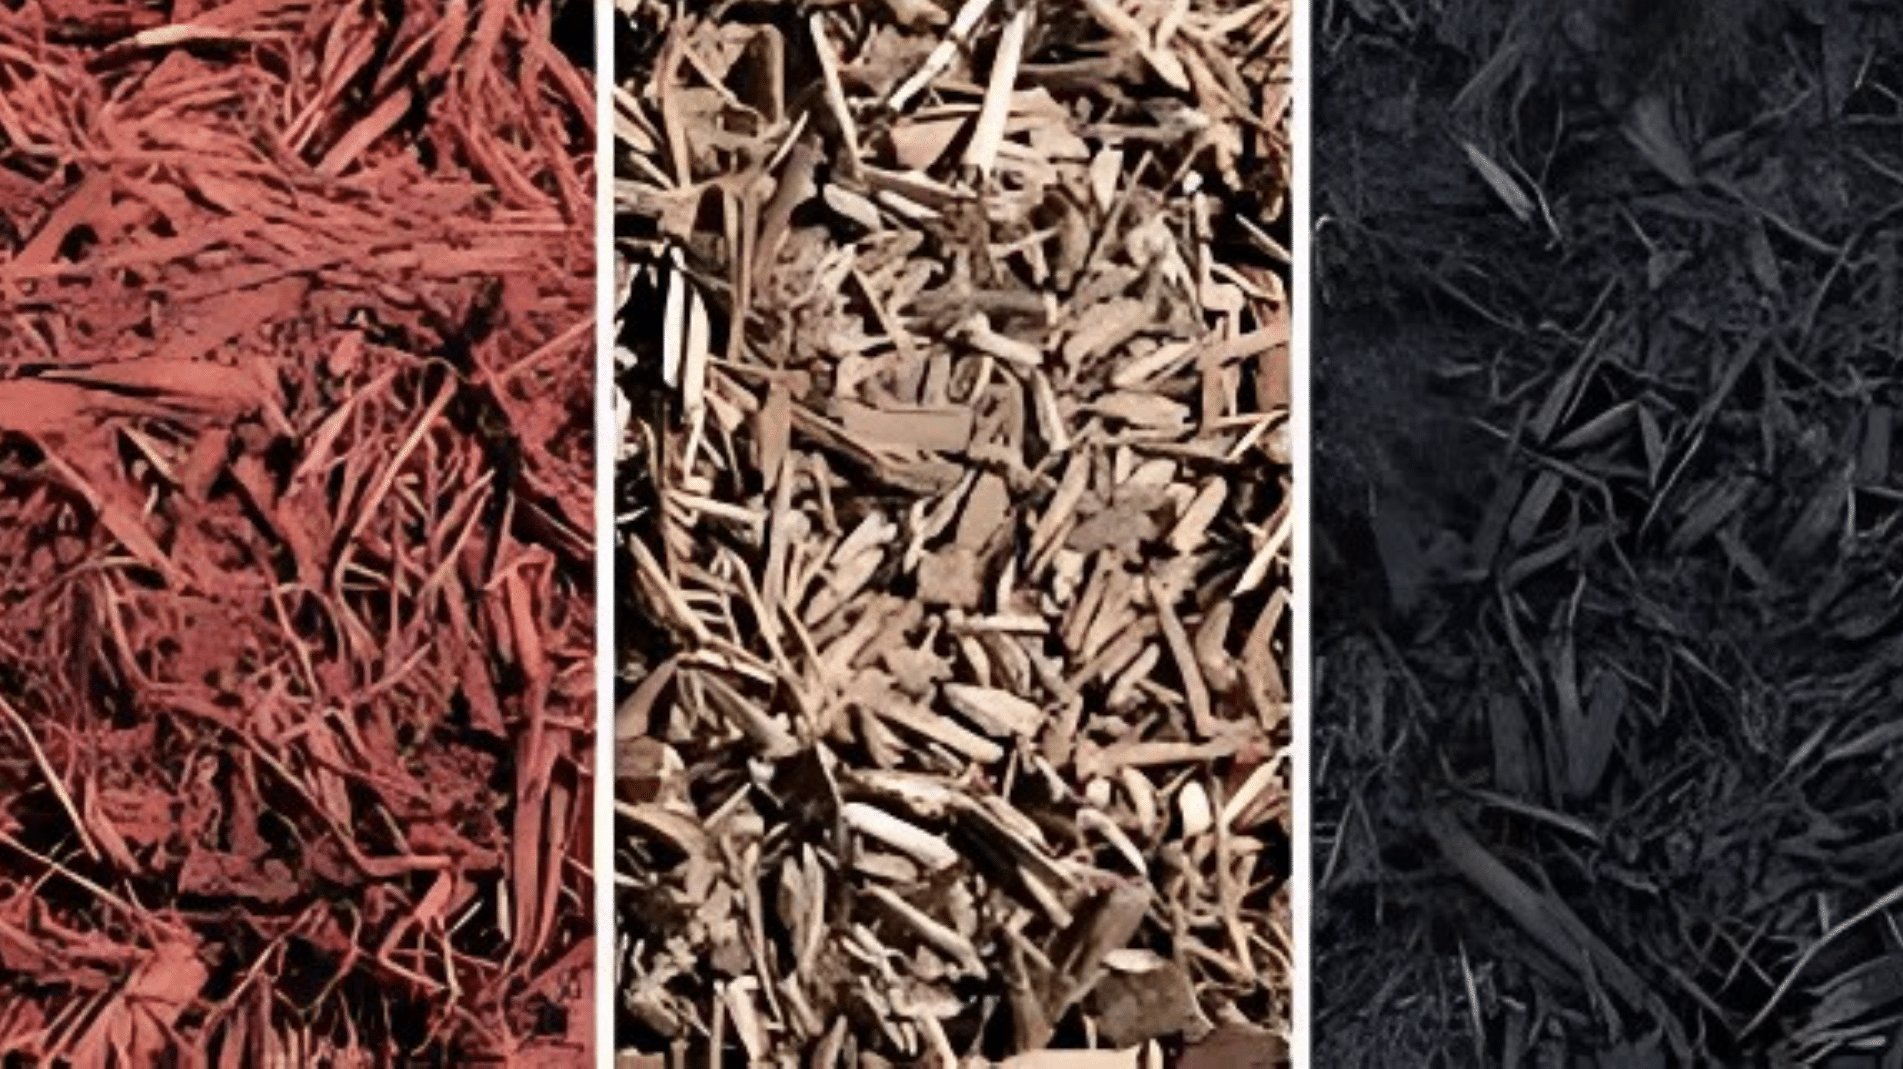
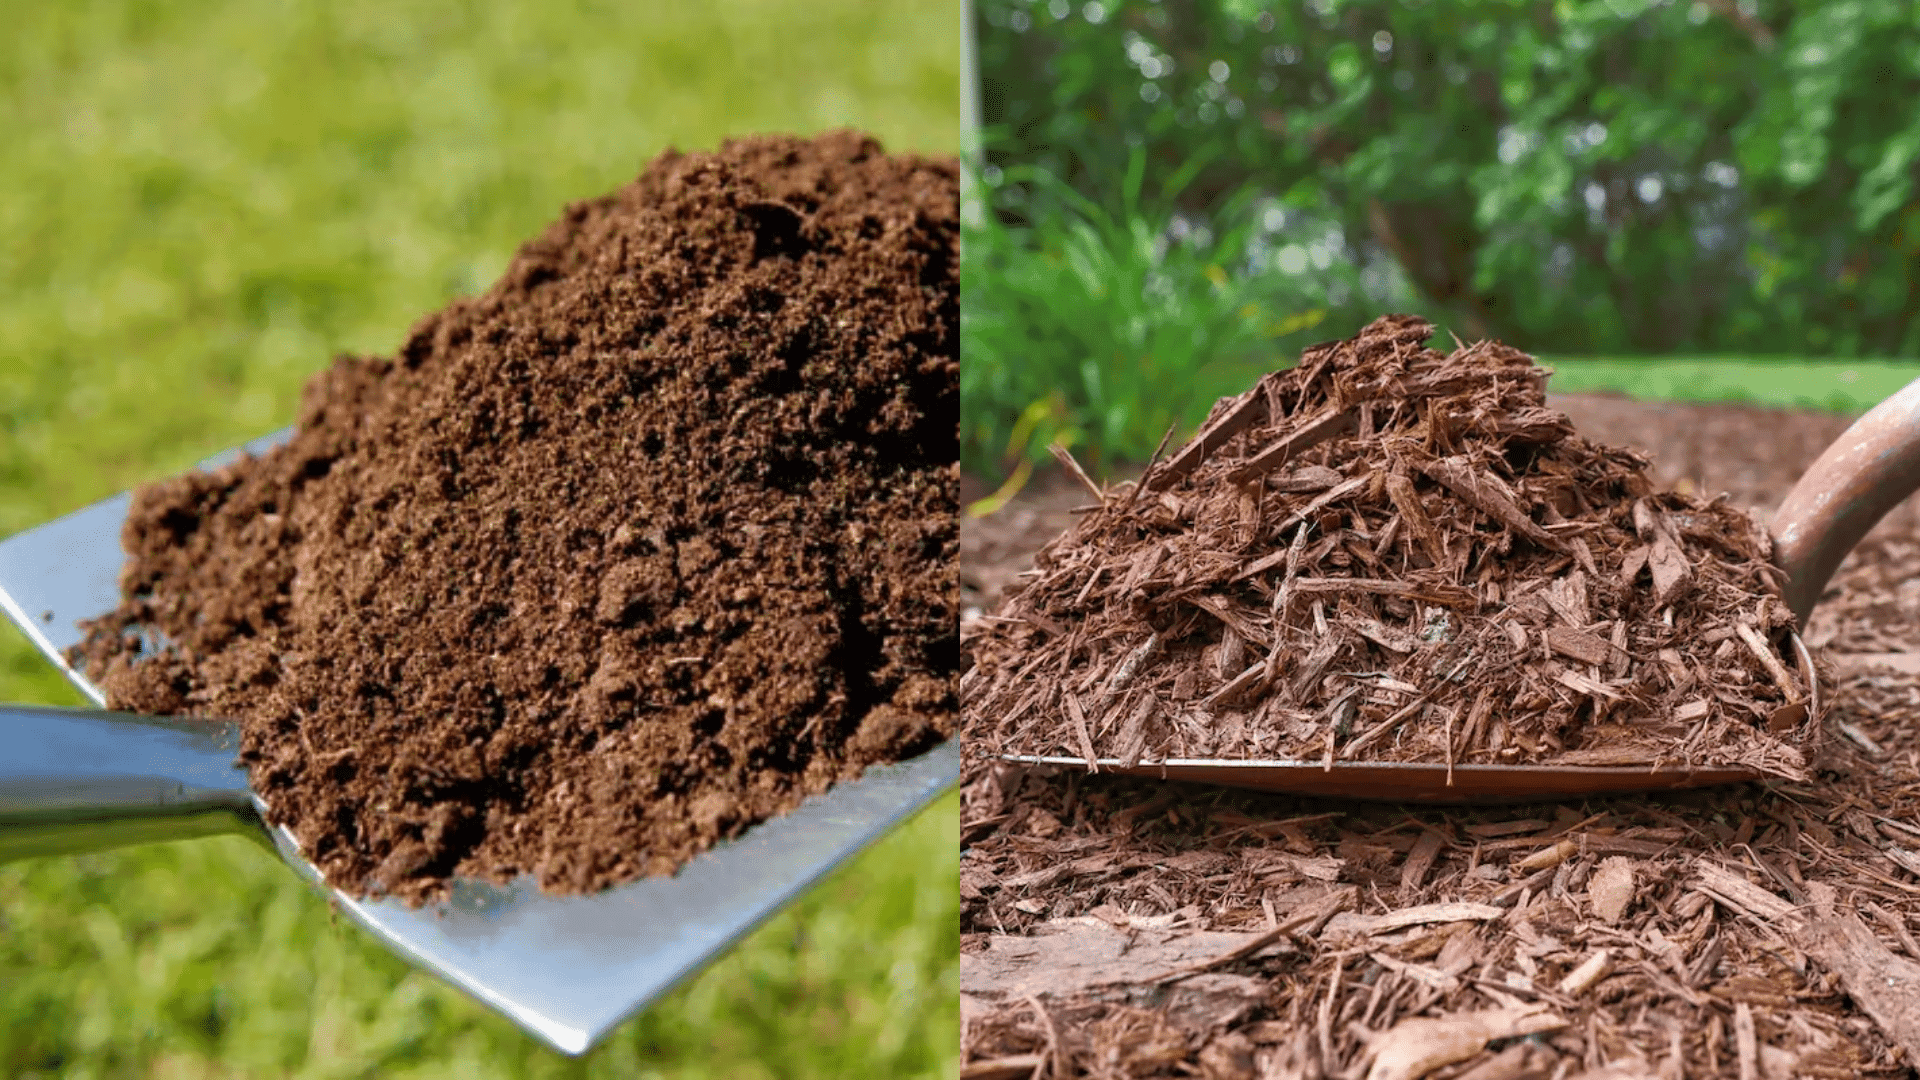
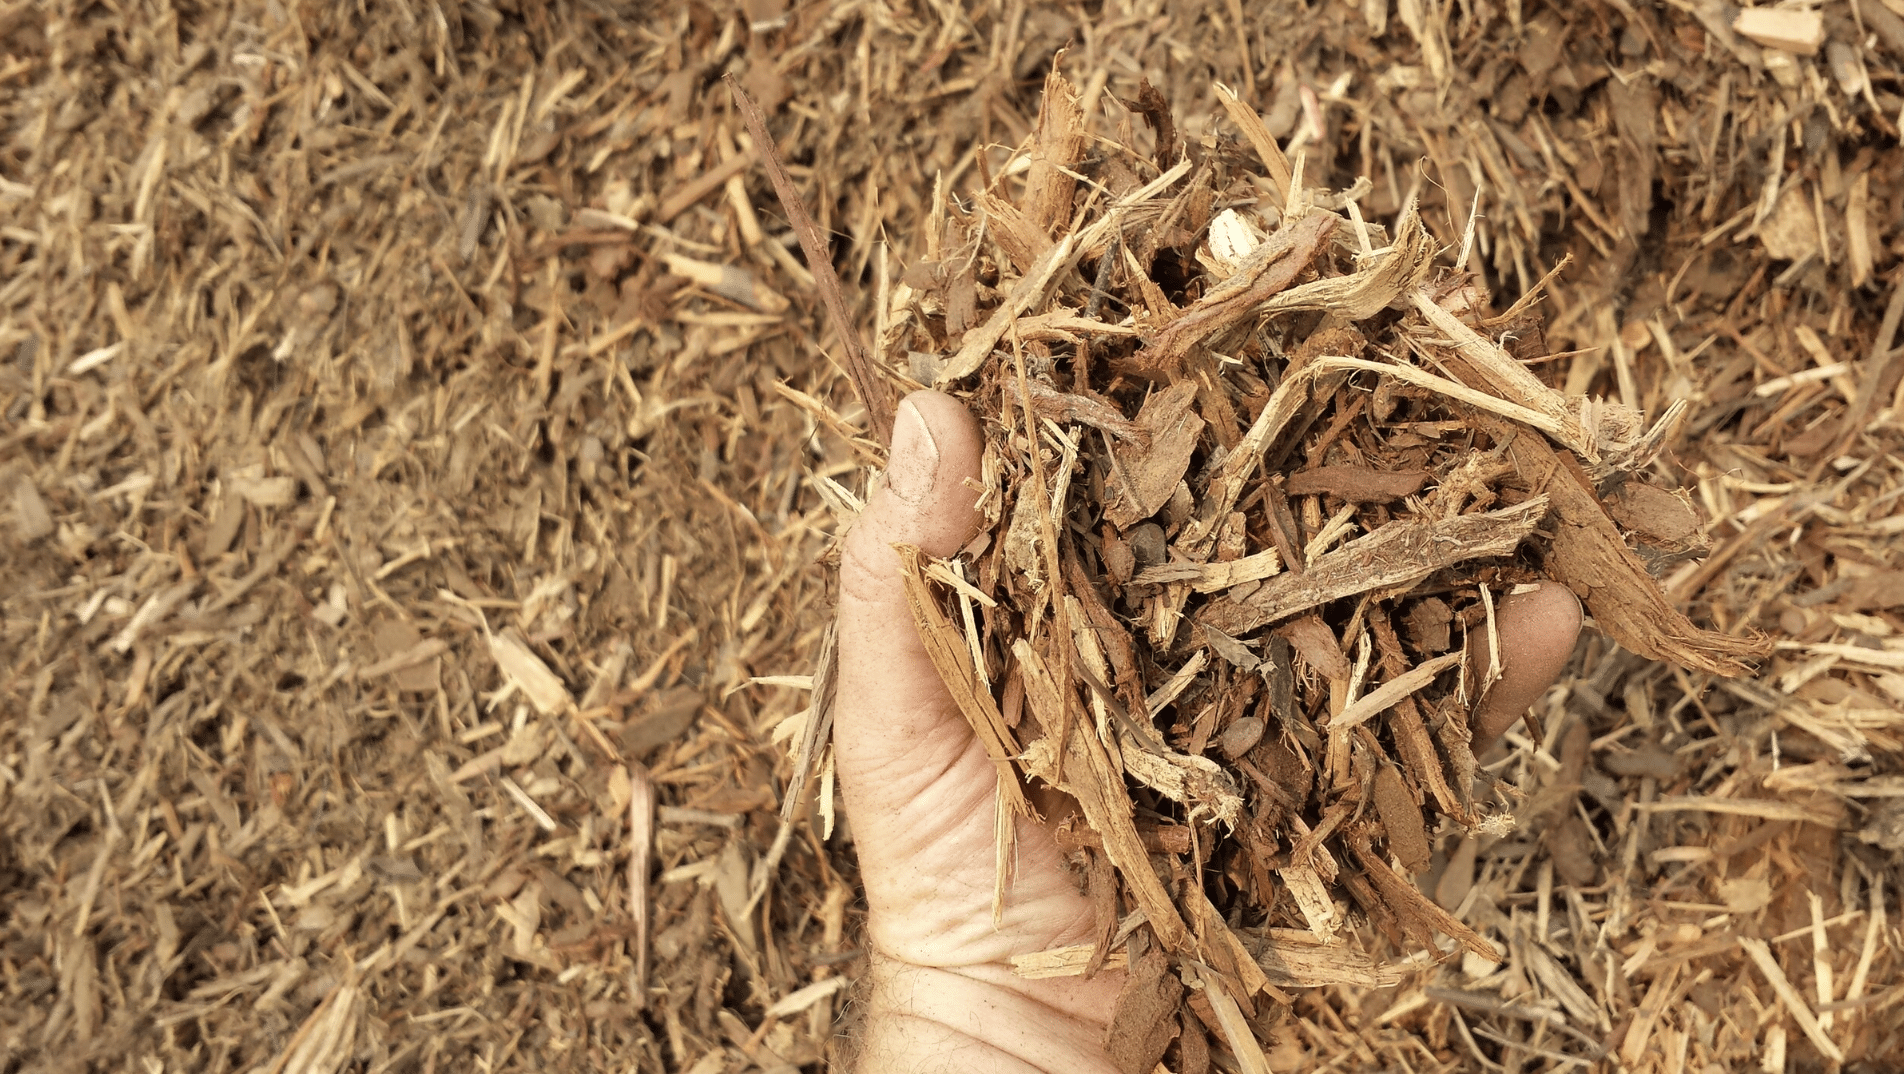
Before collecting materials, it’s helpful to know which mulch types work best in different areas of your garden. Woody mulch, like bark and twigs, breaks down slowly and is great for trees and shrubs.
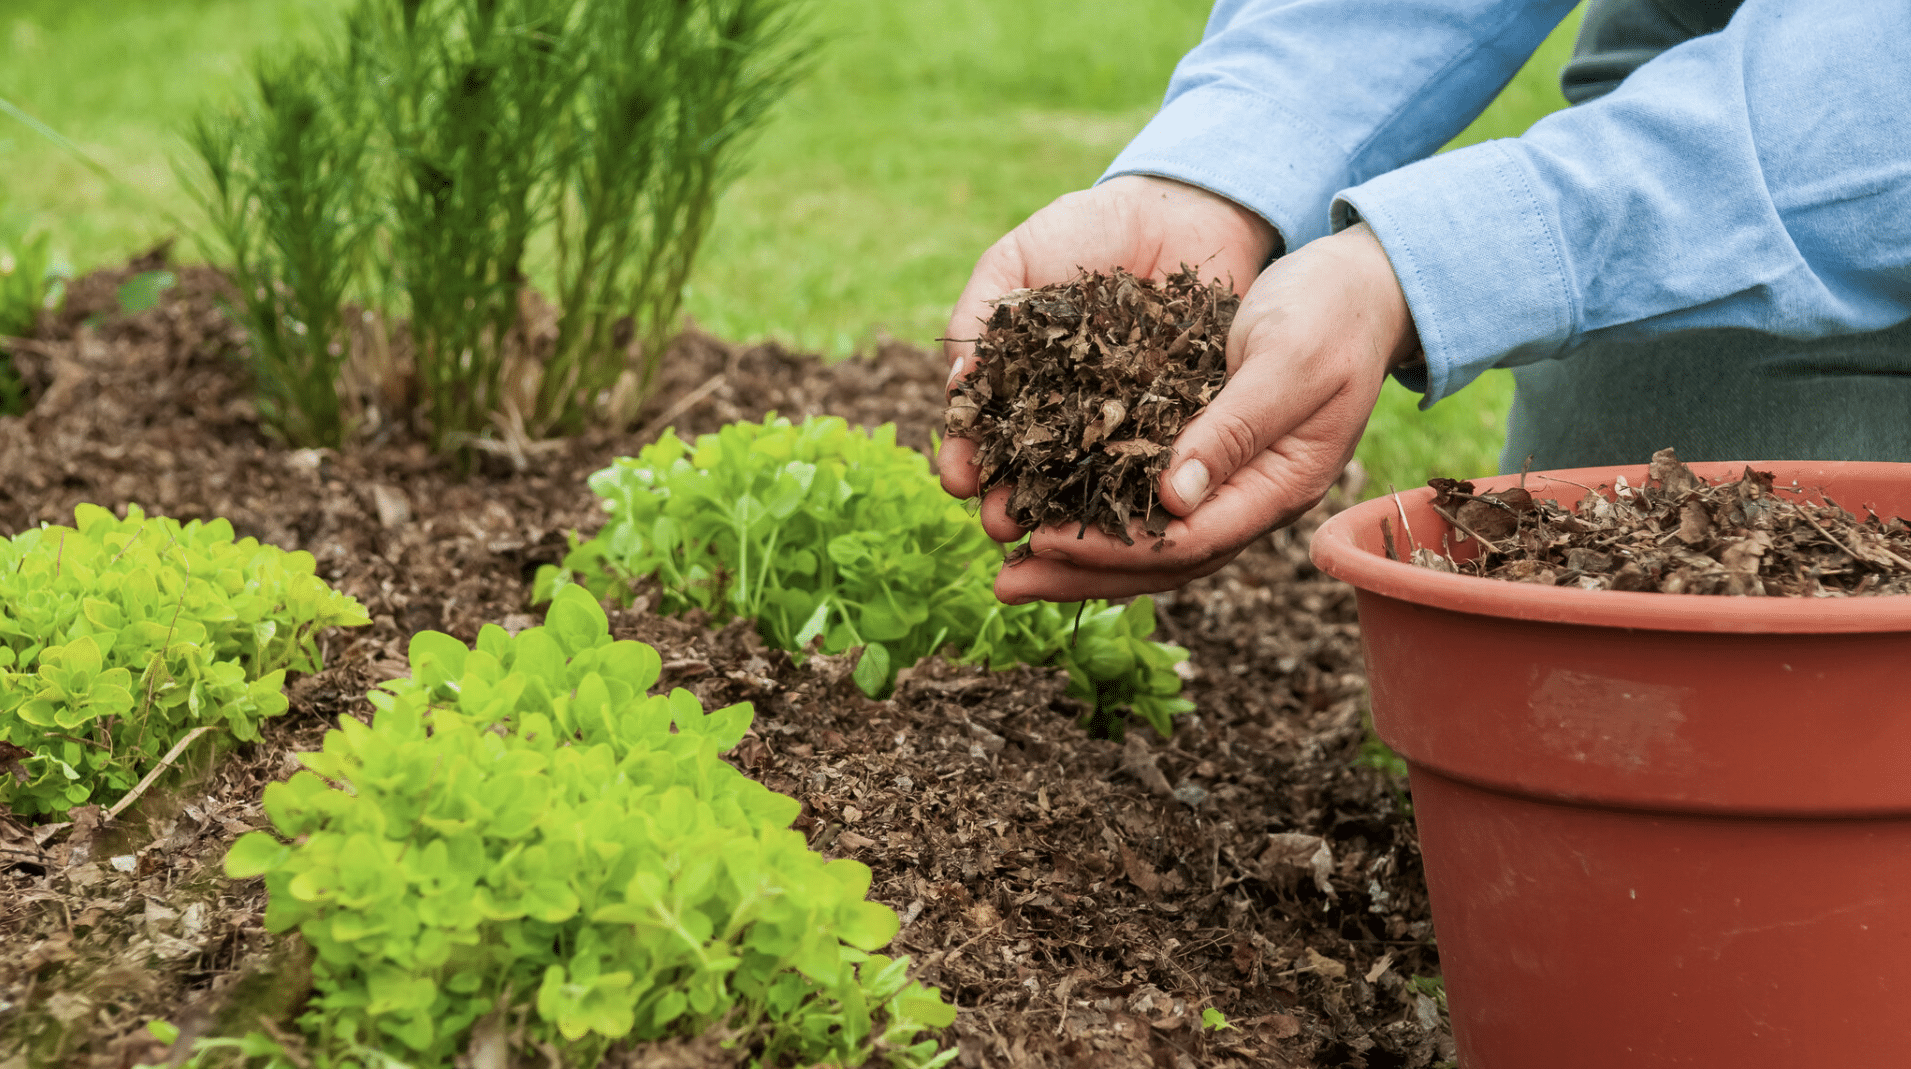
Soft mulch, such as leaves or grass clippings, breaks down faster and adds nutrients quickly, perfect for flower or veggie beds.
Compost mulch feeds soil while also protecting it, making it ideal for nutrient-hungry plants. You can mix types for better results, using woody mulch below and compost on top to feed and protect your soil at the same time.
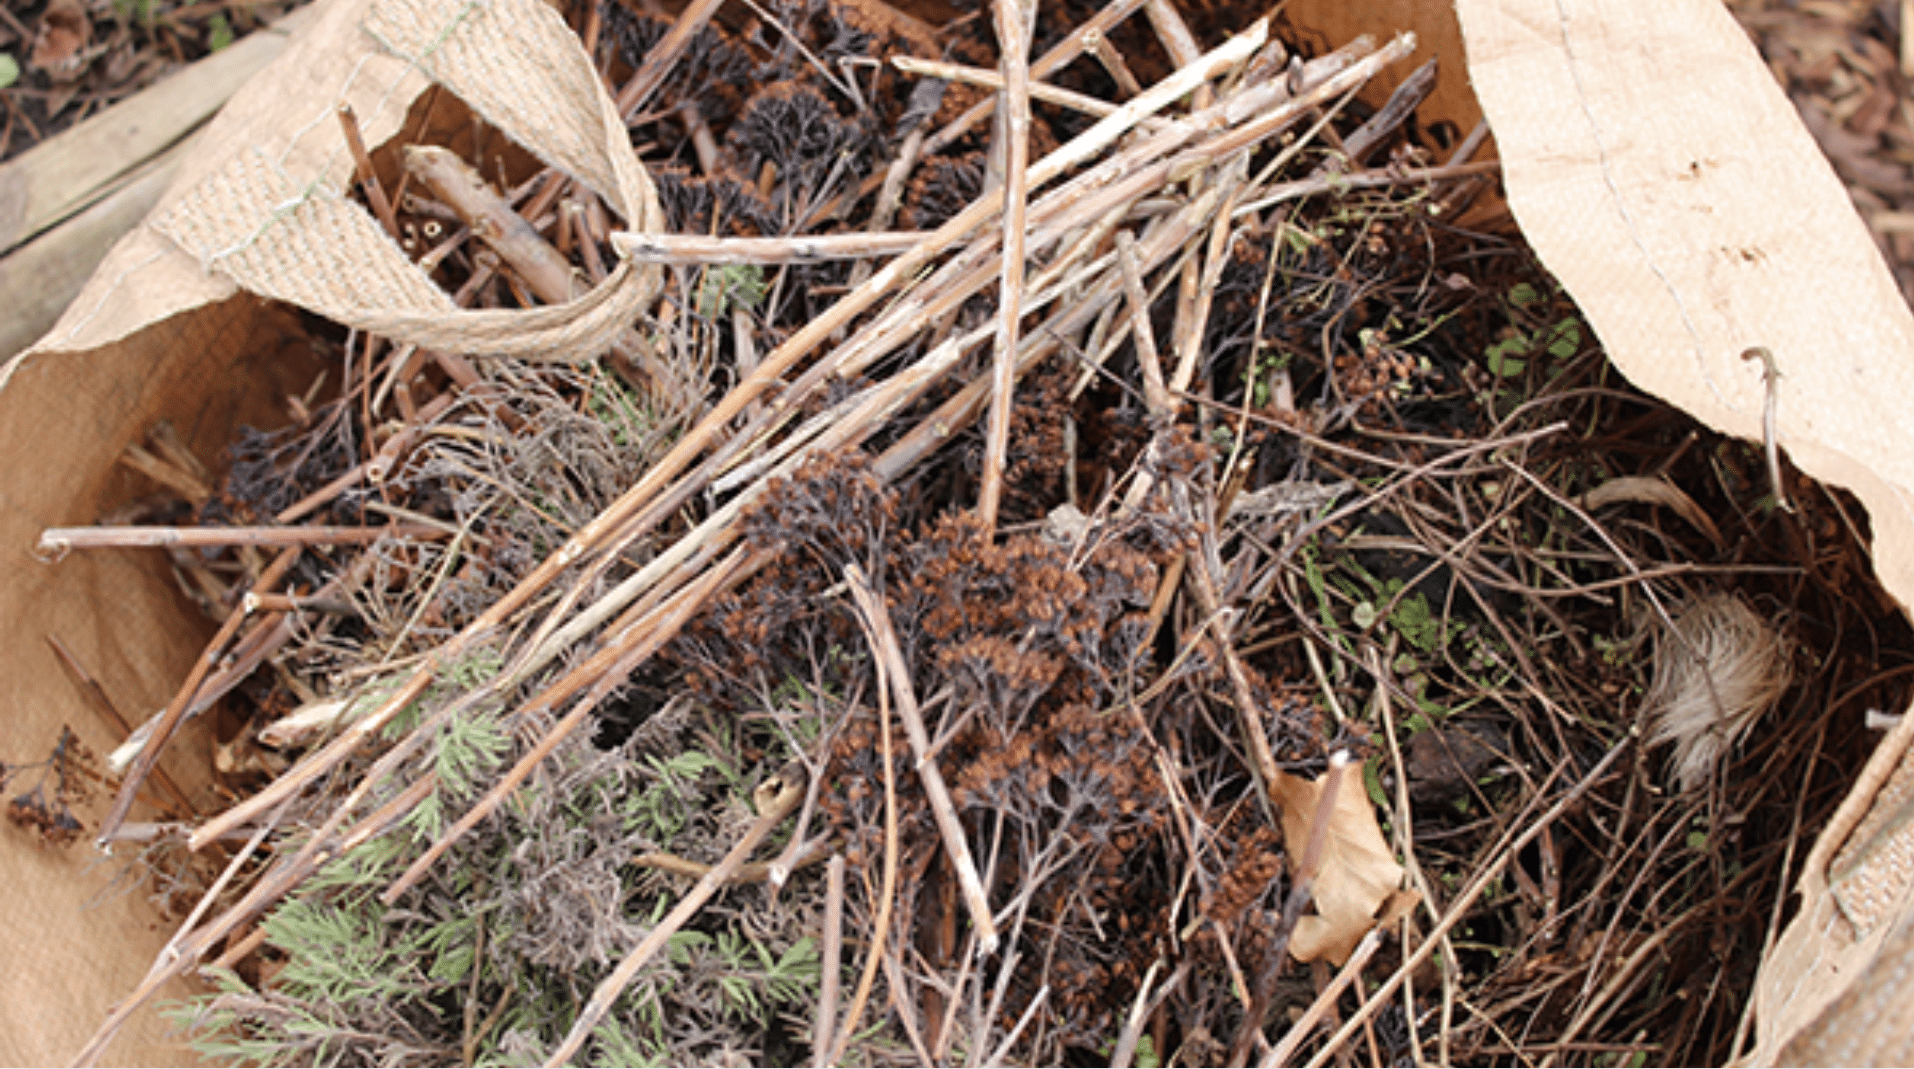
2. Gather and Prepare Your Materials
Collect yard waste like fallen leaves, grass clippings, pine needles, small twigs, straw, or wood chips. You can also use plain newspaper or cardboard, but skip glossy or colored print.
Let branches dry for easier shredding, and avoid using diseased plants or seedy weeds that could harm your garden.
Fresh or dried leaves are fine to use. Natural materials are safest and most effective for mulch, especially around plants that grow close to the ground.
3. Shred the Materials
Shredding your mulch materials helps them break down faster and makes them easier to spread. Leaves can be chopped up by running your mower over a pile several times.
For twigs or branches, use a chipper if available, or prune them into small pieces. You can also mow small twigs. Grass clippings don’t need shredding, but it’s best to let them dry out first so they don’t clump and block water.
Use smaller pieces for fast feeding and larger ones for longer-lasting coverage, depending on what your garden needs most.
4. Compost Some Materials
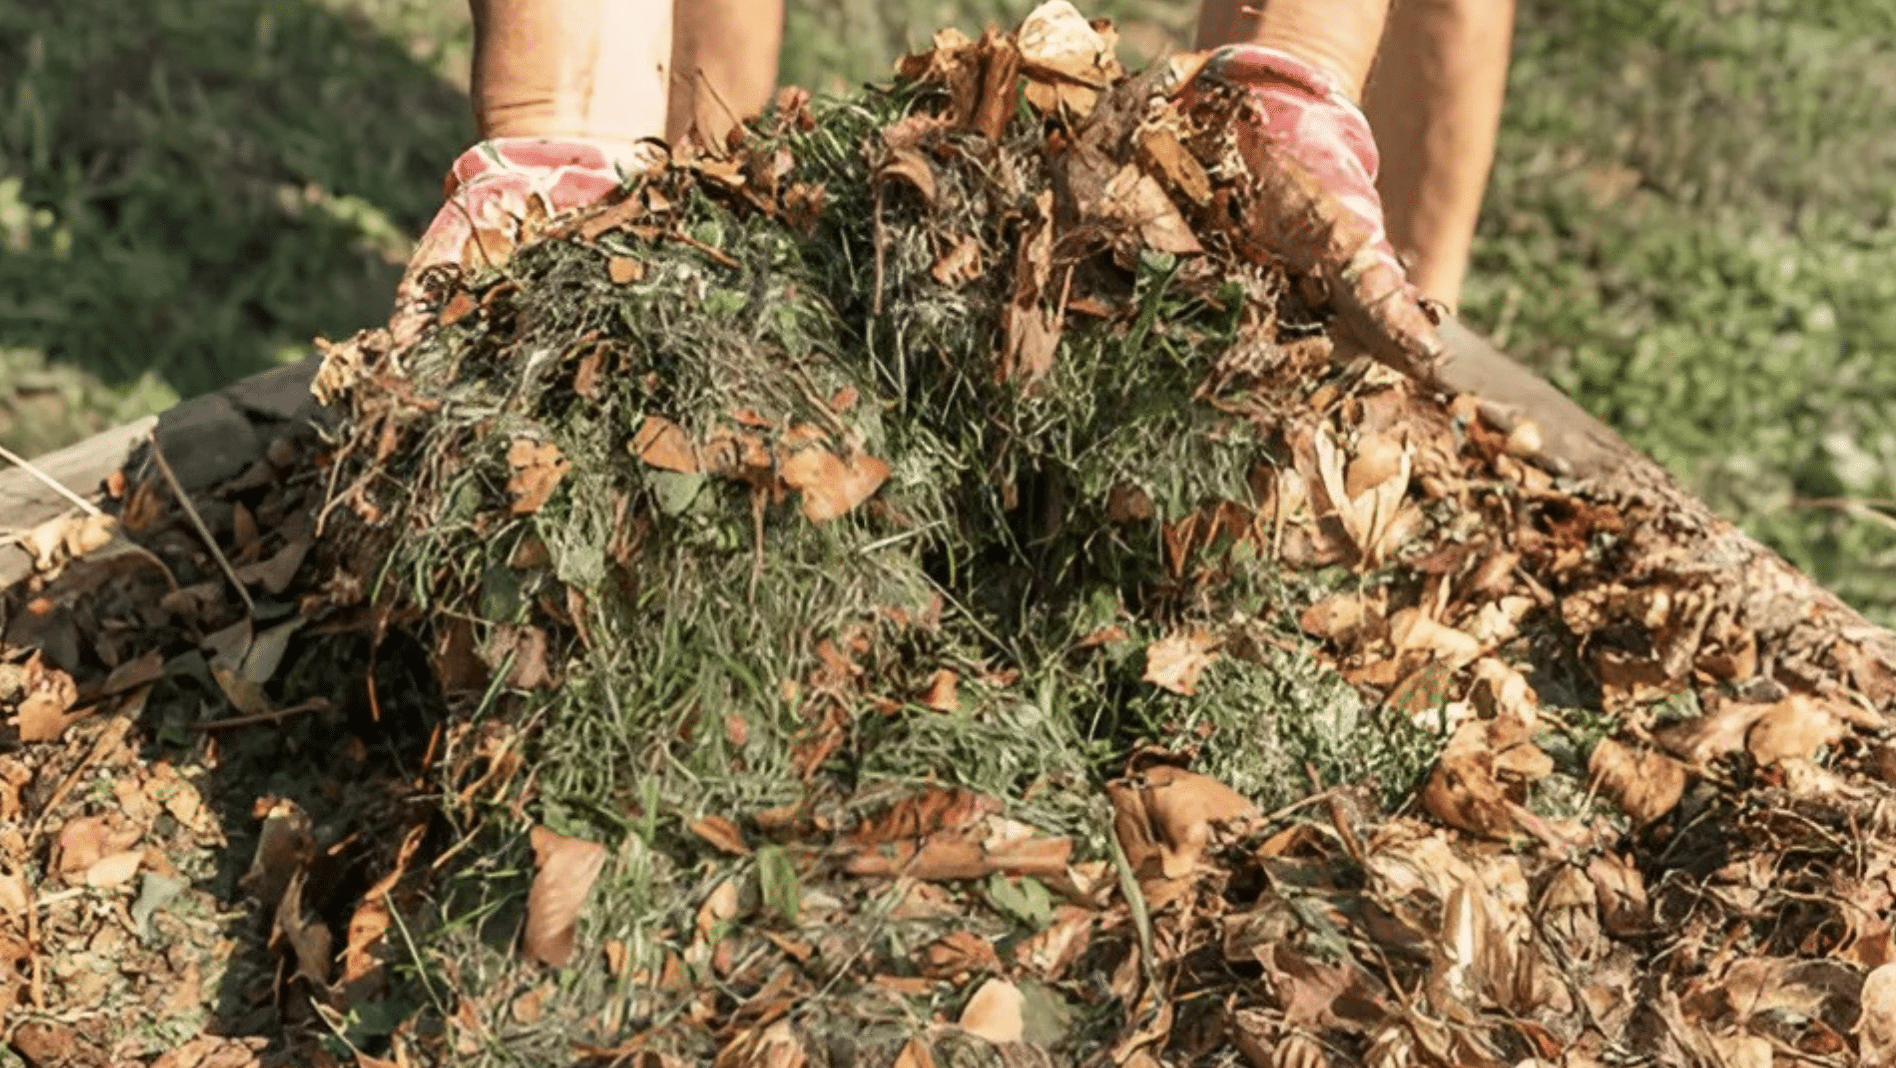
Some materials—like fresh grass or kitchen scraps—work better after composting first. They can get hot, smell bad, or attract pests if used fresh.
To compost, make a small pile in a sunny spot and mix greens like grass with browns like leaves or paper. Keep it moist but not soaked, and turn it each week. In three to four weeks, you’ll have mulch that’s safer to use.
Composting helps tricky materials break down better but isn’t needed for everything—many items like leaves can go straight into your garden.
5. Mix and Layer for Balanced Mulch
Using layers of different materials makes your mulch more effective. Start with cardboard or newspaper on the soil to block weeds, and wet it down so it stays in place.
Add woodier mulch next, like bark or chips, to build longer-lasting cover. Top it off with compost or shredded leaves for quicker feeding.
If using only one material, choose based on plant type—use soft mulch for vegetables and heavier mulch for trees and shrubs. A balanced mix gives your plants both nutrients and strong protection throughout the season.
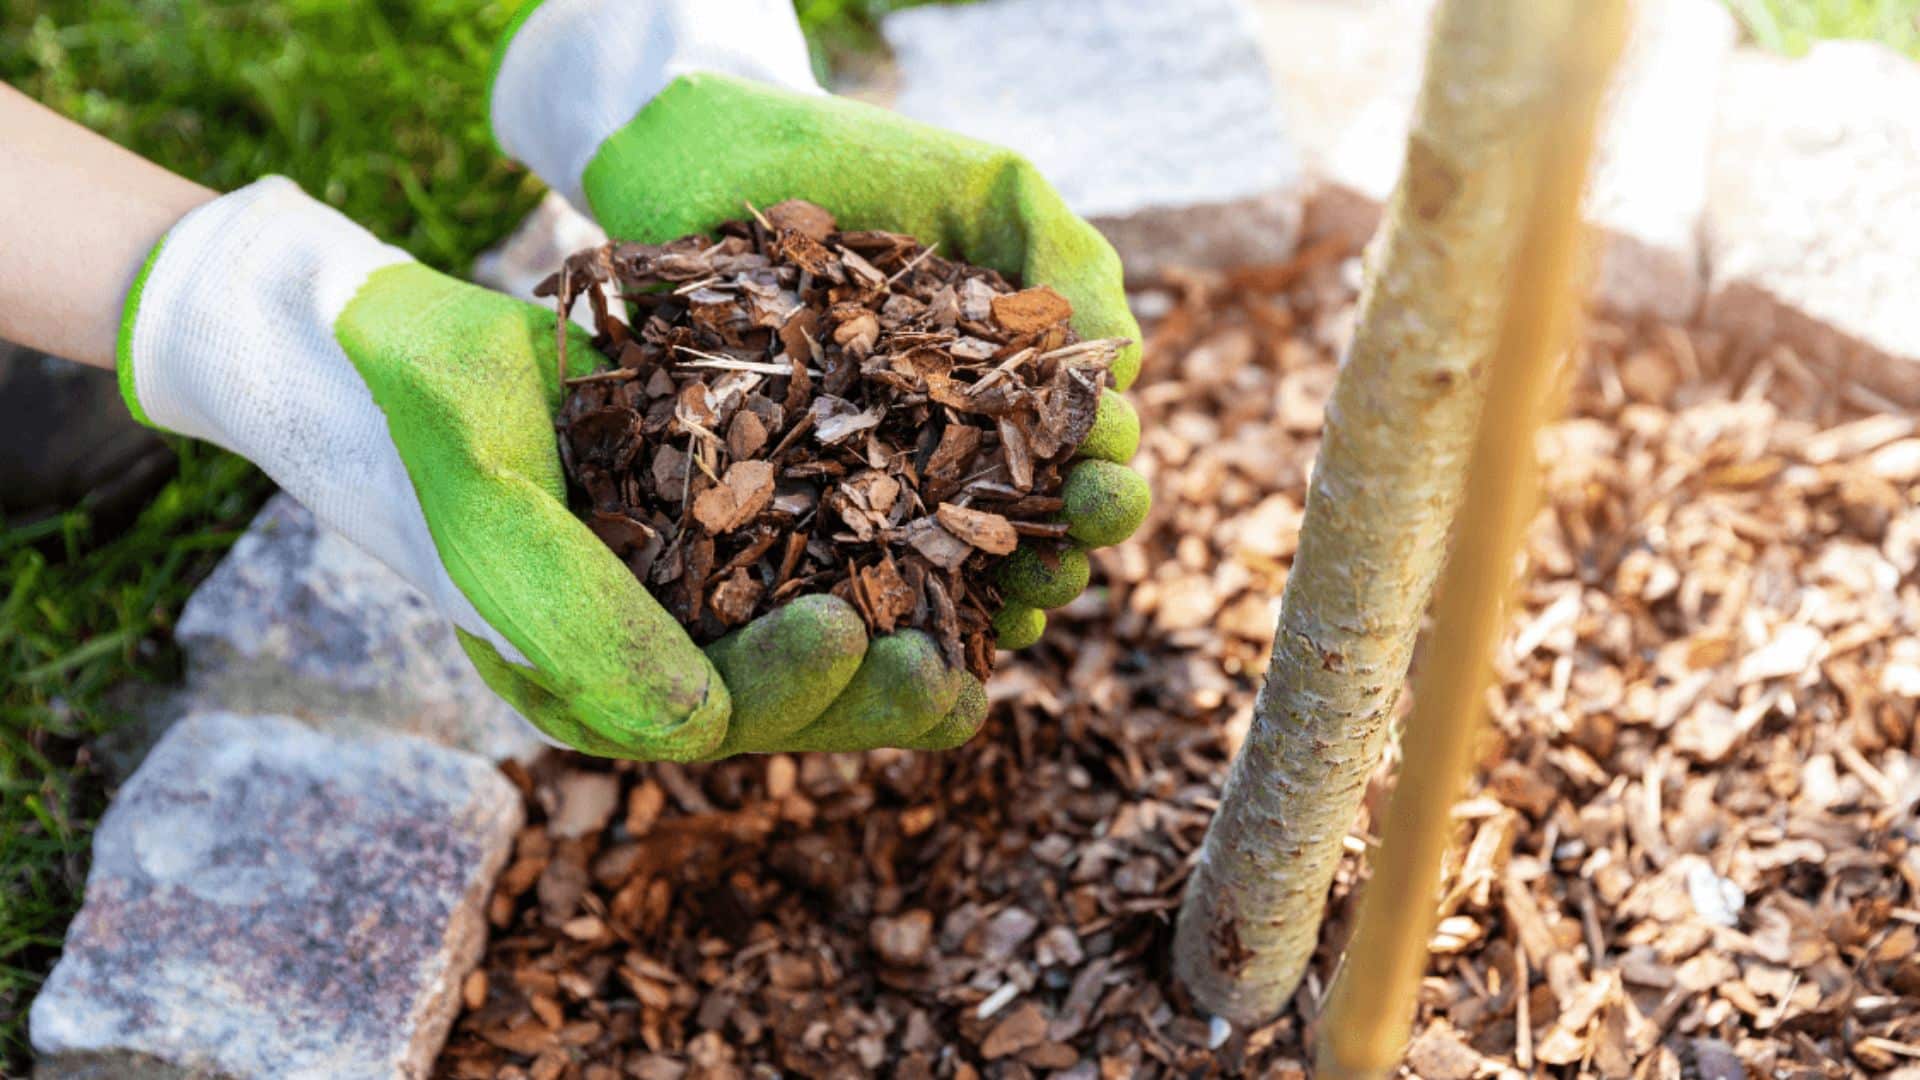
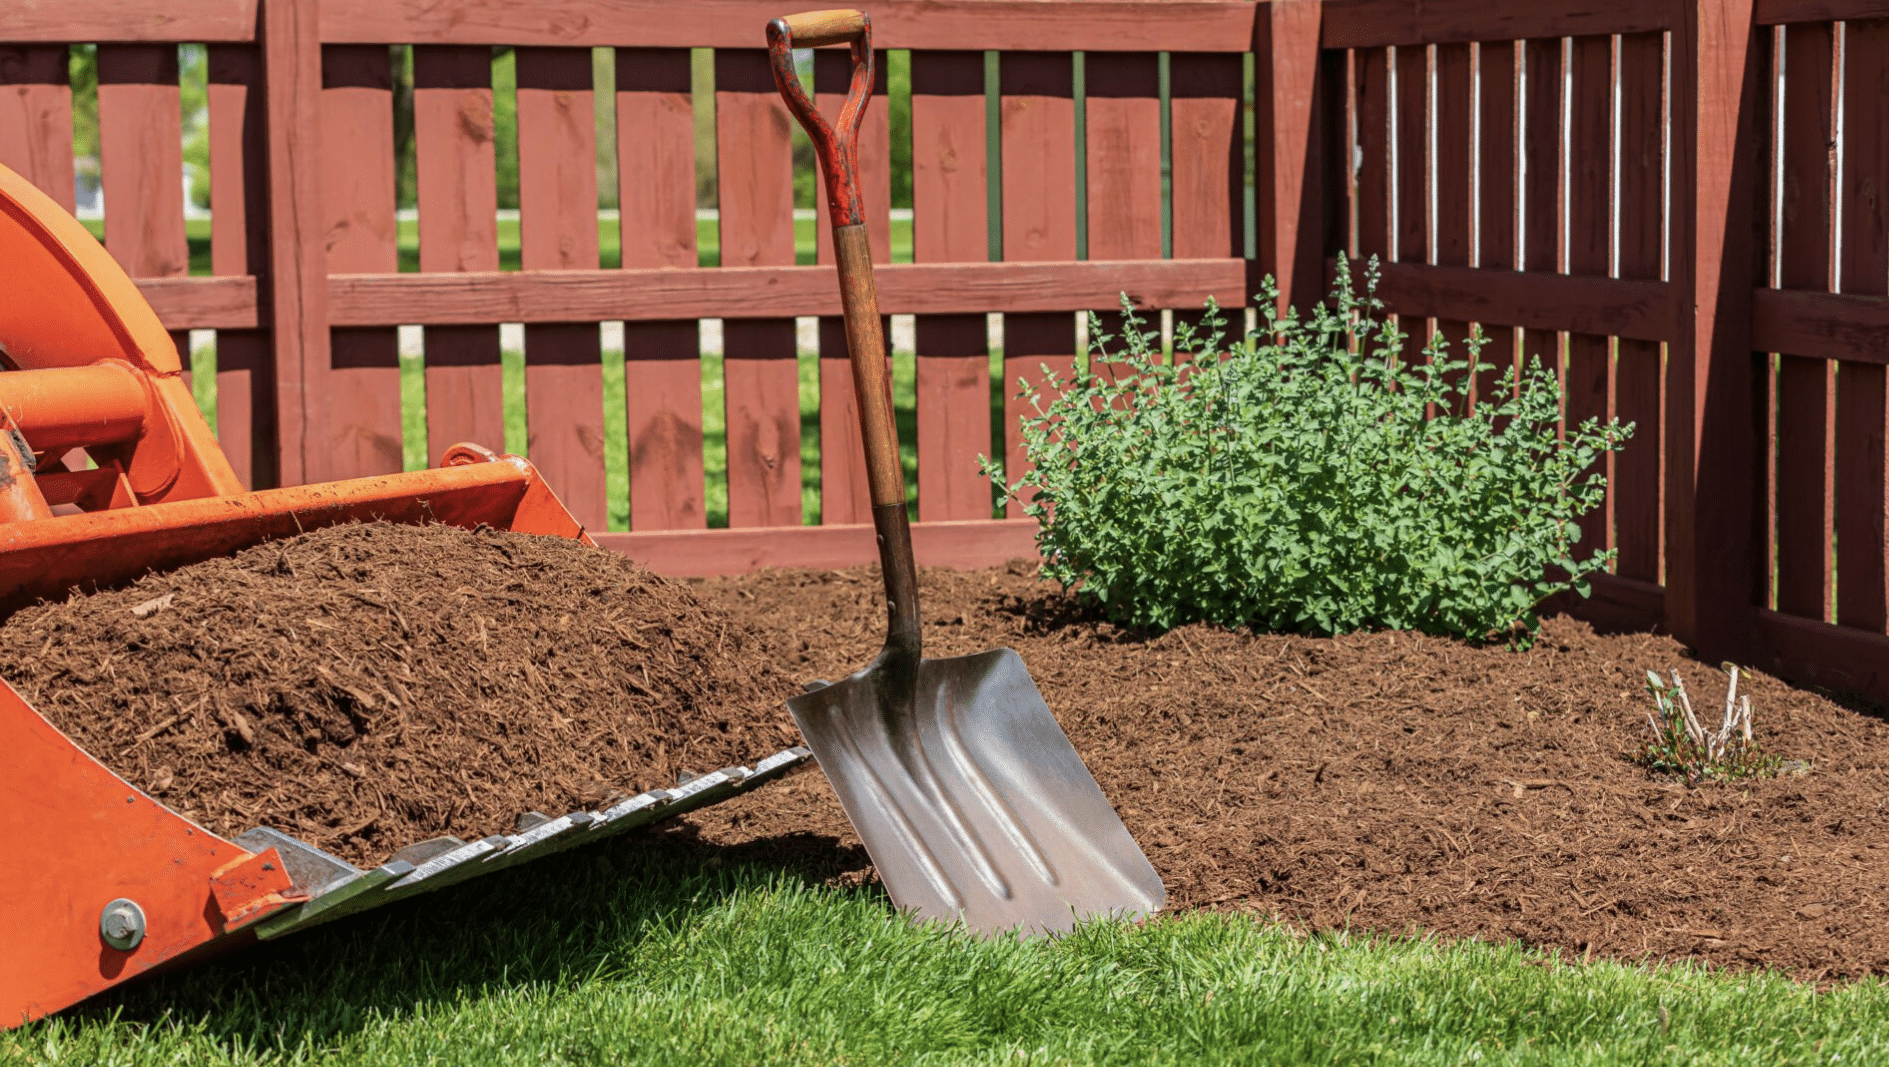
6. Apply the Mulch to Your Garden
Clear weeds and water the soil well before adding mulch to trap in moisture. For flower and veggie beds, use a 2–3 inch layer.
For walkways or weed-prone spots, go slightly thicker—up to 4 inches. Keep mulch a few inches away from plant stems or trunks to prevent rot or pests.
Apply mulch in mid- to late spring when the soil is warm or in fall to protect roots through winter. You can also mulch anytime the soil is bare and exposed.
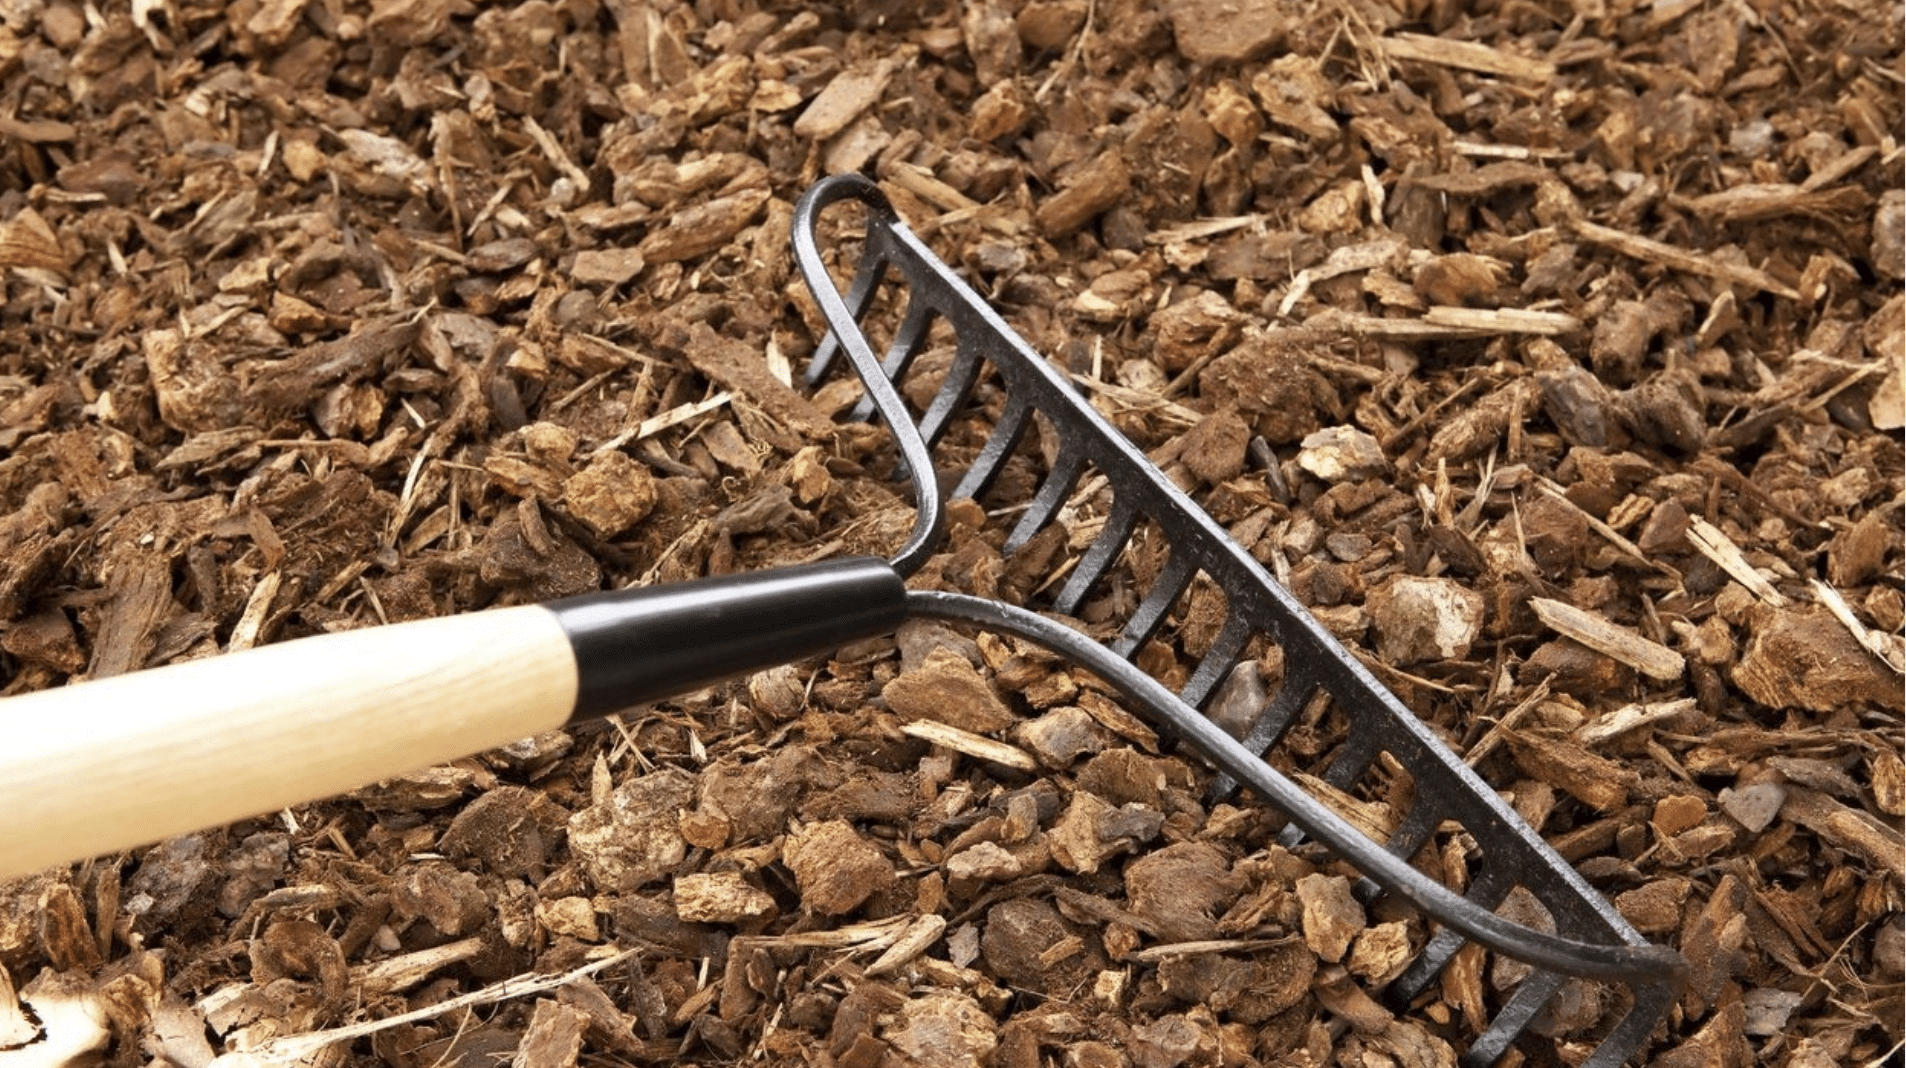
7. Maintain and Replenish Your Mulch
Mulch breaks down and feeds your soil, but that also means it needs to be refreshed sometimes. Check every few months and add more if the layer drops below one inch.
Before adding new mulch, fluff up the old with a rake to prevent it from compacting and blocking water. In spring, pull mulch back from warm-weather crops to help the soil heat up, then replace it once plants are growing.
If you see mold, just stir the mulch to let in more air—it’s part of the natural breakdown process and usually not a problem.
Conclusion
Making your own mulch isn’t just simple—it’s something that truly pays off in the long run. Now that you’ve learned how to turn yard waste into valuable mulch, you can protect your soil, help your plants grow better, and save money at the same time.
The best mulch often comes from using a mix of different materials. Leaves, grass clippings, and wood chips each offer unique benefits, and together they create a stronger, healthier garden.
By reusing these natural items instead of tossing them, you’re doing something great for your garden and the environment.
If starting feels like too much, begin with just one garden bed. Use leaves you would normally rake up and bag, and you’ll already see a big difference.
As weeds decrease, your plants grow stronger, and watering becomes easier, you’ll want to mulch more areas in your yard.
I’d love to hear how mulching has worked for you. Drop a comment below to share your ideas or ask questions. Let’s grow better gardens together—one layer of mulch at a time!
Frequently Asked Questions
How Thick Should I Apply Mulch?
For most garden beds, apply mulch in a layer about 2 to 3 inches thick. This depth helps block sunlight to stop weeds from growing while still allowing water and air to reach the soil.
Avoid spreading it too thin, which won’t be effective, or too thick, which can trap moisture and cause root problems.
When Is the Best Time to Mulch?
Early spring and late fall are the best times to mulch. Spring mulch keeps moisture in the soil during the hot months ahead, and fall mulch helps protect plant roots from cold and temperature swings.
Avoid mulching during freezing weather or extremely wet periods when the soil is too saturated.
Can I Use Pine Needles as Mulch?
Yes, pine needles make excellent mulch, especially for acid-loving plants like blueberries, camellias, and azaleas. They break down slowly, stay in place during heavy rain, and create a soft, natural layer.
Pine needles also let water through easily and help improve the soil over time without needing frequent replacement.
Will Mulch Attract Termites to My House?
Mulch doesn’t automatically attract termites, but it can if it’s placed too close to your home and stays damp.
To lower the risk, keep mulch at least 6 to 12 inches away from your house’s foundation. For extra safety, use termite-resistant mulch like melaleuca or rubber near buildings.
How Do I Stop Mulch from Washing Away?
To keep mulch in place, apply it when the soil is dry and level. Creating a small border with stones or edging material helps contain it. For sloped areas, use heavier mulch like bark nuggets or pine straw, which tend to stay put better during heavy rain or wind.