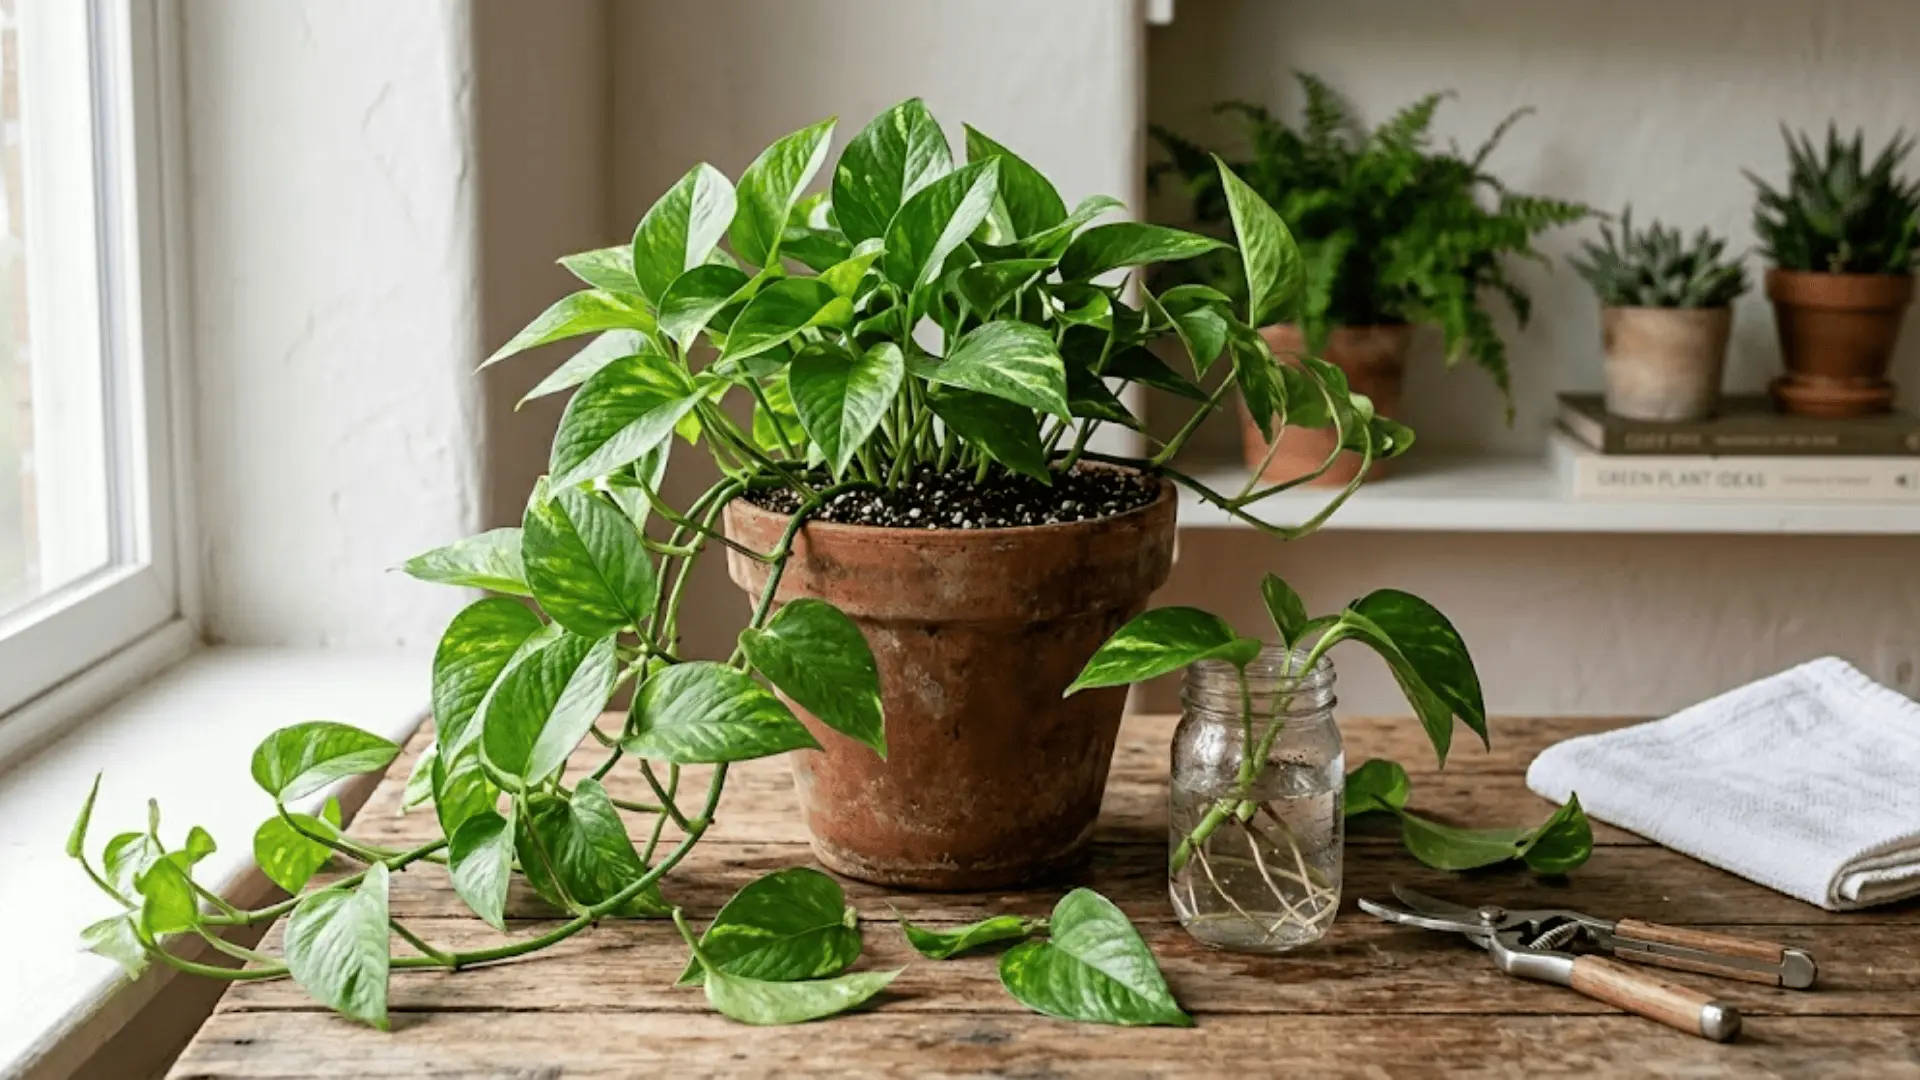
One pothos plant is really just the beginning. Propagating it is one of the most satisfying things you can do as a plant parent, and honestly, it’s far simpler than most people expect.
Pothos is forgiving, fast-rooting, and responds well to a few different propagation methods, such as water, soil, and more.
The exact cutting point, step-by-step methods, and the mistakes worth avoiding before starting are all laid out here in a way that’s practical and easy to follow along with.
What is Pothos Propagation?
Pothos propagation is the process of growing an entirely new plant from a cutting taken off an existing one, no seeds, no special equipment, just a healthy vine and a little patience.
It works because pothos stems have nodes, small brown nubs sitting at the base of each leaf stem, and these nodes are where new roots emerge once the cutting is placed in water or soil.
A single healthy vine can produce multiple new plants from one cutting session, making it one of the most effortless ways to multiply your collection.
Where to Cut Pothos to Propagate?
Always cut just below a node, the small brown bump where the leaf stem meets the vine.
This is the non-negotiable part; nodes are where roots emerge, and a cutting without one simply won’t root, no matter how long you wait.
Each cutting should include at least one node and one or two healthy leaves, and ideally sit around 4–6 inches in length for the best results.
Think of the node as the engine of the whole process; get that right, and everything else follows naturally.
Tools and Materials You’ll Need
Nothing elaborate is needed here, just a few basics that are likely already within reach:
Tools
- Clean scissors or pruning shears, sharp enough to make a smooth, clean cut
- A clear glass jar or container, watching the roots grow in water, is half the fun
- Small pots or trays for soil propagation
Materials
- Fresh water, changed every few days to keep things clean
- A light, well-draining potting mix for soil propagation
- Rooting hormone powder, optional but helpful for encouraging faster root development
- A healthy pothos vine with at least one visible node and a leaf or two to spare
Step-by-Step: How to Propagate Pothos in Water?
Water propagation is the most popular method for a reason; it’s simple, low-maintenance, and lets you watch the roots develop in real time.
Follow these steps, and the process becomes very hard to get wrong.
Step 1: Choose a Healthy Vine
Start with a vine that looks visibly healthy, green, and firm to the touch. Look for one with multiple nodes along its length so you can take more than one cut in a single session.
Steer clear of anything yellowing, damaged, or limp; a weak cutting rarely roots well and isn’t worth the effort.
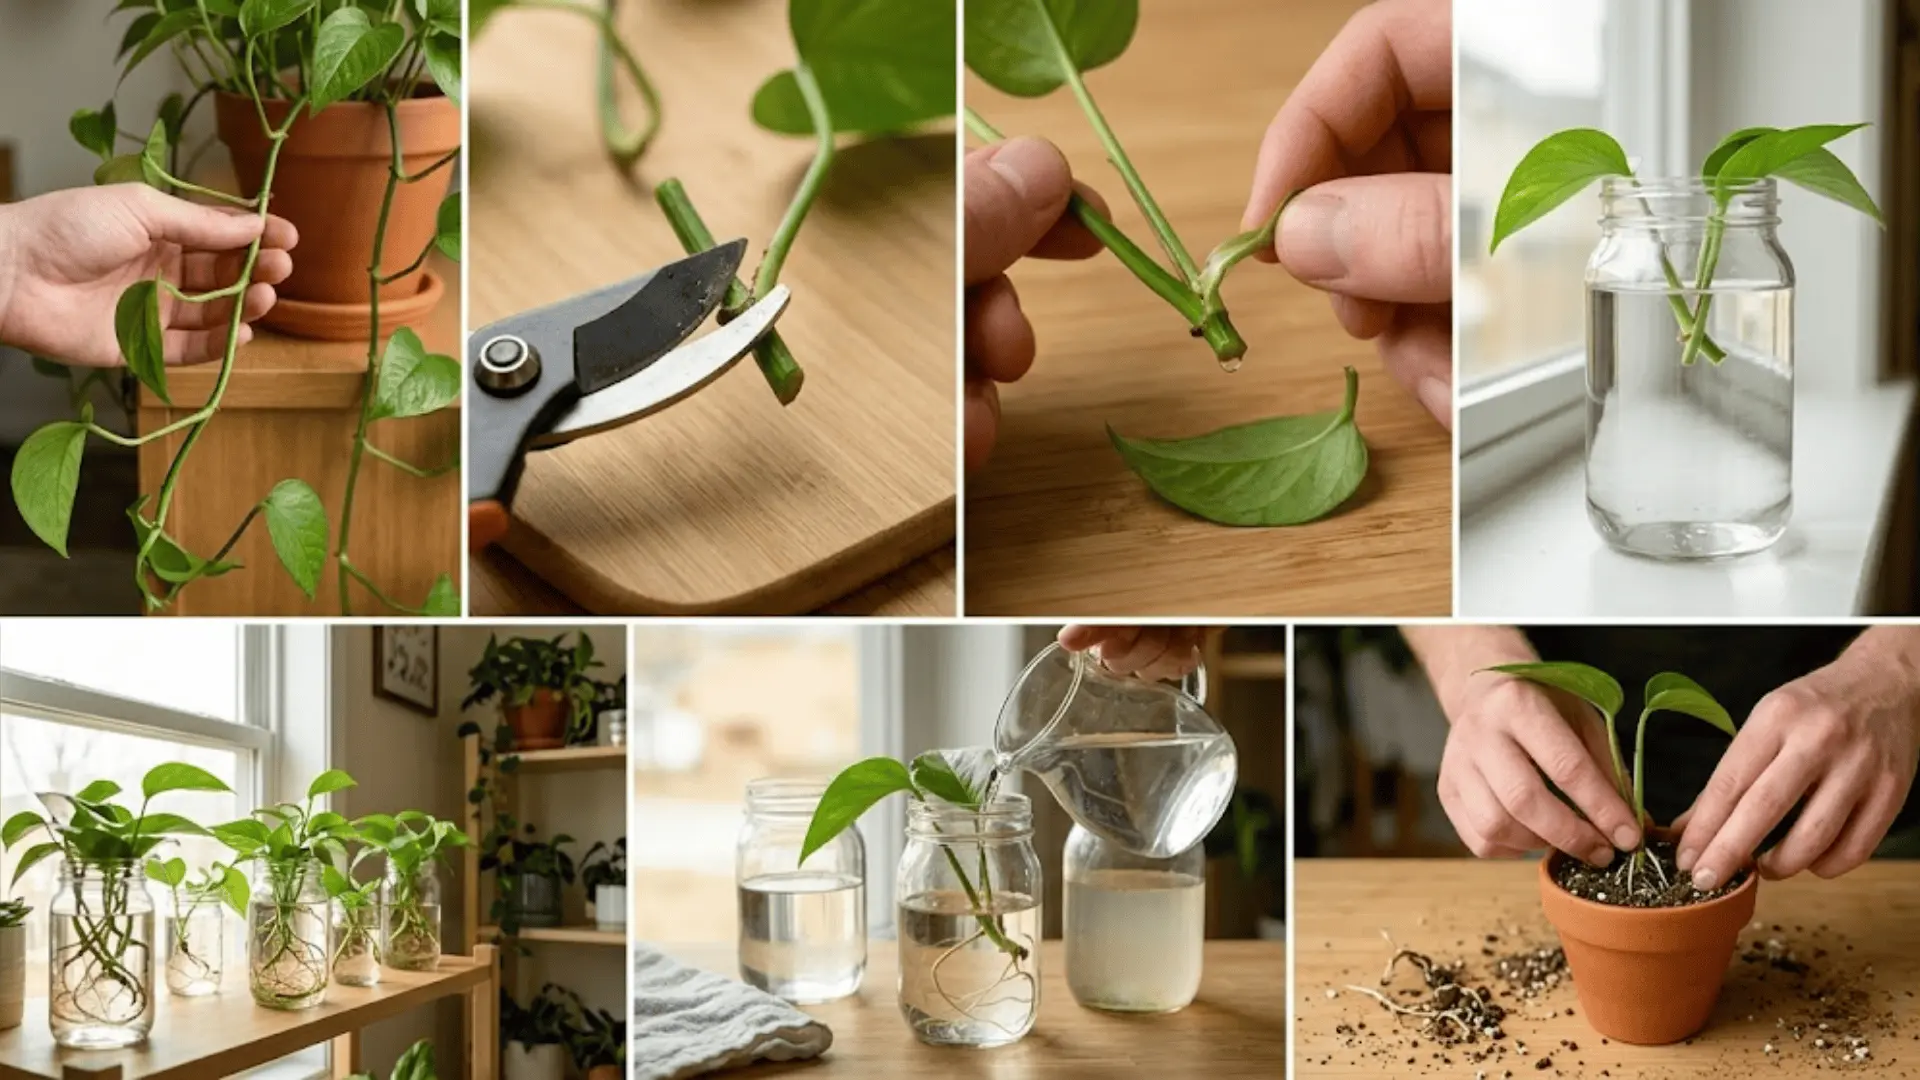
Step 2: Make the Cut
Using clean scissors or pruning shears, cut the stem ¼ inch below a node, angling slightly for a cleaner cut.
Taking multiple cuttings at once improves your overall success rate, so if the vine allows it, go ahead and take a few extras while you’re at it.
Step 3: Remove Lower Leaves
Strip off any leaves sitting close to the node that would end up submerged in water.
Leaves left underwater rot quickly, and that decay spreads bacteria through the water fast, which can compromise the cutting before it even gets a chance to root.
Step 4: Place in Water
Set the cutting in a clean glass jar and position it so that at least one node is fully submerged; two is even better.
Keep the leaves above the waterline to avoid unnecessary rotting. A clear jar works best here because it lets you monitor root development without disturbing the cutting.
Step 5: Provide the Right Conditions
The environment the cutting sits in matters more than most people expect. Here’s what to maintain consistently:
- Light: Bright, indirect light is ideal; direct sun warms the water too quickly and encourages algae growth.
- Temperature: Keep it in a warm spot between 60–80°F; anything cooler slows root development noticeably.
- Placement: Away from cold drafts, air vents, or windowsills that get intense afternoon sun.
Step 6: Change Water Regularly
Fresh water is a small but important habit. Change it at least once a week to prevent bacteria from building up around the nodes.
If the water starts looking cloudy or discolored before the week is up, go ahead and change it earlier rather than waiting.
Step 7: Transplant to Soil
Once roots have reached around 2 inches in length, the cutting is ready to move into the soil. At this stage, the roots are established enough to handle the transition without too much stress.
Pot it into a light, well-draining mix and keep the soil consistently moist for the first couple of weeks as it adjusts.
Step-by-Step: How to Propagate Pothos in Soil?
Soil propagation skips the transplanting step entirely and works beautifully for those who prefer a more straightforward process.
It takes a little more patience than water propagation, but the roots that develop are already adapted to soil from the start.
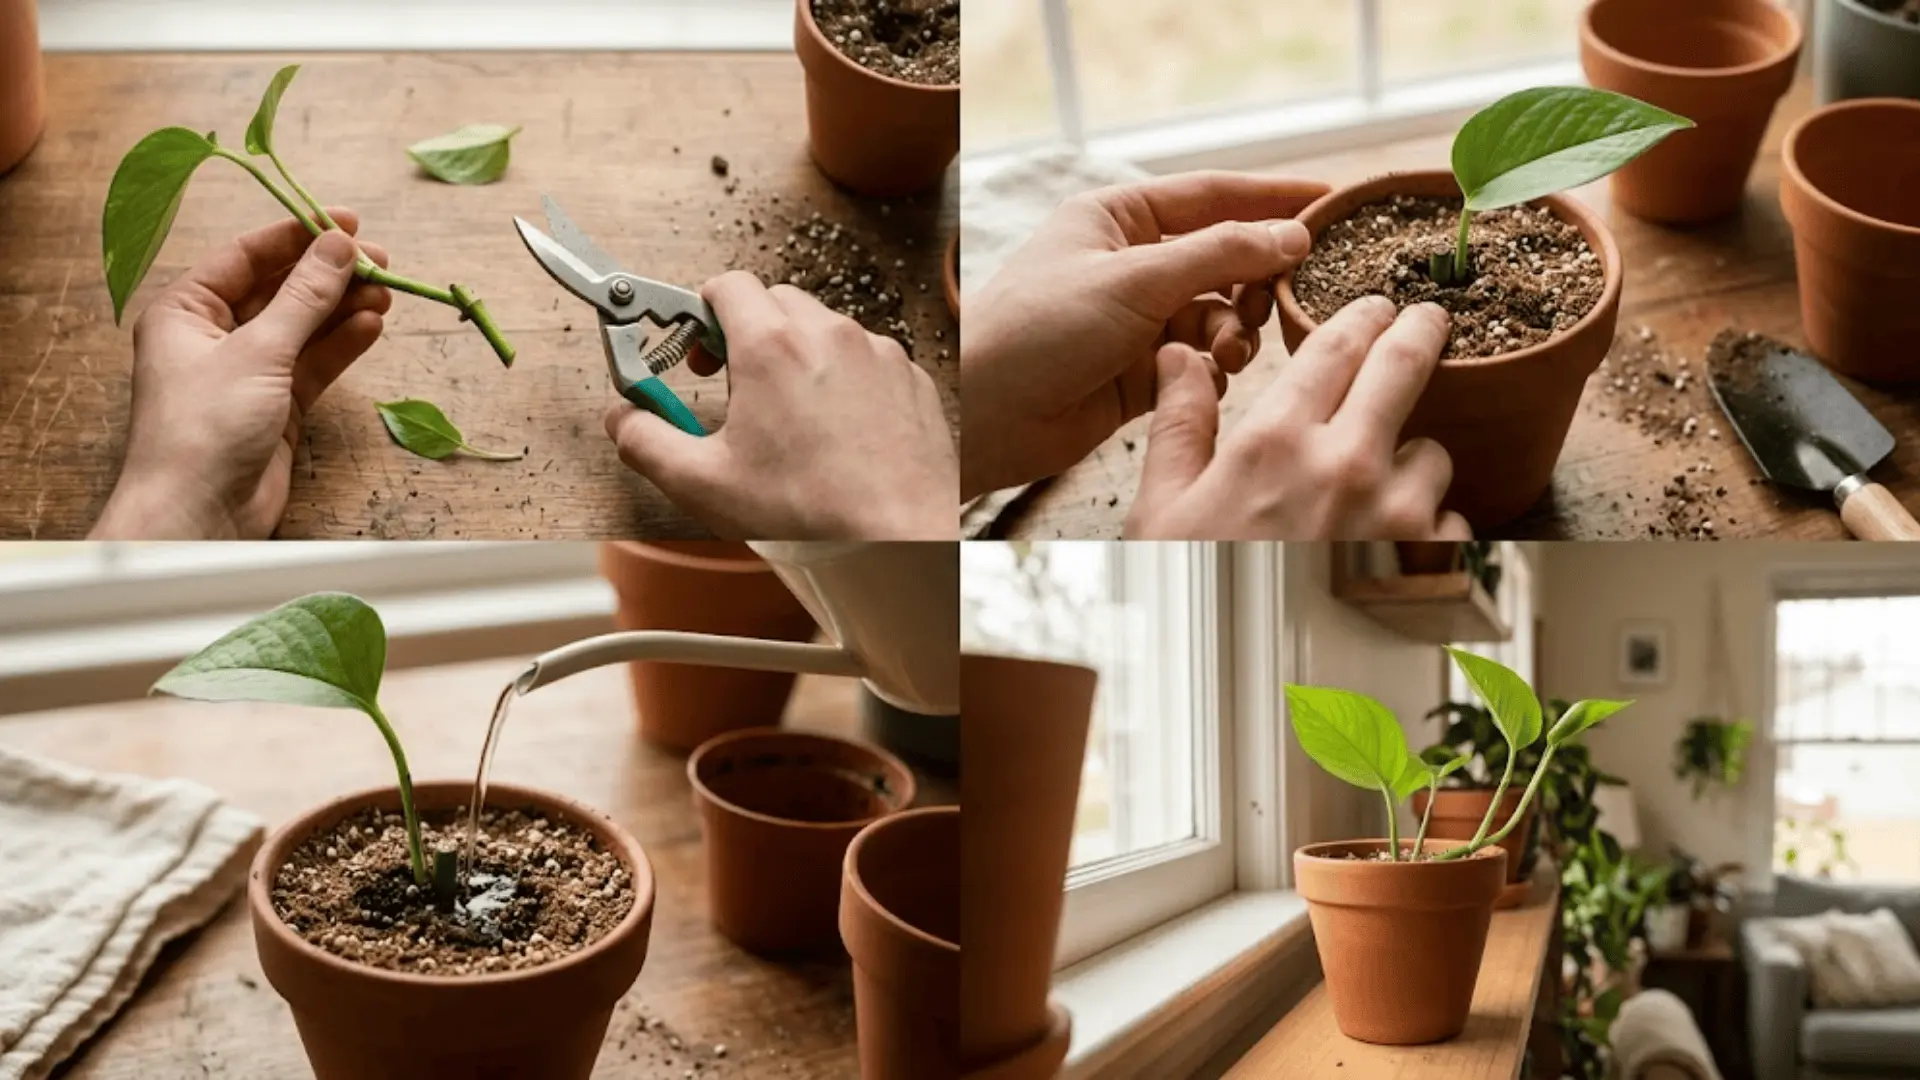
Step 1: Prepare Cuttings
The cutting method here is exactly the same as water propagation. Take a healthy stem with at least one visible node, trim it cleanly just below that node, and remove any leaves that would sit at or below the soil line.
Starting with a clean, healthy cutting gives soil propagation the best possible foundation.
Step 2: Plant in Moist Soil
Fill a small pot with a light, well-draining potting mix and bury the node just below the soil surface, making sure at least one leaf remains above it.
Gently firm the soil around the stem so the cutting stays upright and the node stays in consistent contact with the soil; that contact is what encourages rooting.
Step 3: Maintain Moisture
Keep the soil lightly and consistently moist throughout the rooting period, but never waterlogged. Soggy soil suffocates the developing roots before they get a chance to establish.
Check the top inch of soil regularly and water just enough to keep it from drying out completely between sessions.
Step 4: Provide Light and Warmth
Place the pot in a spot with bright, indirect light and a stable, warm temperature. Roots typically develop within 3–6 weeks, though warmer conditions tend to speed the process along.
Avoid moving the cutting around too much during this period; consistency in both light and temperature makes a noticeable difference to how quickly it takes hold.
Other Ways to Propagate Pothos
Water and soil are the most common routes, but pothos is adaptable enough to root well through a few other methods, too.
Here’s a quick look at how they compare:
| Method | How It Works | When to Use It | What to Expect |
|---|---|---|---|
| Division | Split the root ball into sections at repotting | When the plant is overgrown or root-bound | Instant new plants, no rooting wait time |
| Layering | Pin a vine into the soil while still attached | When you want roots established before cutting | Roots in 3–4 weeks, then separate and pot |
| Moss or Perlite | Root cuttings in moss or perlite | When water propagation has been slow | Faster rooting with better node aeration |
Best Conditions for Successful Propagation
Cuttings are at their most vulnerable right after they’re taken, and the environment they sit in during this period makes a real difference.
Getting these three conditions right sets the whole process up for success.
1. Light
Good light keeps the cutting energized without stressing it out.
Here’s what works:
- Bright, indirect light is the sweet spot, a spot near a window without direct sun hitting it.
- Avoid low-light corners; slow rooting and weak stems are almost always a light issue.
- Rotate the jar or pot occasionally to keep growth even on all sides.
2. Temperature
Warmth is what drives root development forward consistently.
Keep these in mind:
- A stable indoor temperature between 65–80°F is ideal for steady, healthy rooting.
- Avoid placing cuttings near cold drafts, air conditioning vents, or chilly windowsills.
- Cooler conditions don’t stop rooting entirely, but they do slow it down noticeably.
3. Humidity
A little extra moisture in the air goes further than most people realize.
Here’s how to work with it:
- Moderate to high humidity encourages faster, more vigorous root development.
- Grouping plants together or placing a tray of water nearby naturally raises humidity levels.
- A plastic bag loosely placed over the cutting creates a gentle, humid environment without sealing it off completely.
Pro Tips for Faster Root Growth
A few small adjustments during the propagation process can make a surprisingly big difference to how quickly and successfully roots develop:
- Take Multiple Cuttings at once: Not every cutting roots at the same rate, having a few going simultaneously means a better overall success rate.
- Use a Clear Container: Being able to see root development without disturbing the cutting is more useful than it sounds.
- Change the Water Frequently: Fresh water every few days keeps bacteria away and gives roots a cleaner environment to develop in.
- Group Cuttings Together: Multiple cuttings in one pot or jar eventually grow into a fuller, bushier plant rather than a single, sparse stem.
- Use Rooting Hormone: A light dusting on the node before placing it in water or soil can noticeably speed up the early rooting stage.
Get these habits in place early, and propagating pothos stops feeling like a waiting game.
The Closing Note
Propagating a pothos is one of those skills that feels a little exciting the first time and completely effortless by the third.
Once you know where to cut and what conditions to maintain, the whole process becomes second nature.
A single healthy plant can fill an entire corner, get shared with friends, or simply give you the quiet satisfaction of watching something new take root from something you already have.
If you’ve tried propagating a pothos recently, share how it went in the comments; it’s always interesting to hear what’s working for others.