
If your plants aren’t growing the way you hoped, your soil might need a little help. That’s where soil conditioner comes in. It’s like a vitamin boost for your garden.
A soil conditioner makes your soil healthier, enabling your plants to grow more robustly and thrive. It helps loosen hard soil, keeps water from running off too fast, and gives roots room to breathe.
Whether you’re planting flowers, vegetables, or trees, using soil conditioner properly can make a significant difference. You don’t need to be a gardening expert—it’s actually pretty easy!
In this guide, I’ll walk you through everything you need to know. You’ll learn what soil conditioner is, why your garden needs it, how to use it, and when to apply it. Let’s dig in and get your soil ready for happy, healthy plants!
What Is Soil Conditioner?
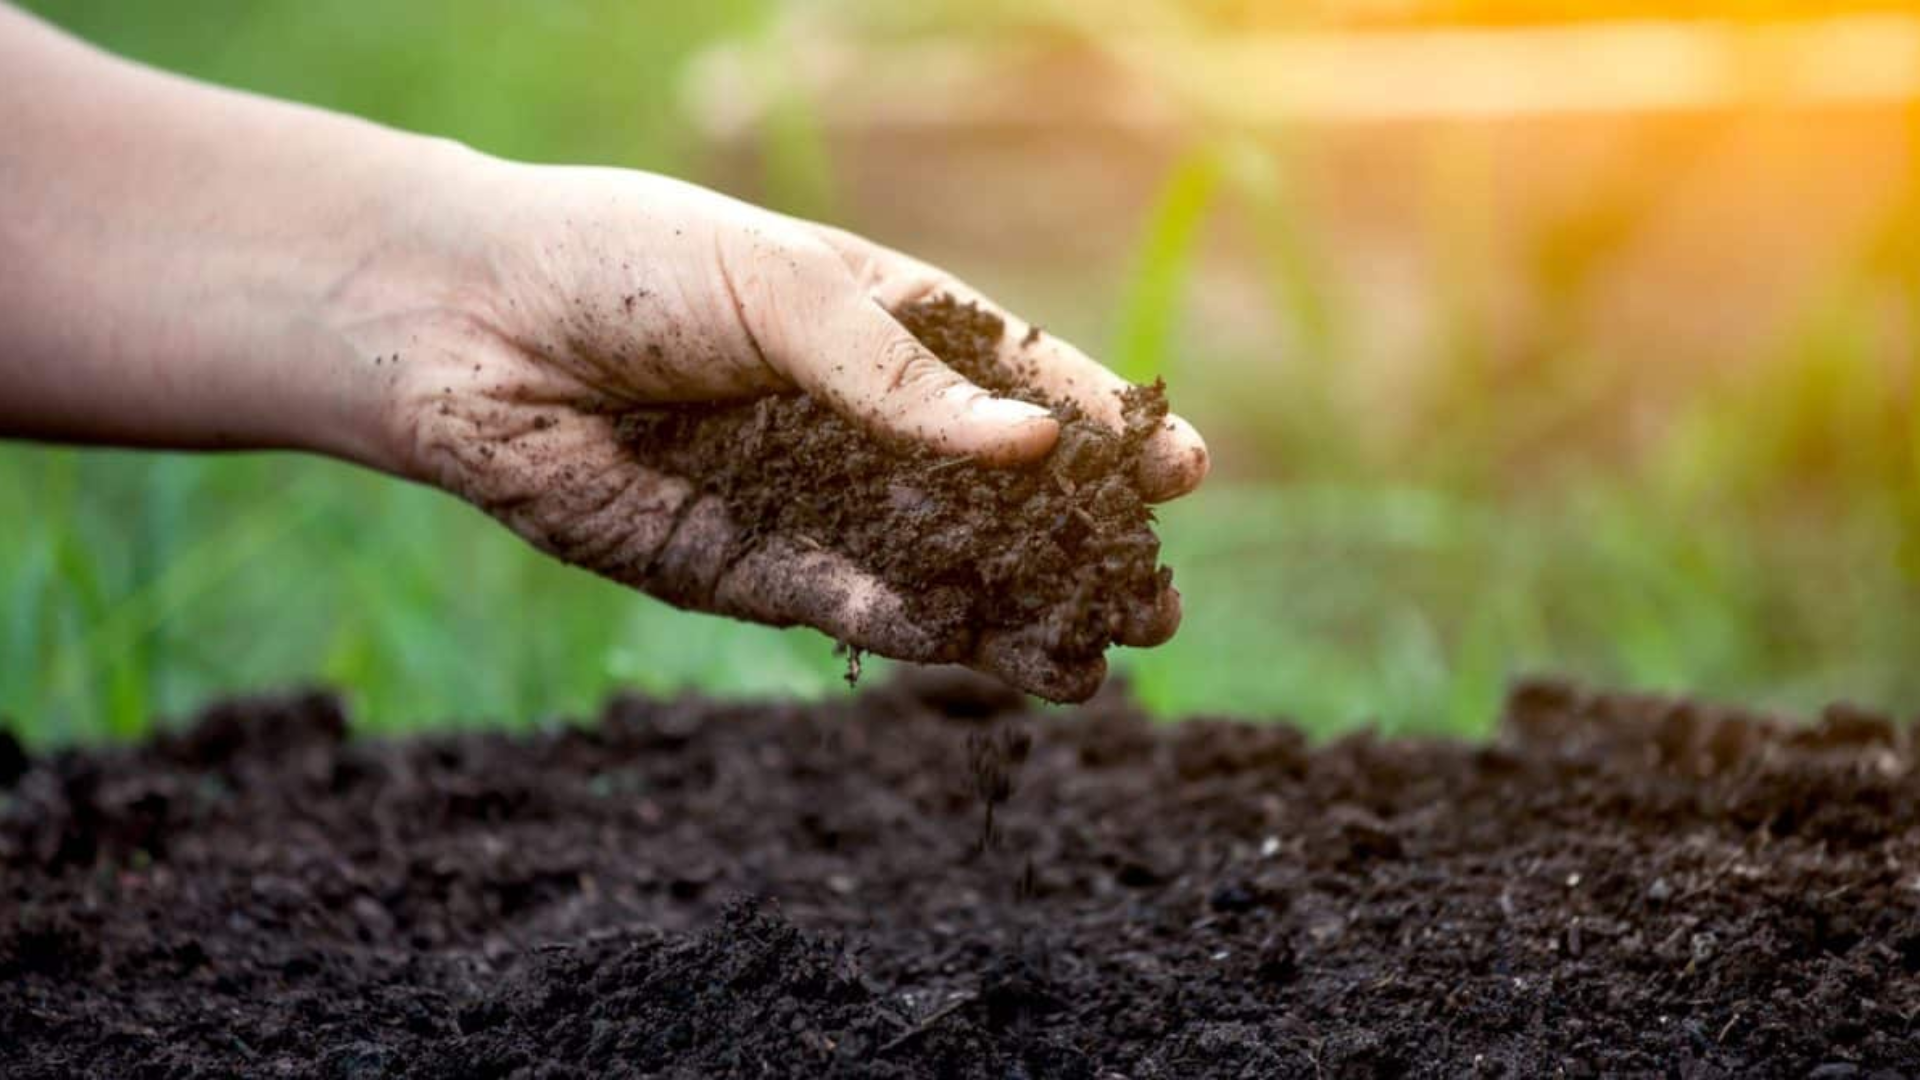
A soil conditioner is a substance added to the soil to improve its quality for plant growth. Think of it like a helper that fixes problems in the dirt. Some soils are too hard, too dry, or fail to hold water or nutrients effectively. That’s where soil conditioner comes in—it helps address those issues, providing your plants with a better environment in which to grow.
There are different kinds of soil conditioners. Some are natural, like compost, manure, or peat moss. Others are made in a lab, like gypsum or lime. They all work in different ways, but the goal is the same: to improve your soil’s health.
Healthier soil means stronger roots, better growth, and happier plants. So if your garden isn’t doing well, a good soil conditioner might be just what you need.
Why Your Garden Needs Soil Conditioner
If your plants look weak or your soil feels hard and dry, it might be time to give your garden a boost. Soil conditioner helps fix common problems and makes it easier for plants to grow strong and healthy.
- Improves Soil Texture: It loosens up tight, hard soil so roots can grow more easily.
- Helps Hold Moisture: It keeps water in the soil longer, so your plants don’t dry out too fast.
- Adds Nutrients: Some soil conditioners have nutrients that feed your plants.
- Boosts Drainage: It helps extra water drain away so roots don’t rot.
- Reduces Soil Compaction: It breaks up packed soil, giving roots room to breathe.
Adding soil conditioner is a simple step that can make a big difference in your garden’s health!
How to Apply Soil Conditioner: Step-by-Step Guide
Using soil conditioner can make a big difference in how your garden grows. Follow these steps to make sure you’re doing it the right way:
Step 1: Test and Inspect Your Soil
Before using any soil conditioner, inspect your soil thoroughly. Is it dry, cracked, or too hard? Does water run off instead of soaking in? These are signs that your soil needs help.
For optimal results, use a basic soil test kit to check the pH level and determine if your soil is lacking essential nutrients. This will help you choose the right type of soil conditioner.
Step 2: Clear the Area
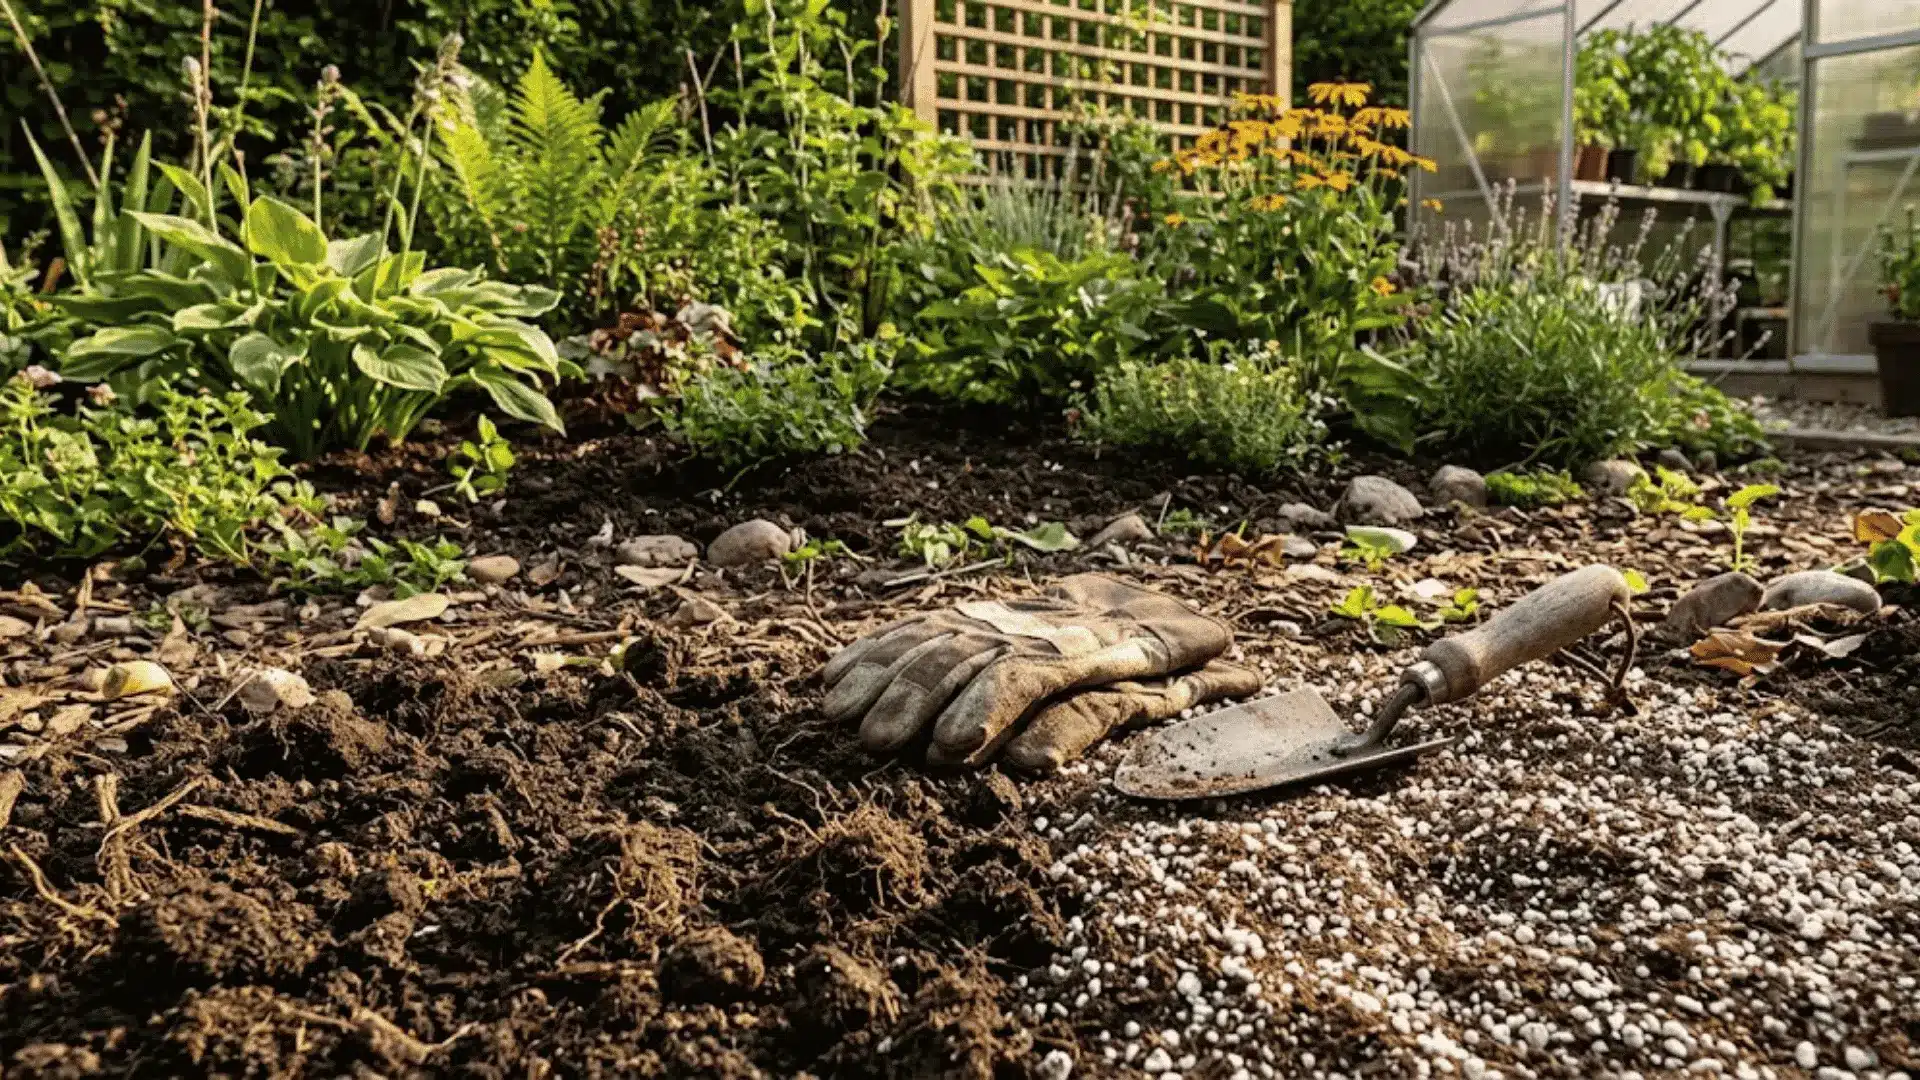
Start by removing any weeds, grass, old mulch, or plant debris from the area where you’ll be applying the conditioner.
Use a rake or your hands (with gloves) to make the surface clean and clear. This makes it easier for the soil conditioner to mix in properly and do its job.
Step 3: Loosen the Top Layer of Soil
Use a garden fork, shovel (my personal favourite), or hand trowel to gently turn and loosen the top 4–6 inches of soil.
This helps break up clumps and allows the soil conditioner to mix in better. Looser soil also gives roots more room to grow and breathe.
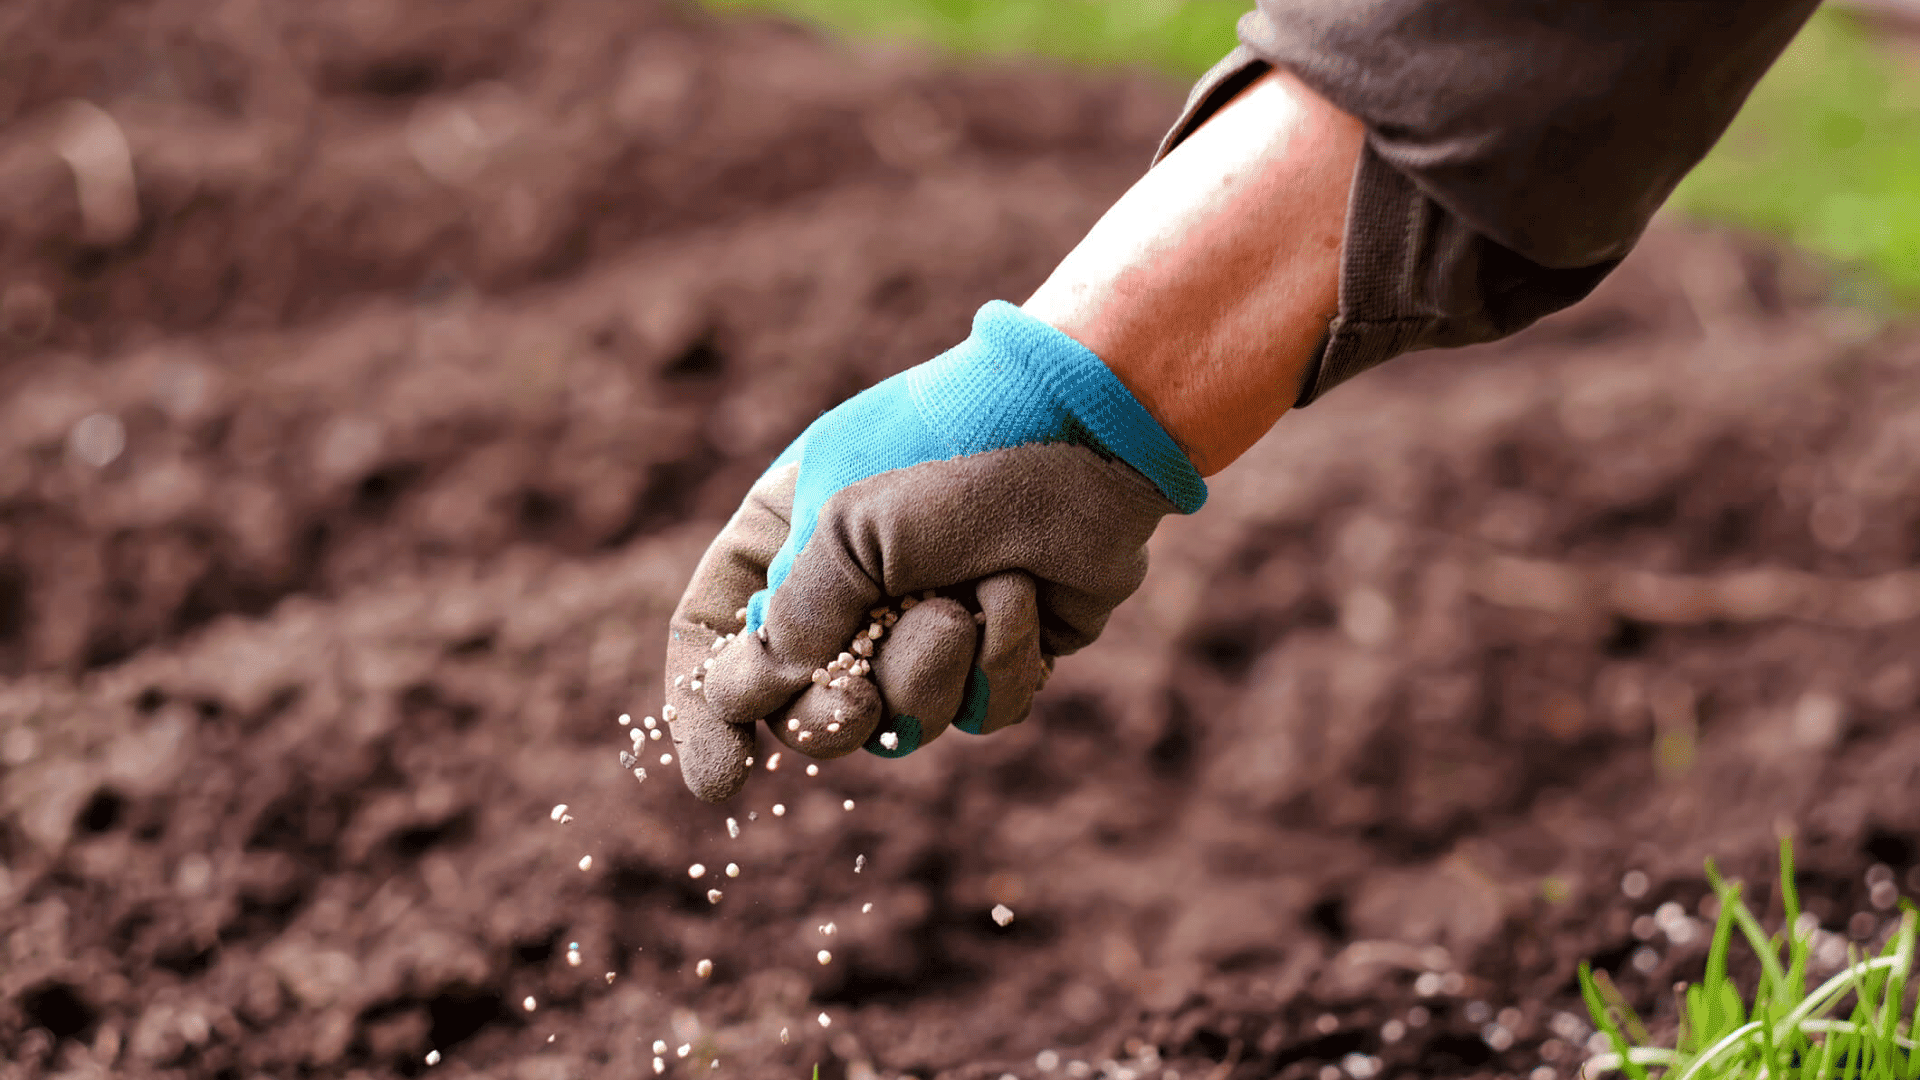
Step 4: Spread the Soil Conditioner Evenly
Take your soil conditioner—whether it’s compost, manure, peat moss, gypsum, or another type—and sprinkle it across the soil. Aim for a thin, even layer (about 1–2 inches thick for most types). Don’t dump it all in one spot; spreading it out helps cover more ground. I made that mistake once and it just leads to all efforts wasted.
Step 5: Mix It Into the Soil
Now that the conditioner is on top, use your garden fork or shovel to mix it into the loosened soil.
You want to blend it down into the top 4–6 inches so it doesn’t just sit on the surface. This helps it reach the roots where it can really make a difference.
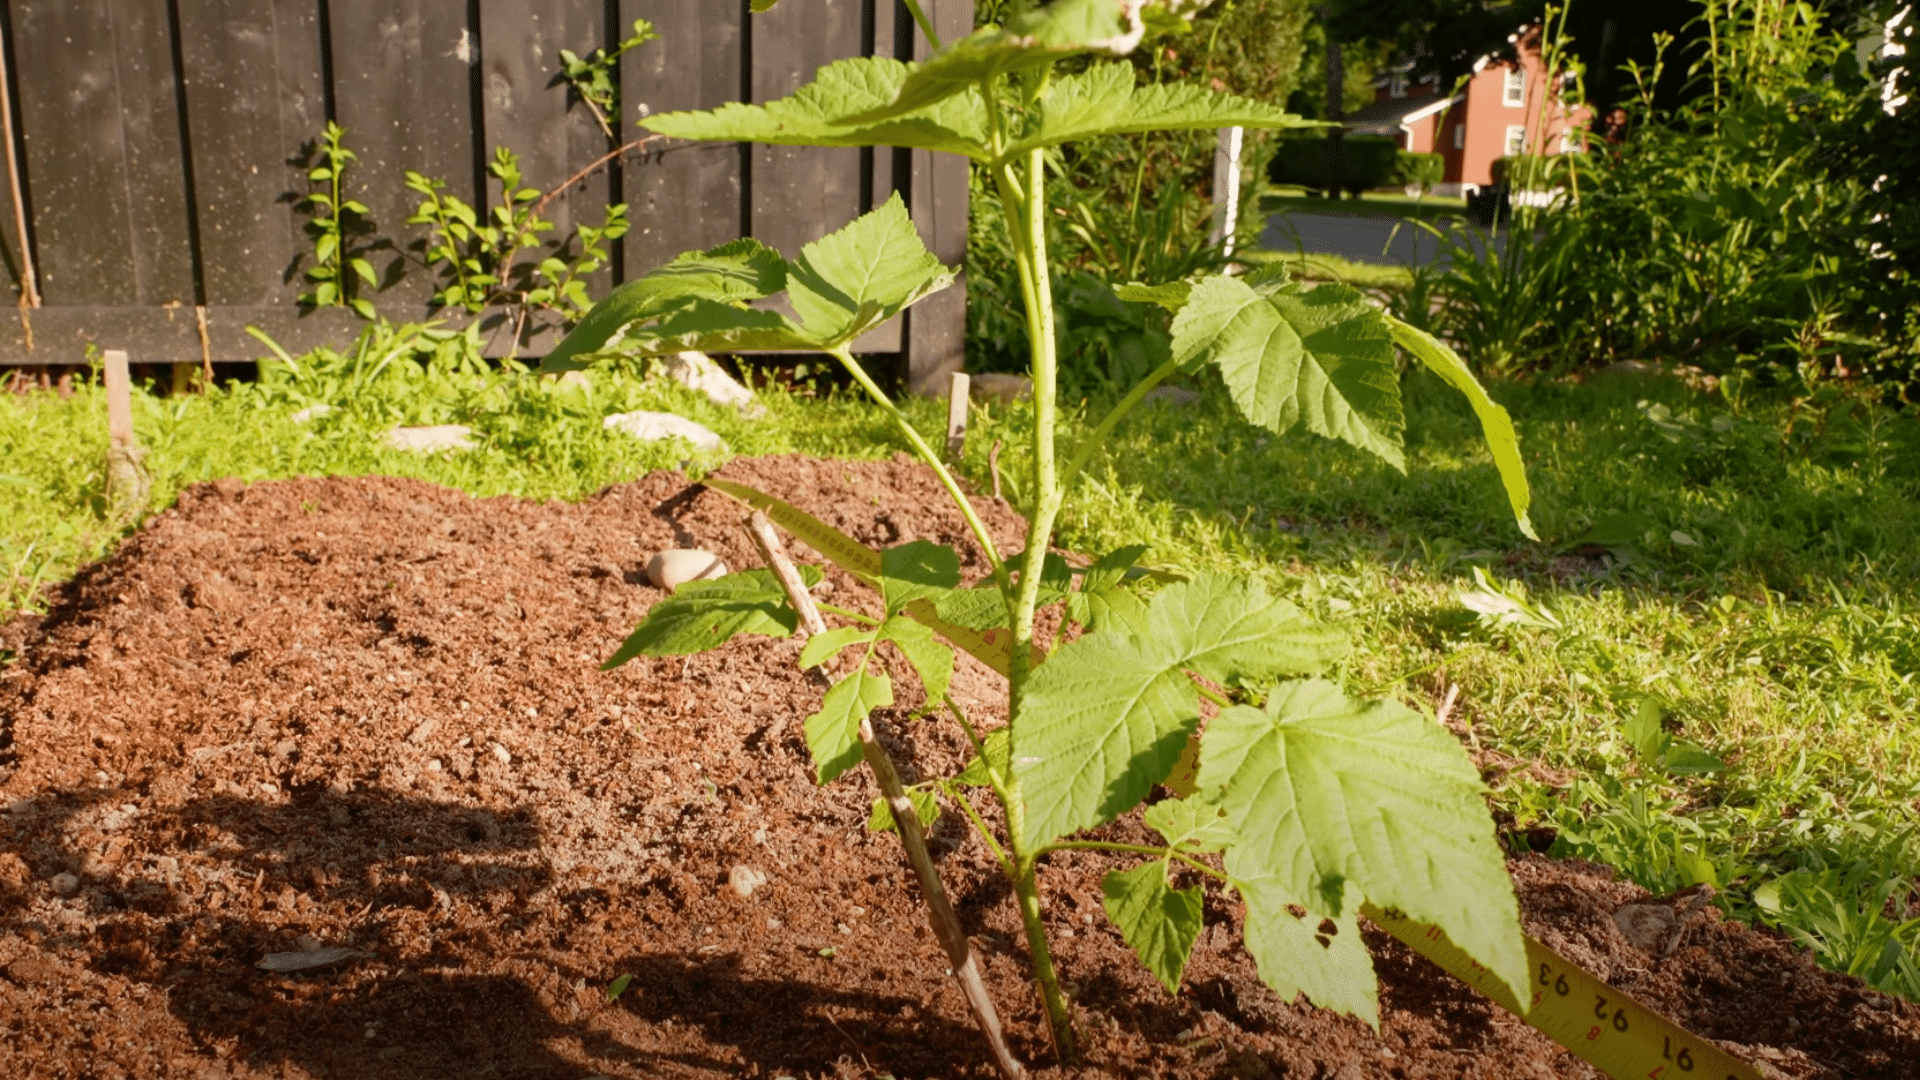
Step 6: Water the Area and Let It Rest
Once everything is mixed in, give your garden a good watering. This helps the soil conditioner settle in and begin working. It also starts the process of breaking down organic materials so your plants can use the nutrients.
If you’re prepping for planting, let the soil rest for a day or two after watering. If you’re conditioning soil around existing plants, you can continue watering as usual, and the conditioner will slowly improve the soil over time.
For further information, check out this youtube tutorial by @JohnandBobs.
Bonus Tips:
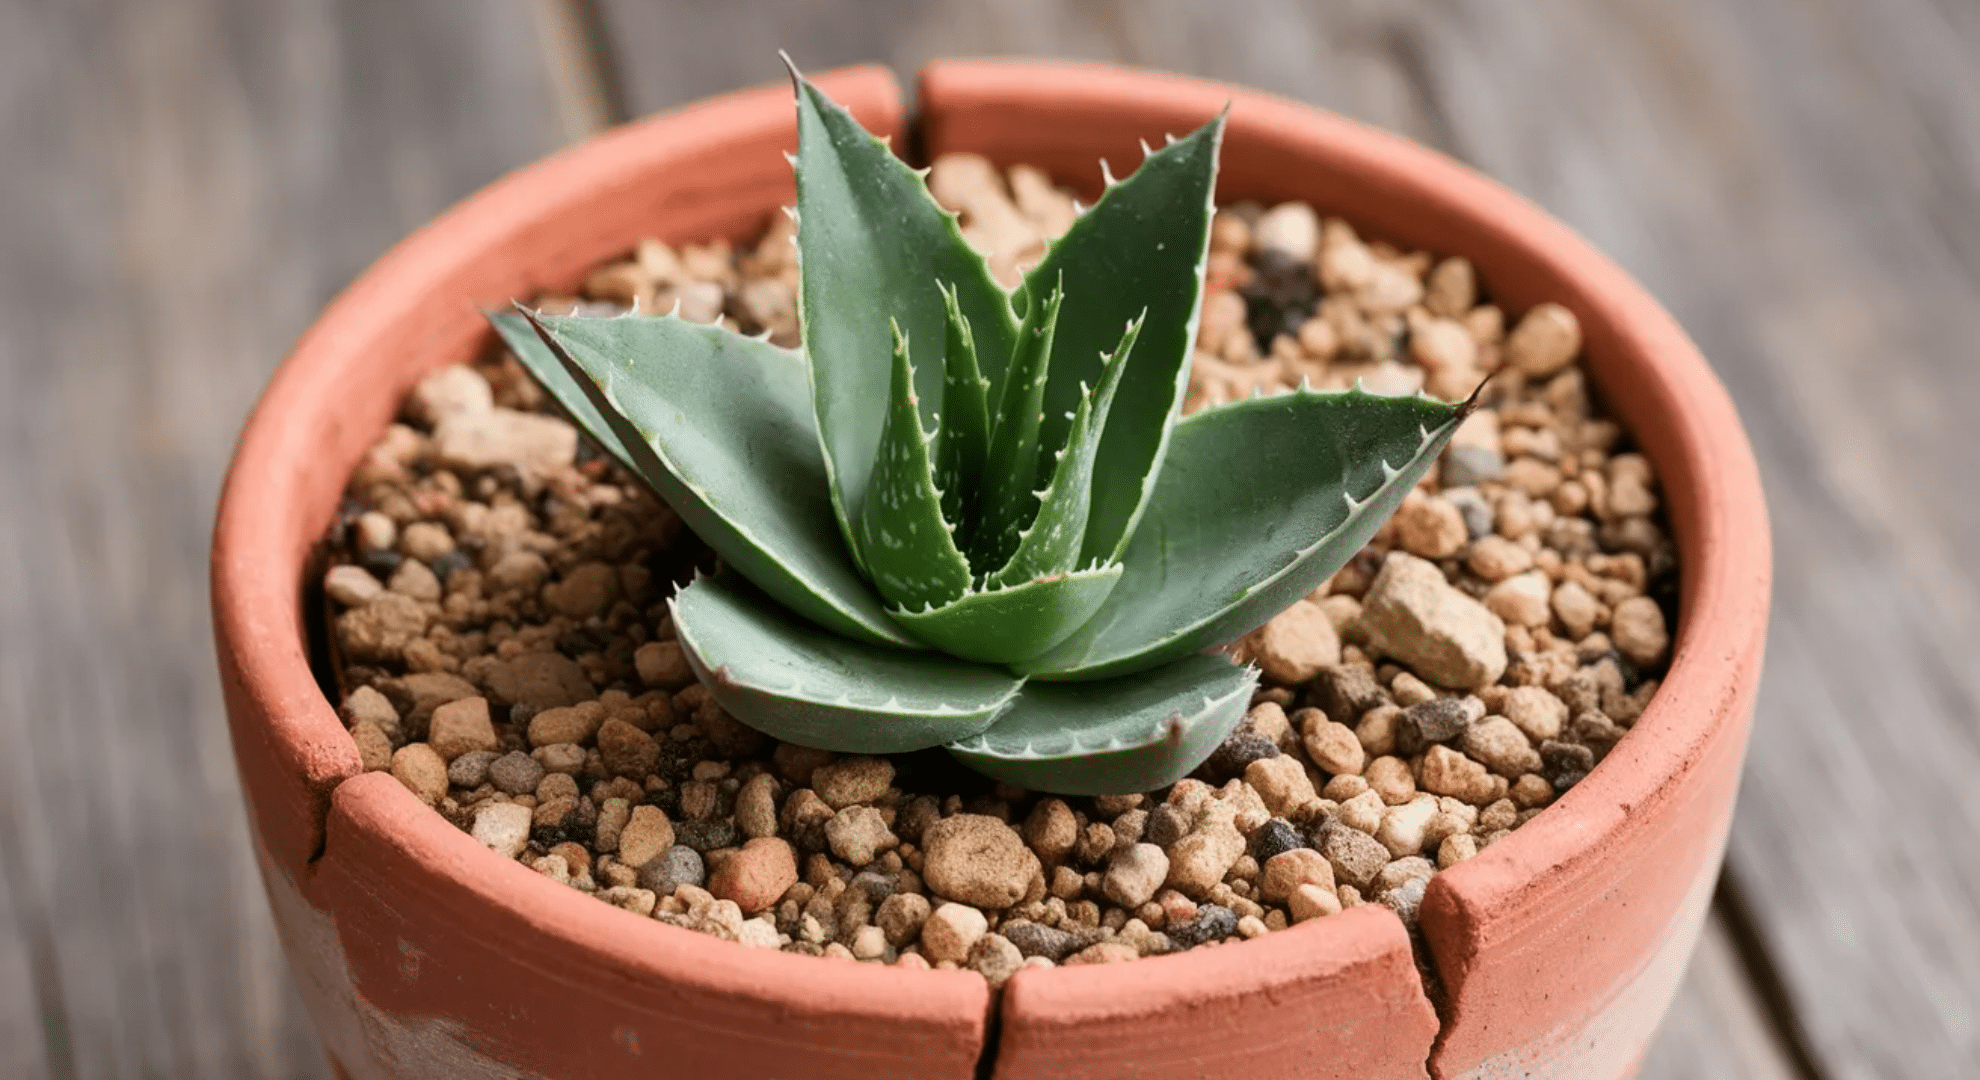
- For vegetable gardens, use organic conditioners like compost or worm castings.
- For clay soil, gypsum is great for breaking up heavy texture.
- Don’t overdo it—too much soil conditioner can cause drainage problems or nutrient overload.
Using soil conditioner the right way helps your garden grow strong and healthy. Just follow the steps, and your soil will thank you!
Choosing the Right Soil Conditioner
Picking the right soil conditioner might sound tricky, but it’s actually pretty simple. You just need to know what kind of soil you have and what problems you want to fix. Once you figure that out, it’s easy to choose a conditioner that will help your plants grow their best.
| Soil Type | Common Problems | Best Soil Conditioners | Why It Helps |
|---|---|---|---|
| Clay | Too compact, poor drainage | Gypsum, compost | Loosens soil, improves drainage |
| Sandy | Drains too fast, lacks nutrients | Compost, peat moss | Adds nutrients and helps retain moisture |
| Loamy/Healthy | Needs regular maintenance | Light compost | Keeps soil balanced and full of nutrients |
| Acidic | Low pH, poor nutrient availability | Lime | Raises pH, helps plants absorb nutrients |
| Alkaline | High pH, nutrient lock-out | Sulfur, organic matter | Lowers pH, adds organic content |
You can also choose between organic and synthetic conditioners. Organic types like compost and worm castings are safe, natural, and great for long-term soil health. Synthetic ones work faster and are good for fixing problems quickly, but they aren’t always gentle.
Best Time to Use Soil Conditioner
Knowing when to use soil conditioner is just as important as how to use it. The right timing helps it work better and gives your plants the best chance to grow strong and healthy. While you can use soil conditioner any time the ground isn’t frozen, I’ve come to realize that some seasons work better than others.
- Spring: A great time to prepare your garden for planting. It helps loosen soil and add nutrients after winter.
- Fall: Perfect for improving soil before it rests for the season. It helps rebuild nutrients after the growing season ends.
- Early Summer: You can still apply conditioner if plants are struggling, especially if soil is dry or compacted.
- Avoid Winter: Frozen soil makes it hard for conditioner to mix in and work properly.
Timing it right gives your garden a head start and keeps your soil in top shape throughout the year!
Mistakes to Avoid When Using Soil Conditioner
Soil conditioner can do wonders for your garden—but only if you use it the right way. Making a few common mistakes can keep it from working or even harm your plants.
- Using Too Much: Adding too much conditioner can make your soil too loose or too rich, which may hurt plant roots.
- Skipping a Soil Test: Guessing what your soil needs can lead to the wrong fix. A simple test tells you exactly what to add.
- Using the Wrong Type: Not all conditioners work on all soils. For example, using peat moss on clay soil won’t fix drainage issues.
- Not Mixing It In Properly: Leaving the conditioner on top of the soil won’t help much. Make sure to blend it into the top few inches.
- Applying at the Wrong Time: Adding it to frozen or soaking-wet soil won’t help and might even make things worse.
Avoiding these mistakes will help you get the most out of your soil conditioner and give your garden the boost it needs!
Conclusion
Using soil conditioner is one of the easiest ways to give your garden a healthy boost. Whether your soil is too hard, too sandy, or just worn out, the right conditioner can fix common problems and help your plants grow better.
By choosing the right type, applying it at the right time, and avoiding a few simple mistakes, you can turn weak soil into a strong base for flowers, vegetables, or grass.
Remember, healthy soil means healthy plants. Don’t be afraid to start small—just adding a little compost or gypsum can make a big difference. Your garden doesn’t need to be perfect. It just needs a little care and the right tools to help it thrive.


One Response
Hi Randy, I have been growing my tomatoes in pots for a few years. every year I get what I think is wilt. I usually throw out the soil and start fresh each year. this year all I had was several bags of Ace hardwares soil conditioner called Bumper Crop. it didn’t occur to me that the soil could be too rich for the plant. I used bumper crop and added worm castings to it. I think I need to re -do the whole 8 pots. What should I use for my base soil?