Your snake plant isn’t asking for much, but the soil underneath really does make all the difference.
While most plant parents obsess over watering schedules, the truth is that what’s happening beneath the surface matters even more.
Wrong soil choices lead to root rot, yellowing leaves, and that heartbreaking droop no amount of pep talk can fix.
Snake plants naturally thrive in gritty, fast-draining environments that mimic their native habitat, so recreating those conditions at home becomes your main priority.
Thousands of plant enthusiasts have tested different mixes and found what actually works, and their insights might just save your struggling succulent friend from another near-death experience.
Why Snake Plants Need a Special Soil Mix?
Snake plants evolved in the rocky, arid regions of West Africa, where rainfall is scarce, and drainage happens instantly.
Their thick, water-storing leaves developed precisely because moisture isn’t always available, making them incredibly drought-tolerant but equally sensitive to sitting in dampness.
The root system stays relatively shallow and compact, which means excess water has nowhere to escape in dense soil. Standard potting mixes hold moisture far too long, creating a suffocating environment where roots can’t breathe.
What works beautifully for ferns or pothos becomes a soggy trap for snake plants, leading to the mushy, blackened roots that signal the beginning of the end.
Key Characteristics of the Best Soil for Snake Plant
The right soil mix checks several non-negotiable boxes that keep your snake plant thriving rather than just surviving.
Here’s what to look for:
- Fast drainage that allows water to pass through within seconds, preventing any pooling around the roots.
- Excellent aeration so oxygen can reach the root system and prevent suffocation or fungal growth.
- Minimal moisture retention since snake plants prefer to dry out completely between waterings.
- Gritty, chunky texture that mimics their native rocky terrain and keeps the mix from compacting over time.
- Slightly acidic to neutral pH, ranging from 5.5 to 7.5, for optimal nutrient absorption.
Getting these elements balanced means your snake plant can focus on growing strong instead of fighting against its environment.
Best Soil Components for Snake Plants
Building the perfect snake plant soil means layering components that each serve a specific purpose. Think of it as creating a custom blend where every ingredient plays its part in drainage, aeration, and nutrition.
1. Potting Soil
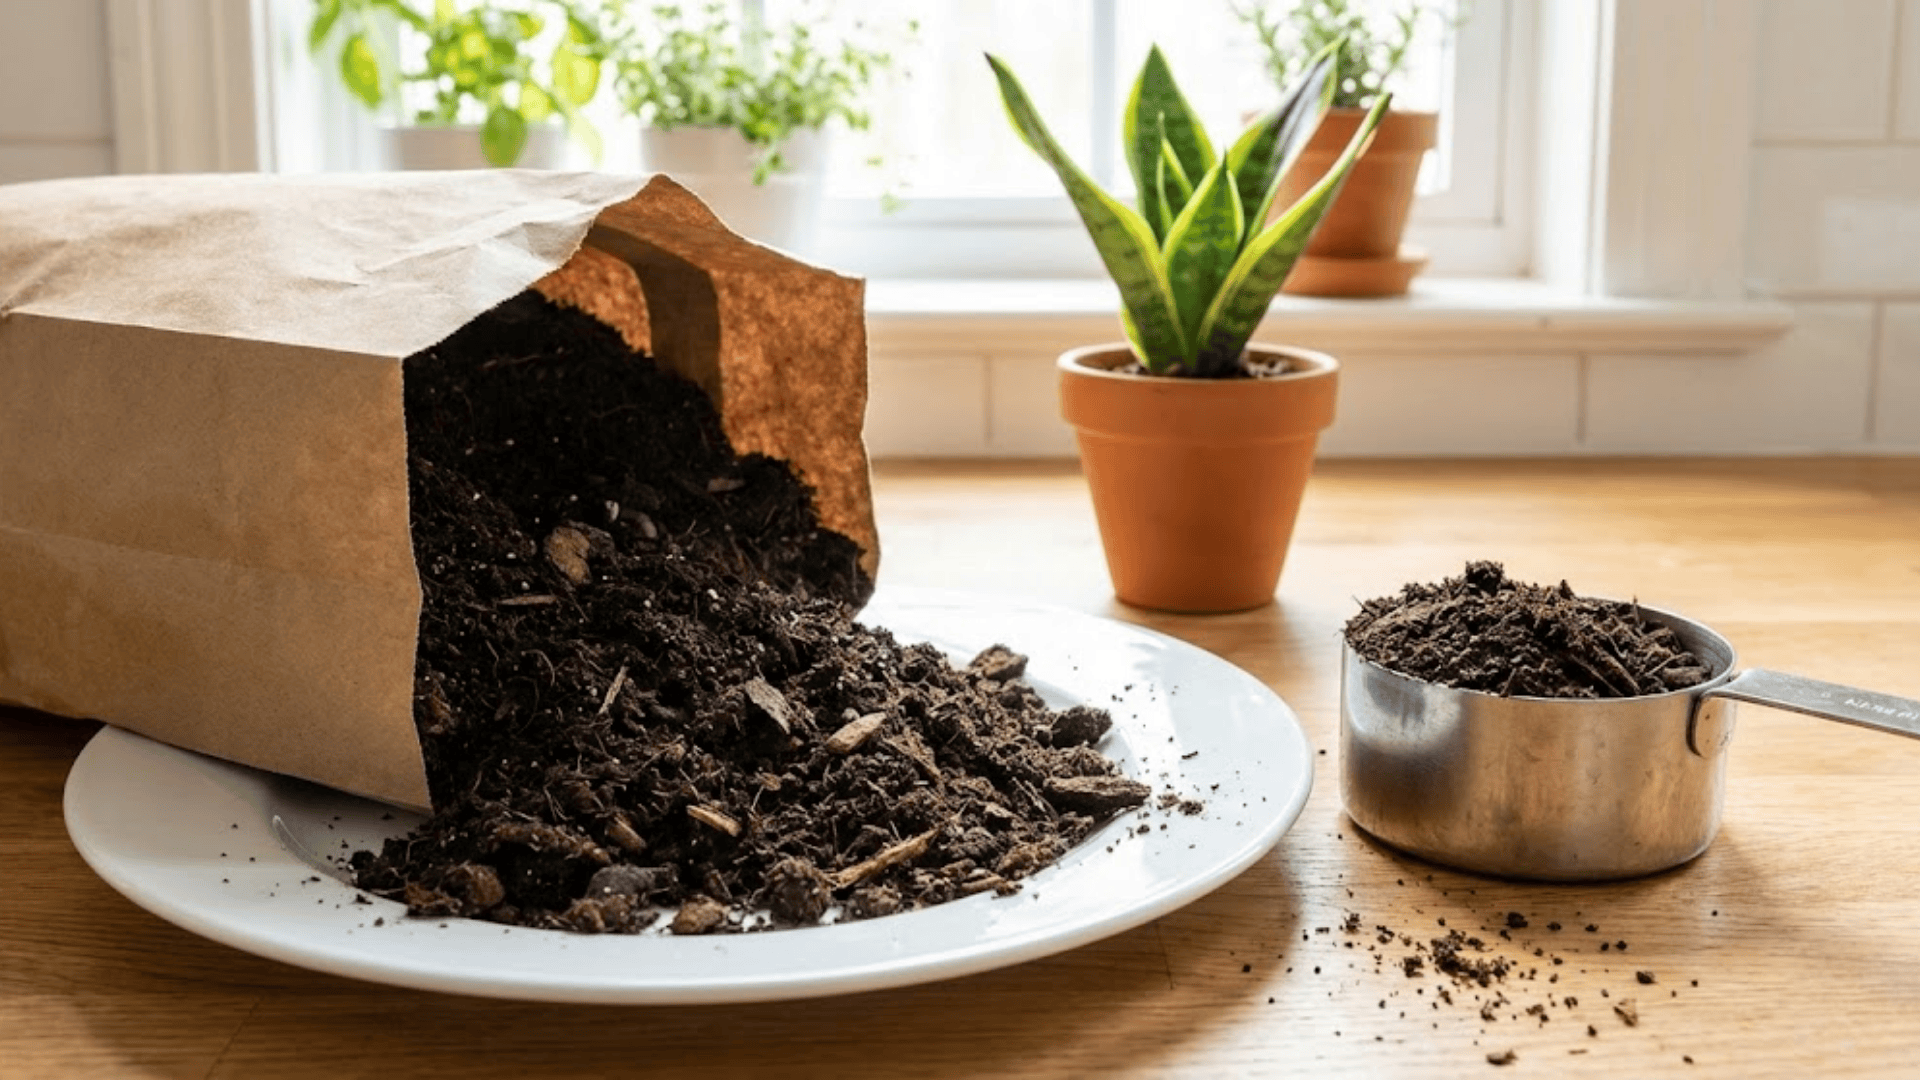
Standard potting soil provides the foundational nutrients and organic matter your snake plant needs for steady growth. It carries essential minerals and creates structure for beneficial microbes to thrive.
However, using it solo is asking for trouble since it retains far too much moisture. Consider it the starting point that needs serious amendment, never the complete solution.
Mix it with at least equal parts of drainage materials to turn it into something your snake plant can actually tolerate.
2. Perlite or Pumice
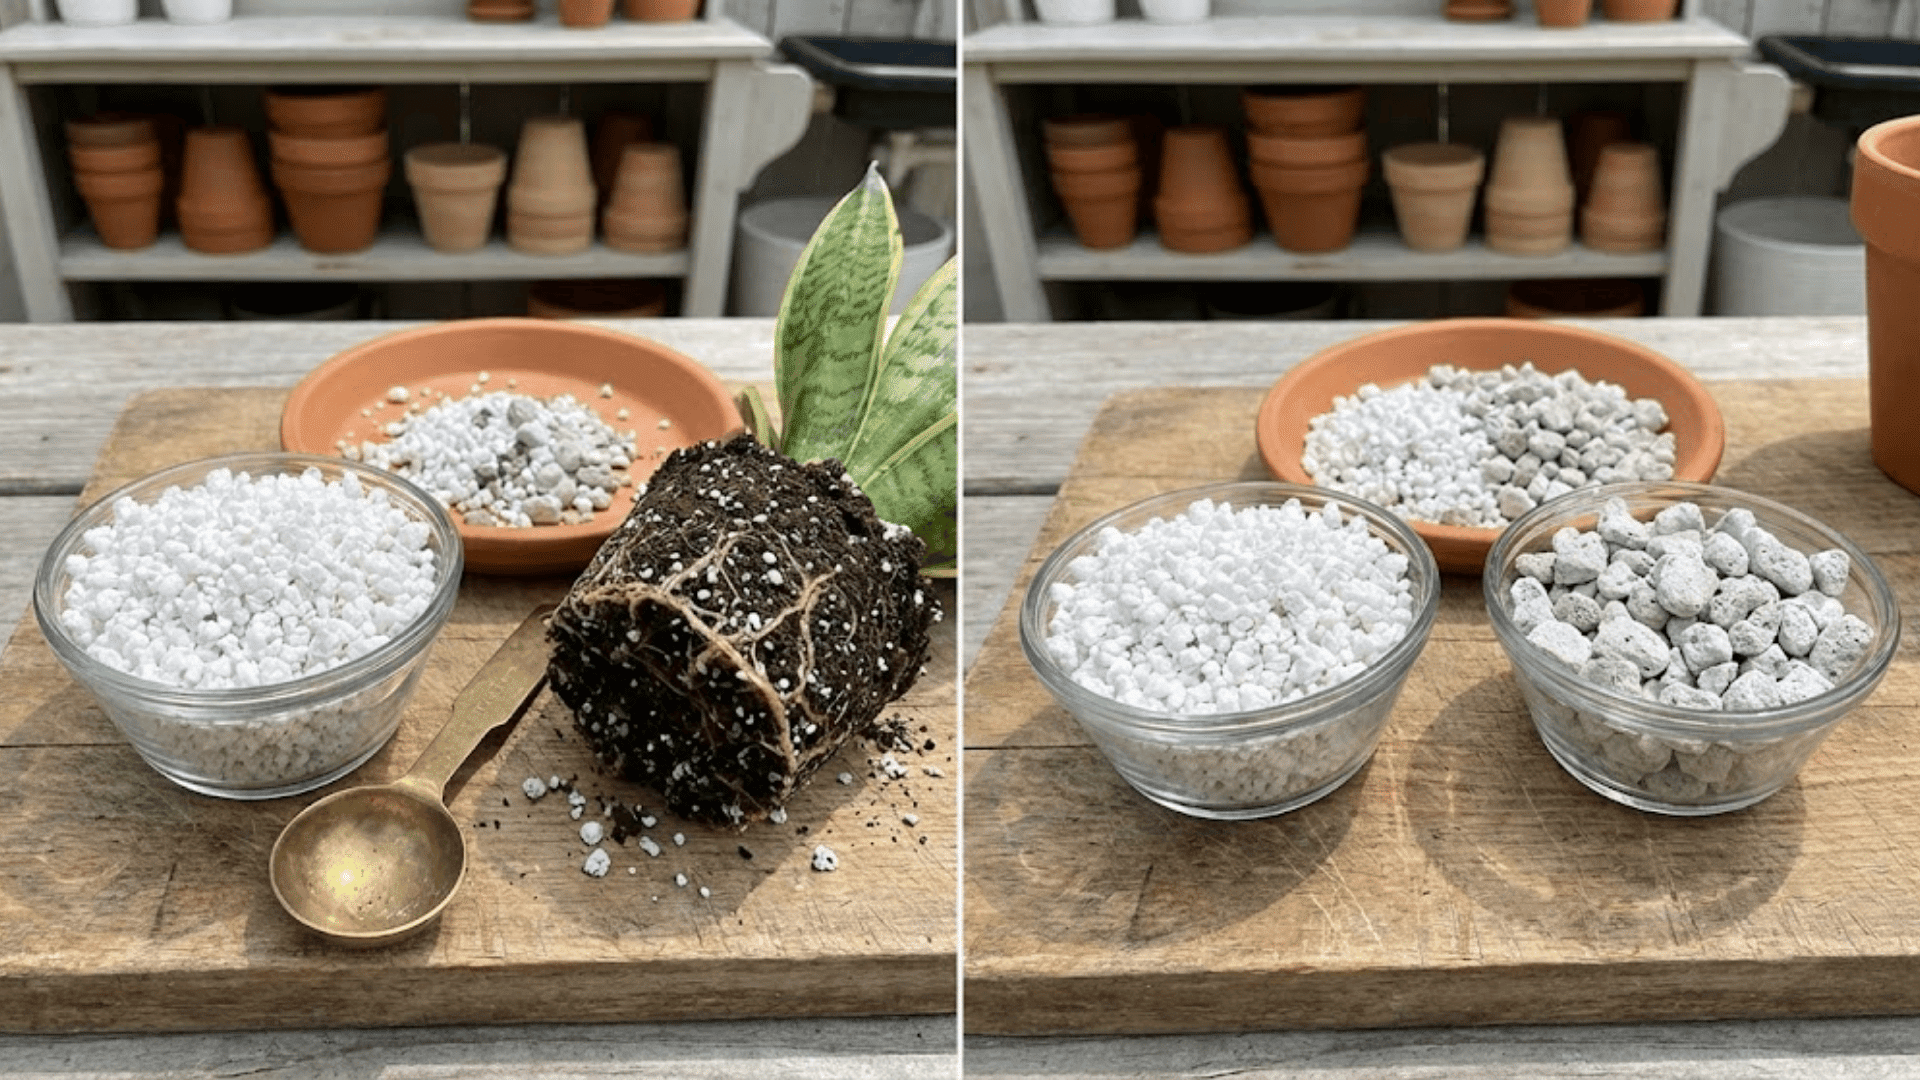
Both create crucial air pockets throughout the mix and stop water from lingering where it shouldn’t.
Perlite is lightweight, affordable, and widely available, making it the go-to choice for most plant parents. Pumice offers similar benefits but with better longevity since it doesn’t break down or float to the surface as easily.
Either works beautifully for snake plants, though pumice edges ahead if you’re repotting infrequently. The choice often comes down to budget and local availability.
3. Coarse Sand or Grit
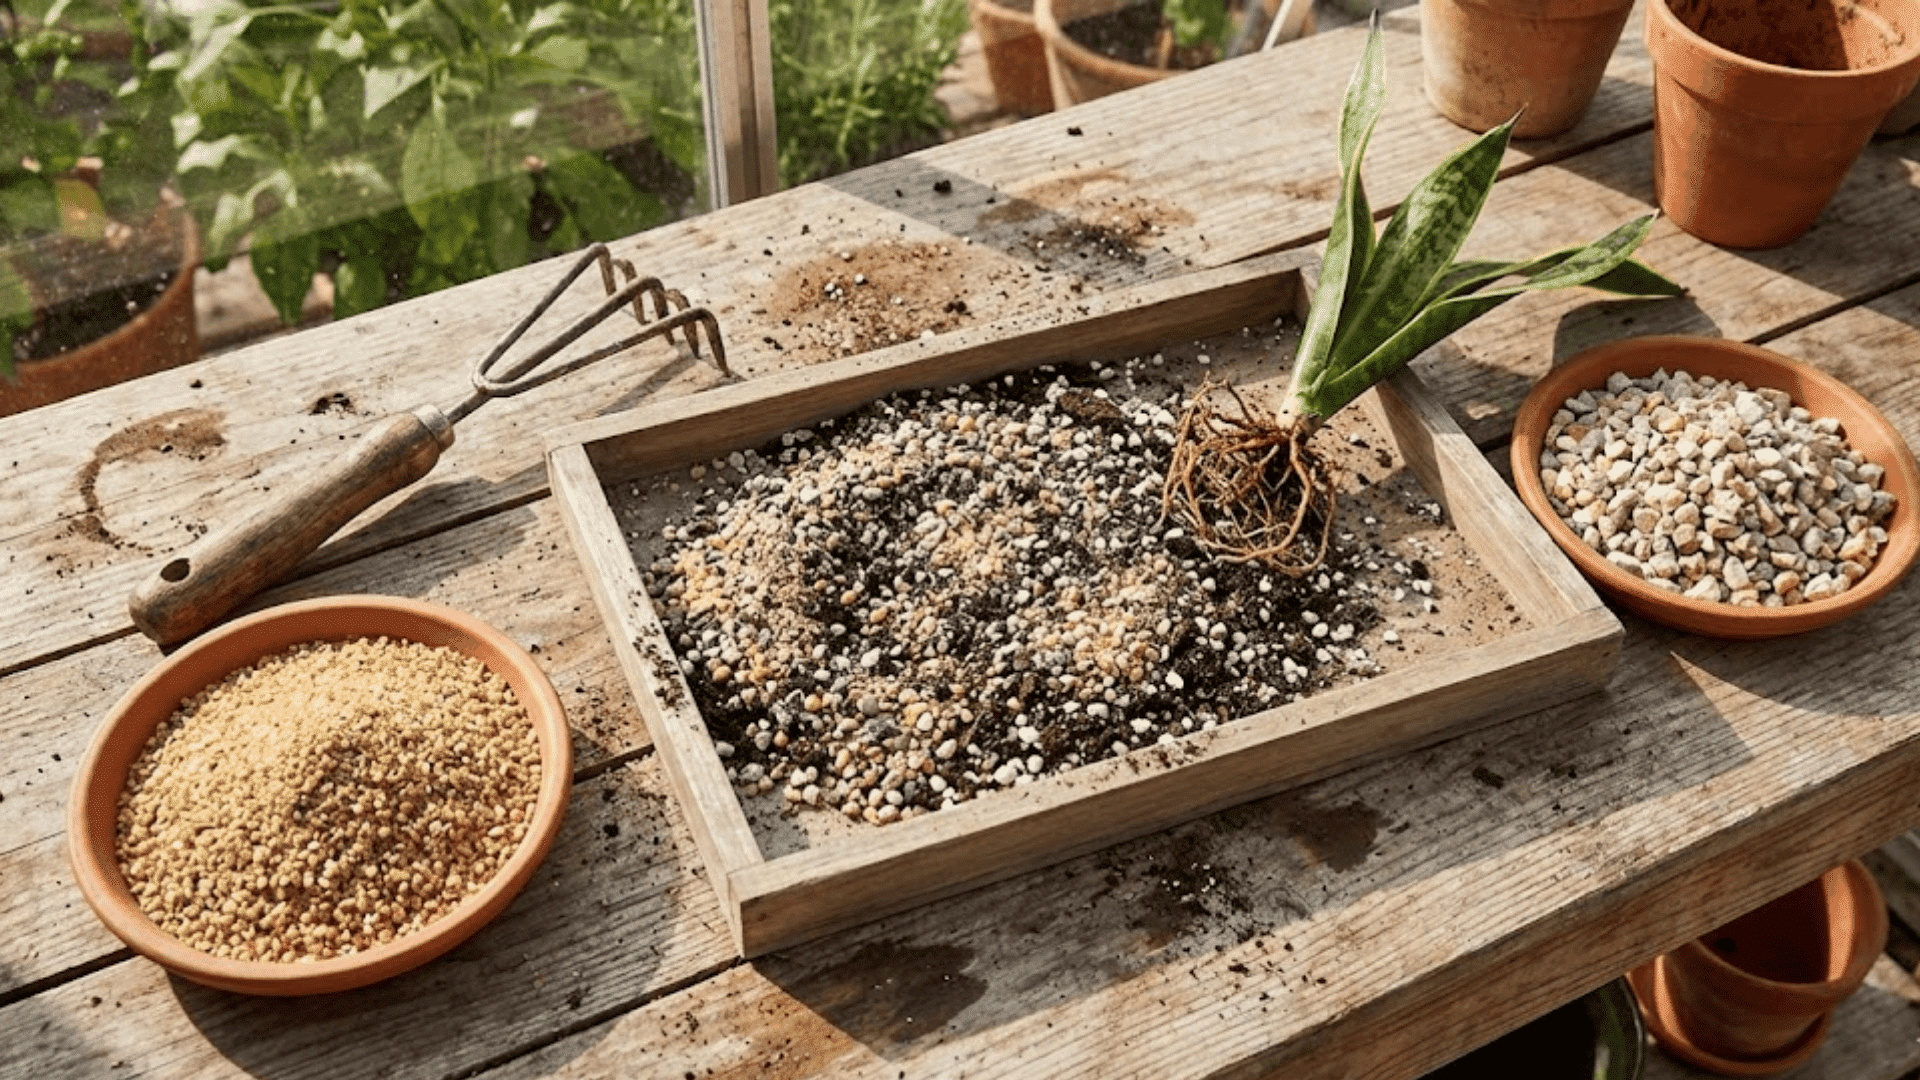
Adding horticultural sand or fine gravel prevents the soil from compacting into a dense brick over time. This mimics snake plants’ natural habitat of rocky, well-draining conditions with roots weaving through loose minerals.
Regular beach or play sand won’t work here since the particles are too fine and actually worsen drainage.
Look for coarse builder’s sand or chicken grit instead, which maintains those essential gaps between particles that roots and water need.
Optional Soil Amendments Worth Considering
Some additions aren’t strictly necessary but can fine-tune your mix based on your specific growing conditions.
4. Coconut Coir vs. Peat Moss
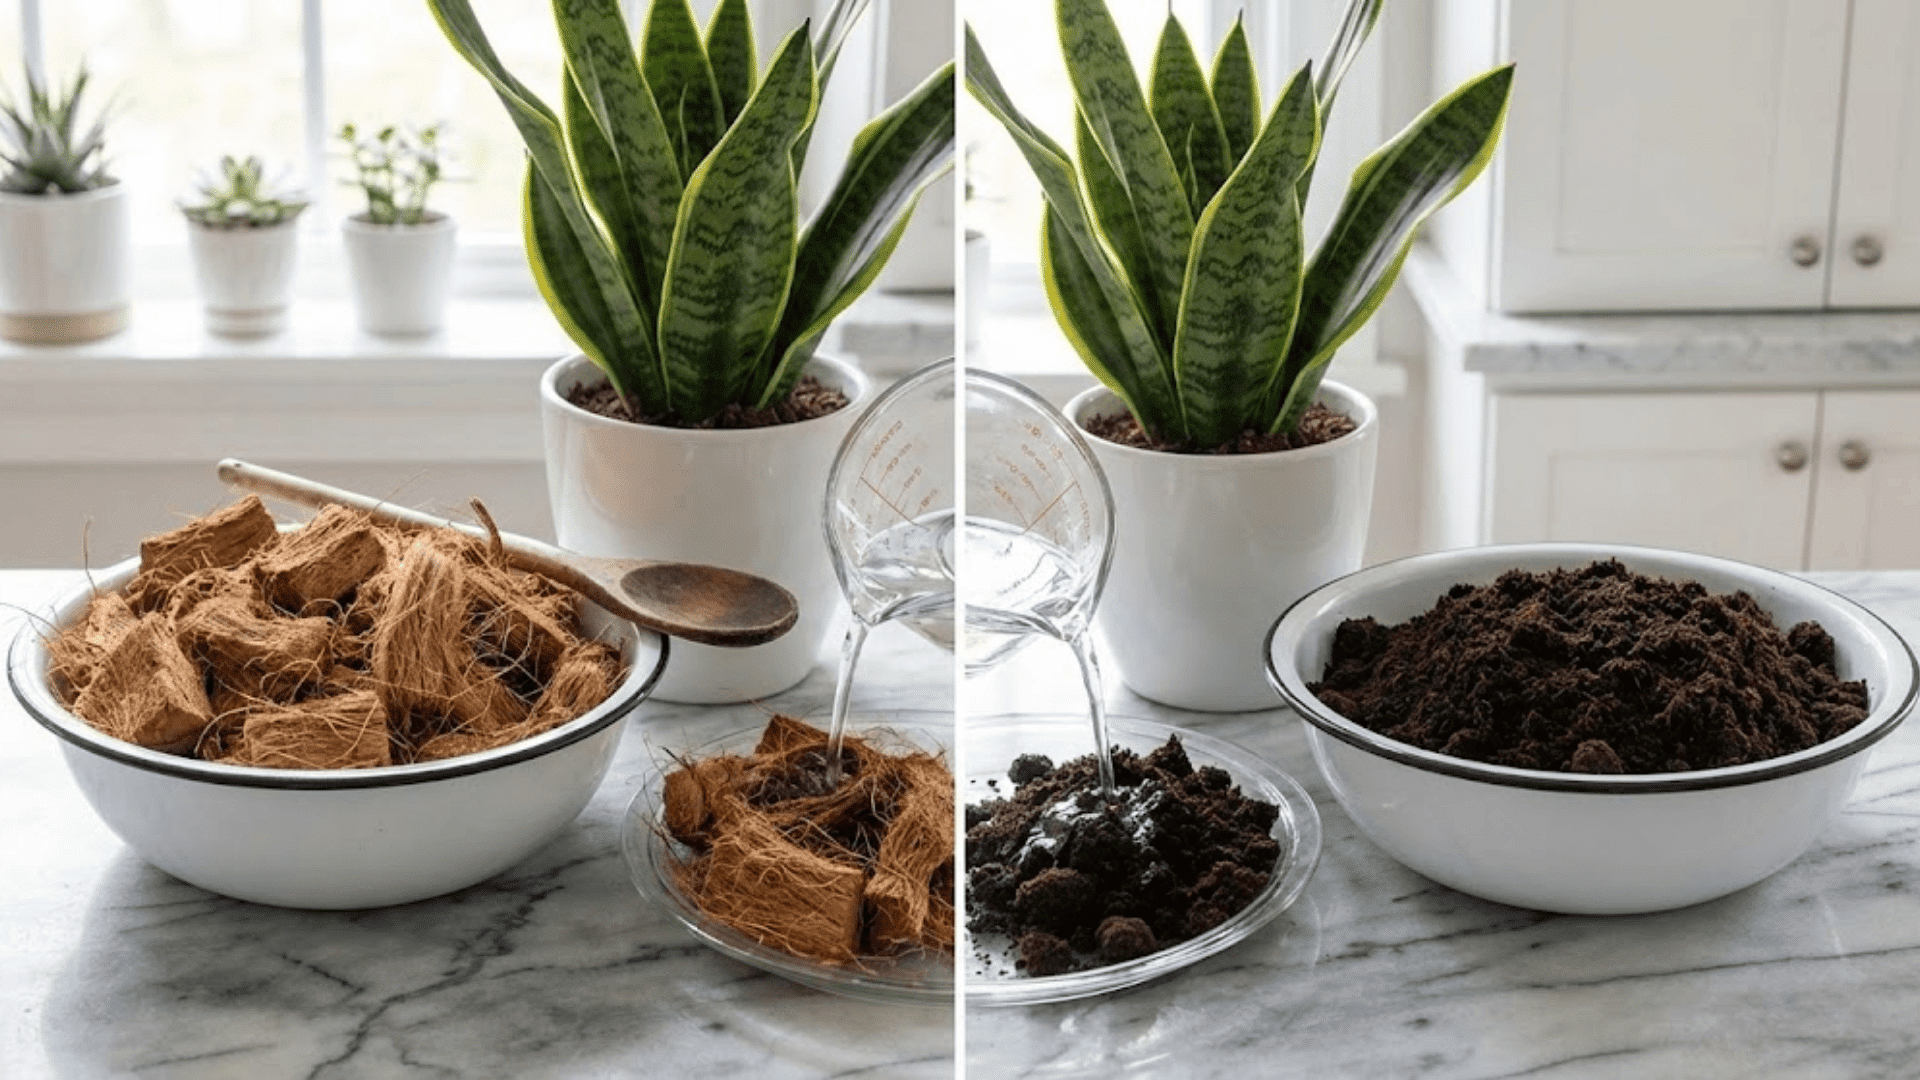
Coconut coir provides moisture retention without the sogginess and rehydrates more easily than peat moss when it dries out completely.
Peat moss works similarly but tends to become hydrophobic and acidic over time. For snake plants that prefer staying on the drier side, coconut coir is the better choice since it releases water more readily.
Both are optional, though, especially if your base potting soil already contains organic matter.
5. Pine Bark Fines
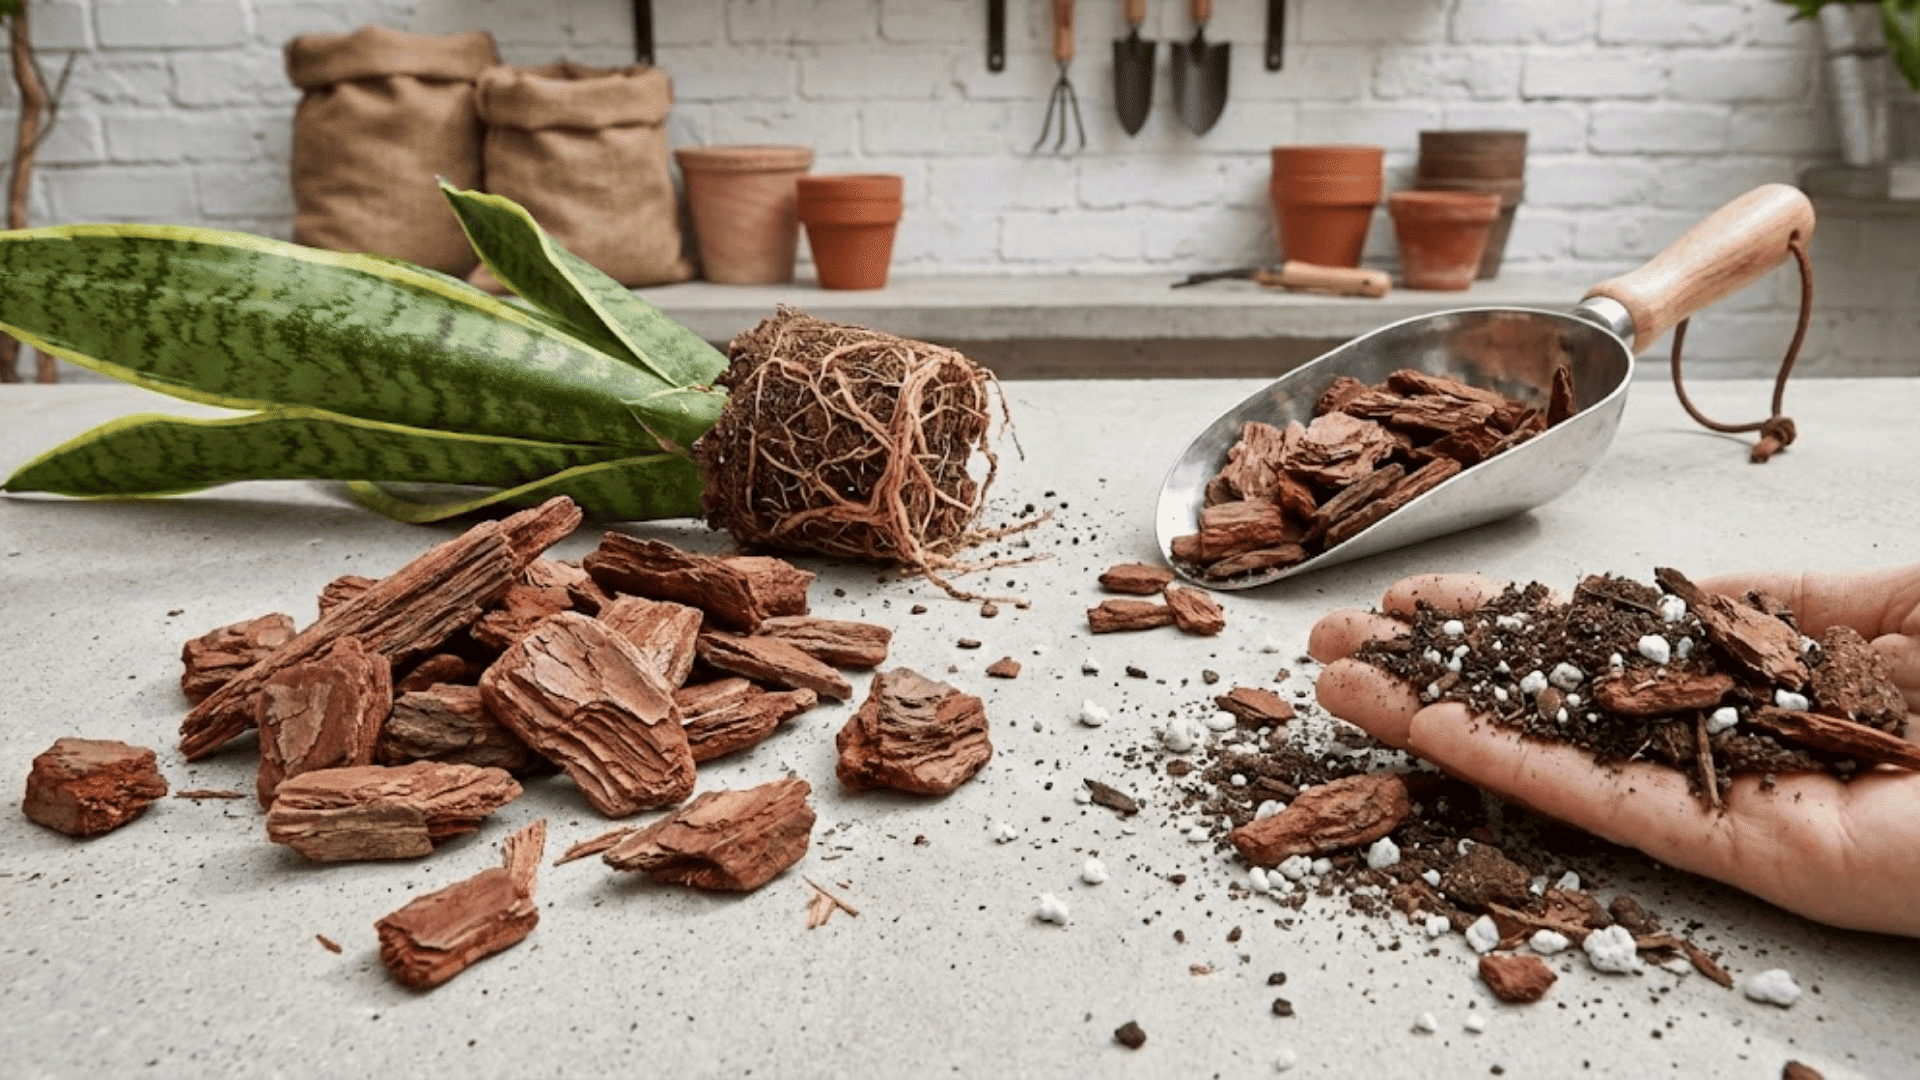
Chunky pine bark creates additional drainage pathways and prevents settling, plus it breaks down slowly to add organic matter over time.
The texture keeps the soil loose even after months of watering cycles. Just make sure you’re getting fines or small chips rather than large nuggets, which create too much empty space.
This amendment works particularly well if you’re mixing your own succulent blend from scratch.
6. Activated Charcoal
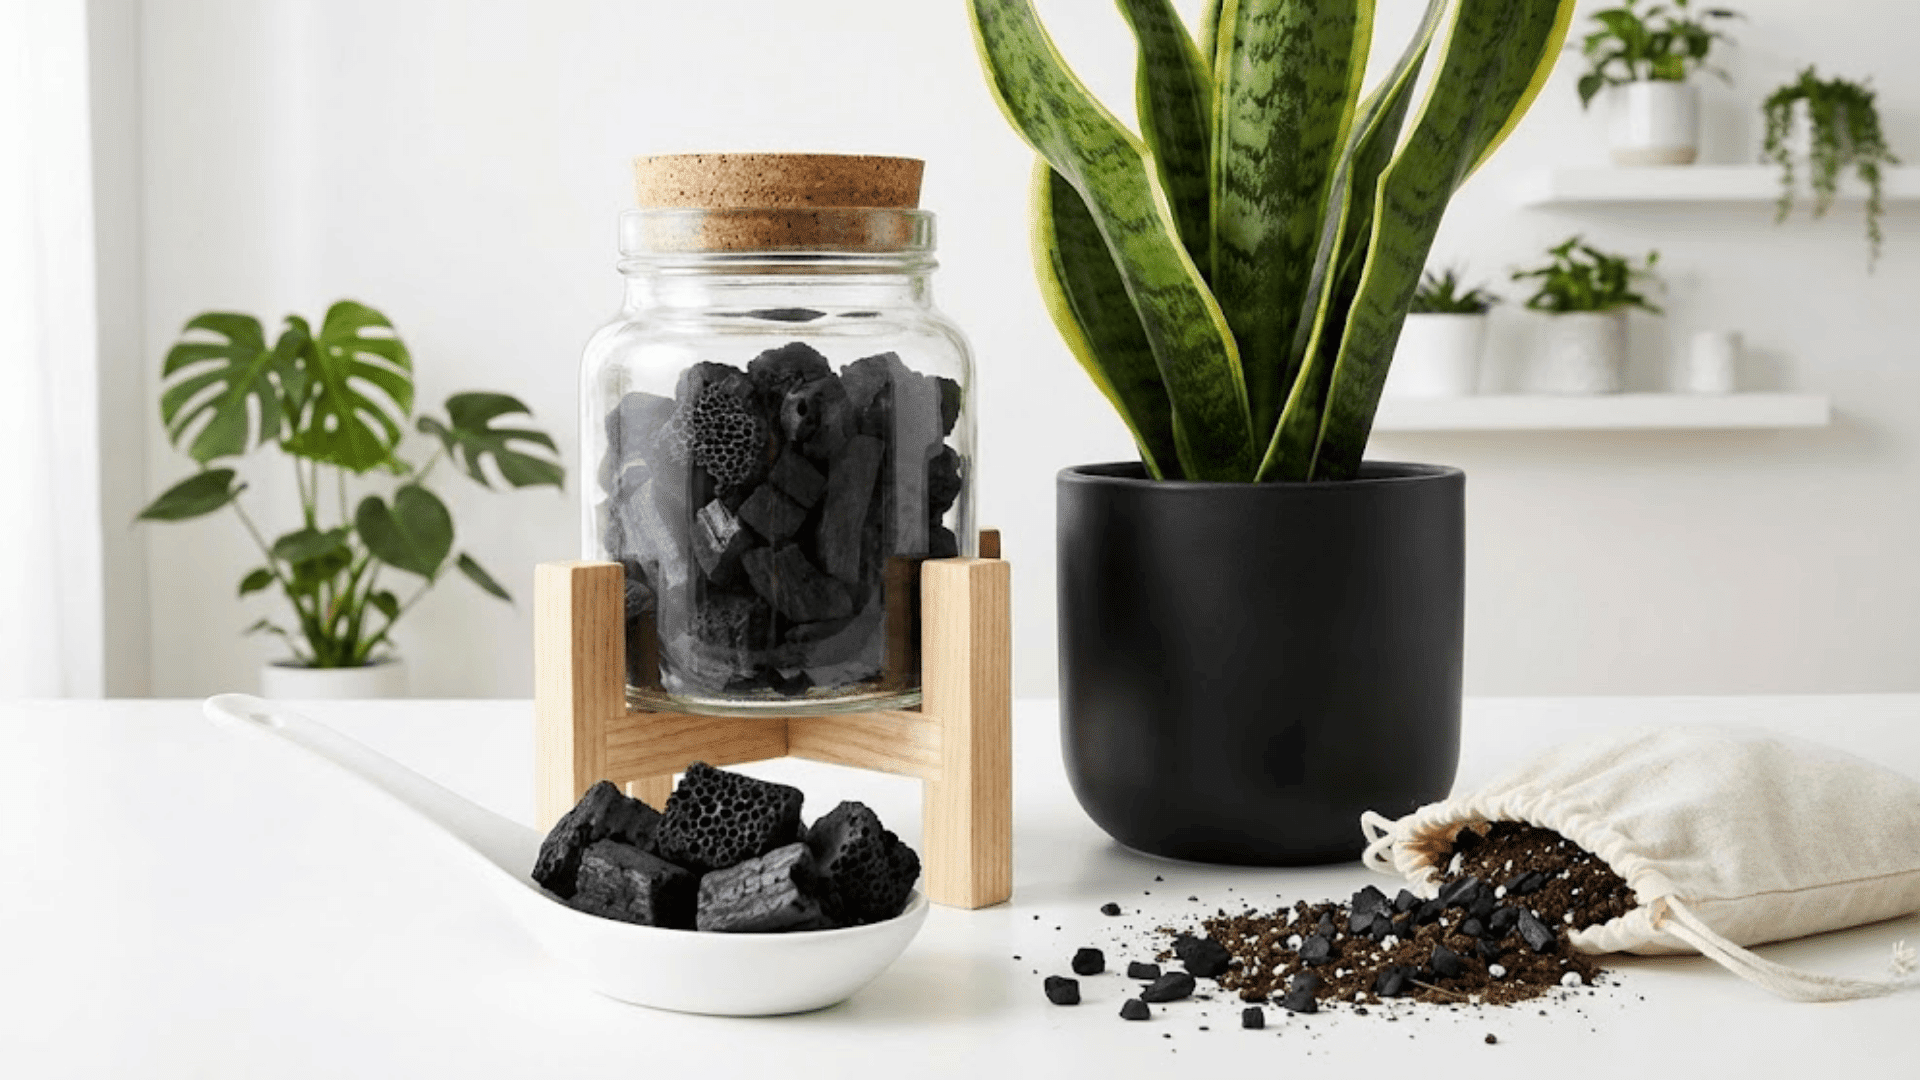
Often touted for odor control and root health, activated charcoal absorbs impurities and may help prevent bacterial or fungal issues in the soil.
The actual benefits remain somewhat debated among plant enthusiasts, with some swearing by it and others seeing no difference.
If you’re prone to overwatering or notice musty smells from your pots, adding a small handful might provide extra insurance without any real downside.
Best Snake Plant Soil Mix Recipes
These recipes come straight from plant communities where snake plants actually thrive, not just survive. Pick the one that matches your comfort level and available materials.
Beginner-Friendly Mix
Perfect for first-time mixers who want foolproof results without hunting down specialty ingredients.
- Step 1: Start with 2 parts standard potting soil as your nutrient-rich base layer.
- Step 2: Add 1 part perlite to create instant drainage and prevent water from sitting too long.
- Step 3: Mix in 1 part coarse sand or horticultural grit to keep everything loose and airy.
- Step 4: Blend thoroughly until you see an even distribution of all components with no clumps.
DIY Cactus-Style Mix
For those ready to create a grittier blend that mimics desert conditions more closely.
- Step 1: Combine 1 part potting soil with 1 part coconut coir for a lighter organic base.
- Step 2: Add 2 parts pumice or perlite to maximize drainage and create plenty of air pockets.
- Step 3: Mix in 1 part pine bark fines for extra chunkiness and long-term structure.
- Step 4: Optional addition of a handful of activated charcoal per gallon of mix for root protection.
Note: You can find ongoing discussions and troubleshooting tips in communities like r/SnakePlants, where growers share their real-world experiences with different soil combinations.
Store-Bought Soils That Work for Snake Plants
Sometimes mixing your own soil isn’t practical, and reaching for a pre-made bag makes perfect sense.
Here’s how commercial options stack up for snake plant care.
| Product | Why It Works | What to Amend |
|---|---|---|
| Miracle-Gro Cactus, Palm & Citrus Mix | Fast-draining with sand and perlite pre-blended | Add extra perlite for heavy waterers |
| Espoma Organic Cactus Mix | Organic ingredients with added myco-tone for root health | Works well as-is, optional grit for terracotta |
| Black Gold Cactus Mix | Contains pumice and earthworm castings for nutrition | Add coarse sand if prone to overwatering |
| Hoffman Cactus and Succulent Mix | Budget-friendly with peat, sand, and perlite | Needs 1:1 extra perlite or sand |
Quick tip: Even the best commercial cactus mixes benefit from a handful of extra perlite or pumice mixed in, especially if you’re still learning your plant’s watering rhythm.
How to Repot a Snake Plant Using the Right Soil?
Repotting gives your snake plant a fresh start with proper drainage and room to grow.
Here’s how to do it right without shocking your plant.
- Step 1: Choose a pot only 1-2 inches larger than the current one with drainage holes at the bottom.
- Step 2: Remove the plant gently and shake off old, compacted soil from the roots.
- Step 3: Fill the new pot one-third full with your chosen well-draining soil mix.
- Step 4: Position the plant at the same depth as before and fill around it with more soil.
- Step 5: Tap the pot gently on a surface to settle the soil naturally without pressing down hard.
Wait a week before watering to let any damaged roots heal, then resume your normal care routine with confidence.
Signs Your Snake Plant Soil is Wrong
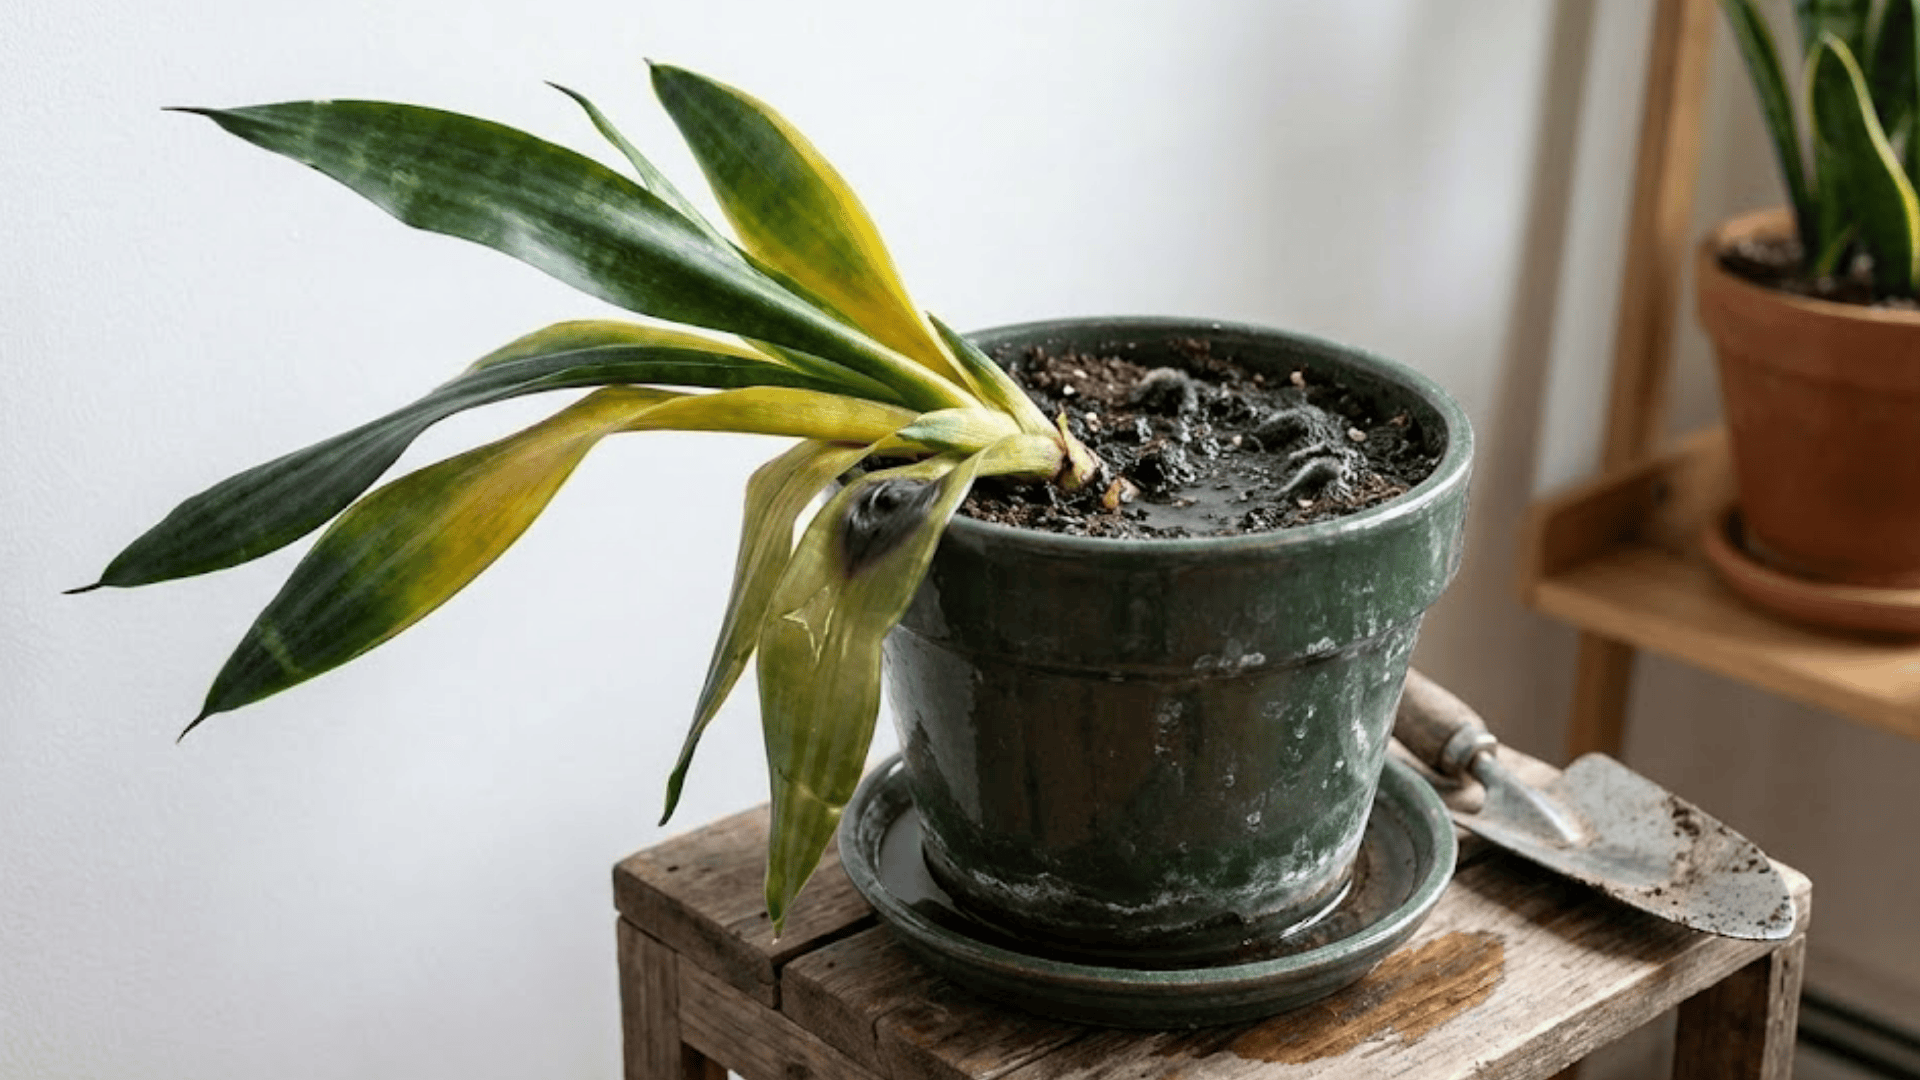
Your snake plant will tell you when something’s off with its soil; you just need to know what to look for.
Watch for these warning signs.
- Yellowing or translucent leaves that feel soft and mushy rather than firm and upright.
- Foul smell from the soil or blackened, slimy roots visible at the drainage holes.
- Soil remaining damp for weeks after watering instead of drying out within days.
- Stunted growth or dramatic leaning as the plant struggles to stay stable in waterlogged conditions.
Catching these issues early means you can switch to better-draining soil before the damage becomes irreversible.
How Often Should You Change Snake Plant Soil?
Snake plants typically need fresh soil every 2 to 3 years, though this depends on how quickly the mix breaks down.
Over time, organic materials decompose, and perlite migrates to the surface, leaving behind dense, compacted soil that drains poorly.
If your plant seems healthy but the soil looks tired or water pools on top instead of soaking through, you can refresh just the top few inches without full repotting.
However, if roots are circling the pot or poking through drainage holes, it’s time for both new soil and a larger container.
Spring is ideal for repotting since growth naturally picks up then.
Indoor vs. Outdoor Snake Plant Soil Needs
Snake plants adapt to different environments, but their soil needs shift depending on whether they’re indoors or outside.
Here’s how location affects your mix.
| Factor | Indoor Snake Plants | Outdoor Snake Plants |
|---|---|---|
| Airflow | Limited air circulation means slower evaporation, requiring extra-gritty soil | Natural breezes speed up drying, allowing slightly more organic matter |
| Evaporation Rate | Slower moisture loss needs maximum drainage with 50% or more grit | Faster evaporation tolerates a bit more water retention |
| Climate Impact | Controlled temperatures keep conditions stable year-round | Heat, humidity, and rain fluctuations require an adaptable, fast-draining mix |
| Humid Environment Adjustments | Add extra perlite or pumice to compensate for moisture-heavy air | Increase sand or grit content and consider terracotta pots for wicking |
Key takeaway: Indoor plants in humid climates need the grittiest mix possible, while outdoor plants in dry areas can handle a touch more organic content.
The Bottom Line
Getting the best soil for snake plant care really comes down to drainage, drainage, and more drainage.
You can mix your own blend or upgrade a store-bought bag, but that gritty texture is what keeps roots happy and rot at bay.
Your snake plant isn’t asking for complicated care routines or constant attention, just a foundation that lets it breathe and thrive on benign neglect.
Now that you know what works, give your plant the upgrade it deserves.
Have questions about your specific setup or want to share what’s working for you? Drop a comment below and let’s troubleshoot together.