Drip irrigation delivers water slowly and directly to plant roots – minimizing waste and maximizing efficiency.
It prevents leaf diseases, reduces evaporation, and helps plants grow deeper, stronger roots. In many cases, a drip system can cut water use by 60–80% compared to sprinklers.
If designed and maintained well, drip irrigation keeps your plants consistently hydrated while saving time, money, and water.
Tools and Equipment Needed for Installing or Repairing Drip Irrigation
Having the right tools makes the job faster, cleaner, and leak-free.
Essential Tools
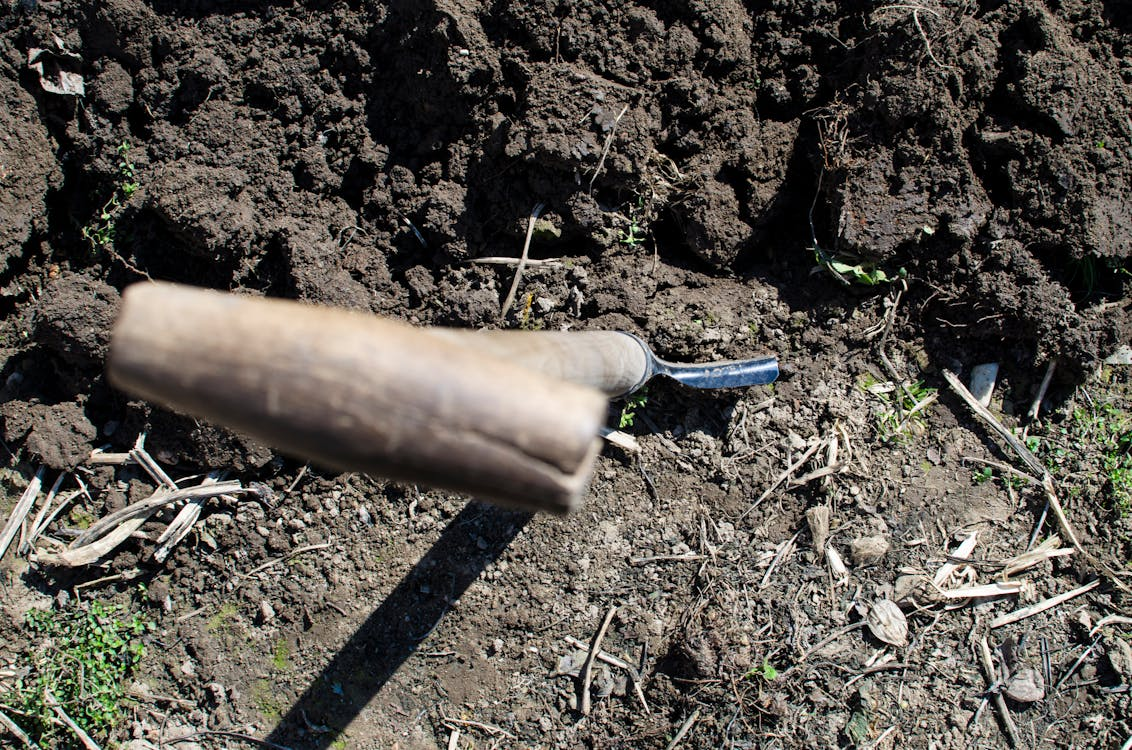
- Tubing Cutter: Use a sharp, stainless-steel tubing cutter to make clean, square cuts.
Tip: Ragged edges cause leaks. Replace blades if they dull.
- Hole Punch: A spring-loaded hole punch makes clean holes for emitters (3–4 mm). Avoid nails or screwdrivers – they deform tubing and lead to leaks.
- Pliers: Long-nose parallel-jaw pliers help grip small parts and connectors. Use insulated types for safety if working near electronic valves. We prefer the Maun Long Nose Pliers for this.
- Pressure Regulator
- 15 PSI (1 bar): Small gardens or potted plants
- 25–30 PSI (1.7–2 bar): Medium systems
- 40 PSI (2.8 bar): Large or sloped systems
- Inline Filter
- 150–200 mesh (75–100 microns): Clean municipal water
- 100 mesh (150 microns): Well or pond water
Filters prevent emitter clogging and extend system life.
- End Plugs and Goof Plugs: Use compression-style plugs to seal tubing ends or patch small holes.
- Optional Tools
- Small shovel for shallow trenches
- Hose clamps and Teflon tape for mainline fittings
- Stakes or clips to anchor tubing in place
Tip: Always flush tubing before final connections – debris from cutting and punching often causes leaks later.
Selecting Tubing and Components for Different Soil and Terrain Conditions
Select materials based on your soil, climate, and layout.
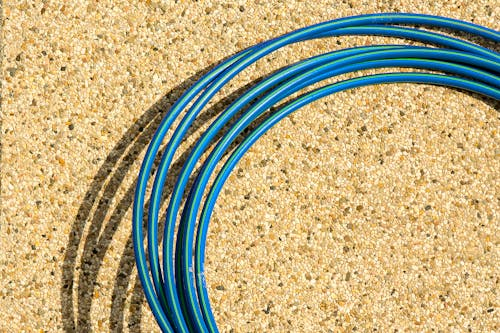
Main Tubing
- Use ½-inch (13–16 mm) polyethylene (PE) tubing for most residential systems.
- Look for UV-stabilized and pressure-rated tubing (ASTM D3350 or equivalent).
- In hot climates (above 40°C), use black tubing to block algae growth.
- Bury or cover with 5–8 cm of mulch to protect from sunlight and garden tools.
Emitters (Drippers)
Choose flow rates based on plant type:
|
Plant Type |
Emitter Flow Rate |
Notes |
|---|---|---|
|
Succulents, pots |
0.5 GPH (1.9 L/h) |
Gentle micro-watering |
|
Herbs, flowers |
1–2 GPH (3.8–7.6 L/h) |
Standard rate |
|
Trees, shrubs |
4 GPH (15 L/h) or adjustable |
Deep watering |
- Pressure-compensating (PC) emitters keep flow steady on slopes.
- Use self-flushing or turbulent-flow emitters if your water source has sediment or minerals – they clog less often.
Fittings
- Compression fittings: Strong and durable for long-term use.
- Barbed fittings: Easy for quick fixes.
- Drip tape fittings: Only for flat agricultural beds at low pressure (<15 PSI).
Planning Irrigation Zones and Layout Before Tubing Installation
Good planning saves time and prevents uneven watering later.
- Draw a simple plan of your garden showing plant areas, slope direction, and water source.
- Group plants with similar water needs (e.g. vegetables, shrubs, potted plants).
- Measure total length of tubing runs and note any elevation changes.
- Pressure drops roughly 1 PSI for every 2.3 feet (0.7 m) of height gained.
- Mark emitter spacing:
- 30 cm (12″) for dense plantings
- 45–60 cm (18–24″) for general beds
- 90 cm (36″) for trees or large shrubs
- Plan for maintenance: Leave space around connectors and valves for easy access.
Tip: Walk your layout before installing. You’ll notice obstacles and adjust tubing routes before committing.
Step-by-Step Process for Installing Main Lines and Branch Tubing

1. Set Up the Water Source
- Attach components in this order: Filter → Pressure Regulator → Backflow Preventer → Mainline Tubing.
- This protects your household supply and ensures clean, consistent pressure.
2. Warm the Tubing
- Leave rolls in the sun for 15–20 minutes to make them flexible and easier to uncoil.
3. Lay Out the Main Line
- Run along garden edges or rows.
- Anchor with stakes every 1–1.2 m (3–4 ft).
- Avoid sharp bends; use elbows or gentle curves.
4. Punch Holes for Emitters
- Hold the punch perpendicular to the tubing for clean holes.
- Insert emitters until you feel or hear a “click.”
5. Add Branch Lines (if needed)
- Use barbed or compression connectors to branch smaller tubes to other plants.
6. Flush the System
- Run water for a few minutes before installing emitters at the far ends.
- This clears out dirt and shavings.
7. Seal the Ends
- Use end plugs or fold-and-clip methods to close each run.
8. Test the System
- Turn on water at half pressure and check for leaks or uneven flow.
- Fix issues before covering with mulch.
How to Identify and Fix Common Drip Irrigation Problems
1. Clogged Emitters
- Remove and soak in 1 part vinegar to 3 parts water for an hour.
- For heavy buildup, use a 5% phosphoric acid cleaner (irrigation-safe).
- Flush lines regularly.
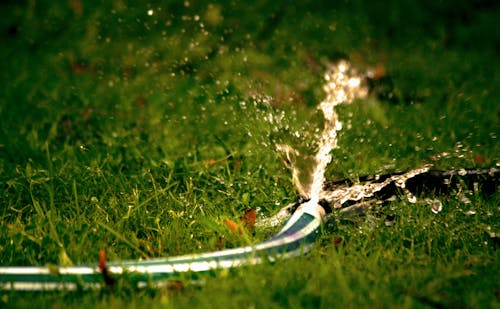
2. Leaks or Holes
- Small holes (<3 mm): Insert a goof plug.
- Larger tears: Cut the damaged section and reconnect using a coupler fitting.
- Check for rodent or tool damage in mulch areas.
3. Low Pressure
- Attach a gauge to the farthest end; below 15 PSI means a blockage or regulator issue (source).
- Clean filters first, then inspect tubing for kinks.
4. Uneven Flow on Slopes
- Switch to pressure-compensating emitters or add check valves at low points.
Seasonal Adjustments and Watering Schedule Optimization

Proper maintenance keeps your system efficient year-round.
Routine Care
- Monthly: Check for leaks, clogged emitters, and damaged tubing.
- Every 3–6 months: Clean filters and flush main lines.
- Annually: Replace any brittle tubing exposed to sunlight.
Adjusting for Seasons
|
Season |
Action |
|---|---|
|
Spring |
Flush lines, check emitters, restart schedule |
|
Summer |
Increase frequency, shorter watering times |
|
Autumn |
Reduce watering by 50%, inspect for wear |
|
Winter |
Drain lines or blow out water if frost risk |
Watering Guidelines
- Sandy soil: Twice daily, 10–15 minutes per cycle
- Clay soil: Once daily or every other day, 20–30 minutes
- Loam: Twice weekly, 15–30 minutes depending on weather
For larger systems, consider smart controllers and moisture sensors (e.g. Rain Bird or Hunter models) that adjust watering automatically.
Expanding and Upgrading Existing Drip Irrigation Systems
When you add new areas or plants:
- Check flow capacity.
- Time how long it takes to fill a 5-gallon (19 L) bucket.
- Multiply by 12 to get gallons per minute (GPM).
- Keep total system demand about 20–30% below that flow.
- Add new zones properly.
- Connect new lines using T-connectors on the mainline, not at emitters.
- Large expansions may need separate pressure regulators and valves.
- Label and document everything.
- Keep a simple map of zones, emitter spacing, and flow rates.
- Store it near your control box or spigot for easy reference.