
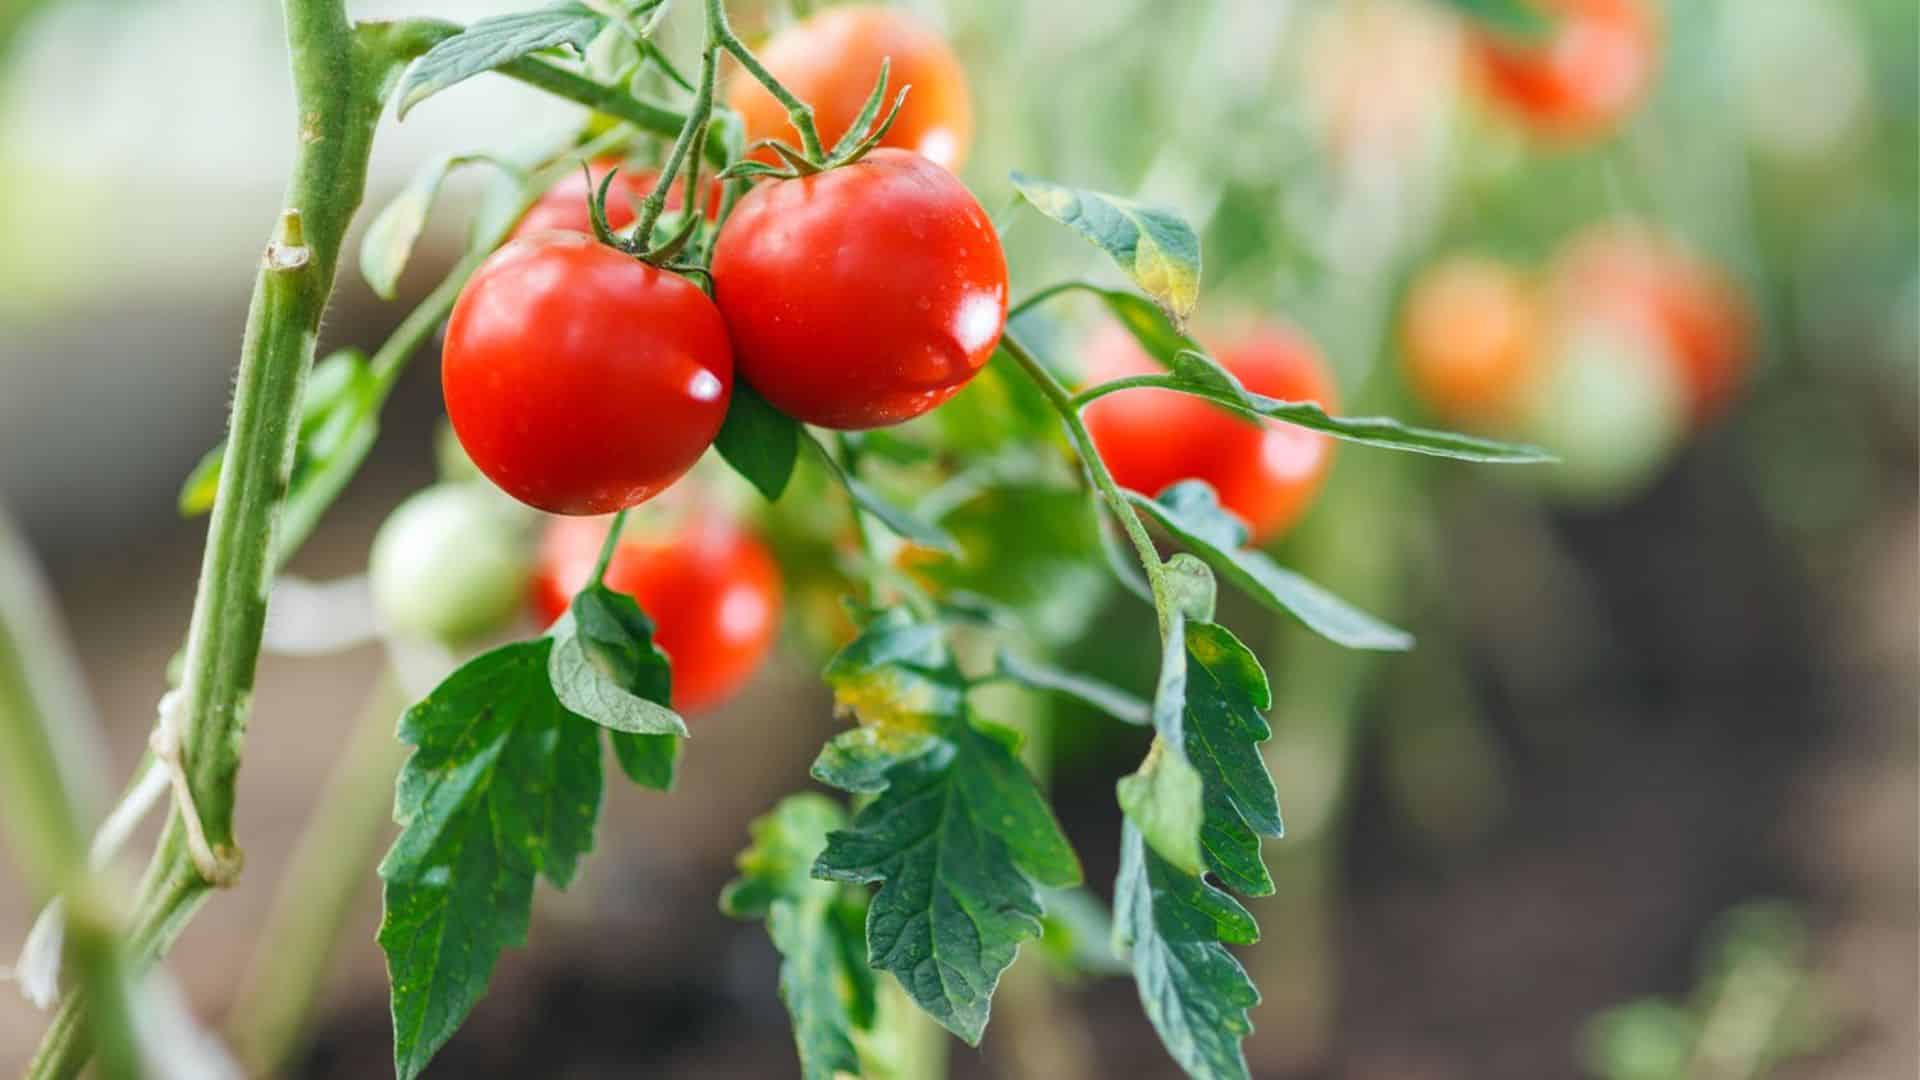
Want to grow more tomato plants without spending a dime at the nursery? Propagating tomato plants from cuttings is a secret gardeners use to change pruned suckers into brand-new plants.
You can root these cuttings using two simple methods: placing them in water or planting them directly in soil. Both methods work perfectly, giving you exact copies of your favorite tomato varieties.
I’ll show you step-by-step how to turn those discarded pieces into growing tomato plants ready for your garden. You’ll learn the best techniques, care tips, and the common mistakes to avoid.
Get ready to multiply your tomato plants and never buy seedlings again!
Why Root Tomato Cuttings?
Rooting tomato cuttings is a great way to grow free plants from the ones you already love. Instead of buying expensive seedlings each season, you can propagate new plants from your best producers.
Cuttings grow faster than seeds because they bypass the germination phase, allowing them to begin growing immediately. This means you’ll have mature plants and tomatoes weeks earlier than seed-started varieties.
The best part? You can preserve your favorite tomato varieties, especially heirlooms or rare types, ensuring they continue year after year.
Late spring to early summer is the ideal time to start rooting cuttings when your plants are in full growth mode.
Variety-Specific Tips for Better Results
Different types of tomatoes behave a little differently when propagated from cuttings. Here’s what to keep in mind:
Indeterminate vs. Determinate Tomatoes
| Feature | Indeterminate | Determinate |
|---|---|---|
| Growth Pattern | Keeps growing and producing all season. | Stops growing after setting a set number of flowers. |
| Cutting Rooting Speed | Suckers root quickly and continue growing vigorously. | Suckers root but stay more compact. |
| Plant Size After Transplant | Larger, vining plant that needs staking or support. | More compact, bushy plant needing less support. |
| Harvest Window | Extended harvest over many weeks. | Shorter, concentrated harvest period. |
Heirloom vs. Hybrid Tomatoes
| Feature | Heirloom | Hybrid |
|---|---|---|
| Genetic Consistency | Cuttings produce plants identical to the parent. | Cuttings also clone the parent, but seeds may not breed true. |
| Flavor & Appearance | Preserves unique, traditional flavors and traits. | May offer disease resistance or higher yields. |
| Seed Saving | Seeds can be saved and will grow true-to-type. | Seeds often don’t grow true-to-type. |
| Best Use for Cuttings | Great for preserving rare varieties year after year. | Great for keeping a strong hybrid plant going, but don’t rely on seeds. |
Step-By-Step Guide: Rooting Tomato Cuttings
Tools & Materials You’ll Need
Before you start rooting tomato cuttings, gather these simple tools and supplies to make the process easier:
- Sharp scissors or pruning shears – for cleanly snipping suckers without damaging the main plant.
- Clear glass container or jar – perfect for rooting cuttings in water so you can monitor root growth.
- Fresh, clean water – keeps cuttings hydrated and encourages healthy root development.
- Potting soil or seed-starting mix – provides a soft, well-draining base when rooting directly in soil.
- Cell packs or small pots – help manage moisture and keep cuttings organized as they root.
- Plant stakes or small cages – support your young plants once they’re transplanted into the garden.
- Balanced fertilizer – supplies nutrients after your cuttings have rooted and begun growing.
Having everything on hand means you can move from pruning to rooting without delays, giving your cuttings the best start.
Growing fresh tomato plants from cuttings is a simple and cost-effective way to expand your garden. I’ll guide you through five easy steps to convert your pruned suckers into strong, healthy plants ready for planting.
Step 1: Find and Prune Suckers
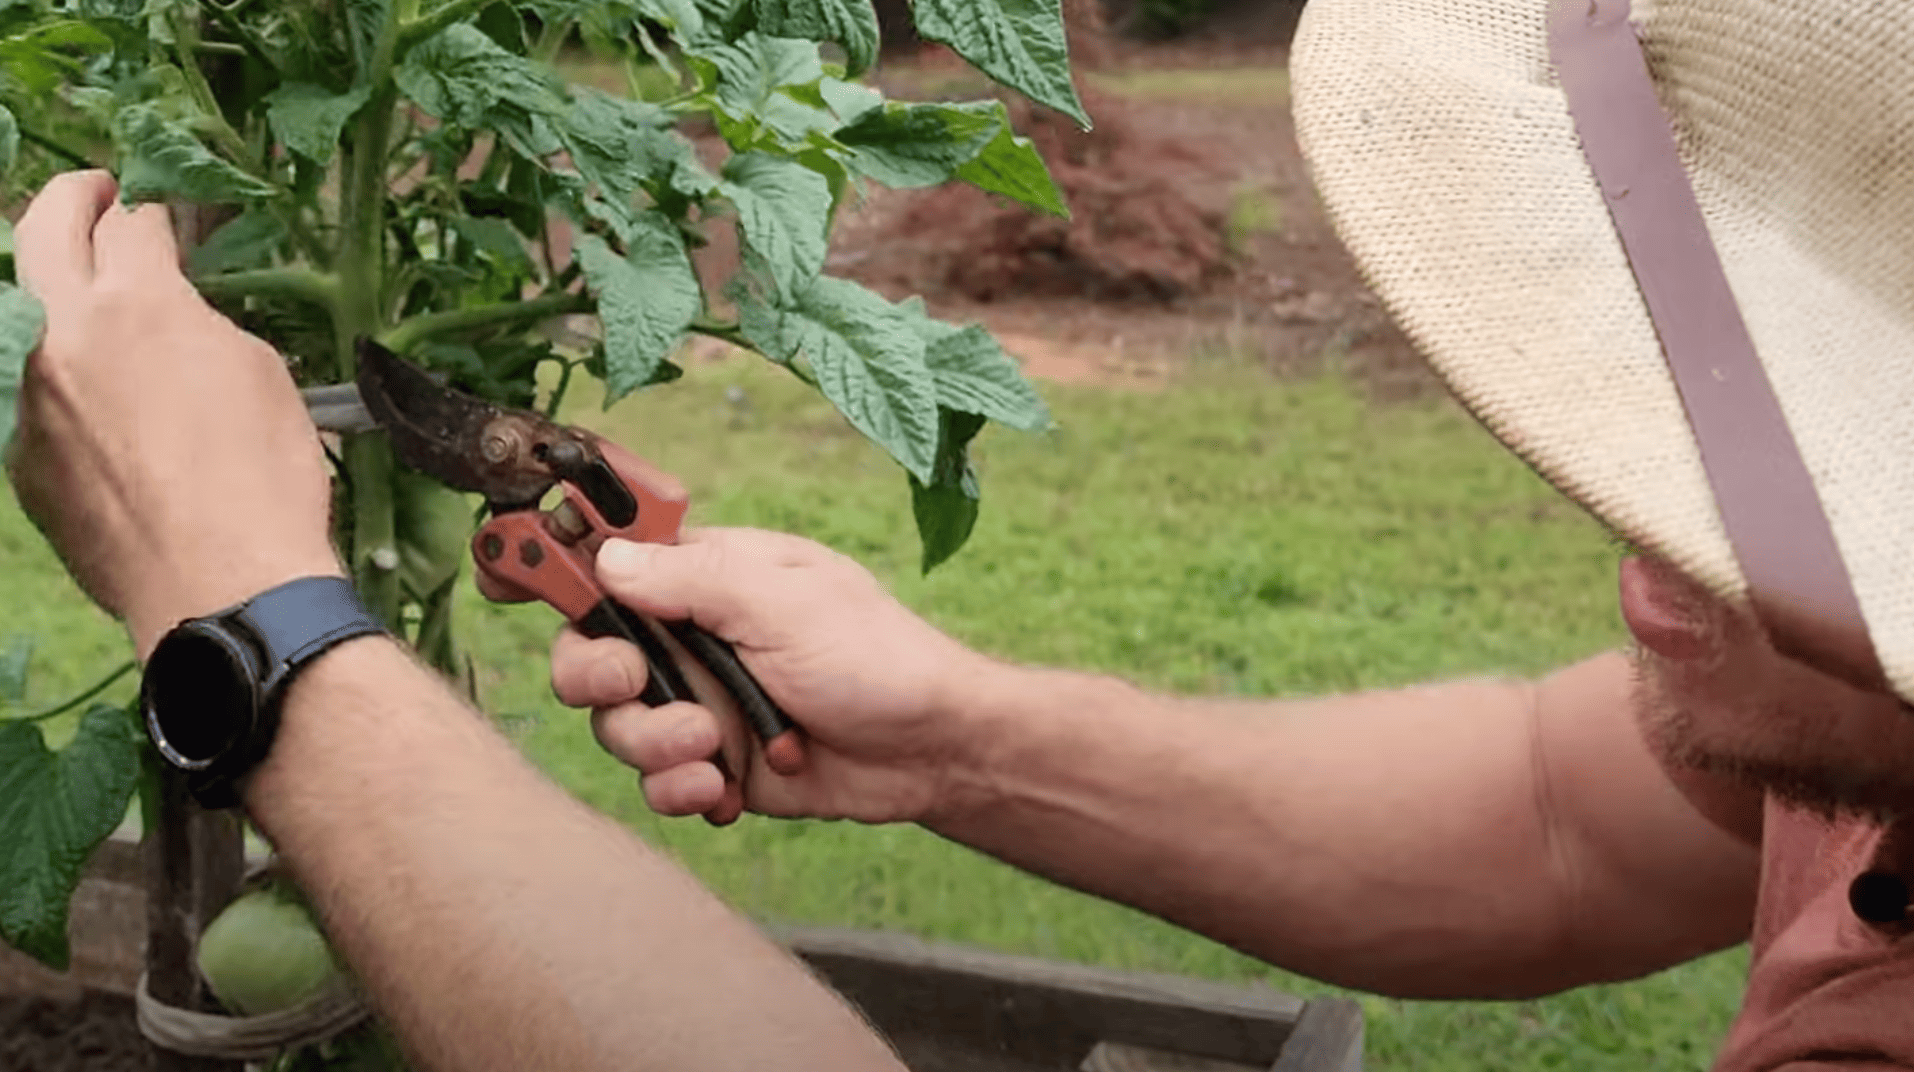
Look for small shoots called suckers growing between the main stem and branches of your tomato plant. These are the parts you’ll use for propagation. Use sharp scissors or pruning shears to snip off the suckers, picking those without blooms for quicker growth.
Regular pruning helps maintain plant health, and rather than discarding the cuttings, you can use them to grow new tomato plants.
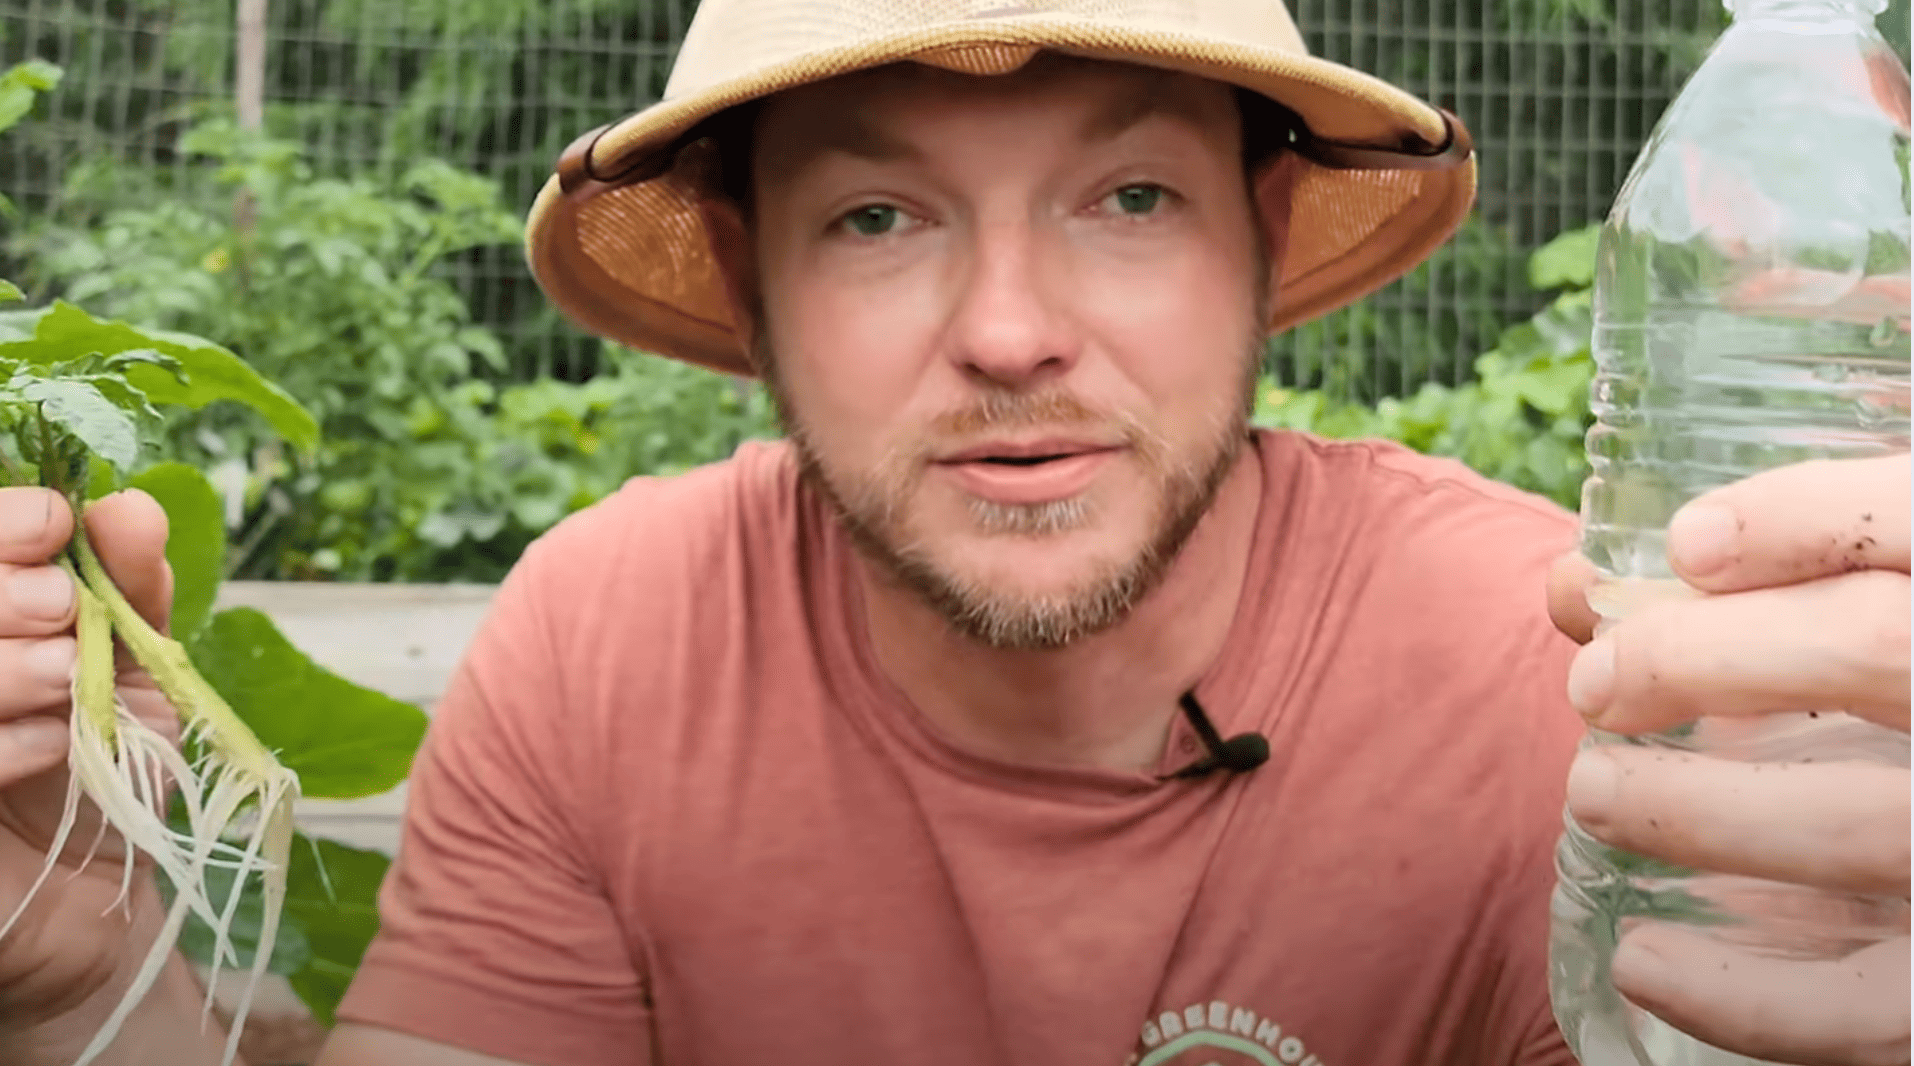
Step 2: Prepare the Cuttings

Once you’ve pruned the suckers, place them immediately in water. Ensure the cuttings are submerged but not overcrowded. This will keep them from drying out while allowing roots to form.
Indeterminate tomato varieties tend to root faster, so if you want quicker results, choose these. Change the water every few days to keep it fresh and clean for better root development.
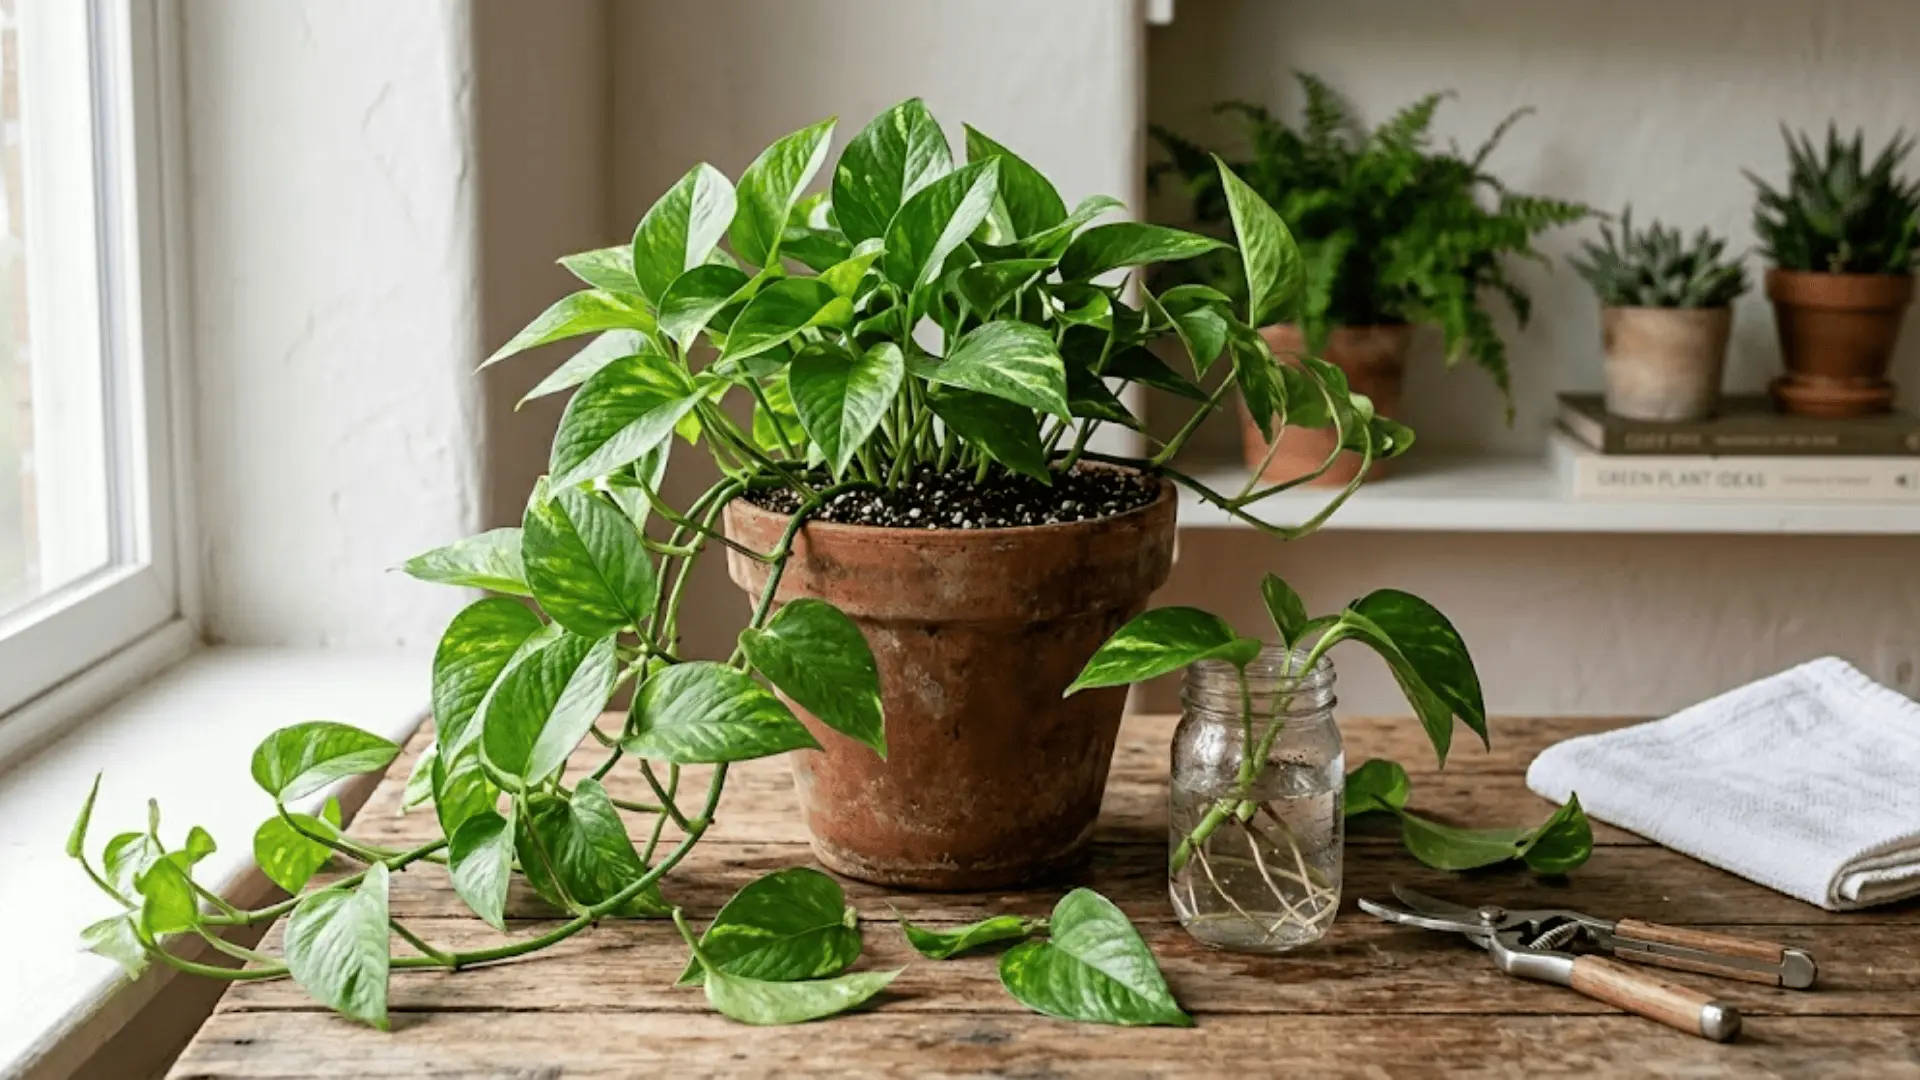
Step 3: Set Up for Rooting
For rooting in water, use a clear glass container so you can watch the roots develop. Ensure the cuttings are placed in indirect sunlight, providing a stable environment for rooting.
If rooting in soil, use a cell pack to control moisture and water easily. Keep the soil moist, but avoid overwatering, as excessive water can harm the developing roots.
Water Rooting vs. Soil Rooting
Not sure which method to choose? This quick table compares the two side-by-side so you can pick what works best for you:
| Feature | Water Rooting | Soil Rooting |
|---|---|---|
| Speed | Roots appear in about 7–14 days. | Roots appear in about 10–21 days. |
| Ease of Monitoring Roots | Very easy – you can see roots develop in the water. | Harder – roots grow unseen in soil. |
| Transition Success Rate | Needs careful transplanting to avoid shock. | Cuttings already acclimated to soil; higher success after transplant. |
| Ideal For | Beginners who want to watch the rooting process. | Gardeners with some experience who want stronger, soil-ready cuttings. |
This side-by-side look helps you decide which method best fits your time, space, and comfort level.
Step 4: Wait for Roots to Grow
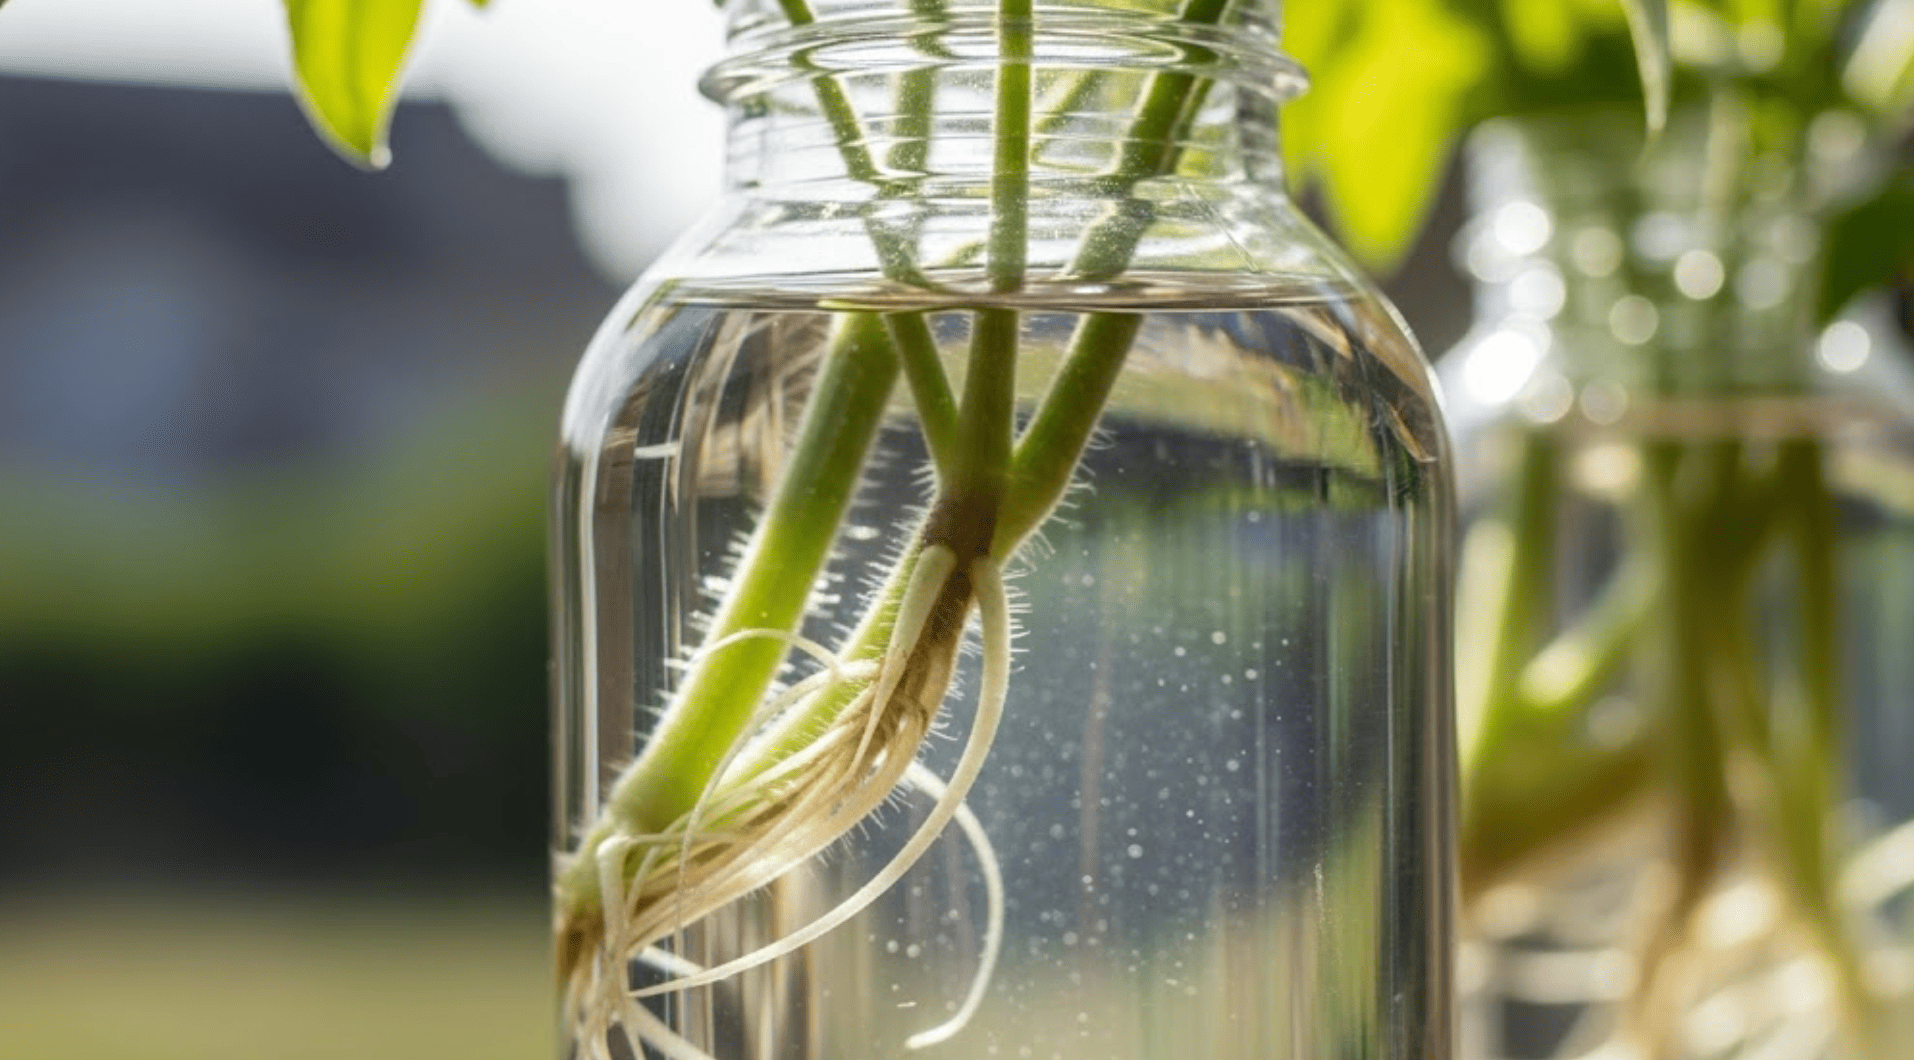
Over the next 10 to 14 days, your cuttings will begin to develop roots. Look closely for tiny fibrous roots along the stem. If rooting in water, monitor and change the water level as needed.
For soil, check moisture levels regularly to ensure the roots stay hydrated and strong. Your cuttings will grow sturdier as their root system become more established.
Root Development Stages: What to Expect
Knowing how your cuttings should look at each stage helps you track progress and catch problems early. Here’s a simple timeline:
Days 1–3 (Hydration Stage): The cuttings stay fresh and firm as they draw up water. No roots yet, but the stem should look healthy and green.
Days 4–7 (Initial Root Nubs): Tiny white bumps, called root primordia, may appear along the submerged stem. These are the beginnings of roots. Keep the water fresh and the light indirect to support this stage.
Days 8–14 (Young White Roots): Short, thin roots begin to extend from the bumps. They’ll look like delicate white hairs. This is when the plant starts taking in nutrients more actively, so maintain moisture and avoid moving the cuttings too much.
Days 15–21 (Established Fibrous Roots): Roots thicken and branch out, forming a dense fibrous system. At this point, the cutting is strong enough for transplanting into soil or a larger container.
After Transplanting (Acclimation Stage): Once planted in soil, the new roots will adjust and start anchoring the plant. Expect new leaf growth within one to two weeks as the cutting transitions into an established plant.
Step 5: Transplant Your Rooted Cuttings
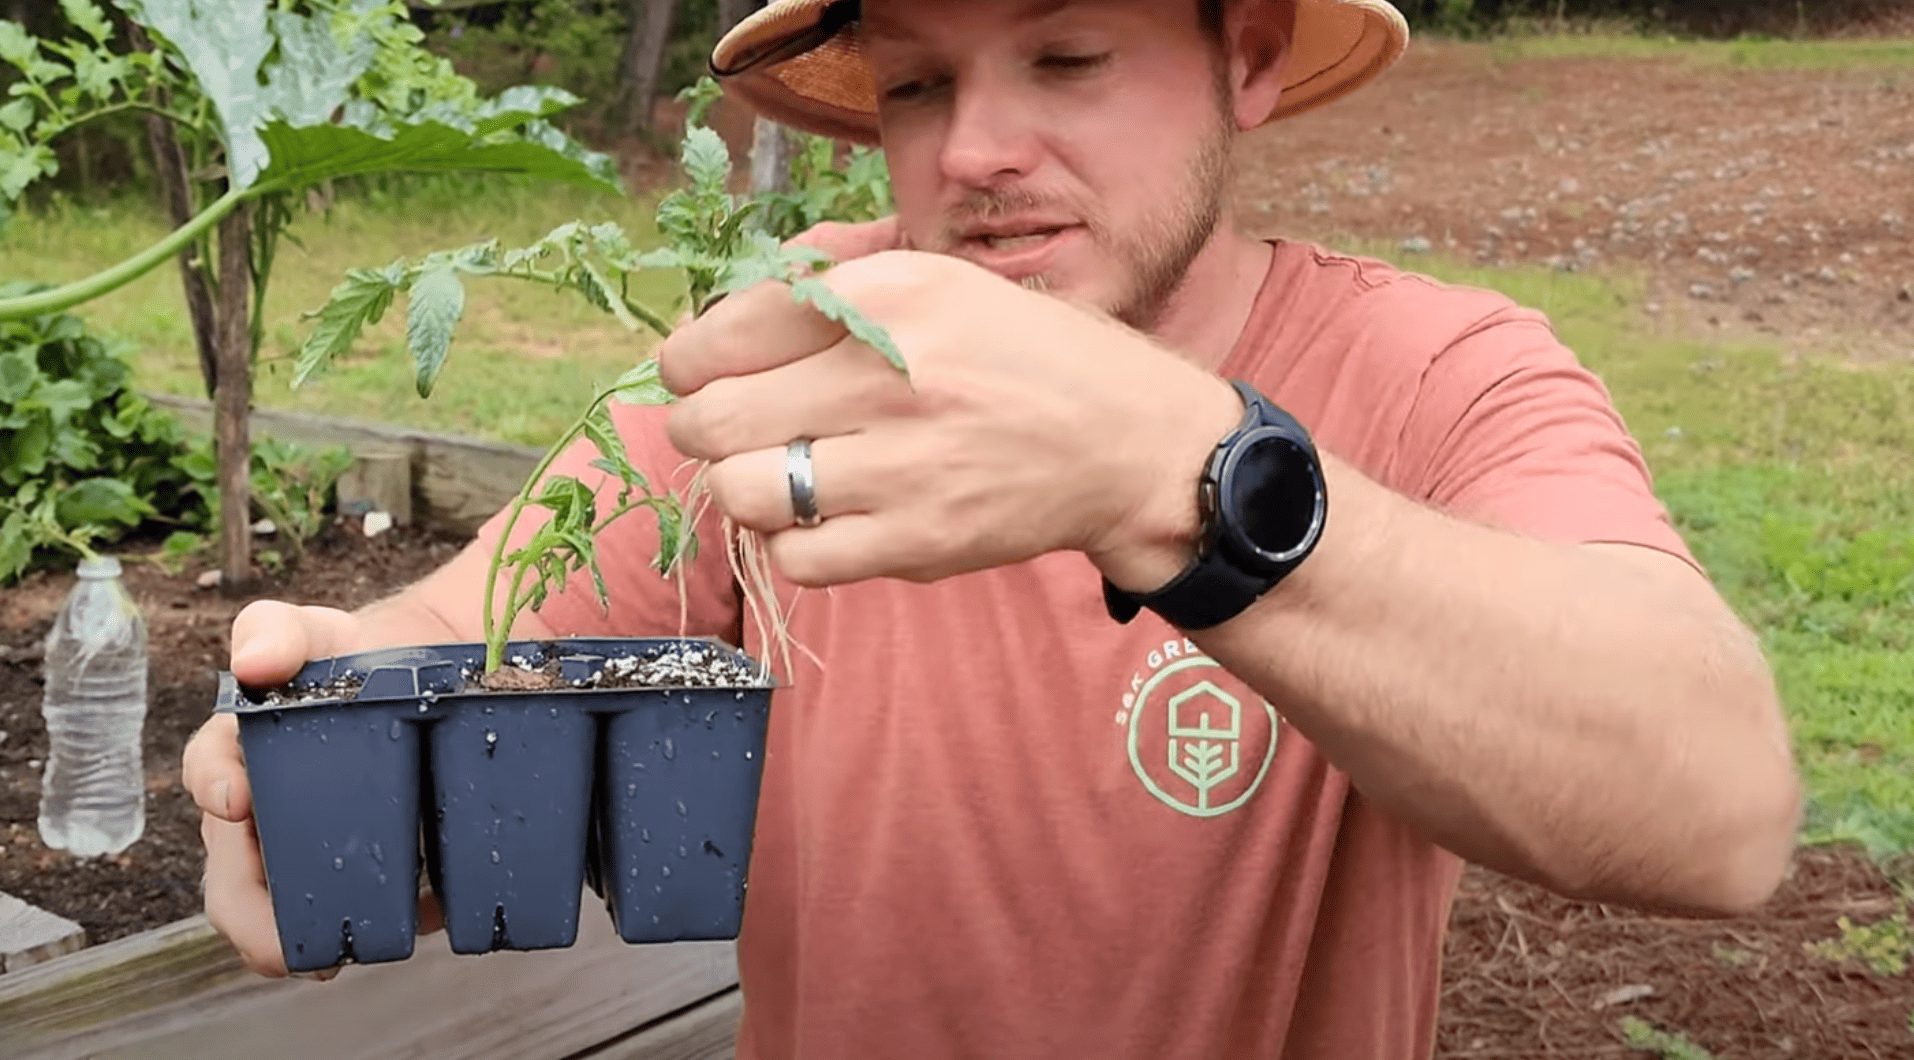
Once the cuttings have formed strong roots, they’re ready to be transplanted. If rooted in water, transfer them to a cell pack or small pot with well-draining soil.
Allow the roots to acclimate for one to two weeks before transplanting them into the garden. This will ensure your new tomato plants are ready for outdoor growth and continue growing in your garden.
Watch how its done: rooting tomato cuttings video walkthrough:
For a more detailed explanation, visit S&K Greenhouse
Ideal Conditions for Rooting Tomato Cuttings
Setting the right conditions makes rooting faster and more reliable. Here’s what to focus on:
| Factor | Best Practice | Why It Matters |
|---|---|---|
| Season | Take cuttings in late spring to early summer when plants are actively growing. Off-season cuttings (late summer or fall) may root more slowly and need indoor protection from cooler temperatures. | Active growth means cuttings have more stored energy, making rooting quicker and stronger. |
| Temperature | Keep water or soil between 70–75°F (21–24°C) for best results. Use a warm windowsill or heat mat if needed. | Warmer conditions encourage rapid cell division and root formation. Cooler temperatures slow the process. |
| Lighting | Place cuttings in bright, indirect light for 6–8 hours a day. Avoid direct sunlight until roots are established. Shade with a thin cloth or move the container a few feet back from a sunny window to reduce heat stress. | Indirect light prevents cuttings from wilting or drying out while still giving enough energy for root growth. |
These simple adjustments will help your cuttings develop healthy roots and transition more smoothly to garden life.
Quick Troubleshooting for Slow or Weak Rooting
- Cuttings are wilting or drooping: Move them to a cooler, shaded area and mist the leaves lightly to reduce stress.
- Roots aren’t forming after two weeks: Check the temperature. If it’s below 70°F (21°C), use a heat mat or warmer location.
- Water looks cloudy or smelly: Change it immediately and rinse the stems to prevent rot or bacteria buildup.
- Leaves turning yellow: Provide brighter but still indirect light, and make sure the water or soil isn’t overly wet.
- Cuttings turning brown or mushy: Discard unhealthy pieces and start again with fresh, healthy suckers.
These quick fixes help you correct problems early and improve your chances of success.
Common Mistakes to Avoid While Rooting
Here are some other important things to keep in mind during the rooting process to help your tomato cuttings grow well.
- Using unhealthy cuttings: Always choose strong, healthy suckers. Weak or diseased cuttings are less likely to root successfully.
- Taking too many cuttings: Don’t over-harvest from a single plant. Taking too many cuttings can stress the mother plant.
- Exposing cuttings to direct sunlight: Direct sunlight can dry out the cuttings quickly. Use indirect light for better results.
- Crowding the container: Give each cutting enough space to grow. Overcrowding can stunt their development.
- Neglecting water levels: Keep the water level consistent, not too high or too low.
-
Using dirty tools: Always clean your scissors or containers before cutting to avoid spreading disease.
Avoiding these simple mistakes will help you root your tomato cuttings successfully. Keep a watchful eye and be patient with the process.
Aftercare Fertilization Schedule
Once your rooted cuttings are transplanted into soil, a gentle feeding routine will help them establish faster and produce more fruit.
Start with a diluted liquid fertilizer about one week after transplanting. This gives the young roots a small nutrient boost without burning them. Mix the fertilizer to half the recommended strength on the label and water it in gently at the base of each plant.
From there, feed once a month with a balanced fertilizer (something like 10-10-10 or similar ratios). This keeps nutrients steady throughout the growing season. As the plants begin flowering and setting fruit, you can switch to a formula slightly higher in potassium to support fruit development.
If you prefer organic options, use compost tea, worm castings, or a fish emulsion every 2–3 weeks. These are mild, slow-release feeds that build soil health as well as plant strength.
If you choose synthetic fertilizers, stick to a balanced water-soluble type and always follow the dilution instructions to avoid overfeeding.
Regular feeding, along with consistent watering and sunlight, will help your cuttings grow into strong, productive tomato plants.
Summing It Up
Rooting tomato cuttings is a great way to turn garden waste into valuable new plants that produce just like their parent varieties.
You’ve now mastered the entire process, including the aftercare tips that help your propagated plants flourish.
This simple skill not only saves you money but also preserves special tomato varieties that might otherwise disappear from your garden.
Your success with rooting cuttings means endless opportunities to expand your tomato collection every season.
I encourage you to try propagating your own cuttings in the upcoming growing season. Take those pruned suckers and watch them change into productive plants that will impress your neighbors.
Ready to start? Comment below with your rooting stories!


One Response
Can I propagate Red Robin variety determinate tomatoes? In South Louisiana. Now?