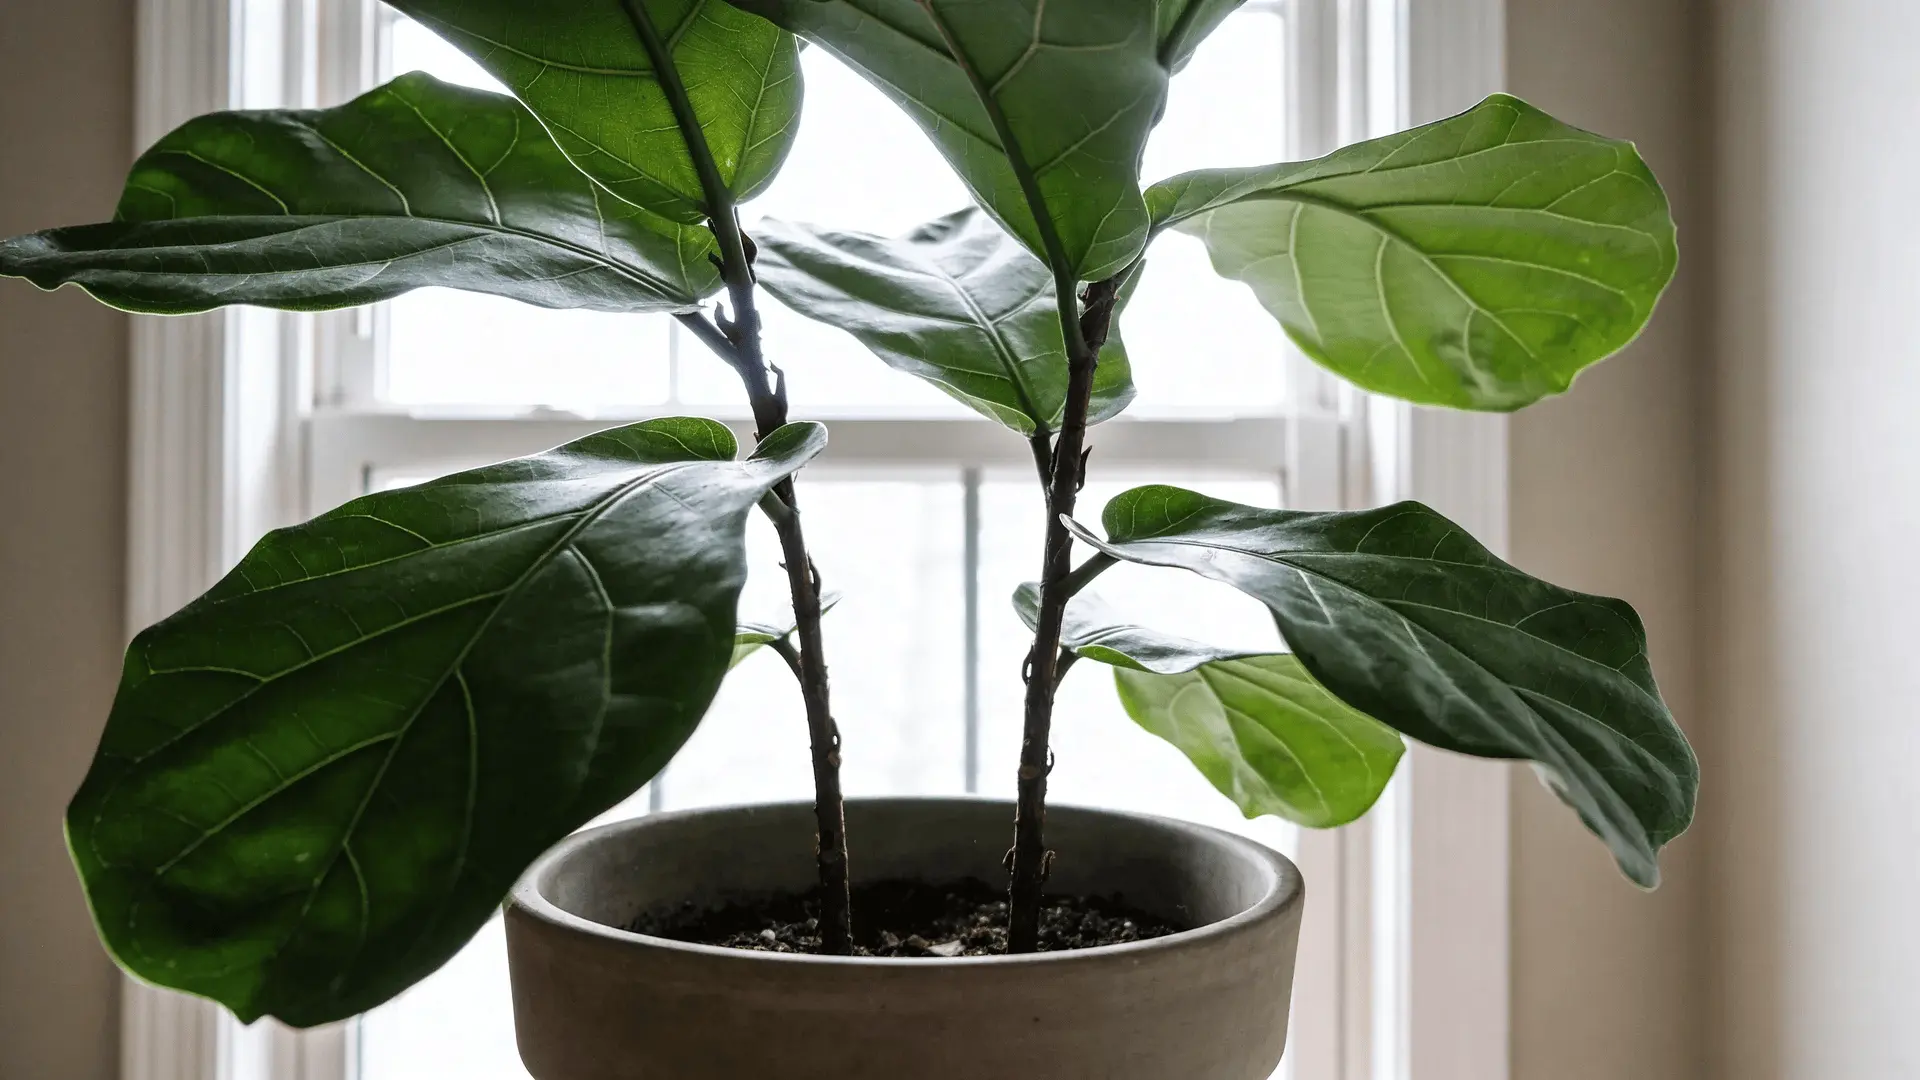
Ever wondered how to propagate a fiddle leaf fig in water and turn one plant into many? I’m here to walk you through the easiest method that works, especially for beginners.
Water propagation beats soil every time because you can watch those magical roots form right through the glass jar.
It’s a cleaner, simpler method that offers much higher success rates, especially if you’re just starting.
You’ll usually see roots begin in just a few weeks and have a transplant-ready plant in a couple of months. The best part? Watching a plain stem turn into a healthy new plant.
What You’ll Need to Propagate Fiddle Leaf Fig in Water
You don’t need fancy tools to propagate a fiddle leaf fig in water. In fact, most of the supplies are probably already in your home.
- Sharp, clean pruning shears or a knife
- Clear glass containers or jars (helps you watch root growth)
- Filtered or distilled water
- Rooting hormone (optional, but can boost success)
- Heat mat (for faster rooting in cool spaces)
- Grow lights (if your space lacks bright light)
- pH testing strips (to check water quality)
- Liquid fertilizer (for feeding cuttings once rooted)
Start with the basics: a clean cut and a clear jar of water. As you get more confident, feel free to add tools that improve your setup and results.
How to Propagate Fiddle Leaf Fig in Water: 5-Step Guide
Propagating your fiddle leaf fig in water is easier than you might think. With just a few simple steps and a little patience, you’ll have new plants growing in no time.
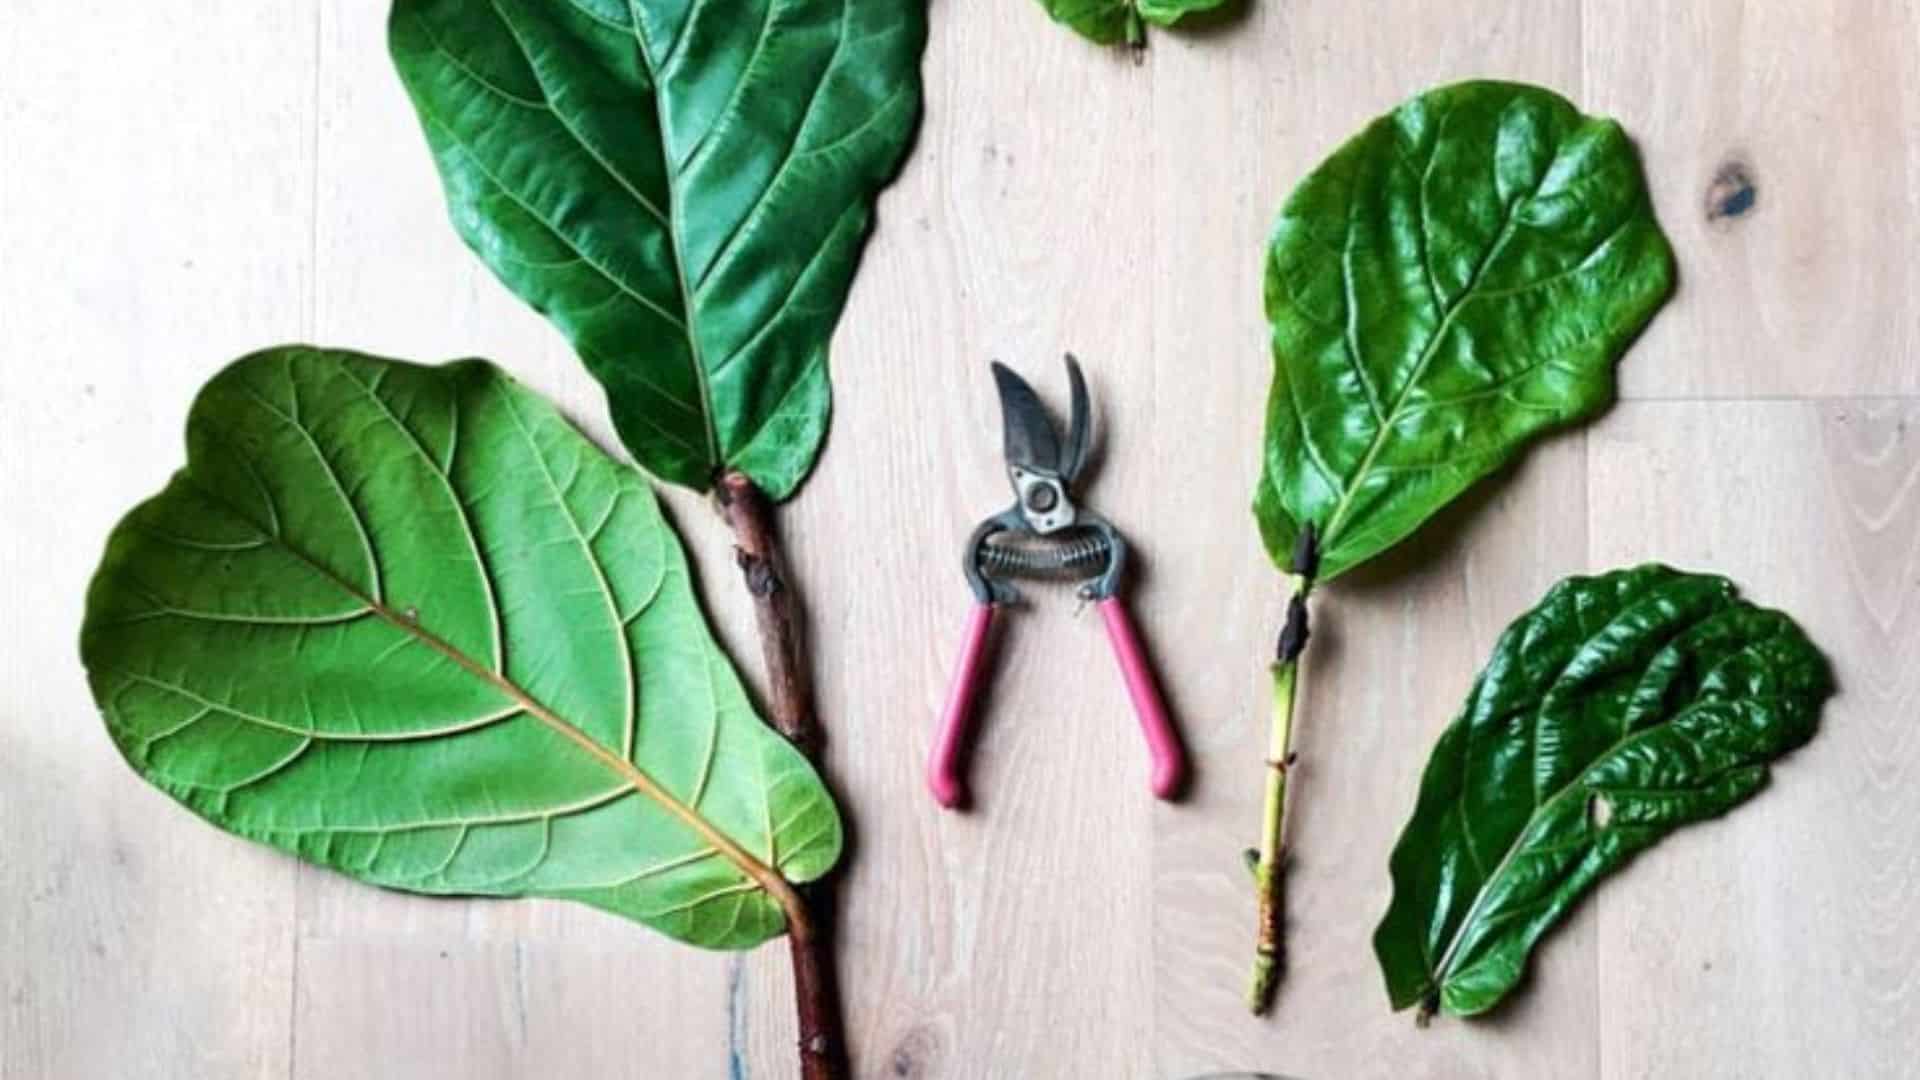
STEP 1: Select and Cut Your Stem
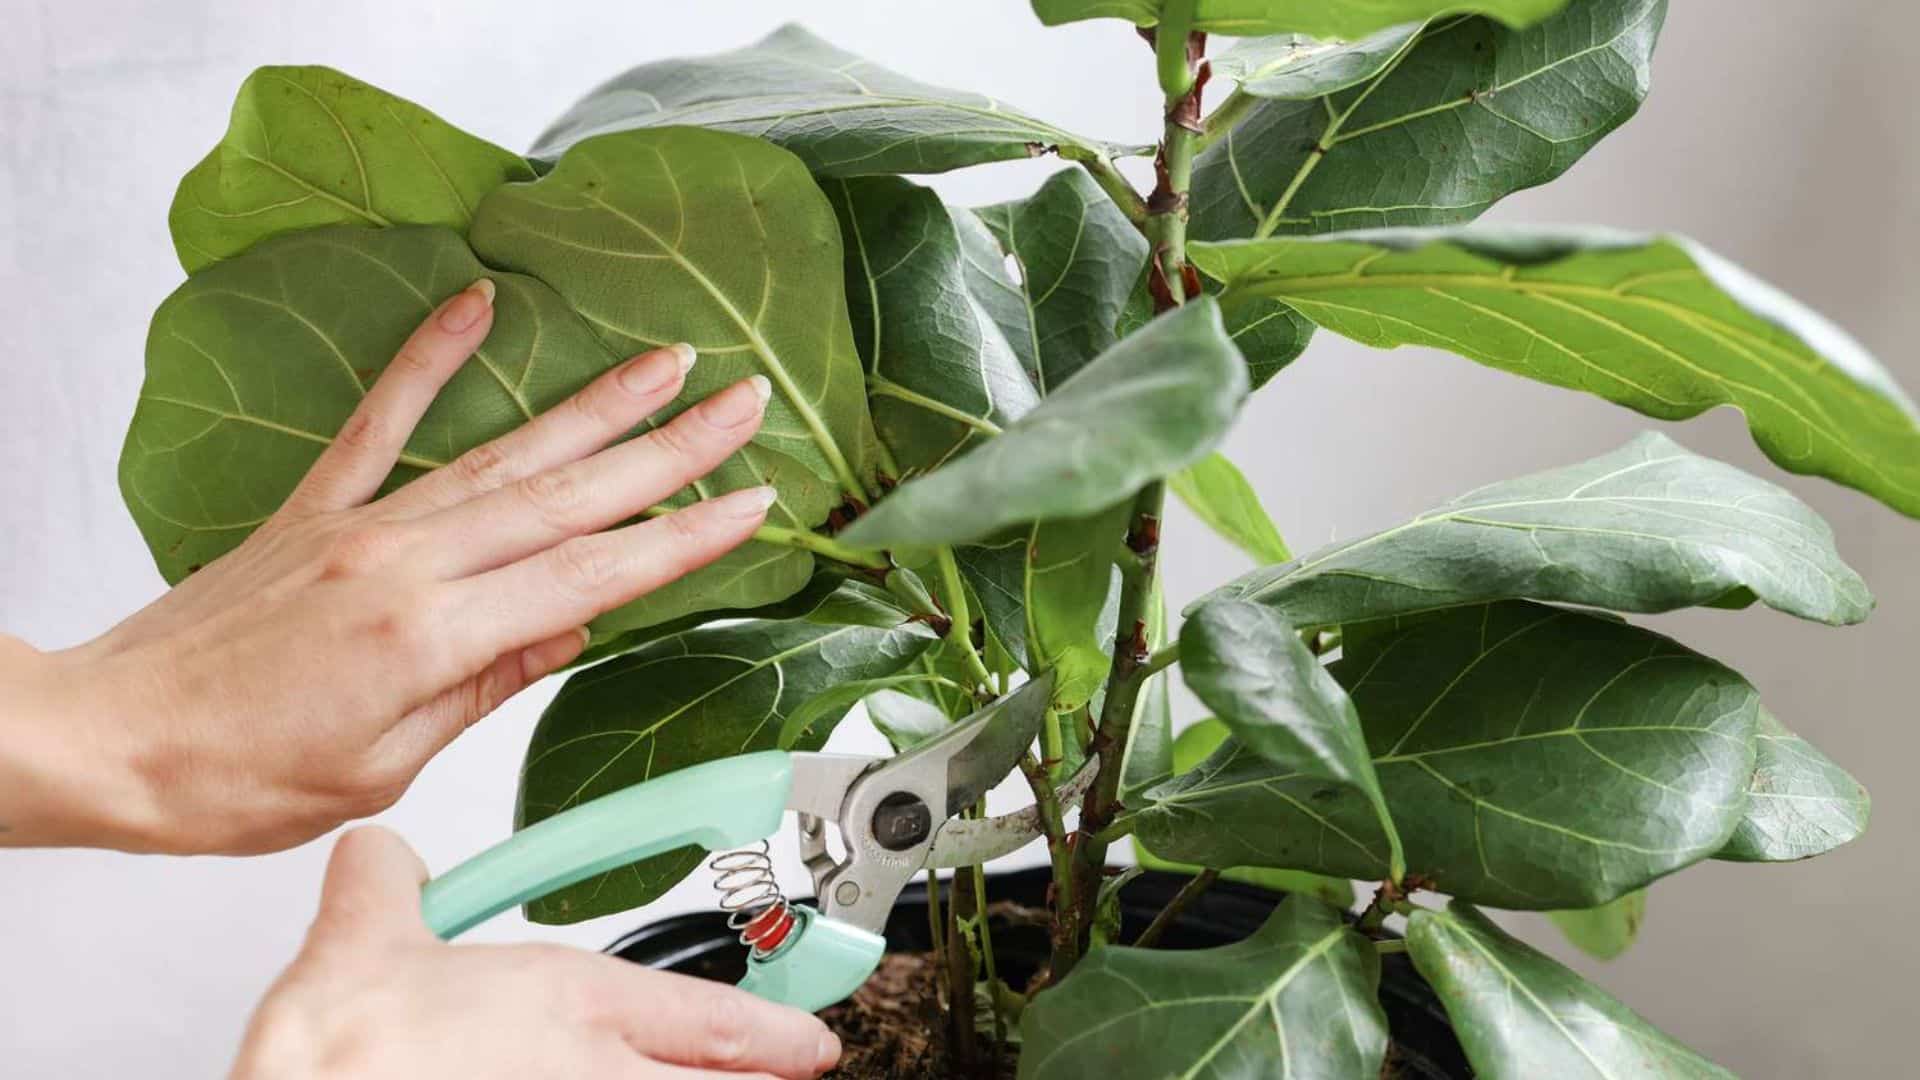
Choose a healthy 6–8 inch stem with 2–3 nodes and no signs of damage. Use clean, sharp shears to make a 45-degree cut just below a node.
Remove any lower leaves that would sit in water; they’ll rot and cause issues.
Pro Tips:
- Sterilize your shears with rubbing alcohol before cutting
- Pick stems from the outer part of the plant for better success
- Make cuts in the morning when the plant is well-hydrated
STEP 2: Prepare Your Cutting
Let the cutting sit for 30 minutes so the end can callus over; this helps prevent rot. Dip the base in rooting hormone (optional) to speed up root growth.
Double-check that no leaves will be submerged in water.
Pro Tips:
- Pat the cut end dry with a paper towel before letting it callus
- Store rooting hormone in the fridge to extend shelf life
- Remove any damaged or yellow leaves before placing them in water
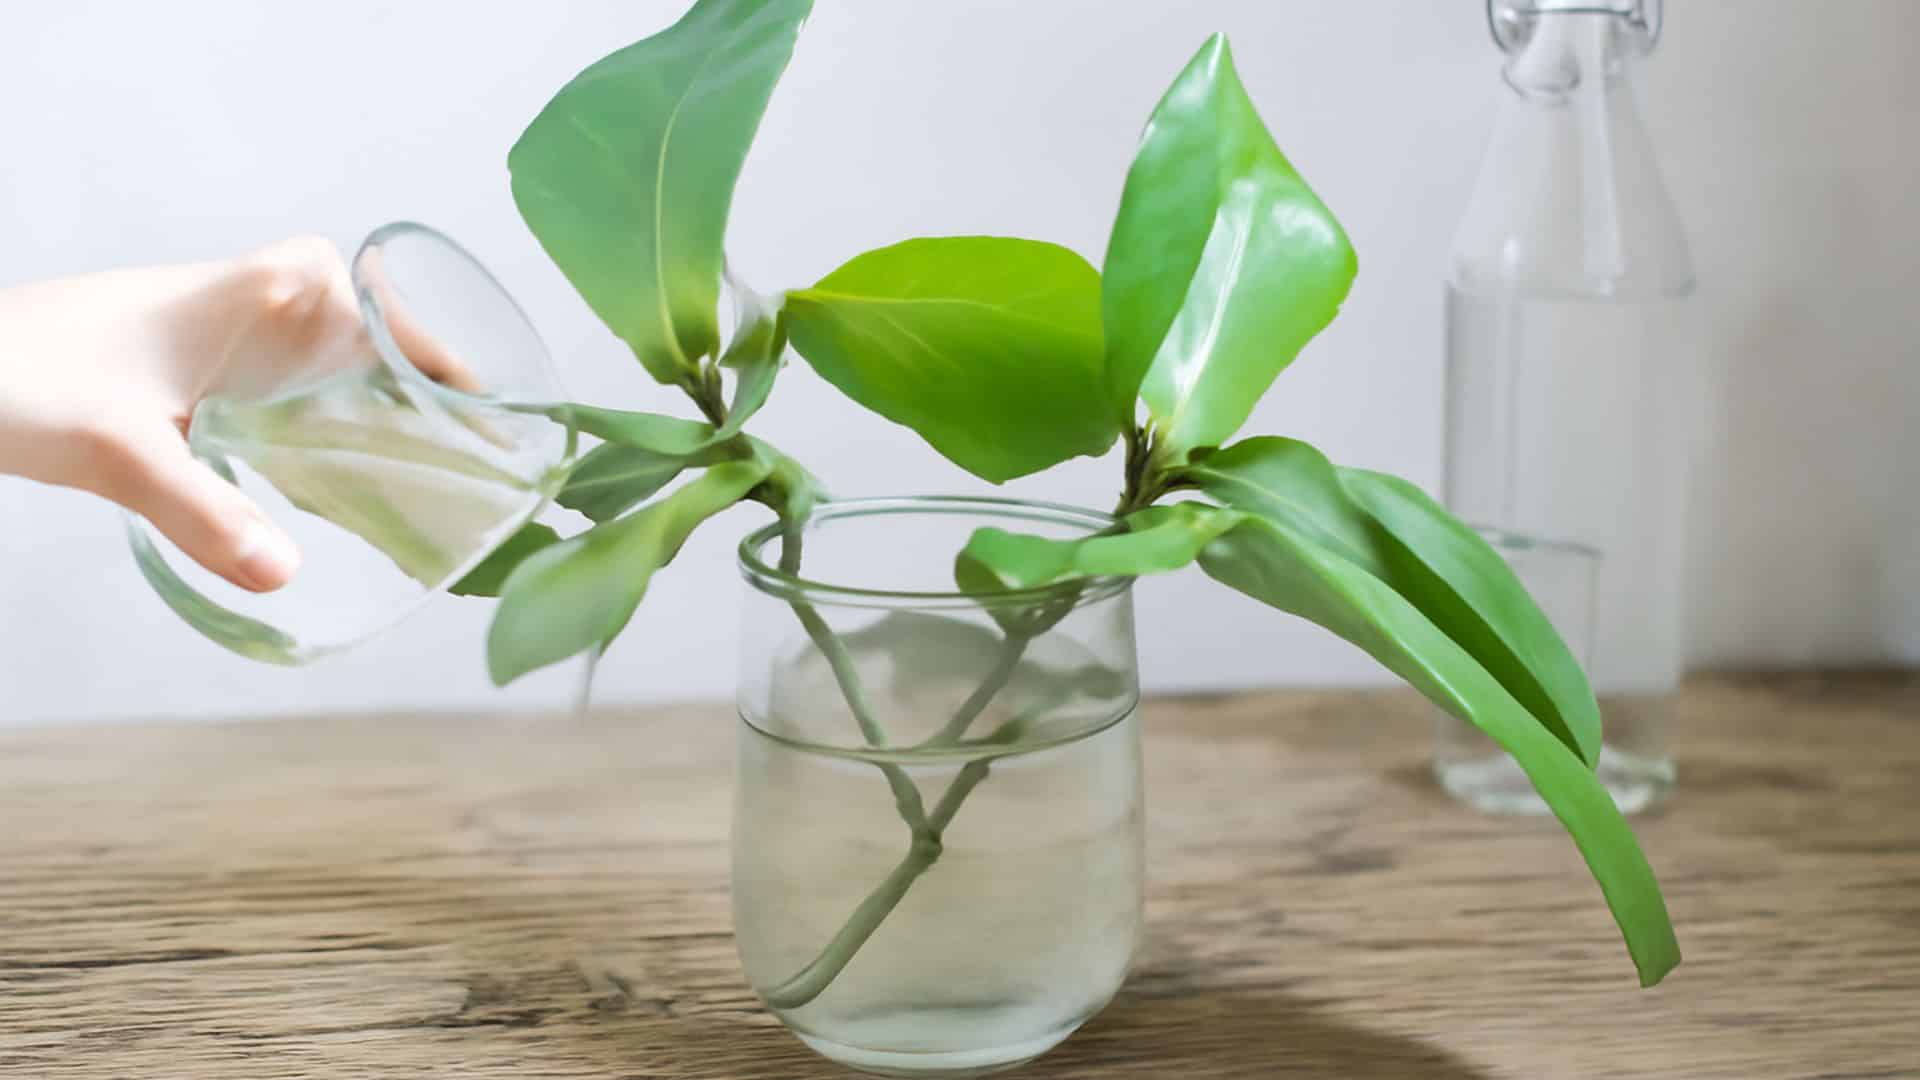
STEP 3: Set Up Water Container
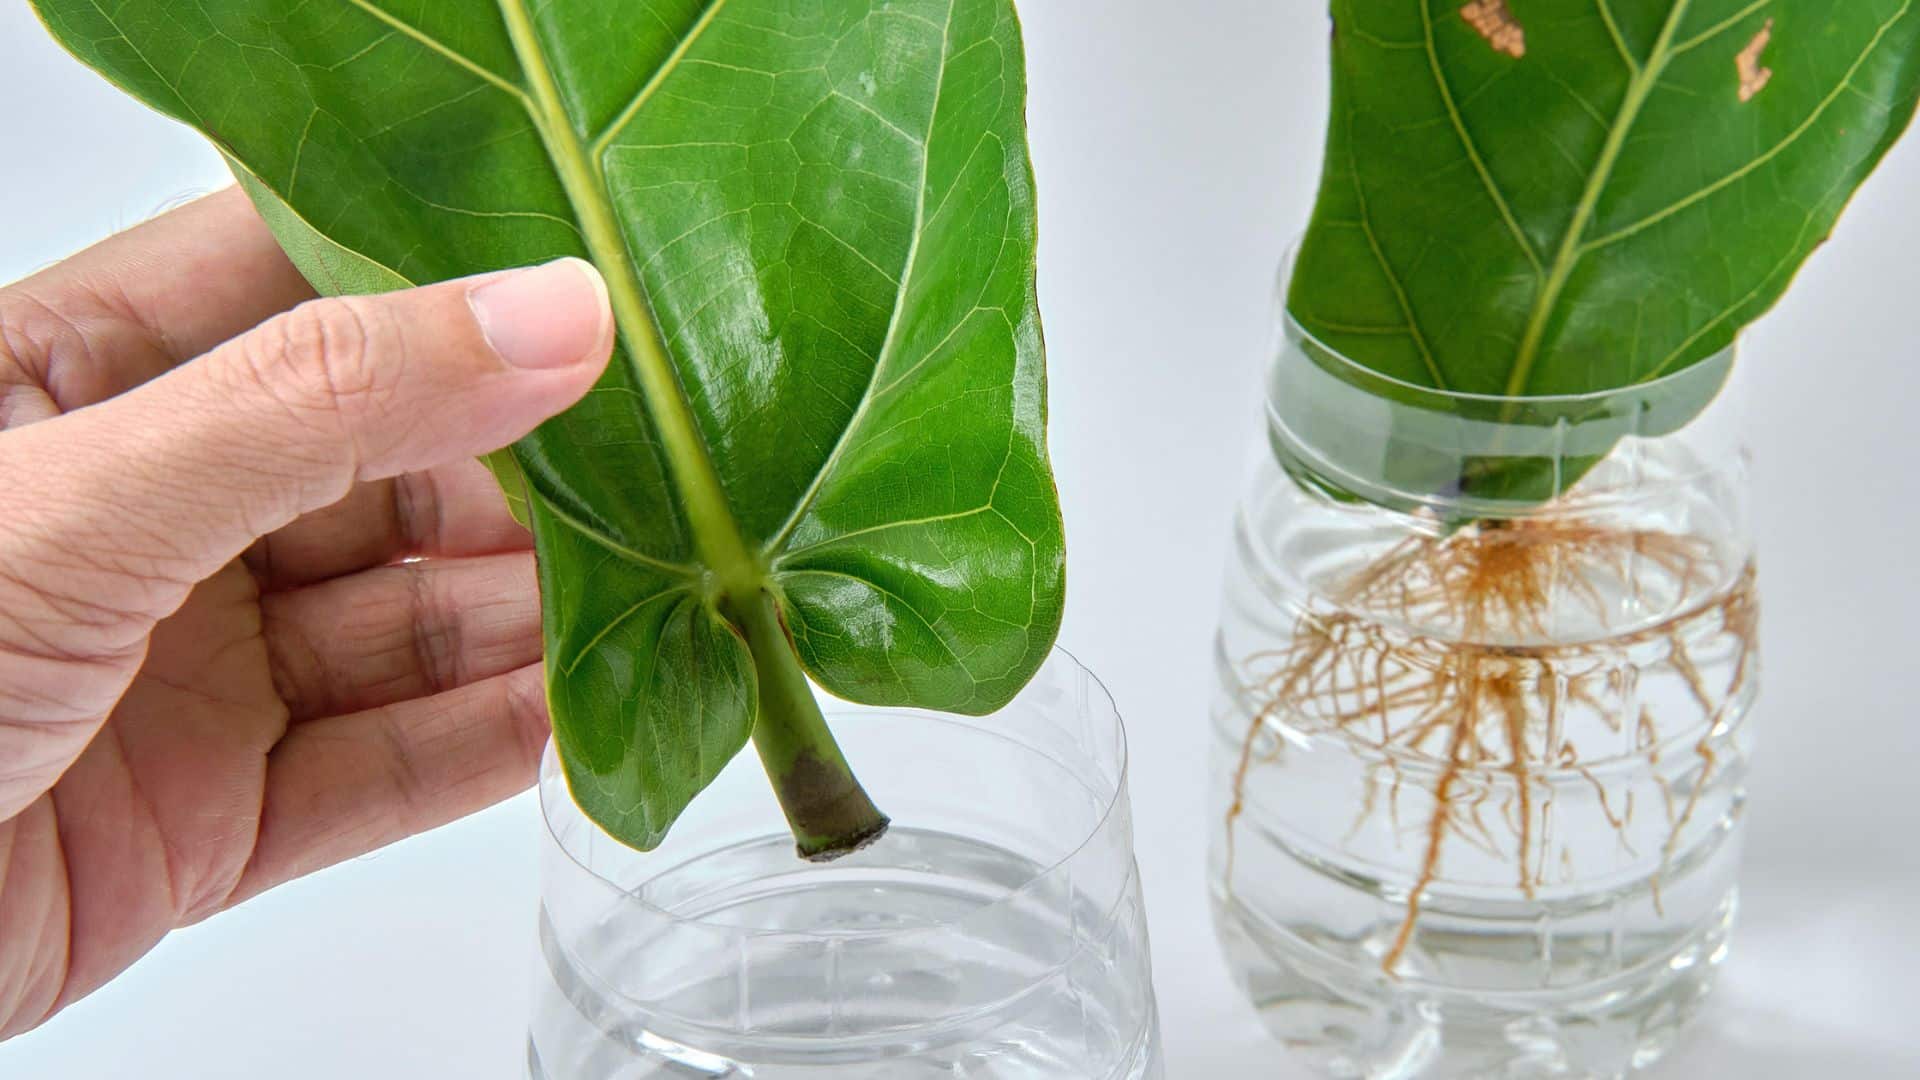
Fill a clean glass jar halfway with filtered or distilled water. Submerge the nodes while keeping the leaves above water. Place the jar in a bright spot with indirect light, away from direct sun.
Pro Tips:
- Use a clear container to easily monitor root growth
- After two weeks, add a drop of liquid fertilizer to support rooting
- Keep the water temperature between 65–75°F for best results
STEP 4: Maintain Your Cutting
Change the water every 3–5 days to avoid bacteria buildup. Roots should start appearing in 2–4 weeks. Always keep the nodes submerged and never let them dry out.
Pro Tips:
- Rinse both the jar and the cutting gently during each water change
- Take weekly photos to track progress and stay motivated
- If the water smells bad or looks cloudy, change it immediately
STEP 5: Transplant When Ready

Once the roots reach 2–3 inches with multiple branches, move your cutting to a pot with well-draining soil and drainage holes. Water lightly and keep it in bright, indirect light while it settles in.
Pro Tips:
- Gradually reduce the humidity over a few days before transplanting
- Choose a pot just slightly bigger than the root system to prevent overwatering
- Wait at least two weeks after transplanting before adding fertilizer
Troubleshooting Common Problems
Don’t panic if your fiddle leaf fig cutting isn’t doing exactly what you hoped. Most issues are easy to fix with a few small changes.
- Black or mushy stems: This usually means rot. Cut away the damaged section with clean scissors and refresh the water.
- No roots after 6 weeks: Try moving the setup to a warmer spot with brighter, indirect light. Also, be sure to change the water regularly.
- Cloudy or smelly water: Dump it out right away. Scrub the jar clean before refilling it with fresh, filtered water.
- Yellowing or dropping leaves: Normal at first. Your cutting is just adjusting to life in water.
- Healthy-looking stem with no roots: Some stems just don’t root. Try again with a different piece from the plant.
Propagation takes patience. Even experienced plant lovers lose cuttings from time to time. Keep going; you’ll get the hang of it!
Keys to Propagation Success
These simple tips can make a big difference in how well your fiddle leaf fig cuttings root. Avoiding common mistakes early on often means the difference between a thriving new plant and starting over.
- Propagate in spring or summer when your plant is actively growing and has more energy to spare.
- Keep water between 65–75°F and change it every 3–5 days to avoid bacteria buildup and rot.
- Use filtered or distilled water instead of tap water, since chlorine can slow or block root growth.
- Wait for roots to reach at least 2 inches with multiple branches before moving the cutting to soil.
- Always choose cuttings from healthy plants with green, firm leaves and no signs of stress or disease.
Follow these basics and you’ll set yourself up for success. Most propagation failures happen because people rush or skip key steps, so take your time and let the plant do its thing.
Wrapping It Up
Learning how to propagate fiddle leaf fig in water has been one of my favorite plant parenting wins. From your first cutting to a fully rooted plant, you’ll get weeks of exciting growth to watch and enjoy.
Don’t let beginner’s nerves hold you back. Even if your first attempt doesn’t work out, you’ll learn something valuable for next time.
Water propagation builds confidence and opens the door to multiplying your favorite plants for free.
Before long, you’ll be the go-to friend for plant advice and fiddle leaf fig babies. Start your first cutting this weekend, and be sure to share your progress in the comments!