Ever turned a grocery store sweet potato into a mini garden? You can, and it’s easier than you think. All you need is one sweet potato, a few toothpicks, a jar, and some water.
No dirt, no digging; just a simple setup that works right on your windowsill.
I love this project because it’s perfect for beginners, especially if you’re worried about keeping plants alive.
It’s fun, low-effort, and surprisingly rewarding. Kids, especially, love watching the roots grow through the glass, like little underwater fireworks.
Even if you live in a tiny apartment with no outdoor space, this method allows you to grow your own food indoors.
Let’s get started and turn that sweet potato into something amazing!
Why Grow Sweet Potatoes in Water?
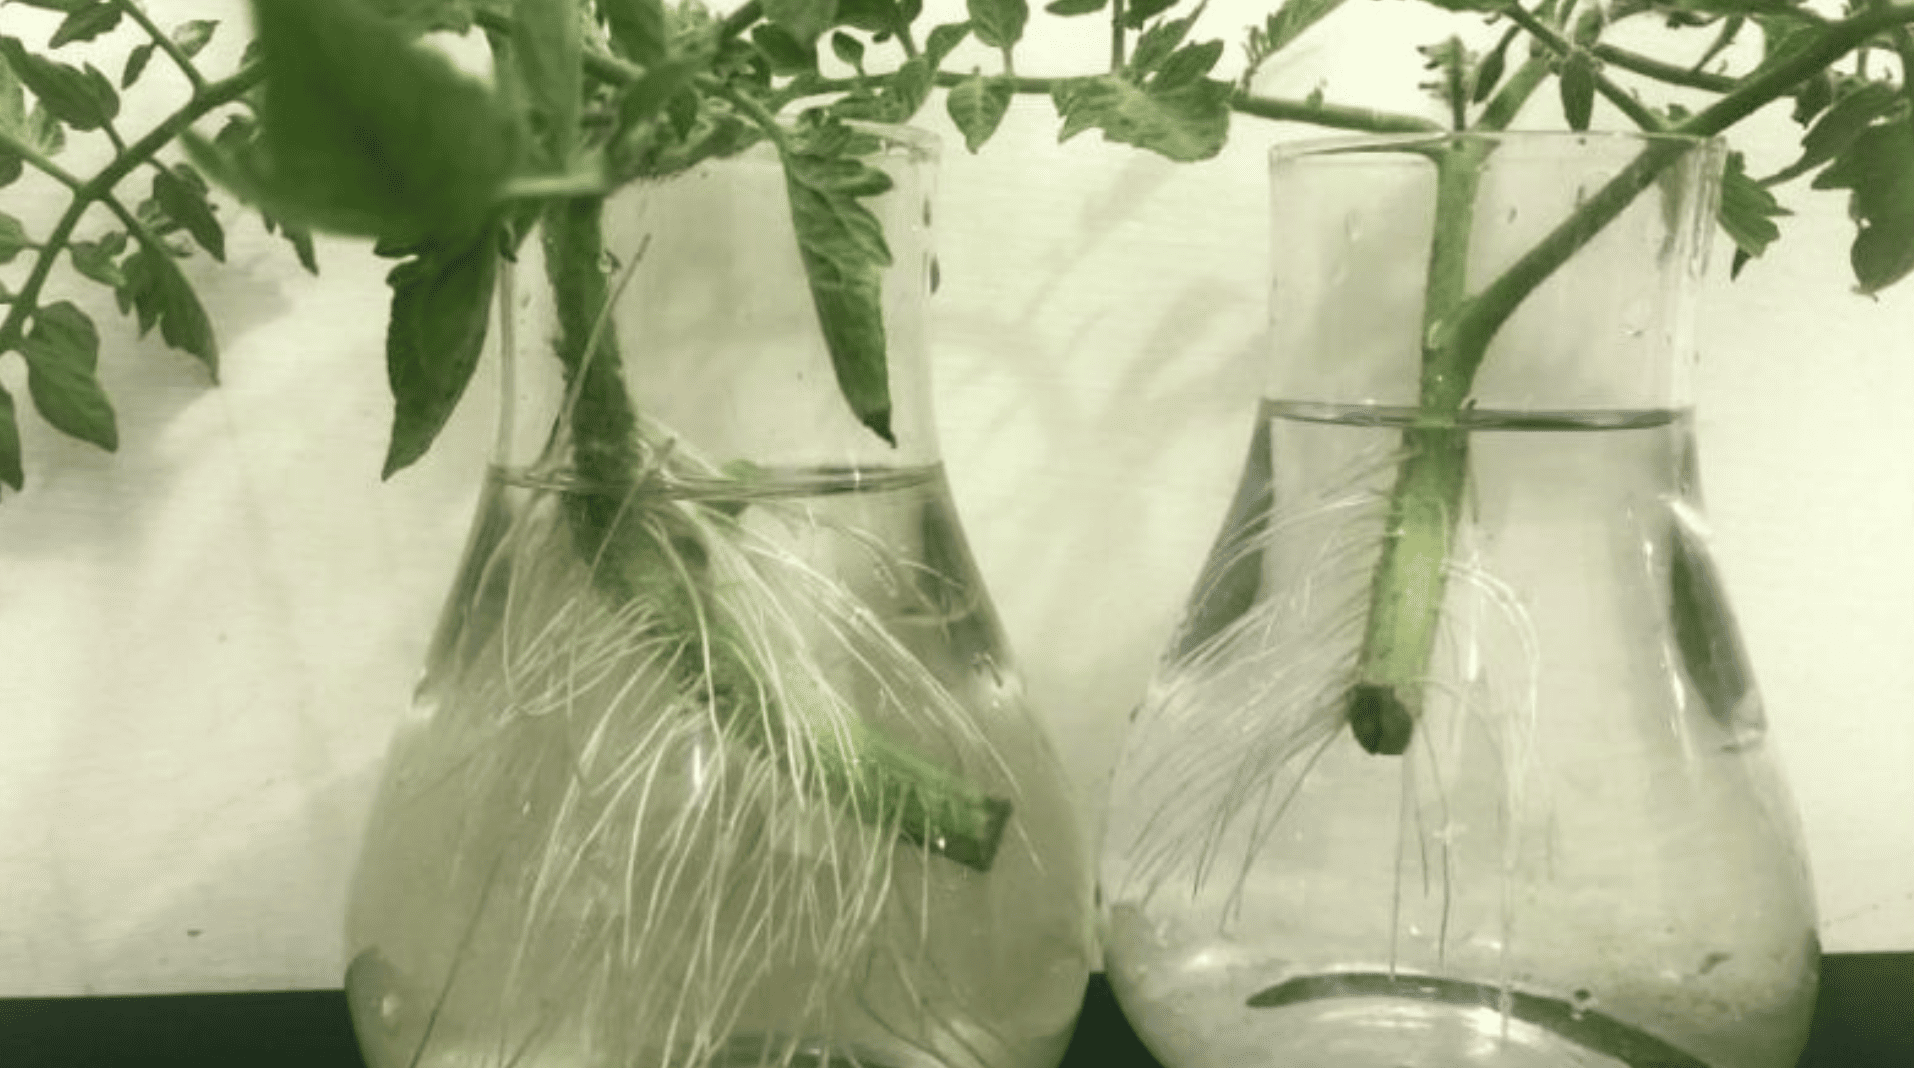
Growing sweet potatoes in water is a neat, mess-free way to start your plants. No soil means no dirt on your counter or windowsill, just a clean jar and a cool view of what’s going on.
This method lets you grow slips, which are baby plants you can later move to your garden. It’s a great setup if you live in an apartment or don’t have much outdoor space.
And if you’ve got kids around, they’ll love watching the roots and vines slowly grow; it’s like a real-life science experiment.
Best part? It’s fun, easy, and super satisfying. You get to watch those first little green shoots appear, and you’ll end up with free plants instead of buying slips from the store.
Material and Supplies You’ll Need
You don’t need fancy tools or expensive gear to start growing sweet potatoes in water. Below is a simple cost breakdown for the basic supplies you’ll need.
| Material/Supply | Estimated Cost Range (USD) |
|---|---|
| Sweet potatoes (organic) | $0.50–$3.50 per pound |
| Mason jars/glass cups/pitchers | $1.00–$6.00 each |
| Toothpicks (round) | $2.27–$6.48 per pack |
| Pruners (optional) | $12.99–$62.00 |
| Extra jars for rooting slips | $1.00–$6.00 each |
| Sunny windowsill / covered porch | $0–$1,450+ |
If you’ve already got a sunny spot and some basic kitchen items, you can likely get started for under $20. Optional tools, such as pruners and extra jars, just make things a bit smoother along the way.
Note: Basic supplies cost about $4.77–$21.98. A full setup with pruners and a porch space can run from $17.76 to $1,533.98.
How to Grow Sweet Potatoes in Water: Step-By-Step Guide
Growing sweet potatoes in water is super easy and fun to watch. All you need is a sweet potato, a few toothpicks, a jar of water, and a little patience to see the magic unfold.
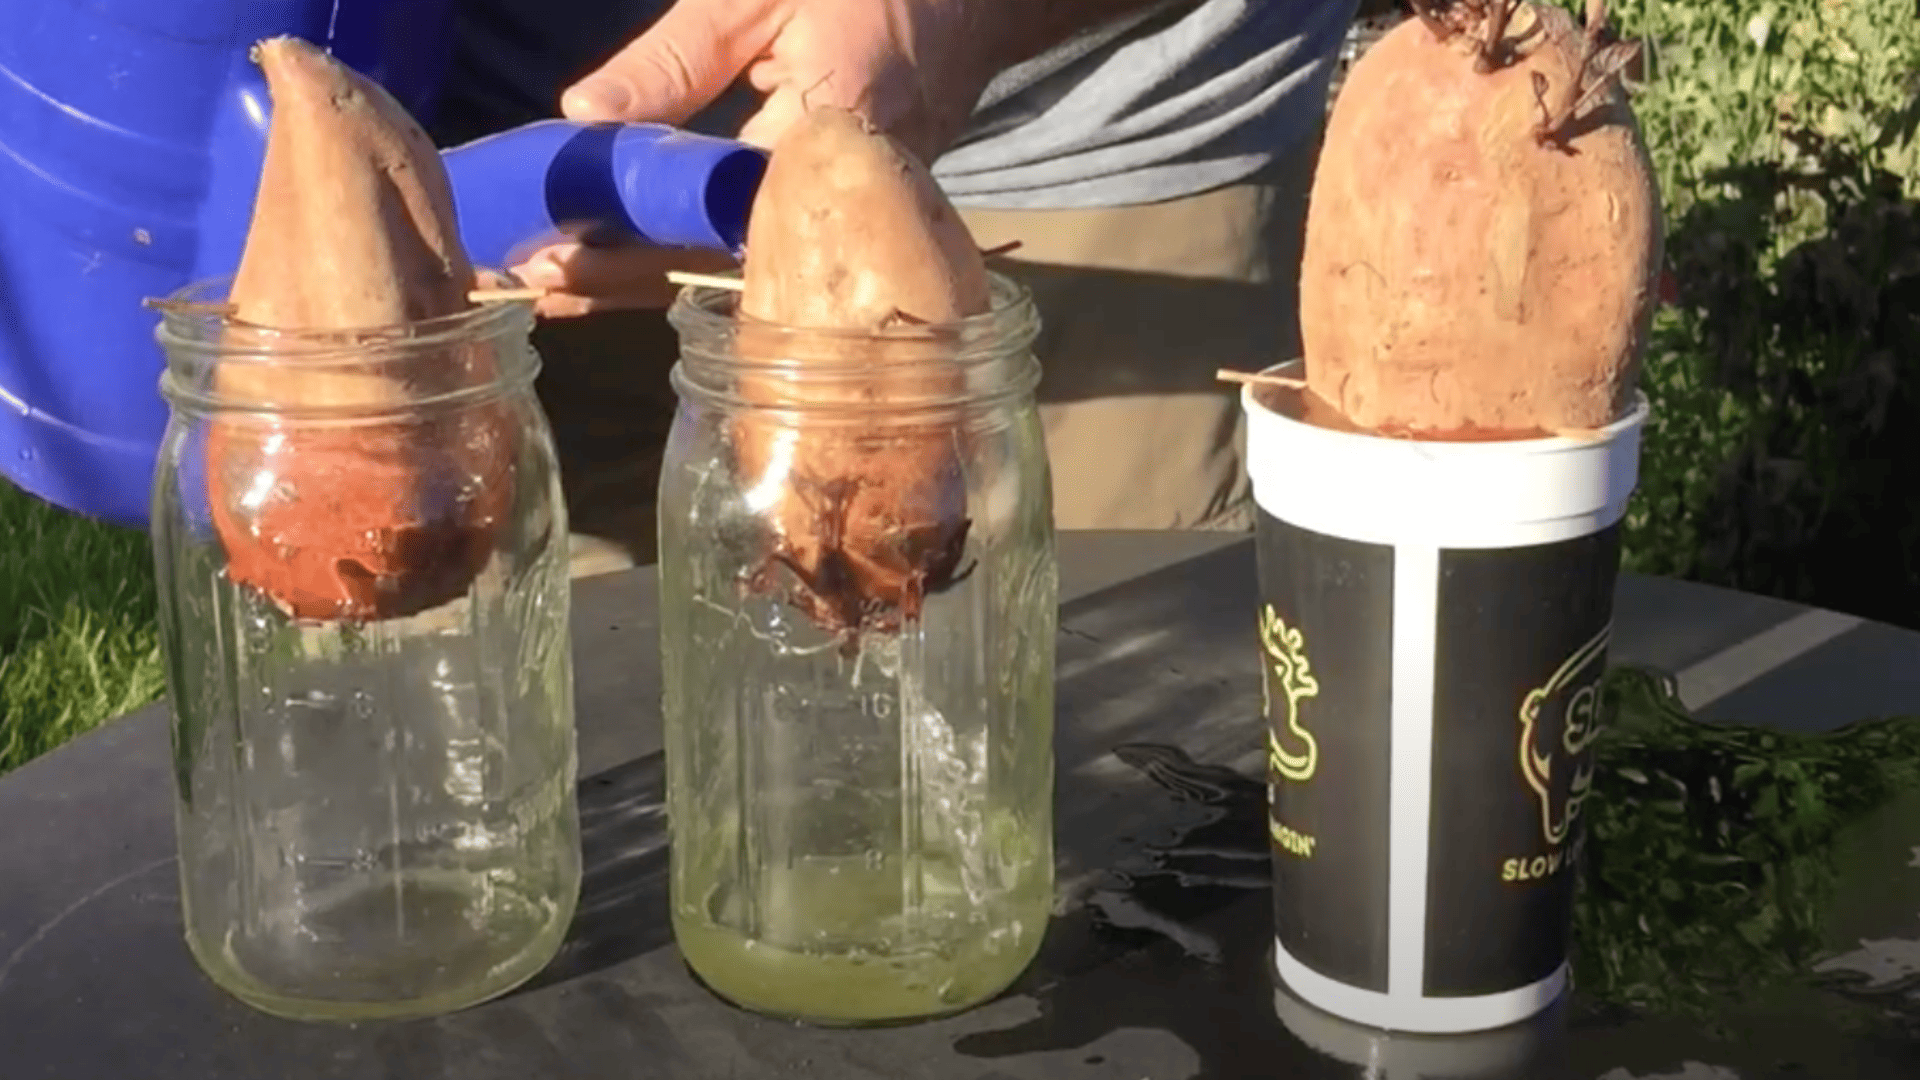
Step 1: Set Up Your Sweet Potato in Water
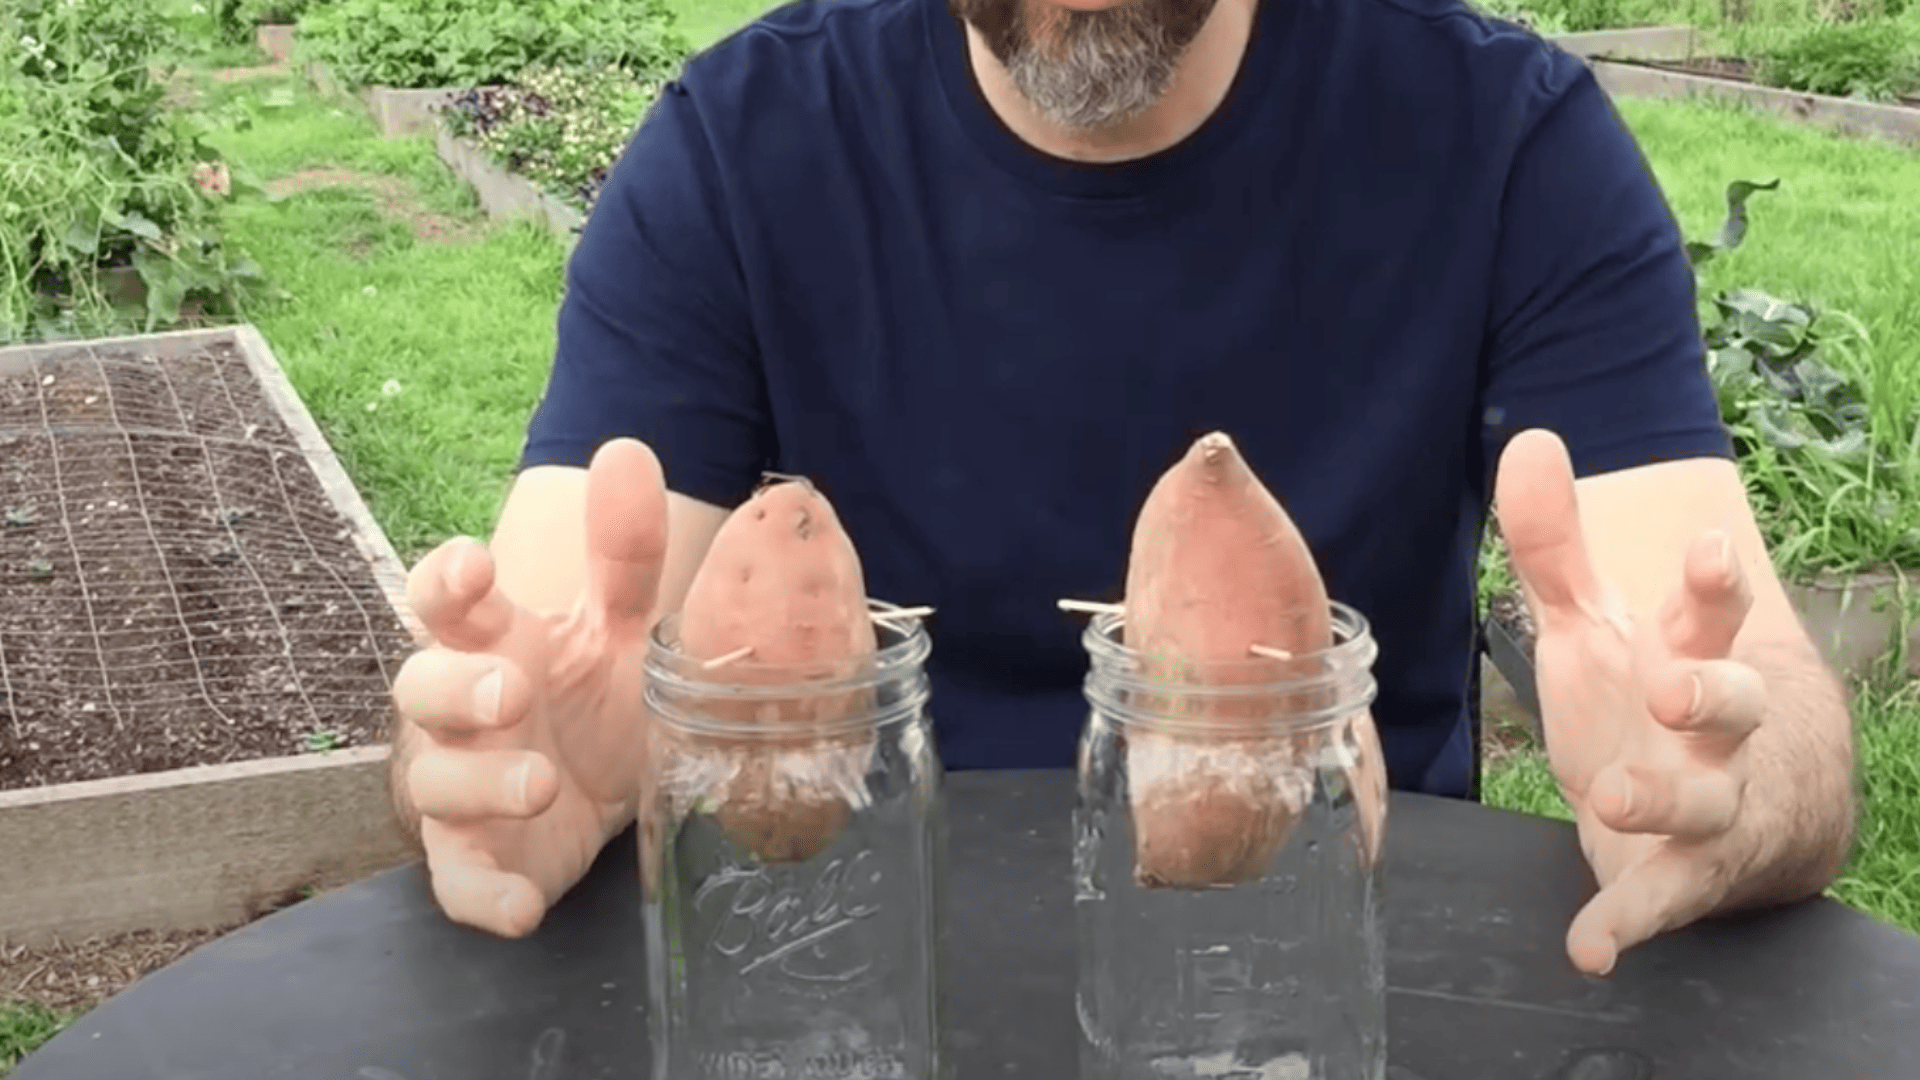
Grab a firm sweet potato and stick 3–4 toothpicks around the middle. This helps suspend it over a jar with about two-thirds of it sitting in water.
Make sure the pointy end faces up; the roots grow from the bottom.
Helpful Tips:
- Round toothpicks usually stay in place better than flat ones.
- Only the bottom part should be underwater.
- Organic sweet potatoes tend to sprout more easily than treated ones.
Step 2: Wait for Sprouting and Root Growth
This part takes time, so don’t rush it. You’ll usually see roots and small green shoots (called slips) start to emerge within 5 to 8 weeks.
Each potato grows at its own pace, so just let it do its thing.
Helpful Tips:
- One potato can grow several slips, plenty to work with.
- Keep your setup warm and bright, but skip direct sunlight.
- Try not to move the potato around too much while it’s sprouting.
Step 3: Keep Water Fresh and Clean
Change the water once a week to keep things clean and prevent mold or slime. If the jar starts looking murky or green, give it a quick wash and refill.
Helpful Tips:
- Scrub jars gently if algae builds up.
- Use room-temperature water to avoid shocking the roots.
- Let the setup get some indirect outdoor air if the weather’s nice.
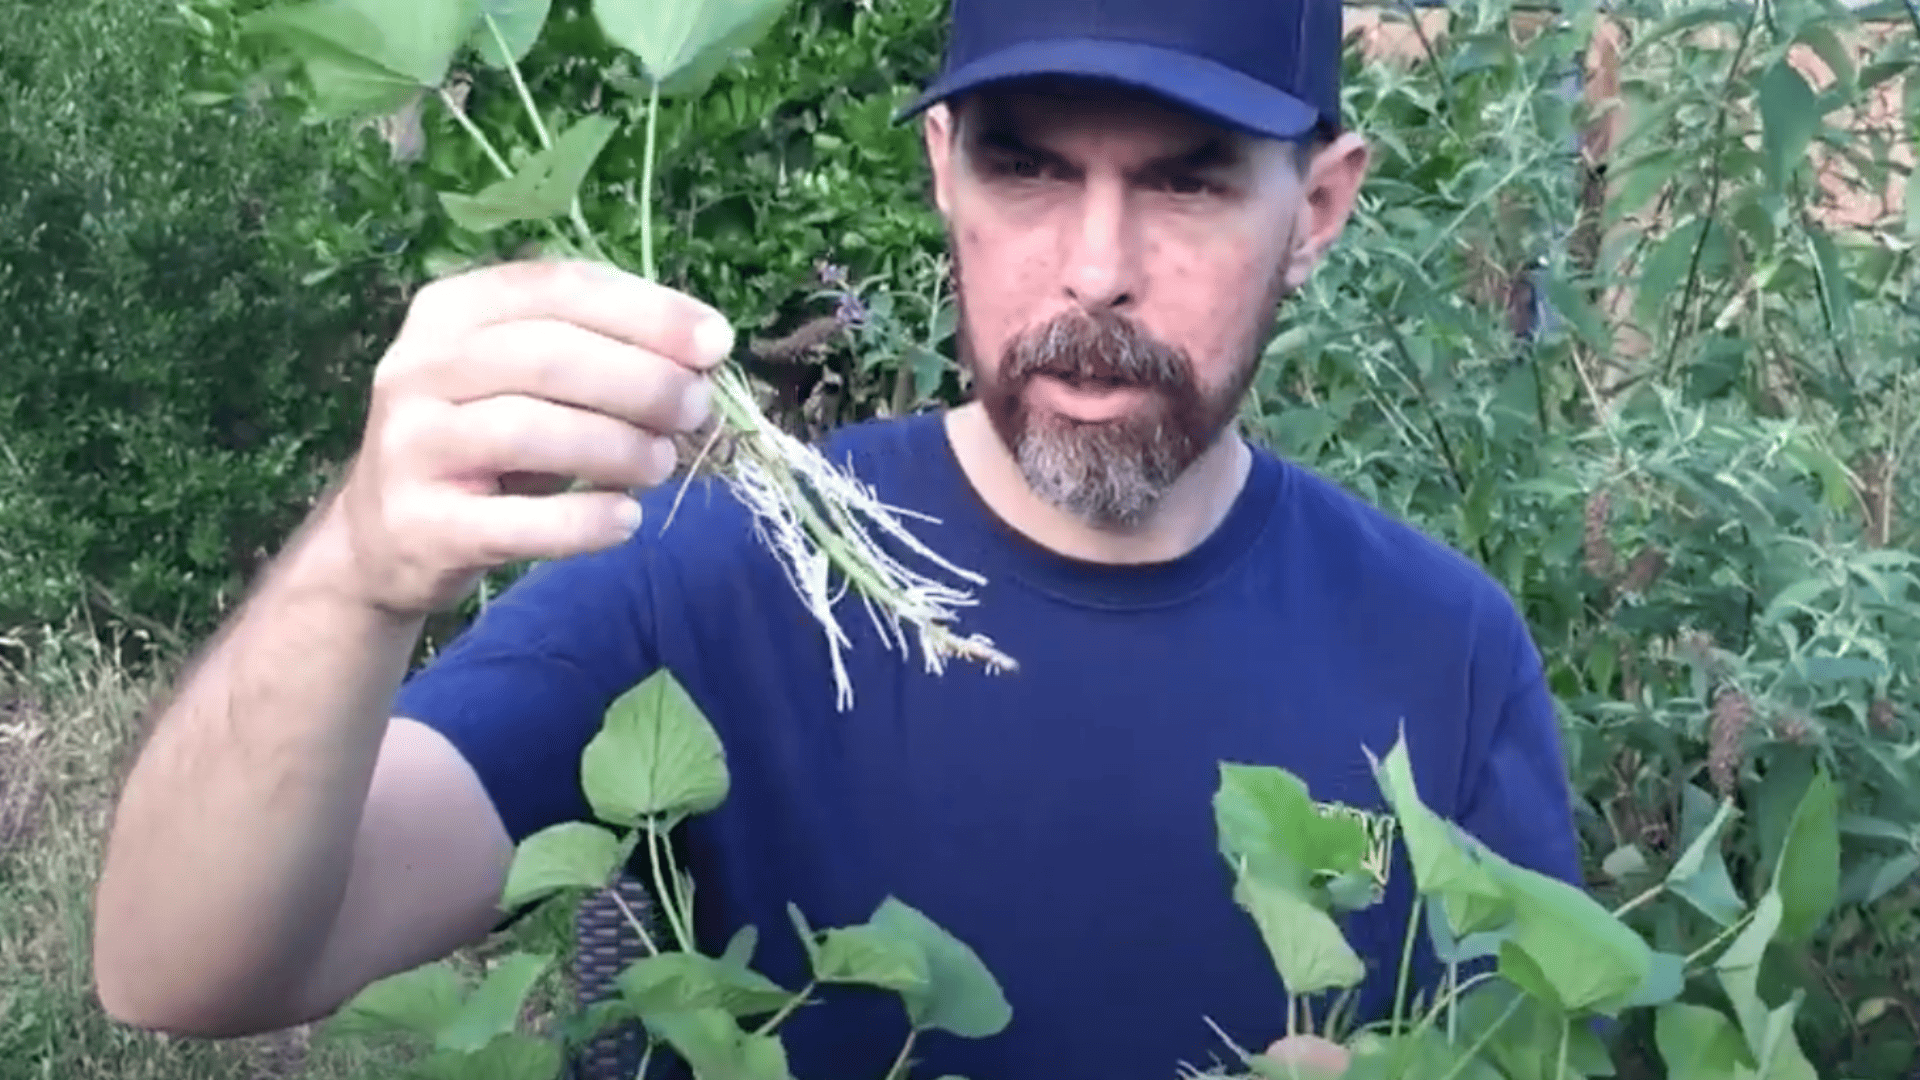
Step 4: Remove and Root Your Slips
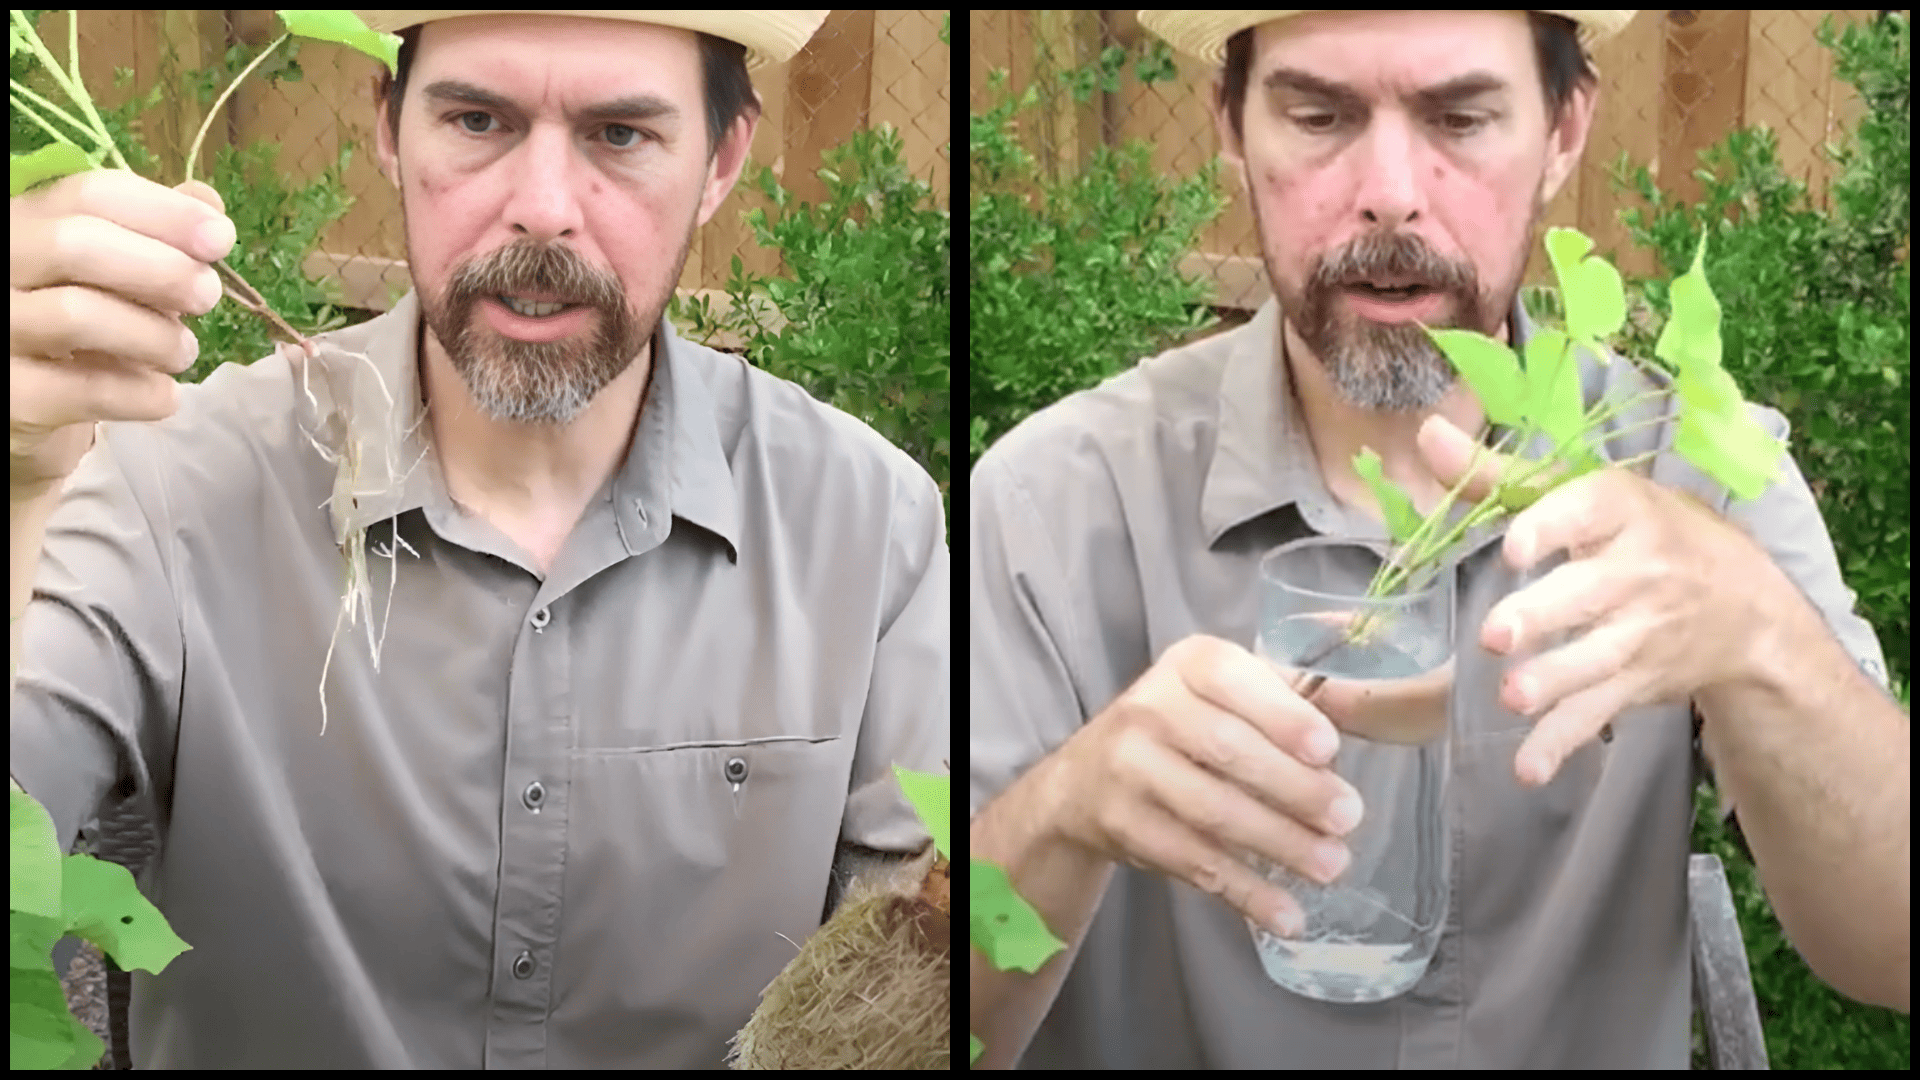
Once slips are about 4–6 inches long and have a few roots, you can twist or snip them off. Set each one in a clean glass of water so it can grow stronger roots before planting.
Helpful Tips:
- Use scissors or pruners if the slips are stuck or tangled.
- Be gentle so you don’t tear thin roots.
- If you have it, a bit of liquid seaweed can help roots grow faster.
Step 5: Prep for Planting
When your slips have a good root system, they’re ready for soil. You can plant them in your garden, raised beds, or containers; whatever works for your space.
Helpful Tips:
- Let the slips air out for an hour or so before planting.
- Plant deep enough to bury the lower stem and roots.
- Water the well in the first week to help them settle in.
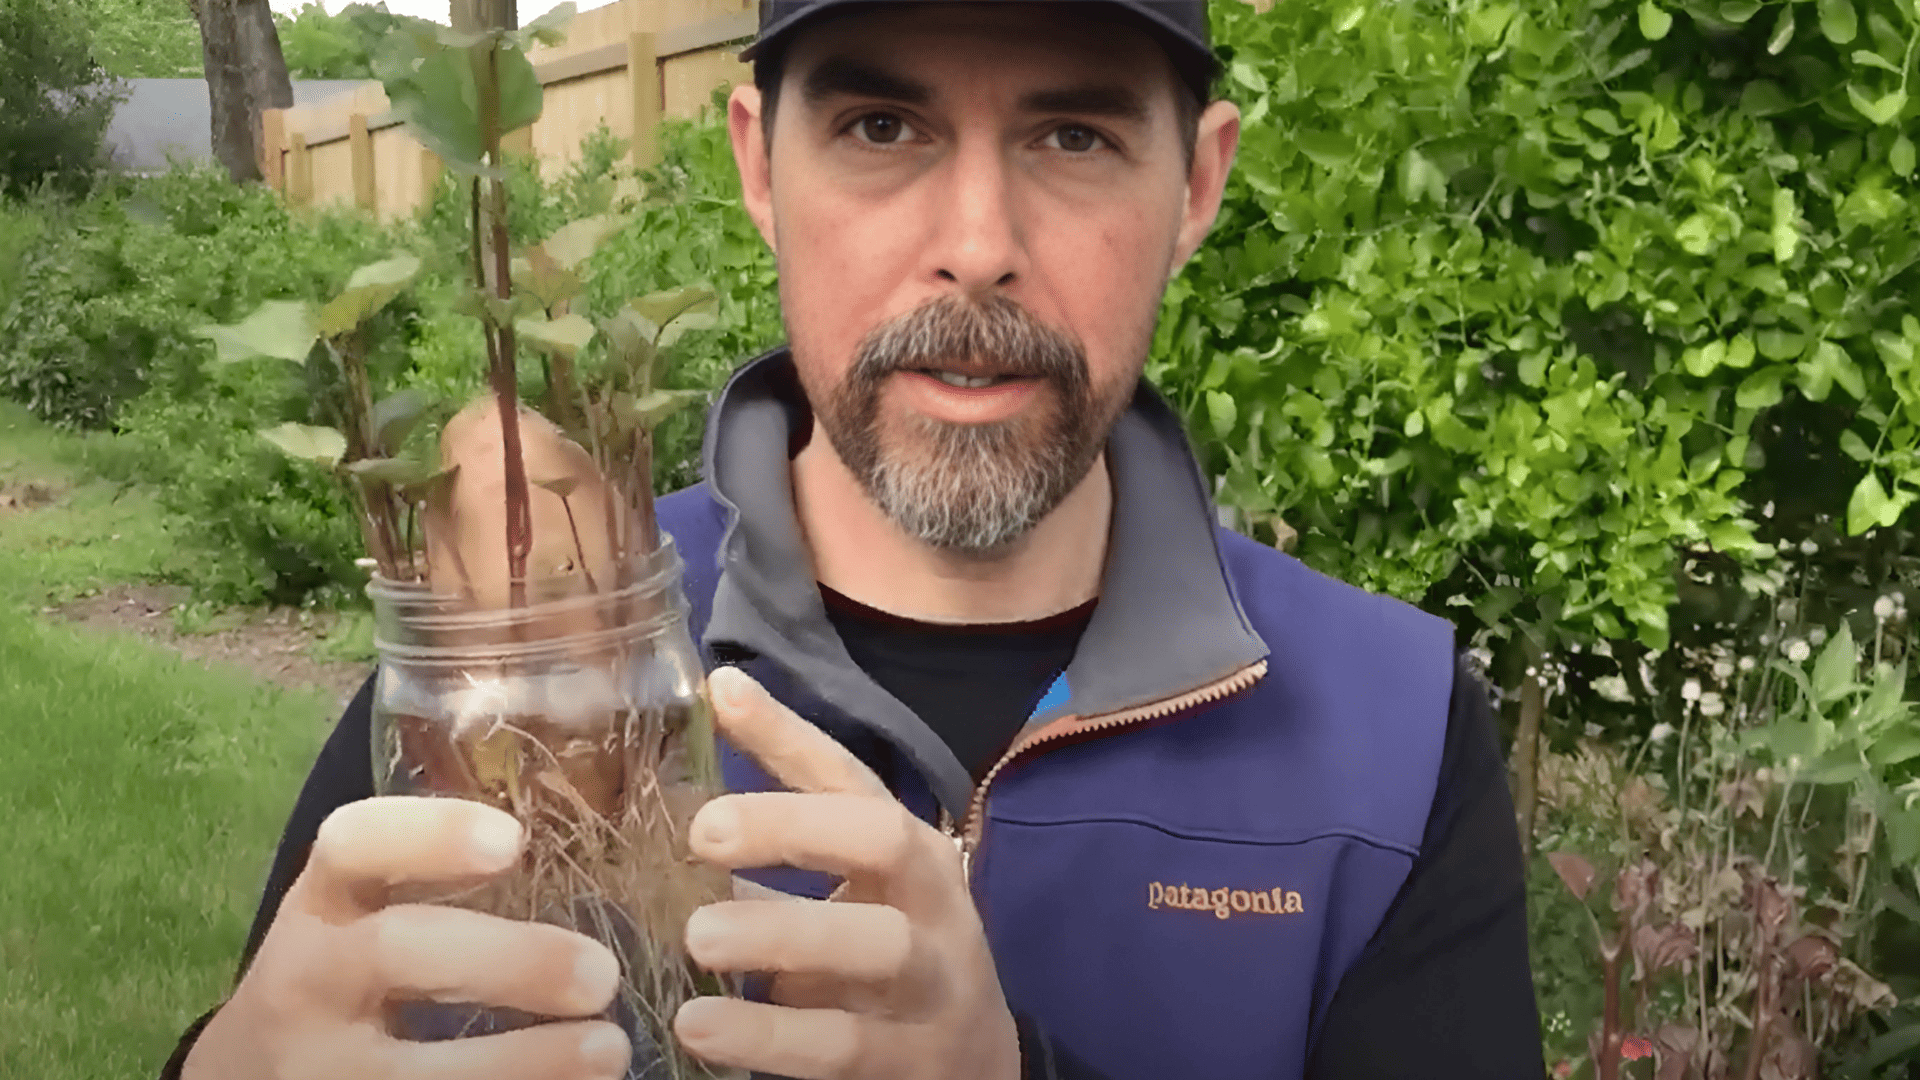
Watch How It’s Done: Video Tutorial
For more details, watch the video explanation by New Garden Road
Common Problems and Quick Fixes
If your sweet potato setup isn’t going as planned, don’t stress. Most issues are easy to fix with a few simple changes.
1. Slow or No Sprouting
Sometimes your potato just sits there for weeks. This usually means it’s too cold or not ideal for sprouting.
- Move it to a warmer spot (65–75°F is best)
- Try a different potato; some just don’t sprout
- Wait another 2–3 weeks before giving up
Be patient. If your setup is warm and clean, most sweet potatoes will eventually sprout.
2. Rotting Issues
If you see brown, mushy spots or smell something funky, bacteria may be the culprit.
- Change the water more often.
- Lower the water level so less of the potato is submerged
- Use a clean knife to cut off any soft spots
- Start over if more than half the potato is rotted
Clean water and good airflow prevent most rot. Catch it early, and you might still save it.
3. Weak or Leggy Slips
Thin, floppy slips are usually a sign that they’re not getting enough light.
- Move the jar to a brighter spot with indirect sunlight
- Rotate the jar daily so all sides get light
- Use a small fan to strengthen stems gently
- Start fresh if slips are still weak after two weeks
Healthy slips grow best with steady light and fresh air. Adjust your setup, and your next batch will thrive.
Final Tips for Success
A few extra tips can boost your chances of growing strong, healthy sweet potato slips. Small details often make the biggest difference.
- Use one potato per jar to give it plenty of space and avoid crowding
- Label jars with start dates so you can track progress and know when to expect slips
- Once slips are well-rooted, transfer them to soil to grow full sweet potato plants
- Keep a backup potato going in case your first one doesn’t sprout or starts to rot
Stick with these basics, and you’ll be growing healthy slips in no time. Before long, you might have more plants than pots to put them in!
Wrapping It Up
Learning how to grow sweet potatoes in water has become one of my favorite gardening tricks. It’s simple, clean, and seeing those first green shoots pop up never gets old.
You don’t need a fancy setup or a green thumb to make it work.
Even if you’re in a small apartment with no outdoor space, this project fits right on a windowsill or kitchen counter.
The best part? You’ll end up with free plants instead of paying for slips at the store.
I hope you give it a try and see the magic for yourself. Got questions? Drop them in the comments below; we’re in this together!